Under-eye concealer doesn't crease because you're doing it wrong or because your skin is "bad." It creases because the under-eye area is the thinnest, most mobile skin on your face, and most of us give it too much product, too little moisture and too much powder. Fix those three things and the fine little lines that show up by lunchtime mostly disappear.
The good news is that the solution is usually less, not more: less concealer, placed more carefully, set more lightly. It's one of those makeup lessons that saves time and product at the same time.
This guide covers how to apply concealer without creasing from start to finish: why it creases in the first place (with a cause-and-fix table), how to prep, how to choose your formula and shade, exactly where to place it, how to blend and set it, and how to fix creasing in the middle of the day without starting over. At the end, you'll find a six-step routine card to screenshot.
With combination, sensitive skin, I spent a long time caking powder under my eyes to stop my concealer from moving. It took me embarrassingly long to realize the powder was half the problem.
Why Concealer Creases Under Your Eyes
Every time you blink, smile or squint, the skin under your eyes folds. Concealer sitting on top of that skin gets pushed into the folds over and over, and within a few hours it collects in lines. A few things make that much worse:
- Too much product. The thicker the layer, the more there is to fold and settle.
- Dry skin underneath. Dehydrated skin has more visible fine lines, and dry patches grab product unevenly.
- Too much moisture underneath. On the other hand, a heavy eye cream that hasn't sunk in makes concealer slide straight into creases.
- The wrong formula. Very thick, matte, full-coverage formulas don't move with your skin.
- Heavy setting powder. A thick layer of powder looks smooth for ten minutes and then turns crepey and dry.
- Natural oil. If your skin gets oily during the day (hello, combination skin), oil breaks down concealer and helps it travel into lines.
The good thing about this list: almost everything on it is in your control.
Why It Creases: Cause and Fix Table
If your concealer creases, find what matches your situation in the left column and try the fix first. Usually one or two changes make a big difference.
| What you notice | Likely cause | Fix |
|---|---|---|
| Lines appear within the first hour | Too much concealer | Use half the amount; apply only where it's darkest |
| Concealer looks dry and crepey | Dehydrated skin or too much powder | Hydrating eye cream first; set with a tiny amount of fine powder |
| Product slides and gathers in lines | Eye cream not absorbed yet | Wait 3–5 minutes after eye cream; blot any excess |
| Creases by afternoon, especially on warm days | Oil breaking down the concealer | Light powder set; blot midday instead of adding more |
| Thick, cakey patches | Formula too heavy or matte | Switch to a lightweight, hydrating or radiant formula |
| Lines right at the outer corner | Product placed where you smile | Keep concealer away from the outer crinkle zone |
| Concealer separates on top of foundation | Too many layers | Skip foundation under the eyes; concealer only |
| Creasing even with little product | Blending left a heavy edge | Tap, don't swipe; press a clean finger over the area at the end |
How To Apply Concealer Without Creasing: 6 Steps
Here's the full routine. It takes about five minutes once you've done it a few times, and most of that is waiting for your eye cream to sink in.
Step 1: Prep With a Hydrating Eye Cream (Then Wait)
Start with clean, moisturized skin. Under the eyes, you want hydration without heaviness. Take a rice-grain amount of eye cream (truly that small) and pat it in with your ring finger, from the inner corner out along the orbital bone.
Look for a lightweight, gel or gel-cream texture with hydrating ingredients like hyaluronic acid, glycerin, ceramides or peptides. A hydrating Korean eye cream is a good pick for this, since many K-beauty eye creams are designed to absorb quickly and sit well under makeup. If you're curious how hyaluronic acid draws in moisture, my guide to hyaluronic acid explains it simply.
Then the most skipped part: wait three to five minutes. Apply the rest of your skincare or brush your hair. When you touch the skin under your eyes, it should feel soft, not slippery. If it still feels greasy, press a tissue on it lightly.
A gentle note: the eye area is sensitive. If a new eye cream or concealer stings, makes your eyes water or leaves the skin red or itchy, take it off and stop using it. Patch test new products on your jawline first if your skin reacts easily.
Step 2: Choose the Right Formula and Shade
Formula matters more than technique here. For under the eyes, you want something that's flexible and thin enough to move with your skin.
- Best for most people: a lightweight liquid concealer with a natural or radiant finish and medium, buildable coverage.
- Dry or mature under-eyes: look for words like "hydrating," "creamy" or "radiant," and avoid "matte" and "long-wear" for this area.
- Oily or combination skin: a natural-finish formula works well. You can still skip full matte, because you'll be setting lightly anyway.
- Very dark circles: use a thin layer of a color corrector (peach for light-medium skin, orange for deeper skin) only on the darkest spot, then a little concealer on top.
For shade, choose one that's about half a shade to one shade lighter than your foundation (or your skin, if you skip foundation). Going two or three shades lighter looks gray and draws attention to texture. Test the shade on your under-eye, not your wrist, and check it in daylight.
A lightweight radiant liquid concealer with a doe-foot wand is the easiest place to start; global drugstore best-sellers in this category offer wide shade ranges and a thin, flexible finish. If your circles are mostly about shadows and not color, my guide on how to get rid of dark circles covers sleep, skincare and lifestyle tricks that help too.
Step 3: Apply Less, in the Right Place
This is where most creasing is won or lost. The big inverted triangle of concealer from social media looks great on camera, but in real life it puts a lot of product on the most mobile part of your face. You have two good options.
Option A: Targeted dots (best for creasing). Place two or three tiny dots only where it's darkest: usually the inner corner near the nose and along the lowest part of the shadow. Keep product a few millimeters below your lower lash line and away from the outer corner where your skin crinkles when you smile.
Option B: A small, soft triangle (when you also want brightness). If you love a lifted look, draw a small triangle with the top edge under the darkest part of the circle and the point toward the top of your cheek. Keep it small (roughly the size of your thumbprint) and keep the top edge away from the lash line. Most of the product sits on the cheek, which moves less than the eye area.
Whichever you choose, start with less than you think. You can always add a second tiny dot after blending. You can't easily take product away once it's spread.
Step 4: Blend by Tapping, Not Swiping
Wait about 30 seconds after applying. A slightly tacky concealer blends with better grip and less movement. Then blend with gentle tapping motions; swiping drags product into lines and leaves the thickest layer where you started.
- Ring finger: the warmth melts the concealer into skin and gives the most natural finish. Great for hydrating formulas.
- Damp sponge: sheers out product and soaks up excess, which is perfect if you tend to apply too much.
- Small brush: the most precise, but it can leave streaks. Finish by tapping with a finger.
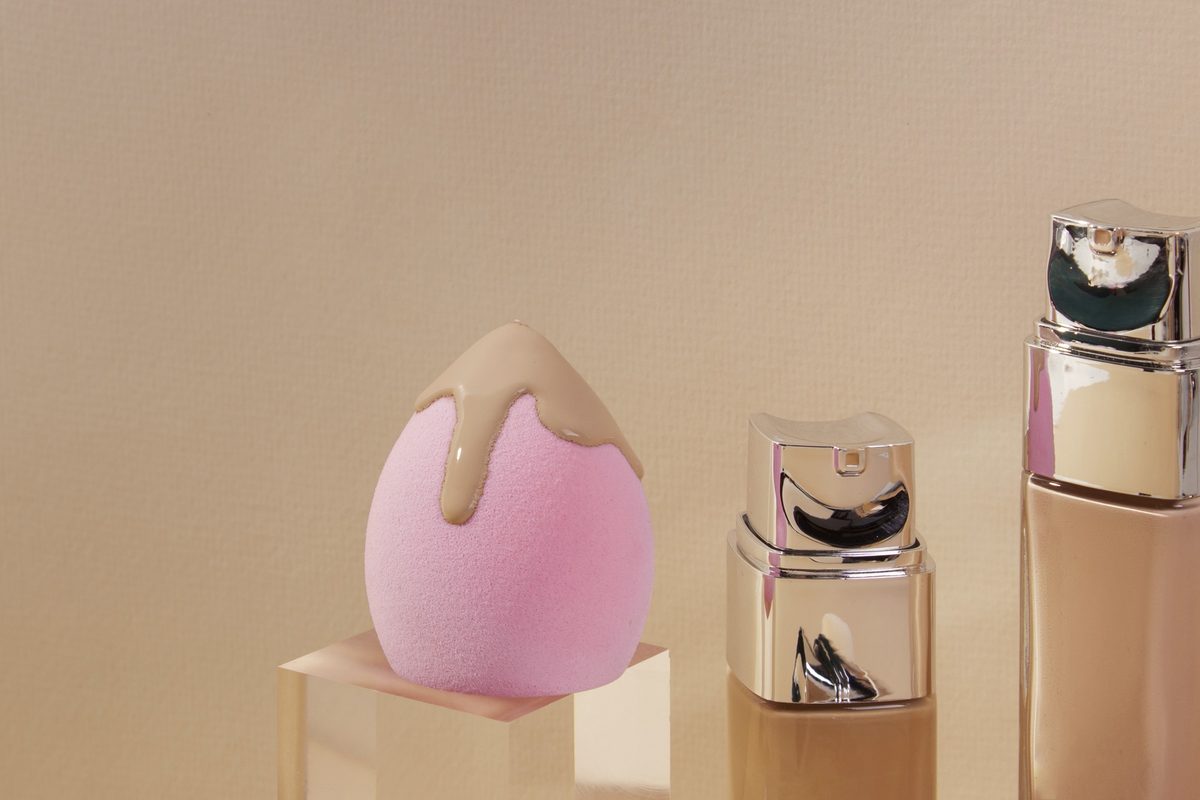
A mini blending sponge is a pick for the under-eye area because its small tip fits into the inner corner without moving the rest of your makeup. Dampen it, squeeze it until it's barely damp and bounce it lightly across the area.
Before you set anything, look up toward the ceiling and smile. If small lines have already formed, tap over them with a clean ring finger or sponge to smooth them out. This one-second check catches a lot of creasing early.
Step 5: Set Lightly (Very Lightly)
Setting stops concealer from moving, but heavy "baking" with lots of powder is exactly what makes many under-eyes look dry and crepey later in the day. For everyday wear, a tiny amount of fine powder goes much further.
Tap a small fluffy brush or a powder puff into a fine translucent setting powder, tap off the excess on the back of your hand, then press (don't sweep) it only where you placed concealer. Keep your eyes looking up while you set so the skin is stretched smooth. Look for a finely milled, translucent powder that doesn't flash white.
If your under-eyes are very dry, you can skip powder entirely and rely on a light mist. If your skin gets oily, focus powder on the inner corner and the area just above the cheek.
Step 6: Melt Everything Together and Do a Final Check
After powdering, a quick mist helps the layers meld so the finish looks like skin, not makeup. Hold a hydrating setting spray about an arm's length away and mist your face in an X and a T pattern, then let it dry without touching.
Wait five to ten minutes, then smile and squint in natural light. If you see a line, tap over it with a clean finger. It will almost always smooth right back into place. This "set, wait, smooth" check is the closest thing to a crease-proof secret I know.
The 6-Step No-Crease Routine Card (Screenshot This)
Here's the whole routine in one place for busy mornings.
- Hydrate: rice-grain amount of eye cream, patted in, then wait 3–5 minutes.
- Choose: lightweight, flexible concealer half a shade to one shade lighter than your skin.
- Place: 2–3 tiny dots where it's darkest (or a small, soft triangle), away from the lash line and outer corner.
- Blend: wait 30 seconds, then tap with a finger or damp mini sponge. Smile and smooth.
- Set: press a tiny amount of fine powder only where you placed concealer, looking up.
- Melt and check: light mist, wait 5–10 minutes, smile, tap any line smooth.
How To Fix Concealer Creasing During the Day
Even the best routine can crease a little after a long day, a warm room or a big laugh. The instinct is to add more concealer, but that usually makes it worse. Try this instead:
- Smooth it first. Gently tap your ring finger across the line. Body heat often melts the concealer back into place in a few seconds.
- Blot oil. If your skin looks shiny, press a blotting paper or a clean tissue over the area to lift the oil that's breaking down your concealer.
- Rehydrate lightly. If it looks dry and cakey, press a tiny dab of eye cream or a drop of moisturizer over the area with your fingertip, then tap.
- Re-blend with a sponge. A barely damp mini sponge picks up excess and smooths the edges.
- Add the smallest touch, if needed. Only now, if the darkness is showing through, add one tiny dot of concealer at the inner corner and tap it in.
A small makeup bag kit for this is simple: blotting papers, a mini sponge in a case and your concealer. That's all you need.
Tips for Your Skin Type and Eye Shape
The basic routine works for most people, but a few tweaks help depending on what you're working with.
Dry Under-Eyes
Your priority is moisture. Choose a creamy, hydrating formula, keep powder to a bare minimum (or skip it) and use a hydrating mist to set instead. A richer eye cream at night can help the area look smoother by morning. In winter, my winter skincare routine has more ideas for keeping dry skin comfortable.
Oily or Combination Skin
You'll probably need a little powder, but keep it targeted. Use a gel eye cream rather than a rich one, give it the full five minutes to absorb and set with a light press of powder at the inner corner. Blotting midday is your best friend. For balancing an oily T-zone and dry cheeks at the same time, my guide on a skincare routine for combination skin walks through it.
Fine Lines
Concealer will always move a bit on skin with natural lines, and that's completely normal. Use the targeted-dots method, apply the thinnest layer you can and skip powder directly on the lines. A radiant or luminous formula reflects light and makes texture less noticeable than a matte one.
Hooded or Deep-Set Eyes
Shadows often sit deeper here, so focus product right at the inner corner and the deepest point of the hollow, then blend outward. Keep concealer off the lid area that folds; on the lid, a light eyeshadow primer works better. For more on making eye makeup work with your eye shape, see my eye makeup for beginners guide.
Little Habits That Help Concealer Stay Smooth
- Skip foundation under the eyes. Fewer layers mean less to crease. Let concealer do the work there.
- Use clean tools. Wash sponges after every few uses and let them dry fully; dirty tools apply product unevenly.
- Apply concealer after eye makeup. That way you can clean up fallout first and won't need to add more product later.
- Be gentle at night. Remove eye makeup with a soft cleansing balm or micellar water and a cotton pad held in place for a few seconds instead of rubbing. A thorough evening cleanse, like the one in my double cleansing guide, keeps the area calm.
- Sleep and water. Puffiness and dehydration make the under-eyes harder to work with. They're not magic, but they help.
If you love a fresh, barely-there look, my clean girl makeup routine uses this same light-handed concealer approach across the whole face.
Final Thoughts
Creasing isn't a sign that your skin is difficult or that you need a stronger product. Most of the time, the fix is gentler: a little hydration, a few minutes of patience, less concealer in fewer places and just a whisper of powder.
Try the six steps for one week and notice how your under-eyes look at the end of the day. You'll probably use less product than ever, and your face will look like the softest, most rested version of you, which is the whole point of concealer anyway.