Deep-set eyes don't need more makeup. They need makeup in different places. Because your eyes sit a little further back under the brow bone, the lid naturally falls into shadow, and the classic advice (dark shade in the crease, lots of liner, frosty highlight under the brow) can make them look even more recessed. Flip that logic, and your eyes suddenly look brighter, bigger and closer to the surface.
The whole trick comes down to one simple rule: light goes where you want the eye to come forward, and depth goes higher and softer than you think. Once that clicks, you can wear almost any color you love.
This guide covers makeup for deep-set eyes step by step: how to tell whether your eyes are deep-set, the goal behind every placement, a makeup map table you can follow shade by shade, prep, eyeshadow, liner, lashes, inner corners, 6 mistakes to avoid and a few quick eye safety basics. It works for a soft daytime look and for something more glamorous at night (hello, Old Hollywood).
What Are Deep-Set Eyes?
Deep-set eyes sit further back in the eye socket than average, usually with a more prominent brow bone above them. That combination is often beautifully dramatic (many classic film stars had exactly this eye shape), but it also means light doesn't reach the lid as easily. Your eyelids can look a little shadowed even with no makeup at all.
A few signs you might have deep-set eyes:
- Your brow bone looks more prominent than your eyelids when you look straight ahead.
- Your crease sits deep and high, close to the brow bone, and it can look like a dark curve.
- Your lids look shadowed or slightly darker than the rest of your face, even without makeup.
- Dark crease shades make your eyes look smaller or more tired instead of more defined.
Deep-set eyes can also be hooded, monolid, round or almond at the same time. Eye shapes overlap, so take what helps and leave the rest.
Deep-Set vs Hooded Eyes
These two get mixed up a lot. With hooded eyes, a fold of skin from the brow area drops down and covers part of the mobile lid, so you often can't see your crease when your eyes are open. With deep-set eyes, the crease is usually visible (sometimes very visible), but the whole eye sits back, under a stronger brow bone. Some people have both. If a fold covers most of your lid, my guide to makeup tips for hooded eyes will be your best friend, and you can borrow the brightening tricks from this one.
The Goal: Bring Your Eyes Forward With Light
Makeup works with light and shadow. Light, shimmery shades reflect light, so they make an area look like it's coming toward you. Dark, matte shades absorb light, so they make an area look like it's moving back. Deep-set eyes already have plenty of natural shadow, so the plan is simple:
- Brighten the lid, where you want the eye to look more forward.
- Lift the depth by placing your mid-tone just above the natural crease, not deep inside it.
- Keep the brow bone calm, matte and close to your skin tone, so it doesn't get even more attention.
- Define close to the lashes with thin liner and well-curled lashes instead of heavy dark shadow.
Honestly, once you see your eyes with a bright lid and a lifted crease, it's hard to go back. It's a small shift that changes the whole face.
Your Deep-Set Eyes Makeup Map
Here's the whole look at a glance. Follow it top to bottom the first few times, then adapt the shades to your own coloring. Screenshot it and keep it by your vanity if that helps.
| Step | Product | Where to place it | What to avoid |
|---|---|---|---|
| 1. Prep | Eyelid primer + brightening concealer | A thin layer over the whole lid, tapped in with a fingertip | Thick layers that crease; very pink or very dark concealer |
| 2. Lid | Light matte or shimmer shade (champagne, soft gold, warm beige) | Center and inner half of the mobile lid | Dark or very matte deep shades all over the lid |
| 3. Lifted crease | Soft mid-tone matte (taupe, soft brown, muted mauve) | Just above your natural crease, blended upward with windshield-wiper strokes | Packing a dark shade deep inside the crease |
| 4. Brow bone | Matte shade close to your skin tone | Lightly under the brow arch to blend edges | Frosty or glittery highlight on the brow bone |
| 5. Upper liner | Soft brown or black pencil or gel | Tightline the upper waterline and draw a thin line close to the lashes | Thick liner that covers the visible lid |
| 6. Lashes | Eyelash curler + lengthening mascara | Curl at the root, then wiggle mascara up from the base | Clumpy volumizing layers on lower lashes |
| 7. Inner corner | Light shimmer or pearl highlight | A tiny dot in the inner corner and along the inner third of the lower lash line | Blinding glitter or bright white across the whole lower lid |
| 8. Lower lash line | The same mid-tone shadow, softly smudged | Outer third only, very close to the lashes | Dark liner all along the lower waterline |
If you're new to eye makeup in general, my guide to eye makeup for beginners explains the basic terms and brush moves first, and then this map will feel much easier.
How To Do Makeup for Deep-Set Eyes Step by Step
Give yourself 10 to 15 minutes the first time, with good daylight if you can. After a few tries, this becomes a 5-minute routine.
Step 1: Prep the Lid With Primer and Concealer
Because deep-set lids are often shadowed, prep matters more than usual. It evens out any natural darkness so your light lid shade can actually look light.
- Start with clean, moisturized skin, but let your eye cream sink in for a minute or two so the lid isn't slippery.
- Dot a small amount of eyelid primer on each lid (about the size of a grain of rice) and tap it from lash line to brow bone with your ring finger.
- If your lids look darker than the rest of your face, tap a thin layer of brightening concealer on the center of the lid. Choose a shade that matches your skin or is just a touch lighter, with a slightly peachy undertone if you have darker lids.
- Set lightly with a little translucent powder or a skin-tone matte shadow, so everything glides and blends instead of sticking.
The key word is thin. Too much product on the lid will crease within an hour. My guide on how to apply concealer without creasing has more layering tips that work beautifully on lids too.
Step 2: Sweep a Light or Shimmery Shade on the Lid
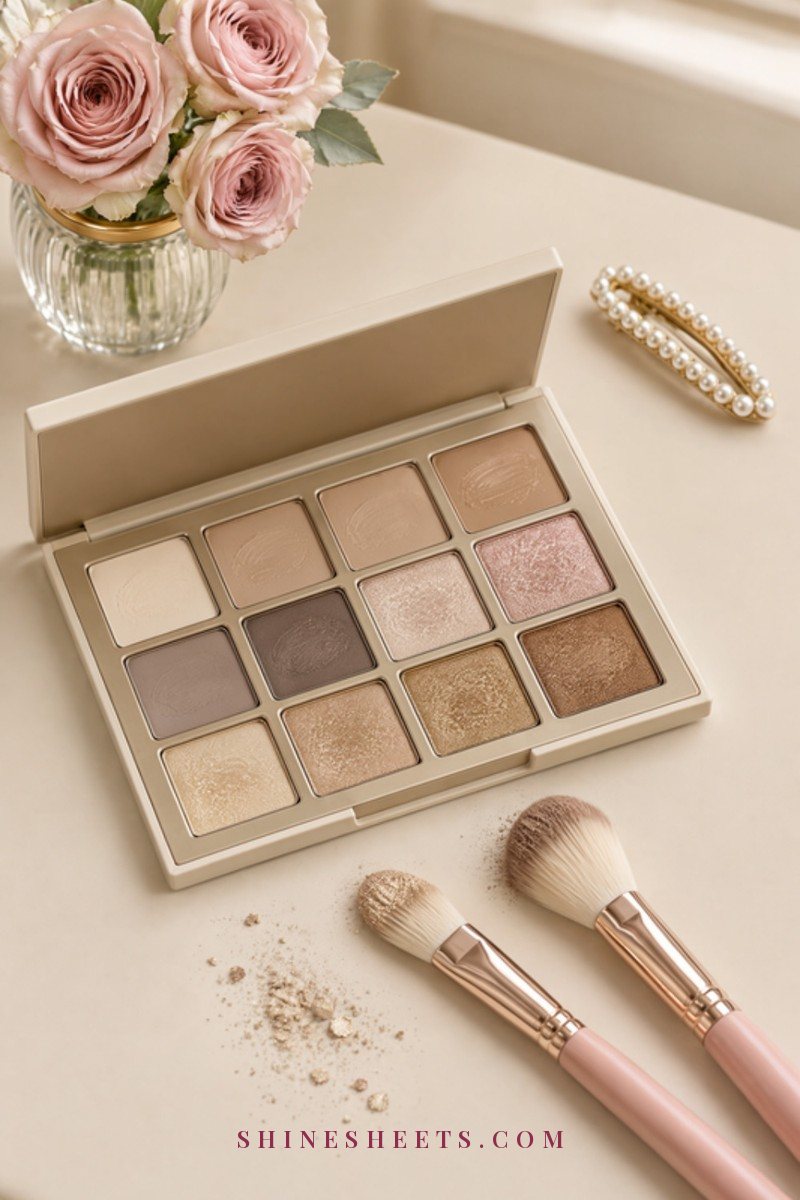
This is the step that does most of the work. A light, reflective shade on the lid pulls it forward and makes your eyes look more open.
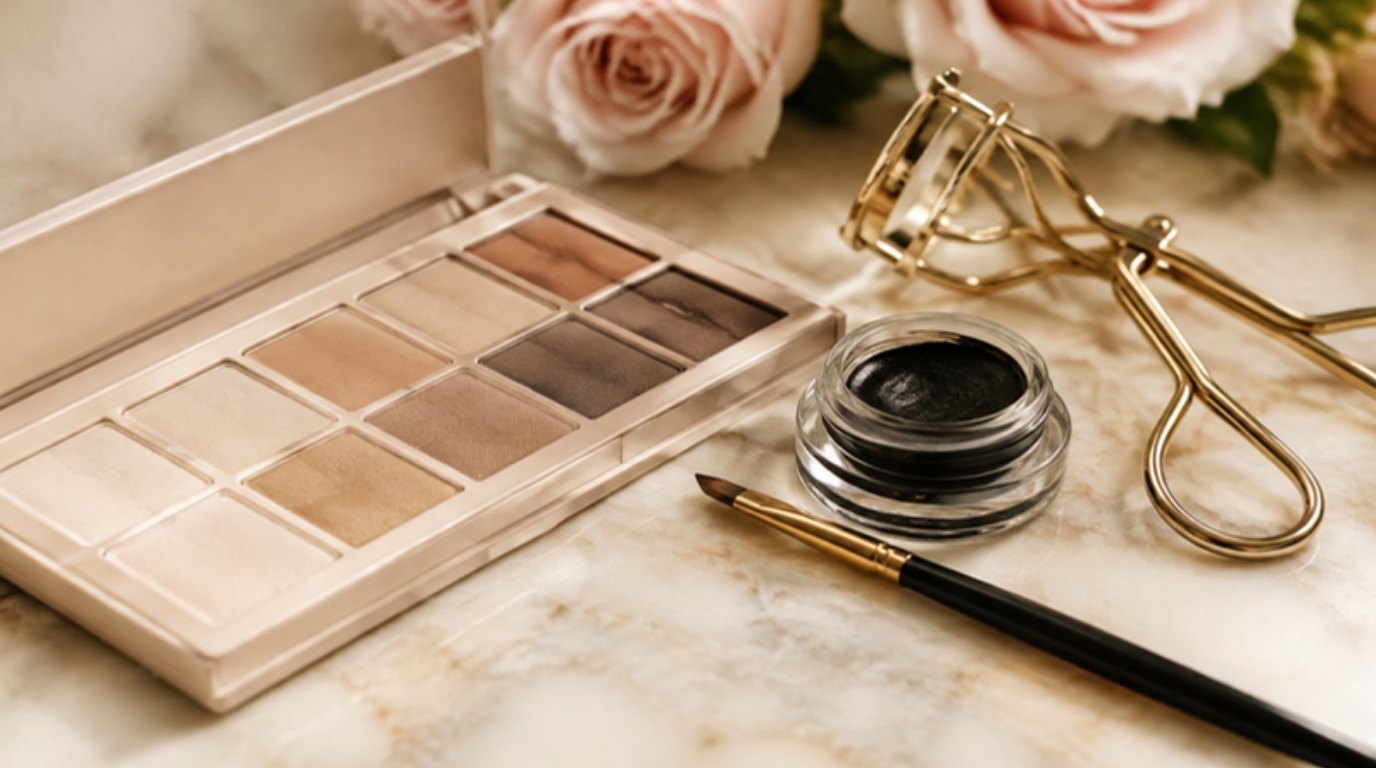
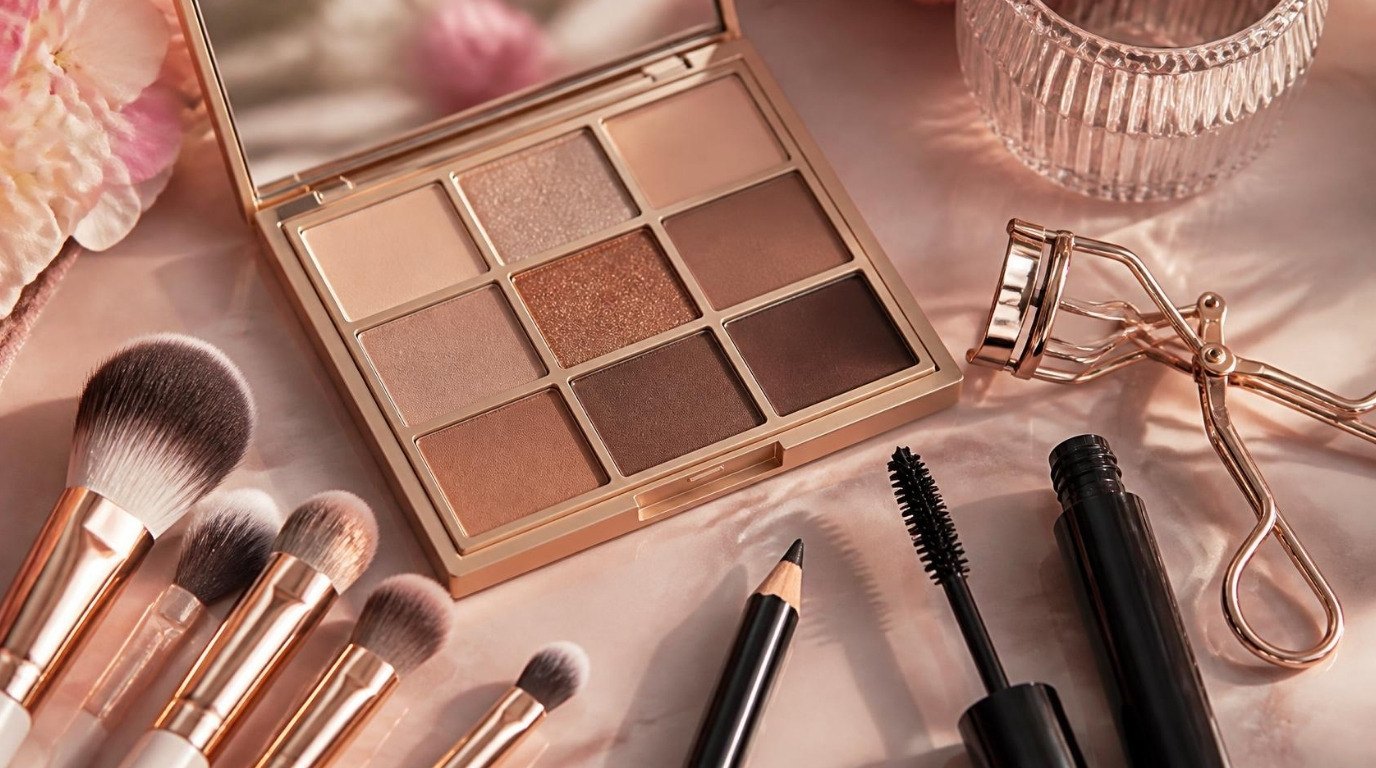
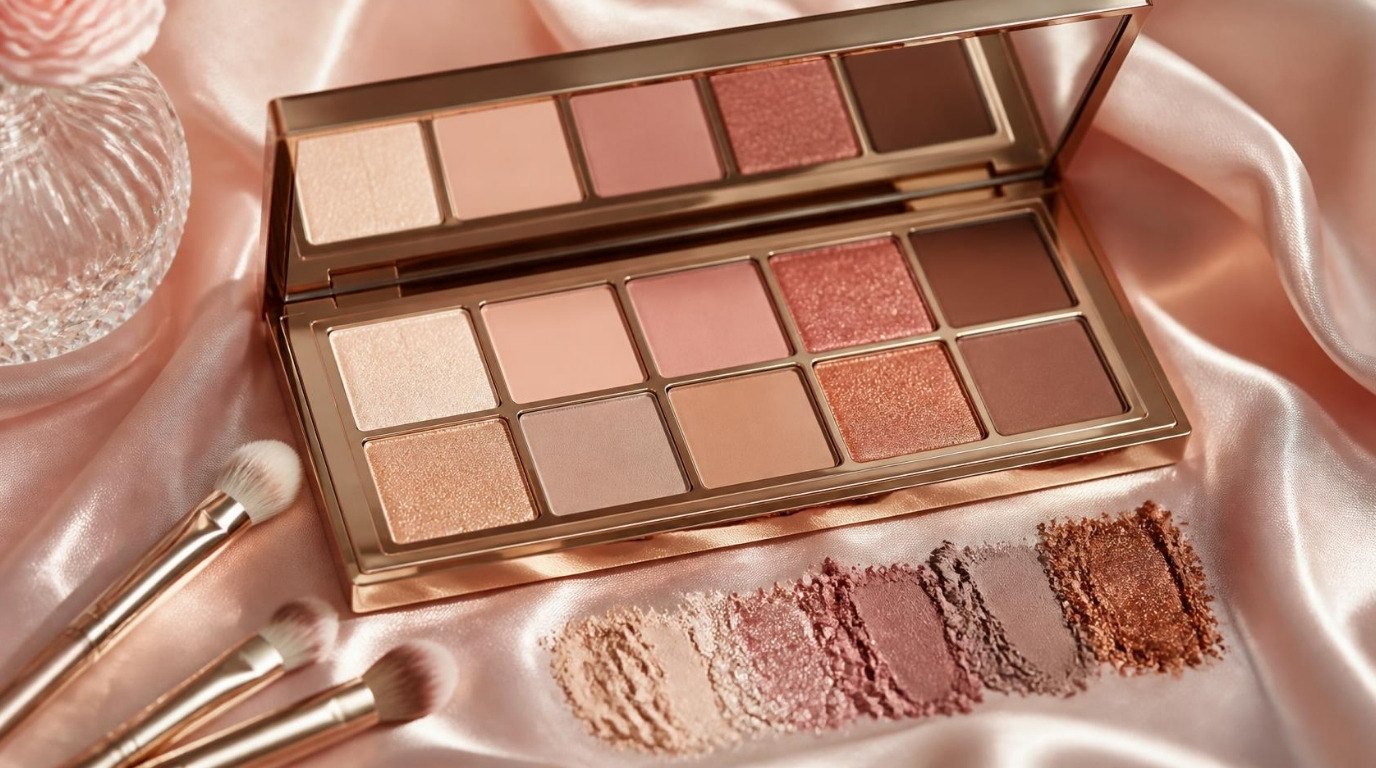
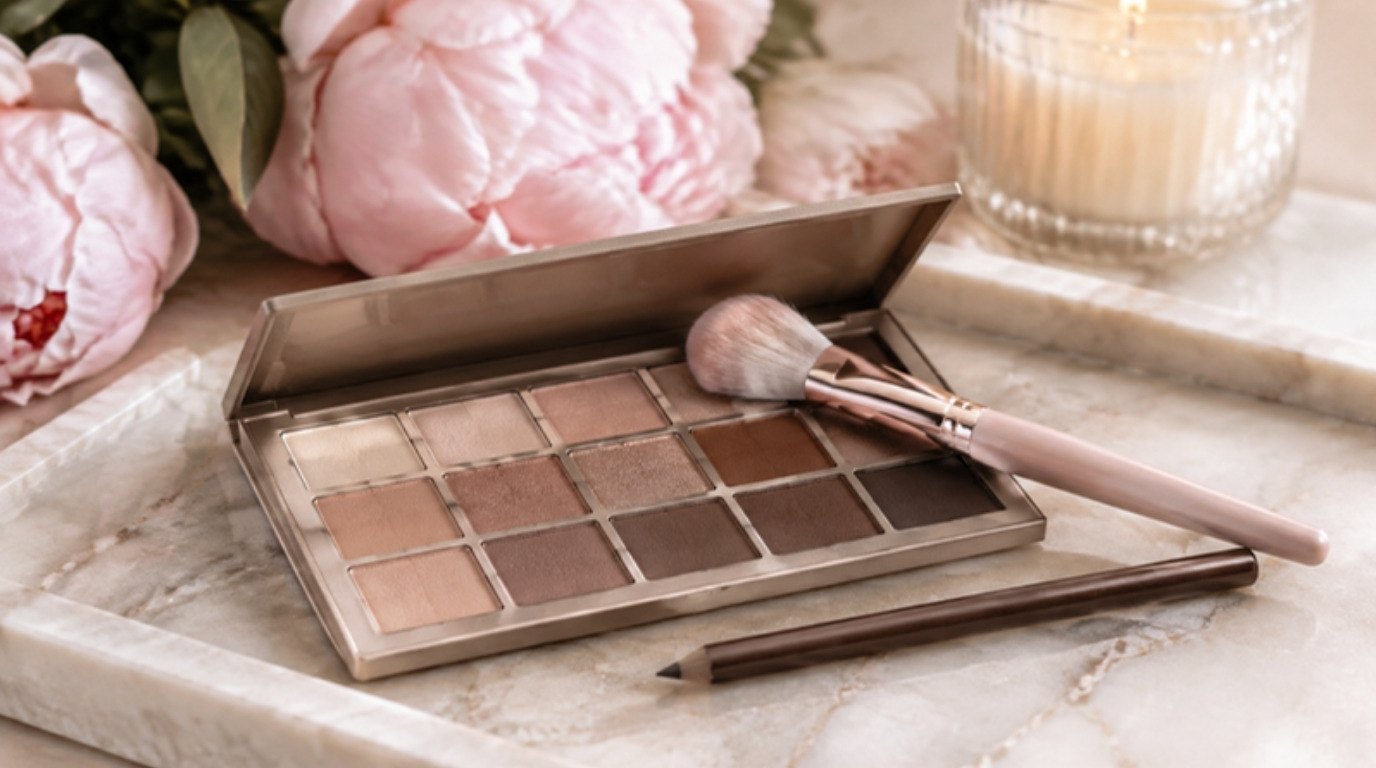
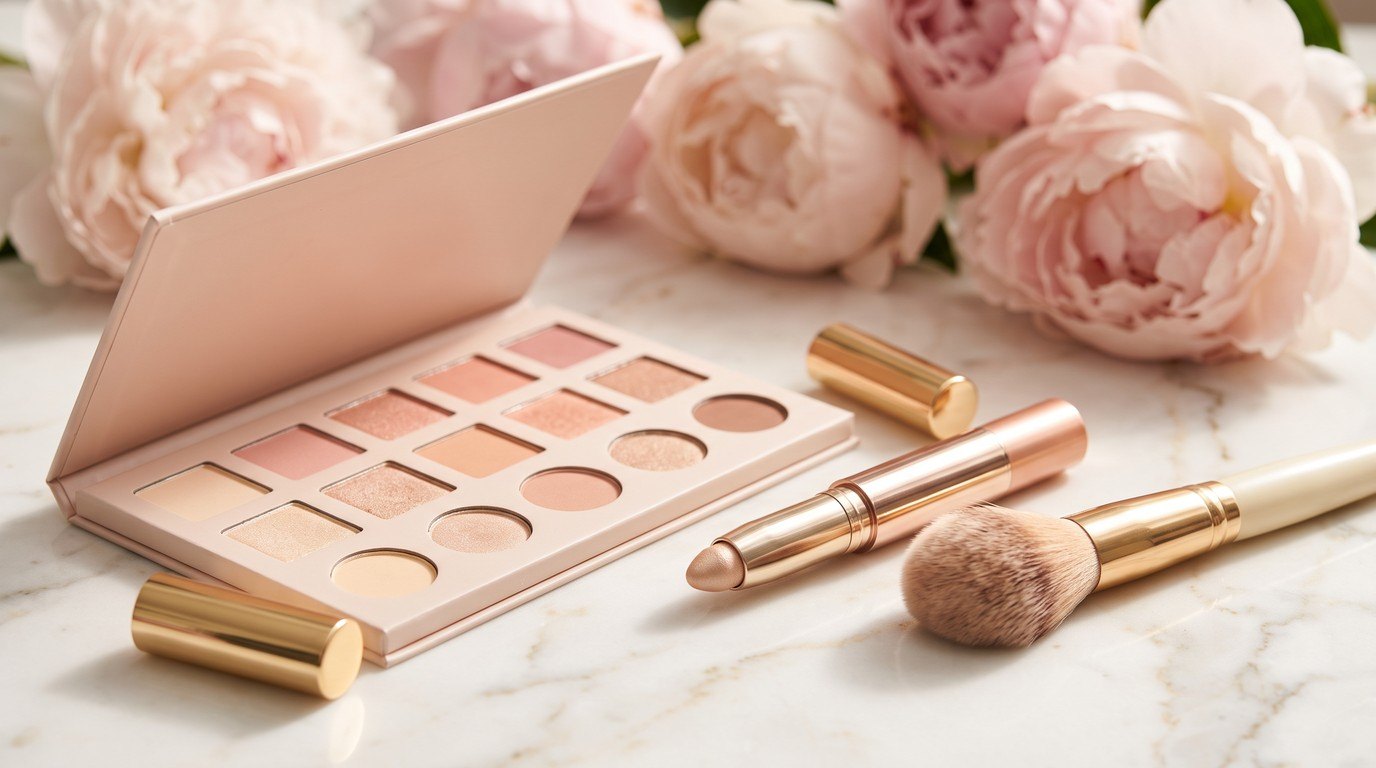
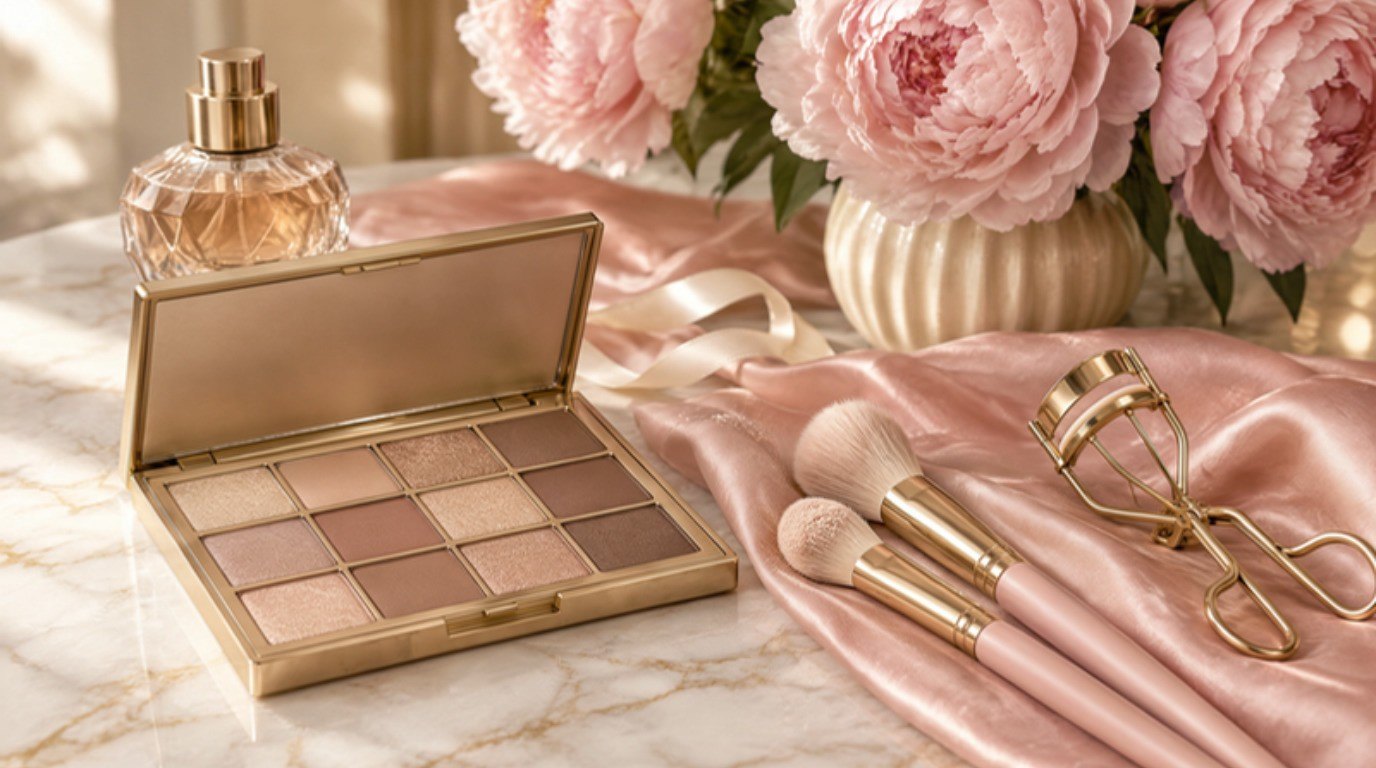
- Pick a shade a little lighter than your skin or close to it: champagne, soft gold, warm beige or a pale peach all work. A neutral matte and shimmer eyeshadow palette gives you the lid shade, the mid-tone and the brow bone shade in one place.
- Use a flat shader brush or your fingertip to press it onto the center and inner half of the mobile lid. Pressing gives more shine than sweeping.
- Keep it on the mobile lid, below your natural crease.
- Prefer a satin or soft shimmer over chunky glitter. Fine shimmer reflects light more smoothly and looks more refined up close.
Cream shadows are lovely here because they melt into the lid and stay luminous. If you're deciding between textures, my comparison of cream vs powder eyeshadow explains which one tends to last best on different lids.
Step 3: Place a Soft Mid-Tone Just Above the Crease
Here's where deep-set eyes break the classic rule. Instead of packing a darker shade deep into the crease (which already sits in shadow), you place a soft mid-tone just above it. This creates the illusion of a lifted, more balanced crease and gently pushes the brow bone back.
- Choose a soft matte mid-tone: taupe, soft brown, muted mauve or a warm toffee. It should be a few shades deeper than your skin, not dramatically dark.
- Look straight into a mirror with your eyes open and find where your crease sits. You'll blend just above that line, where you can still see it with your eyes open.
- Tap a fluffy brush into the shade, tap off the excess and use small windshield-wiper strokes along that slightly higher line.
- Blend upward and outward, keeping the color soft and diffused. Build in two or three light layers rather than one heavy one.
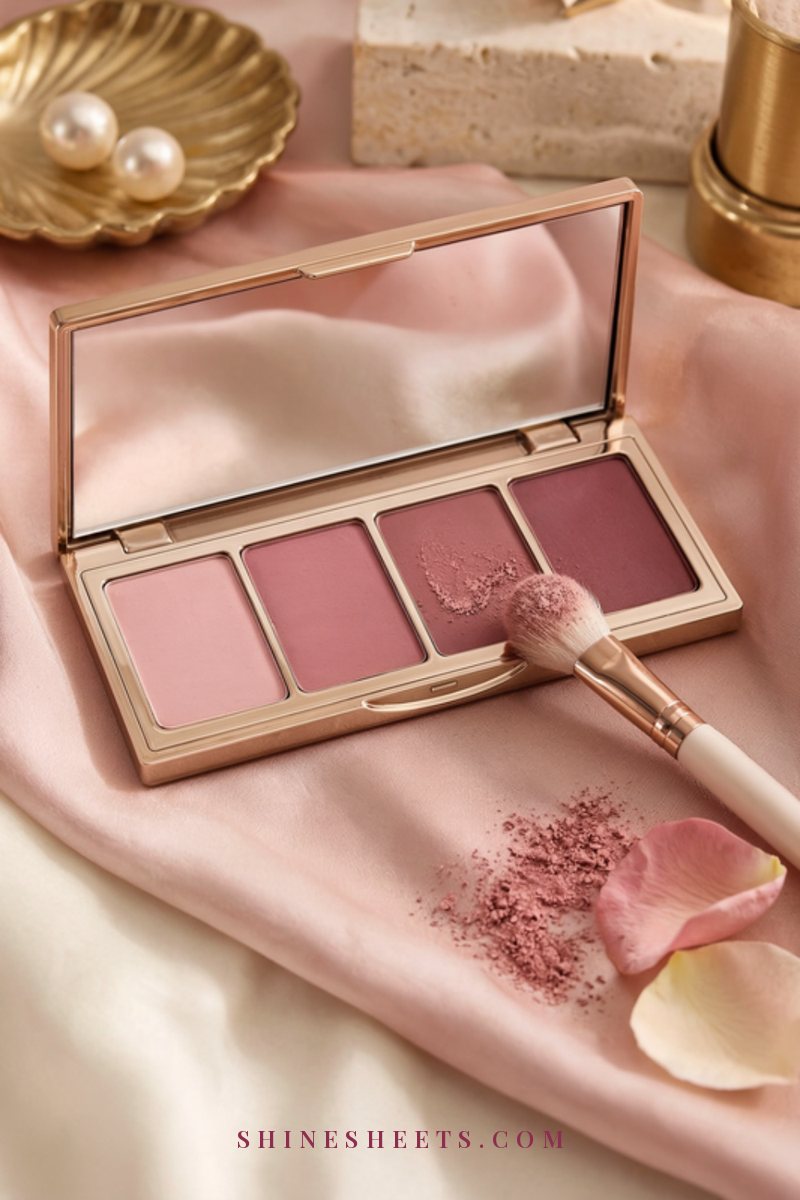
A soft blending brush set in blush makes this so much easier. Look for a fluffy tapered brush for the crease and a smaller pencil brush for detailed work near the lashes.
Step 4: Keep the Brow Bone Matte and Neutral
With deep-set eyes, the brow bone is already the most prominent part of the eye area, so you don't want to spotlight it further. A shimmery highlight here pulls attention up and away from the eye itself.
Instead, sweep a matte shade close to your skin tone (or a touch lighter) just under the brow arch, mostly to soften any harsh edges from your mid-tone. Keep it subtle enough that you'd barely notice it on its own. If your brow bone looks slightly oily by midday (hello, my shiny T-zone), a light dusting of translucent powder here helps.
Step 5: Line Thin and Close to the Lashes
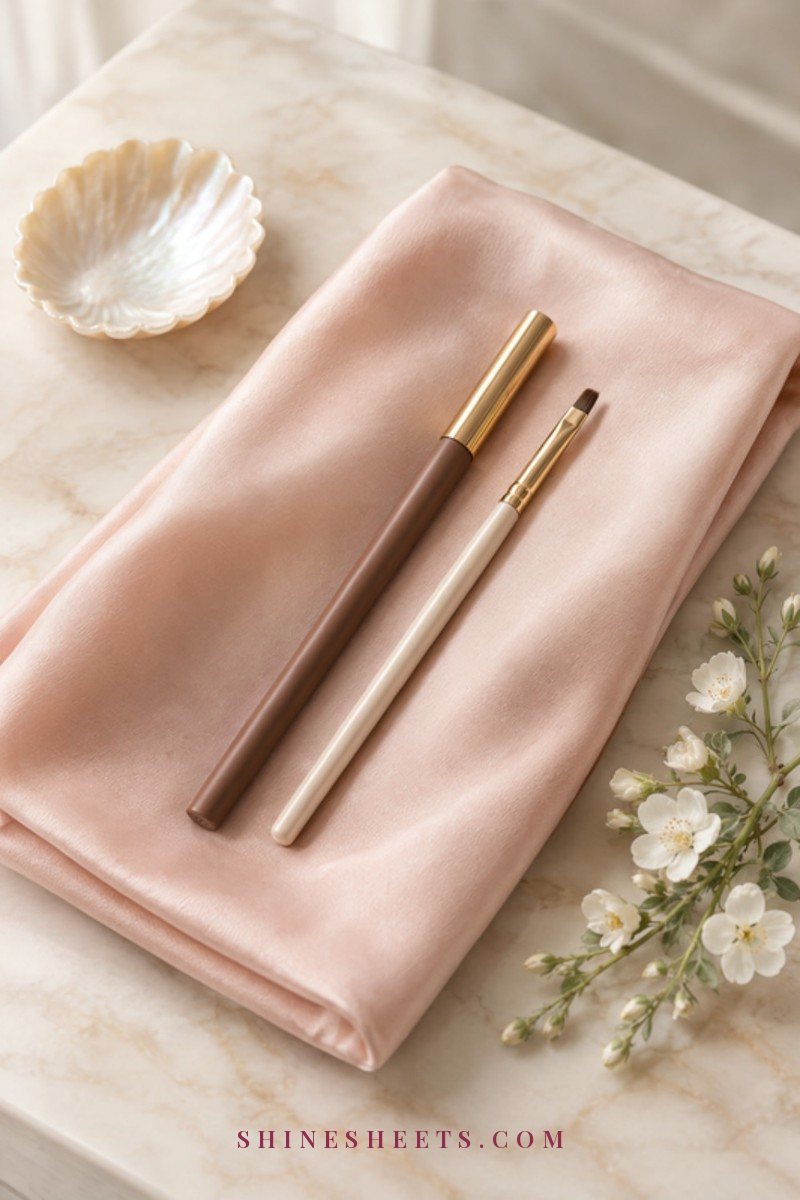
Heavy liner on deep-set eyes can swallow the lid, especially since you have less visible lid space when your eyes are open. The goal is definition at the lash roots, not a thick line.
- Use a soft brown eyeliner pencil for daytime or black for evening. Brown usually looks softer and more natural on deep-set eyes.
- Gently lift your upper lid and tightline the upper waterline (the area just under your top lashes). It makes lashes look thicker without taking up any lid space. Skip this step if your eyes are sensitive.
- Draw a thin line as close to the upper lash line as you can, slightly thicker toward the outer corner.
- Smudge it a little with a small brush for a softer finish, or add a tiny lifted flick if you love an Old Hollywood feel.
- Skip thick lower liner. If you want lower definition, use the soft mid-tone shadow on the outer third only.
Step 6: Curl and Lengthen Your Lashes
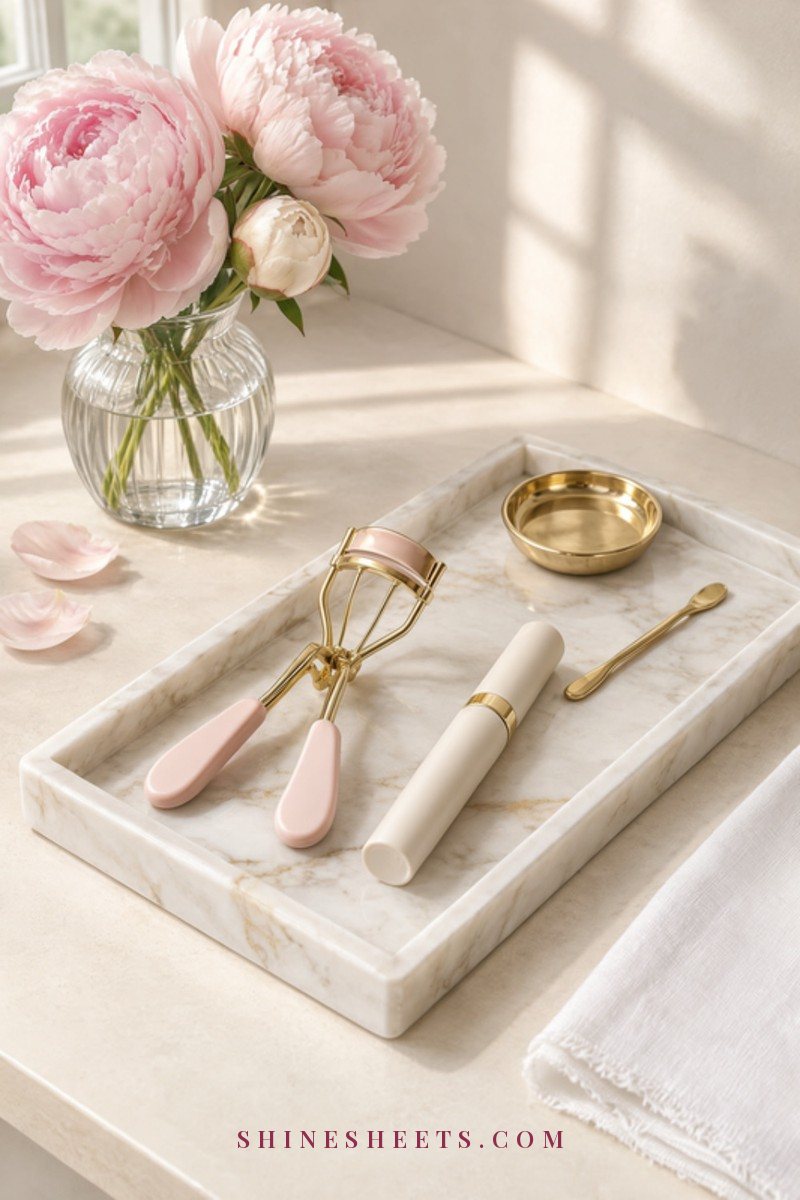
Curled lashes are a deep-set eye's best friend. Because your eyes sit back under the brow bone, straight lashes can get lost in the shadow or even brush against it. Lifting them opens up the whole eye.
- Use an eyelash curler on clean, dry lashes before mascara. Clamp gently at the base for 5 seconds, then move to the middle for 3 seconds for a natural curve.
- Apply a lengthening mascara starting at the roots, wiggling the wand slightly, then pulling up and out. Lengthening formulas are usually lighter than volumizing ones, so they hold the curl better.
- Focus extra coats on the outer lashes to lift and elongate the eye.
- Keep lower lashes light: one thin coat or none at all, so they don't add shadow under the eye.
Step 7: Brighten the Inner Corners
A tiny touch of light in the inner corners makes eyes look wider awake and more forward. Use a light shimmer or a pearl shade from your palette on a small pencil brush or your fingertip.
Place a little dot right in the inner corner, then blend it slightly along the inner third of the lower lash line. That's it. If you love glow, my guide on highlighter placement shows where else on the face a little shimmer helps balance a brighter eye look.
Lower Lash Line: Keep It Soft
Many people with deep-set eyes also have a little natural shadow under the eye. A heavy lower line can add to that and make eyes look smaller or more tired. Keep the lower lash line soft and mostly about the outer corner.
- Use the same mid-tone shadow from your crease, on a small smudge brush.
- Apply it only to the outer third of the lower lash line, as close to the lashes as possible.
- Connect it softly to the outer edge of your upper shadow so the look feels lifted.
- Leave the inner two-thirds bright with your inner-corner shade.
Easy Day and Evening Versions
The placement rules stay exactly the same from morning to night. Only the intensity changes, which means you never have to learn two different techniques.
- Five-minute daytime look. Primer, a satin champagne or warm beige shade pressed on the lid with a fingertip, a light sweep of soft taupe just above the crease, tightlined upper lashes, curler and one coat of mascara. That's enough to look rested and bright on video calls and in daylight.
- Soft evening look. Swap in a deeper toffee or soft brown above the crease and blend it a little further toward the outer corner, press a richer gold shimmer on the center of the lid, add a thin line of black liner with a tiny lifted flick and give the outer lashes a second coat.
- Old Hollywood glamour. Keep the lid luminous and neutral, define the upper lash line with a slightly longer flick and pair it with a classic red lip. The bright lid keeps the drama from overwhelming deep-set eyes.
Whichever version you choose, keep the brow bone matte and the lower lash line soft. Those two habits are what keep the eyes looking forward, even when the color gets deeper.
6 Mistakes To Avoid With Deep-Set Eyes
- Packing a dark shade deep in the crease. Your crease already sits in shadow, so dark color there sinks the eye further back. Lift the depth just above the crease instead.
- Putting shimmer on the brow bone. It highlights the most prominent part of your eye area and makes the lid look deeper by comparison. Keep the brow bone matte.
- Using dark shades all over the lid. A deep color over the whole mobile lid absorbs light and closes the eye. Keep the lid light and add depth around it.
- Drawing thick upper liner. It can cover what little lid space you see when your eyes are open. Thin and close to the lashes is more flattering.
- Lining the entire lower waterline dark. It frames the eye in shadow and makes it look smaller. Soft outer-third shadow does the job without the heaviness.
- Skipping primer and the lash curler. Without primer, shadow fades and creases in the deep crease line; without curled lashes, the eye looks more hidden. Both take less than a minute.
Eye Safety Basics
A few small habits keep your eyes comfortable and happy, whatever look you're wearing:
- Clean your brushes at least once a week with gentle soap and lukewarm water, and let them dry flat.
- Never share eye makeup, especially mascara and eyeliner. It's an easy way to pass bacteria around.
- Keep liner off the inner waterline if your eyes are sensitive, wear contact lenses or tend to water.
- Replace mascara every 3 months, even if it isn't empty, and throw it out sooner if it smells odd or flakes.
- Stop if anything stings or irritates. Remove the product with a gentle cleanser and give your eyes a break. If redness, swelling or discomfort doesn't settle, check in with a doctor or eye care professional.
- Remove everything before bed with a gentle makeup remover, using soft strokes rather than rubbing.
Final Thoughts
Deep-set eyes are already striking. The right placement just helps them catch the light they deserve: a bright lid, a soft lifted crease, a calm brow bone, thin liner and beautifully curled lashes.
Start with the makeup map, try it once with your everyday neutrals and then play with color from there. Your eyes don't need to be changed, only gently brought forward, and that's something you can do in five easy minutes.