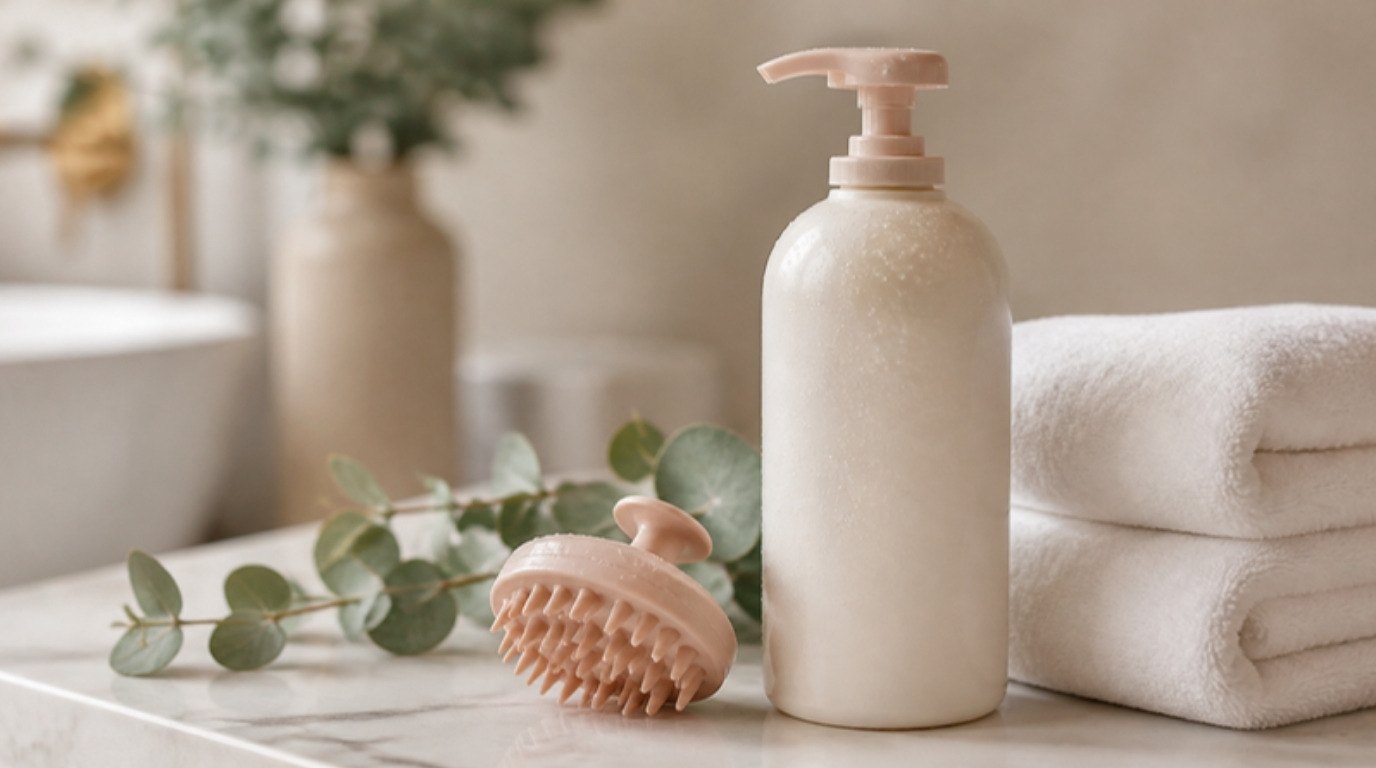
Hair that feels rough, dull and a little stubborn in January usually isn't ruined. Most of the time it's simply tired: coated in a few weeks' worth of hairspray and dry shampoo, dried out by back-to-back blowouts and curling sessions, and then sent out into cold air and overheated rooms. Tired hair responds beautifully to a short, calm reset. It doesn't need a cabinet full of new products or a dramatic chop.
The good news is that the first two weeks of the new year are the perfect window for it. The parties are over, the calendar is quieter, and your hair finally gets a break from the hot tools. A little consistency now does more than any miracle bottle ever could.
This guide walks you through a gentle January hair reset: how to tell whether your hair is tired or truly damaged, a simple table that matches what you're seeing to the right step, the seven-step reset in order, low-heat ways to dry your hair during the break, the heat protectant rules for when you pick up your tools again, and the moments when a dermatologist is the smarter call. It's short on purpose. You can start tonight.
Tired Hair or Damaged Hair? How To Tell the Difference

Before you do anything, it helps to know what you're working with, because tired hair and damaged hair need different amounts of patience.
Tired hair is mostly a surface problem. It feels heavy or waxy at the roots, looks flat even right after washing, tangles more than usual and has lost a bit of shine. It may feel dry at the ends, but when you run your fingers through it, it still feels like one smooth strand. Buildup and dehydration are the usual culprits, and both wash out and soak back in within a couple of weeks.
Damaged hair has changes inside the strand. Look for these signs:
- Ends that split into two or more little tails.
- Strands that snap when you comb them, leaving short broken pieces on your towel or brush.
- Hair that stretches like a rubber band when wet and doesn't bounce back.
- A straw-like, crunchy feel that doesn't soften even after conditioner.
- Ends that look see-through or frizz in a fuzzy halo no matter what you do.
Most holiday hair is a mix: tired lengths with a few damaged ends from the curling wand. That's completely normal, and the reset below handles both. If you're seeing mostly the damage signs over large sections of your hair, the reset is still a great start, and my longer six-week plan for fixing heat-damaged hair picks up where this one ends.
One quick test I like: take a single shed hair from your brush, hold both ends and gently pull. Healthy, tired hair stretches a little and then snaps cleanly. Hair that stretches far and then breaks, or breaks instantly with no stretch at all, is telling you it needs extra moisture and protein care, plus more patience.
Your January Hair Reset Table: Match the Sign to the Step
This is the heart of the reset. Find what you're noticing in the first column, then follow the row across. If two or three rows sound like you, start with the one closest to the top, since a clean scalp and clear strands make every later step work better. Screenshot it and keep it on your phone for the next two weeks.
| What you notice | What it usually means | Reset step | How long to try it |
|---|---|---|---|
| Heavy, waxy roots; flat even after washing | Styling product and dry shampoo buildup | One clarifying wash, then back to your gentle shampoo | One wash; repeat once after two weeks only if needed |
| Itchy or tight scalp, light flakes | Buildup, dry indoor air, very hot showers | Calm scalp check, lukewarm water, fragrance-light products | Two weeks; see a dermatologist if it doesn't settle |
| Dull, rough lengths with no shine | Lifted cuticle from heat and dryness | Two-week heat break plus a weekly mask | Two weeks, two masks |
| Dry, tangly ends | Dehydration and friction | Leave-in conditioner on damp ends, wide-tooth comb | Every wash for two weeks |
| Frizz and tangles in the morning | Friction from cotton pillowcases and tossing | Silk or satin pillowcase, loose sleep hair | Every night; you'll often notice it in days |
| Split ends that catch on your fingers | Mechanical damage that can't be glued back | A small trim (often a quarter to half inch) | Once, after the two-week reset |
| Lots of broken short pieces, gummy wet feel | Deeper heat or chemical damage | Full reset, then a longer repair plan | Six weeks or more; ask your stylist |
| Sudden shedding in clumps or patches | Something beyond styling | Pause new products and see a dermatologist | Book an appointment rather than waiting it out |
Notice that nothing here asks you to buy ten things. Most rows come down to doing a little less to your hair and being a little gentler with it.
The 7-Step January Hair Reset, in Order
These steps are listed in the order I'd do them. The first two happen on day one, the next four become your routine for two weeks, and the last one is a decision you make at the end. You don't need a new routine every day. You need the same small, kind things repeated.
Step 1: Do One Clarifying Wash

Weeks of hairspray, texture spray, shine serum and dry shampoo leave a film on your strands that blocks moisture from getting in. That film is why masks seem to "do nothing" in late December. A single clarifying wash lifts it off so everything afterward can actually work.
Here's how I'd do it:
- Wet your hair completely with lukewarm water (not hot) for a full minute.
- Work a small amount of a gentle clarifying shampoo into your scalp only, with your fingertips, not your nails, for about 60 seconds.
- Rinse, and let the suds run through your lengths on the way down. Your ends don't need to be scrubbed.
- Repeat once if your roots still feel coated.
- Follow with your usual conditioner from the mid-lengths to the ends and leave it on for two to three minutes.
Then go back to your regular gentle shampoo. Clarifying is a reset button, not a daily habit, and too much of it can leave hair feeling squeaky and dry. If your hair is color-treated, look for a formula that says it's safe for color, or ask your colorist before you clarify. My guide to when and how to use clarifying shampoo covers hard water, color and how often is too often.
Step 2: Give Your Scalp a Calm Check

Your scalp is where new hair starts, and after a season of tight hairstyles, dry shampoo and hot showers, it deserves a quiet look. After your clarifying wash, while your hair is still damp, part it in a few places and notice how it looks and feels.
- Calm and comfortable: no redness, no itch, maybe a little dryness. Lovely. Just keep your water lukewarm.
- Tight and slightly flaky: often dry winter air plus hot water. Turn the temperature down, skip heavily fragranced products for two weeks and give it time.
- Red, sore, very itchy or with thick, greasy flakes: this is beyond a reset. Make a note of it and see a dermatologist rather than piling on scalp products.
A gentle two-minute fingertip massage while you shampoo is a nice ritual during the reset. Keep the pressure light and slow, and use the pads of your fingers. And if you try any new scalp product this month, patch test it first: dab a little behind your ear or on your inner arm and wait a day to see how your skin reacts.
Step 3: Take a Two-Week Heat Break
This is the step that makes the biggest difference and costs nothing. For fourteen days, put the flat iron, curling wand and hot brush away. Out of sight genuinely helps, so tuck them into a drawer or a basket in the closet.
Why two weeks? It's long enough for you to see and feel a real change in shine and softness, and short enough that it doesn't feel like a punishment. Heat lifts the outer layer of the hair strand, and every pass of a hot tool makes it a little rougher. When you stop adding heat, your conditioner and mask can finally smooth that layer down instead of fighting the next styling session.
A small honest admission: the first few days without my tools always feel a bit undone. Then, somewhere around day five, my hair starts looking softer in a way no styling product ever gave me. If you have an event you can't skip, use the lowest heat setting on just the front pieces and get straight back to the break the next day. One exception doesn't cancel the reset.
Wondering how to dry your hair during the break? There's a whole section on that below.
Step 4: Add One Weekly Hair Mask

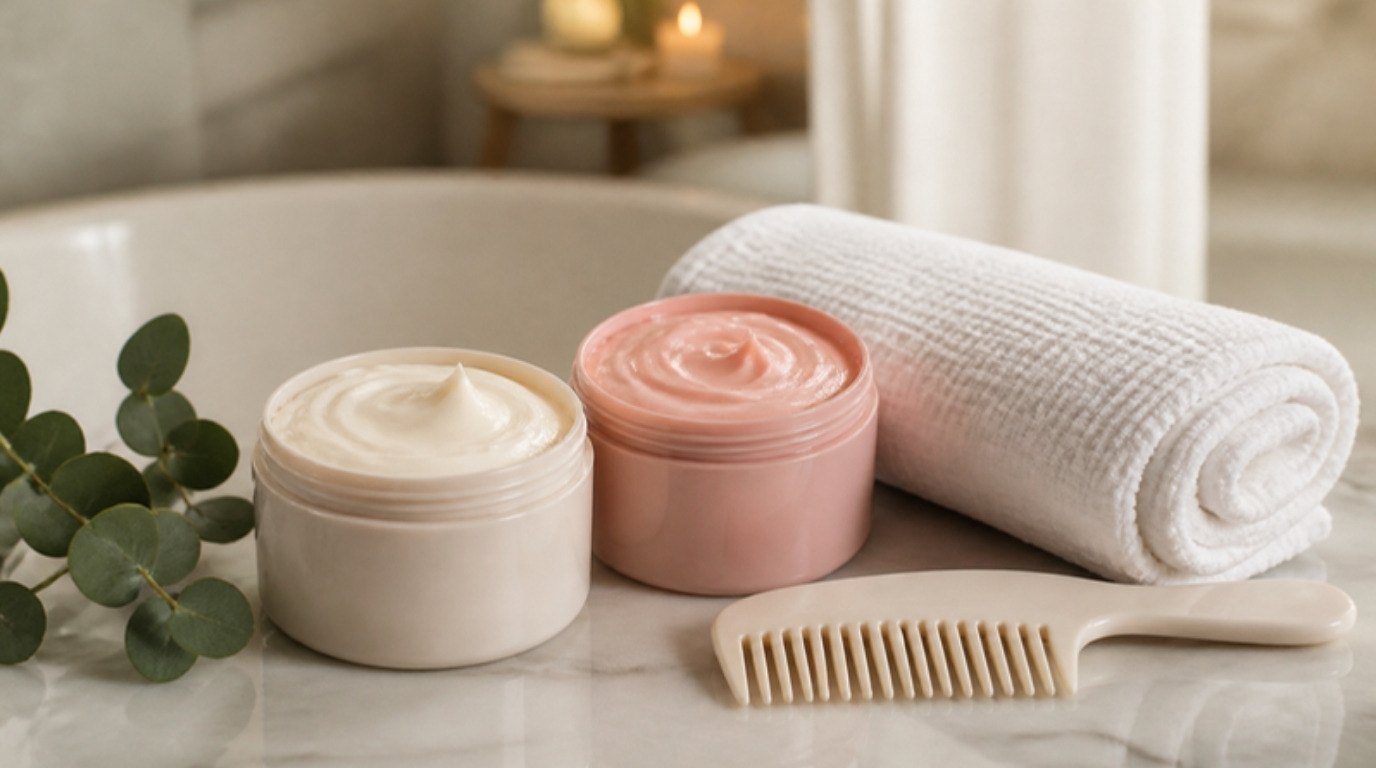
Once a week, swap your regular conditioner for a mask. During a two-week reset, that's just two masks, which is a very doable commitment.
The method matters more than the jar:
- Wash as usual and gently squeeze out the water with your hands, then with a towel. A mask slides off soaking wet hair.
- Apply a walnut-sized amount (more for long or thick hair) from the mid-lengths to the ends. Keep it off your roots if they get oily easily.
- Comb it through with a wide-tooth comb so every strand is coated.
- Leave it on for as long as the label suggests, usually five to ten minutes. Longer doesn't always mean better.
- Rinse with cool-to-lukewarm water until your hair feels slippery, not coated.
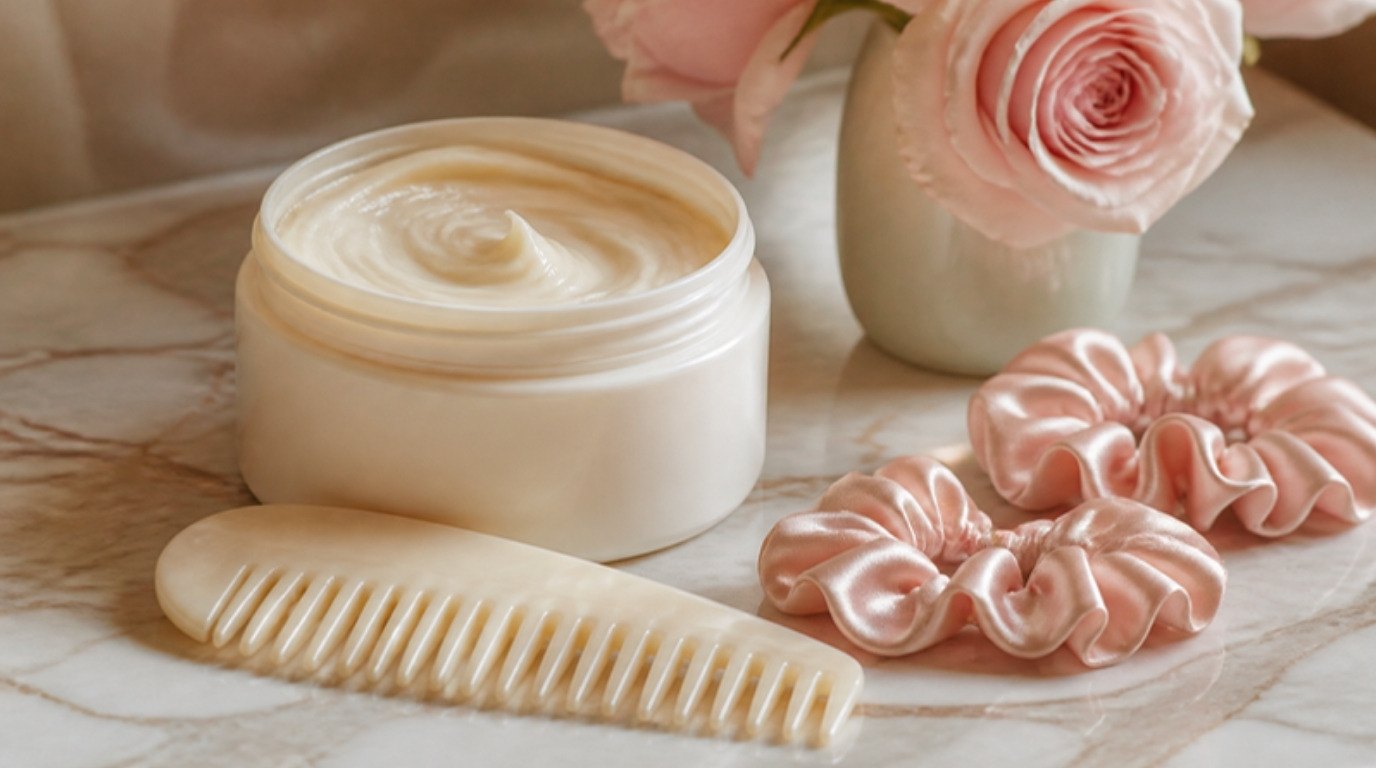
For tired holiday hair, I'd choose a rich cream hair mask with moisturizing ingredients like shea butter, oils or glycerin. If your hair is lightened, fragile or snaps easily, a mask with a little protein can help too, but alternate rather than using a strong protein mask every week, since too much can leave hair stiff. My guide to choosing the right hair mask and how often to use it goes deeper on moisture versus protein.
Step 5: Use Leave-In Conditioner on Damp Ends
Your ends are the oldest part of your hair. They've been through every blowout, every curl and every winter, so they need a little extra help between washes. A leave-in conditioner adds slip, softens the cuticle and makes detangling far gentler.
After every wash during the reset:
- Squeeze your hair gently with a towel until it's damp, not dripping.
- Mist or smooth a lightweight leave-in conditioner onto the bottom third of your hair. Two or three sprays or a pea-sized amount of cream is usually plenty for shoulder-length hair.
- Detangle from the ends upward with a wide-tooth comb, holding the hair above the knot so you're not pulling at your scalp.
- Let your hair dry the low-heat way (more on that soon).
Choose a light formula if your hair is fine, since heavy creams can make fine hair look flat by the next day. Thick, coarse or curly hair can usually take a richer cream.
Step 6: Switch to a Silk or Satin Pillowcase

You spend hours every night moving your head against your pillow, and a cotton pillowcase gently grabs at the hair with each turn. That friction is one reason ends tangle and frizz overnight, especially when they're already dry.
A smooth surface lets hair glide instead of catching. An ivory silk pillowcase is a lovely choice; look for mulberry silk with a weight of around 19 to 22 momme for a good balance of softness and durability, and an envelope closure so the pillow stays put. Satin (a polyester weave) gives a similar smooth feel for less money and is easier to wash. Either one works for the reset.
Two more small nighttime habits help: make sure your hair is fully dry before bed, and keep it loose or in a soft, non-tight scrunchie instead of a tight elastic. If you're curious whether silk is worth it for your skin too, here's my take on silk pillowcase benefits.
Step 7: Book a Small Trim If Your Ends Still Snag
At the end of the two weeks, run your fingers down a few sections of hair and look closely at the tips in good daylight. If your ends feel soft and you can't see any splits, wonderful. You don't need a trim yet.
If they still catch on your fingers, look forked or feel crunchy even after two masks, a small trim is the kindest next step. Split ends can't be glued back together by any product, and left alone, a split tends to travel further up the strand. Taking off a quarter to half an inch often removes the worst of it and makes the rest of your hair look instantly healthier.
A gentle script for the salon: "I've been doing a heat break and my ends feel much better, so I'd like to keep my length and just take off the damaged tips." Stylists love a clear brief.
Low-Heat and Air-Dry Ways To Dry Your Hair During the Break

The heat break doesn't mean walking around with wet hair in the cold. It means choosing the gentlest way to get from wet to dry. Here's what works well in winter:
- Blot, don't rub. Rough towel-drying roughs up the cuticle. Squeeze sections gently with a soft towel or a microfiber hair towel wrap for 10 to 15 minutes to take out most of the water first.
- Wash earlier. Evening washes give hair a few hours to air-dry before bed. Morning air-drying in January is tough, especially if you're heading outside.
- Use your dryer's cool or low setting. If you need a dryer, hold it about six inches away, keep it moving and stop when your hair is about 90 percent dry. Let the last bit finish on its own.
- Never go outside with wet hair in freezing weather. Wet hair is more fragile, and cold wind makes it brittle. Dry your roots at least.
- Keep your hands off while it dries. Touching and twisting damp hair adds frizz. Detangle once, then leave it alone.
Air-dried hair might look a little softer and less polished than your holiday blowout. That's the point: it's resting. For other cold-weather annoyances like static and hat hair, my winter hair care quick fixes are a good companion to this reset.
Heat Protectant Rules for When You Style Again

Two weeks in, your hair feels softer and shinier, and you'll probably want your tools back. That's fine. The goal of the reset isn't to quit heat forever, it's to come back to it in a way that keeps the results. These are the rules I'd follow:
- Always use a heat protectant. Spray or smooth a heat protectant spray evenly over every section before any hot tool, including your blow dryer on a warm setting.
- Use the lowest temperature that works for your hair. Start at the lowest setting and go up only if your hair won't hold the shape. Fine, lightened or fragile hair usually needs much less heat than thick, coarse hair. Higher heat isn't faster if you have to repair it later.
- Only style completely dry hair with irons and wands. If you hear a sizzle or see steam, stop. That's water boiling inside the strand.
- One pass is better than five. Take smaller sections so a single slow pass does the job.
- Space it out. Try two or three heat-free days between styling days if you can.
- Keep masking every week. The weekly mask is the habit worth keeping long after January.
A heat protectant reduces damage rather than preventing all of it, which is why the temperature rule matters just as much. My full guide on how to use heat protectant the right way covers sprays versus creams and how much to use for your hair length.
What Your Hair Should Feel Like After Two Weeks

It helps to know what "working" looks like so you don't give up on day six. Every head of hair is different, but here's a realistic picture:
- Days 1 to 3: roots feel lighter and cleaner after clarifying. Lengths may feel a little dry until the first mask and leave-in settle in.
- Days 4 to 7: fewer morning tangles, especially with the silk or satin pillowcase. Hair may look flatter without hot tools, and that's okay.
- Days 8 to 14: softer, smoother lengths, more natural shine and easier combing. Your ends will tell you whether a trim is needed.
What a reset won't do: it won't repair deep damage in two weeks, change your hair type or make split ends disappear. If your hair still feels gummy, snaps easily or looks very different from usual after the reset, it's time for a longer, slower plan and a conversation with your stylist.
When To See a Dermatologist Instead
A post-holiday reset is about styling stress. Some hair and scalp changes have nothing to do with styling, and they deserve proper attention rather than another product. Please book an appointment with a dermatologist if you notice:
- Sudden shedding, hair coming out in clumps or new thin patches.
- An itchy, flaky or red scalp that doesn't settle after two weeks of gentle care.
- Pain, bumps, sores or burning on your scalp.
- A strong reaction to a new product, like swelling or a rash. Rinse it out and stop using it.
Shedding has many possible causes, and a dermatologist can look at the whole picture. There's no need to guess or wait it out alone.
Final Thoughts
Your hair worked hard over the holidays, and so did you. A January hair reset is really just a way of saying thank you: one clean start, a few weeks of gentleness and fewer hot tools, and the small habits that keep it soft.
Make yourself a cup of evening tea, put a mask in your hair once a week and let the new year begin a little slower. Soft, shiny hair is usually the result of quiet consistency, and you're already on your way.