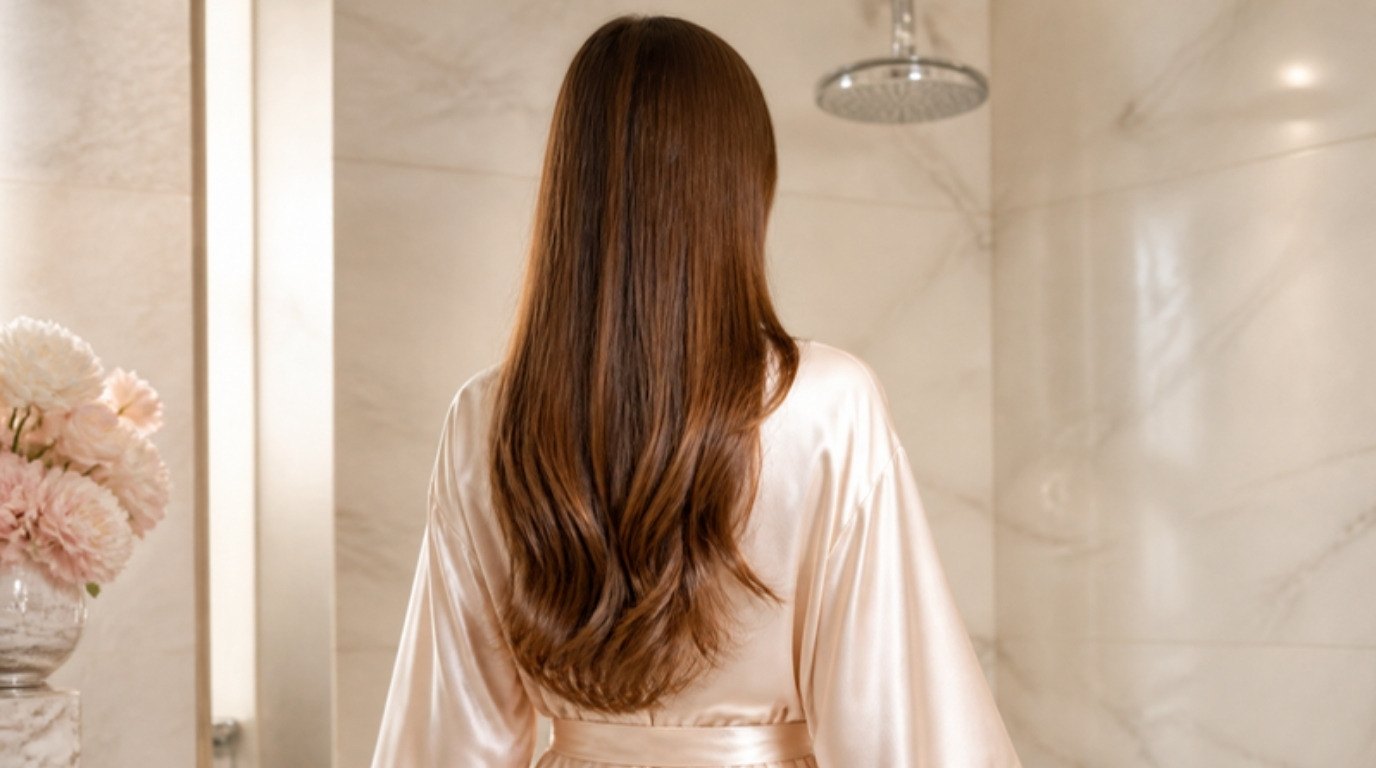
Heat-damaged hair can't truly heal, and I'd rather tell you that now than sell you a miracle. Hair is no longer living once it leaves your scalp, so a strand that's been scorched by a flat iron stays scorched. What you can do is a lot, though: stop the damage from traveling further up, make the existing lengths feel softer and look shinier, and grow in healthy hair that you protect from day one.
That's the honest promise of a repair plan. It's less "rescue" and more "rehab": a few weeks of consistent, gentle care that changes how your hair feels in your hands, followed by smarter habits so you don't end up here again.
This guide on how to fix heat-damaged hair covers the signs of heat damage, a 6-week repair plan you can follow week by week, every step explained in detail, heatless styling while you recover, a temperature guide for when you pick up your tools again and when it's worth seeing a stylist or dermatologist.
Can Heat-Damaged Hair Really Be Fixed?
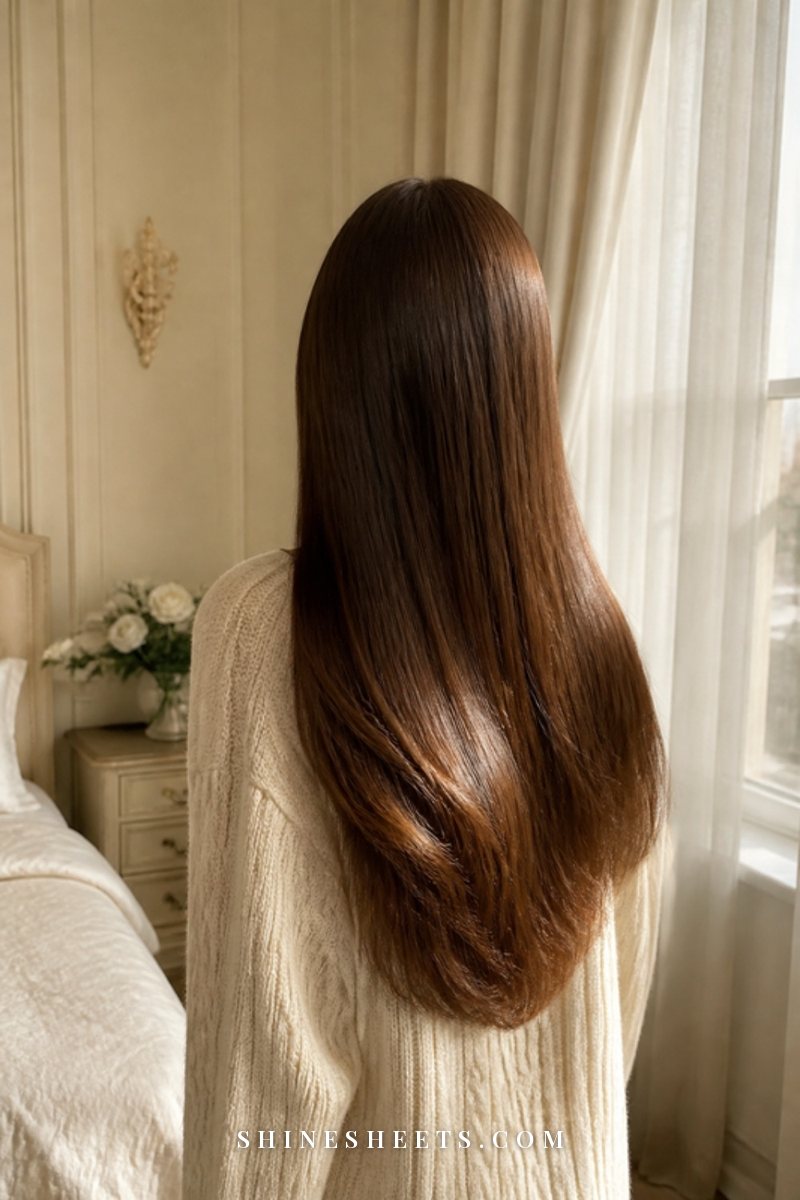
Each strand of hair has a protective outer layer called the cuticle, made of overlapping scales a bit like roof shingles. When those scales lie flat, hair reflects light and feels smooth. High heat, especially repeated passes with a hot iron on hair that isn't fully dry, lifts and cracks the cuticle and weakens the protein structure inside. Water trapped in the strand can even turn to steam and leave tiny bubbles.
Once that structure is damaged, no product rebuilds it permanently. But good care can temporarily smooth the cuticle, fill in rough spots, reduce friction and make hair far less likely to snap. Combine that with trimming the worst ends and protecting the new growth, and over a few months the damaged part becomes a smaller and smaller share of your hair.
So, realistic expectations: in six weeks you can have hair that feels noticeably softer, tangles less and looks healthier. Fully healthy hair from root to tip takes as long as it takes to grow out, and that's okay.
Signs Your Hair Has Heat Damage
Heat damage tends to show up gradually, so it's easy to blame the weather or your shampoo. Here are seven common signs:
- Split ends that keep coming back soon after a trim, often with white dots or frayed tips.
- Rough, straw-like texture, especially on the lengths you straighten or curl most.
- Frizz that won't settle, even right after conditioning.
- Bubbled or crinkly sections where hair looks kinked or brittle in one spot (often from ironing damp hair).
- A loss of natural wave or curl pattern, with some sections hanging straight while the rest of your hair still bends.
- Breakage: short snapped pieces around your face or crown, or lots of little bits in your brush.
- Dullness and color that fades faster than usual.
If breakage is your main worry, my guide to hair breakage goes deeper into the other causes, from tight elastics to rough brushing.
What Causes Heat Damage in the First Place
Understanding the cause makes the repair plan feel a lot more logical, and it helps you avoid sliding back into the same habits later. Heat damage rarely comes from one bad day. It usually builds up from a mix of these:
- Temperature that's simply too high. Many tools default to their hottest setting, which is far more than most hair needs.
- Styling hair that isn't fully dry. Ironing damp hair heats the water inside the strand, which is what causes that bubbled, crinkly texture.
- Multiple passes over the same section. Five quick passes do more harm than one slow, even pass at a lower heat.
- Daily heat with no rest days. Hair never gets a chance to hold on to moisture between sessions.
- Skipping heat protectant. Even on "just a quick touch-up" days.
- Heat on top of color or bleach. Lightened hair is already more porous, so it reaches its limit faster.
It took me a while to accept that my hair didn't need the hottest setting to look polished. Most of the time, a lower temperature and a little more patience gives exactly the same result.
Your 6-Week Heat Damage Repair Plan
Here's the heart of this guide: a simple six-week plan. It's designed so that each week adds one or two new habits rather than changing everything at once. Screenshot it and keep it near your shower.
| Week | Main focus | What to do |
|---|---|---|
| Week 1 | Trim and reset | Book a trim to remove the most damaged ends. Start a full heat break. Switch to a microfiber towel and gentle detangling. |
| Week 2 | Strengthen | Start a bond-building treatment as directed on the label. Add a leave-in conditioner after every wash. |
| Week 3 | Moisture | Add a weekly deep-conditioning mask (10–20 minutes). Seal ends with 1–3 drops of oil. |
| Week 4 | Protect while you sleep | Switch to a silk or satin pillowcase. Loosely tie hair up at night with a soft scrunchie. |
| Week 5 | Check in | Notice texture, tangles and breakage. Keep the routine. Try heatless styling if you miss shape. |
| Week 6 | Reintroduce heat carefully | If you return to hot tools, use heat protectant every time, the lowest temperature that works for your hair type and one pass per section. |
How do you know it's working? Around week three or four, most people notice that hair tangles less after washing, ends feel less scratchy against the neck and there are fewer short broken pieces in the brush. Shine usually comes back next. If nothing has changed by week six, a stylist can help you figure out whether more needs to be trimmed.
After week six, keep the weekly mask and the protective habits going. Plan your next trim for about 8–12 weeks later to keep chipping away at any remaining damage.
The Repair Steps in Detail
Here's how to do each part of the plan well. Nine steps, all gentle, none of them complicated.
1. Trim the Damaged Ends
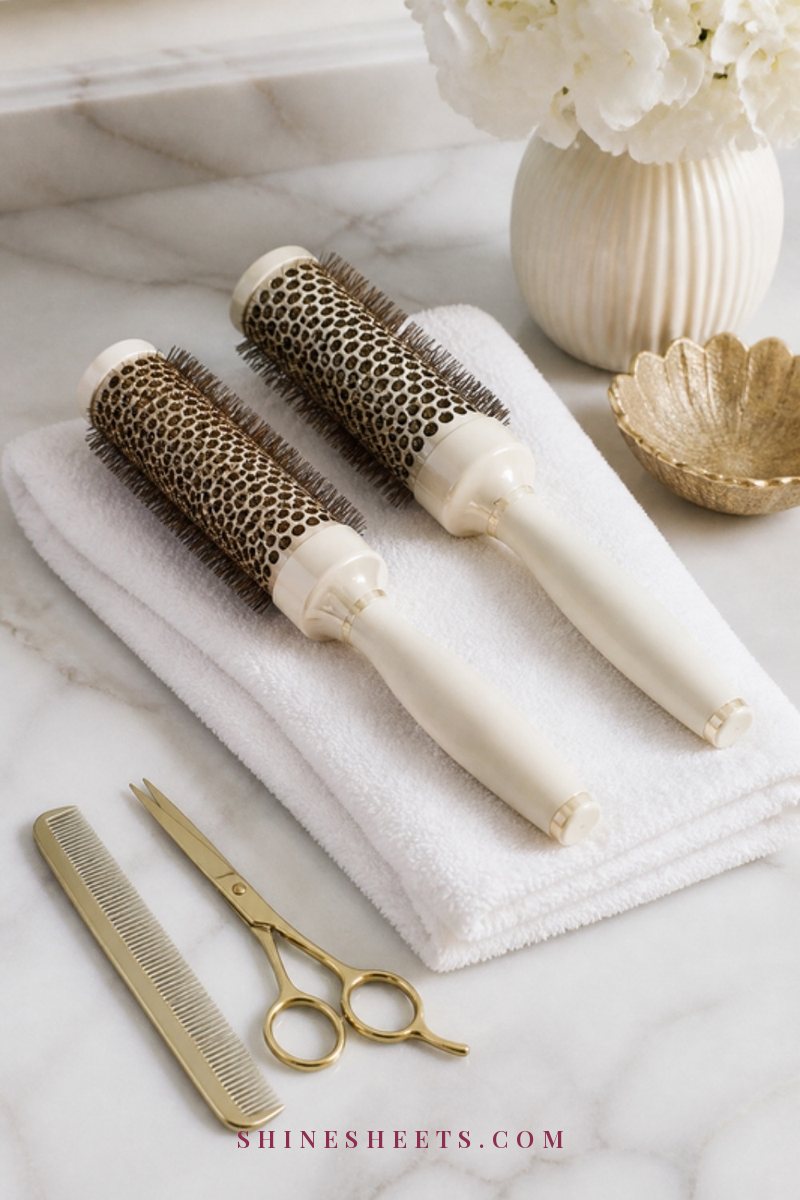
I know, nobody wants to hear it. But split ends don't stop at the tip; left alone they can travel further up the strand. A trim is the only thing that actually removes damage. You don't have to chop everything: ask your stylist for a "dusting" or a trim that takes off only the most frayed part, often a half inch to two inches. If your damage is mostly scattered splits, my guide on how to fix split ends explains how to handle them between appointments.
2. Take a Heat Break (or Turn It Down)
The single biggest repair step is simply giving your hair a rest. Aim for at least two to four weeks without flat irons and curling irons. If you must blow-dry, let your hair air-dry about 80 percent first, use the cool or low setting and keep the dryer moving. If a full break isn't realistic for your life, lower the temperature on every tool and cut the number of heat days per week in half. That counts too.
A heat break can feel strange at first, especially if you're used to smoothing every strand before you leave the house. Give it a week. Many people find their hair has more natural movement and softness than they remembered once it's not being pressed flat every morning.
3. Use Heat Protectant Every Single Time
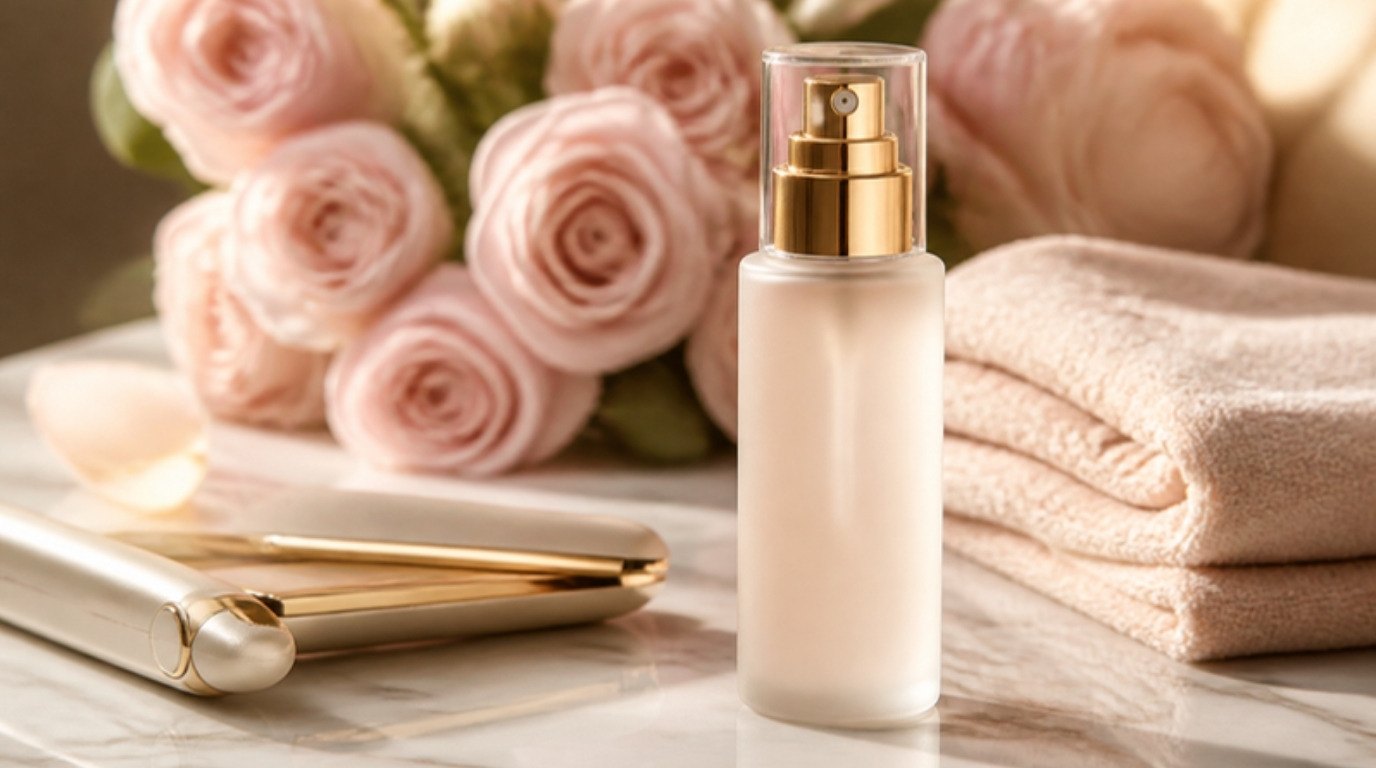
Heat protectant isn't a magic shield, but it reduces how much damage each session does. Mist it evenly over damp hair before blow-drying, and over dry hair before irons, then comb it through so every section is coated. A lightweight heat protectant spray that also tames frizz is a good pick for most hair types; look for one that lists its heat rating on the bottle. My heat protectant guide covers how to choose one for your hair.
4. Add a Bond-Building Treatment
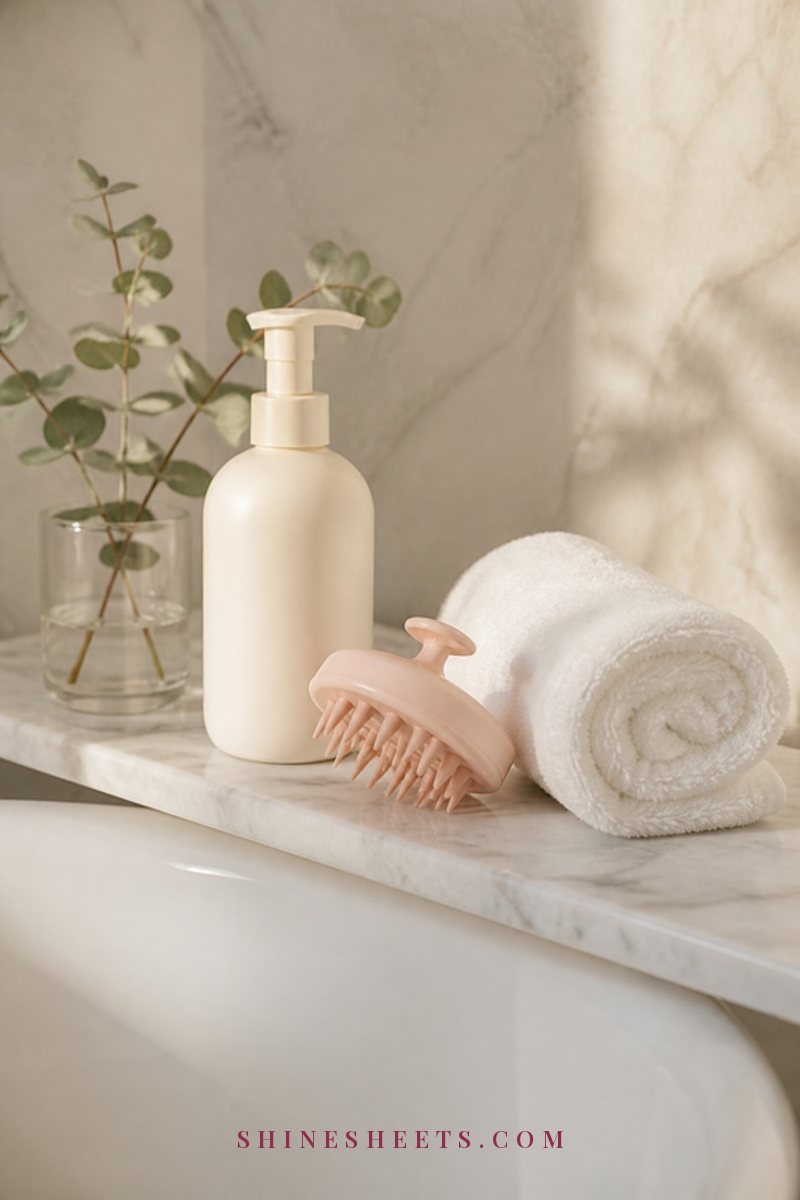
Bond-building treatments are designed to support the internal structure that heat and bleach break down. They won't make damage disappear, but many people find hair feels stronger and snaps less after a few weeks. A best-selling bond repair treatment is a smart pick here. Follow the label exactly: most are used once a week, applied to damp hair before shampoo or after washing, and left on for a set time. More isn't better with these.
5. Deep Condition Once a Week
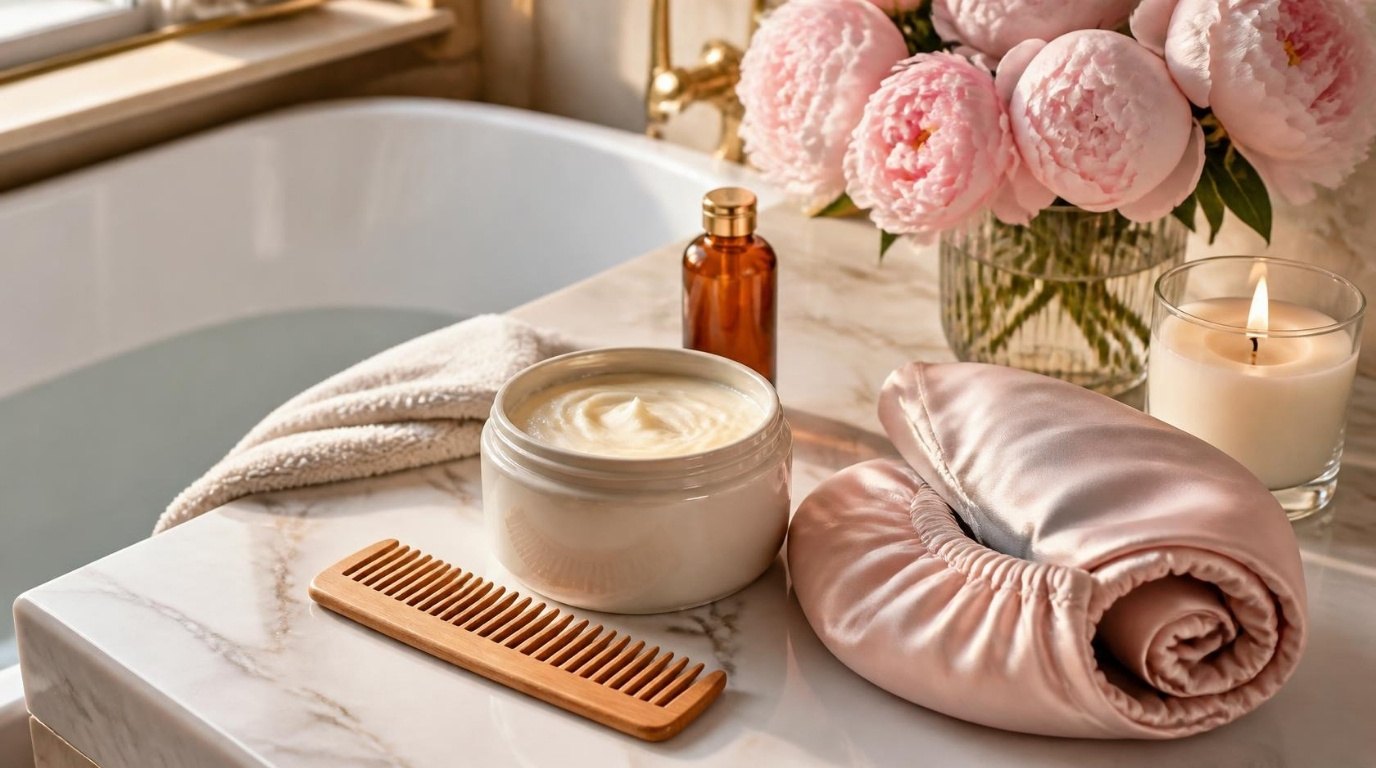
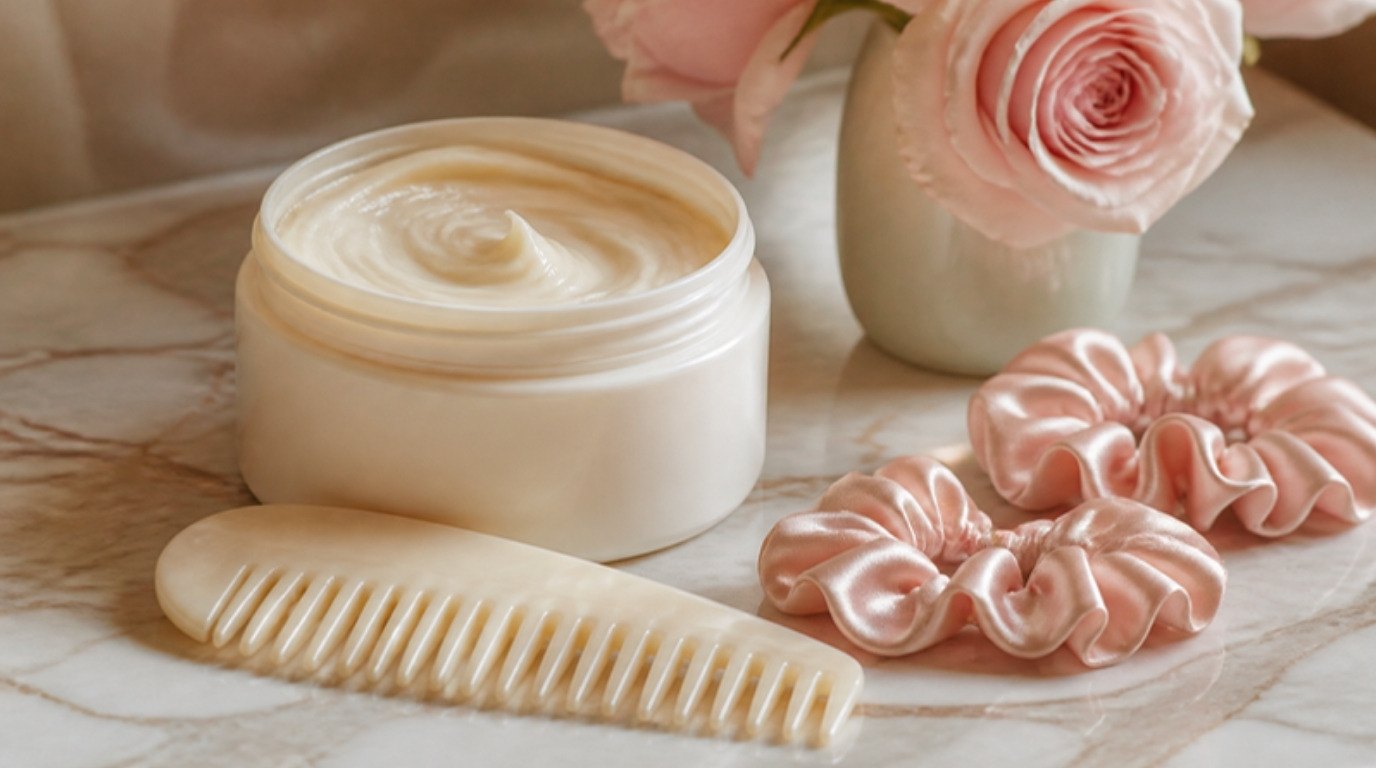
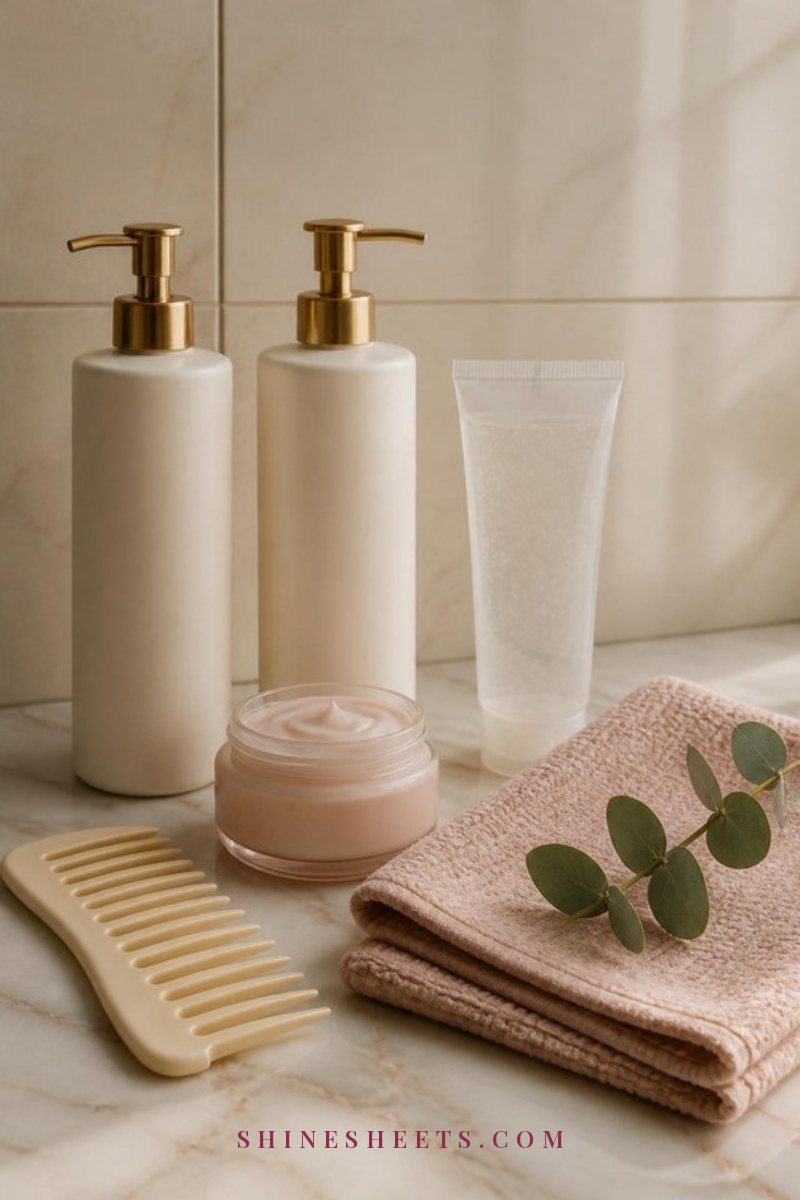
Damaged hair loses moisture fast, so a weekly mask makes a visible difference. After shampooing, squeeze out excess water, apply a deep conditioning hair mask from mid-lengths to ends, comb it through and leave it on for 10 to 20 minutes. A warm towel wrapped over a shower cap helps it sink in. Rinse with lukewarm water, then finish with a cool rinse for extra smoothness. For more ideas, see my guide to hair masks.
6. Seal With Leave-In and a Few Drops of Oil
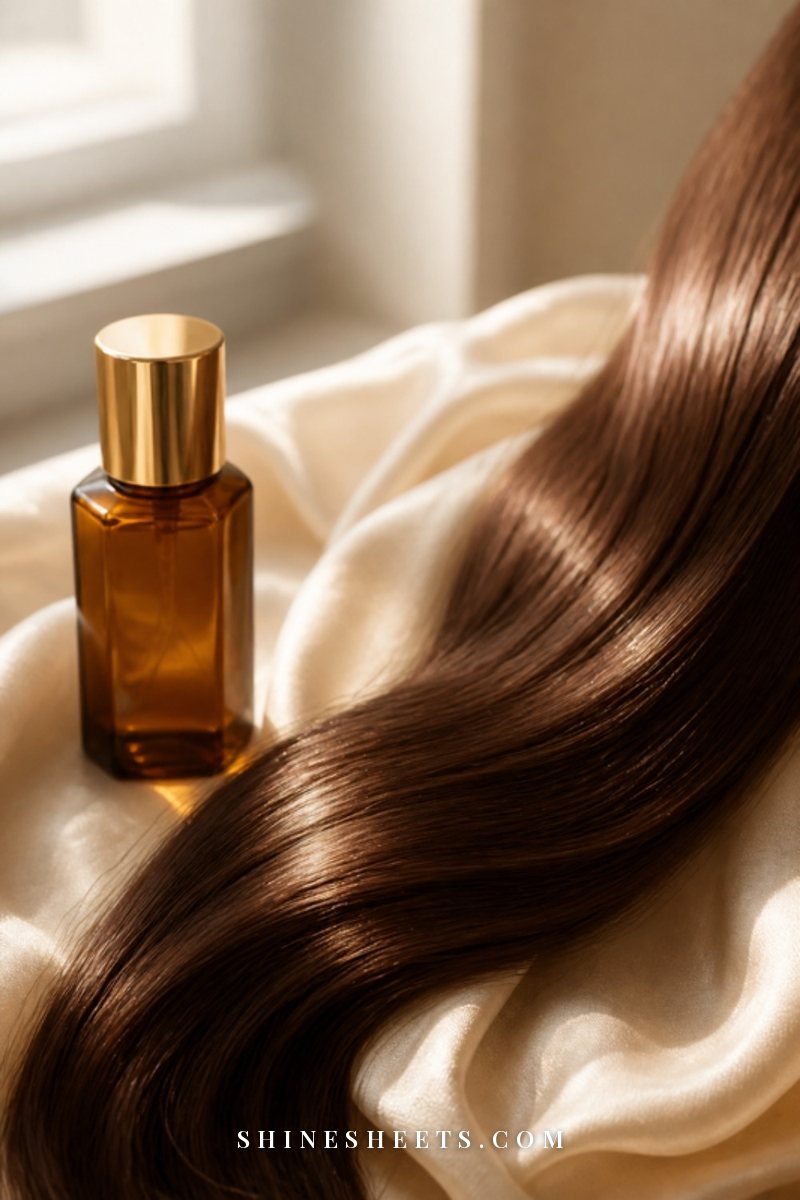
Leave-in conditioner is your daily softener and detangler. Spray a leave-in conditioner spray over towel-dried lengths, then comb it through. Once your hair is almost dry, rub one to three drops of a light hair oil between your palms and press it onto the very ends. That's it: too much oil just looks greasy and can weigh fine hair down.
If you have a sensitive scalp, keep leave-ins and oils on the lengths, and patch test a new product on a small area of skin first.
7. Detangle Gently
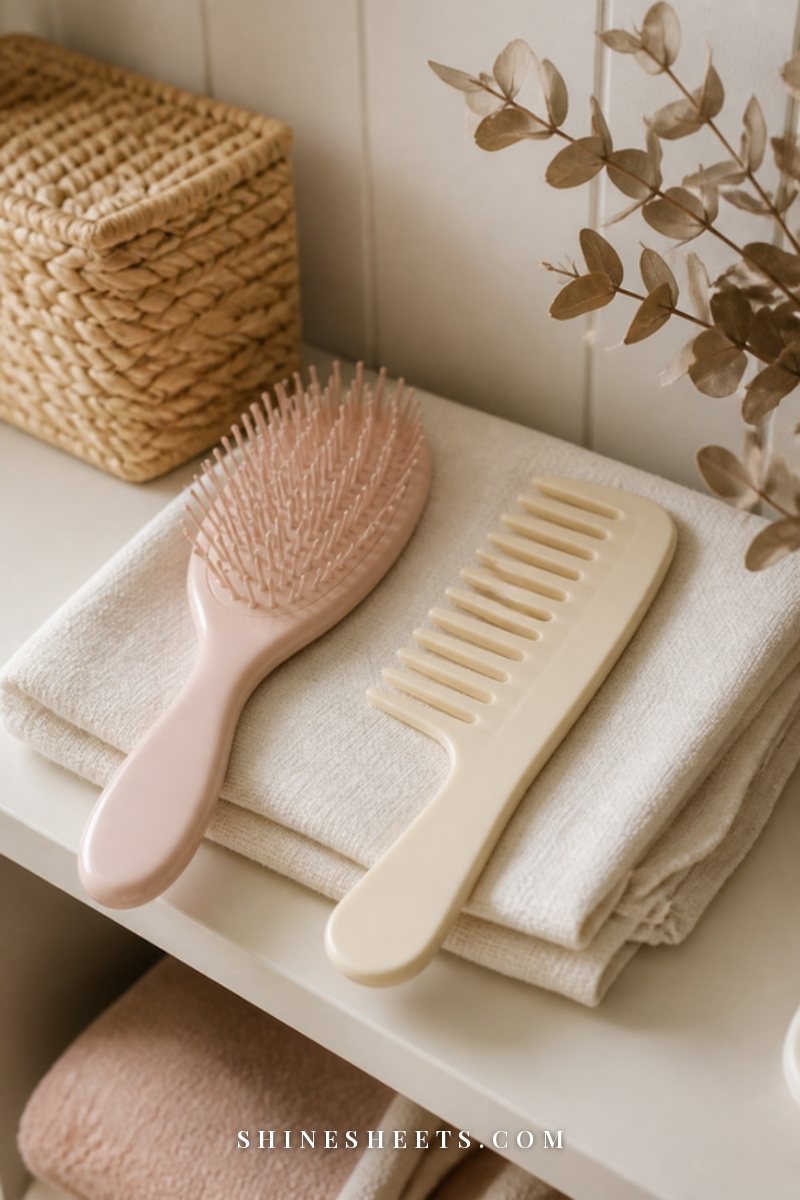
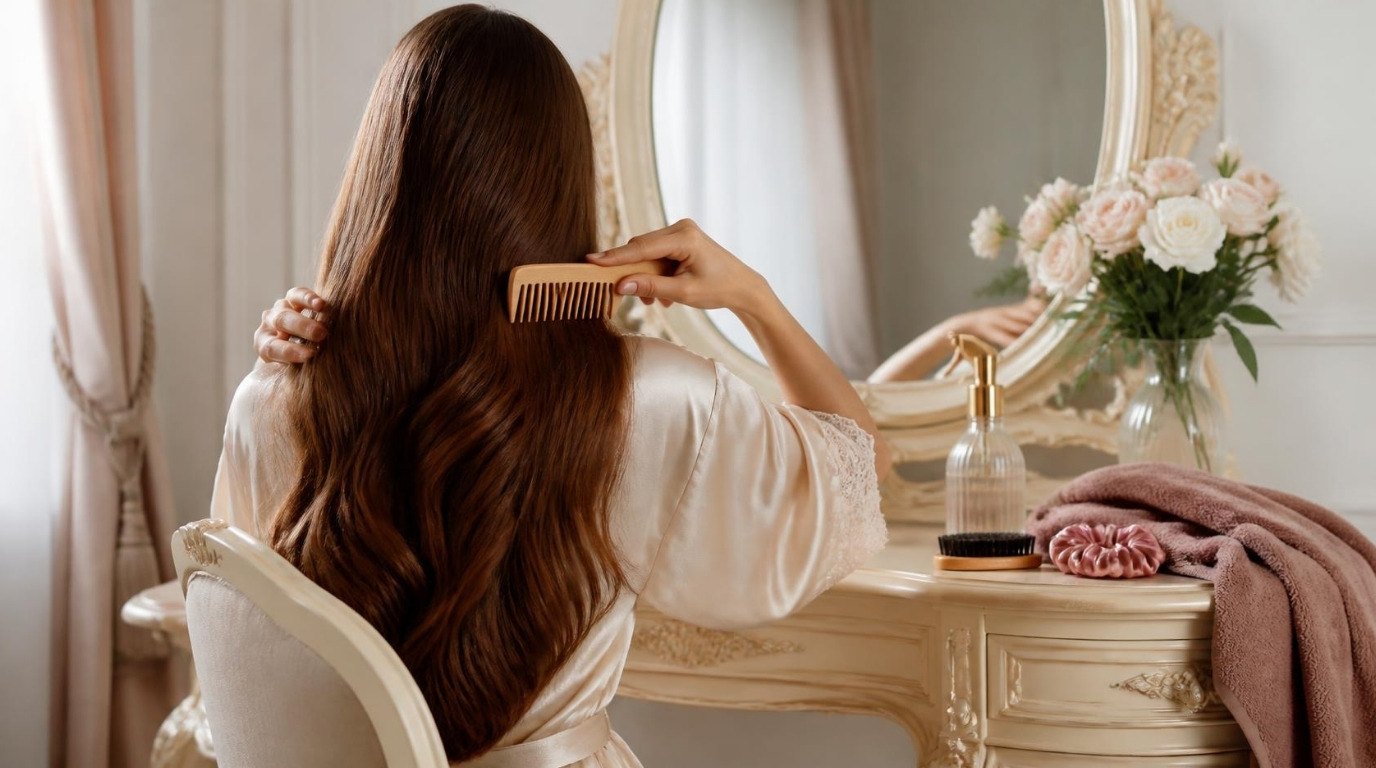
Damaged hair snaps easily when wet, so detangling is where a lot of extra breakage happens. Detangle with conditioner still in your hair, using a wide-tooth comb. Start at the ends and work up in small sections, holding the hair above the knot so you don't pull on the roots. Never rip through a tangle; work it loose with your fingers first. On dry hair, a soft brush is fine, but go slowly.
8. Swap Your Towel and Pillowcase

Two easy swaps reduce friction all day and all night. First, stop rubbing your hair with a regular bath towel; gently squeeze it with a microfiber hair towel wrap instead. Second, sleep on a cream silk pillowcase, which lets hair glide rather than catch as you move. I've written more about silk pillowcase benefits if you're curious whether it's worth it.
9. Choose Loose, Gentle Styles
While your hair recovers, skip anything that pulls tight, like tight elastics or very tight clips. Choose soft scrunchies or fabric ties, change where you place them every day and let your hair down whenever you can. Rough, brittle strands appreciate as little tension as possible.
The same goes for wet hair: tying it up while it's soaking can stretch and strain it, so let it dry at least partly first. And if you work out, a loose, low tie and a gentle rinse or a little dry shampoo afterward are kinder than another full wash and blow-dry.
A Simple Wash Day Routine for Heat-Damaged Hair
All of these steps come together on wash day. Here's the order I'd follow, start to finish, once your plan is fully up and running:
- Detangle dry hair first with your fingers or a wide-tooth comb, so knots don't tighten in the shower.
- Apply your bond treatment if your product is a pre-shampoo type, and leave it on for the time on the label.
- Shampoo the scalp only with lukewarm water. Let the suds run down the lengths rather than scrubbing them.
- Mask or condition from mid-lengths to ends. On mask day, leave it on for 10 to 20 minutes; on other days, two to three minutes of conditioner is enough.
- Comb through gently while the conditioner is still in, ends first.
- Rinse with cool water for the last few seconds.
- Squeeze, don't rub, with a microfiber towel for five to ten minutes.
- Leave-in, then oil on the ends once hair is almost dry.
Most people with heat damage do best washing two to three times a week, but your scalp gets a vote too. If it gets oily fast, wash it more often and simply keep the conditioning focused on the lengths.
Mistakes That Slow Down Repair
Even with a good plan, a few common habits can quietly undo your progress. Watch out for these five:
- Piling on every product at once. Layering a mask, a treatment, two leave-ins and a serum can leave hair limp and coated. Stick to the plan and add one thing at a time.
- Overdoing protein. Bond and protein treatments help, but too many can make hair feel stiff and brittle. If your hair starts feeling crunchy, focus on moisture for a week.
- Washing with very hot water. Lukewarm water is gentler on an already lifted cuticle.
- Brushing hair straight out of the shower. Wet, damaged hair stretches and snaps. Comb gently with conditioner in, or wait until it's partly dry.
- Giving up after two weeks. Most people notice the real difference around weeks four to six. Consistency matters more than any single product.
If you've slipped on any of these, nothing is ruined. Just pick the plan back up from where you are.
Heatless Styling While You Repair
A heat break doesn't mean you have to give up shape and polish completely. A few easy heatless options:
- Overnight soft waves with a satin heatless curling rod or a loose braid, set on slightly damp (not wet) hair.
- Smooth air-drying: apply leave-in, comb hair in the direction you want it to fall and let it dry without touching it.
- Volume at the roots by clipping the crown up loosely with soft clips while it dries.
For step-by-step guidance, my guide to heatless curls overnight walks you through it.
Heat Styling Temperature Guide by Hair Type
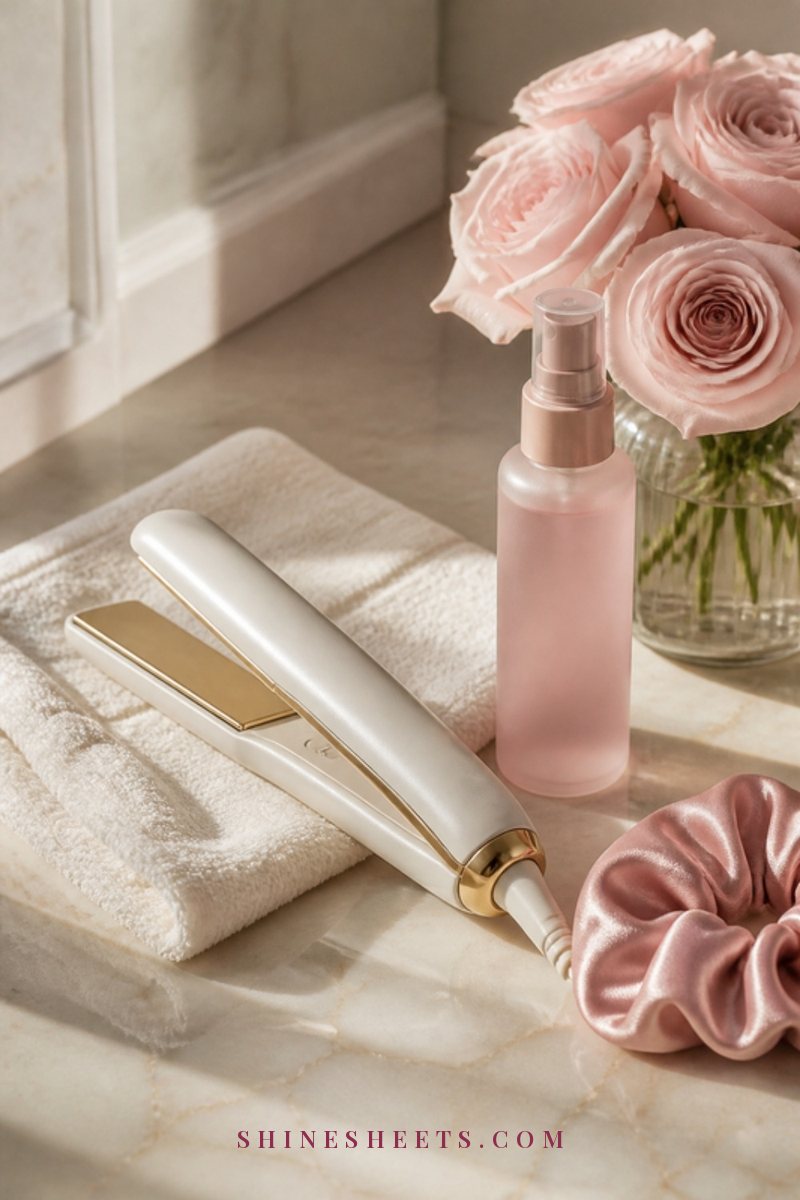
When you go back to hot tools, the goal is the lowest temperature that gets the job done in one pass. These are general guidelines, not strict rules, so always start lower and only go up if your hair doesn't hold the shape:
| Hair type | Suggested max temperature | Notes |
|---|---|---|
| Fine, thin or already damaged | Around 300°F | Start lower if you can. One slow pass per section. |
| Color-treated or bleached | Around 300–330°F | Lightened hair is more fragile; protectant is a must. |
| Medium or normal | Around 350°F | Most people never need to go higher. |
| Thick or coarse | Up to around 400°F | Work in smaller sections rather than raising the heat. |
A few habits matter as much as the number on the dial: only use irons on completely dry hair, keep sections small, avoid going over the same section again and again, and let hair cool before brushing or styling it further.
When To See a Stylist or Dermatologist
A good stylist can tell you how much damage is really there, how much to trim and which treatments suit your hair. It's worth booking if your hair feels gummy or stretchy when wet, breaks off in large amounts, or if you've combined heat with bleach and don't know where to start.
Please see a dermatologist or doctor if you notice hair thinning at the roots, bald patches, a widening part, an itchy or painful scalp, or sudden heavy shedding. Those signs point to something happening at the scalp rather than heat damage on the lengths, and they deserve a proper look.
Final Thoughts
Heat damage feels discouraging, but it isn't permanent in the way it seems. Every trim removes a little more of it, and every wash with good care makes what's left feel softer. Give the six-week plan an honest try, be gentle with your hands and your tools, and let time do the rest.
Your healthiest hair is already growing in. All you have to do now is protect it.