Heat protectant is one of those steps that feels optional right up until your ends start snapping. It won't make a 450-degree flat iron harmless, but it does put a buffer between your hair and the heat, slow down moisture loss and help strands glide instead of drag. That small difference, repeated every time you style, adds up to hair that stays softer and stronger for months.
The catch is that most of us use it a little wrong. Too little, too much, sprayed on the outside layer only, or flat-ironed while still wet (that sizzle is not a good sign). It took me a while to accept that the product was only half the story and the other half was how I applied it.
This guide covers exactly how to use heat protectant the right way: what it does and doesn't do, the different types, which one suits fine, thick, curly or color-treated hair, a step-by-step application routine, a simple hair type and temperature table, the most common mistakes and a few easy ways to cut heat damage even further.
No complicated chemistry, no hairstyles, just the habits that keep your hair healthy while you keep using your favorite tools.
What Heat Protectant Actually Does
Think of heat protectant as a thin, temporary coat for each strand. Most formulas contain film-forming ingredients (often silicones, polymers or certain proteins) that sit on the surface of the hair. When the heat hits, that layer takes some of the impact first and helps the heat spread more evenly instead of scorching one spot.
A good heat protectant usually does four things at once:
- Slows down water loss. Heat pulls moisture out of the hair fast. A coated strand loses it more slowly, which is why protected hair feels less straw-like afterward.
- Reduces friction. A smoother surface means the flat iron or brush glides, so you need fewer passes. Fewer passes is one of the biggest wins for your hair.
- Smooths the cuticle. The outer layer of the hair lies flatter, which adds shine and cuts down frizz.
- Adds a little hold or softness. Many formulas double as a light styling aid, so you can often skip one extra product.
The best way I can describe the difference: unprotected hair after a flat iron feels warm, slightly crunchy and almost papery at the ends. Protected hair feels smooth and cool down faster. You can notice it by touch after just a few uses.
What Heat Protectant Can't Do
Here's the honest part. Heat protectant reduces damage. It doesn't prevent all of it. If you go over the same section five times at the highest setting every day, a spray will soften the blow but it won't erase it.
It also can't repair hair that's already broken or split. Once an end has frayed, the only true fix is a trim (I walk through what helps in my guide on how to fix split ends). And it can't make up for heat that's simply too high for your hair type. A protectant labeled "up to 450°F" means it was tested up to that point, not that 450 is a good idea for you.
I find this freeing rather than discouraging. It means you don't need to hunt for a miracle bottle. You need a decent product, the right amount, the right temperature and fewer passes. That combination is where the real protection lives.
Types of Heat Protectant
Heat protectants come in several textures, and the best one is mostly about how your hair handles weight. None is automatically "stronger" than the others. Here's how they differ.
Sprays and Mists
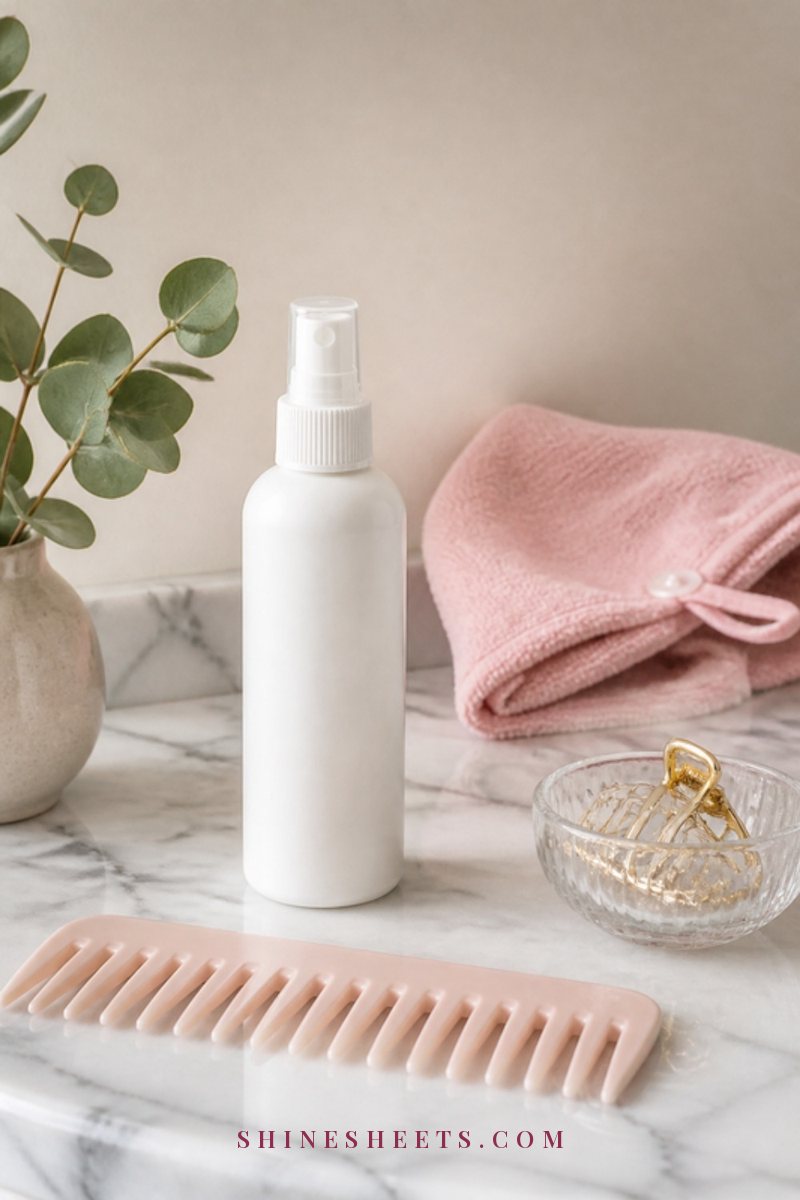
Sprays are the most popular type because they're easy to spread evenly and feel light. They work for almost everyone, and they're especially good for fine or normal hair that goes limp under heavier products. Many can be used on damp hair before blow-drying and again on dry hair before a flat iron.
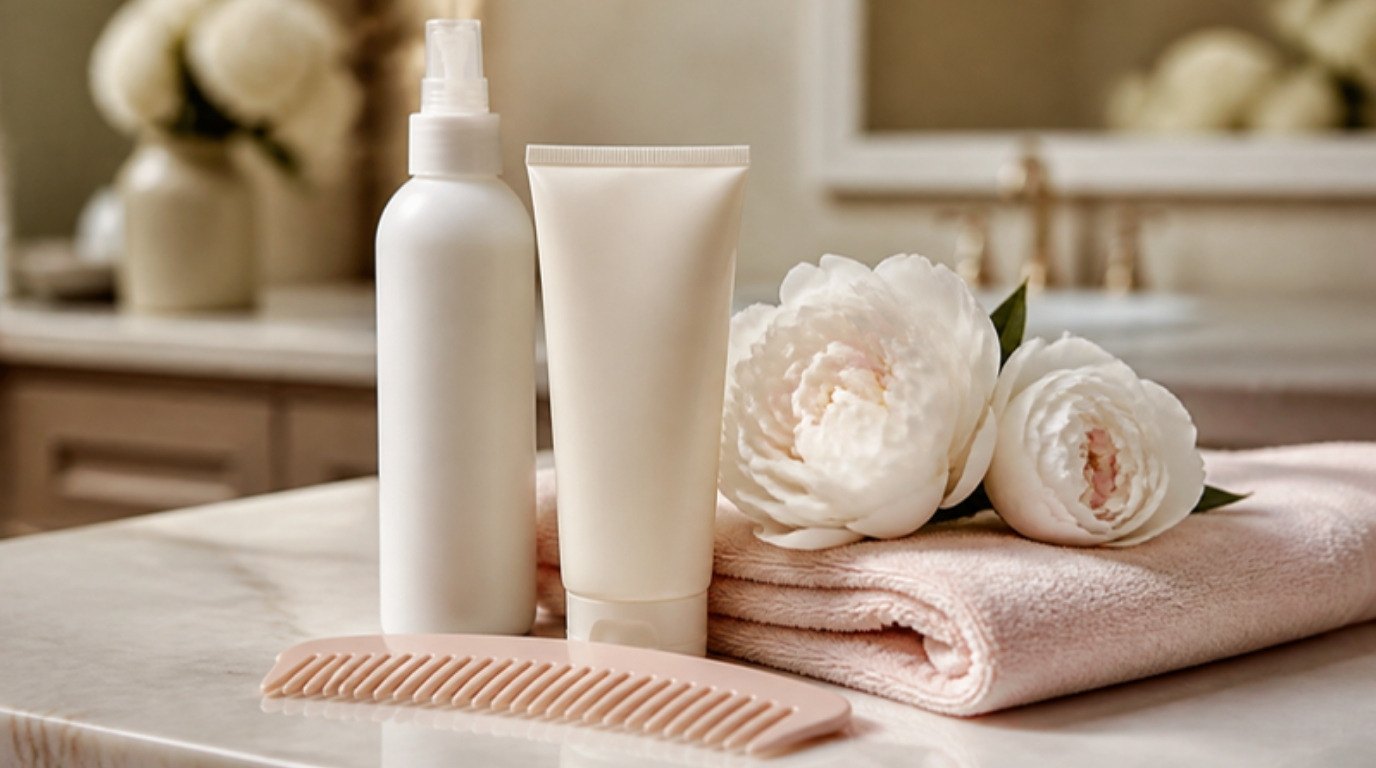
A classic heat protectant spray is the easiest place to start if you've never used one. Look for a fine, even mist (not a wet stream), a temperature rating on the bottle and a formula that doesn't leave your hair sticky once it dries.
Creams and Lotions
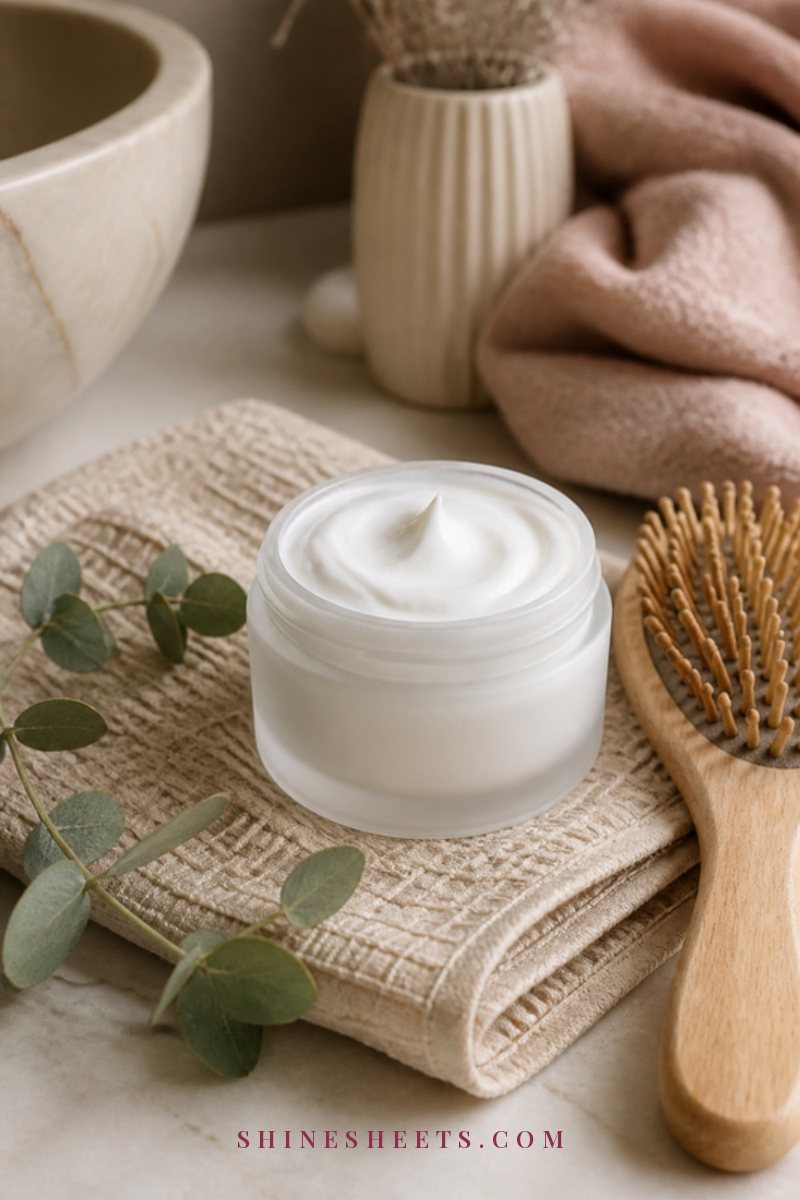
Creams are richer and more conditioning. They're lovely for thick, coarse, curly or dry hair that drinks up product and needs a bit of softness along with the protection. You smooth them through with your hands on damp hair before blow-drying.
If your hair is medium to thick, a lightweight heat protectant cream gives you the smoothing of a leave-in with the buffer of a protectant. Start with a small, pea-to-almond sized amount and add more only if your ends still feel dry. Too much cream can make hair heavy and slow to dry, which actually means more time under the dryer.
Serums and Oils
Serums are silicone-based liquids that add slip and shine. Some are labeled as heat protectants, others aren't, so check before you rely on one. A few drops on the mid-lengths and ends works well for frizz-prone or thick hair.
Pure oils are a different story. Oil on its own can actually conduct heat and make hair feel fried if you flat iron right over it. If you love hair oil, use it after styling as a finisher, or choose a product that is specifically formulated and labeled for heat protection.
Oil-Free and Lightweight Formulas
If your hair gets greasy quickly, or your scalp is oily by day two, oil-free mists are worth looking for. They protect without coating the hair heavily, so your hair stays bouncy and your wash days don't move closer together. Keep them on the lengths and away from the roots either way.
Which Heat Protectant Suits Your Hair Type
Your hair type decides two things: how much weight your strands can carry and how much heat they really need. Here's a simple way to think about it.
Fine Hair
Fine hair heats up quickly and gets weighed down easily. Choose a light spray or oil-free mist and keep the amount modest. Spray from about 8 inches away so it spreads instead of landing in wet spots. Fine strands rarely need high heat, so low settings and fewer passes do most of the work (my fine hair care guide has more ways to keep it full without stress).
Thick or Coarse Hair
Thick hair has more strands and often wider ones, so product needs to reach every layer. Creams or a spray-plus-serum combination work well. The key is sectioning: if you only spray the top, the lower layers go into the heat bare. Thick hair often tolerates a bit more heat, but that's no excuse to go to the maximum. A good blow-dry first can cut the flat iron time in half. I share more tips for heavy, dense hair in my thick hair care guide.
Curly or Coily Hair
Curls are naturally drier and more fragile at each bend, so they appreciate richer, moisturizing protectants such as creams or lotions. If you straighten curls occasionally, protect every section thoroughly, blow-dry on medium heat with a diffuser or nozzle as you prefer and keep the flat iron passes to one or two per section. Too much heat too often can loosen your natural curl pattern over time.
Color-Treated or Damaged Hair
Bleached, highlighted or already-damaged hair is the most vulnerable to heat. Use a conditioning protectant, keep temperatures on the lower end and give your hair regular heat-free days. If your ends are snapping off in short pieces, read my guide on hair breakage before reaching for the hot tools again.
Hair Type, Protectant and Max Heat Table
This is the table I'd love everyone to screenshot. The temperatures below are general ranges, not rules carved in stone. Always start at the bottom of your range and only go up if your hair genuinely doesn't respond.
| Hair type | Best protectant type | Suggested heat range | Passes per section |
|---|---|---|---|
| Fine, thin or fragile | Light spray or oil-free mist | About 250–300°F | 1–2 |
| Normal or medium | Spray or light lotion | About 300–350°F | 1–2 |
| Thick or coarse | Cream, or spray plus a serum | About 350–400°F | 2 |
| Wavy | Spray or light cream | About 300–350°F | 1–2 |
| Curly or coily | Moisturizing cream or lotion | About 325–375°F | 1–2 |
| Bleached or color-treated | Conditioning spray or cream | About 250–325°F | 1 |
| Damaged or breaking | Conditioning cream | Lowest setting, or skip heat for now | 1 |
If your tool doesn't show numbers, think of it this way: low for fine or fragile hair, medium for most hair, and medium-high only for thick, coarse hair that truly needs it. Very few people need the top setting.
How To Apply Heat Protectant, Step by Step
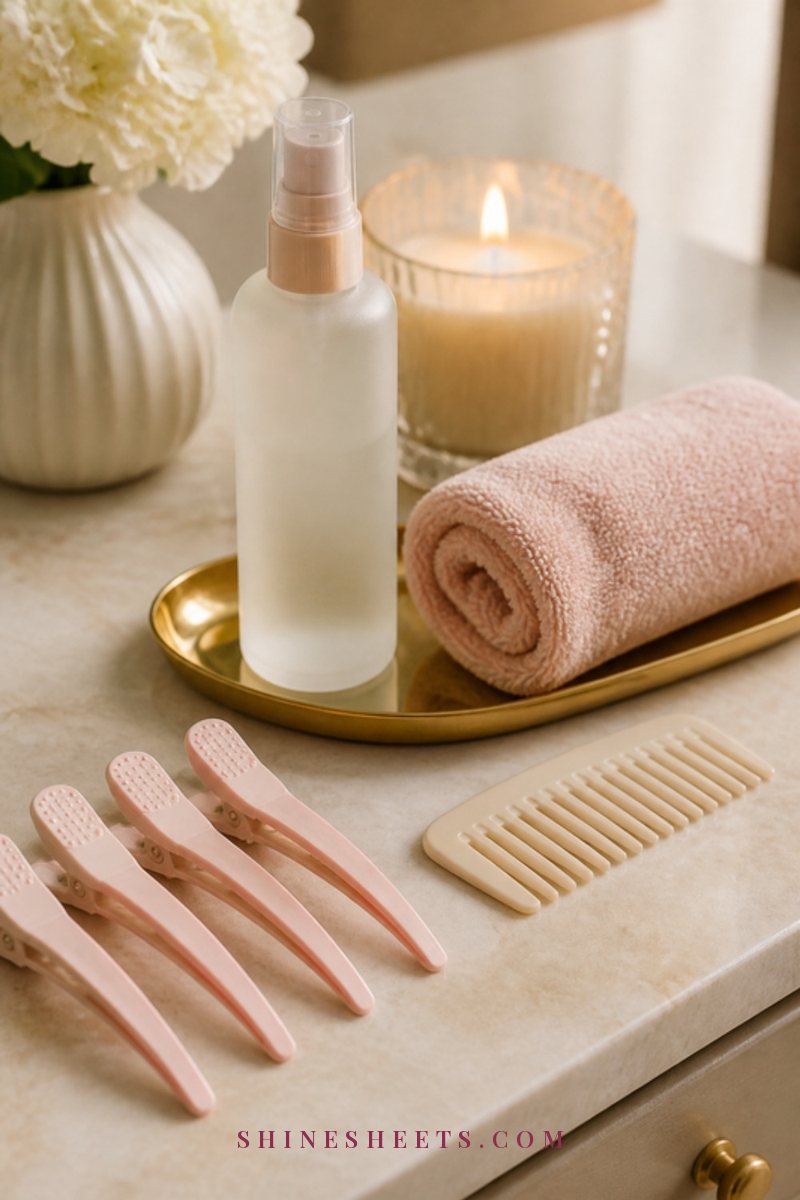
This is where the magic actually happens. A great product applied badly protects less than an average product applied well. Here's the routine I'd follow:
- Start with clean, detangled hair. Product and buildup from days ago can cook onto the hair. If you're unsure your routine is getting your hair truly clean, my guide on how to wash your hair walks through it.
- Check the label for damp or dry. Most sprays and creams go on damp hair before blow-drying. Some are made for dry hair right before a flat iron or curling iron. Many work for both. Follow what your bottle says.
- Remove extra water. Gently squeeze your hair with a soft microfiber hair towel instead of rubbing. Hair that's dripping wet dilutes the product and takes longer to dry.
- Section your hair. Divide it into 4 to 6 sections and hold them with sectioning clips. Thick hair may need 8. This is the step everyone skips and the one that matters most.
- Apply to mid-lengths and ends first. Spray each section from about 6 to 8 inches away, front and back, or smooth a small amount of cream between your palms and glide it down. The ends are the oldest, most fragile part of your hair, so they get the most attention. Roots usually need very little.
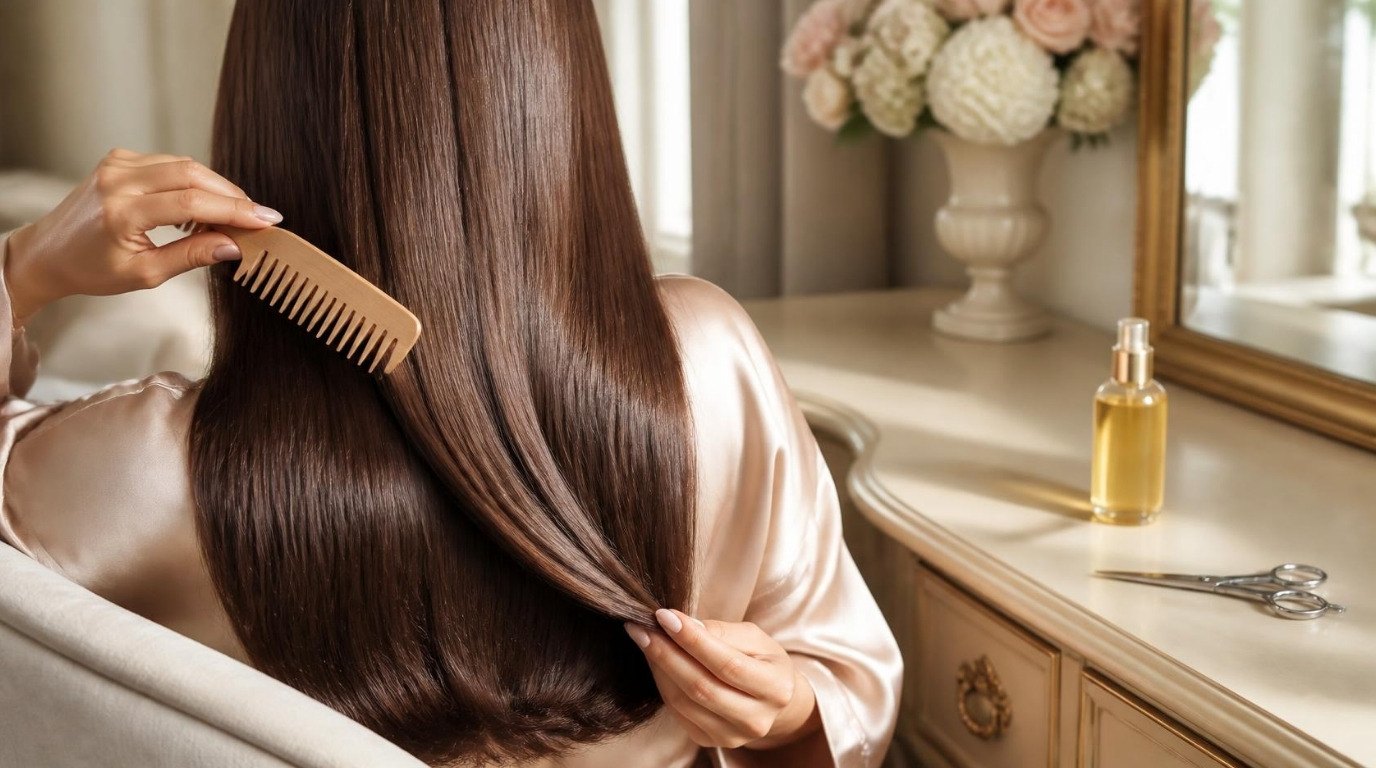
- Comb it through. Run a wide-tooth comb through each section so the product spreads from top to bottom and no strand is left bare.
- Let it dry completely before a flat iron or curling iron. Never press a hot plate onto damp hair. If you hear sizzling or see steam, stop. That's water boiling inside the hair shaft, and it's one of the fastest ways to cause damage.
If you blow-dry first and then flat iron, you can add a very light mist on dry hair before the iron if your hair feels like it needs it. One light layer is enough. Soaking dry hair right before a flat iron brings you back to the damp-hair problem.
How Much Heat Protectant To Use
The right amount depends on length and thickness more than on the product. As a rough guide for sprays, think of about 6 to 10 spritzes for chin-length fine hair, 12 to 15 for shoulder-length medium hair and up to 20 or more for long, thick hair, spread across all your sections. For creams, start with a pea-sized amount for short or fine hair, an almond-sized amount for medium hair and two almonds for long, thick or curly hair.
A simple test: after combing it through, run a section between your fingers. It should feel lightly coated and slightly slippery, not wet, sticky or crunchy. If it feels like nothing is there on your ends, add a little more. If it feels heavy, use less next time.
You don't need to reapply heat protectant on the same day unless you're adding new heat on top of hair that was styled hours ago, such as a quick evening touch-up. In that case a light mist on the sections you're about to heat is plenty. Layering coat after coat over several days without washing mostly leads to buildup, and buildup leads to dull, limp hair.
Using Heat Protectant With Different Tools
The basics stay the same, but each tool has its own little rules.
Blow Dryer
Apply your protectant on towel-dried hair, then rough-dry on medium heat until your hair is about 70 to 80 percent dry. Only then switch to a brush for smoothing. Keep the nozzle pointing down the hair shaft and moving, a few inches away from your hair. Finish with the cool shot button to set the shape and help the cuticle lie flat.
Flat Iron
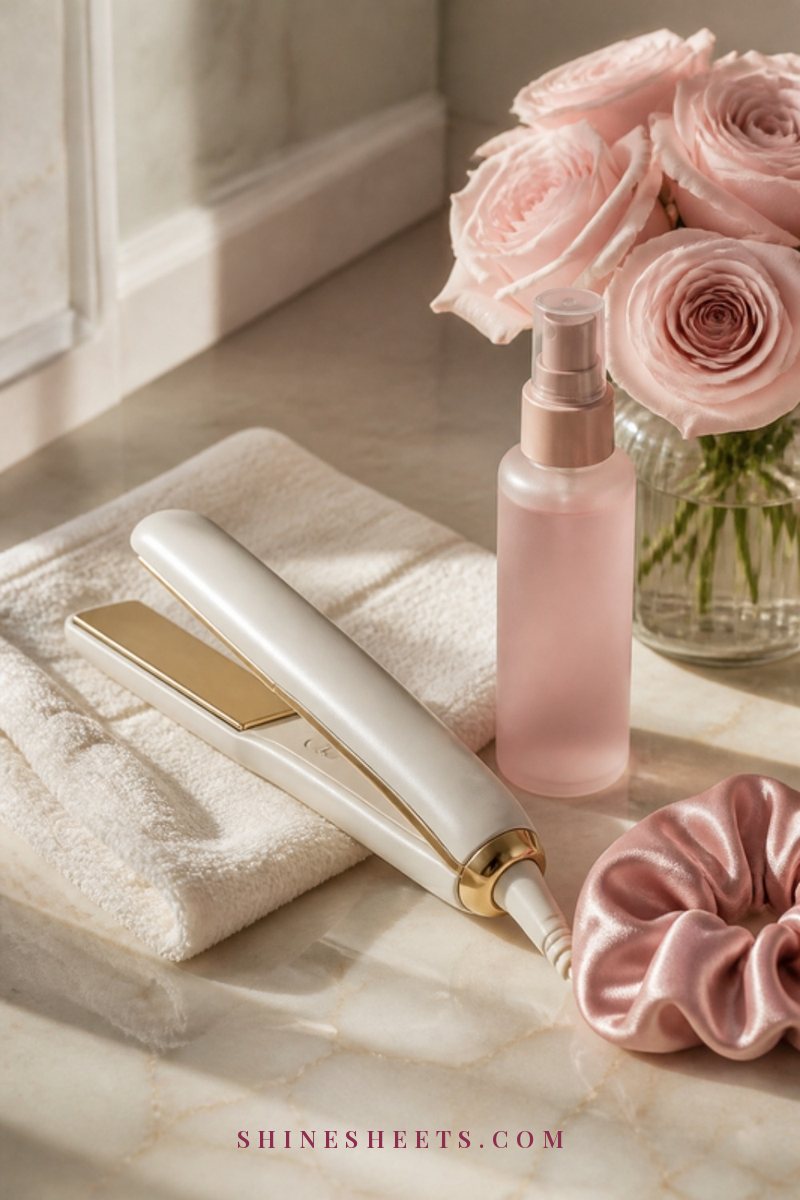
Your hair must be completely dry. Take thin sections (about 1 to 2 inches wide), clamp gently and glide at a steady pace. Slow and steady with one pass is better than fast and frantic with five. If a section isn't smooth after two passes, the problem is usually that it's too thick, not that the heat is too low.
Curling Iron or Wand
Again, dry hair only. Hold each section on the barrel for just a few seconds (fine hair often needs only 3 to 5, thicker hair 8 to 10). Let curls cool before you touch them so they set without needing a second round of heat.
Common Heat Protectant Mistakes
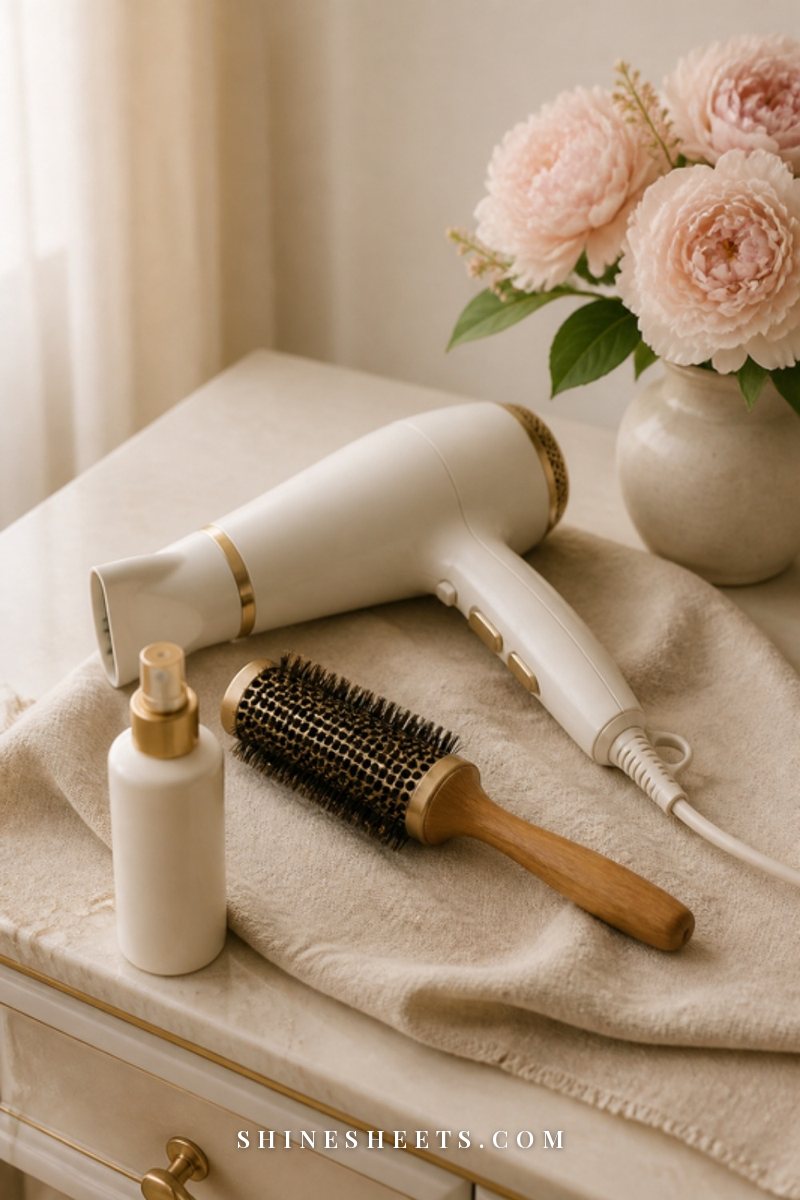
Most of these are tiny habits, which is good news because tiny habits are easy to change.
- Spraying only the top layer. The hair underneath goes into the heat unprotected. Section first, every time.
- Using too much. Soaked hair takes forever to dry, which means more heat overall, and it can leave your hair limp or crunchy.
- Using too little. A quick spritz over a full head of thick hair isn't protection, it's a gesture.
- Ironing damp hair. Sizzling means steam, and steam means damage. Wait until it's fully dry.
- Treating the temperature rating as a target. "Protects up to 450°F" is a ceiling. Your hair type decides the setting.
- Skipping it on "quick touch-up" days. A few passes on unprotected hair still count. Keep the bottle right next to your tool so it's never a hassle.
- Relying on plain oil as protection. Unless it's labeled for heat, save the oil for after styling.
- Going over the same section again and again. If you keep re-ironing, try thinner sections and a steady glide instead.
Other Ways To Cut Heat Damage
Heat protectant is your buffer, but the gentlest heat is the heat you don't use. These habits work together with your protectant:
- Air-dry partway. Let your hair air-dry for 15 to 30 minutes before blow-drying, so it spends less time under hot air.
- Lower the setting by one notch. Try it for two weeks. Most people can't see a difference in the result, only in how their ends feel.
- Clean your tools. Product buildup on flat iron plates creates hot spots. Wipe them down (unplugged and cool) with a damp cloth every week or two.
- Schedule heat-free days. Even two or three a week give your hair a break. Second-day hair can often be refreshed without any heat at all.
- Deep condition weekly. A hair mask once a week helps restore softness that heat slowly takes away.
- Trim regularly. Every 8 to 12 weeks keeps split ends from traveling up the hair shaft.
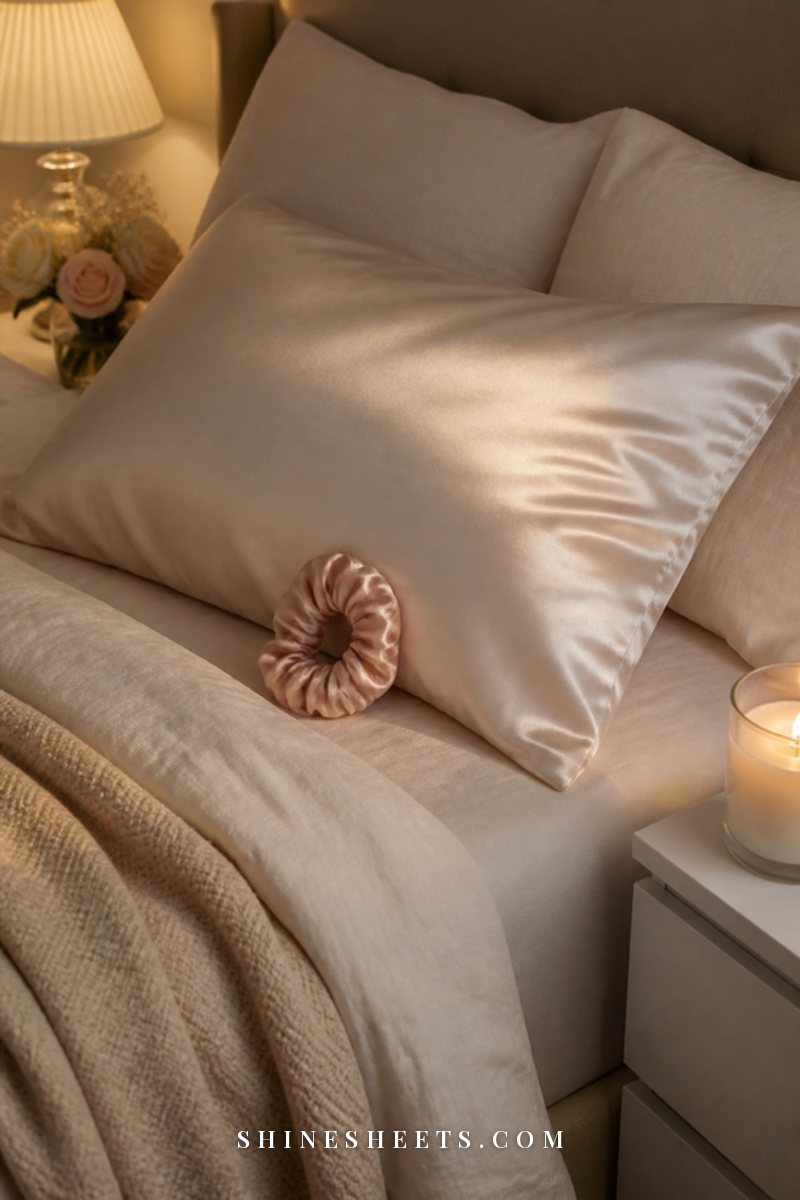
- Sleep on something smooth. A silk or satin pillowcase reduces overnight friction, so your style lasts longer and you need fewer touch-ups.
A quick, kind safety note: hot tools can burn skin as easily as they dry hair. Keep them on a heat-resistant mat, unplug them when you're done and never leave them on near towels or paper.
If your hair is shedding heavily, your scalp is irritated or the breakage seems sudden, it's worth checking in with a dermatologist or a trusted stylist. Sometimes the problem has nothing to do with heat at all.
Final Thoughts
Heat protectant isn't glamorous, but it's one of the kindest habits you can build into your routine. Pick a texture that suits your hair, section it, focus on the ends, let it dry fully and keep the temperature as low as your hair allows.
Do that consistently and you'll still get the smooth, polished finish you love, with hair that feels like hair, not straw. Your future ends will be very grateful.