A tidy purse has very little to do with how much you carry. It has everything to do with where things live. When every item has one fixed home, your hand learns the route, and you can find your keys in a dark parking lot without unpacking half your bag onto the car seat.
Most of us try to fix a messy bag by cleaning it out every few months. It looks great for about four days. Then a receipt slides in, a lip balm migrates to the bottom, a hair tie disappears into the lining, and we're back to digging. The clean-out isn't the problem. The missing system is.
This guide shows you how to organize your purse with a simple layout that keeps working: six steps in order, a zone map you can copy, how to adapt it to a tote, crossbody or mini bag, a weekly 2-minute reset and a trick for swapping bags in under a minute. (If you're still deciding what's worth carrying in the first place, my list of super useful things to have in your purse covers that part.)
Grab a clean towel, give yourself twenty quiet minutes, and let's give everything in your bag a home.
Why a Purse System Beats a Purse Clean-Out
A clean-out removes clutter once. A system stops it from coming back. The difference is small but powerful: instead of asking "what should I throw away?", you ask "where does this live?" Once the answer exists for every item, putting things back takes no thought at all.
A good purse system has three qualities:
- Zones, not loose items. Similar things travel together in one pouch or pocket, so you look for one zone instead of ten tiny objects.
- Fixed spots for the two things you grab most. Keys and phone always go in the same place, every single time.
- A tiny maintenance habit. Two minutes once a week, not a big weekend project.
I'm prone to a little anxiety, and the feeling of not finding my keys at a door used to set it off more than it should. A system won't fix every stressful moment, but it does remove this one, which is a nice kind of quiet to carry around.
How To Organize Your Purse in 6 Steps
Do these in order the first time. It takes about 20 to 30 minutes, and you'll only need to repeat the full process when you change bags for good or your routine changes a lot.
Step 1: Empty Everything Onto a Towel

Turn your bag completely upside down over a clean towel and give it a gentle shake. A towel is better than a table because it catches crumbs, stray powder and leaking pens, and you can shake it out outside afterwards.
Then unzip every inner pocket and empty those, too. The inside zip pocket is where old receipts, loose coins and that one earring back like to hide. Lay everything out in loose rows so you can actually see it. You'll probably find duplicates (three lip balms is very normal), and seeing them side by side makes the next step easier.
While the bag is empty, check the lining for stains or a sticky spot. You'll clean it properly later, but note it now.
Step 2: Sort Into Keep, Relocate and Toss
Make three small piles on the towel:
- Keep: things you used in the last two weeks or genuinely need in an emergency (a bandage, a tissue pack, a hair tie).
- Relocate: things that are useful but don't belong in your bag. Extra keys, spare chargers, the third lip balm, a book you finished. They go back to a drawer, your car or a shelf at home.
- Toss: wrappers, dried-out pens, expired coupons, broken hair ties, empty mints boxes.
A helpful rule: if you have two of the same thing, keep the one you like more and relocate the other. If an item hasn't left your bag in a month, it's usually a relocate.
Relocated items need a home too, or they'll sneak back. A small dish or basket in a drawer works well, and if that drawer is already overflowing, my 20-minute junk drawer fix will make room for them.
Step 3: Slim Down Your Wallet and Receipts
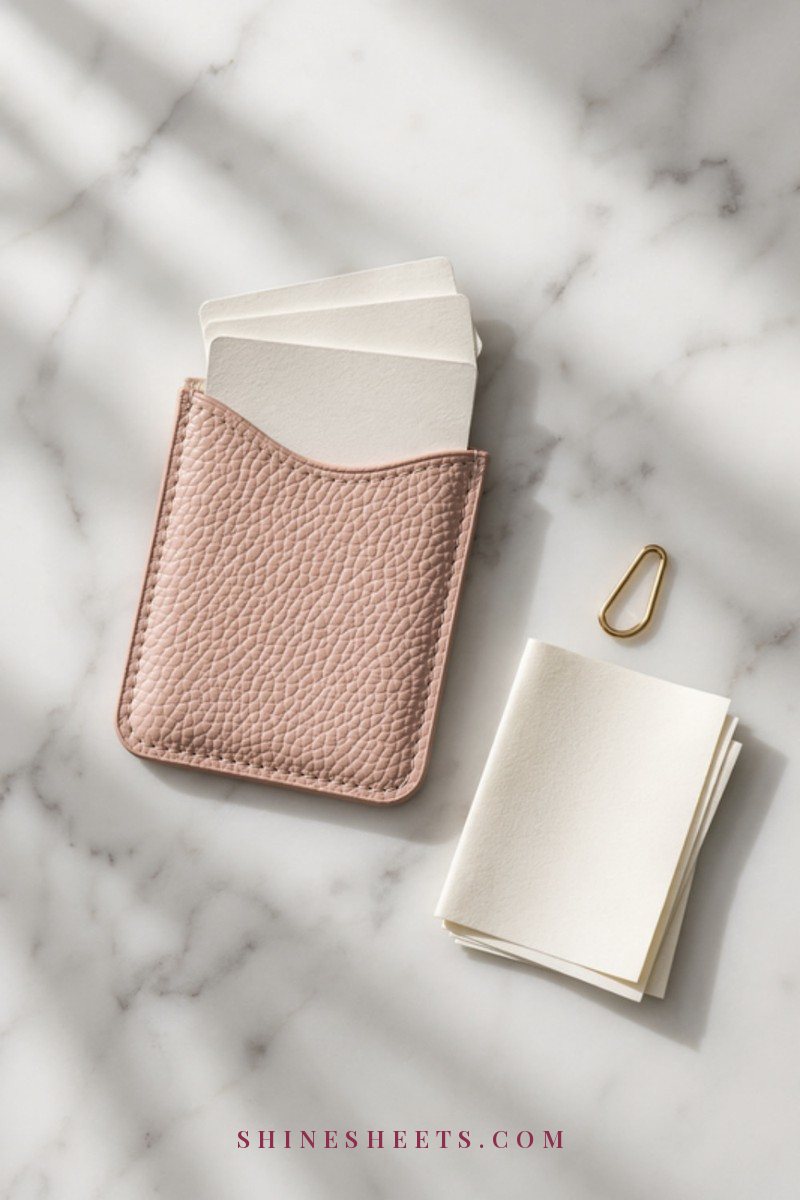
The wallet is often the heaviest, fattest item in a bag, and the one you reach for most. Slimming it down makes everything else fit better.
- Cards: keep only the cards you use weekly plus your ID and insurance card. Loyalty cards can often live in an app or a card pouch at home.
- Receipts: keep only receipts for things you might return. Fold them into one small envelope or a single slot, and clear it every week.
- Coins: empty them into a jar at home once a week. A handful of coins is surprisingly heavy.
If your wallet is a big bulky thing, try a slim card holder for daily use. Look for one with four to six slots and a middle pocket for a folded note or two. Many people find they don't need the big wallet at all once they've cleared out the extras.
Step 4: Group Items Into Zones
Now look at your keep pile and group it into five zones. Almost everything fits one of these:
- Money and cards: card holder or wallet, a little cash, ID.
- Beauty: lip balm or lipstick, a mini hand cream, blotting papers, a compact, a small comb.
- Tech: earbuds, a short charging cable, a small power bank if you use one.
- Health basics: bandages, tissues, hand sanitizer, any personal medicine you need with you, period products.
- Small extras: hair ties, bobby pins, a pen, mints, a spare earring back, a reusable shopping bag folded small.
If something doesn't fit any zone, ask whether it really needs to come with you every day. Usually the answer is no, and it moves back to the relocate pile.
Step 5: Give Every Zone One Pouch or Pocket
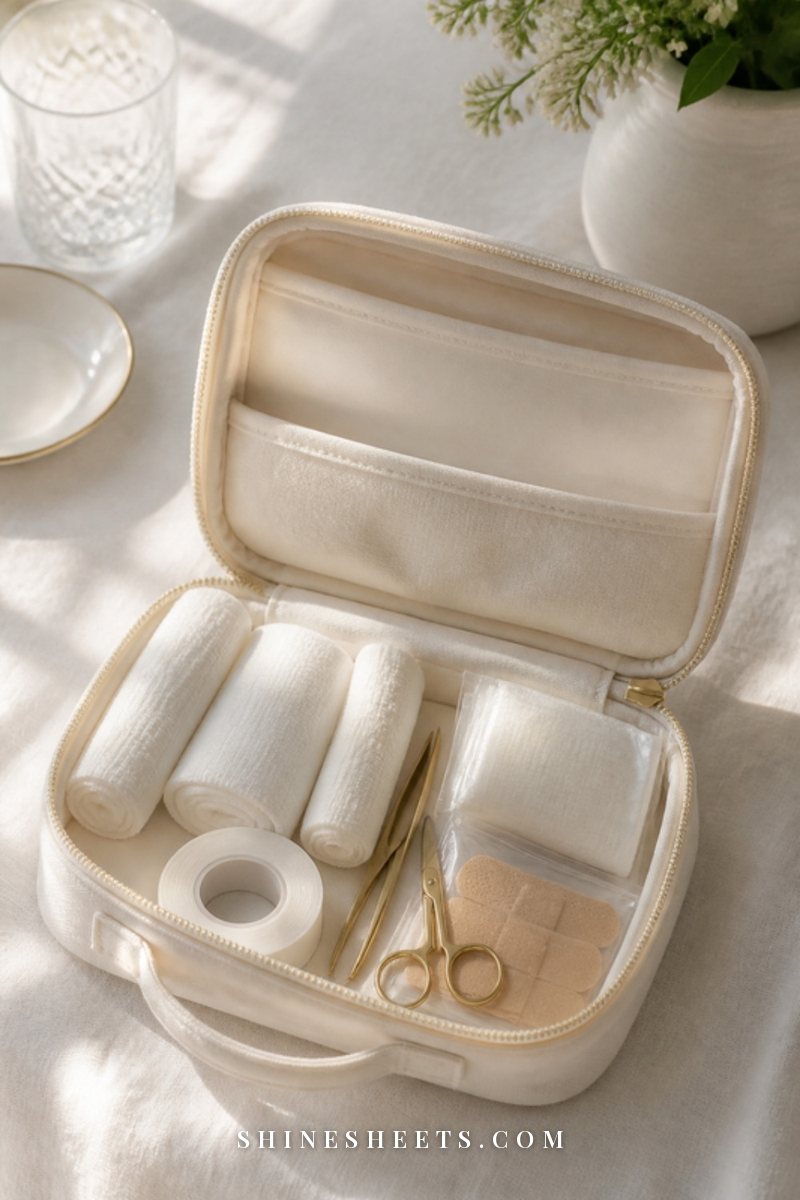
This is the step that makes the whole system work. Each zone gets exactly one container, either a pouch or one of the bag's own pockets. One zone, one home.
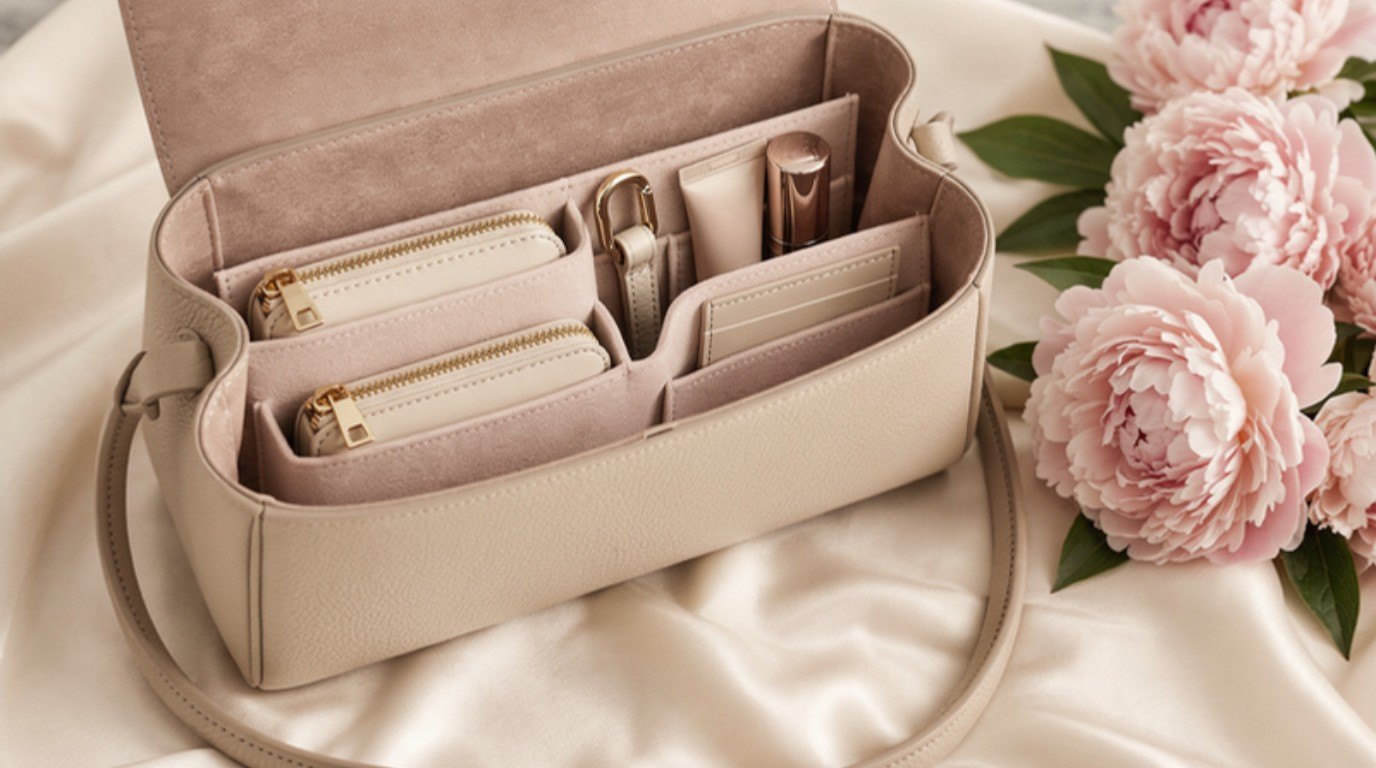
A set of cream zip pouches in two or three sizes covers most bags: a medium one for beauty, a small one for health basics and a flat one for tech. Choose pouches with a slightly stiff base so they stand up instead of collapsing at the bottom of the bag.
For the tiny things (hair ties, bobby pins, earring backs), a clear mini pouch is a little treat of practicality, because you can see inside without opening it. Clear is also handy for travel and security checks.
A few rules that keep pouches useful instead of becoming more clutter:
- Use different colors or textures for different zones, so you can find them by touch.
- Don't fill a pouch more than about three-quarters full, or it won't zip easily and you'll stop using it.
- Use the bag's built-in pockets for flat items like your card holder or a slim notebook.
Hair accessories and small jewelry tend to tangle together. If you carry earrings or a spare necklace, a tiny ring box or a jewelry roll keeps them safe, and the same ideas from my guide on how to organize jewelry so nothing tangles work at a smaller scale in a bag.
Step 6: Assign a Fixed Spot for Keys and Phone
Keys and phone are the two things you'll grab dozens of times a day, often in a hurry. They each deserve their own permanent address in your bag.
- Keys: clip them to the bag. A gold key ring clip attached to an inner D-ring or a strap means your keys hang in the same spot every time, and you'll never dig for them again.
- Phone: pick one outer or inner slip pocket and use it only for your phone. Not your cards, not your sunglasses. Just the phone.
Give it a week. By day three your hand will reach for the right spot automatically, and that's the moment the system starts doing the work for you.
The Purse Zone Map
Here's the whole layout in one place. Screenshot it and use it as your guide the next time you repack a bag.
| Zone | What goes inside | Best container | Where it sits in the bag |
|---|---|---|---|
| Money and cards | Card holder, ID, a little cash, a few folded receipts | Slim card holder or small wallet | Inner zip pocket or the slip pocket closest to your body |
| Beauty | Lip balm, mini hand cream, blotting papers, compact, small comb | Medium zip pouch with a firm base | Upright in the main compartment, middle |
| Tech | Earbuds, short cable, small power bank | Flat zip pouch | Lying flat against the back wall of the bag |
| Health basics | Bandages, tissues, sanitizer, personal medicine, period products | Small zip pouch | Main compartment, one side |
| Small extras | Hair ties, bobby pins, pen, mints, earring backs | Clear mini pouch | Side pocket or tucked next to the beauty pouch |
| Keys | House and car keys only | Key ring clip | Clipped to an inner D-ring or strap |
| Phone | Phone only | The bag's own slip pocket | The same pocket every day, easy to reach |
You don't need every zone in every bag. A mini bag might only carry money, phone, keys and a lip balm, and that's perfect.
How To Adapt the System to Your Bag
The zones stay the same whatever you carry. What changes is how many pouches you use and where they sit.
Tote Bags
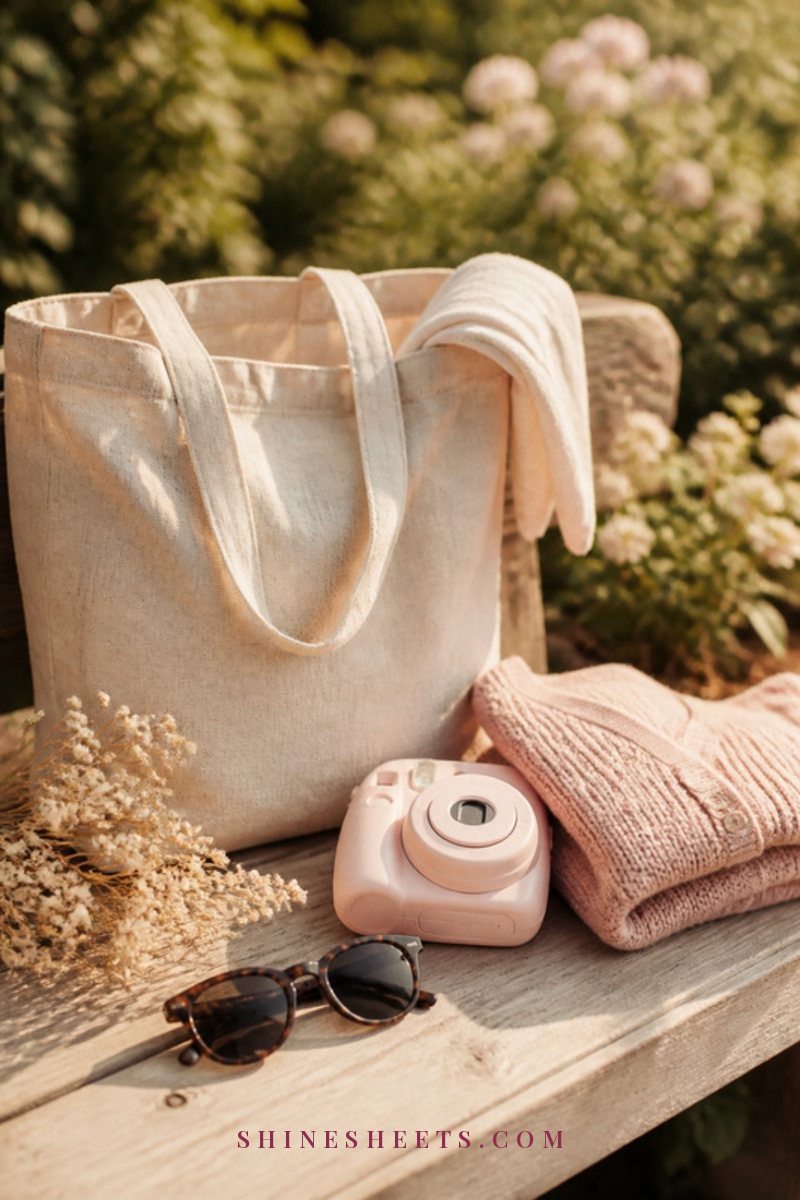
Totes are the hardest bags to keep tidy, because they're one big open space and everything sinks. The fix is structure. A felt purse insert organizer gives a tote walls and pockets, so pouches stand upright and nothing slides to the bottom.
- Measure the base of your tote before choosing an insert, and pick one about half an inch smaller on each side.
- Put the heaviest pouches (tech, beauty) at the bottom and the lighter ones on top.
- Keep one open pocket of the insert empty for things you pick up during the day, like a book or a scarf.
Crossbody Bags
Crossbody bags are usually divided already, which makes them easy to organize. Use the built-in sections as your zones and add at most one or two pouches.
- Front pocket: phone only.
- Main compartment: card holder against the back wall, one small beauty pouch in front of it.
- Inner zip: health basics in flat form (a few bandages, a tissue pack).
Because a crossbody sits against your body, keep it light. Heavy bags pull on one shoulder all day, and a lighter load is kinder to your neck.
Mini Bags
A mini bag forces you to choose, which is honestly a little freeing. Pack only the essentials:
- Slim card holder
- Phone
- Keys on a clip
- One lip product
- A clear mini pouch with two hair ties, one bandage and a folded tissue
Skip pouches for the bigger zones here. The bag itself is your pouch.
The Weekly 2-Minute Reset
This is the habit that keeps your purse organized for months instead of days. Pick one fixed moment each week (Sunday evening with a cup of tea works beautifully) and set a timer for two minutes.
- Take out every receipt and either file it or toss it.
- Empty loose coins into a jar.
- Throw away wrappers and anything broken.
- Put each wandering item back in its zone.
- Check your basics: is the lip balm nearly empty, are you out of bandages, does the power bank need charging?
That's it. Two minutes, five tiny actions. If you also have a drop zone by the door, do the reset there, so relocated items go straight to their home. My guide to entryway ideas for a drop zone that stays tidy shows how to set one up even in a small space.
How To Swap Bags Fast With a Felt Insert
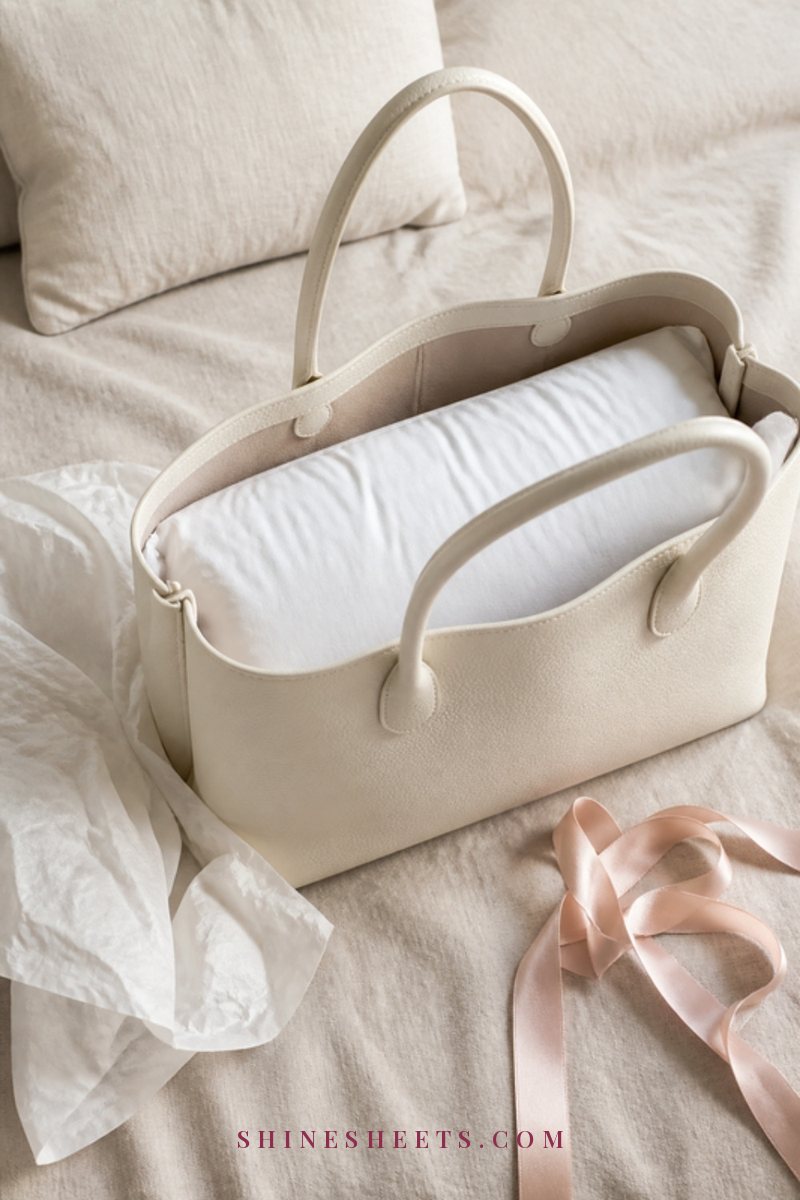
If you change bags often, a felt insert is the trick that saves you. Instead of moving ten items one by one, you lift the whole organized insert out of one bag and drop it into another. It takes about thirty seconds.
To make it work smoothly:
- Choose an insert with handles, so you can lift it out in one go.
- Keep it packed at all times, even when the bag is resting on a shelf.
- For bags of very different sizes (a big work tote and a small evening bag), keep the zones in pouches. Then you can move just the pouches you need without unpacking anything.
An insert also helps your bags keep their shape when you're not using them. If your empty bags are slumped on a shelf, my ideas for purse storage that keeps bags in shape will help them last longer.
Common Purse Organization Mistakes
If you've organized your bag before and it didn't stick, one of these is usually the reason. None of them are a big deal, and each has a simple fix.
- Buying organizers before sorting. Pouches bought first tend to be the wrong size. Sort and group first, then choose containers for the zones you actually have.
- Too many pouches. Seven tiny pouches are just seven new things to dig through. Aim for three or four at most in a big bag, and one or none in a small one.
- A "miscellaneous" pouch. It always turns into the new bottom of the bag. If something has no zone, it probably belongs at home.
- Moving the keys around. Clipping them one day and dropping them in a pocket the next undoes the habit. Same spot, every time, even when you're in a rush.
- Skipping the reset for a month. Receipts pile up quietly. If you miss a week, don't wait for a big clean-out, just do the two minutes the next day.
- Carrying for every possible situation. A full first-aid kit, three lipsticks and a spare sweater "just in case" make a heavy bag. Pack for an ordinary day, and add extras only on days that truly need them.
Be gentle with yourself here. A bag that gets a little messy by Friday is completely normal. The point of a system is that getting it back takes two minutes, not an afternoon.
Keep Your Purse Clean, Too
An organized bag that's grimy inside still feels messy. Every month or so, give it a quick clean:
- Empty the bag and shake it out over a towel or outside.
- Use a lint roller or the brush attachment of a vacuum on the lining to pick up crumbs and dust.
- Wipe the lining with a cloth dampened with a little warm water and a drop of mild soap. Test on a hidden spot first, then let the bag air-dry fully, open, before repacking.
- Wash fabric pouches according to their care label, and wipe clear pouches with a damp cloth.
- Wipe your phone case, card holder and keys too, since they get handled constantly.
For the outside of a leather or faux-leather bag, stick to a soft dry cloth or a cleaner made for that material, and avoid soaking it.
Final Thoughts
Learning how to organize your purse is really about giving yourself fewer tiny frustrations. Six steps once, two minutes a week, and a fixed spot for your keys and phone. That's all it takes for your bag to feel calm every time you open it.
Start with the easiest step today, even if it's just clipping your keys to the strap. Your future self, standing at the front door in the rain, will be very grateful.