Clear kitchen counters aren't about owning less stuff or having a bigger kitchen. They're about giving every item a home that isn't the counter, and keeping the counter for only the few things that truly earn the space. Once that's set up, staying clear is mostly a two-minute habit, not a weekend project.
Counters are the most hard-working surface in a small kitchen, which is exactly why they collect everything: mail, chargers, the blender you used once, a bag of things that "need to go somewhere." Clear the surface without fixing the reasons it fills up, and it's back to cluttered by Thursday. (I've watched it happen more times than I'd like to admit.)
This guide is all about kitchen countertop organization that lasts: why counters fill up, a simple clear-and-sort method, a table for deciding what stays and where everything else goes, the 5 items that earn a spot, easy zones, renter-friendly tools, a quick safety note and the reset habit that keeps it all clear for good. It's focused on counters only; for cupboards and the rest of the room, my kitchen organization ideas for small kitchens have you covered.
Why Your Counters Keep Filling Up
Before buying a single organizer, it helps to know why the clutter keeps coming back. In most kitchens it's one (or all) of these four reasons:
- There's no landing zone. You walk in with your bag, keys and mail, and the counter is the first flat surface you see. If nothing else is designated, the counter wins.
- Some items are homeless. Vitamins, the spare charger, rubber bands, a half-used roll of foil. Anything without a set home lands in the easiest spot.
- Appliances you rarely use live out in the open. The stand mixer, the juicer, the waffle maker. They take up the most space and earn the least.
- Mail and keys drift in. Papers, receipts and keys are the classic counter creepers, and they multiply quietly.
Every tip below solves one of these four. Keep them in mind, and you'll know exactly why each change matters.
Step 1: Clear, Wipe and Sort Everything
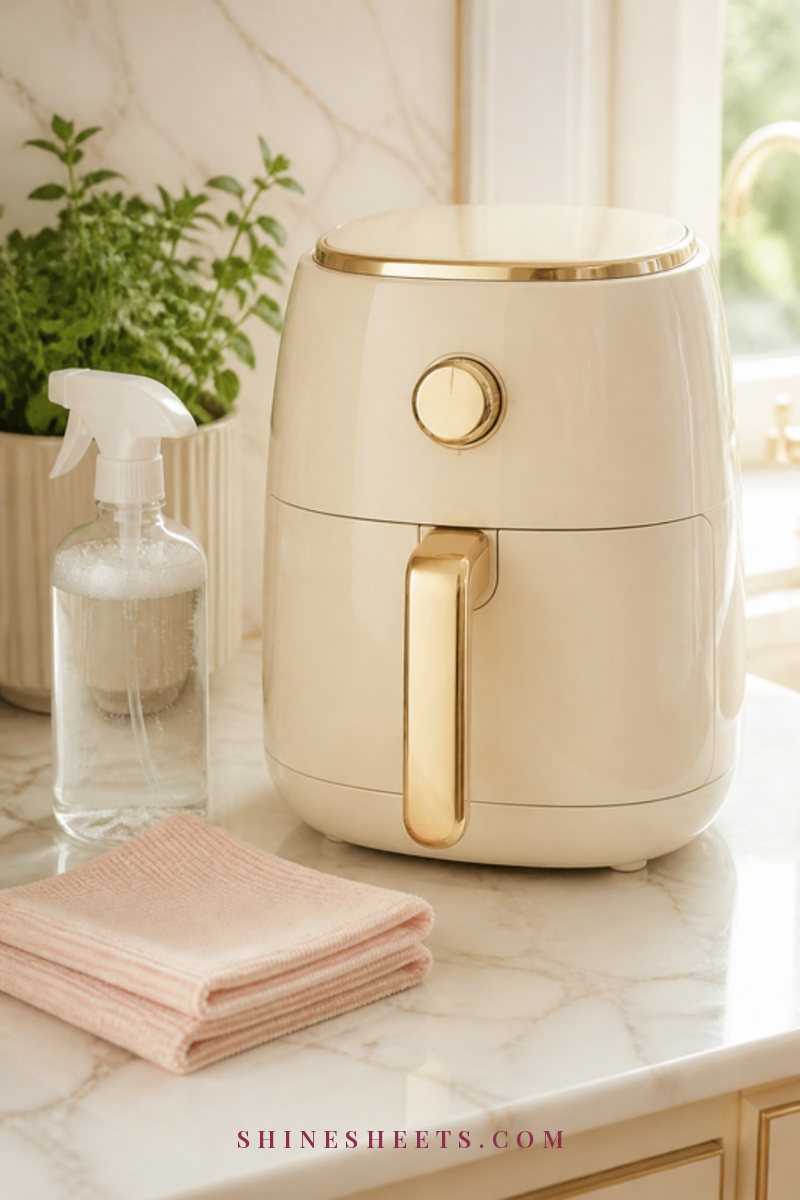
Start with a blank slate. Set aside about 30 to 45 minutes for an average small kitchen.
- Take everything off. Every item, including the ones that "always live there." Put it all on the dining table or a clean towel on the floor.
- Wipe the bare counter. Warm water with a few drops of dish soap and a microfiber cloth is safe for nearly every surface. For stone, laminate and quartz specifics, my guide on how to clean kitchen countertops by surface type walks you through it.
- Sort into three piles: used daily, used weekly, used rarely (monthly or less). Be honest. If you can't remember the last time you used it, it's "rarely."
- Pull out anything that isn't kitchen stuff. Mail, makeup, tools, chargers, hair ties. These go to their real homes, or to the drop zone you'll set up below.
A quick safety note while wiping: never mix bleach with vinegar or ammonia (or with cleaners that contain them), because the combination releases harmful fumes. Use one product at a time, rinse in between and keep a window open.
The Counter Space Table: What Stays and Where It Goes
This table is the heart of the method. Use it to decide, item by item, what stays on the counter and where everything else should live. Screenshot it and keep it handy for your sort.
| Item | Used how often | Stay on counter or move | Where it goes |
|---|---|---|---|
| Kettle or coffee maker | Daily | Stay | Coffee or tea zone, near an outlet |
| Cooking utensils (spatula, wooden spoons, tongs) | Daily | Stay | Utensil crock beside the stove |
| Everyday cutting board | Daily | Stay | Leaning upright at the back of the prep zone |
| Dish soap and hand soap | Daily | Stay | Soap station tray by the sink |
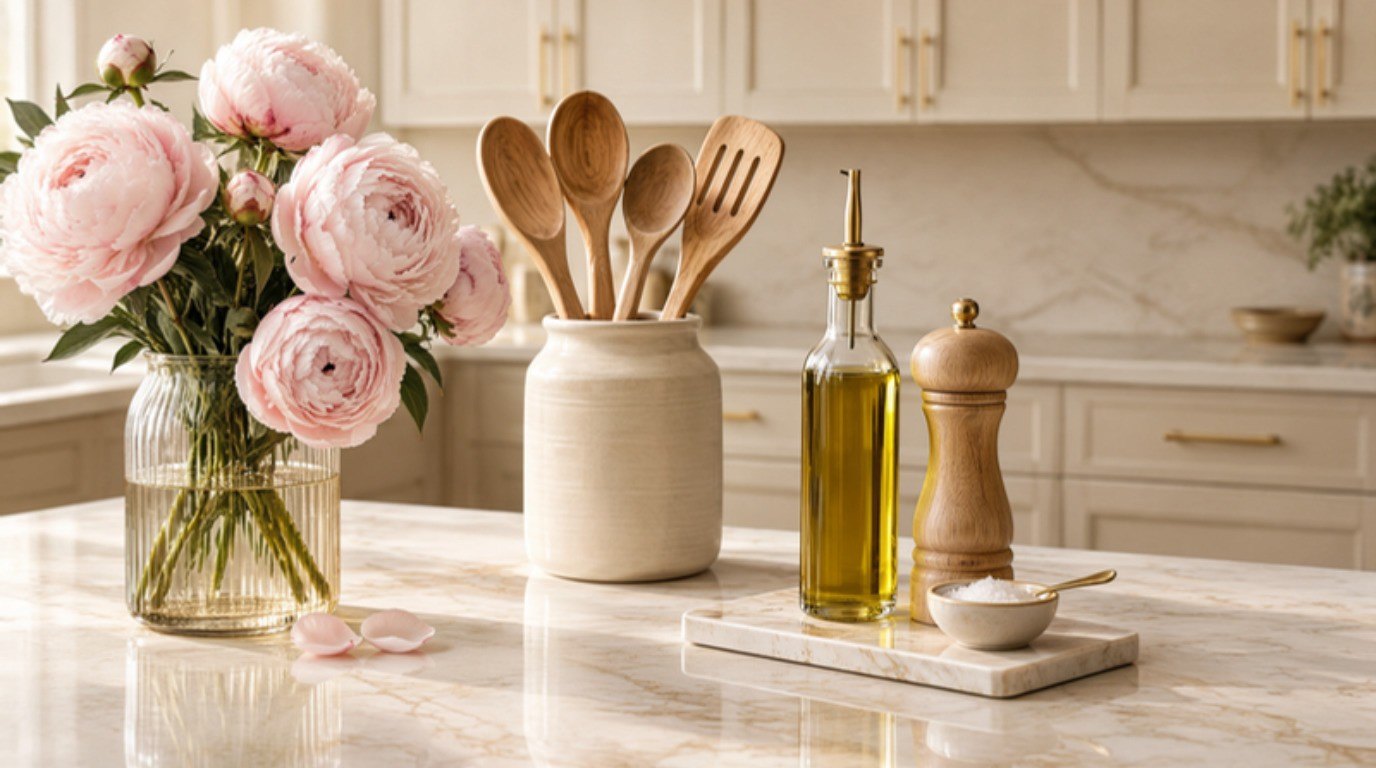
| Oil, salt and pepper | Daily | Stay (grouped) | Small tray beside the stove, away from the burner |
| Toaster | A few times a week | Depends on space | Counter if used daily; otherwise a low cupboard |
| Blender or food processor | Weekly | Move | Lower cupboard near an outlet ("appliance garage") |
| Stand mixer | Monthly or less | Move | Deep cupboard or a closet shelf |
| Knife block | Daily | Move if space is tight | In-drawer knife organizer |
| Fruit bowl | Daily | Stay or move | Counter if it's your decorative piece; otherwise a hanging basket |
| Paper towels | Daily | Move | Under-cabinet holder or inside a cupboard door |
| Mail, keys and bags | Daily | Move | Drop zone by the entry, off the kitchen |
| Vitamins and medicine | Daily | Move | A closed cupboard, out of reach of kids and pets |
| Chargers and cables | Daily | Move | Drop zone or a single outlet basket outside the kitchen |
The rule of thumb: daily use plus a clear job equals counter space. Everything else gets a home behind a door, on a wall or in a drawer.
What Earns a Spot on the Counter: 5 Items
If you only kept five things out, these are the ones that make a kitchen work and still look calm. Your exact five might look a little different, and that's fine. The point is choosing on purpose.
1. One Daily Appliance
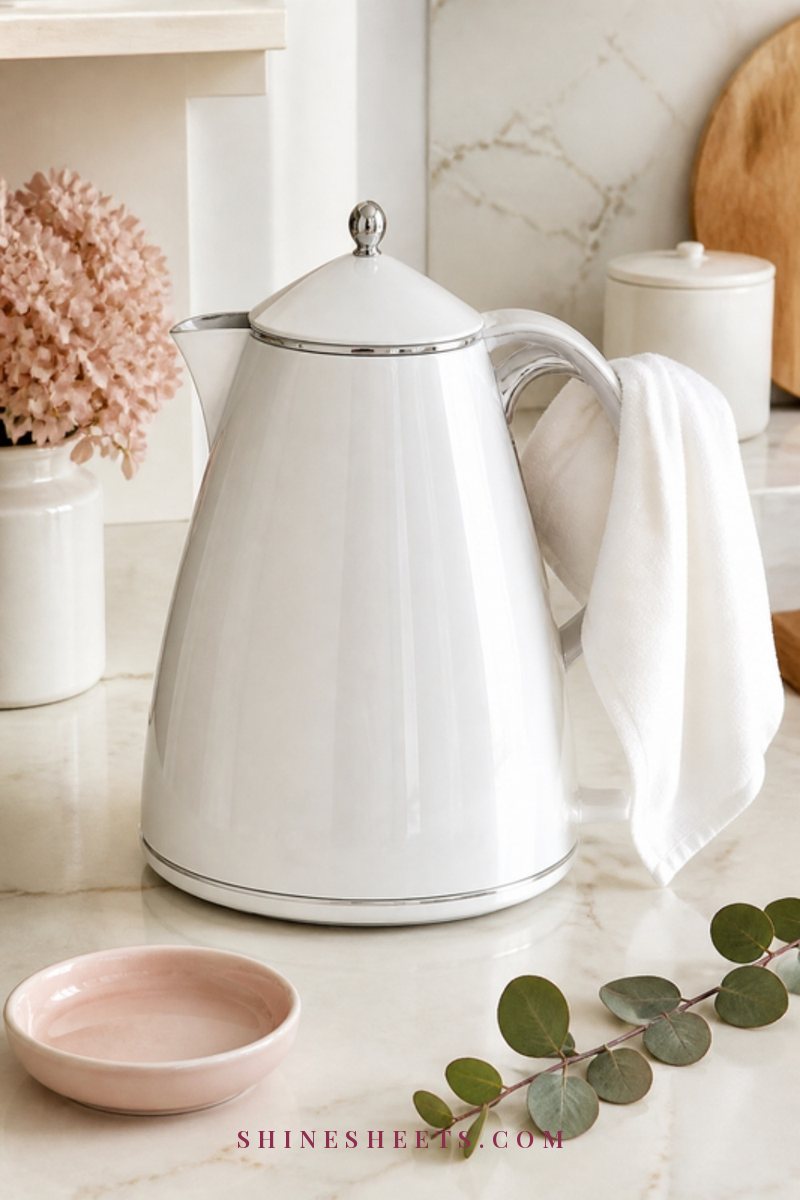
Pick the one appliance you use every single day, usually the kettle or the coffee maker, and give it a permanent spot near an outlet. That's it. If you also use the toaster daily, it can stay, but try living without it on the counter for one week first. Many people find they don't miss it.
Keep about 15 centimeters (roughly 6 inches) of breathing room around any appliance that heats up, and push it toward the back so the front of the counter stays free for prep.
2. A Utensil Crock
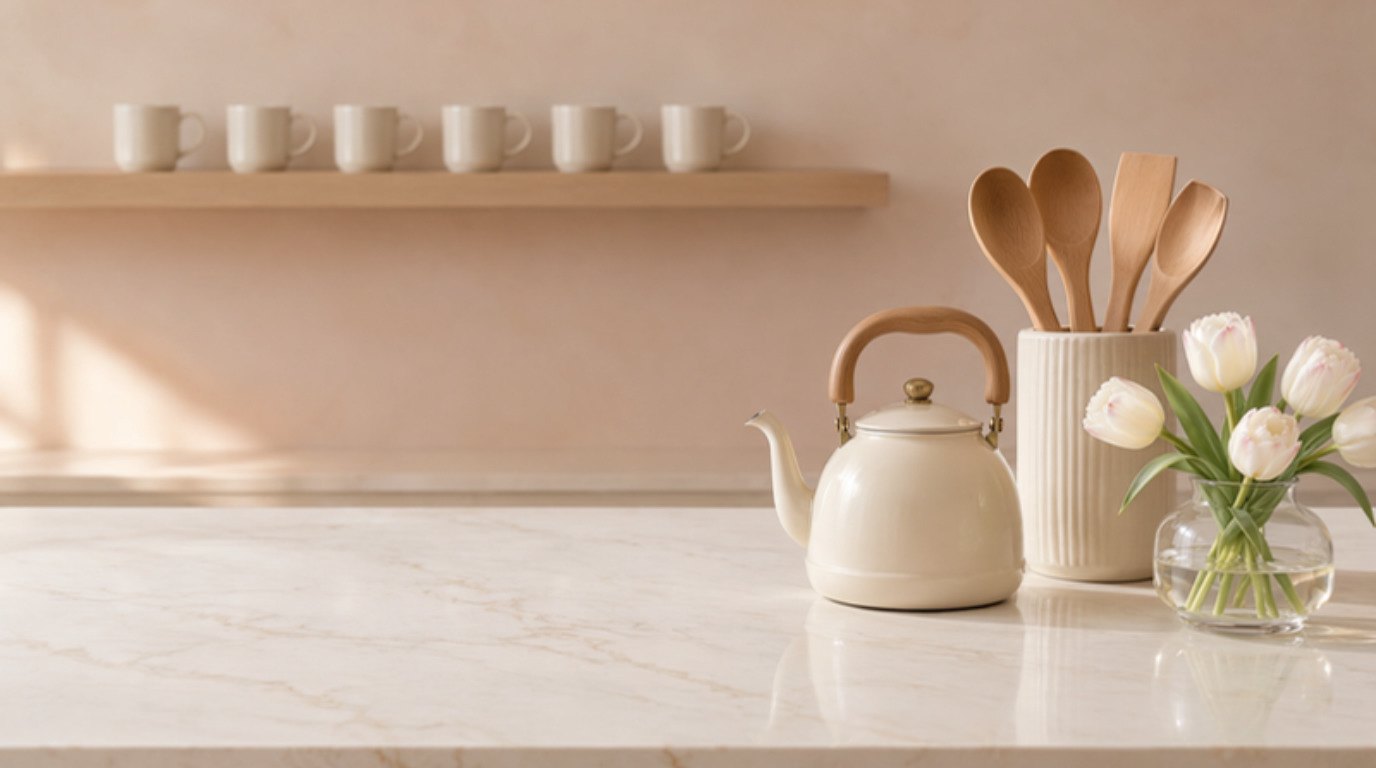
A single holder for the tools you grab while cooking: a spatula, a couple of wooden spoons, tongs, a ladle, a whisk. Cap it at around eight tools; anything you use less than weekly goes into a drawer. A cream ceramic utensil holder looks lovely, is heavy enough not to tip and wipes clean in seconds.
For the rest of your tools, my guide to kitchen drawer organization shows how to sort every drawer so the overflow has somewhere to go.
3. A Cutting Board You Actually Use
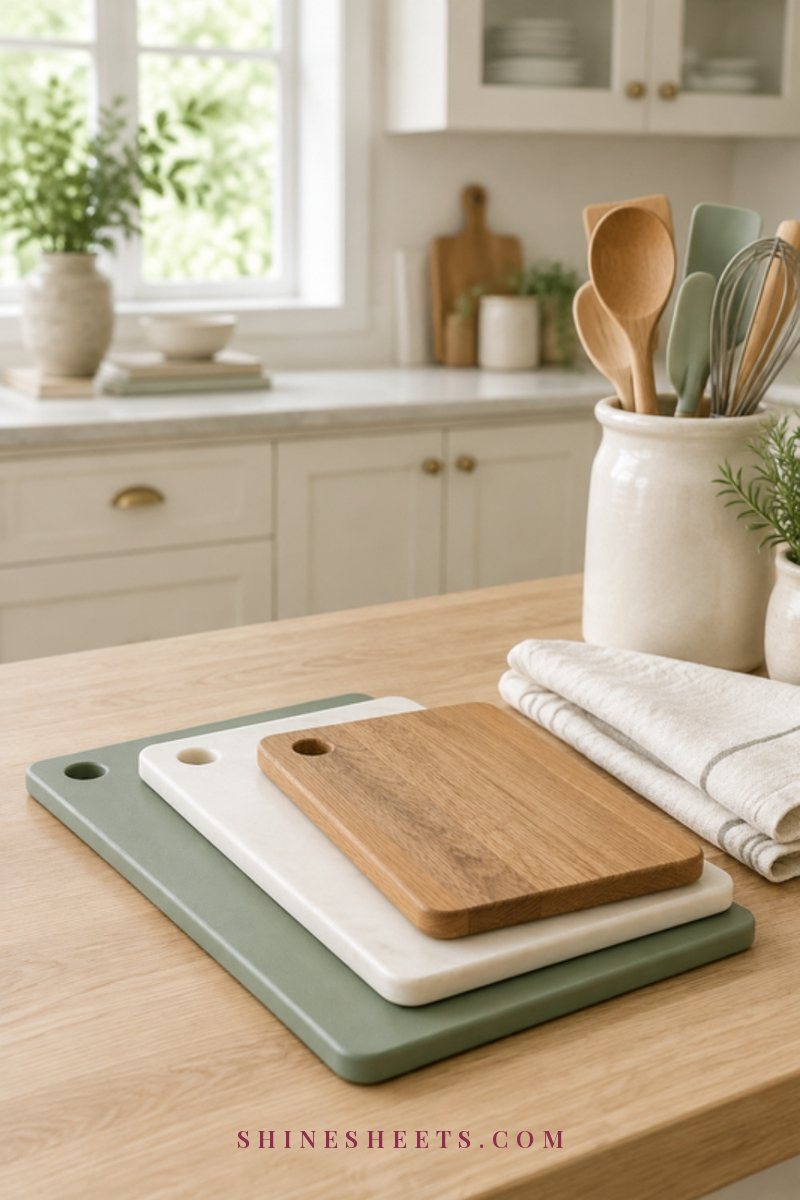
Keep one everyday board out, leaning upright against the backsplash at the back of your prep zone. It saves a trip to the cupboard and doubles as a soft backdrop. Store extra boards vertically in a cupboard with a simple file-style divider.
4. A Soap Station by the Sink
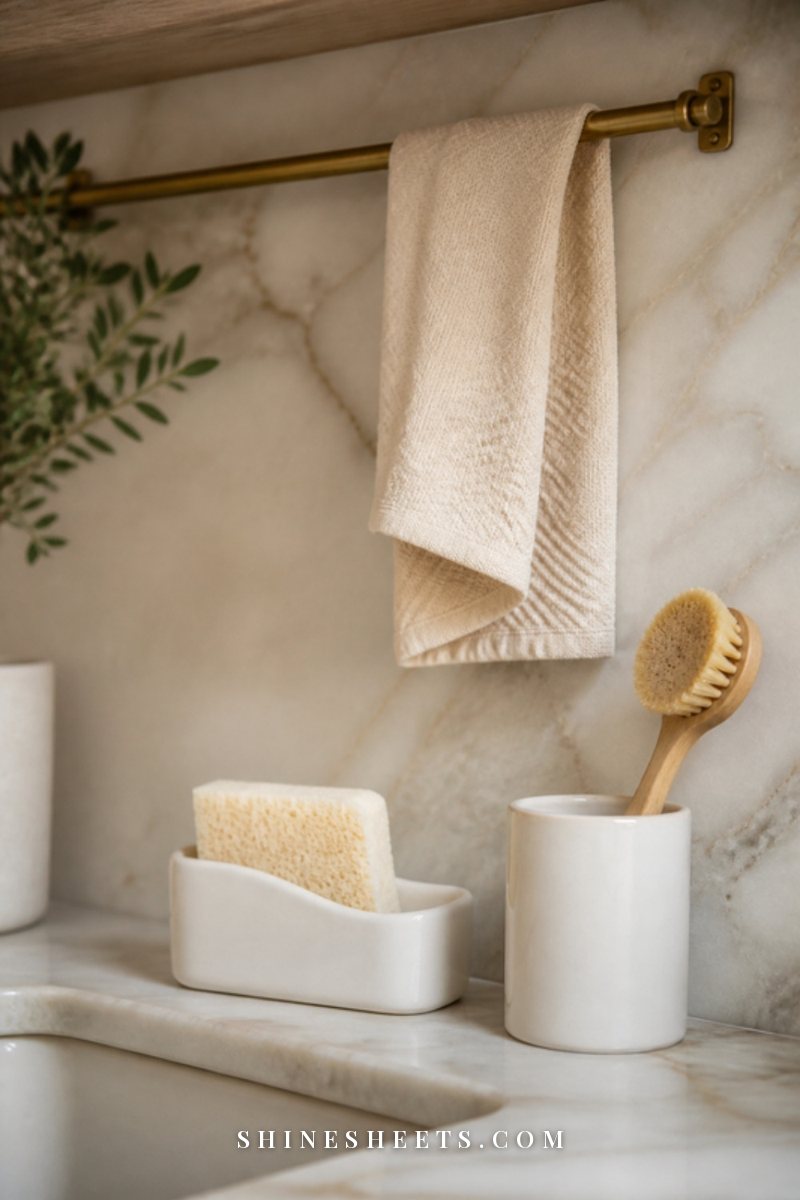
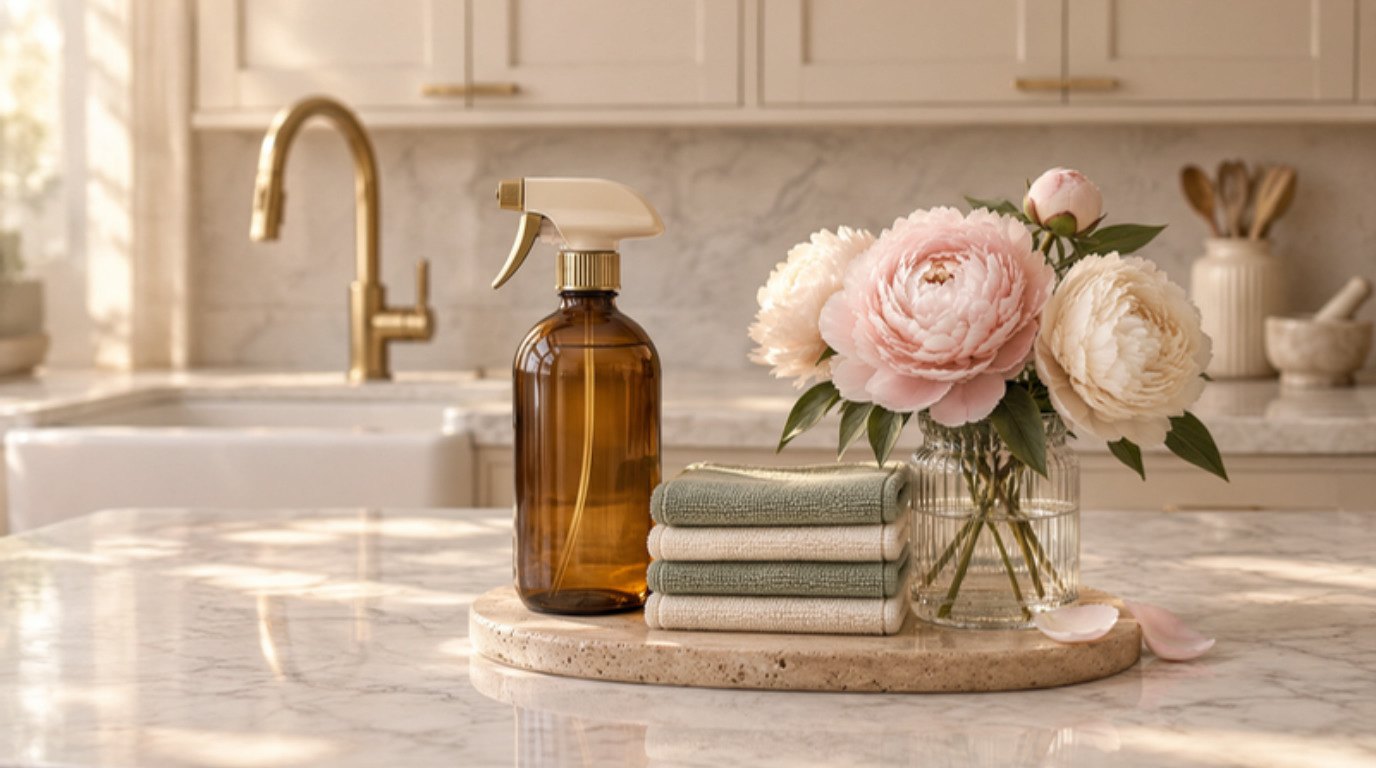
Group dish soap, hand soap and a brush on one small tray so the sink area looks finished instead of scattered. Refillable bottles in one soft color make a big visual difference; a sage glass soap dispenser set is a calm, fresh choice for most kitchens. Wipe under the tray once a week, because water likes to collect there.
5. One Decorative Piece
Choose one thing that's just for joy: a small vase of flowers, a bowl of lemons, a pretty potted herb. One piece looks intentional; three or four start to look like clutter again. Swap it whenever you like, as long as the count stays at one.
Set Up Simple Counter Zones
Zones keep things where you actually use them, which means fewer items wander. Even an L-shaped run of counter in a studio apartment can hold three small zones, with a fourth kept outside the kitchen.
The Prep Zone
Your largest stretch of clear counter, ideally between the sink and the stove. Keep it as empty as possible: just the cutting board leaning at the back. Knives, measuring cups and mixing bowls live in the drawer or cupboard directly below, so you can reach them without stepping away.
The Coffee or Tea Zone
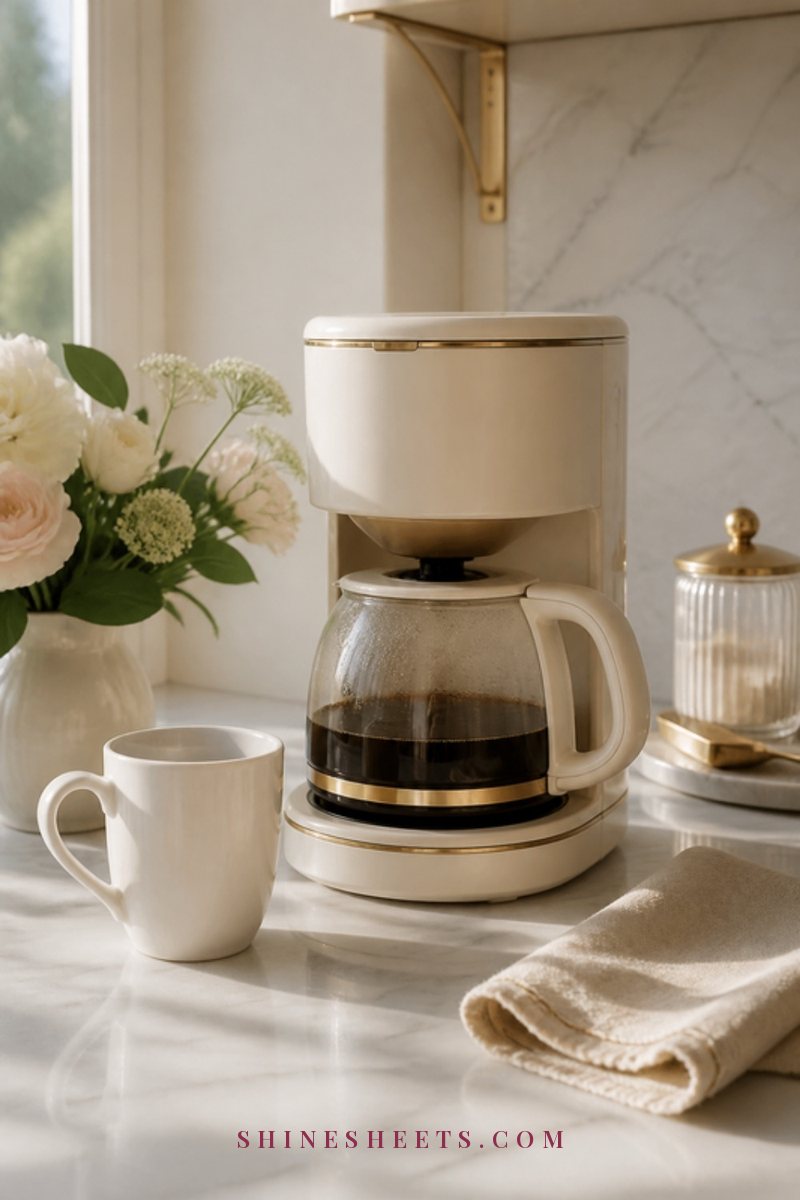
Group your daily drink setup in one spot near an outlet: kettle or coffee maker, two mugs and one small container of tea or coffee. A tray holds it all together and makes wiping easy. Spare mugs live in the cupboard directly above. If you love a slower morning ritual, my coffee corner ideas show how to make this zone feel special without spreading across the whole counter.
The Cleaning Zone by the Sink
The soap station from above, plus a spot for a drying rack if you need one. A roll-up rack that sits over the sink frees up counter space and folds away when you're done. Sponges, spare cloths and cleaning sprays go under the sink, never on the counter.
The Drop Zone (Kept Off the Kitchen)
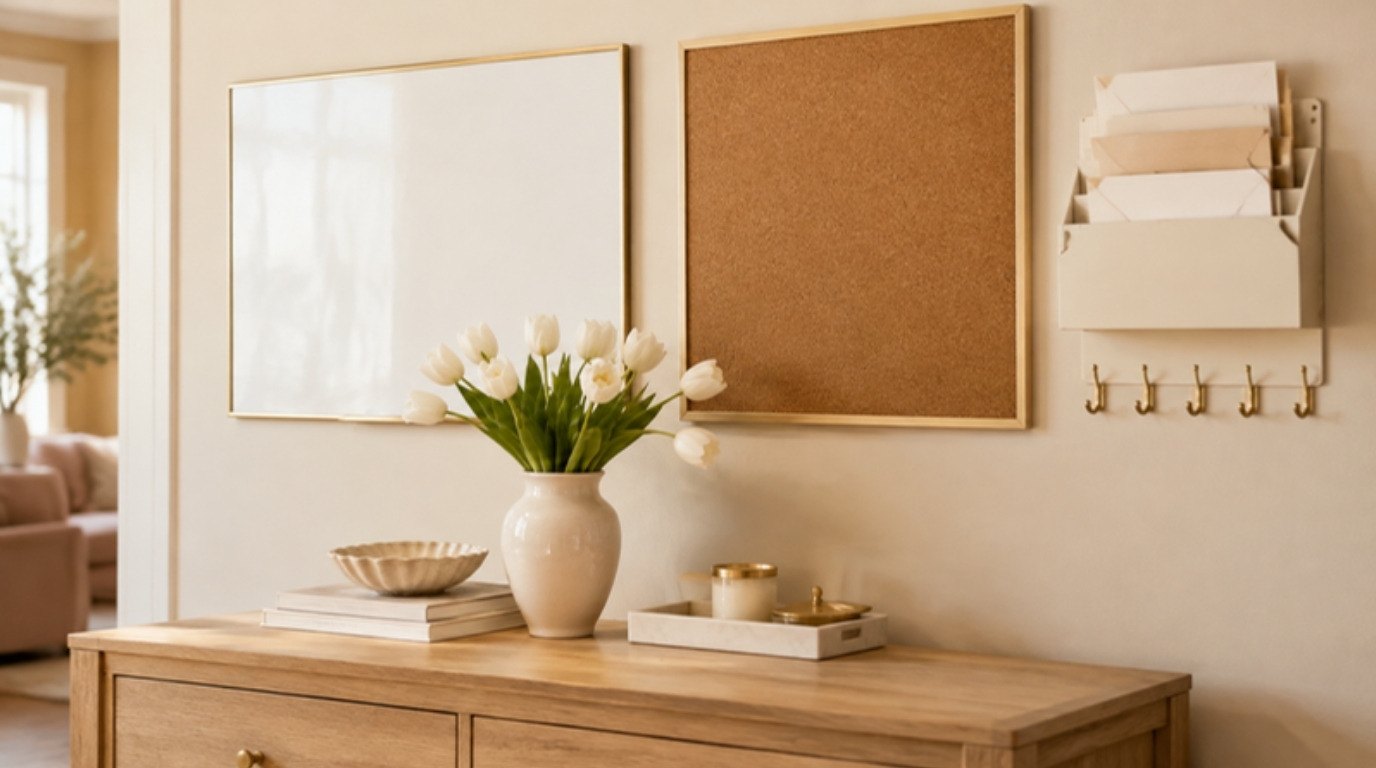
This is the zone that saves your counters most. Set up a landing spot for keys, mail, bags and chargers by your front door or in the hallway: a wall hook for bags, a small bowl for keys and a wall pocket or slim tray for mail. If the entry has no room, a single shelf or cart just outside the kitchen works too. The point is to catch everything before it reaches the counter.
Renter-Friendly Tools That Clear Counters
You don't need a renovation to win back counter space. These tools work in rentals and small kitchens, and most install in under ten minutes.
Trays To Group Things
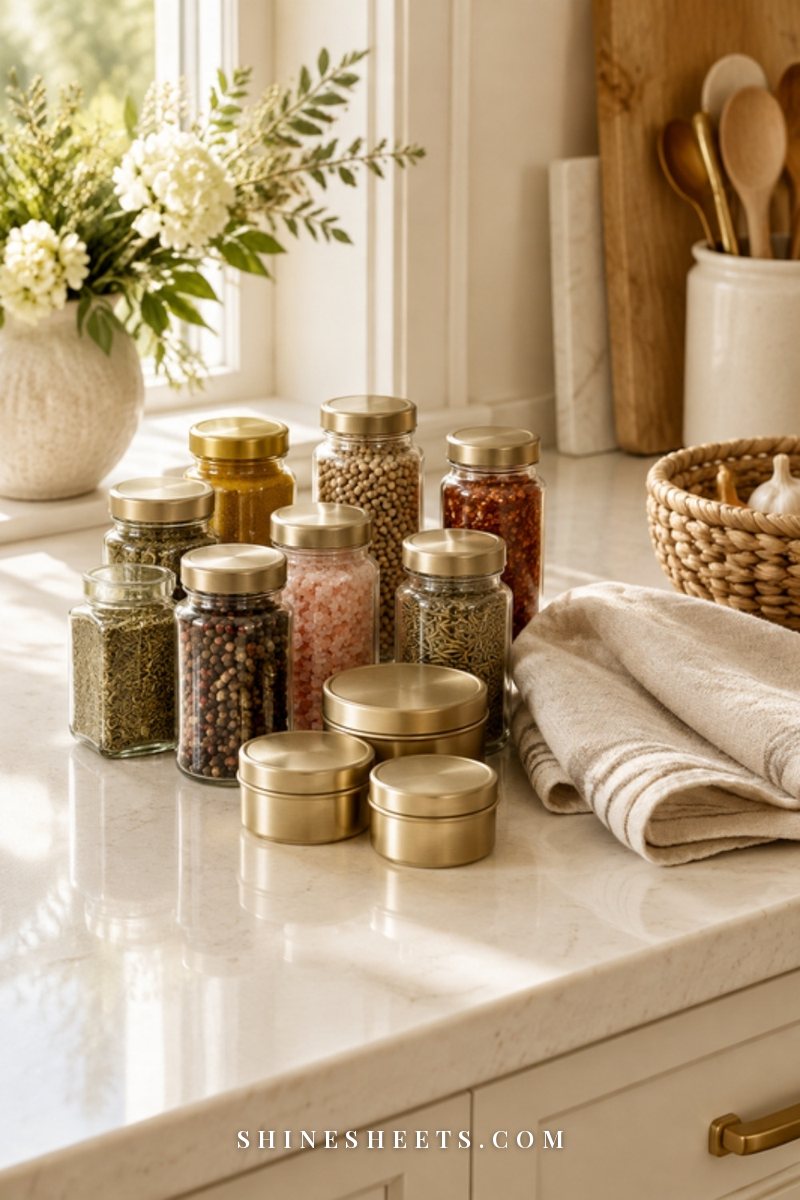
A tray turns three loose items into one tidy unit, and you can lift the whole thing to wipe underneath. Use one by the stove for oil, salt and pepper, one for the coffee zone and one at the sink. A white marble tray is beautiful and heavy enough not to slide, and it handles drips well.
Risers and Shelves
If a corner of your counter must hold several small items (spices you use daily, a few jars), go vertical. Clear stackable risers double the usable space in a corner and nearly disappear visually. Keep risers in back corners only, where they don't eat into prep space.
Wall Rails and Hooks
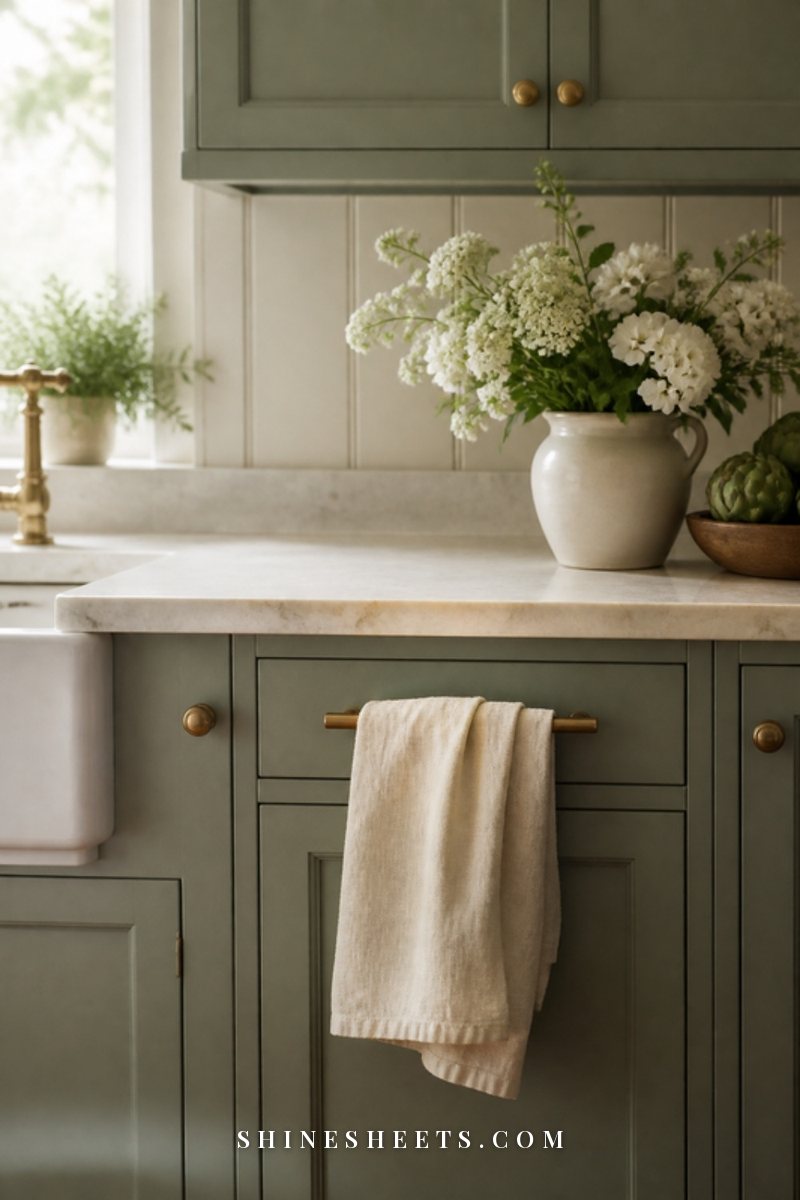
The wall above your counter is free real estate. A wall rail with hooks can hold utensils, a tea towel, small pans or a hanging basket for fruit. In a rental, look for adhesive versions rated for the weight you need, or ask your landlord about a couple of small screw holes (many are fine with it, and the holes are easy to fill when you move out). Test adhesive on a hidden spot first, and keep heavy items off adhesive rails.
Under-Cabinet Strips and Hooks
The underside of your upper cabinets is another overlooked spot. Adhesive under-cabinet mug hooks, an under-cabinet paper towel holder or a slim strip for tea towels all lift items off the counter without taking any visible space. Hang only what you use daily here (two or three mugs, not the whole collection), so the area under the cabinets stays light and doesn't start to feel like a second cluttered counter.
If you're curious about more no-drill changes, my list of renter-friendly kitchen upgrades has plenty of easy ideas.
An Appliance Garage in a Cupboard
Choose the cupboard closest to an outlet and make it the home for weekly appliances: blender, food processor, toaster if it didn't make the cut. Store them at the front, cords wrapped and secured with a reusable tie, so pulling one out takes two seconds. If it's easy to get out, you'll actually put it back.
No spare cupboard? Clear one shelf in a pantry or hall closet, or slide a sturdy lidded basket onto a low open shelf. The appliance still has a home, and that's what matters.
If Your Counter Space Is Really Tiny
Some kitchens have barely one stretch of counter, and that's okay. When every inch counts, a few extra tricks help:
- Add temporary prep space. An over-the-sink cutting board or a board laid across an open drawer gives you a work surface only when you need it, then tucks away.
- Bring in a slim rolling cart. A narrow cart in white or cream can hold the coffee setup or the fruit bowl, and it rolls out of the way when you're cooking. Keep it to one zone's worth of items so it doesn't become a new clutter magnet.
- Use the inside of cupboard doors. Adhesive hooks or a slim rack inside a door can hold measuring spoons, pot lids or a cutting board.
- Shrink your five to three. In a truly tiny kitchen, try keeping just the kettle, the utensil crock and the soap station out. Everything else earns its spot only while you're using it.
- Keep the windowsill simple. One small herb pot is lovely; a windowsill full of jars and sponges is just counter clutter moved up a level.
Small kitchens actually stay tidy more easily once they're set up, because there's no room for things to pile up quietly. Every item has to justify itself.
Keep Cords and Heat Sources Clear
A clear counter is also a safer counter. A few simple habits:
- Keep paper towels, tea towels, wooden boards and packaging away from the stove and toaster.
- Unplug small appliances you're not using, and keep cords from hanging over the counter edge where they can be pulled or caught.
- Keep appliance cords away from the sink and from water spills.
- Don't tuck a hot appliance into a cupboard right after use; let it cool on the counter first.
- When wiping, use one cleaner at a time and never mix bleach with vinegar or ammonia.
The 2-Minute Reset After Dinner
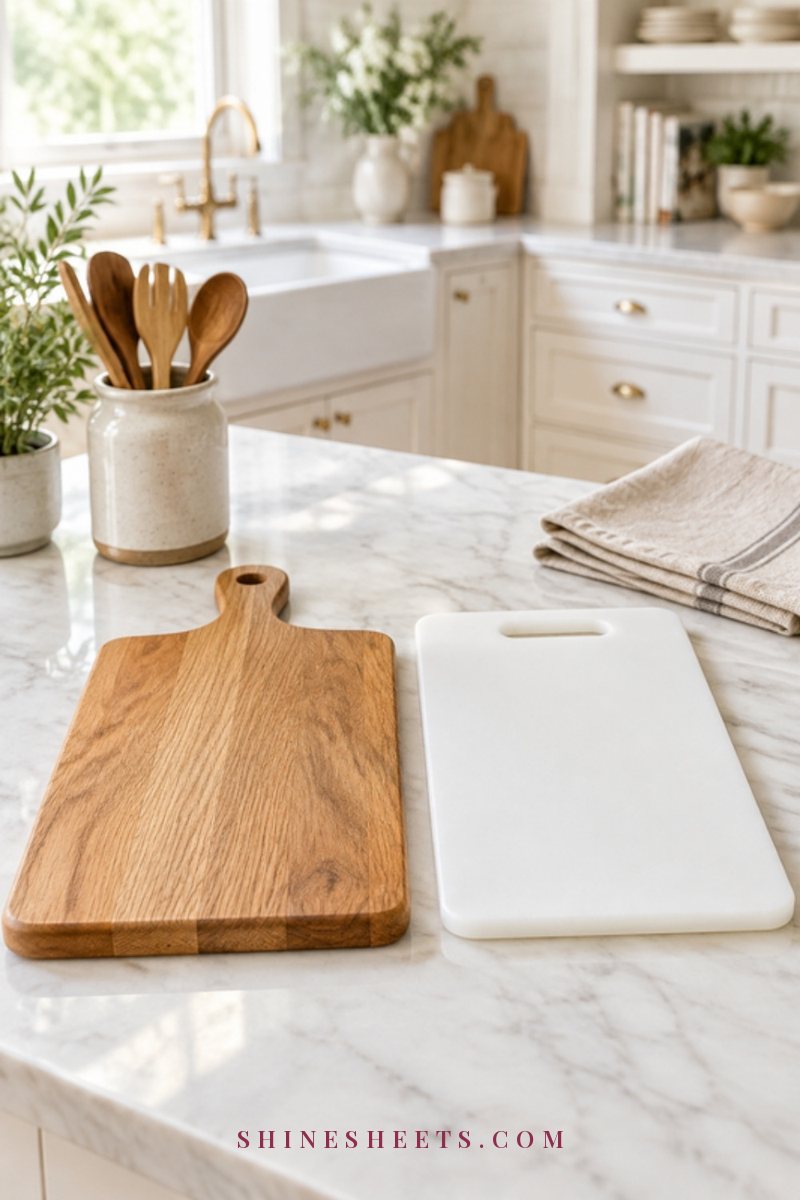
This is the habit that keeps counters clear for good. After dinner (or whenever your kitchen day ends), set a two-minute timer and do this, in order:
- Put away anything that doesn't live on the counter.
- Return the five counter items to their spots.
- Give the counter a quick wipe with a damp cloth.
- Hang or fold the tea towel.
Two minutes, every day, beats a two-hour clear-out every month. I like to do mine while the kettle heats for my evening tea, so the habit is tied to something I already look forward to.
The One-In Rule
Whenever something new wants a spot on the counter (a new gadget, a pretty canister, a gift), something else has to move off. One in, one out. It keeps the count steady without any big decluttering sessions, and it makes you pause before buying another thing that needs counter space.
When the Counters Fill Up Anyway
They will, sometimes. A busy week, guests, a stretch of feeling low on energy, and suddenly there's a pile again. That's normal, not a failure. Instead of starting over from scratch, do a quick ten-minute version of Step 1: pull off everything that isn't one of your five, put each thing in its home and wipe the surface.
If the same item keeps landing on the counter, treat it as information. It probably needs a home that's closer or easier to reach. Move its home instead of fighting the habit, and the pile usually stops for good.
Final Thoughts
Clear counters don't come from perfect organizers or a bigger kitchen. They come from a few clear decisions: what earns the space, where everything else lives and a tiny daily reset that keeps it that way.
Start with the clear-and-sort, choose your five, set up your drop zone outside the kitchen and give the two-minute reset a week. Your counters will start to feel like a calm, open space again, ready for whatever you want to make on them.