Jewelry doesn't tangle because you're messy. It tangles because fine chains, hooks and clasps were never meant to share one dark little pile. Give every piece its own spot, make that spot easy to reach, and almost all of the knotting, losing and tarnishing just stops.
The good news is that you don't need a walk-in closet or a custom drawer system. You need a short edit, a few smart storage choices matched to each type of piece, and one small habit at the end of the day. It took me a while to admit that my "jewelry box" was really a drawer of mystery knots, and once I stopped trying to store everything the same way, keeping it neat became almost effortless.
This guide walks you through how to organize jewelry step by step: how to edit what you own, how to sort it, the best storage for necklaces, earrings, rings and bracelets (with a "storage by jewelry type" table you can screenshot), drawer vs. wall vs. jewelry box options, how to slow down tarnish, gentle cleaning basics, small-space ideas and how to travel without a single knot.
Pour yourself an evening tea, clear a spot on your bed or table, and let's make your jewelry a little joy to open again.
Why Jewelry Tangles, Tarnishes and Disappears
Before you buy a single organizer, it helps to know what you're actually fixing. Most jewelry chaos comes down to three things:
- Movement. Every time a drawer opens or a box gets jostled, loose chains slide over each other and loop through clasps. Movement plus fine chains equals knots.
- Air and moisture. Sterling silver darkens when it reacts with sulfur compounds in the air, and humidity speeds it up. Plated pieces wear faster when they rub against each other and sit in damp spots.
- No "home." A single earring goes missing because it was set down "just for a second" on the sink, the nightstand or a coat pocket. Without a landing spot, pieces scatter.
Everything in this guide solves one of those three problems: keep pieces still and separate, keep them dry and covered, and give them a place to land every single day.
Step 1: Edit Before You Organize
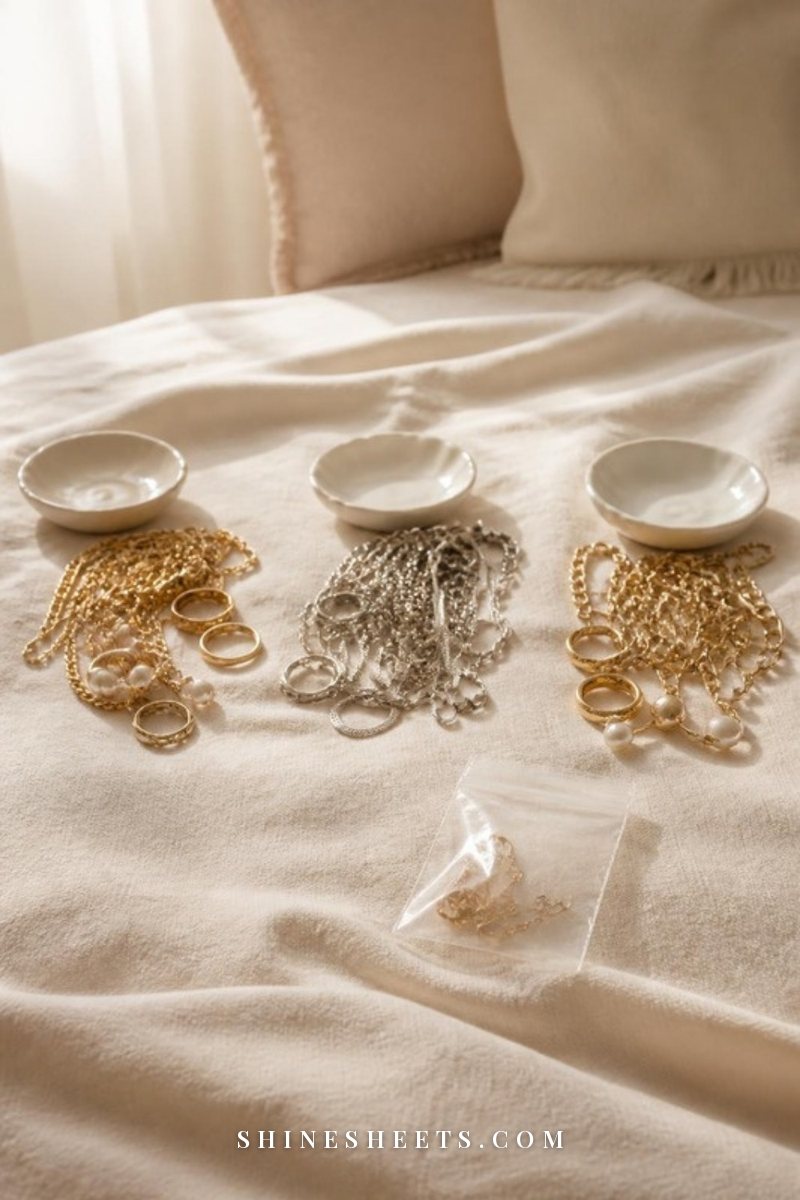
Organizing jewelry you never wear is just storing clutter more prettily. Start with an edit. Pour everything out onto a light towel or pale bedsheet (a light background makes tiny earring backs easy to spot) and make three piles:
- Keep. You wore it in the last year, you love it, or it carries real sentimental value. Sentimental pieces you don't wear can stay too, they just get their own little box (more on that below).
- Repair. Broken clasps, missing stones, single earrings with a lost partner, knotted chains you've been "meaning to fix." Put these in a small zip bag with a sticky note and set a date to deal with them. If a piece has sat in the repair pile for a year, be honest about whether it belongs in the third pile.
- Donate or let go. Pieces that turn your skin green, irritate your ears, don't match your style anymore or were gifts you never quite liked. You're allowed to let them go with a kind thank-you in your head.
A quick rule that helps: if you wouldn't wear it this month, ask whether you'd buy it again today. If the answer is a clear no, it doesn't need prime storage space.
Lone earrings deserve a special mention. Give them one week in a small dish. If the partner turns up, wonderful. If not, a single stud can become a second-hole earring, and the rest can go.
Step 2: Sort by Type and How Often You Wear It
Once the edit is done, sort what's left in two directions. First by type: necklaces, earrings, rings, bracelets and brooches or pins. Then, within each type, by how often you reach for it:
- Everyday pieces. The studs, the thin chain, the ring you basically never take off. These go in the easiest, most visible spot, within arm's reach of where you get dressed.
- Weekly rotation. The pieces you love for work, weekends and dinners. These can live in a drawer insert or jewelry box that's a few seconds away.
- Special occasion and sentimental. Heirlooms, statement pieces, the pearls you wear twice a year. These go in a closed, padded box, ideally lined and covered, where they're safe but not in the way.
Within each group, I like to sort by metal too: gold with gold, silver with silver. It looks calmer, and it makes getting dressed faster, because you're choosing within one tone instead of untangling a mixed heap. If you love mixing metals, my guide on how to layer necklaces and stack rings has simple rules for doing it on purpose.
Storage by Jewelry Type: The Tangle-Proof Table
This is the heart of the whole system. Every jewelry type has a different weak spot, so it needs a different home. Screenshot this table and use it as your shopping and sorting guide:
| Jewelry type | Best storage | Tangle-proof trick |
|---|---|---|
| Fine chains and pendants | Hung on hooks or laid flat in individual long slots | Thread one end through a drinking straw and close the clasp outside it |
| Chunky or statement necklaces | Wall hooks or a wide padded drawer section | Hang by the clasp so the weight pulls the chain straight |
| Stud earrings | Grid tray with small square compartments | Push studs through a piece of felt or card, backs on |
| Hoops and drop earrings | Acrylic earring holder or hanging bar | Hang each pair from the same hole so they stay together |
| Rings | Ring roll or slotted velvet tray | Keep stones facing up and away from neighboring rings |
| Bangles and cuffs | Stacked in a long tray section or on a T-bar | Store in sets you actually wear together |
| Delicate bracelets | Laid flat in a lined slot or hung on a T-bar | Close the clasp before storing, every time |
| Pearls | Flat in a soft pouch or lined box | Never hang strands, the silk can stretch |
| Brooches and pins | Pinned into a small fabric-covered board or lined box | Close the pin clasp so it can't snag fabric |
Notice the pattern: the more delicate the piece, the more it needs to be still and separate. The sturdier the piece, the more freedom it can have.
Necklaces
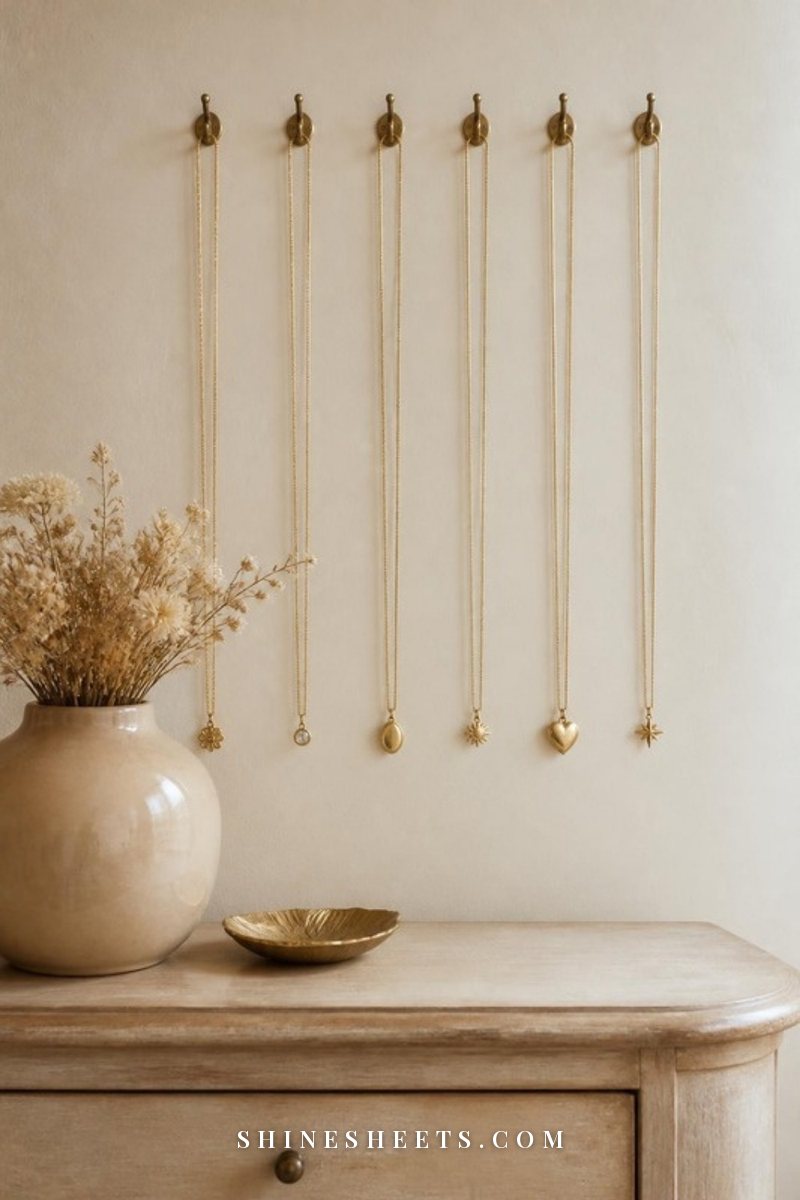
Necklaces are the number one tangling culprit, so they get the most care. You have two good options:
- Hang them. A row of small hooks inside a closet door, on the side of a dresser or on a wall bar keeps every chain straight. Hang each necklace by its clasp, one per hook, so gravity does the untangling for you. Space hooks about two inches apart so pendants don't touch.
- Lay them flat. If you prefer everything hidden, choose a drawer insert with long, narrow slots and lay one necklace per slot, clasp closed, pendant at the bottom.
The straw trick is the classic for a reason. Cut a plain drinking straw to roughly half the chain's length, feed one end of the chain through it, and fasten the clasp. The chain can't fold back on itself, which means no knots in drawers, bags or suitcases. For very fine chains, a short piece of straw at the clasp alone is often enough.
Layered necklace sets you wear together can share one hook, but only if they're already clasped and you hang them at their worn lengths.
Earrings
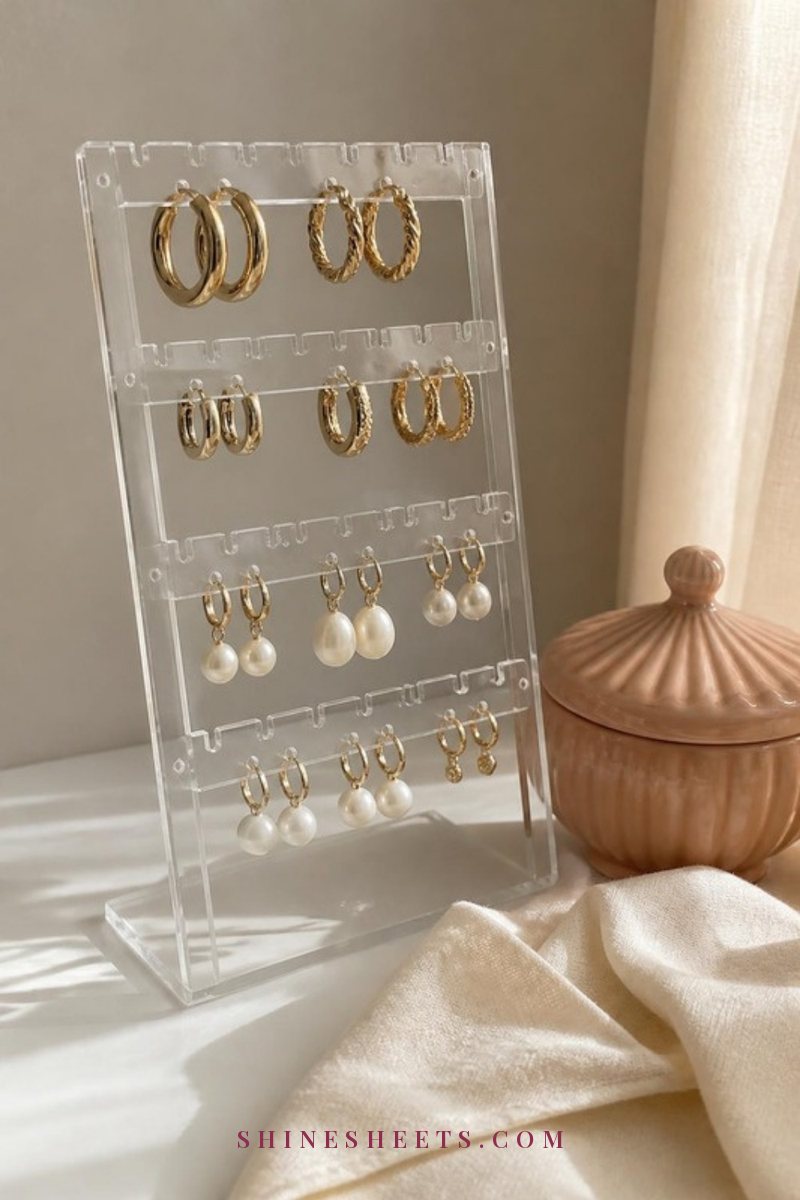
Earrings get lost because they come in pairs and are tiny. The fix is storage that holds the pair together:
- Studs do best in a grid tray, one pair per square. If you have dozens, push them through a strip of felt or a small card, backs on, and stand the cards in a drawer like files.
- Hoops and drops love to hang. An acrylic earring holder with rows of small holes lets you see every pair at once and takes up very little counter space. Hang both earrings of a pair from neighboring holes, always in the same order, so your eyes learn the layout.
- Earring backs wander off constantly. Keep a tiny lidded dish of spares (silicone backs are cheap and easy to find) right next to your earrings.
If you have sensitive ears, keep the pairs that never irritate in your everyday spot and the "only for a few hours" pairs one row further back, so you don't grab the wrong ones in a rush.
Rings
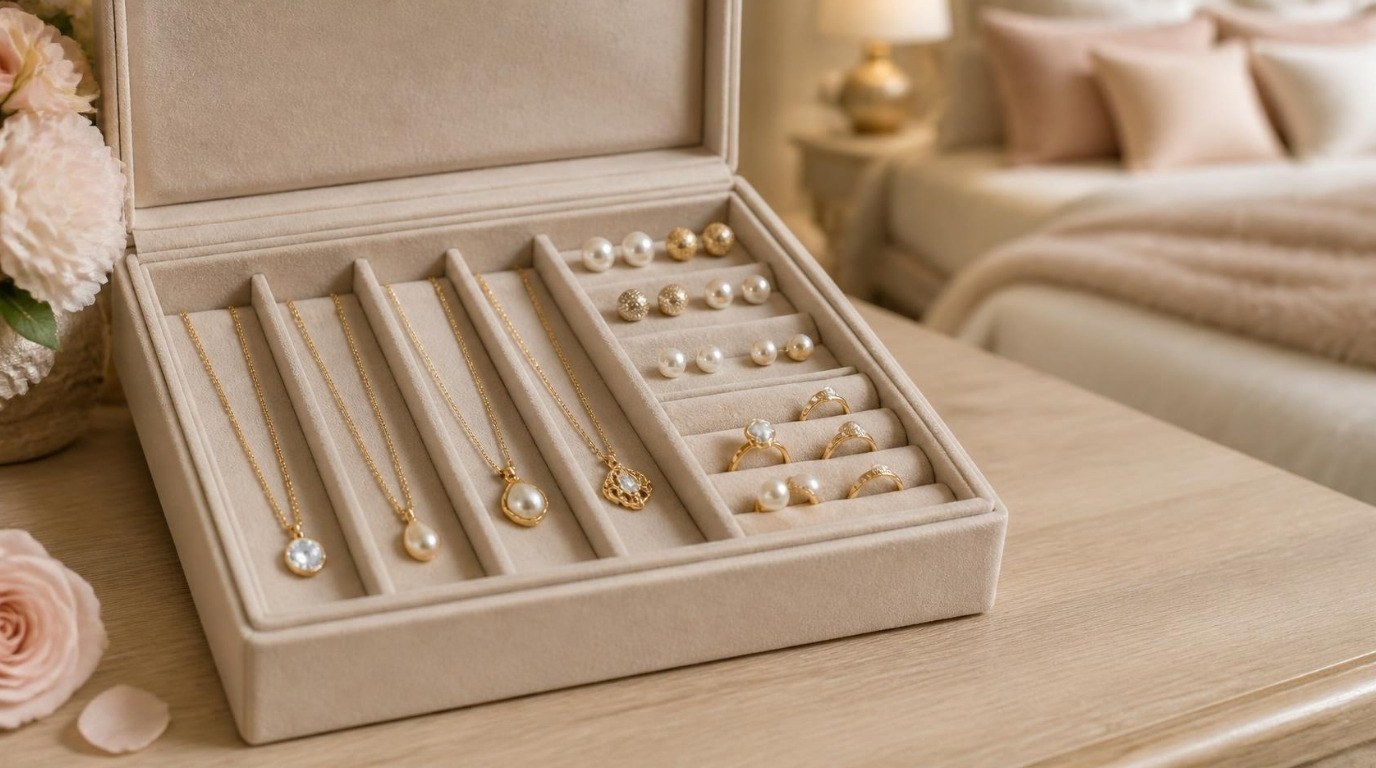
Rings are small, slippery and easy to scratch against each other, so they need a slot each. A ring roll (a padded fabric bar that rings slide over) or a velvet tray with narrow grooves keeps them upright, separated and easy to see. Line them up from everyday rings at the front to special ones at the back.
Stone rings need a little extra room. Give them a groove with an empty space on each side so the stones can't knock against metal bands. And if you take rings off during the day (to wash dishes, apply hand cream or cook), you need a second, smaller home for them by the sink. A tiny gold-trimmed ring dish next to the soap is the simplest insurance against a ring slipping down the drain.
Bracelets
Bracelets come in two personalities. Bangles and cuffs are sturdy, so they can stack in a long tray section or slide onto a T-bar stand. Store them in the sets you actually wear together, so getting dressed is one grab instead of five.
Delicate chain bracelets behave like tiny necklaces. Close the clasp before you put them away, then lay them flat in a lined slot or hang them on a T-bar. Never toss them loose into a dish with rings, they'll wrap around everything within a day.
Drawer, Wall or Jewelry Box: Which Storage Is Right for You
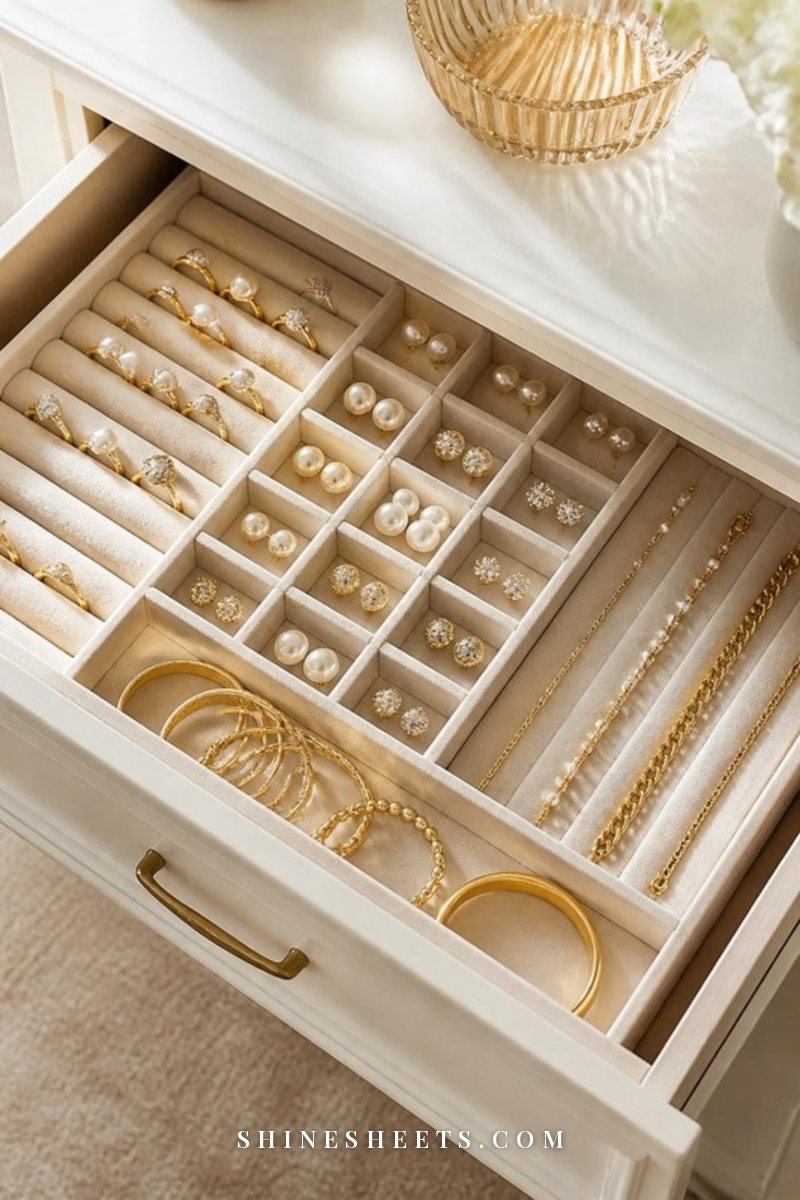
There's no single "best" jewelry storage. The best one is the one that matches your space and how you like to see things. Here's how the three main options compare:
- Drawer organizers are ideal if you love a clean, clear surface. A stackable velvet jewelry tray insert turns any shallow drawer into a jewelry drawer. Measure the inside of your drawer first, then mix tray types: one with long slots for necklaces, one grid for earrings, one ribbed for rings. Shallow drawers (about three to four inches deep) work best, because nothing gets buried.
- Wall or closet display is perfect if you're an "out of sight, out of mind" person. Hooks, a hanging bar or a pegboard on the inside of a closet door keep everything visible and tangle-free. The trade-off is dust and light exposure, so keep special or silver pieces covered elsewhere.
- A jewelry box is the classic for a reason, and the best choice for silver and anything precious. Look for a lined interior, separate compartments, a removable tray and a lid that closes properly. A cream jewelry box with a mirror in the lid works nicely on a dresser and lets you check earrings without walking to the bathroom.
Many people end up with a mix: everyday pieces on display or in a tray on top, the weekly rotation in a drawer, and the special pieces in a closed box. That's not indecision, it's a smart system. If you're already rearranging your closet, my guide on how to organize a closet in one afternoon shows how to fit a jewelry corner into it naturally.
How To Prevent Tarnish
You can't stop tarnish forever, but you can slow it down dramatically. These habits do most of the work:
- Keep it dry. The bathroom is the worst place for jewelry storage, because shower steam is constant moisture. Store pieces in a bedroom or closet instead, and only keep your little sink ring dish in the bathroom.
- Keep it covered. Air exposure drives tarnish, so silver lasts longest in a closed box or a small zip bag with the air pressed out.
- Use anti-tarnish strips. Small anti-tarnish strips absorb the compounds that darken silver. Tuck one into each closed box or drawer section and replace them as the package directs (often every few months).
- Put it on last, take it off first. Perfume, body lotion, hairspray and sunscreen all speed up dulling and tarnish. Finish your whole routine, let everything dry, then add jewelry. At night, jewelry comes off before you wash your face.
- Wipe before you store. A quick wipe with a soft, dry cloth removes skin oils and lotion residue before they sit on the metal all night.
- Don't swim or shower in it. Chlorine and hot water are hard on most metals and on stones, and soap film dulls sparkle fast.
- Add a tiny silica gel packet. If you live somewhere humid, a small packet in your jewelry box helps keep the air inside dry.
Plated jewelry is a little different: the thin layer of gold wears with friction, so for plated pieces the biggest win is storing them separately so they don't rub against harder metals.
Create a Daily Landing Tray
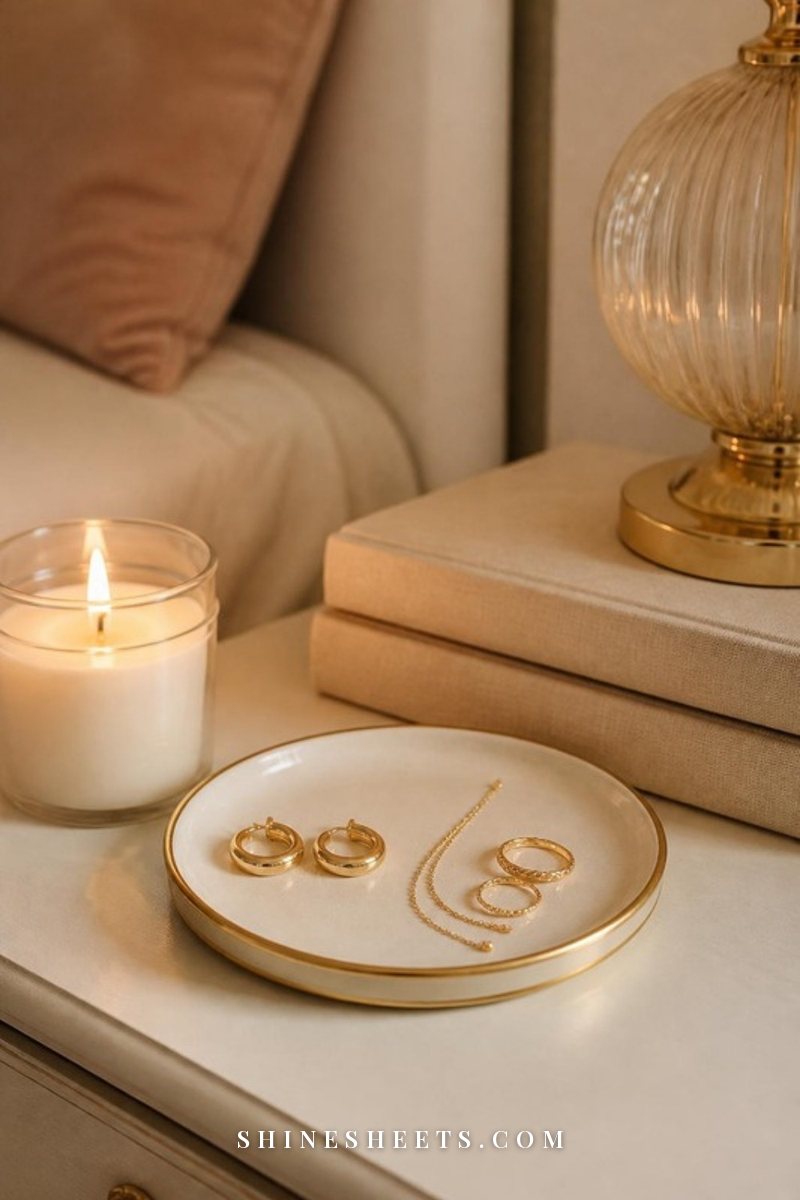
Here's the habit that keeps the whole system working. Most jewelry chaos doesn't happen in the drawer. It happens at the end of a long day, when you pull off your earrings and drop them on whatever surface is closest.
A landing tray is one small, pretty dish or tray in the spot where you actually take jewelry off. For most people that's the nightstand or the dresser. Everything you wore today goes there, nowhere else. Then, once or twice a week (I like to do it on a Sunday evening), you return the pieces to their real homes in about two minutes.
A few details make it work:
- Keep it small. A tray about the size of your palm can't become a second junk pile. If it overflows, that's your cue to put things away.
- Choose a lined or smooth surface. A ceramic dish or a tray with a soft lining keeps metals from scratching.
- Put it where your hands already go. If you take earrings off by the bathroom sink, the tray goes on the dresser right outside the bathroom, not across the room.
The landing tray can be beautiful, too. It's one of the easiest ways to make a nightstand look styled rather than cluttered, and my guide on nightstand styling shows how to fit one in with a lamp, a book and a candle.
Gentle Cleaning Basics
A clean piece looks more expensive and tarnishes more slowly, but cleaning jewelry should always be gentle. Here's the simple routine most everyday pieces can handle:
- Fill a small bowl with warm water and a drop of mild, unscented dish soap.
- Dip solid gold, silver and sturdy stone pieces for a minute or two, not longer.
- Brush gently with a soft, clean toothbrush, paying attention to the back of settings and the links of chains, where lotion builds up.
- Rinse in clean water over a bowl, never over an open drain.
- Dry completely with a soft, lint-free cloth, then let pieces air-dry on a towel for an hour before storing. Trapped moisture is tarnish's best friend.
A few kind exceptions: pearls, opals, turquoise and other soft or porous stones should never be soaked. Wipe them with a soft, slightly damp cloth and let them dry flat. Plated and costume pieces also prefer a quick wipe over a soak, because water can loosen glue and wear the plating. For silver, a dedicated silver polishing cloth handles light tarnish without any liquid at all. And for anything valuable, old or set with delicate stones, a professional jeweler's cleaning is the safest choice.
A good rhythm: wipe pieces you wear daily once a week, and do the warm-water clean about once a month.
Small-Space Jewelry Organization Ideas
If you don't have a dresser with spare drawers, there's still plenty of room. You just have to look up, look inside and look sideways:
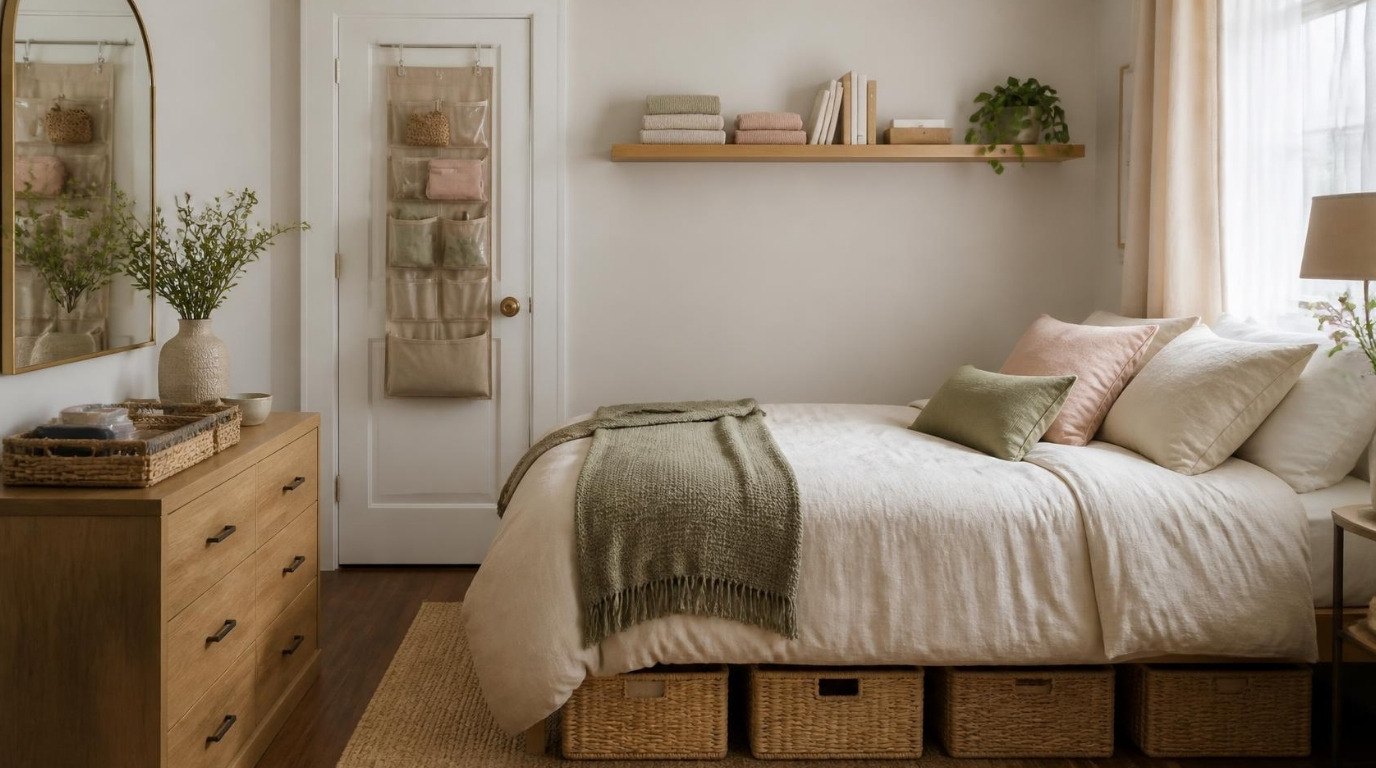
- Inside a closet door. A row of adhesive hooks or a slim over-the-door organizer with clear pockets holds necklaces and earrings without using any floor or surface space.
- One shallow drawer, fully lined. Even a single nightstand drawer can hold an entire jewelry collection with stackable trays. Divide it into everyday, rotation and special zones.
- A slim wall bar. A short decorative rail with S-hooks next to your mirror becomes a necklace and bracelet display that doubles as decor.
- A shadow box or framed board. A fabric-backed board in a frame holds earrings and brooches like a small art piece, which suits a small bedroom where every wall needs to earn its place.
- Repurposed pieces. An ice cube tray in a drawer, a small cake stand on a shelf or a teacup and saucer for rings all work beautifully. You probably already own one of them.
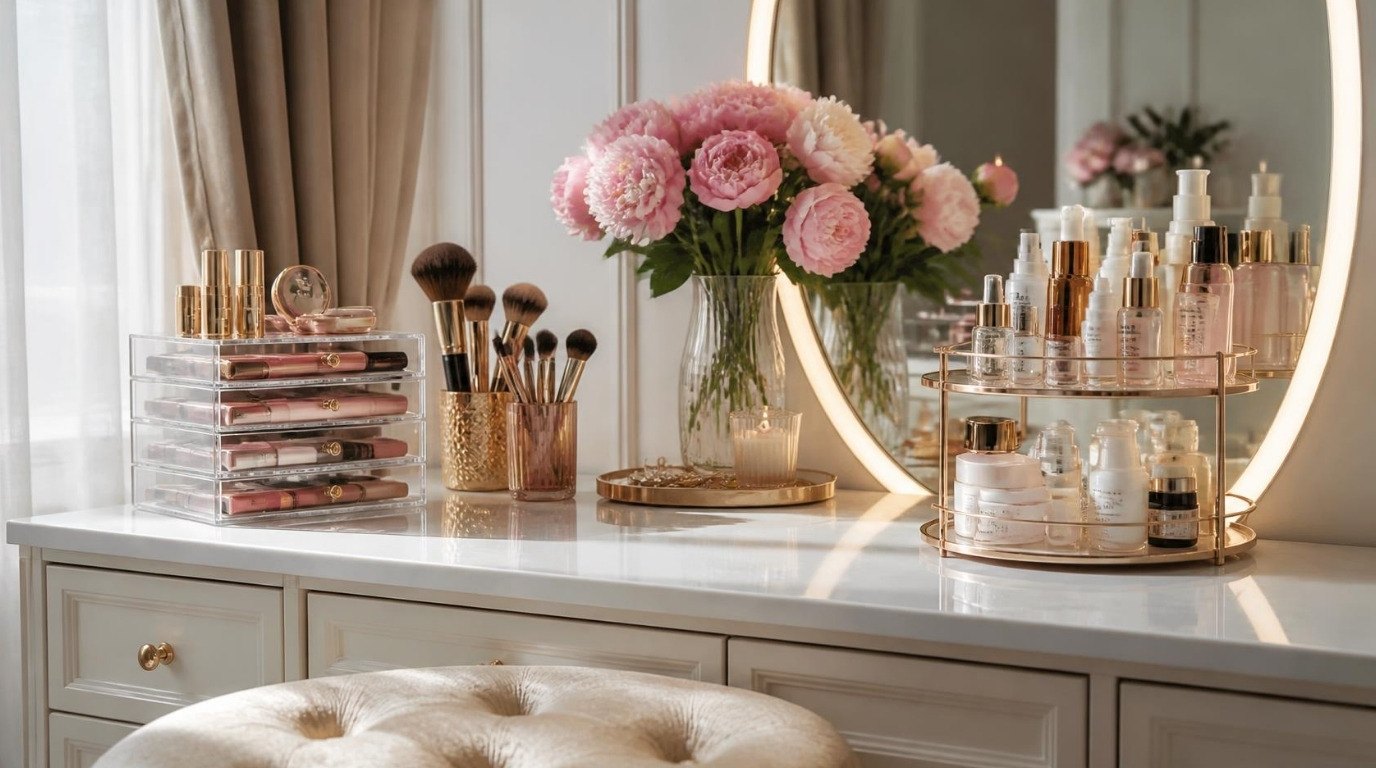
- A vanity corner. If you get ready at a vanity, give jewelry one clearly separate tray so it doesn't mingle with makeup. My vanity organization guide has ideas for dividing that space so both stay tidy.
Whatever you choose, keep it within one or two steps of where you get dressed. Storage that's even slightly inconvenient slowly turns back into a pile.
How To Travel With Jewelry Without Tangles
Travel is where even organized jewelry falls apart, because suitcases move constantly. A few rules keep pieces safe:
- Pack less. Choose a small capsule: one pair of everyday studs, one pair of statement earrings, one or two necklaces and your usual rings. Pieces that go with everything you're packing earn a spot, everything else stays home.
- Use a dedicated case. A blush travel jewelry case with a ring roll, earring panel and a few zip pockets keeps everything separate in a space about the size of your palm. It also makes hotel-room unpacking take ten seconds.
- Use the straw trick for every chain. It's even more useful in a suitcase than in a drawer.
- Keep valuables with you. Anything precious or sentimental goes in your carry-on or personal bag, never in checked luggage.
- Bring a small dish or use a hotel cup. Give your jewelry a landing spot in the room on night one, so nothing gets left on the sink at checkout.
For the rest of your bag, my carry-on packing list helps you pack light enough that your little jewelry case always has a spot.
Your 30-Minute Jewelry Reset
If all of this feels like a lot, here's the short version you can finish in one evening:
- Minutes 1–5: Pour everything onto a light towel.
- Minutes 5–12: Edit into keep, repair and let go. Bag the repairs and bag the donations.
- Minutes 12–16: Sort the keep pile by type, then by everyday, rotation and special.
- Minutes 16–24: Give every piece a home, using the storage table. Straw the chains, pair the earrings, slot the rings.
- Minutes 24–28: Add anti-tarnish strips to closed boxes and set out your landing tray.
- Minutes 28–30: Take a step back and put tomorrow's pieces in the landing tray, ready to wear.
Repeat a mini version every season: a five-minute edit, a quick wipe-down and a check on your anti-tarnish strips. It's a lovely little ritual to pair with an evening tea and a candle.
Final Thoughts
Organized jewelry isn't about owning more boxes or a perfect display. It's about giving every piece a calm, separate place, keeping it dry and covered, and having one small spot where it lands at the end of the day.
Start with the edit, use the table to match each type to its home, and let the landing tray carry the rest. Before long, getting dressed will feel like opening a little treasure box instead of untangling a puzzle, and the pieces you love will finally get worn and enjoyed the way they deserve.