A tidy freezer isn't about having less food. It's about being able to see what you have in about five seconds, so the soup you made last month gets eaten instead of rediscovered next year under a bag of ice. Most freezers aren't too small. They're just one big cold drawer where everything slides to the back and disappears.
The good news: freezers are one of the fastest spaces in the house to fix. You don't need a remodel or a big haul of matching gear. You need a clear-out, a few simple zones, labels with dates and two or three tricks that keep food standing up instead of piling on top of each other.
This guide walks you through freezer organization step by step: how to empty and reset it, the food safety basics worth knowing, a zone map you can copy, six organizing tricks and specific tips for drawer, top, side-by-side and chest freezers. (No recipes and no meal plans here, just a freezer you can actually find things in.)
Why Freezers Get Messy So Fast
Freezers have three things working against them. First, everything looks the same once it's frozen – a bag of broth and a bag of chili are both just orange bricks. Second, most of us shove new things in at the front, so older food migrates to the back and bottom. Third, freezer doors get opened quickly and closed quickly, so nobody stops to tidy.
That's why the fix isn't "try harder." It's a system that works even when you're in a hurry: things stored upright, grouped in containers you can lift out, and labeled so you know what something is without thawing it. Small honest admission: for a long time I trusted my memory to keep track of what was in there, and my memory is not nearly as good as it thinks it is.
Step 1: Empty, Sort and Toss
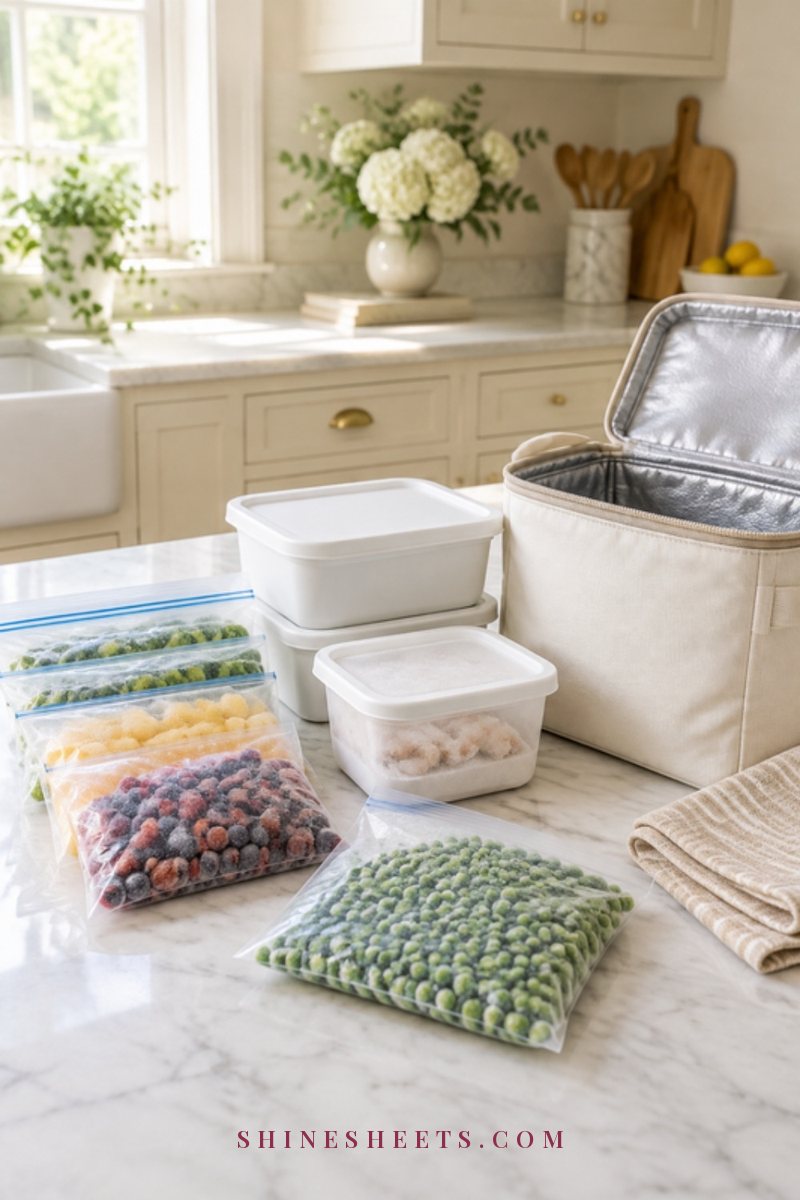
Pick a time when the freezer is fairly low – right before a grocery trip is perfect. Have a cooler or insulated bag ready, plus a couple of ice packs, so nothing starts thawing while you work. Plan for 20 to 30 minutes for a fridge freezer and closer to an hour for a big chest freezer.
- Take everything out. Work one shelf or drawer at a time and put items straight into the cooler.
- Sort into rough groups on the counter. Meat and fish, vegetables and fruit, bread and baked goods, ready meals and leftovers, breakfast things, ice and treats.
- Toss the obvious. Anything covered in thick ice crystals with dry, gray-white patches (freezer burn), anything in a torn bag, and every unlabeled mystery container you genuinely can't identify. Freezer burn isn't a safety issue, but the texture and flavor usually aren't worth keeping.
- Note what you have too much of. If you find three open bags of peas, that's useful information for your next shopping list.
Be kind to yourself during this part. Throwing food away can feel wasteful, but keeping something you'll never eat isn't saving it. The point of the reset is to waste less from now on.
Give It a Quick Wipe-Down
With the freezer empty, wipe the shelves, drawers and door seals with a cloth dipped in warm water and a few drops of dish soap, then dry everything with a clean towel so no water freezes into a sticky layer. If there's frost thicker than about a quarter inch (half a centimeter), it's worth defrosting properly another day – thick frost eats space and makes the freezer work harder. For a deeper clean of the whole appliance, my guide on how to clean a fridge and keep it fresh covers the fridge side too.
Freezer Food Safety Basics
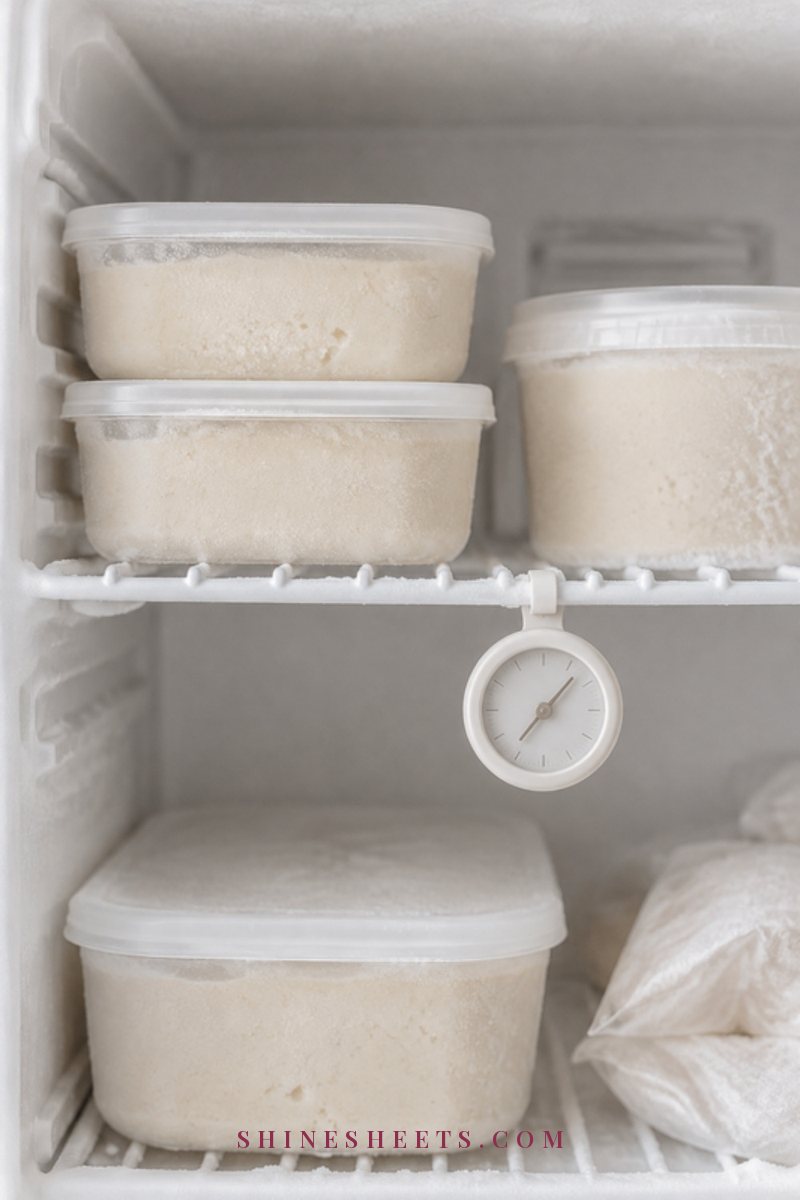
A few simple habits keep your freezer safe and your food tasting the way it should. None of them take more than a few seconds.
- Keep it at 0°F (-18°C) or colder. Freezer dials are often vague, so a small freezer thermometer that hangs from a shelf is a cheap way to know for sure. Check it once in a while, especially after a power cut.
- Cool food before freezing. Let cooked food cool in the fridge in shallow containers (within about two hours of cooking) before it goes into the freezer. Putting hot food straight in warms up everything around it.
- Label everything with a name and a date. Every single thing. "Chicken" isn't enough – "chicken thighs, raw" plus the date is.
- First in, first out. Older items go to the front or top, newer items behind or below.
- When in doubt, throw it out. If you can't tell what something is or how old it is, it's not worth the risk or the guessing.
Food kept at 0°F stays safe, but quality slowly drops over time, which is why the "use within" times in the table below are about taste and texture rather than safety. For official storage times by food type, the FoodSafety.gov cold food storage charts are a helpful reference. And if you're ever unsure about something specific, like food that thawed during an outage, follow those official guidelines rather than a guess.
Set Up Your Freezer Zones
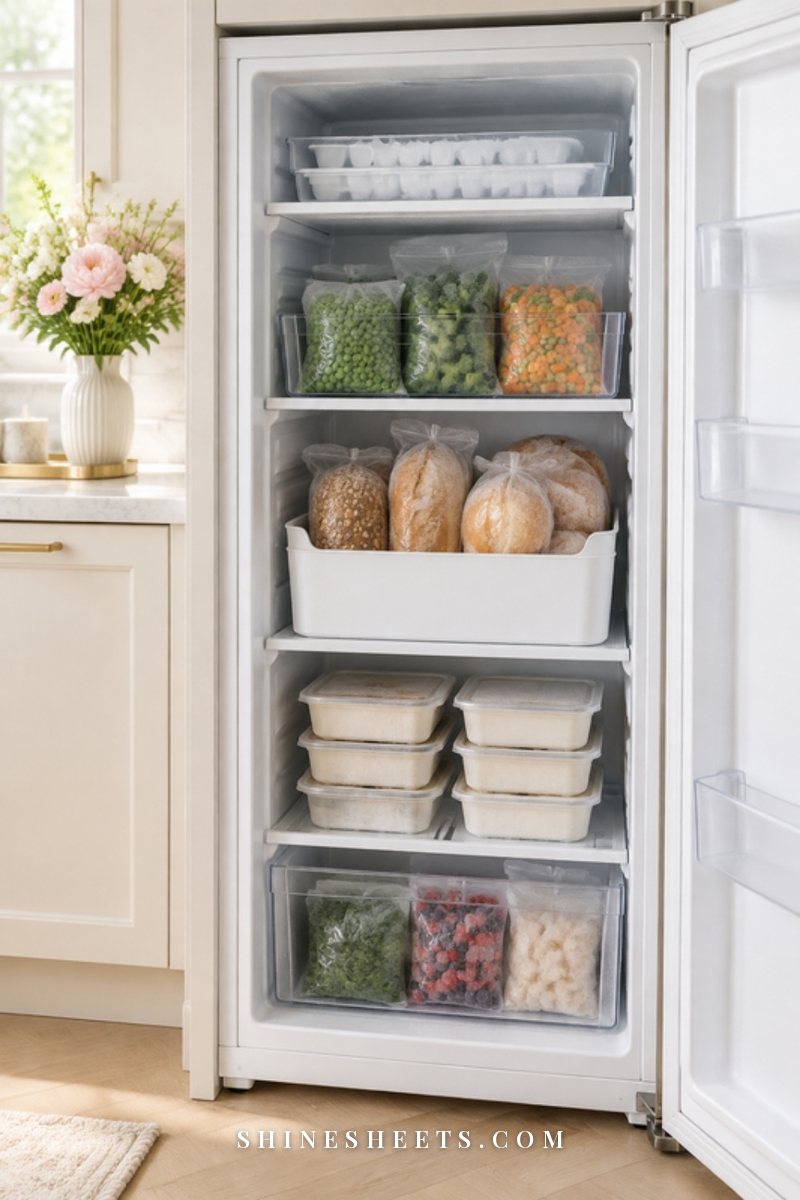
Zones are the heart of a freezer that stays organized. Once each category has a home, putting groceries away becomes automatic, and you'll know where to look without digging. Here are the zones I'd set up in almost any freezer:
- Ready-to-eat: leftovers, ready meals, soups and anything you can heat straight away. Put this zone at eye level or right on top, because it's what you'll reach for most.
- Raw proteins: meat, poultry and fish, always sealed and always on the bottom shelf or in the lowest drawer, so nothing can drip onto other food if a bag leaks while thawing.
- Vegetables and fruit: bags of frozen vegetables, berries and smoothie fruit, stored in one bin so open bags don't spill.
- Bread and baked goods: loaves, rolls, tortillas and anything bready, kept away from heavy items so they don't get squashed.
- Breakfast: waffles, frozen fruit for oatmeal, muffins – one bin you can grab in a sleepy morning.
- Ice and treats: ice trays, ice packs and ice cream, often best on the door or in the shallowest spot.
If your freezer is small, combine zones – breakfast and bread can share a bin, for example. The rule is simply that every item has one home.
Your Freezer Zone Map
Here's the whole system on one page. Screenshot it and keep it on your phone for the next time you unpack groceries. The "use within" times are rough guidelines for best quality, not safety deadlines.
| Freezer zone | What goes there | Best container | Use within (best quality) |
|---|---|---|---|
| Ready-to-eat | Leftovers, soups, ready meals, cooked grains | Stackable freezer-safe containers with lids | 2–3 months |
| Raw proteins (bottom) | Raw meat, poultry, fish, ground meat | Sealed freezer bags, frozen flat, inside a bin | Ground meat 3–4 months; whole cuts 4–12 months |
| Vegetables and fruit | Frozen vegetables, berries, smoothie fruit | Clear bin; reseal open bags with a clip | 8–12 months |
| Bread and baked goods | Loaves, rolls, tortillas, muffins | Original bag inside a freezer bag, or a shallow bin | About 3 months |
| Breakfast | Waffles, pancakes, breakfast fruit | One grab-and-go bin | 1–2 months |
| Ice and treats | Ice trays, ice packs, ice cream | Door shelf or the shallowest drawer | Ice cream about 2 months once opened |
| Use first | Anything older or already opened | One clearly marked bin at the front | This week |
6 Freezer Organizing Tricks That Actually Stick
These six tricks are what turn a one-time clean-out into a freezer that stays tidy. You don't need all of them on day one – start with the first two and add the rest as you go.
1. Freeze Flat in Bags and File Them Upright
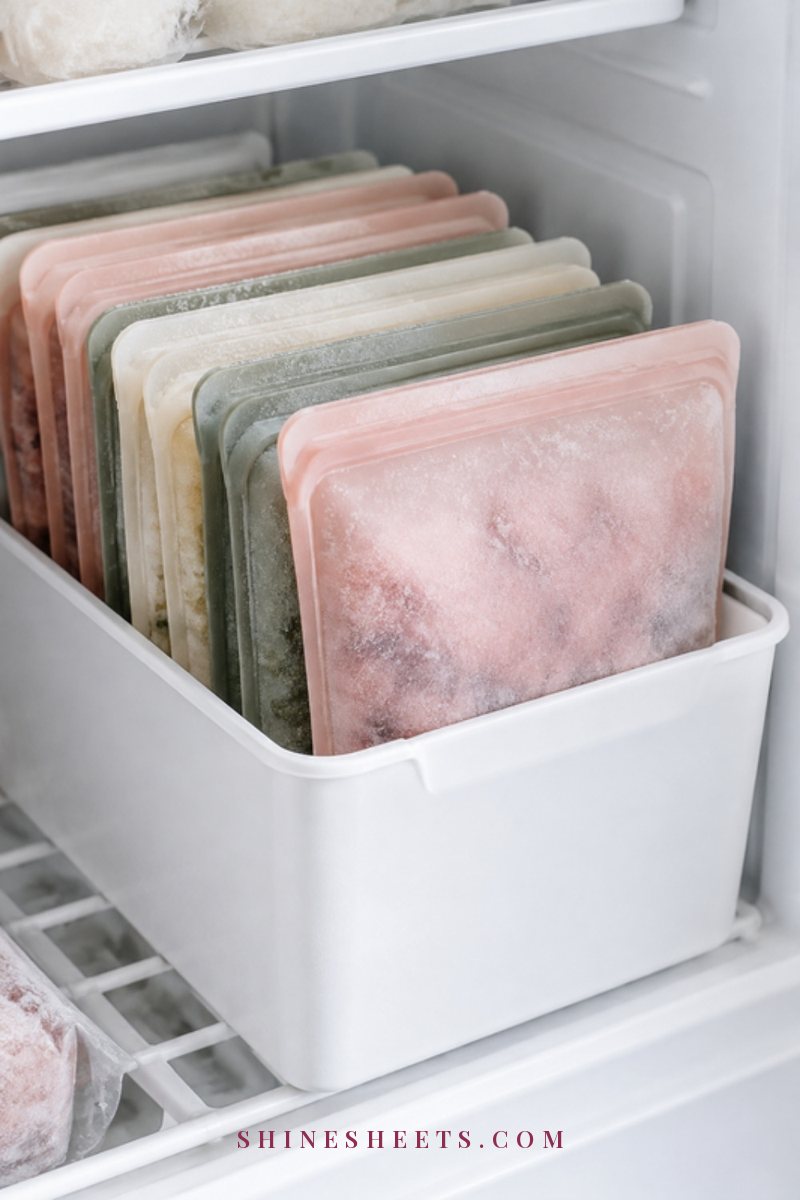
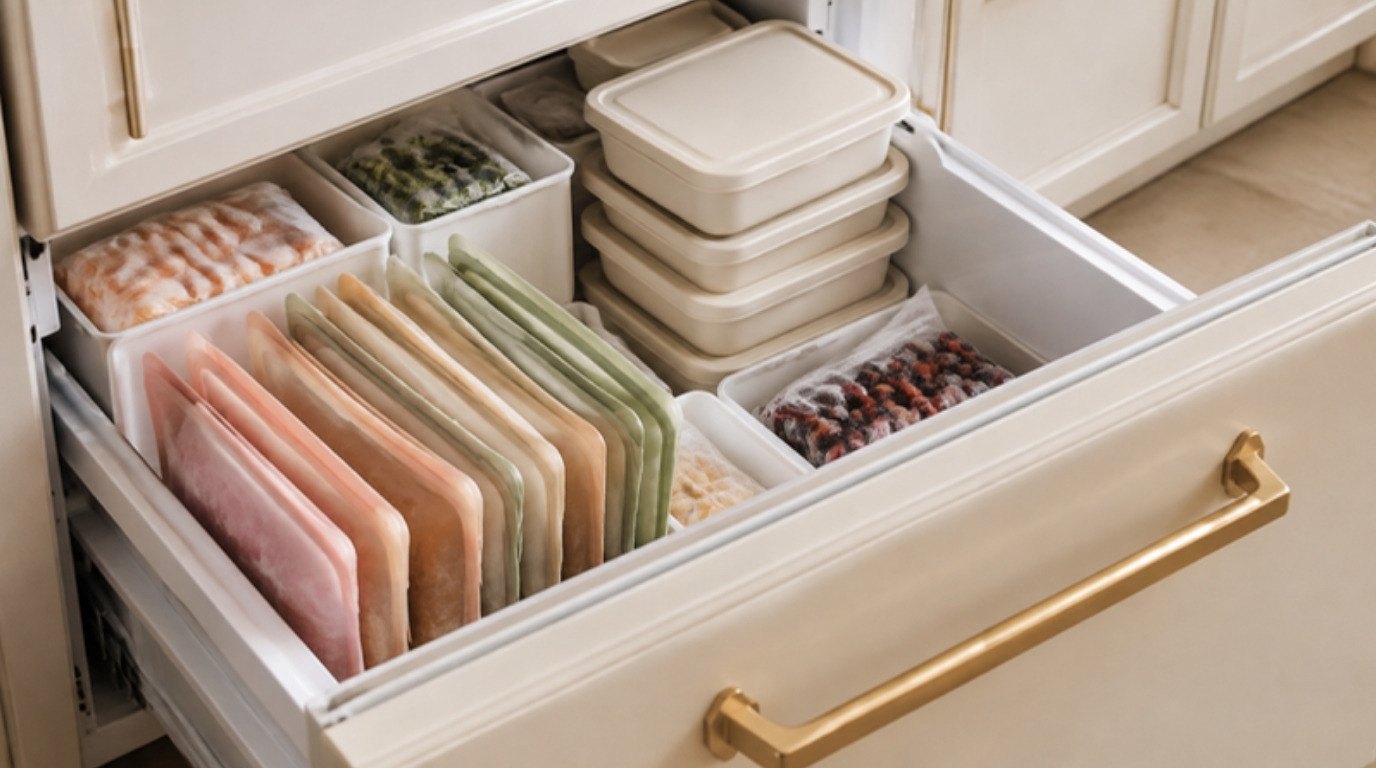
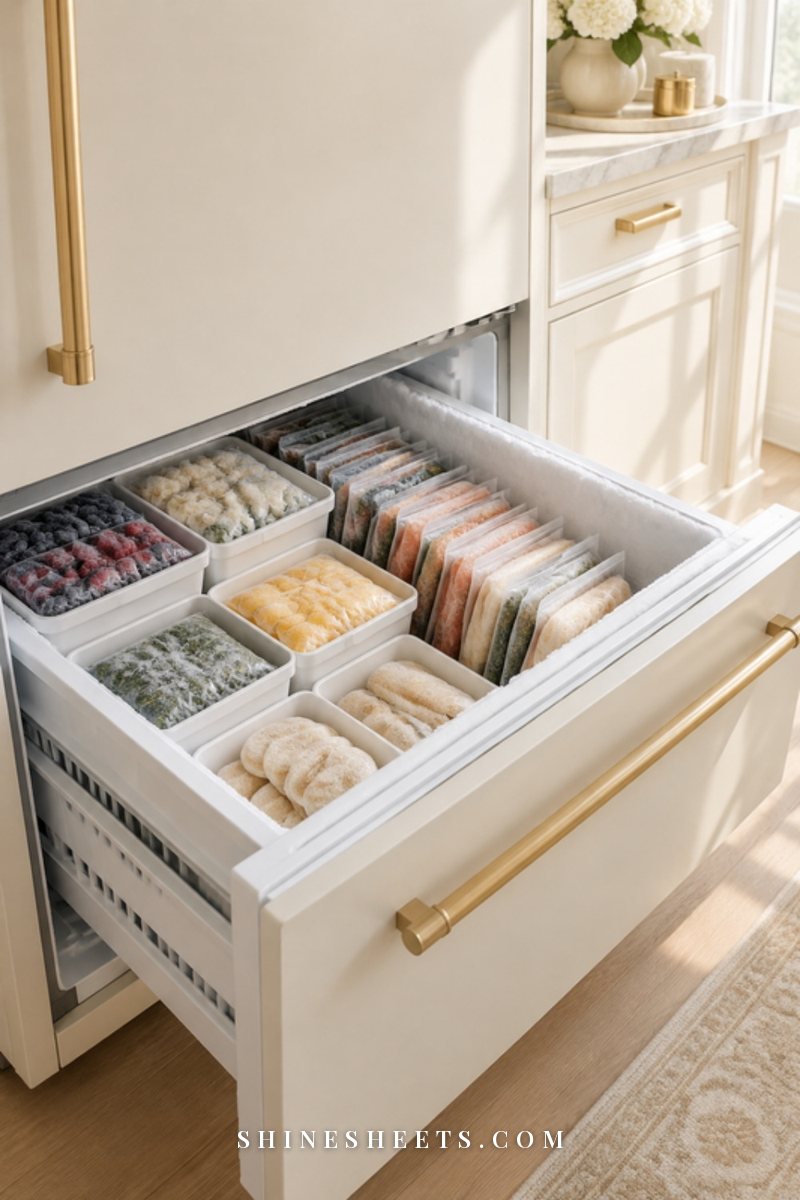
This is the single biggest space saver. Spoon soup, sauce, broth or portions of raw meat into a freezer bag, press out the air, seal it and lay it flat on a tray until frozen solid (a few hours or overnight). Then stand the frozen "slabs" upright in a bin like files in a drawer. You can flip through them and read every label without moving anything.
Plastic freezer bags work, but reusable silicone freezer bags are a nice pick if you'd like to cut down on single-use plastic. Look for ones marked freezer-safe and leak-proof, with a wide, flat base, and fill them only about two-thirds full so they freeze evenly.
2. Use Clear Bins by Category
Bins turn a deep, messy shelf into a set of drawers. Each zone gets its own bin, and when you need something, you pull the whole bin out instead of excavating. White stackable freezer bins or clear ones both work – choose bins that are freezer-safe (some plastics crack in the cold), have handles or a lip you can grip with cold fingers, and are sized to fit your shelf depth. Measure your freezer before buying; it saves a return trip.
The same bin approach works wonders in the fridge and pantry, too. If you're building a whole-kitchen system, my fridge organization guide uses the same zone thinking one shelf up.
3. Keep a Door List of What's Inside
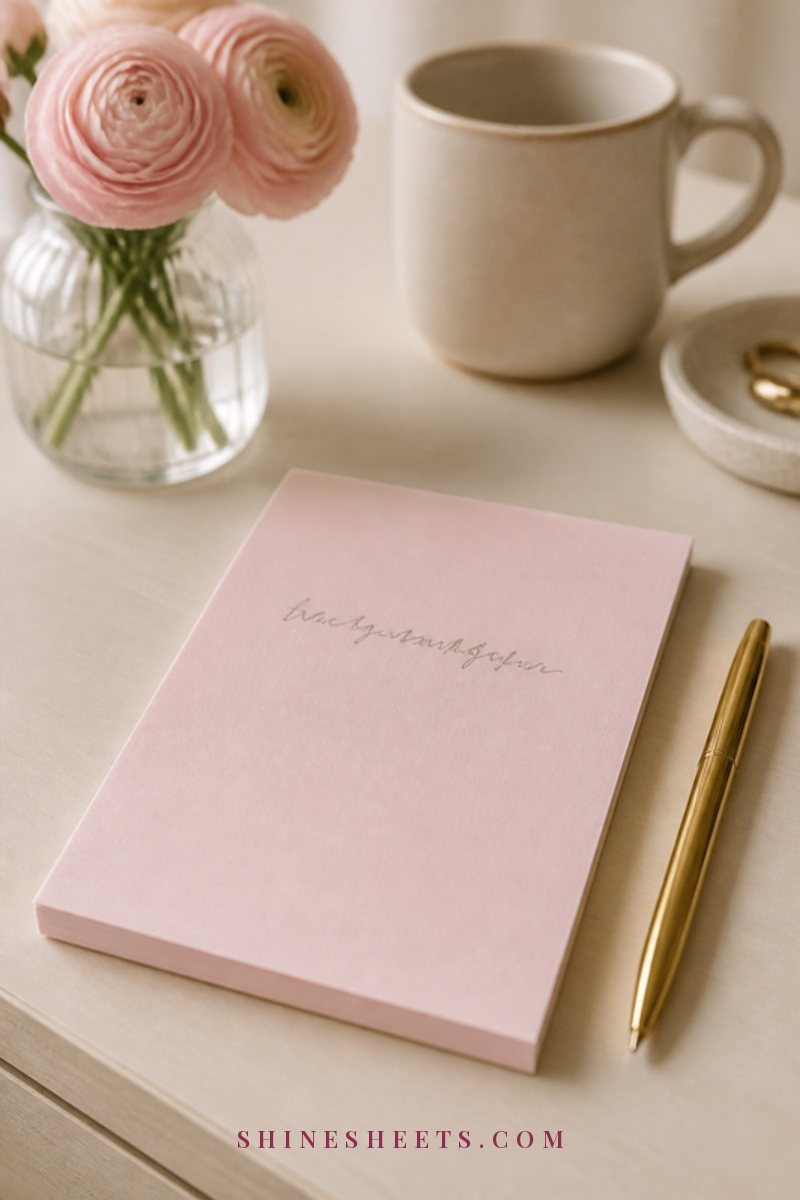
A simple list on the outside of the freezer tells you what's inside before you even open the door. Write the item and quantity, and cross things off as you use them. A small magnetic notepad works, or a strip of masking tape on the door.
A set of washable markers makes this easy – one color for proteins, one for meals, one for vegetables, so the list is readable at a glance. The same markers work for writing names and dates directly on bags. If you'd rather print tidy labels for containers, a small label maker is a pick for anyone who likes things neat; look for one that prints on freezer-friendly or water-resistant tape.
The quick formula for every label: what it is + raw or cooked + portion + date. For example: "Tomato soup, cooked, 2 servings, March 4."
4. Choose Stackable Containers
Round containers in five different sizes waste a surprising amount of space. Square or rectangular containers that nest when empty and stack when full are far easier to organize. Cream freezer-safe containers in two or three sizes are a calm, matching option. Look for lids that snap on firmly, a material labeled freezer-safe, and room to leave about half an inch (1 cm) of headspace, because liquids expand as they freeze.
5. Add a "Use First" Bin
Choose one bin, put it at the very front or on the top shelf, and fill it with anything older, already opened or nearing the end of its best-quality window. Before you plan meals or shop, check this bin first. It takes ten seconds and it's the habit that really cuts waste.
6. Put a Lazy Susan in a Deep Chest Freezer
Deep spaces are where food goes to be forgotten. A turntable in one corner of a chest freezer, or on a deep upright freezer shelf, lets you spin small containers into view instead of reaching over everything. A white lazy Susan turntable with a raised edge is a good choice; check that it's sturdy enough for frozen weight and fits your space with a little room around it.
How To Organize Every Type of Freezer
The zones and tricks are the same everywhere, but each freezer shape has its own quirks. Here's how to adapt them.
Top Freezer
Top freezers are usually shallow and short, so height is your friend. Use one wire shelf insert or a slim bin to create a second level. Keep ice trays and treats on the door, ready-to-eat items at the front, and file flat bags upright along the side walls. Raw proteins should still go lowest, which here means the freezer floor in a sealed bin.
Bottom Drawer Freezer
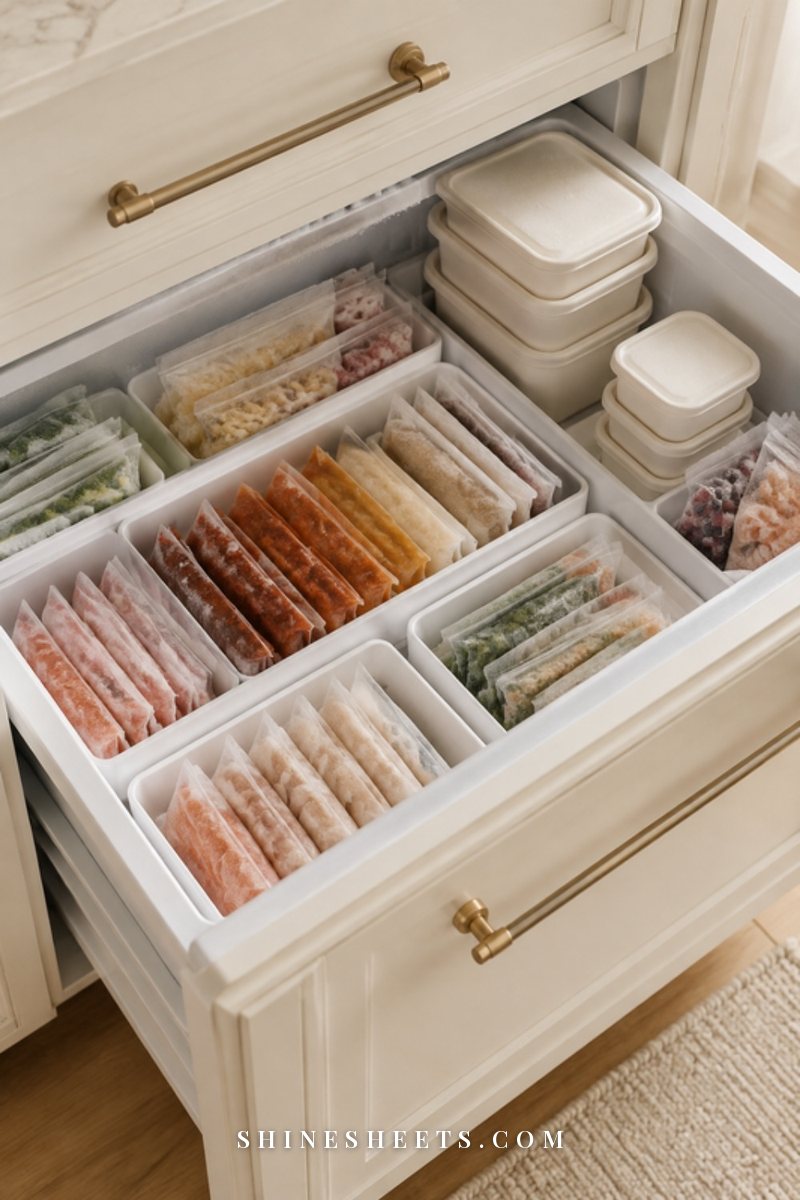
Drawer freezers are made for the filing method. Line up bins front to back like folders, with flat bags standing upright between them. Many drawer freezers have a shallow top tray – use it for ready-to-eat items and the "use first" bin, since it's the first thing you see. Raw proteins go in the deep bottom drawer, sealed and in their own bin.
Side-by-Side Freezer
Side-by-side freezers are tall and narrow, so things stack up and topple. Use narrow bins on each shelf, with one zone per shelf. Put ready-to-eat items at eye level, vegetables and bread in the middle, and raw proteins on the lowest shelf. The door shelves are perfect for small things that usually get lost, like ice packs or a bag of frozen herbs.
Chest Freezer
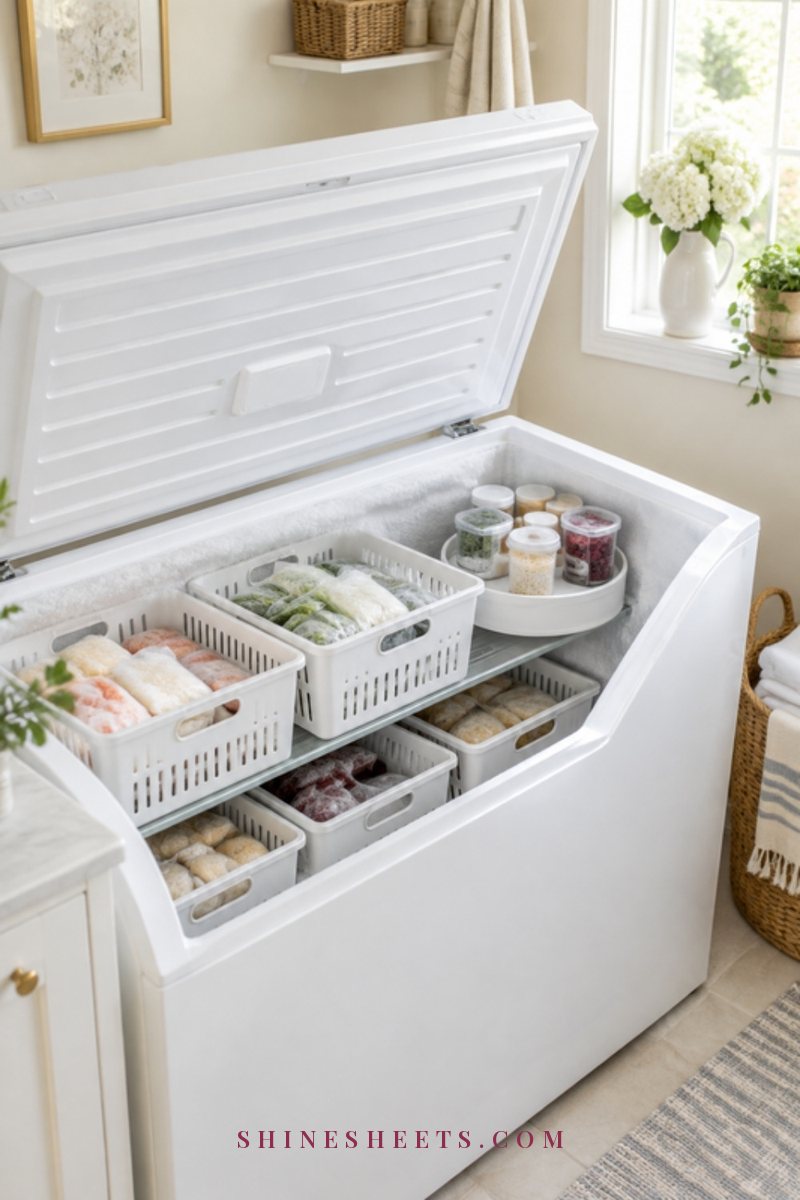
Chest freezers hold a lot, which is exactly why they turn into a mystery pit. Work in layers: large, rarely used items and raw proteins on the bottom, then stacking baskets with handles on top so you can lift a whole layer out. Group by category in each basket, keep the "use first" items in the top basket, and put a turntable in a corner for small containers. A simple map of what's in each basket on the lid list helps a lot.
A 10-Minute Monthly Freezer Reset
Once your system is set up, a quick monthly reset keeps it that way. Put it in your calendar for the day before a grocery shop:
- Check the temperature (it should read 0°F / -18°C or below).
- Move older items into the "use first" bin.
- Toss anything freezer-burned, unlabeled or well past its best-quality window.
- Update the door list so it matches what's actually inside.
- Wipe up crumbs and frost at the front of shelves and around the seal.
That's it. Small and boring, which is exactly why it works. If you're doing a bigger seasonal refresh, the freezer fits nicely into a full top-to-bottom kitchen deep clean.
Common Freezer Organization Mistakes
A few habits quietly undo all the work. Watch out for these:
- Skipping the date. You'll think you'll remember. You won't (neither will I).
- Overstuffing. A packed freezer is fine, but blocked air vents can lead to uneven cooling. Leave the vents clear.
- Freezing in huge portions. Freeze in the amounts you'll actually use, so you don't thaw a whole family-size batch for one dinner.
- Keeping every takeaway container. Mismatched shapes are hard to stack. Keep a small matching set instead.
- Buying organizers before measuring. Measure width, depth and height first, then choose bins that fit.
If the freezer reset has you in the mood to keep going, the same calm approach works on the shelves next door – my guides to pantry organization that stays neat and pretty kitchen organization ideas for small kitchens are good next steps.
Final Thoughts
An organized freezer is a small thing that makes ordinary weeknights easier. Food stands up, labels face you, older things get eaten first and nothing hides at the bottom for a year.
Start with the clear-out and two bins, add a label and a date to everything that goes in, and let the rest grow from there. A freezer you can read at a glance is a lovely little bit of calm every time you open the door.