A broken nail feels like a much bigger deal in the first five minutes than it really is. Most breaks can be saved at home with a drop of glue, a tiny patch and a little patience, and a good repair can hold until the damaged part grows out to the tip, where you simply file it away.
The trick is not to panic and clip everything short straight away. Look at where the break is first, because a snag at the very tip and a crack across the pink part of the nail need completely different fixes.
This guide covers how to fix a broken nail step by step: what to do in the first minute, how to read the type of break, four repair methods and exactly when to use each, a quick table that matches your break to the right fix, how to make the repair last, and the signs that mean it's time to see a doctor instead.
Take a breath. Your nail is very likely fixable.
First, Protect the Break
What you do right after the break matters more than which repair you choose later. Here's the calm first minute:
- Don't pull or rip the loose piece. Tearing it off almost always takes the break deeper, sometimes into the skin.
- Wash your hands with mild soap and lukewarm water, then pat dry with a clean towel.
- Check for blood or a tear in the skin. If there is one, skip glue completely for now (more on that in the doctor section).
- Cover a hanging piece with an adhesive bandage or a strip of tape so it stops catching on your hair, sweaters and bag.
- Leave the polish for later. If you need to remove polish before repairing, wait until any soreness settles.
Then give yourself ten minutes. A repair done calmly holds far better than one rushed over the bathroom sink.
How To Tell What Kind of Break You Have
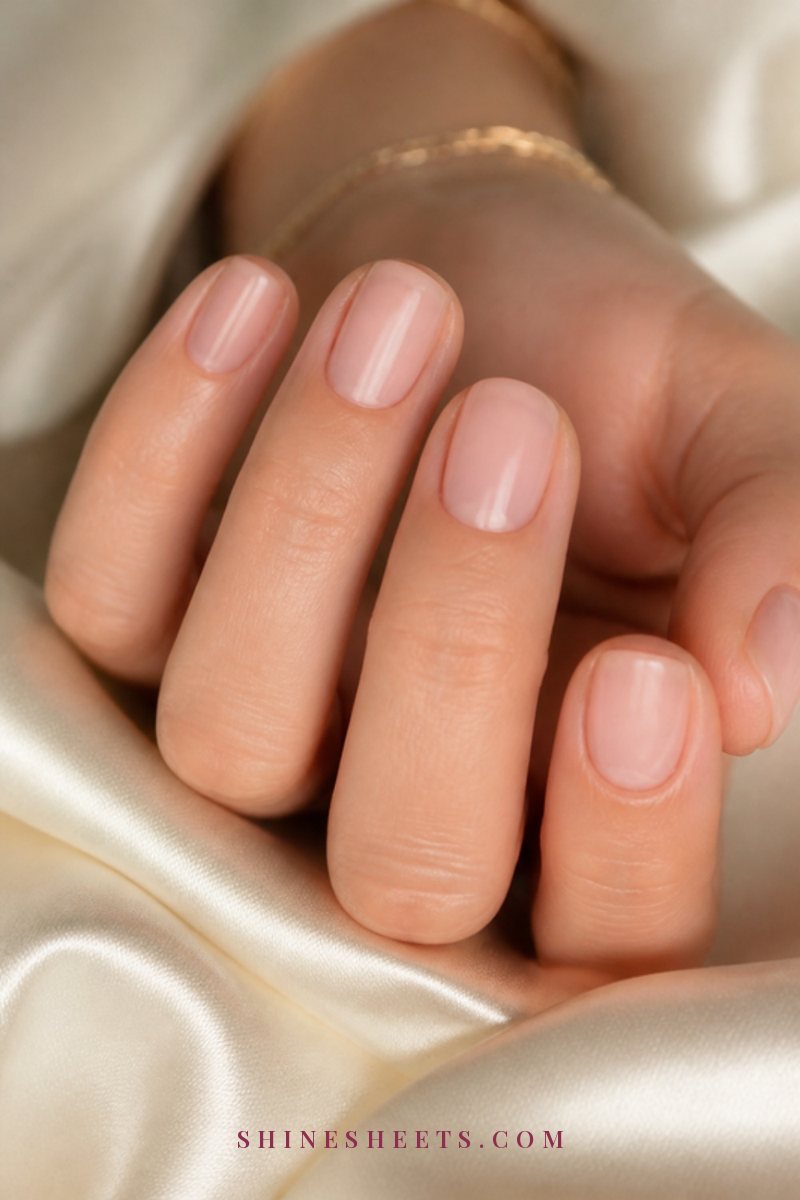
Look at the nail under good daylight and gently press near the break with a fingertip. Where it bends, where the line runs and whether the skin underneath is involved tell you everything you need to know.
Tip Snag
A small chip, crack or rough spot on the free edge, the white part that grows past your fingertip. It hasn't reached the pink nail bed. This is the easiest break of all, and often a file and a glue seal are all it needs.
Side Split
A crack that starts at the side of the free edge and runs toward the cuticle. It catches on fabric and tends to creep further every day, so it needs a patch that bridges both sides of the crack.
Crack Across the Nail Bed
A line that runs across the pink part of the nail, where the nail is attached to the skin underneath. It may flex when you press it, and it can feel tender. This one needs the strongest repair (a wrap), because the nail is going to keep bending there every time you use your hands.
Tear Into the Quick
A break that goes past the nail bed edge into the sensitive skin underneath, often with stinging, a little blood or a visible raw spot. This is a small wound, not a nail repair job. Clean it, cover it and let it heal first. Glue and patches come later, if at all.
Broken Nail Repair Table: Match Your Break to the Fix
Here's the quick version. Screenshot it and you'll know exactly what to do the next time a nail snaps at the worst possible moment.
| Type of Break | Best Fix | How Long It Holds | When To See a Doctor |
|---|---|---|---|
| Tip snag or small chip | File it smooth, then a clear base and top coat seal (or glue and buffing) | Until your next manicure, about 5–7 days; refresh as needed | Rarely needed |
| Side split | Silk or tea bag wrap with nail glue | About 5–10 days per patch, refreshed until it grows out | If the skin at the side turns red, swollen or sore |
| Crack across the nail bed | Silk or tea bag wrap with nail glue, plus gloves for chores | Several weeks with a refreshed patch, until the crack reaches the tip | If it's painful, bleeding or the nail starts lifting |
| Tear into the quick | Clean and cover; trim only the loose, detached part once it's no longer sore | The bandage stays on until the skin heals | If it bleeds a lot, or shows redness, swelling, warmth or pus |
| Break too deep or too jagged to patch | A short, careful trim and gentle filing | Permanent; the nail simply grows back | If the skin underneath is exposed or hurts |
What You'll Need for an At-Home Nail Repair
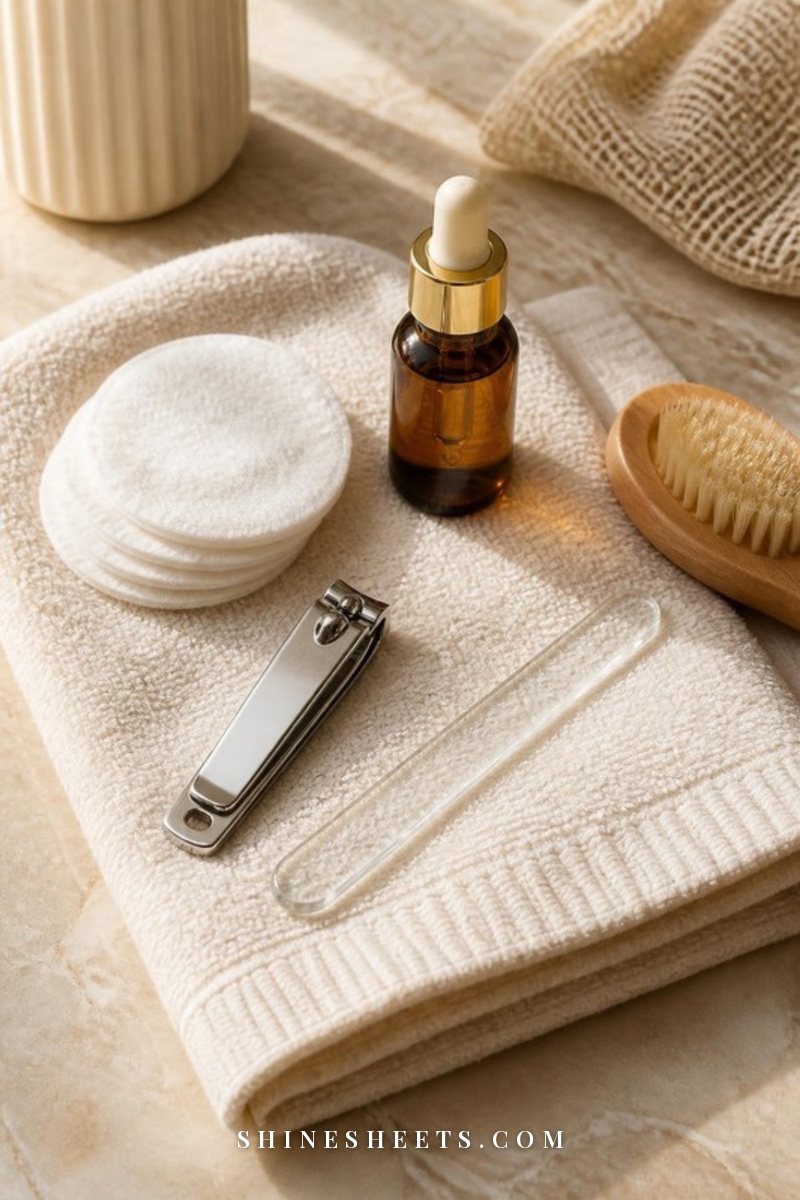
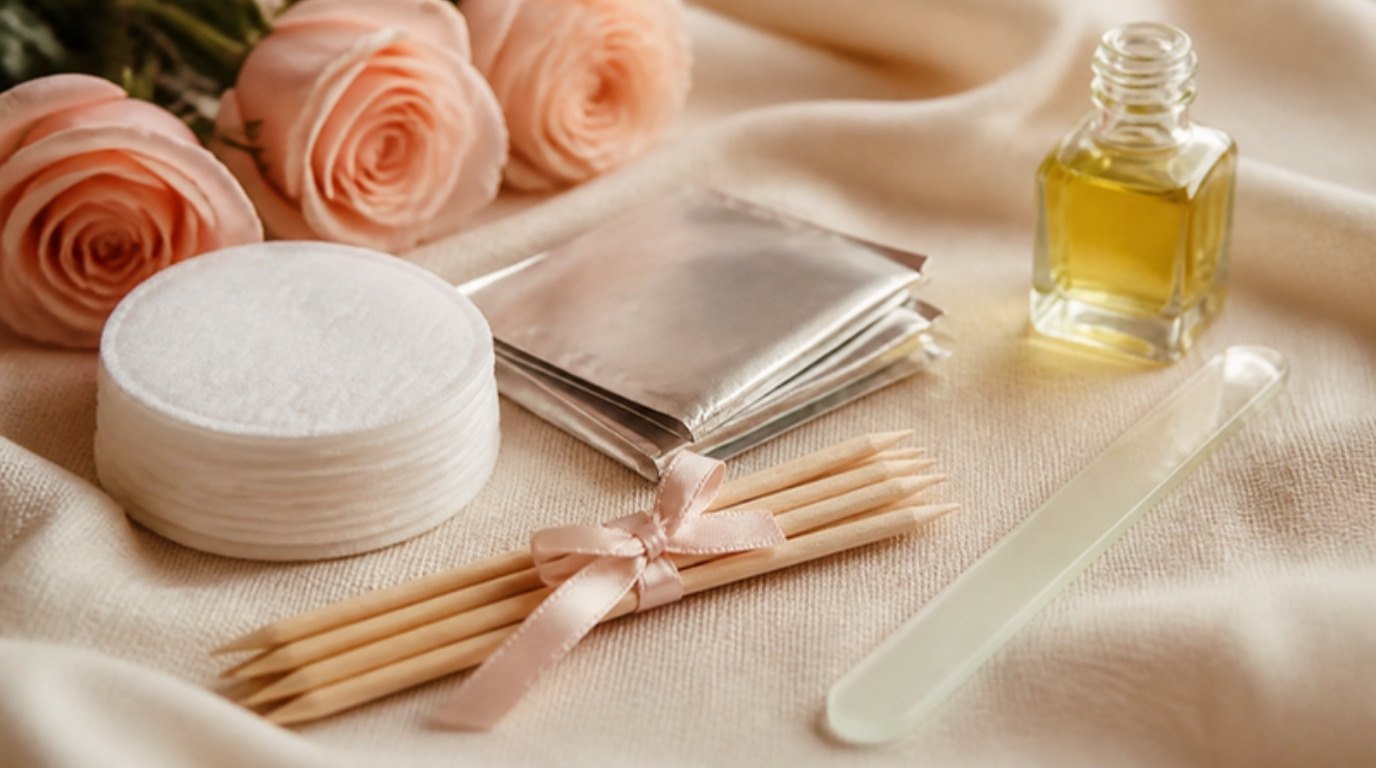
You don't need a salon kit. A small pouch in your bathroom drawer covers almost every break:
- Nail glue: a brush-on nail repair glue is a pick for beginners, because the brush makes a thin, even layer much easier than a nozzle.
- A patch material: silk wrap strips are thin, strong and nearly invisible under polish. An empty, clean tea bag cut into tiny pieces works too.
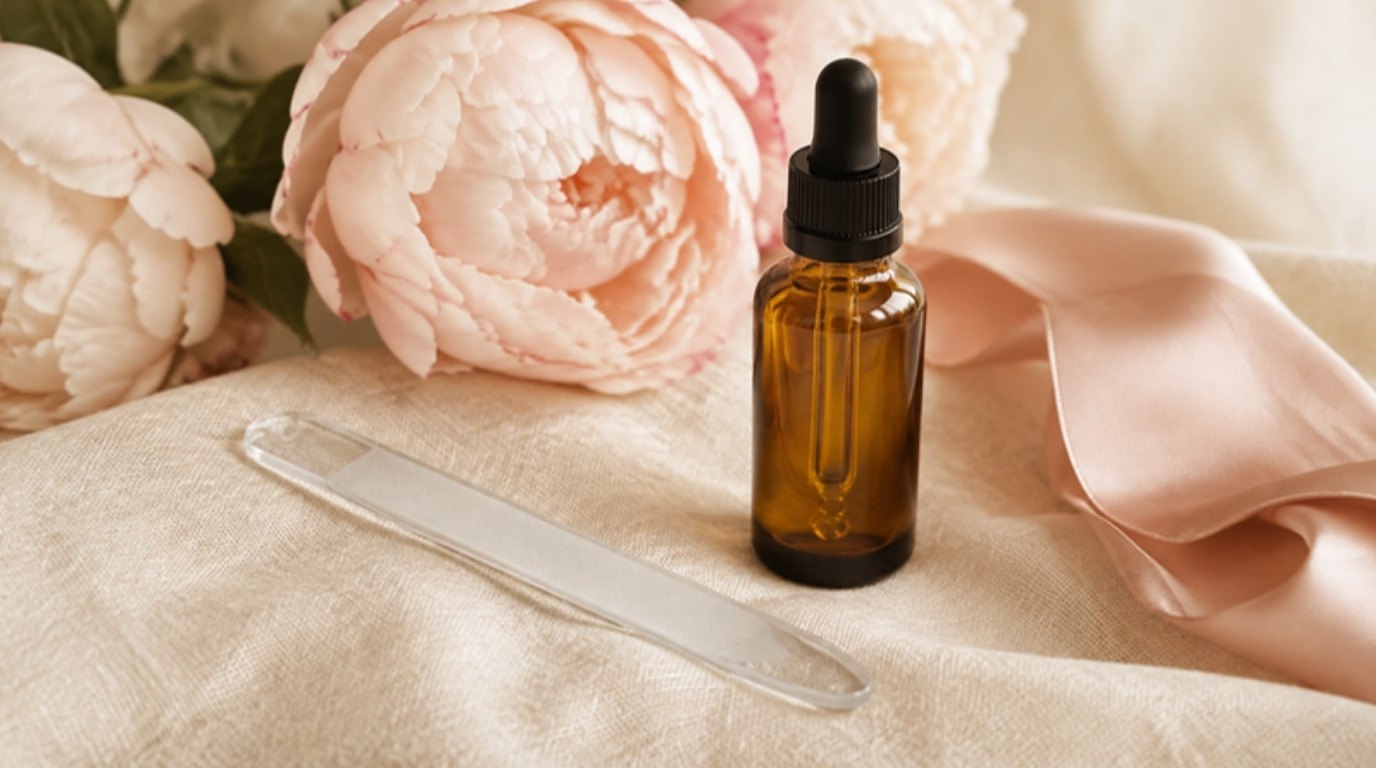
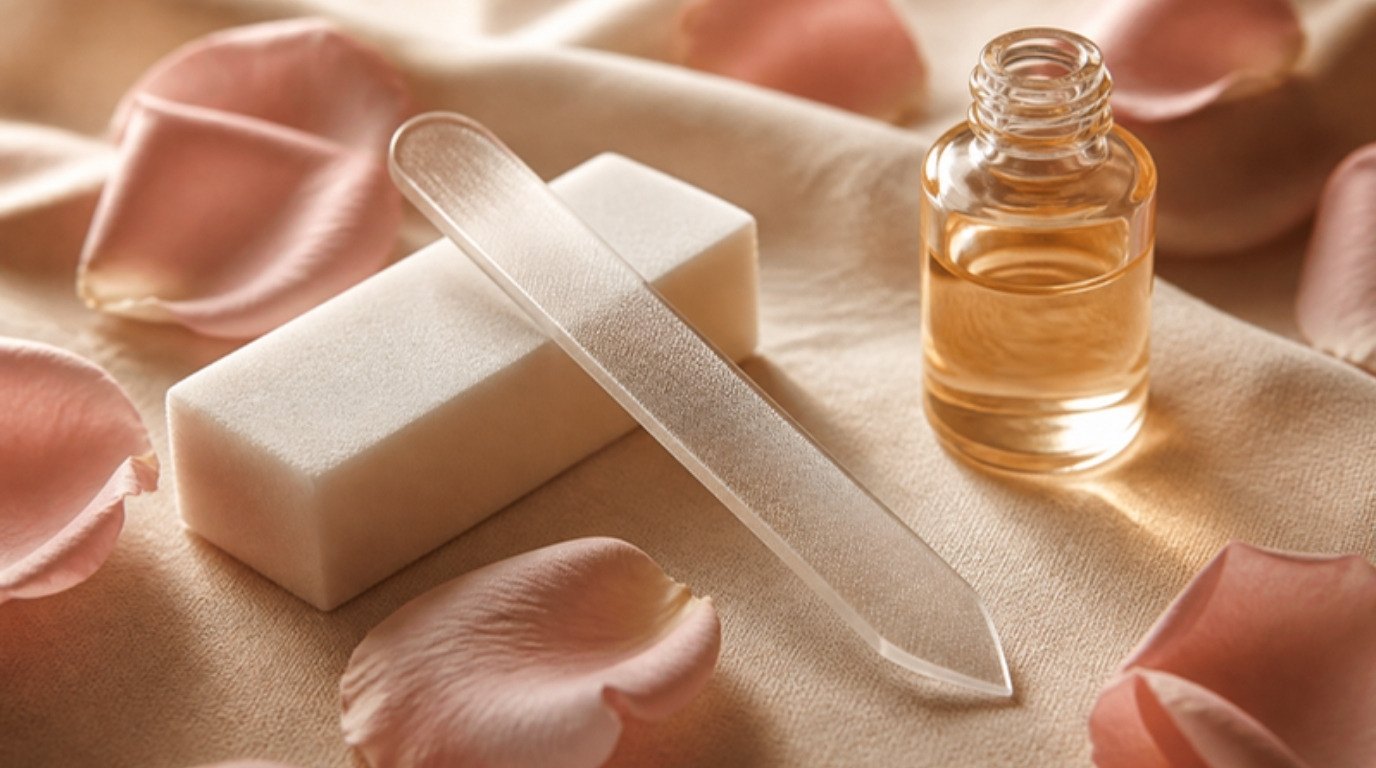
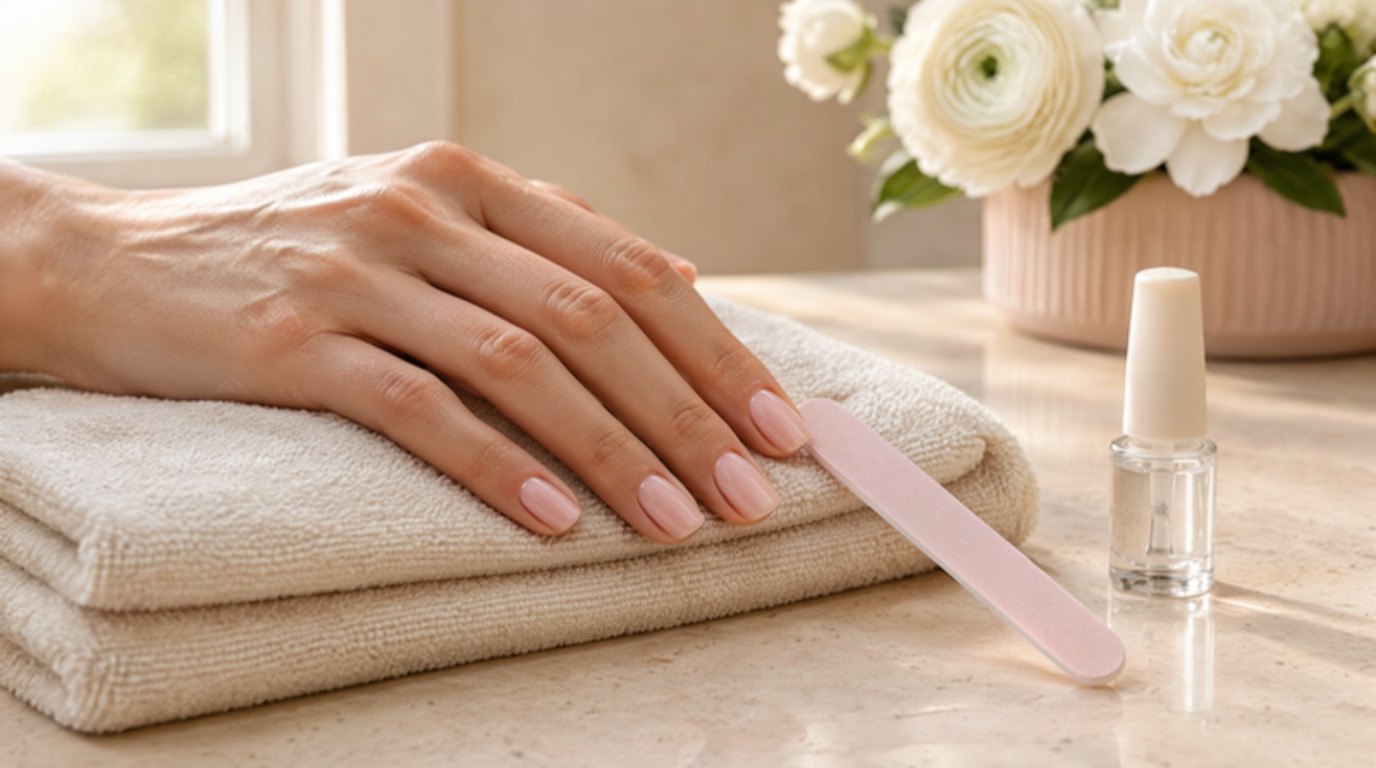
- A gentle file: a glass nail file seals the edge instead of shredding it, which matters a lot on a fragile nail.
- A soft buffer block (fine grit) to smooth the patch.
- Small, sharp scissors or a clean nail clipper.
- Clear base coat and top coat.
- Nail polish remover and cotton pads to clean the nail before you start.
If you're not sure which remover to keep in that pouch, my guide to acetone vs non-acetone nail polish remover explains which one fits which job.
4 Ways To Fix a Broken Nail at Home
Pick the method that matches your break from the table above. All four start the same way: a clean, dry, polish-free nail with no oil or lotion on it, because glue won't stick to oily surfaces.
1. Tea Bag or Silk Wrap With Nail Glue
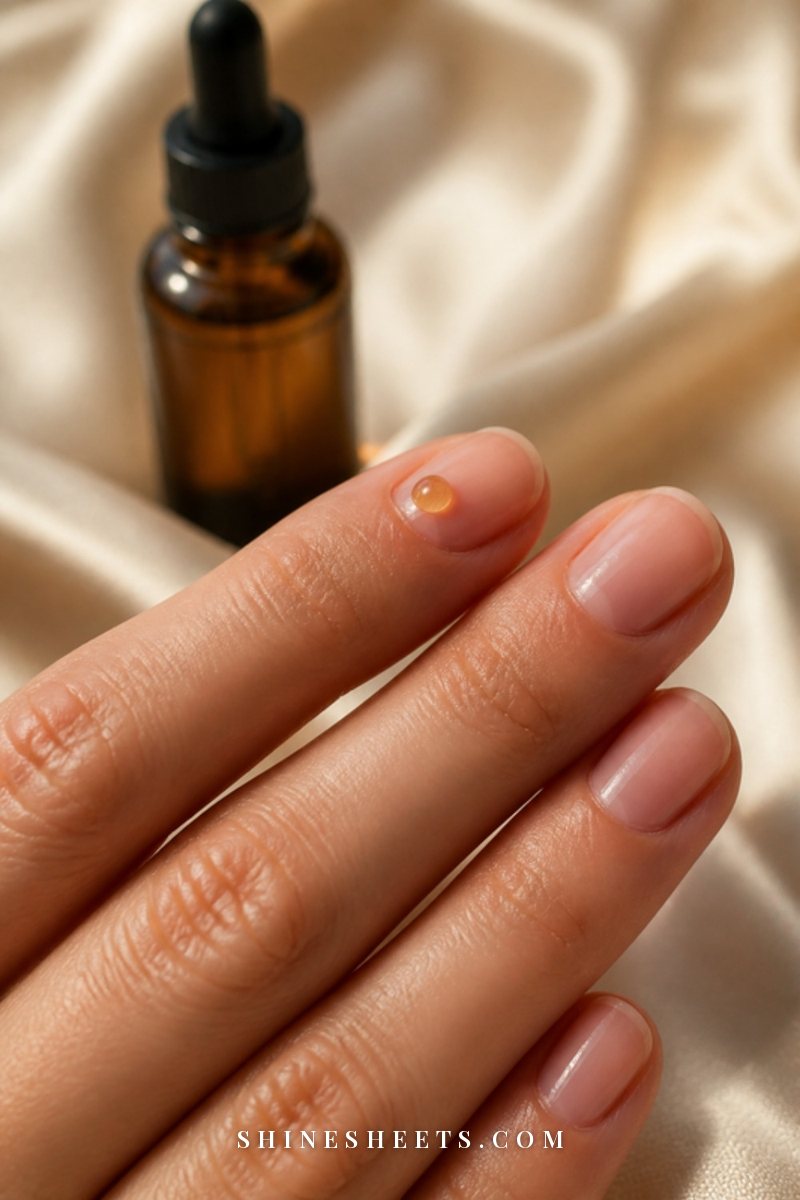
Best for: side splits and cracks across the nail bed. This is the strongest at-home repair, and it works like a tiny invisible bandage for your nail.
- Clean the nail with remover, then lightly buff the surface around the break so the glue has something to grip. Buff gently and only on top of the nail.
- Cut a small patch of silk or clean tea bag paper, just big enough to cover the crack with a little extra on each side (roughly 2–3 mm past the line).
- Apply a thin layer of glue over the crack, keeping it off the skin.
- Lay the patch on top and press it smooth with the flat side of an orange wood stick or a clean fingernail. Wait about 30 seconds.
- Add a second thin layer of glue over the patch, so it turns translucent. Let it dry for 1–2 minutes.
- Trim any patch hanging past the tip, then file the free edge gently in one direction.
- Buff the surface very lightly until the patch edges disappear, then finish with base coat and top coat.
Silk looks a little smoother under sheer polish, while tea bag paper is the clever fix you can do tonight with what's already in your kitchen. Both hold well when the layers are thin.
2. Nail Glue and Buffing Alone
Best for: small cracks at the tip and short splits that don't flex much.
- Clean the nail and make sure it's completely dry.
- Brush one thin layer of glue along the crack, letting it seep into the line.
- Hold the two sides of the crack gently together for 20–30 seconds.
- Let it dry for a couple of minutes, then add a second thin layer.
- Buff lightly until the surface feels smooth and seal with a clear top coat.
It's quick and nearly invisible, but it's not as strong as a wrap. If you notice the crack opening again within a day or two, switch to method one.
3. A Clear Base and Top Coat Seal
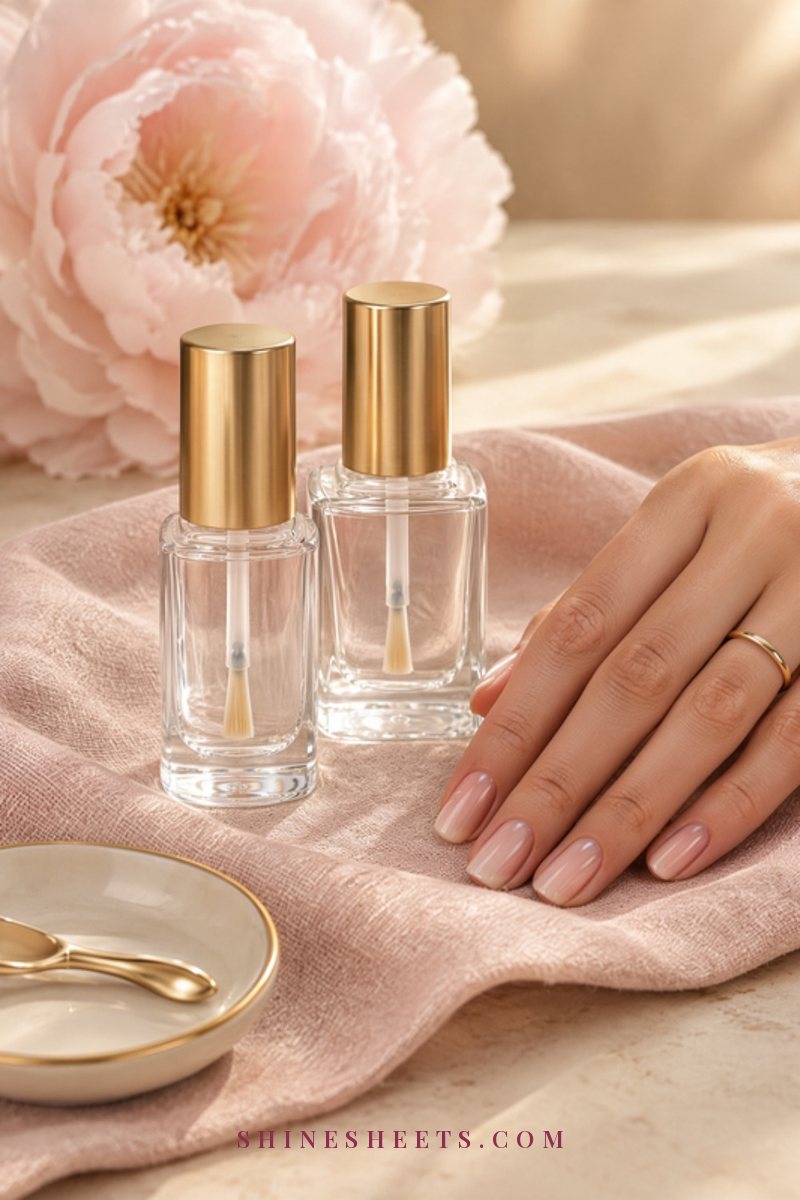
Best for: tiny chips, a rough edge or a very shallow snag on the free edge.
File the rough spot smooth first. Then apply a coat of clear base coat, and before it dries completely, swipe a little across the very tip of the nail (this is called capping the free edge). Follow with a second thin coat and a top coat, capping the edge again. The layers act like a soft shield over the weak spot.
It's the gentlest method and lovely when you want a natural, polished look. Reapply the top coat every two to three days to keep the seal strong.
4. A Short Trim When the Break Is Too Deep
Best for: breaks that are too jagged, too wide or too low to patch, or a nail that keeps catching no matter what you do.
Sometimes the kindest repair is letting go. Trim the nail just below the break with clean clippers or small scissors, cutting in small steps rather than one big snip. Then file the edge into a soft rounded shape. If the break went into tender skin, only trim the part that has fully detached, and leave anything still attached to heal.
I know it stings to lose length, especially when you've been growing your nails out. But a short, smooth nail looks neat and polished, and evening out the others slightly makes the whole hand look intentional. My realistic routine for growing your nails longer and stronger helps you get the length back without starting from zero.
Filing the Edge Smooth
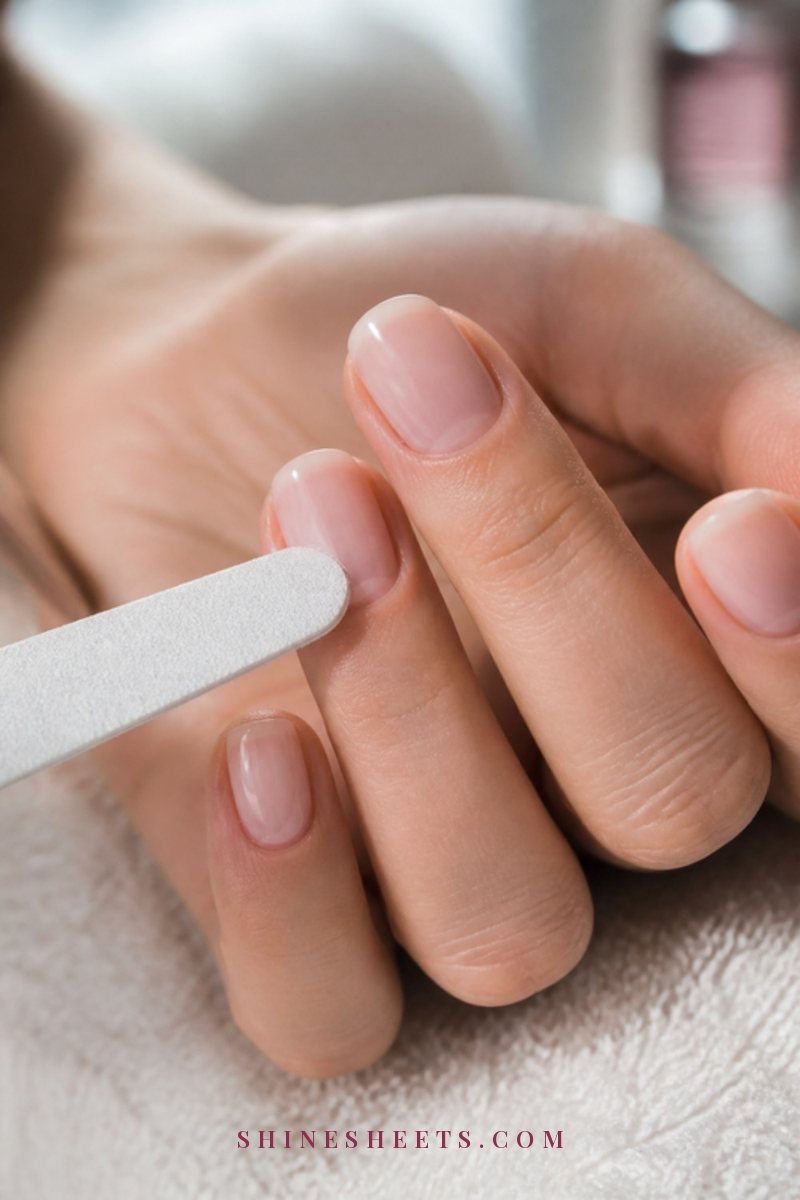
Whichever method you used, the edge needs a little care, because a rough spot is where the next snag starts.
- File in one direction, from the side toward the center, never back and forth like a saw.
- Use a fine grit or glass file and very light pressure. You're polishing the edge, not reshaping the whole nail.
- Keep the shape soft. Rounded or soft squoval edges catch less than sharp square corners.
- Check with a cotton pad: slide it over the edge. If any fibers catch, file once more.
For a full walkthrough of shapes, grits and technique, my guide on how to file and shape your nails covers everything step by step.
How To Make the Repair Last
A repair is only as good as the week that follows it. These small habits are the difference between a patch that lasts three days and one that carries you until the break grows out.
Wear Gloves for Chores
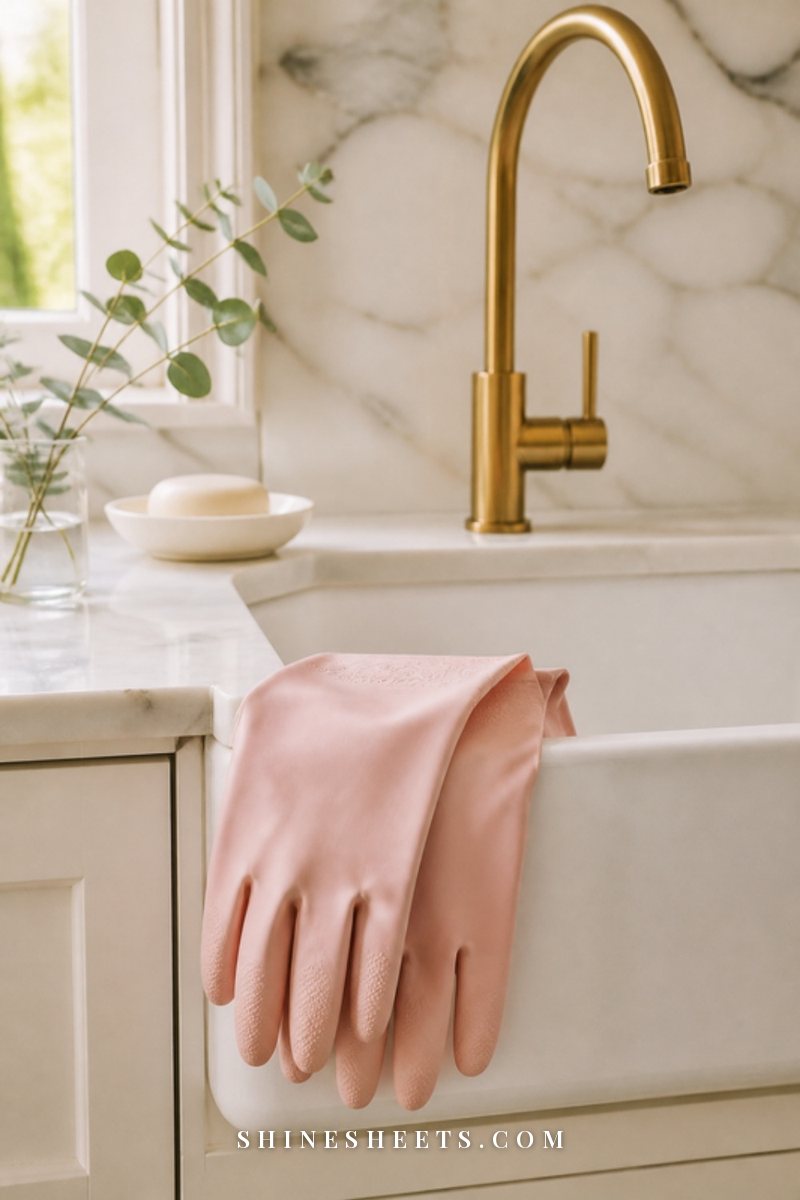
Hot water, dish soap and cleaning products soften nail glue and dry out the nail around it. Wear rubber gloves for washing dishes, cleaning the bathroom and anything with sprays. A pair of cream cotton gloves is a pick for sleeping in after a generous layer of hand cream, or for wearing under rubber gloves so your hands don't get sweaty.
Also try to stop using that nail as a tool. No scratching off stickers, opening cans or prying lids. Use the pad of your finger or a little coin instead.
Refresh the Patch Every Few Days
Every three to four days, check the repair in good light. If the edge of the patch is starting to lift, gently buff the lifted spot, add one thin new layer of glue and top coat. When the patch has lifted completely, remove it and start fresh with a new piece.
As your nail grows, the repaired section moves toward the tip. Once the crack has reached the free edge, you can simply file it away and say goodbye to the patch for good. On most fingernails, that takes a few weeks, depending on how low the break was.
Keep Up Gentle Cuticle Oil
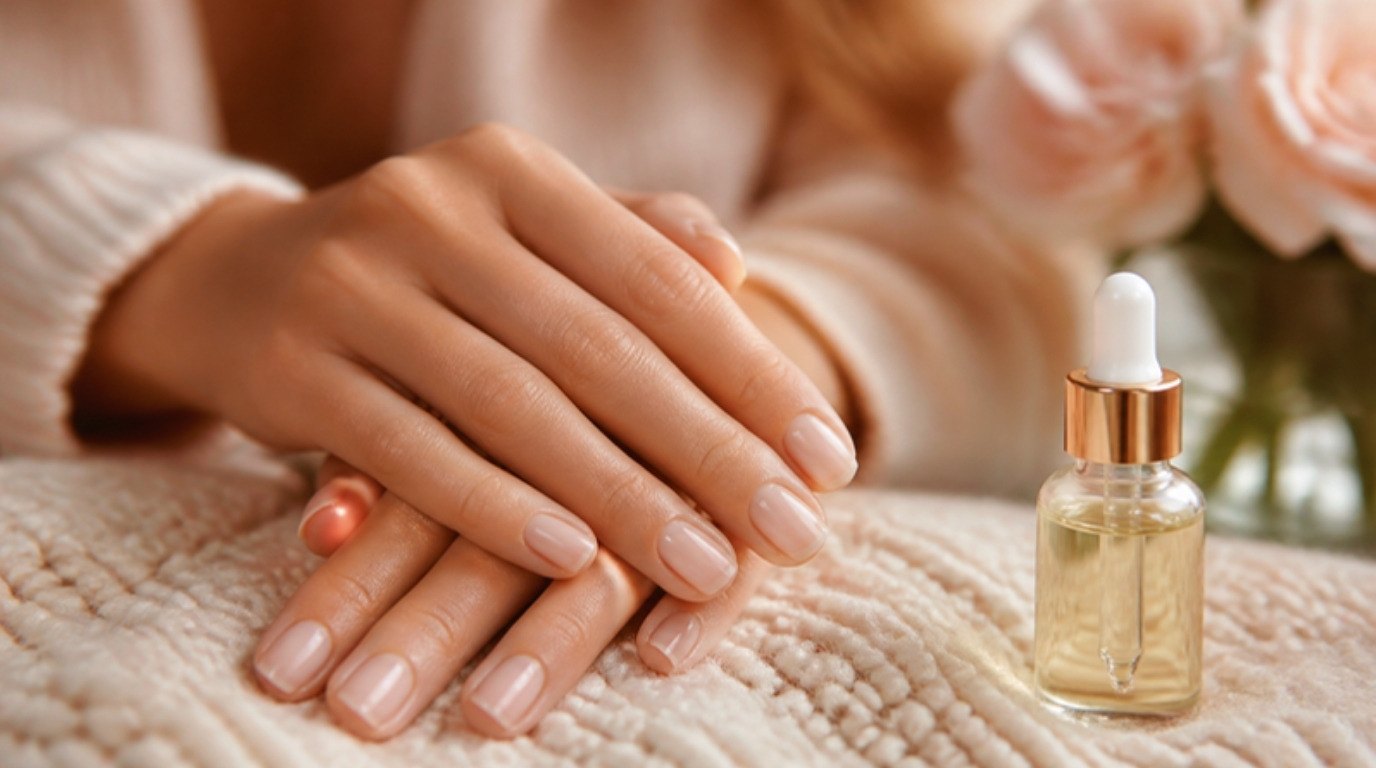
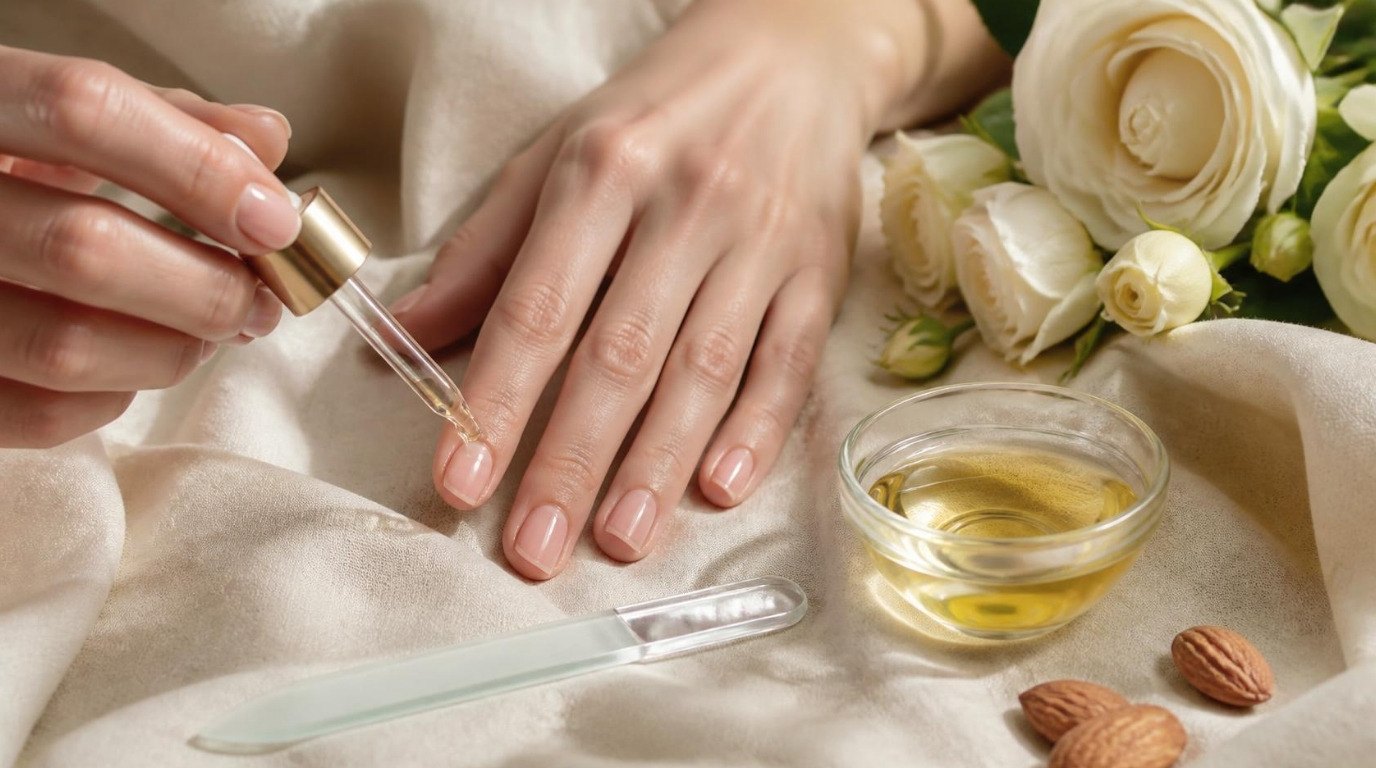
Oil keeps the nail flexible, and flexible nails are far less likely to crack again. Massage one drop into the cuticle and the skin around the nail every evening (just not on the repair right before you add glue). A cuticle oil pen by your bed or in your bag makes it almost effortless. My guide to cuticle care without cutting has the full gentle routine.
A Quick Fix When You're Away From Home
Nails love to break at the least convenient moment: on a trip, at work, halfway through an evening out. You can't do a proper wrap in a restaurant bathroom, but you can stop the damage from getting worse until you're home.
- Cover it: wrap the tip with a small adhesive bandage or a piece of clear tape, pressed smooth over the break. It's not pretty, but it stops the crack from catching and tearing further.
- Smooth it: if you carry a small file, gently smooth any sharp edge in one direction. A rough edge is what snags on tights and knitwear.
- Seal it: a swipe of clear polish or top coat over a tiny crack holds it together for a few hours.
- Leave it alone: try not to bite, pick or test it by bending. Every wiggle makes the line longer.
It helps to keep a mini kit in your bag (a small file, two bandages and a tiny bottle of clear top coat take up almost no space). Then do the real repair at home, calmly, in good light.
How To Remove the Patch When It Grows Out
Never peel or pick a patch off, because it can take the top layers of your nail with it. Instead, soak a cotton pad in remover, hold it on the nail for a minute or two, and wipe the softened glue away gently. Repeat if needed, then buff lightly, wash your hands and follow with oil and hand cream. If the nail underneath looks a little thin or ridged afterward, give it a few bare, well-oiled days before your next polish.
Why Nails Break (and How To Make It Less Likely)
A one-off break is usually just bad luck: a car door, a suitcase zipper, a heavy box. But if your nails break often, it's worth looking at the patterns behind it:
- Too much water: long baths, lots of dishwashing and frequent hand washing make nails swell and shrink again, which weakens them over time.
- Dryness: skipping oil and hand cream, especially in cold months, leaves nails stiff and easier to crack.
- Harsh removal: peeling off gel or scrubbing away glitter strips layers from the nail surface.
- Length and shape: long, square nails with sharp corners catch more easily than shorter, softly rounded ones.
- Using nails as tools: every little pry and scratch adds up.
If your nails feel weak in general, my tips for making brittle nails stronger are a lovely place to start. And if they've been through a rough patch with gel, acrylics or harsh removers, my gentle plan to rejuvenate weakened and damaged nails helps you rebuild over a few weeks.
When To See a Doctor
Most broken nails are a cosmetic annoyance. Some, though, are a small injury that needs proper care. Please clean the area gently with mild soap and water, cover it with a clean bandage and see a doctor if:
- The break reaches the quick or the skin under the nail and keeps bleeding.
- You notice redness, swelling, warmth, throbbing pain or pus around the nail.
- The nail is lifting away from the nail bed, or a large part has torn off.
- The break happened from a crush injury (like a door), and there's dark blood under the nail or a lot of pain.
- You have diabetes or circulation problems, even if the break looks small.
And one firm rule: never put nail glue over an open wound or broken skin. Glue belongs on the nail only. This article is general nail care information, not medical advice, so when in doubt, let a professional take a look.
Final Thoughts
Learning how to fix a broken nail is mostly about slowing down. Protect the break, see what kind it is, choose the gentlest repair that will hold, and give it a little care every few days. Your nail keeps growing the whole time, quietly carrying the damage out to the tip.
A small patch, a smooth edge and a drop of oil each evening are often all it takes. Before you know it, you'll file the last bit away and your nails will be back to their pretty, healthy selves.