Nails that feel thin, bendy and peely after gel or acrylics aren't ruined. They're tired. The good news is that the damaged layers grow out on their own, and with a few simple habits, the new nail growing in behind them can come through strong and smooth. Repair is mostly about protecting what's there while patience does the heavy lifting.
The hard part is that this stage is when most of us are tempted to cover everything up with another set. Totally understandable, but it usually restarts the cycle. A few calm weeks of basic care make a much bigger difference than any miracle product.
This guide covers how to repair your nails after gel or acrylics step by step: why they get thin in the first place, how to take them off without more damage, a gentle 7-step recovery routine, a week-by-week recovery table, what to avoid, how long a nail break should be and when it's time to see a dermatologist.
Why Your Nails Feel So Thin After Gel or Acrylics
Gel polish and acrylics themselves aren't automatically the villains. Most of the damage comes from what happens around them:
- Removal damage. Peeling, picking or prying off gel and acrylics lifts away the top layers of your natural nail along with the product. This is the single biggest cause of thin, white, rough patches.
- Heavy filing. Before application, the nail surface is often filed to help the product grip, and the removal process may involve more filing. Each round takes away a little thickness.
- Dehydration. Acetone soaks dry out the nail plate and the skin around it, which makes nails more likely to peel and split.
- No breathing room between sets. When one set goes straight onto the next, your nails never get a chance to recover between appointments.
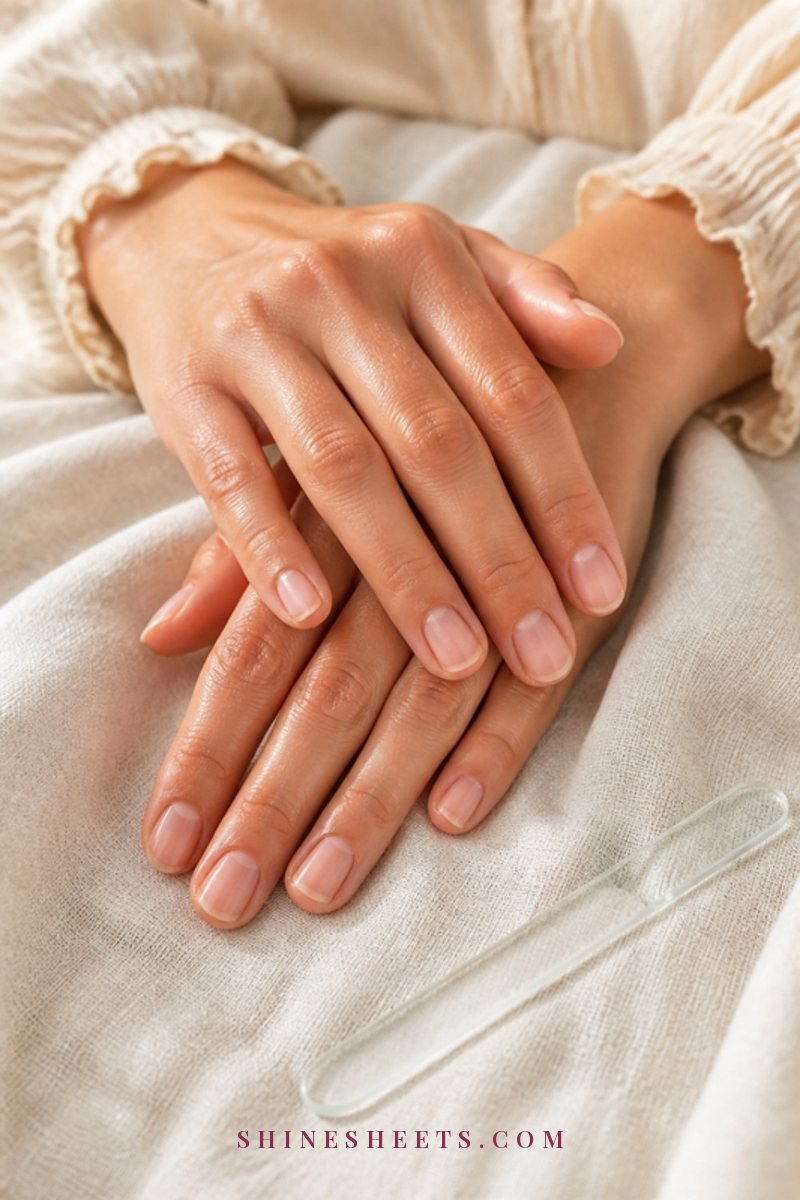
The nail plate is made of layers of keratin, a bit like thin sheets of paper stacked together. When the top sheets get lifted or filed away, what's left is thinner, more flexible and more likely to split. That's why your nails might bend like paper or peel at the tips right now.
Here's the reassuring part: damaged nail can't be "healed" in place, but it doesn't need to be. It grows forward and gets trimmed away, and healthy new nail takes its place from the base. Your job is to keep that new growth safe.
Step One: Take Them Off the Gentle Way
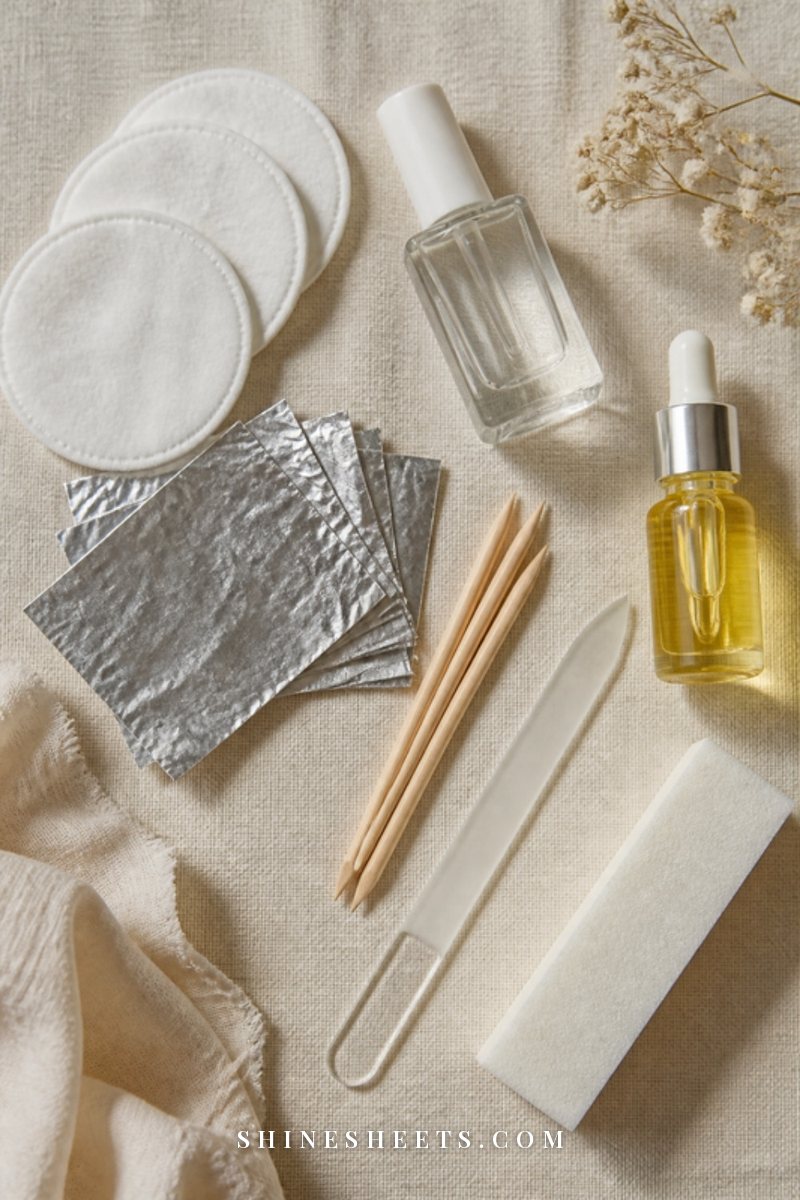
If you still have gel or acrylics on, recovery starts with removal, and how you remove them matters more than anything else in this article.
The golden rule: never peel, pick or pry. Even when a corner is lifting and it feels so satisfying to pull, it takes a layer of your nail with it every single time.
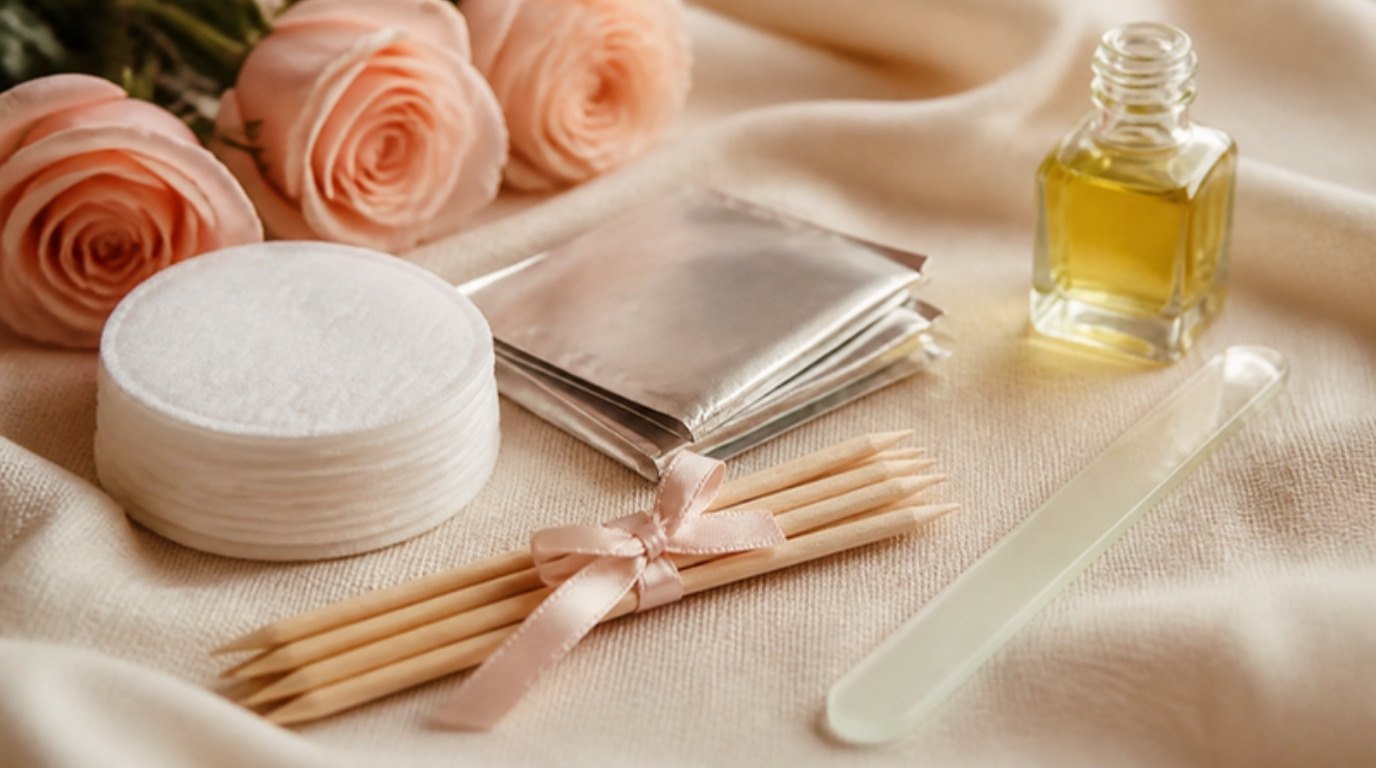
For gel polish, a soak-off at home works well when done patiently: file away the shiny top coat, soak cotton in acetone, wrap each nail, wait 10 to 15 minutes and gently nudge off only what has loosened. If anything still clings, re-wrap for another 5 minutes instead of scraping. My full guide on how to remove gel polish at home walks through every step.
For acrylics, professional removal is often the kindest option, because acrylic is thicker and takes longer to dissolve. A good technician will file down the bulk and soak off the rest, not snip or pop them off. If anyone tries to pry them off with a tool, it's okay to ask them to stop and soak instead.
Right after removal, wash your hands with lukewarm water and a gentle soap, pat dry and apply oil and hand cream straight away. Your nails will look a little chalky and dull. That's normal.
Your Nail Recovery Routine: 7 Gentle Steps

These seven habits are the heart of repairing your nails. None of them are complicated, but they work best done consistently for at least four to six weeks. Think of it as a small daily ritual, not a project.
1. Keep Your Nails Short and Softly Rounded
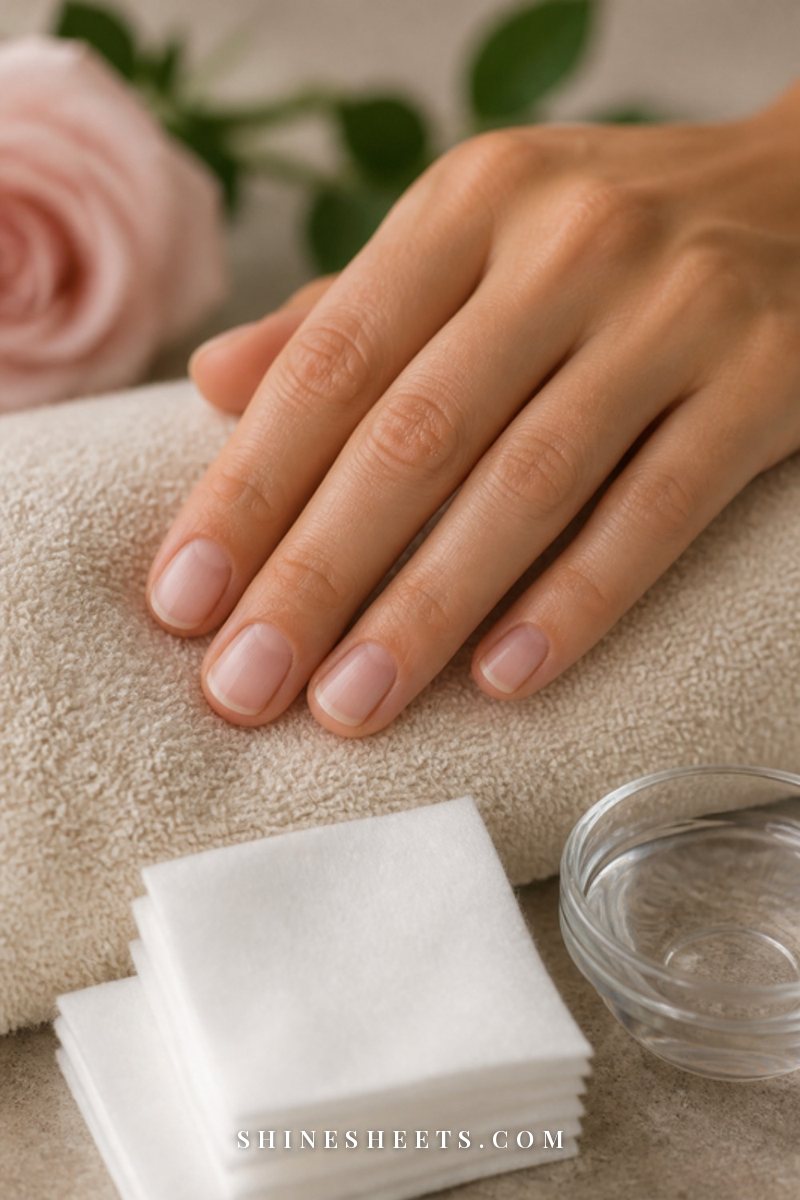
This is the most important step, and the one people resist most. Thin nails with long free edges catch, bend and tear. Keep them short, ideally just past the fingertip, and soften the corners into a gentle round or "squoval" shape that's less likely to snag.
Trim a tiny bit every 5 to 7 days. Each trim takes away a little more of the damaged nail and lets the healthy part take over sooner. Short nails also simply look neat and polished, especially with healthy, glossy cuticles.
2. File Gently in One Direction
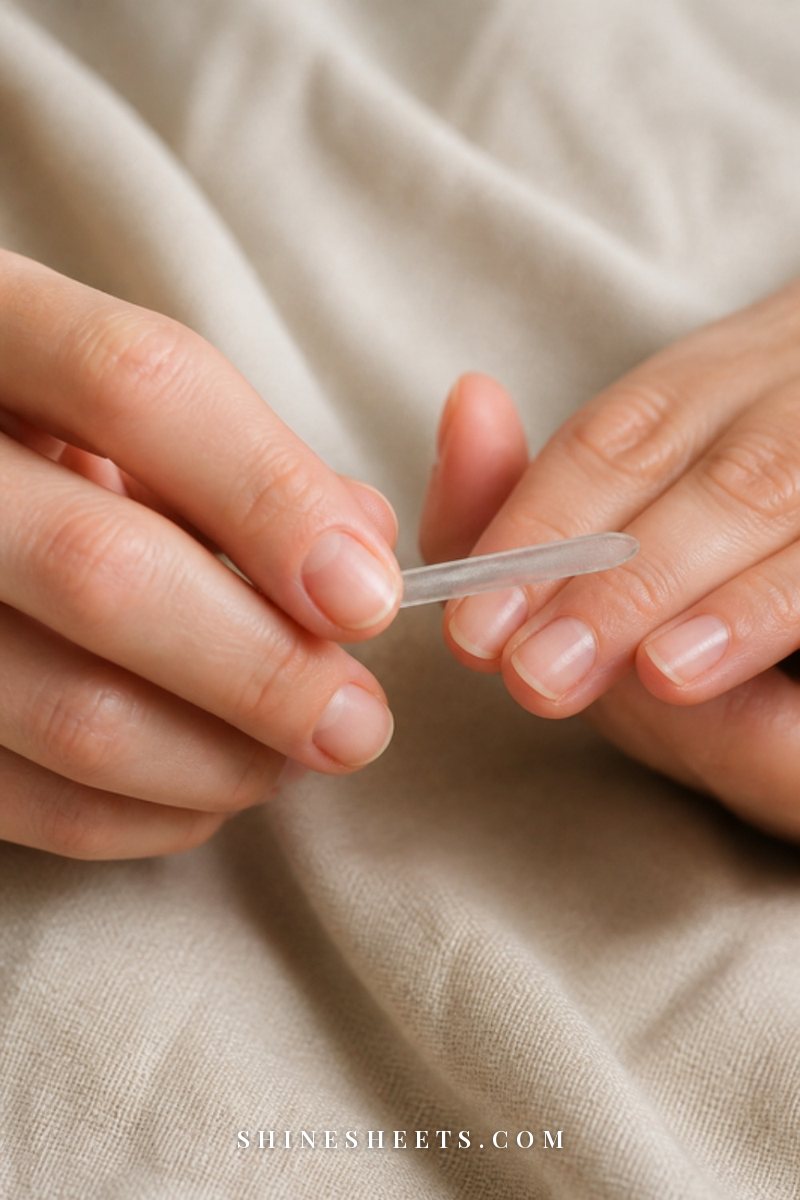
Fragile nails hate the back-and-forth "sawing" motion, which frays the layers at the edge and invites peeling. Instead, file from the outer corner toward the center, lifting the file between strokes, and do the same from the other side.
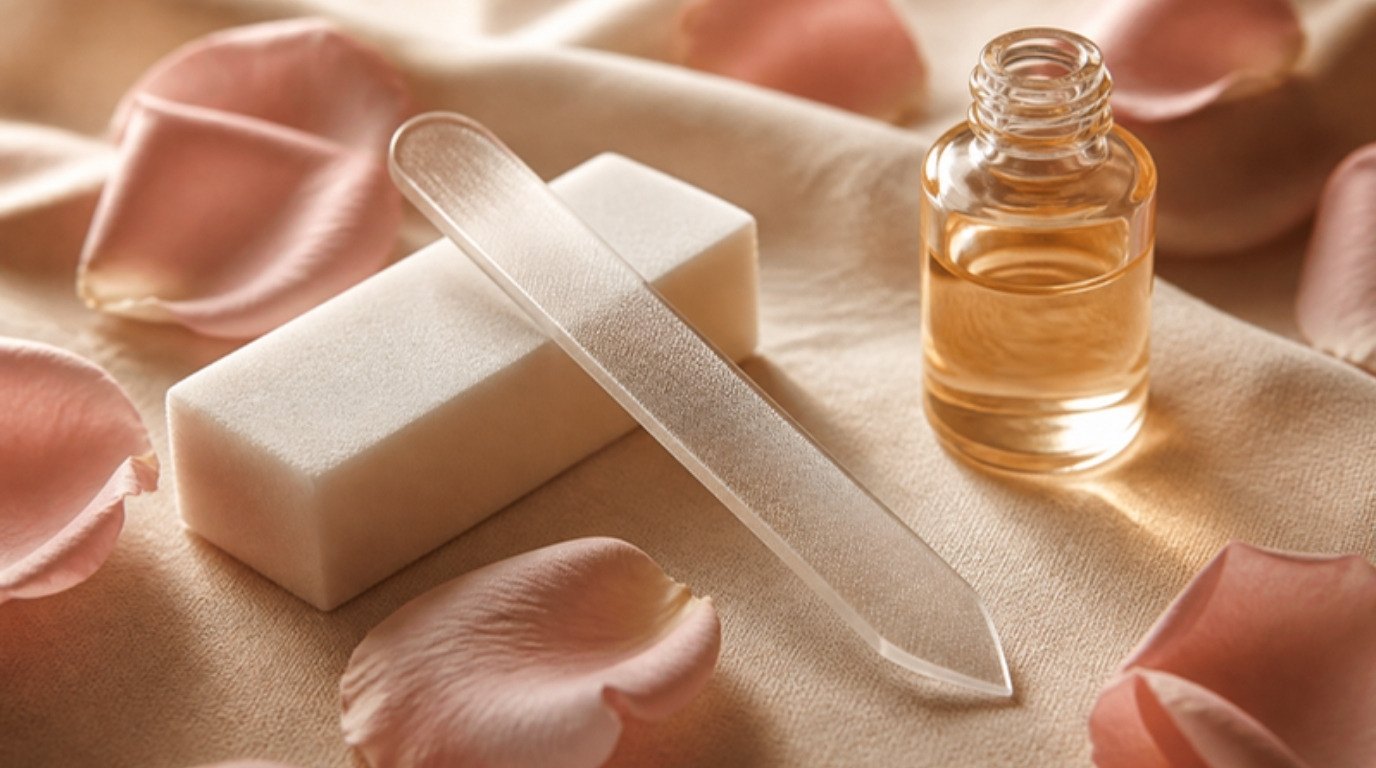
The file matters too. A glass nail file is a pick for recovering nails because its fine surface seals the edge more smoothly than rough emery boards. Use light pressure and file a few strokes at a time. For more detail, my guide on how to grow your nails covers shaping and gentle growing habits in more depth.
3. Skip the Buffer for Now
Buffing can make nails look shiny, but on a thin, recovering nail it removes even more of the surface you're trying to protect. Put the buffer away for the full recovery period. If the ridges or rough patches bother you, a smoothing base coat or a clear strengthener (more on that below) gives a smoother look without taking anything away.
Once your nails have fully grown out and feel strong again, very occasional light buffing is fine. Just not now.
4. Oil Your Cuticles Twice a Day
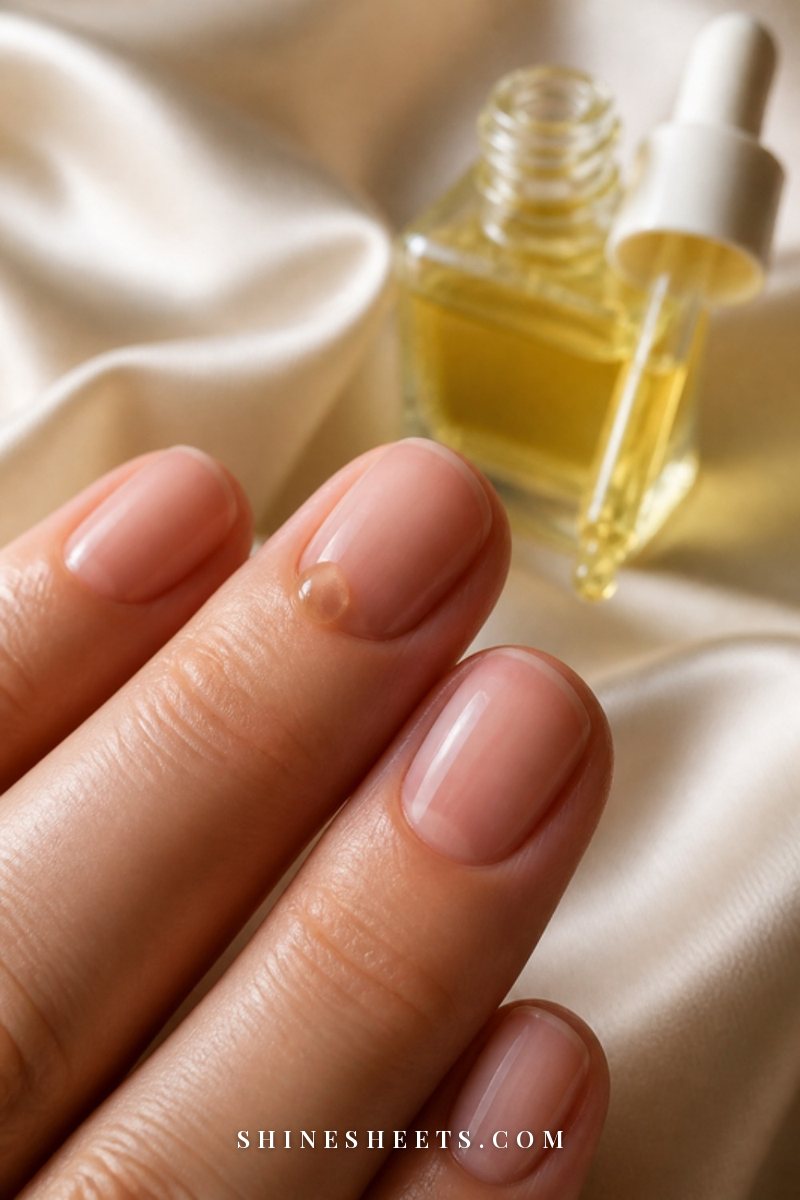
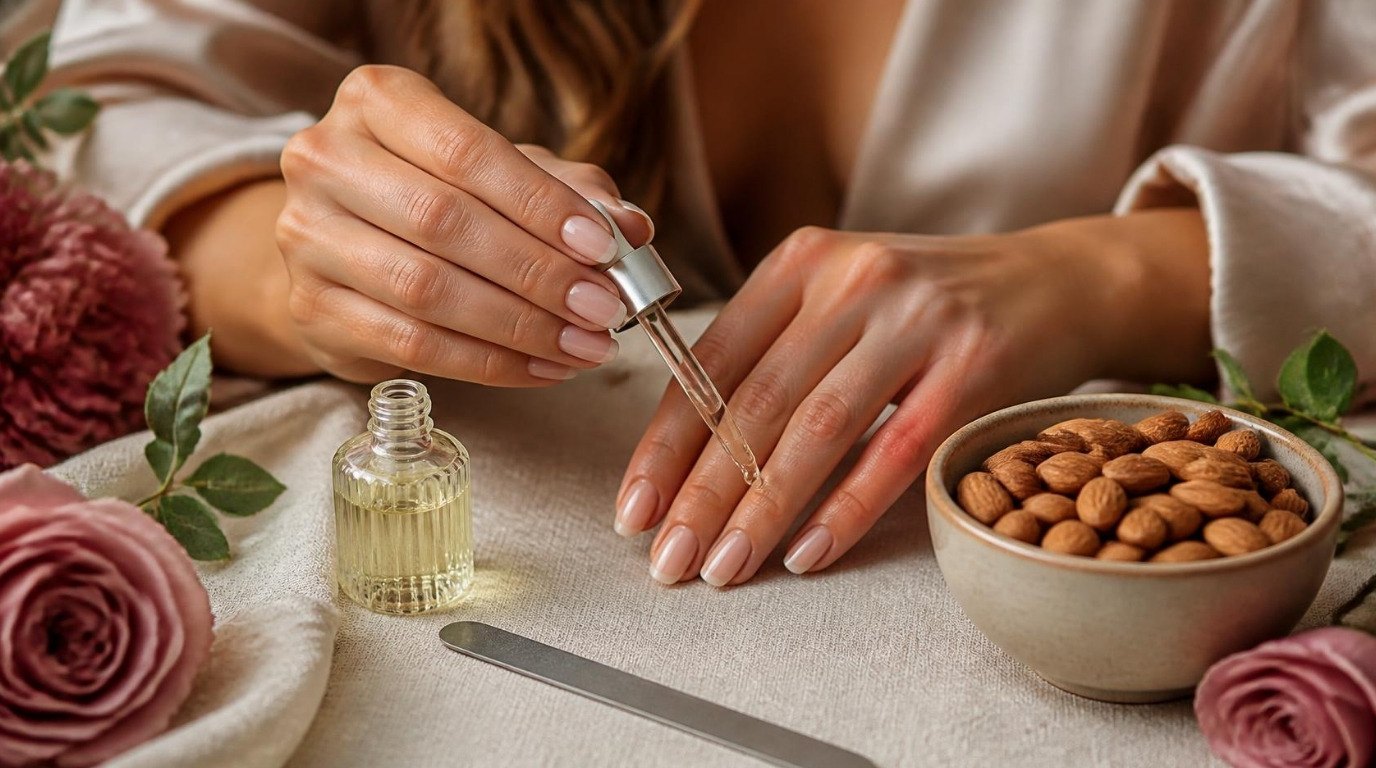
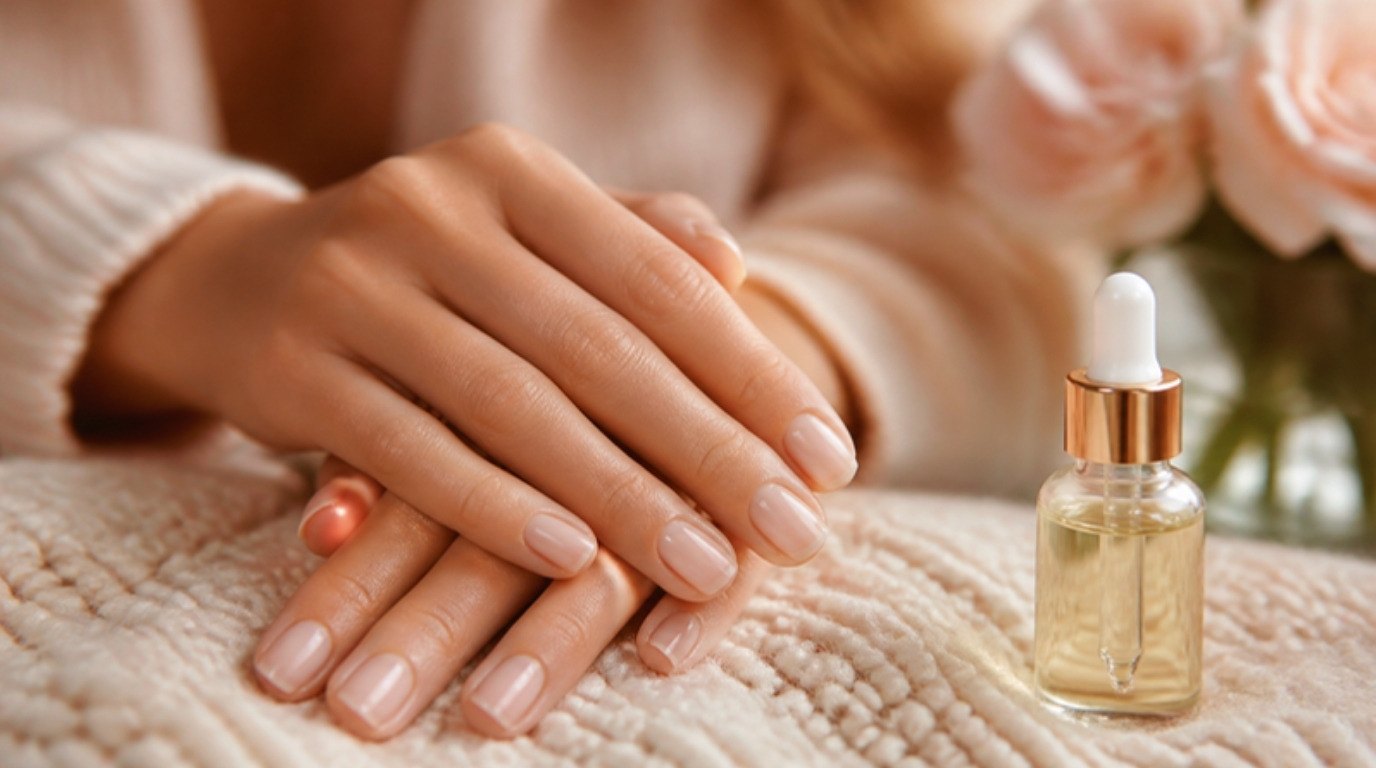
Cuticle oil is the closest thing to a recovery hero. Oil helps keep the nail plate and the skin around it flexible, so nails are less likely to snap or peel. It also keeps the cuticle area soft, which matters because that's where the new nail is being made.
Apply a small drop to each nail morning and evening, then massage it into the cuticle and over the whole nail surface for about 30 seconds. A cuticle oil pen makes it easy to keep one in your bag and one by your bed so you never skip it. Look for simple plant oils like jojoba, almond or sunflower, and patch test first on the side of your hand if your skin is sensitive.
If your cuticles are ragged or overgrown after a long run of salon sets, my guide to cuticle care explains how to soften and tidy them without cutting live skin.
5. Moisturize Your Hands Every Time You Wash Them
Nails dry out with every hand wash, especially in colder months. Get into the habit of applying hand cream after washing, and rub the extra into your nails and fingertips rather than just your palms.
During the day, a light lotion is fine. At night, a rich hand cream with shea butter gives your nails a longer, deeper drink. Look for ingredients like shea butter, glycerin, ceramides or urea, and keep a tube at every sink so it actually happens.
6. Use a Nail Strengthener Carefully
A clear strengthening coat can act like a protective shield while your nails grow out, helping thin tips resist splitting. A clear nail strengthener coat is a good pick for this stage, worn alone or under a sheer polish.
Always follow the label: some strengtheners are meant to be applied every other day and removed once a week, others are used differently. One important note: some formulas contain formaldehyde or formaldehyde resin, which can cause irritation or allergic reactions in sensitive skin and can make nails brittle if overused. If your skin reacts easily, choose a formaldehyde-free formula, apply it only to the nail (not the skin) and stop if you notice redness, itching or soreness.
My guide to brittle nails goes deeper into what makes nails weak and the everyday habits that help.
7. Wear Gloves for Cleaning and Overnight Care

Hot water, dish soap and cleaning products are surprisingly harsh on recovering nails. Wear rubber gloves (ideally with a cotton lining) for washing up and cleaning, and your nails will thank you within a week or two.
For an easy overnight boost, apply cuticle oil and a thick layer of hand cream before bed, then slip on soft white cotton gloves. Two or three nights a week is plenty. It feels lovely, especially with a cup of evening tea and a candle on the nightstand.
A Simple Daily Nail Care Rhythm
Seven steps can sound like a lot, so here's how they fit into a normal day. All of it adds up to about five minutes, and most of it happens alongside things you already do.
- Morning (1 minute): after washing your face, swipe cuticle oil over each nail and massage it in while you wait for the kettle.
- Every hand wash (30 seconds): pat your hands dry, especially around the nails, then apply hand cream and rub the extra into your fingertips.
- Chores: gloves on for washing up, wiping surfaces and anything with cleaning sprays.
- Evening (2 minutes): cuticle oil again, then a rich hand cream. Two or three nights a week, add cotton gloves.
- Once a week (10 minutes): trim, file gently in one direction, push back softened cuticles after a shower and refresh your strengthener if the label says so.
If you only manage the evening step on a busy day, that still counts. Consistency over weeks matters far more than perfection on any single day. Keeping your oil pen next to your toothbrush or your evening tea mug is a small trick that makes the habit almost automatic.
Week-by-Week Nail Recovery Table
Nails grow slowly, so it helps to know what to expect and when. Here's a gentle roadmap for the first two months after removal. Everyone's nails grow at a different pace, so treat the weeks as a rough guide, not a deadline.
| Week | What your nails may look like | Focus on | Avoid |
|---|---|---|---|
| Week 1 | Thin, bendy, white or chalky patches, possible peeling at the tips | Trim short, cuticle oil twice daily, hand cream after every wash | Picking at peeling layers, new gel, buffing |
| Week 2 | Still fragile; tips may split if they catch | Start a clear strengthener per label, file in one direction, gloves for wet work | Using nails as tools to open cans or peel stickers |
| Week 3 | A band of smoother, healthier nail appears near the cuticle | Keep trimming every 5–7 days, overnight gloves 2–3 times a week | Frequent acetone; use an acetone-free remover |
| Week 4 | The healthy band grows; nails feel a little sturdier | Keep the routine, sheer polish over strengthener if you like | Booking a new set "because they look better now" |
| Weeks 5–6 | Much of the damaged nail is close to the tip and can be trimmed away | Trim off damaged ends, continue oil and cream daily | Long, sharp shapes that snag |
| Weeks 7–8+ | Mostly new nail; smoother, less peeling, more flexible in a healthy way | Decide if you want a longer break or plain polish only | Rushing back into back-to-back sets |
Fingernails grow slowly, often only a few millimeters a month, which is why a full nail can take several months to completely replace. Big toenails take even longer. You'll see real improvement well before then, though, usually around week three or four.
What To Avoid While Your Nails Recover
Repair is as much about what you stop doing as what you start. Try to avoid these for at least the first month:
- Picking and peeling. If a layer lifts, trim or gently file it smooth instead of pulling.
- Acetone too often. If you wear regular polish during recovery, remove it with an acetone-free nail polish remover and limit polish changes to once a week or less.
- Going straight back to gel. A new set on a thin nail usually means more filing and another harsh removal. Give your nails at least a few weeks first.
- Using nails as tools. Use a coin, a key or your fingertip pads to open cans, scrape labels or press buttons.
- Long hot soaks. Nails swell in water and shrink as they dry, which encourages peeling. Keep washing up short and gloved.
- Cutting live cuticle skin. Push cuticles back gently after a shower instead, and only snip true hangnails.
If you do decide to go back to gel later, my guide on how to make gel nails last longer has tips that also help reduce the lifting and picking that cause damage in the first place.
How Long Should You Take a Nail Break?

There's no official rule, but a sensible approach looks like this:
- Mild damage (a little dryness, light peeling): 2 to 4 weeks of basic care often makes a visible difference.
- Moderate damage (thin, bendy nails, white patches, regular splitting): aim for about 6 to 8 weeks so much of the damaged nail grows out.
- Severe damage (very thin, painful or lifting nails): take a longer break, until the nail feels comfortable and sturdy, and consider asking a dermatologist for advice before going back to gel or acrylics.
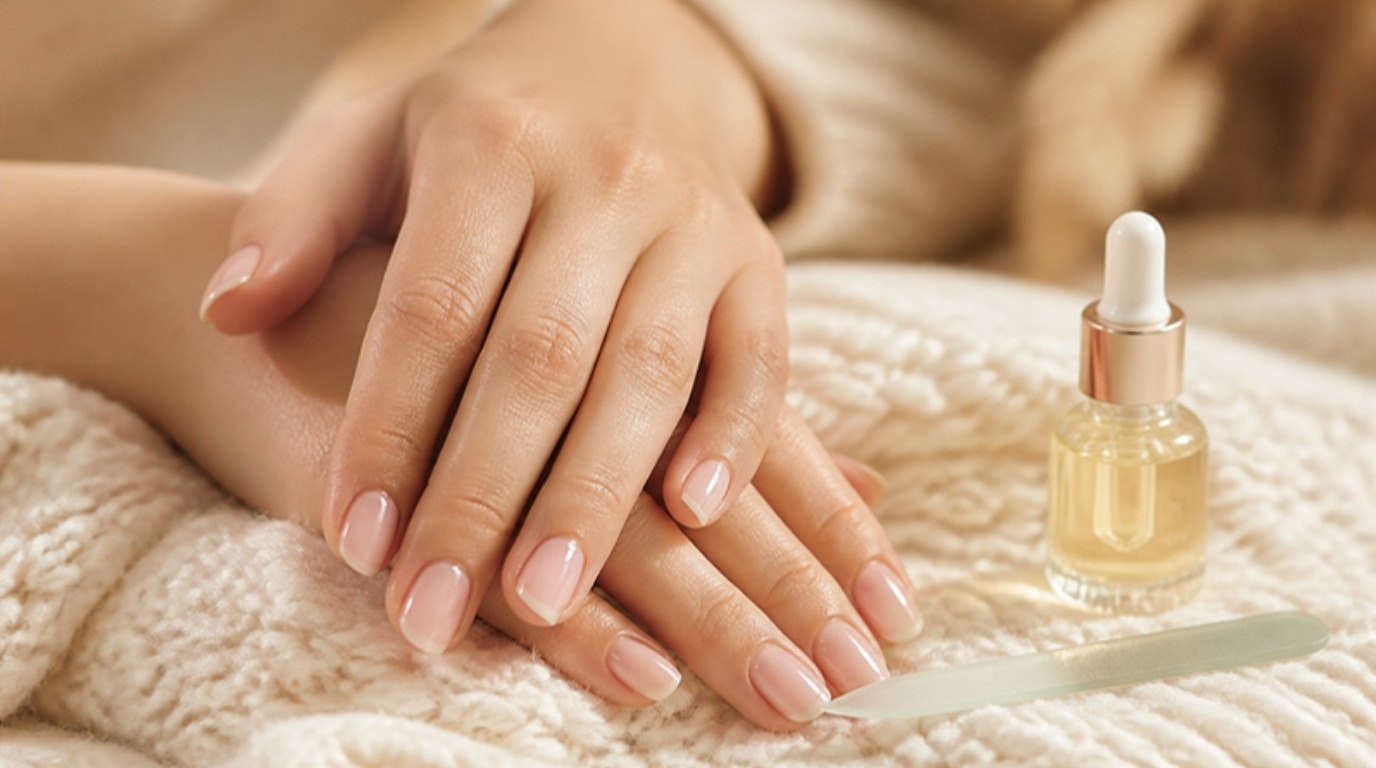
A nail break doesn't have to mean bare, boring nails. A clear strengthener or one coat of a sheer pink polish looks fresh and polished, and short rounded nails with glossy cuticles are a classic, elegant look on their own. There's something very Old Hollywood about simple, well-cared-for hands.
When you go back to enhancements, consider building in a regular break, like a few weeks of plain nails between every few sets, and always choose a salon that soaks off rather than prying.
A Note on Food and Nail Health
Your nails are built from the inside, so general good habits help: regular meals with enough protein, plenty of water and a varied diet with fruits, vegetables, whole grains and healthy fats. There's no need for anything extreme.
I won't recommend specific supplements or doses here, because what you need depends on your own health. If you suspect a nutritional issue (for example, if you're also tired, losing hair or noticing other changes), talk to your doctor before starting anything new. They can check what's actually going on.
When To See a Dermatologist
Most nails recover beautifully with time and gentle care. But some signs deserve a professional look, so please book an appointment with a dermatologist or your doctor if you notice:
- Pain, throbbing, swelling or redness around the nail
- A nail lifting away from the nail bed
- Yellow, green, brown or black discoloration, or a dark streak in the nail
- Thickening, crumbling or a bad smell, which can be signs of infection or fungus
- Itching, burning or a rash on the skin around your nails after using a product
- No improvement at all after two to three months of care
None of these mean you did something wrong. They simply need the right diagnosis and treatment, which is exactly what a dermatologist is there for.
Final Thoughts
Repairing your nails after gel or acrylics is mostly a gentle waiting game: keep them short, oil them twice a day, protect them from water and harsh removers, and let new, healthy nail grow in.
Give it a few calm weeks and you'll start to see a smooth, strong band of new nail near your cuticles. That little band is proof your hands are already doing the repair work, and every day of kind care helps it along.