Most nail breaks and peels don't start with weak nails. They start with the file. Sawing back and forth, filing wet nails or digging too deep into the corners creates tiny tears along the edge, and those tears turn into splits a few days later. Change the way you file and your nails often look stronger within a couple of weeks.
The good news is that filing well isn't complicated. It's mostly about the right tool, one simple motion and a shape that suits your natural nail bed. Once you've got those three, a full set takes about five minutes.
This guide covers how to file your nails properly: which file to choose (and which to throw away), grit basics, the one-direction technique, every common nail shape explained with step-by-step instructions, which shape flatters short, narrow or wide nail beds, and the mistakes that quietly cause breakage. There's also a nail shape guide table to screenshot for your next at-home manicure.
Why How You File Matters
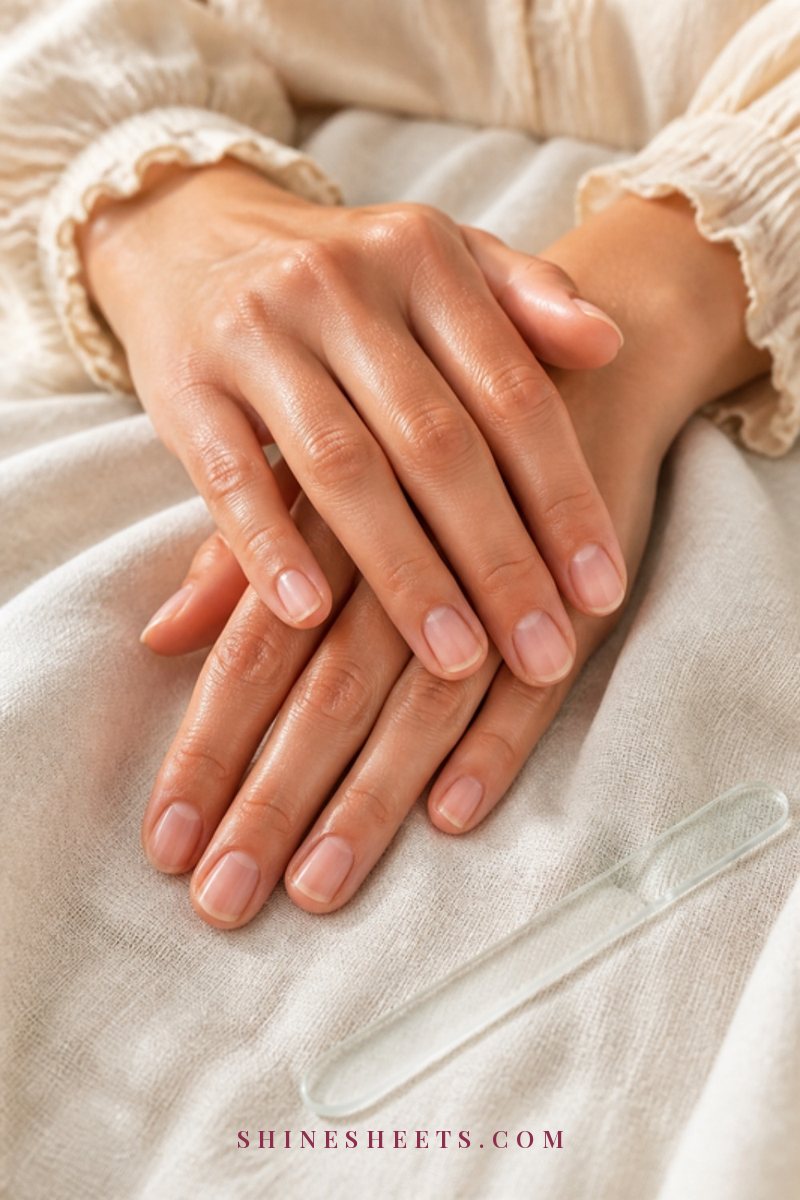
Your nail is made of thin layers of keratin stacked on top of each other, a little like the pages of a book. When you file correctly, you seal those layers together at the edge. When you file roughly, you separate them, and that's where peeling and splitting begin.
Good filing gives you three things:
- Stronger edges. A smooth, sealed free edge catches less on sweaters, hair and keyboards, so it's less likely to snag and tear.
- Better growth. Nails that don't break can actually grow out, which is why filing technique matters so much if you're trying to grow longer nails.
- A polished look with no polish at all. Neatly shaped, even nails look groomed and elegant even when they're completely bare.
If your nails already peel or split easily, filing is only one part of the picture. My guide to brittle nails covers the other habits that help them recover, from hydration to gloves.
Choosing the Right Nail File
Not all files are equal, and the one in your drawer might be causing more damage than you realize. Here's what to know about each type.
Glass and Crystal Files
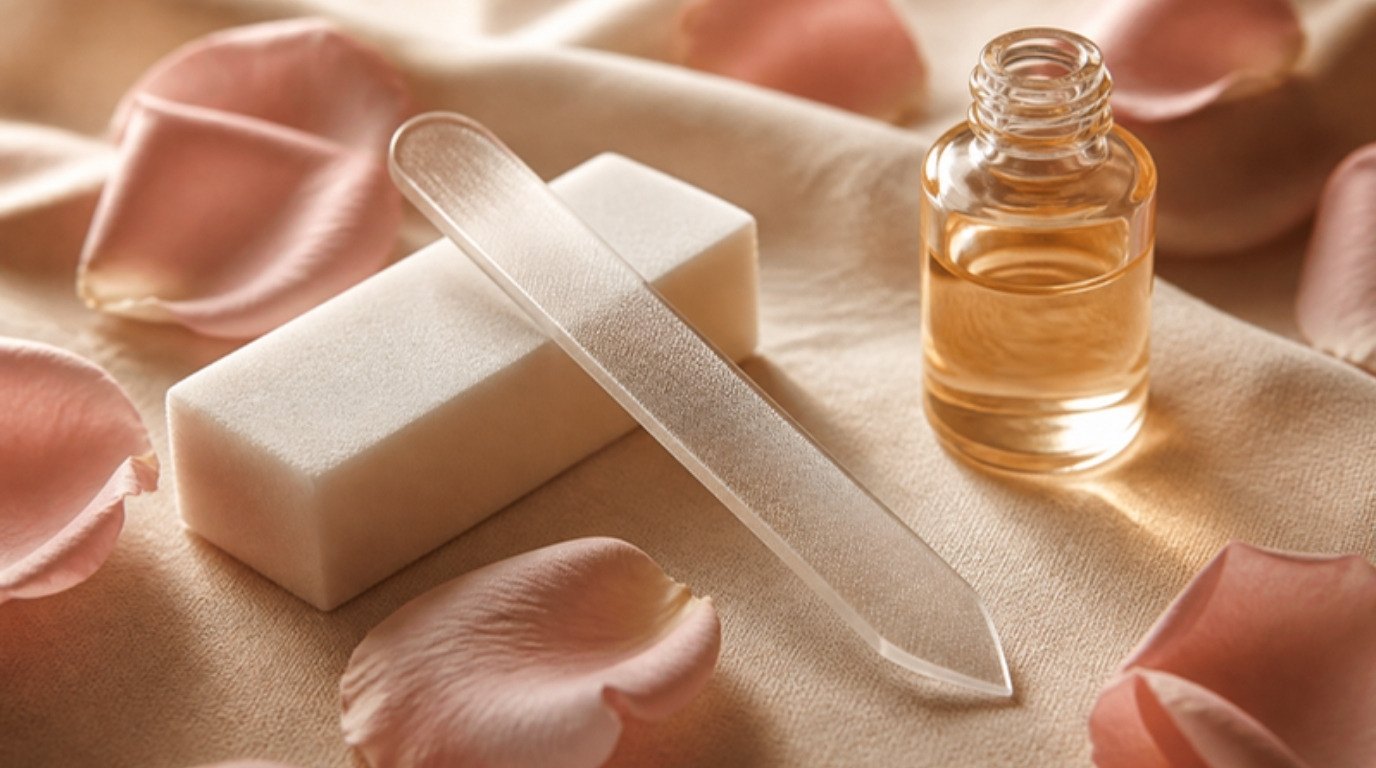
Glass (also called crystal) files have a finely etched surface that files the nail smoothly and seals the edge as you go. They're gentle enough for thin, weak or peeling nails, last for years and can be washed with soap and water, which makes them more hygienic than paper files.
For most people, a glass nail file is the best everyday pick. Look for one with a fine grit on the whole surface and a protective case, since glass can chip if you drop it on tile.
Emery Boards
Emery boards are the classic paper-and-cardboard files. They're cheap and easy to find, and a fine-grit emery board works well for natural nails. The downside: they wear out quickly, can't really be cleaned and get rough as they age. Replace them as soon as they feel smooth or start to fray, and keep one per person.
Metal Files (and Why To Skip Them)
Metal files look durable and professional, but they're the roughest option for natural nails. Their coarse surface tends to tear the keratin layers rather than smooth them, leaving edges prone to peeling. Unless your nails are unusually thick and strong, I'd retire the metal file and use glass instead.
Understanding Grit
Grit is the number that tells you how coarse a file is. The lower the number, the rougher the file. You don't need to memorize anything, just these basics:
- 80 to 100 grit: Very coarse. Made for acrylics and artificial nails. Never use on natural nails.
- 180 grit: Medium. Fine for shortening and shaping strong natural nails.
- 240 grit and higher: Fine. Best for natural nails, especially thin or weak ones, and for smoothing edges.
- Buffers (400 grit and higher): Very fine. For smoothing ridges and adding a soft shine to the nail surface.
If you only buy one tool, choose a fine glass file or a 240-grit board.
Before You Start: Clip, Dry and Prep
A little prep makes filing faster and kinder to your nails.
- Make sure nails are completely dry. Wet nails are softer and bend under the file, which causes peeling. Wait at least an hour after a shower or washing dishes.
- Remove old polish. You need to see the true shape and edge of each nail.
- Clip first if you're taking off a lot of length. Filing several millimeters is slow and creates heat and friction. Use sharp stainless steel nail clippers to trim most of the length, leaving a little extra so you can refine the shape with the file. Clip in small snips from the side toward the center, rather than one big cut that can crack the nail.
- Decide on your shape. Look at your nail beds and choose your shape before you begin (the table below helps), so you don't file away length trying different ones.
How To File Your Nails: The Basic Technique
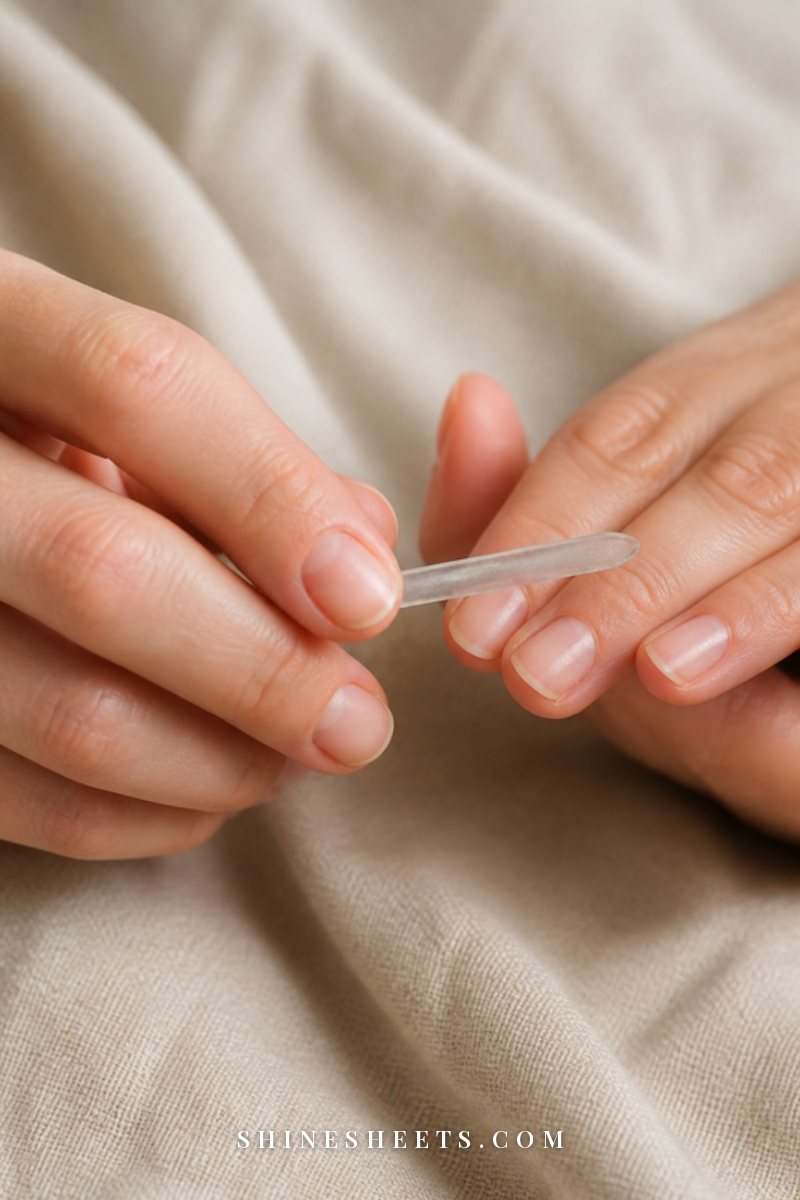
This technique works for every shape. The shape changes only in where you stop and how much you round the corners.
- Hold the file at a slight angle. Tilt it about 45 degrees, angled slightly under the nail, so you file the underside of the free edge rather than straight across the top. This prevents a sharp, thin edge.
- Start at one side. Place the file at the outer corner of the nail.
- File in one direction only. Glide the file from the outside corner toward the center in long, smooth strokes. Lift the file off the nail, return to the starting point and repeat. No sawing back and forth.
- Switch sides. Do the same from the other outer corner toward the center.
- Check the shape every few strokes. Turn your hand around and look at the nail from above and from the fingertip side. It's easy to over-file one side without noticing.
- Match all ten. Do one nail fully, then use it as the model for the others. Hold finished nails next to unfinished ones to compare length and curve.
Use light pressure. The file should do the work, not your muscles. If you can hear loud scraping, you're pressing too hard.
The Nail Shape Guide
Here are the five classic natural nail shapes side by side: how to file each, who they suit best and how well they hold up to everyday life. Screenshot it and keep it handy for your next manicure.
| Shape | How To File It | Best For | Durability |
|---|---|---|---|
| Round | File sides straight, then curve the tip following your fingertip's natural line | Short nails, wide nail beds, anyone who types a lot or works with their hands | Very high: no corners to catch |
| Square | File straight across the top, keep sides straight and corners sharp-ish | Long, narrow nail beds; nails with some length | Medium: corners can snag |
| Squoval | File straight across, then gently soften both corners | Almost everyone; short to medium length | High: strong edge with fewer snags |
| Oval | Keep sides straight, then round the tip into a soft egg shape | Short fingers, wide nail beds, medium length | Medium to high |
| Almond | File sides inward toward a softly rounded point at the center | Medium to long nails, narrow beds, lengthening the look of fingers | Lower: the narrower tip is more fragile |
If you're unsure, start with squoval or round. They're the most forgiving shapes and the easiest to grow from.
How To File Each Nail Shape
Use the basic one-direction technique for all of these. Below is exactly where to stop and how to shape the tip for each.
Round
Round nails follow the natural curve of your fingertip, which makes them the most durable shape and the easiest to keep tidy.
- File both sides straight up so they're parallel and don't taper.
- Starting at one corner, sweep the file in a gentle arc toward the center, following the shape of your fingertip.
- Repeat from the other side until the curve is even.
- Keep length short to medium; a round shape usually extends only slightly past the fingertip.
Square
Square nails have a flat top and straight sides. They look crisp and modern but need a little length to look balanced.
- Hold the file perpendicular to the nail tip (straight on, not angled around it).
- File straight across the top in one direction until the edge is level.
- File each side straight, parallel to the other.
- Lightly smooth the very tip of each corner with a fine file so they don't snag.
Squoval
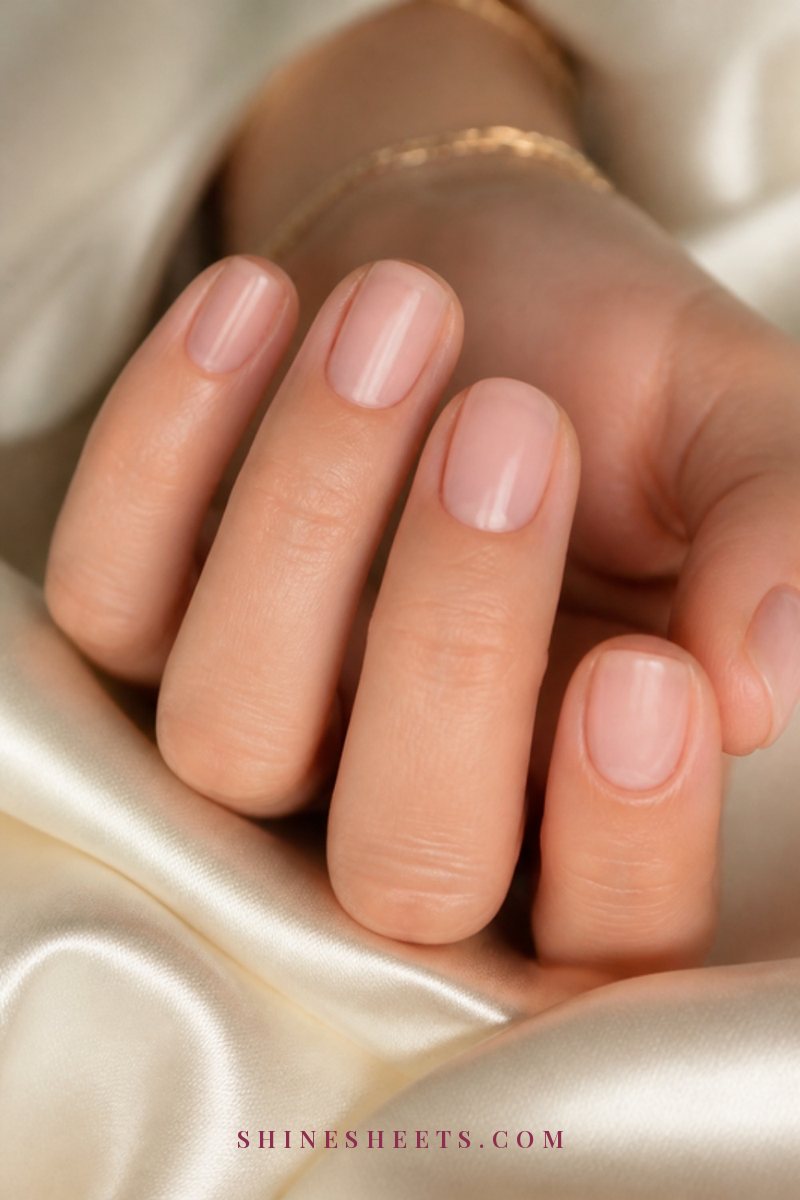
Squoval is the friendly middle ground between square and oval, and it's the shape I'd recommend if you only learn one. It has the strength of a square edge with softer corners that catch less.
- File straight across the top, just as you would for square.
- Keep the sides straight and parallel.
- Angle the file slightly and make two or three light strokes on each corner to round it softly.
- Check from above: the tip should look mostly flat with gently curved corners.
Oval
Oval nails are elongated and softly rounded, like the top of an egg. They make fingers look longer and are flattering on most hands.
- Keep the sides straight for the first part of the free edge.
- Begin curving inward from both sides, more than you would for round.
- Bring the curve to a smooth, symmetrical tip at the center.
- Check that both sides mirror each other; oval shows unevenness easily.
Almond
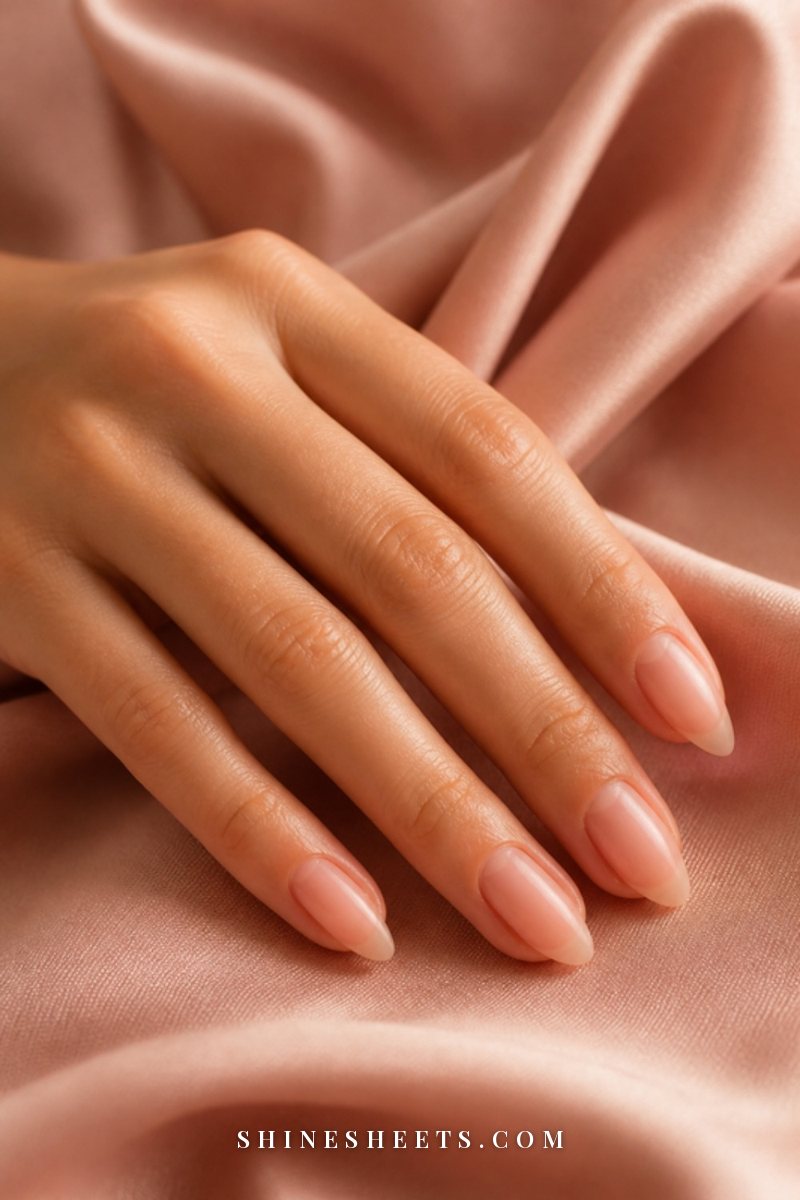
Almond nails taper from a wider base toward a softly rounded point. They look elegant and elongating but need some length and are more delicate at the tip.
- Grow your nails slightly past the fingertip before trying almond.
- File each side diagonally inward, from the corner toward the center, creating a slight taper.
- Keep the taper gentle; filing too far into the sides weakens the nail.
- Round the tip softly so it's a curved point, not a sharp one.
Which Nail Shape Suits Your Nails
The most flattering shape usually mirrors the shape of your cuticle line and works with your nail bed. A simple trick: look at the curve at the base of your nail, where it meets your skin. Many nail techs suggest filing the tip into that same curve, flipped.
- Short nails: Round or squoval. Both look neat at a short length and stay strong.
- Narrow nail beds: Square or squoval add visual width. Almond also suits narrow beds if your nails have some length.
- Wide nail beds: Oval and almond create the illusion of slimmer, longer nails. Round works well at short lengths.
- Short fingers: Oval or almond help elongate the hand.
- Long, slim fingers: You can wear almost anything; square looks especially elegant.
- Active hands (typing, gardening, cleaning): Round or squoval, kept short to medium.
How To Smooth and Finish the Edges
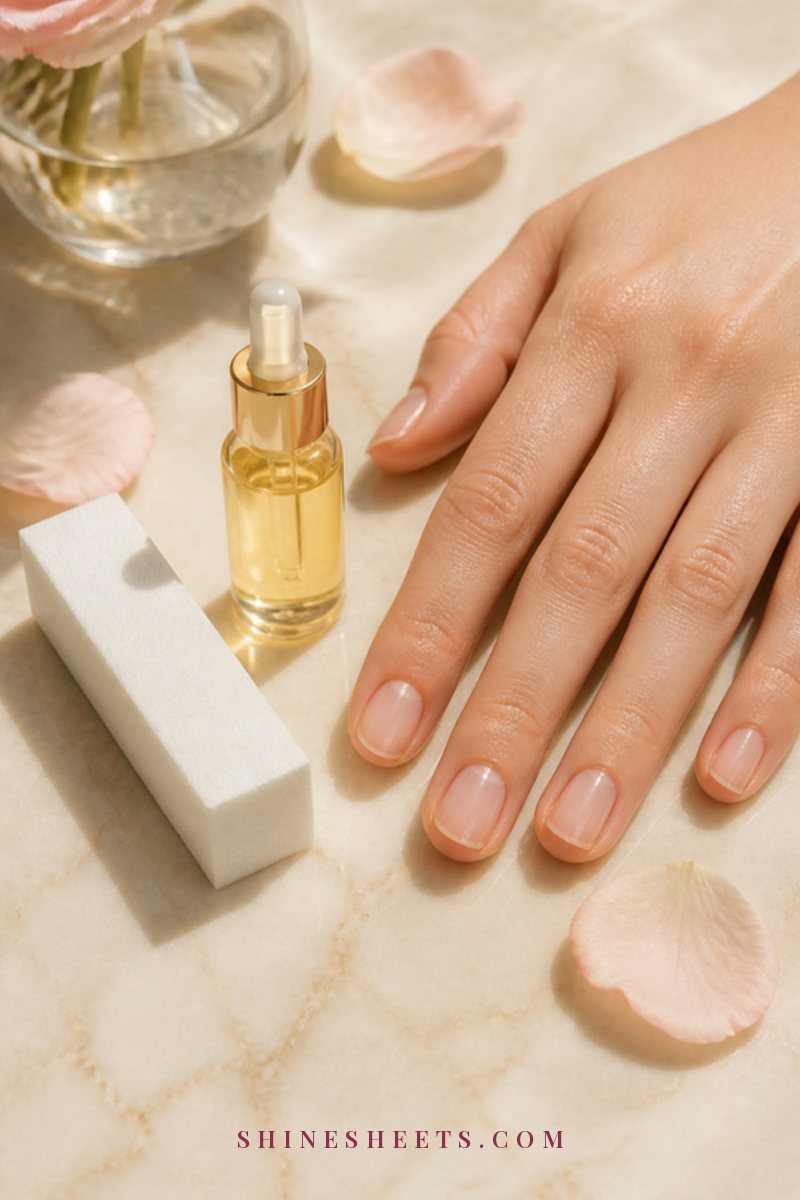
Finishing is what turns a nicely shaped nail into one that stays strong. After filing:
- Seal the edge. Lightly run a fine glass file or a buffer along the underside of the tip in one direction to remove tiny fibers. Run your fingertip across the edge: it should feel completely smooth.
- Buff gently, not often. A four-sided buffer block can smooth ridges and add a soft natural shine. Use the smoothing side with very light pressure, a few strokes per nail, no more than once every two weeks. Over-buffing thins the nail.
- Brush away dust. Use a soft brush or wash your hands to remove filing dust from under the nails and around the cuticles.
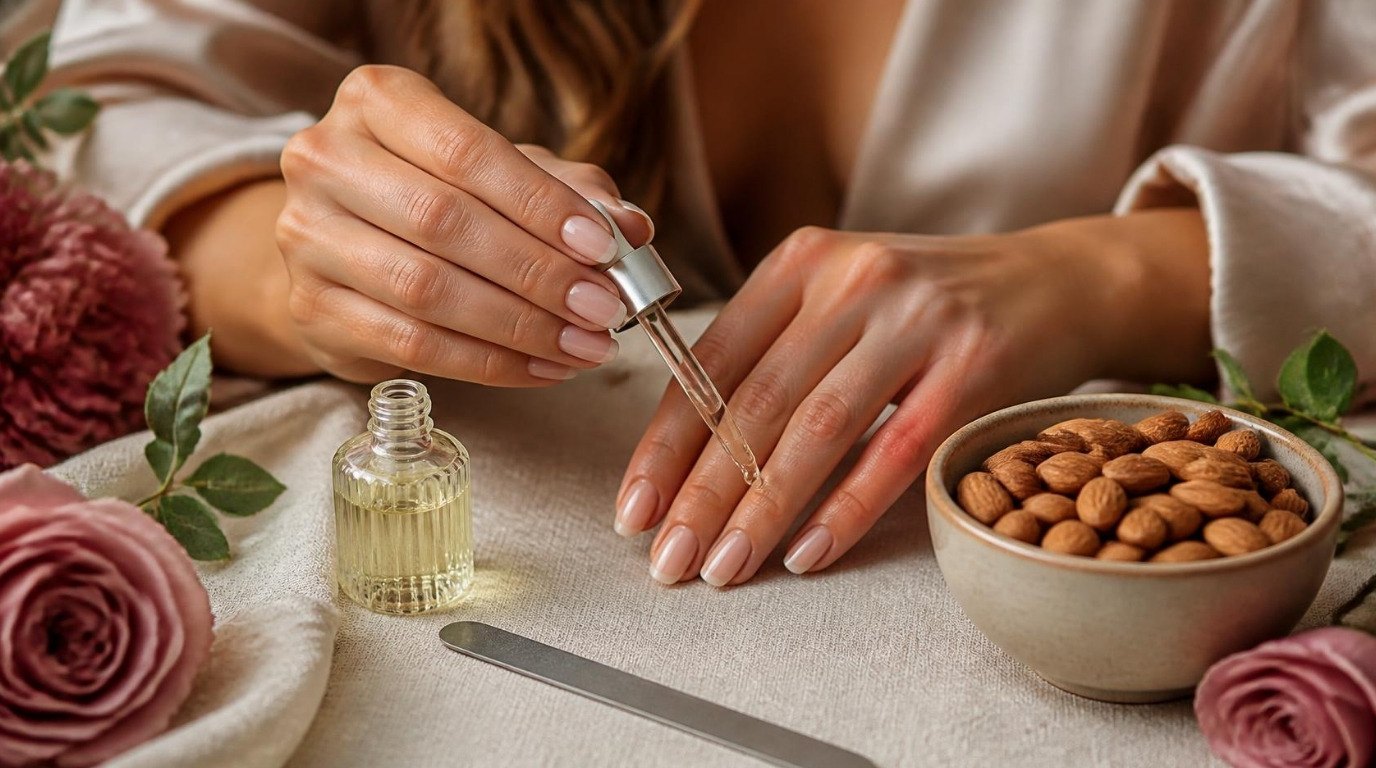
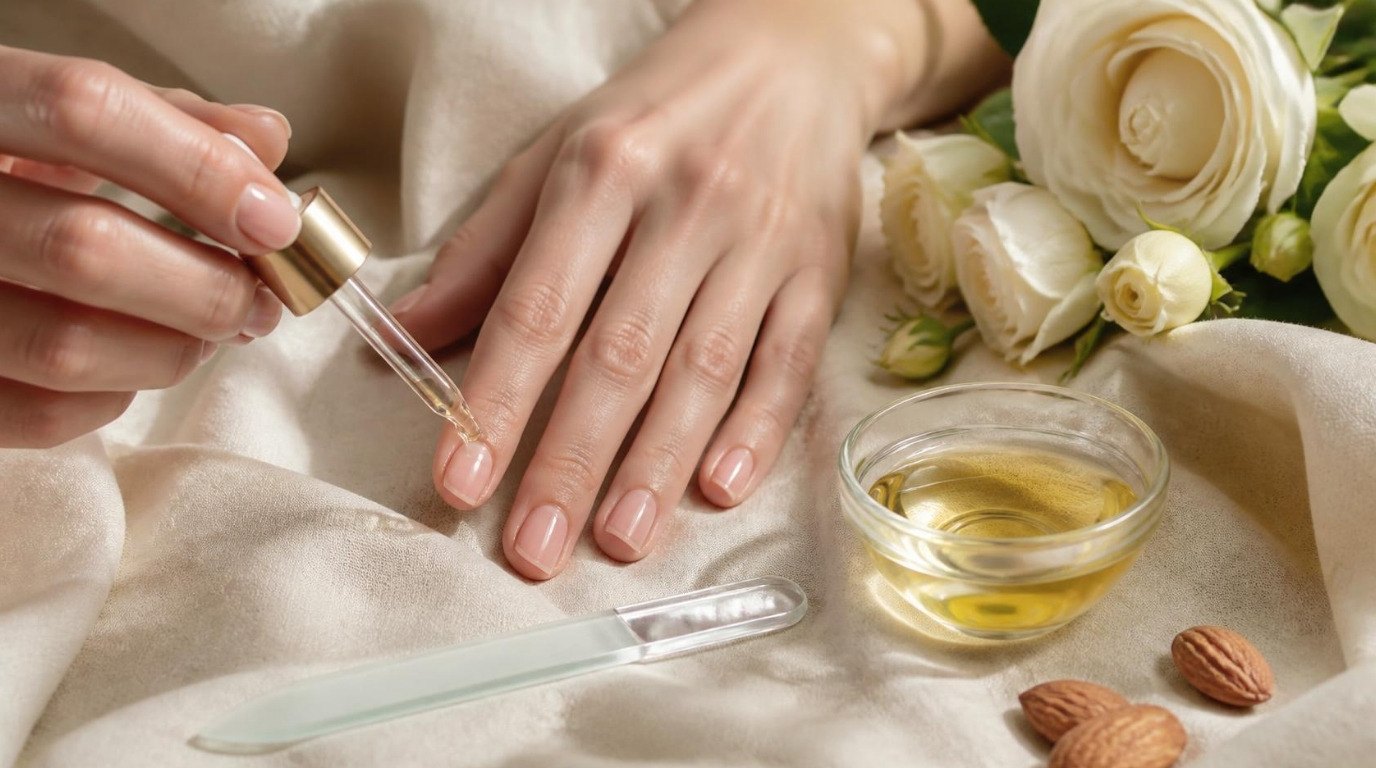
- Oil and moisturize. Massage a drop of cuticle oil into each nail and the surrounding skin, then follow with hand cream. Filing is a little drying, and oil keeps the fresh edge flexible.
That last step is where filing meets the rest of your care. My hand care routine shows how to fit nail oil and hand cream into your day so it actually becomes a habit.
How To File Weak, Thin or Growing-Out Nails
If your nails are fragile, recovering from gel or acrylics, or you're trying to grow them out, filing needs an even lighter touch. A few adjustments help:
- Go finer. Use only a glass file or 240-grit (or higher) board. Coarser files are simply too much for thin nails.
- Keep them short while they recover. A short round or squoval shape has less leverage, so it bends and breaks less. Length can come back once the nails feel stronger.
- File less, more often. A few light strokes every few days is gentler than a big shaping session once a week.
- Support the nail while you file. Rest the fingertip of the nail you're filing against your thumb so the nail doesn't flex under the file.
- Even out lengths gradually. If one nail breaks, don't file the other nine down to match right away. Shorten them a little each week until they meet in the middle.
Healthy cuticles matter here too, since the skin around the nail protects the area where new nail grows. My guide to cuticle care shows how to soften and tidy them gently, without cutting.
How Often To File Your Nails
For most people, filing once a week keeps nails neat, even and free of snags. If your nails grow quickly or you keep them very short, you might prefer every five days. Between full filing sessions, keep a file nearby for emergency snags; smoothing a tiny chip right away prevents it from turning into a tear.
A small travel manicure kit in a blush case is a lovely pick for your handbag or desk, so you're never tempted to bite or peel a rough edge. Look for one that includes a fine file, clippers and a cuticle pusher.
Filing is one of the simplest parts of keeping your nails healthy. If you'd like the full picture, my guide on how to take care of your nails covers hydration, protection and the daily habits that matter most.
7 Nail Filing Mistakes To Avoid
These are the habits that quietly cause peeling, splitting and uneven nails:
- Sawing back and forth. This creates friction and heat that separate the nail layers. Always file in one direction.
- Filing wet nails. Wet nails are soft and bendy and tear easily. Always file completely dry nails.
- Filing too deep into the sides. Removing the side walls of the nail weakens its structure and invites breaks and ingrown edges. Shape the tip, leave the sides alone below the free edge.
- Using a coarse file on natural nails. Anything below 180 grit is too rough. Save it for artificial nails or throw it out.
- Pressing too hard. Light, steady strokes shape just as well and leave a smoother edge.
- Filing the top of the nail heavily. Aggressive buffing or filing on the nail surface thins it. Buff lightly and rarely.
- Skipping oil afterward. A fresh edge dries out quickly. A drop of oil keeps it flexible and less likely to crack.
Final Thoughts
Learning how to file your nails well is one of those small skills that pays off every single week. A fine file, a gentle one-direction stroke and a shape that suits your nail beds are all it takes for nails that look polished and feel stronger.
Start with squoval or round, file dry and slowly, finish with a little oil, and give your nails a few weeks to show you the difference. Neat, healthy, bare nails are a quiet kind of elegance, and they're entirely within your reach.