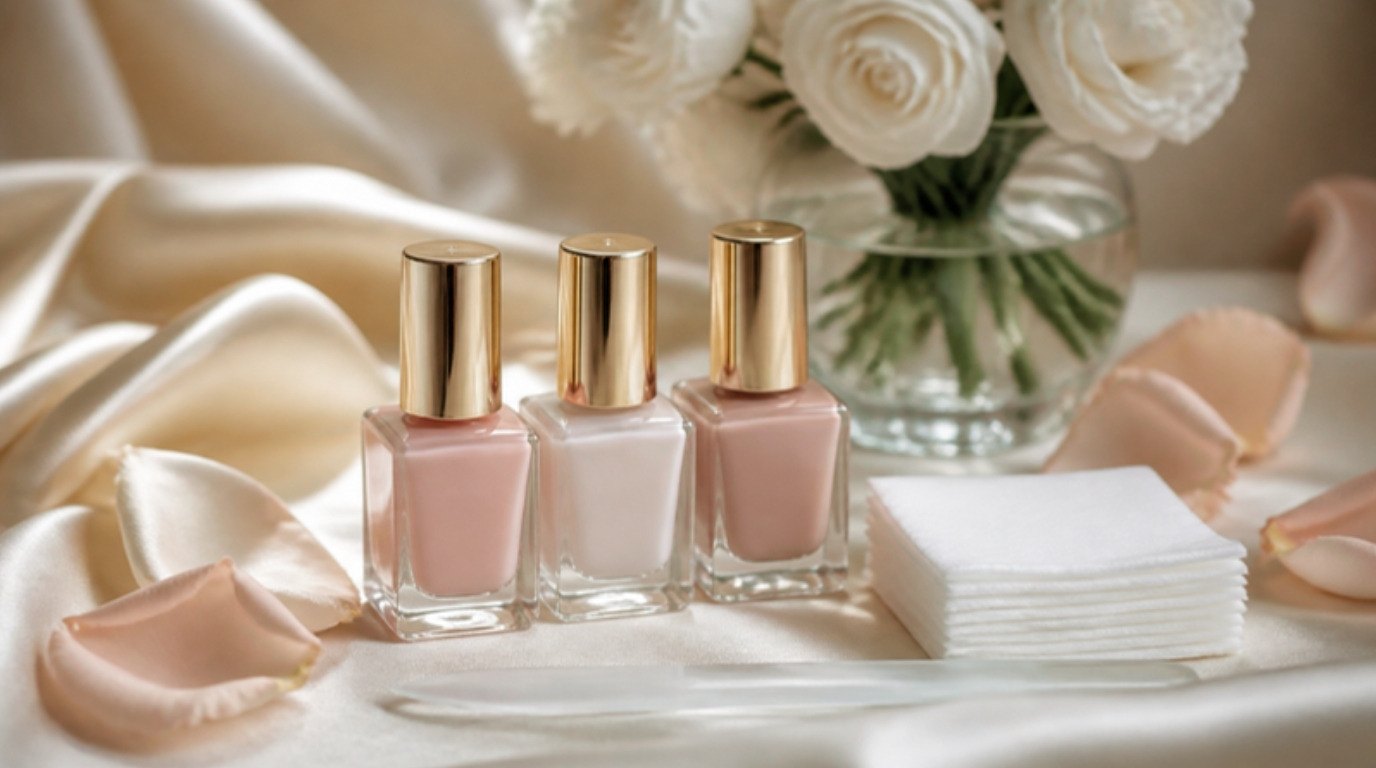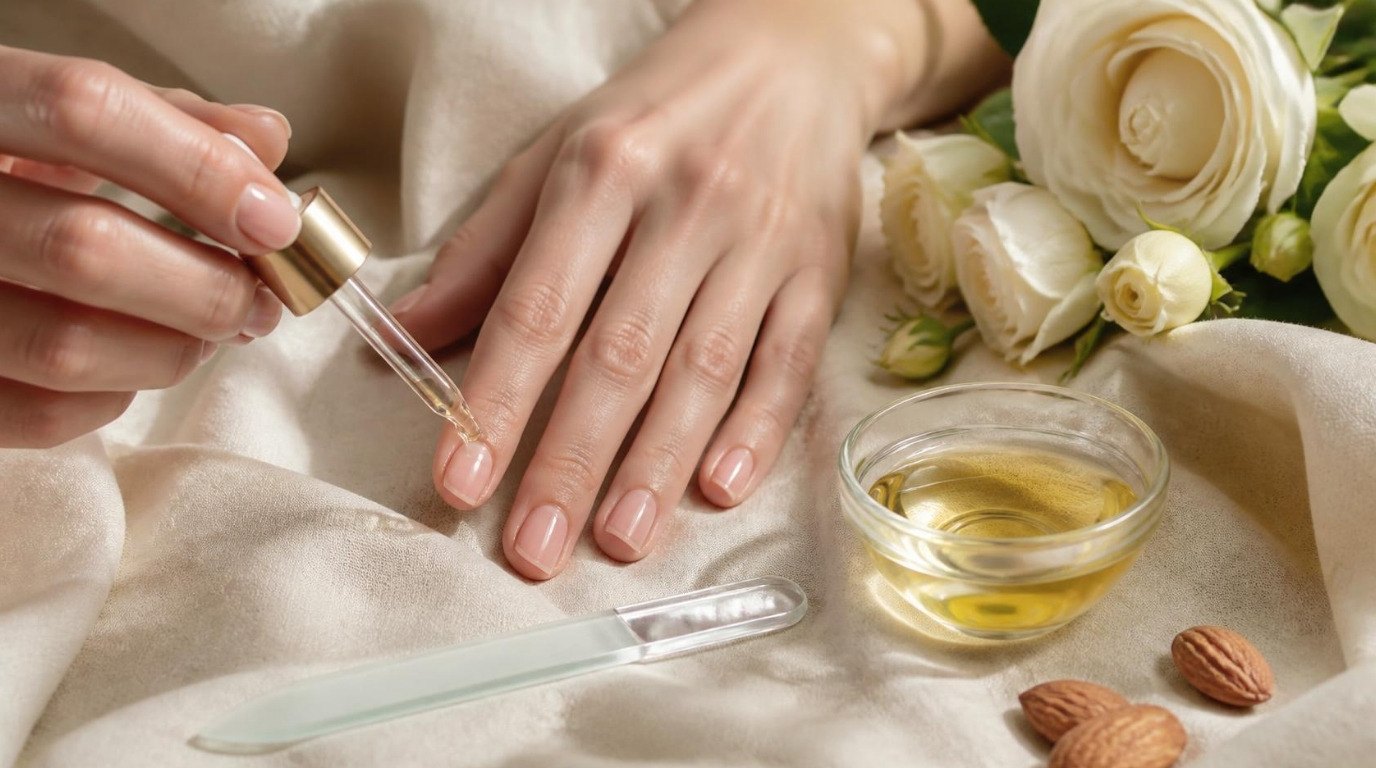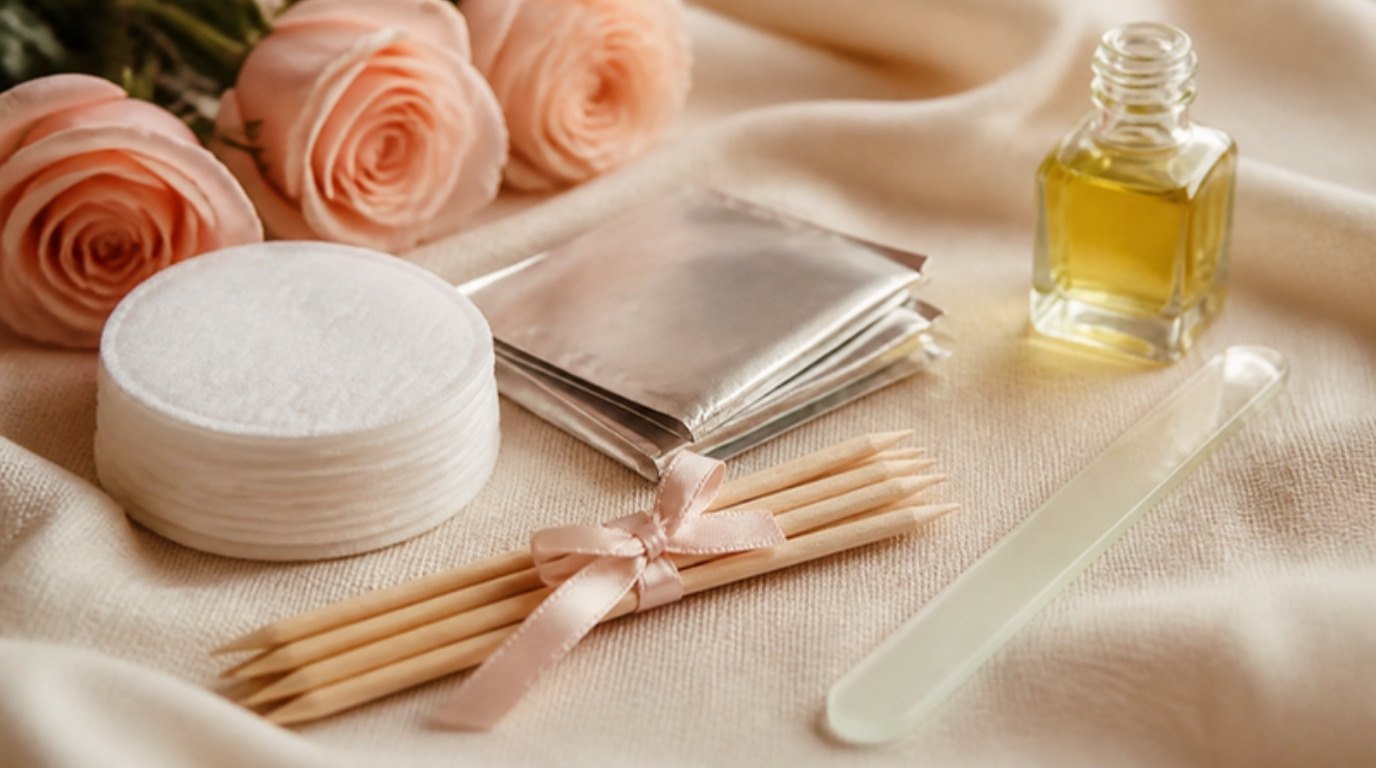
Gel polish rarely damages nails on its own. What does the damage is how it comes off. Peeling or picking gel lifts away the top layers of your natural nail along with it, which is why nails so often feel thin, bendy and rough after a gel manicure. Removed gently, gel can come off and leave your nails looking almost exactly as they did before.
A careful at-home removal takes about 30 to 45 minutes, a few inexpensive tools and a little patience. Patience is really the secret ingredient. Every shortcut (scraping, prying, rushing the soak) costs your nails something.
This guide covers how to remove gel polish at home without damage: why peeling is so harmful, exactly what you need, a step-by-step soak-off method, a gel removal timeline table, aftercare for the days that follow, how often you can safely wear gel and how to tell if your nails need a break.
Why Peeling Off Gel Damages Your Nails
Gel polish bonds tightly to the surface of your natural nail. Your nail itself is made of many thin layers of keratin. When you peel gel off, the bond is often stronger than the bond between those layers, so the gel takes the top layers of your nail with it.
The result is what many people describe as "gel damage":
- White, rough or patchy spots on the nail surface
- Nails that feel thin, soft and bendy
- Peeling and splitting at the tips
- Sensitivity when pressing on the nail
The good news is that this damage only affects the nail plate that's already grown, not the root. Your nails will grow out healthy again over a few months. Better still, it's almost entirely preventable with a gentle soak-off, which dissolves the bond instead of breaking it.
What You'll Need
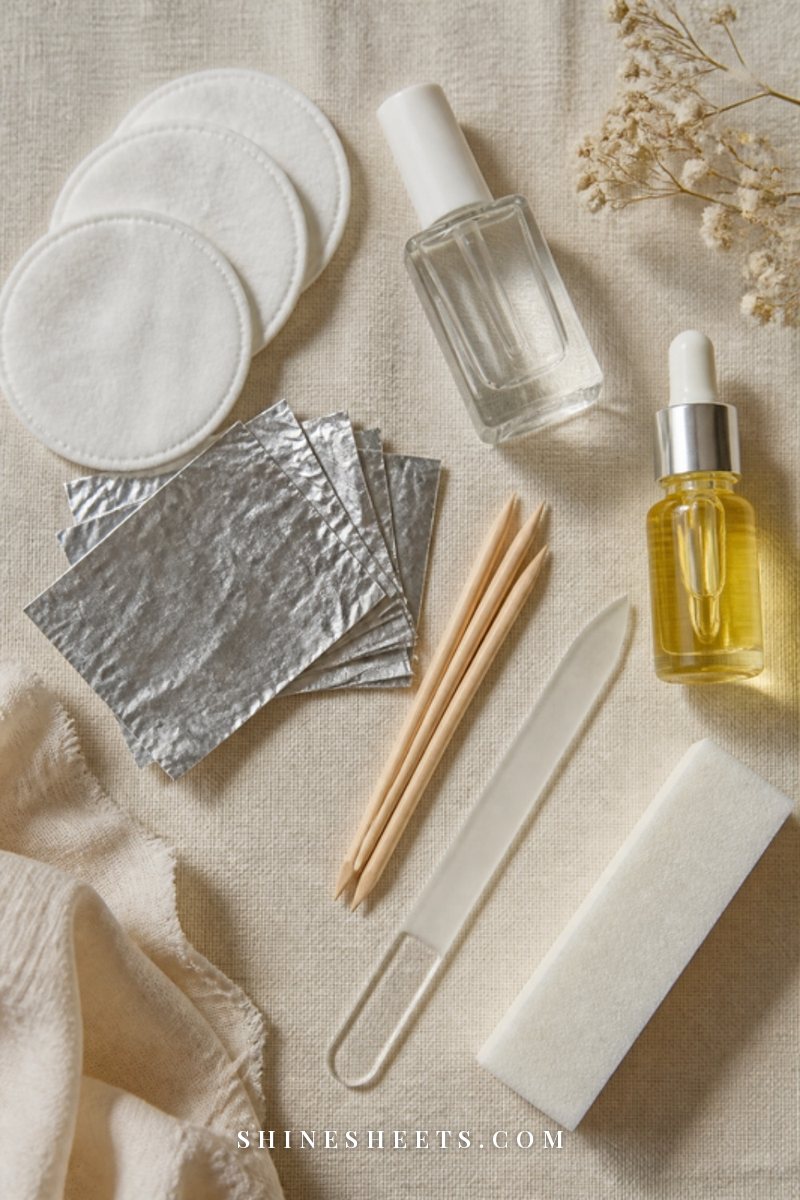
Gather everything before you start, because once your fingers are wrapped, it's hard to grab anything.
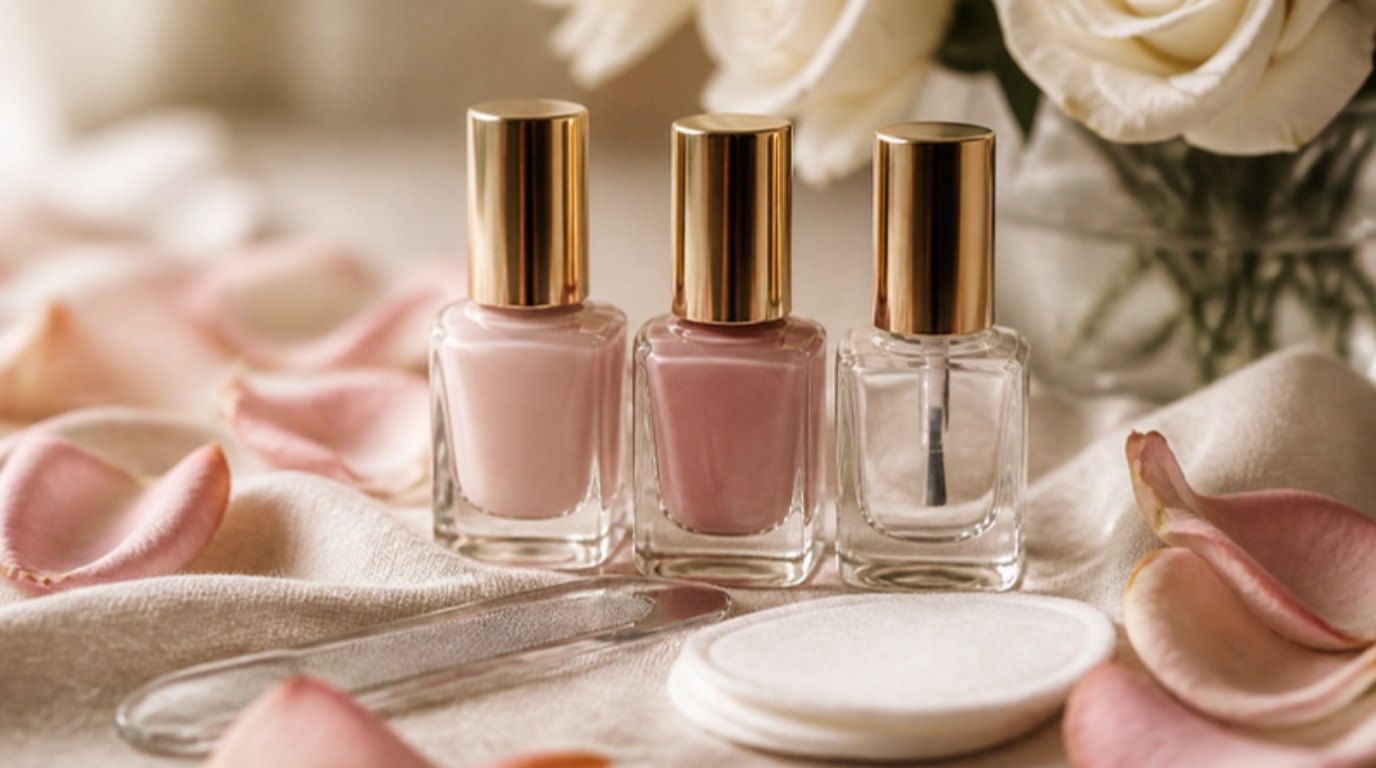
- Acetone. Regular non-acetone remover won't dissolve gel. Look for a pure acetone nail polish remover, or one that's at least mostly acetone. Formulas with added glycerin or oils are a little kinder to skin.
- A fine nail file. To gently break the shiny top coat. A glass nail file is gentle on the natural nail underneath, though a 180-grit board also works for this step.
- Cotton pads. Lint-free cotton pads are ideal, cut into small squares roughly the size of your nails.
- Foil or wraps. Kitchen foil cut into small rectangles works perfectly. Reusable soak-off clips are a tidy pick if you remove gel often, since they hold the cotton in place without any wrapping.
- Orangewood sticks or a soft cuticle pusher. A pack of orangewood sticks is gentler than metal for pushing off softened gel.
- Cuticle oil or petroleum jelly. To protect the skin around your nails from drying out.
- A soft buffer. For smoothing any tiny residue at the end.
- A towel. Acetone can damage furniture finishes, so protect your table.
Before You Start: A Quick Safety Note
Acetone is effective, but it deserves a little respect:
- Ventilate the room. Open a window or work near one. The fumes can cause headaches in a small, closed space.
- Keep it away from flames and heat. Acetone is highly flammable. Blow out any candles, and keep it well away from the stove, heaters and anyone smoking.
- Protect surfaces. Acetone can strip varnish, plastic and some paints. Work on a folded towel on a stable surface.
- Close the bottle between uses. And store it out of reach of children and pets.
- Listen to your skin. If your skin is sensitive (mine is), a little redness and dryness are common, but stinging, swelling or broken skin are signs to stop and rinse.
How To Remove Gel Polish at Home: Step by Step
Set aside 30 to 45 minutes. Put on a show or a podcast before you start, since your hands will be busy.
Step 1: Prep Your Space
Lay a towel on your table, open the window and set everything within reach. Cut ten small cotton squares and ten pieces of foil (about 3 by 4 inches each) if you're using foil. Wash and dry your hands so there's no lotion on the nails, which can slow down the acetone.
Step 2: File Off the Shine
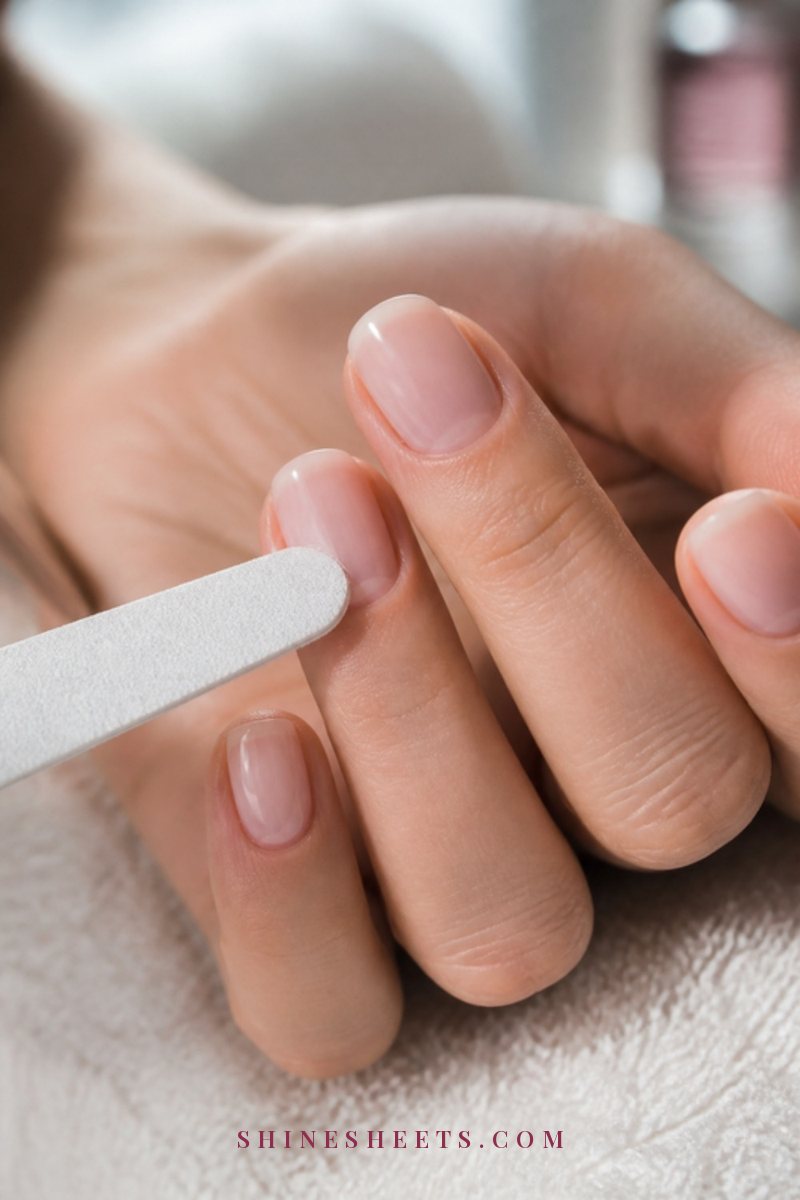
Gel top coat is designed to be tough, so acetone has a hard time getting through it. Gently file the surface of each nail until the shine is gone and the surface looks matte and a little dusty.
- Use light, even strokes across the whole nail.
- Stop when the shine is gone. You don't need to file through the color.
- Be extra careful near the cuticle and sides, where the natural nail is thinner.
This one step can cut your soak time in half. It's the most skipped and most important part of the process.
Step 3: Protect Your Skin
Massage a generous layer of cuticle oil or petroleum jelly onto the skin around each nail: cuticles, sidewalls and fingertips. Avoid getting it on the nail surface itself, since it would block the acetone. This barrier keeps your skin from drying out, cracking and turning white.
Step 4: Soak and Wrap
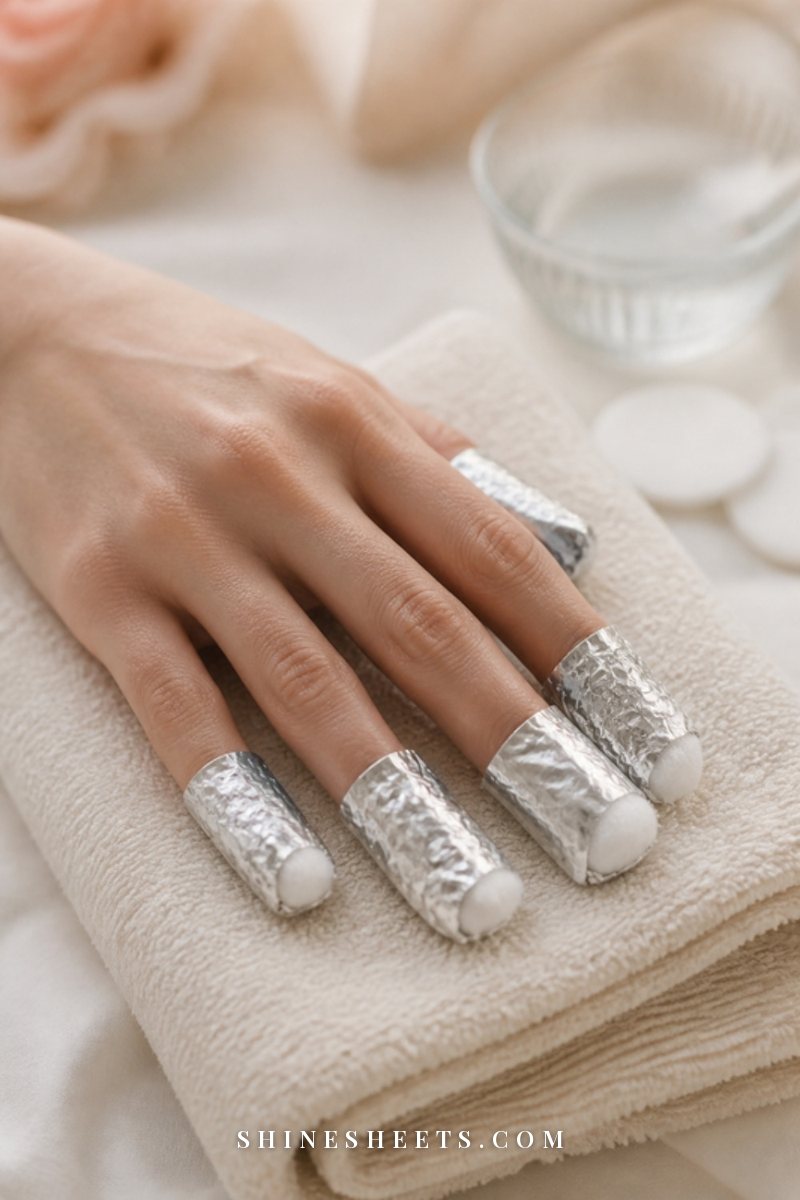
Now the soak. Work on one hand at a time so you still have a free hand to wrap.
- Saturate a cotton square with acetone. It should be wet, not dripping.
- Press it onto the nail so it covers the whole surface.
- Wrap a piece of foil snugly around the fingertip to hold the cotton in place and trap the warmth. If you're using clips, slide one over the cotton instead.
- Repeat for every nail on that hand.
The foil keeps the acetone from evaporating and holds in body heat, which speeds things up. Some people wrap their foiled hand in a warm towel for extra warmth, which can shave off a few minutes.
Step 5: Wait 10 to 15 Minutes
Now wait. Most gel polishes need 10 to 15 minutes to soften. Thick gel, builder gel or several layers may need closer to 20.
Resist the urge to peek every two minutes. Each time you unwrap, the acetone cools and evaporates, and you lose progress. Set a timer and relax.
Step 6: Gently Push Off the Gel
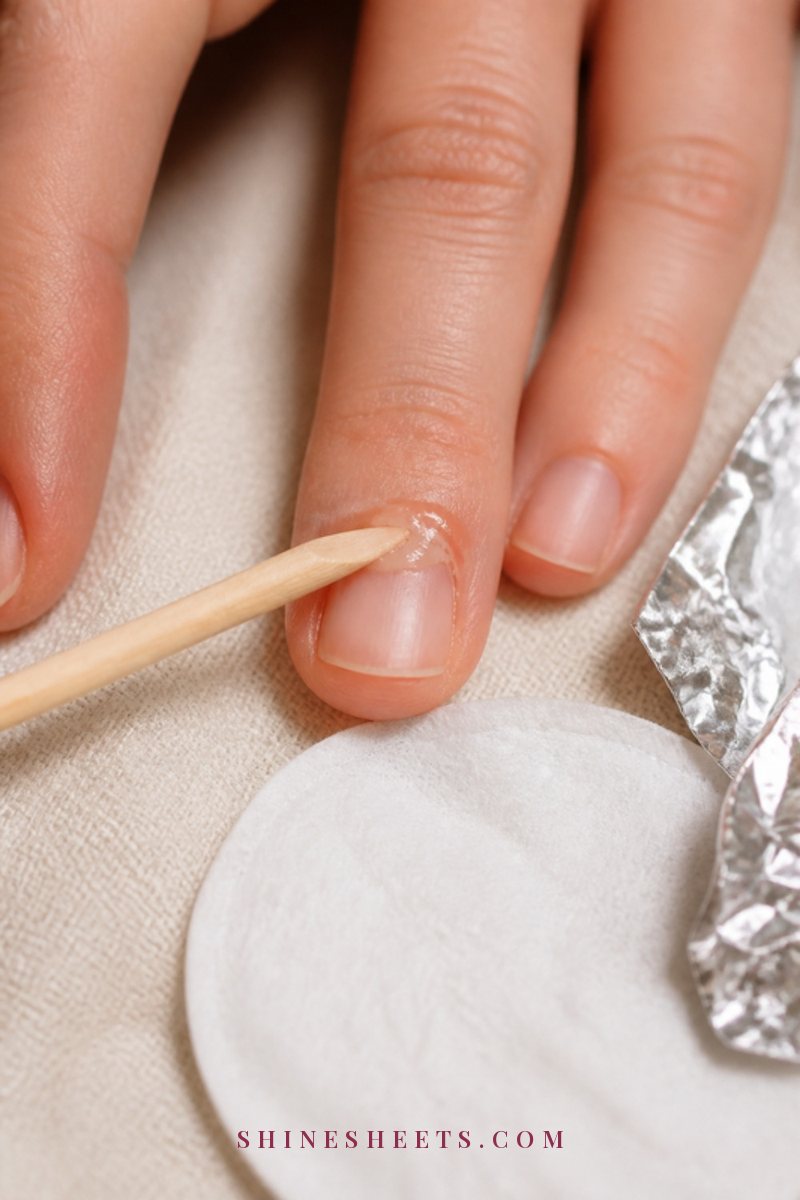
Remove one wrap at a time. Press down on the foil as you slide it off so the cotton wipes away some gel with it. Then:
- Look for gel that's lifted, wrinkled or flaking away from the nail.
- Use an orangewood stick to gently push the softened gel from the cuticle toward the tip.
- Let the gel slide off. If you need to press hard, it isn't ready.
This is the moment where damage happens if you rush. Scraping hard or prying at stubborn patches removes nail layers just like peeling does. Gentle is everything.
Step 7: Repeat if Needed
If gel is still firmly attached on some nails, re-soak just those. Use a fresh cotton square with acetone, rewrap and wait another 5 to 10 minutes. It's very normal to need a second round, especially on your thumbs and on nails with thicker layers.
Step 8: Buff and Clean Up
Once all the gel is off, you may see a few tiny patches of residue. Smooth them with the softest side of a buffer, using very light pressure and just a few strokes. Don't try to buff the nail perfectly smooth; a little texture is fine and will grow out.
Wash your hands with gentle soap and lukewarm water to remove acetone and dust. Pat dry.
Foil Method vs Bowl Method
The foil method above is the one most nail techs use, but you may have seen people soaking their fingertips in a small bowl of acetone instead. Here's how they compare:
- Foil (or clips): Uses very little acetone, keeps it only on the nail and holds in warmth, so it works faster. Your skin has much less contact with acetone, which makes it the better choice for dry or sensitive skin.
- Bowl soak: Pour a small amount of acetone into a glass bowl (never plastic, which acetone can melt) and dip your fingertips in for 10 to 15 minutes. It's simple, but your whole fingertip sits in acetone, so skin dries out more. Oil your skin generously first.
A gentle middle path some people like: place the glass bowl of acetone inside a slightly larger bowl of warm (not hot) water. The warmth speeds up the soak. Never heat acetone directly, in the microwave or anywhere near a flame.
For most people, I'd choose foil or reusable clips. They're kinder to skin and use far less product.
What To Do if the Gel Won't Come Off
Sometimes a nail or two just refuses to budge, even after a second soak. A few common reasons and fixes:
- The top coat wasn't broken enough. Look closely for any remaining shiny spots, file just those lightly, then re-soak.
- The cotton dried out. Make sure each square is fully saturated and that the foil is wrapped snugly so no air gets in.
- It's a builder gel or hard gel. Some thicker, structural gels are not designed to soak off quickly, and a few aren't designed to soak off at all. If your salon used one of these, it's kindest to your nails to have them removed there.
- The room is cold. Acetone works more slowly in a chilly room. Wrap your hands in a warm towel during the soak.
Whatever you do, don't switch to prying. A little leftover gel will grow out or come off at your next removal. A torn nail takes months.
The Gel Removal Timeline
Here's the whole process at a glance, so you know how long each step takes and what to watch for. Screenshot it for next time.
| Step | Minutes | Tip |
|---|---|---|
| Prep space and supplies | 5 | Open a window and blow out any candles first |
| File off the shine | 5 | Stop as soon as the surface looks matte |
| Protect skin with oil | 2 | Oil the skin, not the nail surface |
| Wrap both hands | 5 | One hand at a time; cotton wet, not dripping |
| Soak | 10 to 15 | Don't peek; wrap in a warm towel to speed it up |
| Gently push off gel | 5 to 10 | If you have to press hard, it isn't ready |
| Re-soak stubborn nails | 5 to 10 | Thumbs often need a second round |
| Light buff and wash | 3 | A few soft strokes only |
| Oil and moisturize | 2 | Massage oil into each nail and cuticle |
| Total | About 30 to 45 | Slow is faster than repairing damaged nails |
Aftercare: What To Do Right After Removal
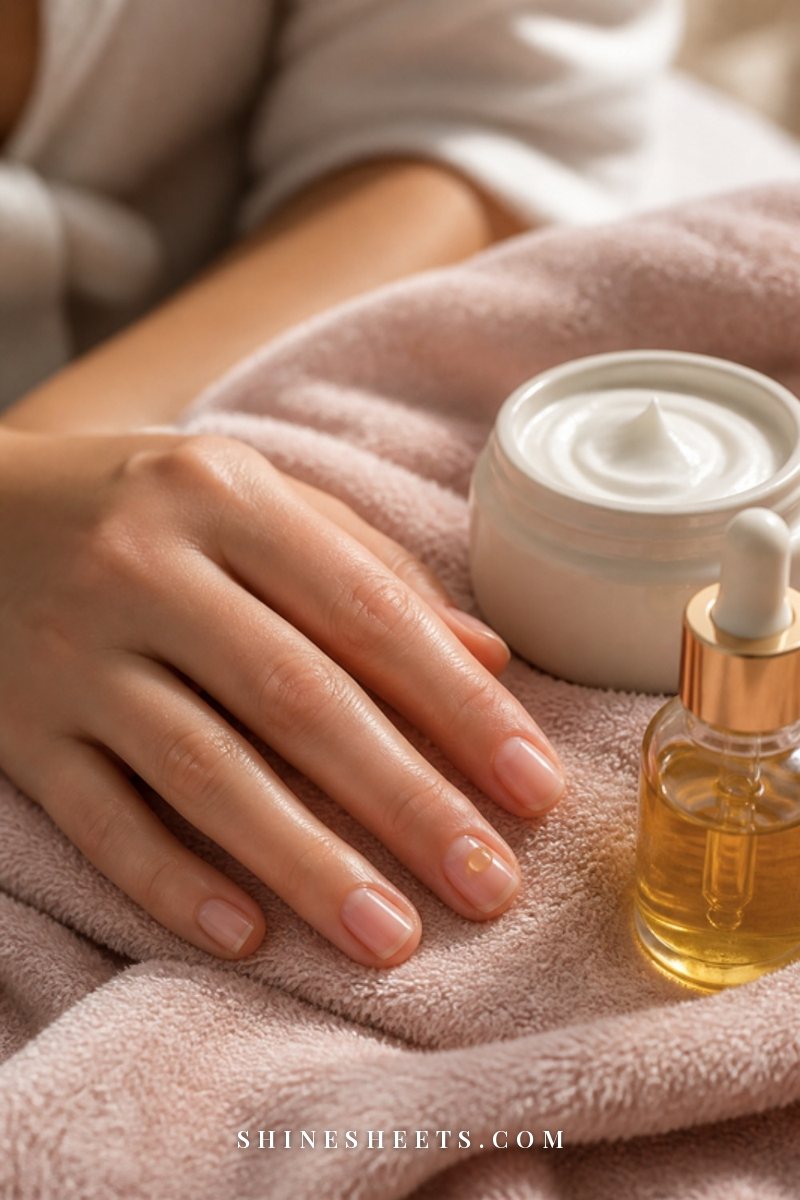
Acetone is drying, so your nails and skin will appreciate some care right away and over the next week.
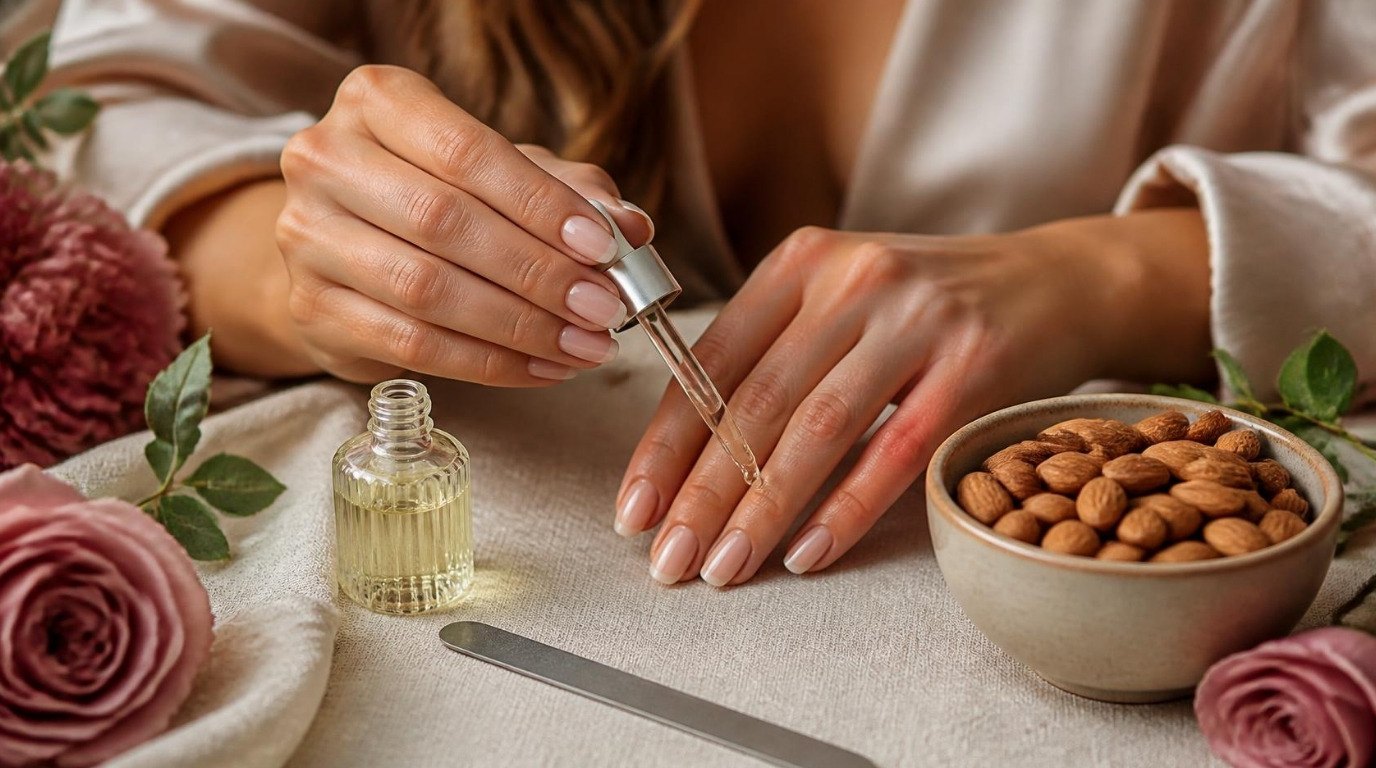
- Oil immediately. Massage a drop of cuticle oil into each nail and the skin around it. Repeat twice a day for the next week, especially before bed.
- Follow with hand cream. A rich cream locks in moisture. Rub any extra into your nails and cuticles.
- Keep nails short for now. File them into a short round or squoval shape. Shorter nails are less likely to bend and snap while they recover. My guide on how to file your nails walks through the gentlest technique.
- Give them a polish break. A few days to a week of bare nails lets them rehydrate. If you love a finished look, a clear strengthening base coat or a sheer regular polish is a lighter option.
- Wear gloves for chores. Dish soap and cleaning products dry out nails that are already a little thirsty.
For a longer routine that keeps both hands and nails soft, my hand care routine fits oil and cream into your day with almost no effort.
How To Remove Gel Polish From Toenails
The same soak-off method works on toenails, with a few small adjustments:
- Get comfortable first. Sit on a towel on the floor or the edge of the tub with your foot raised on a stool, so you're not hunched over for half an hour.
- Use bigger pieces. Big toenails need a larger cotton square and a wider piece of foil to stay in place.
- Expect a longer soak. Toenail gel is often applied more thickly and may need 15 to 20 minutes.
- Do one foot at a time. Wrapped toes make walking tricky, so plan to stay put during each soak.
- Finish with a rich foot cream. Feet tend to be drier than hands, so follow the cuticle oil with a thick cream and a pair of soft socks.
Toenails grow even more slowly than fingernails, so peeling damage there can take many months to grow out. It's worth being extra patient.
How Often Can You Wear Gel Polish?
There's no single rule, but many nail professionals suggest:
- Remove gel after two to three weeks. Leaving it on longer causes lifting, which tempts picking and can trap moisture under the edges.
- Take a break every few manicures. One to two weeks of bare nails after two or three gel manicures in a row helps your nails stay strong.
- Always soak off, never peel. How you remove gel matters more than how often you wear it.
- Use sunscreen on your hands or fingerless UV-protective gloves if you get gel cured under a UV lamp regularly.
If you'd like your next set to last its full two to three weeks without chipping or lifting, these tips on how to make gel nails last longer help a lot, because a gel that stays intact is far less tempting to pick at.
Signs Your Nails Need a Break (and How They Recover)
After removal, take a good look at your nails. A few signs suggest they'd benefit from a longer rest from gel:
- White or rough patches across the surface
- Nails that bend easily or feel soft when you press them
- Peeling layers at the tips
- Tenderness or sensitivity
- Ridges or dents that weren't there before
Recovery takes time because nails grow slowly, often around 3 millimeters a month for fingernails, so it can take several months for a fully new nail to grow in. In the meantime:
- Keep nails short and filed smooth.
- Oil them daily, ideally twice.
- Avoid using your nails as tools (opening cans, scraping labels).
- Wear gloves for cleaning and dishes.
- Skip gel until the damaged part has grown out.
If your nails tend to be weak even without gel, my guide to brittle nails covers the everyday habits that help most. And if you notice signs like pain, swelling, lifting from the nail bed or discoloration that doesn't grow out, it's worth asking a doctor or dermatologist to take a look.
6 Gel Removal Mistakes To Avoid
- Peeling or picking. The number one cause of gel damage. Even one peeled nail can take months to grow out.
- Skipping the top coat filing. Without breaking the shine, acetone can't penetrate, and you'll end up scraping.
- Scraping hard with metal tools. Use orangewood or a soft pusher, and let the soak do the work.
- Using non-acetone remover. It simply won't dissolve gel, which leads to frustration and prying.
- Rushing the soak. Unwrapping after five minutes means more scraping. Wait the full time.
- Forgetting aftercare. Acetone dries out nails and skin. Oil and cream right away make a visible difference.
Final Thoughts
Knowing how to remove gel polish at home without damage is one of the kindest things you can do for your nails. File off the shine, protect your skin, give the acetone time to work and push the gel away gently instead of forcing it.
Follow up with oil, cream and a little rest, and your natural nails will stay strong and healthy between manicures. A slow, careful removal is a small ritual of patience, and your nails will thank you for it every time.