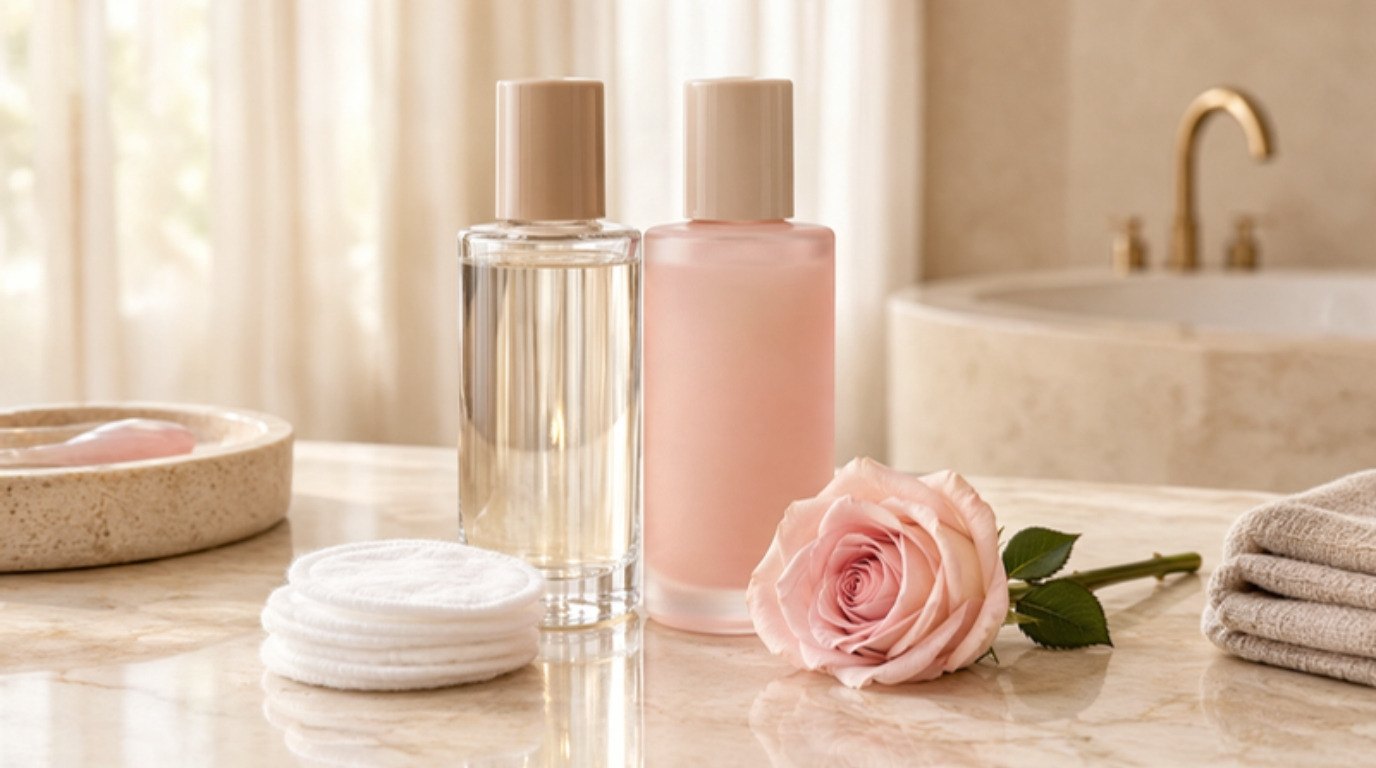
The right nail polish remover isn't about which bottle is "good" and which one is "bad." It's about matching the remover to the polish on your nails and to the condition of the nails underneath. Use the strong stuff when the job needs it, the gentle stuff when it doesn't, and your nails will barely notice the difference.
Most of the confusion comes from the labels. "Non-acetone" sounds like "chemical-free," and "acetone" sounds harsh. In reality, both are solvents, both are flammable, and both can be perfectly kind to your nails when you use them the right way (and both can leave them dry when you don't).
This guide breaks down acetone vs non-acetone nail polish remover in plain words: what each one is, why one works so much faster, a side-by-side table, six everyday situations with the right pick for each, and a gentle step-by-step for using both without leaving your nails chalky and your cuticles tight.
Think of it as the calm, no-drama version of the remover aisle.
What Nail Polish Remover Actually Does
Nail polish is a thin, flexible film. Inside the bottle there's a film former (usually nitrocellulose), resins for grip and shine, plasticizers that stop it from cracking, pigment, and solvents that keep everything liquid. Once those solvents evaporate, the film hardens on your nail.
A remover simply does the reverse. It's a solvent that softens and re-dissolves that film so you can wipe it away. The stronger the solvent, the faster the film breaks down and the less rubbing you need.
That's really the whole story: removers differ mostly in how strong their main solvent is. Everything else (oils, vitamins, scents, pretty bottles) is the supporting cast. Helpful, sometimes lovely, but not what decides how quickly your polish comes off.
What Is Acetone Nail Polish Remover?
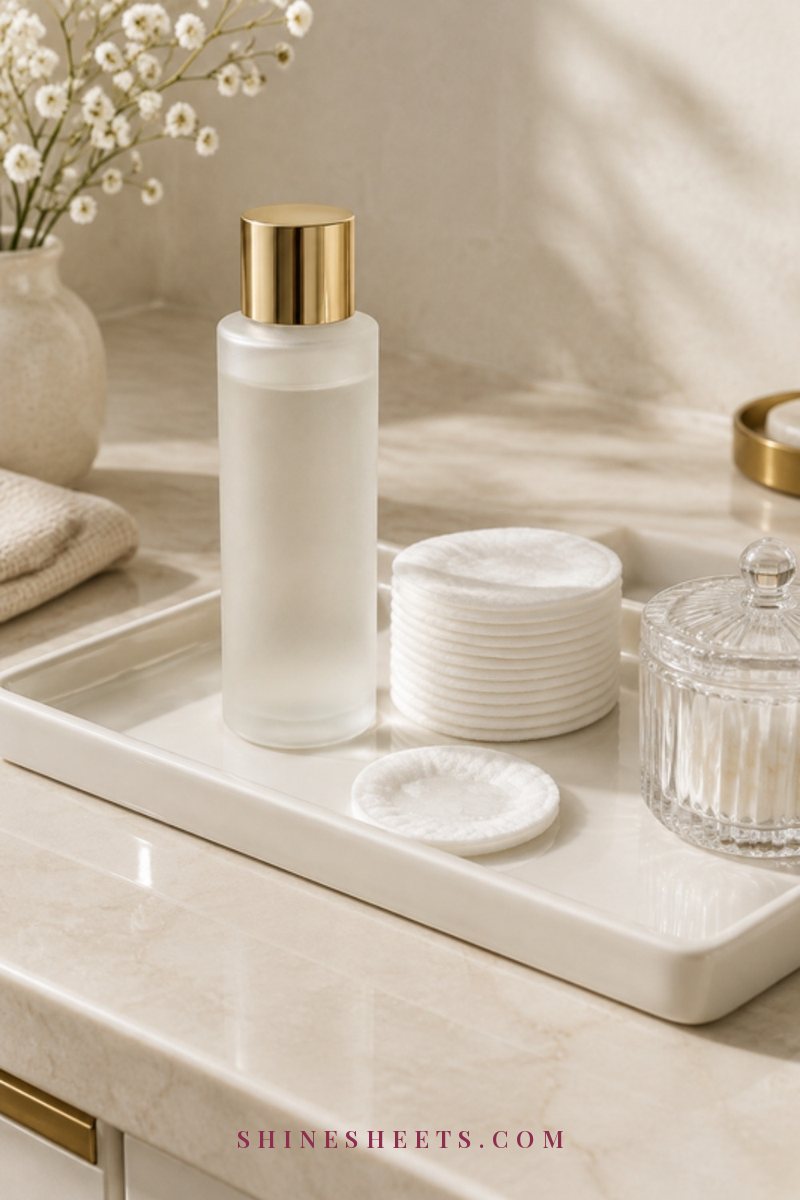
Acetone is a clear, fast-evaporating solvent. Fun fact that surprises a lot of people: your own body makes tiny amounts of it naturally. In nail care, it's the classic, most effective remover ingredient, and it's what salons reach for when they need to take off gel polish or soften acrylics.
You'll usually find two kinds on the shelf:
- Pure acetone (often labeled 100% acetone): the strongest option, made for gel polish, heavy glitter, nail glue and acrylics.
- Acetone removers with additives: acetone blended with water, glycerin, oils or vitamin E, so it's a little less drying for everyday polish.
If you wear gel or glitter often, a bottle of pure acetone remover is the practical choice to keep in your bathroom cabinet. For regular cream polish, the blended kind with added conditioners is usually all you need, and it feels softer on the skin around your nails.
What Is Non-Acetone Nail Polish Remover?

Non-acetone removers swap acetone for a milder solvent. The most common one is ethyl acetate, a solvent from the same family that's already inside many nail polishes. Some formulas use methyl ethyl ketone, isopropyl alcohol or propylene carbonate instead, and most add conditioners like glycerin, aloe or plant oils.
Here's the part labels don't tell you: "non-acetone" does not mean solvent-free, fume-free or non-flammable. It simply means a different, gentler solvent. That's why the same safety basics apply to every bottle, whatever the front says.
Non-acetone removers shine with regular polish, with dry nails and with acrylics or press-ons, when you want to change the color on top without loosening anything. A non-acetone remover with nourishing oils is a pick for weekly color changes when your nails tend to feel thirsty. Look for a short ingredient list, added glycerin or oils, and a label that says it's safe for artificial nails.
Why Acetone Works Faster
Acetone is a small molecule and a very strong solvent for the film formers and resins in polish. It slips into the polish layer, breaks it down within seconds and then evaporates almost as quickly as it went on.
Milder solvents like ethyl acetate dissolve polish more slowly, and they struggle with tougher finishes. With a non-acetone formula, a single coat of sheer pink comes off easily with a little patience. Dark shades, three coats, glitter and long-wear formulas are a different story: they need more time on the nail and more wiping.
And here's the honest twist: a lot of scrubbing can be harder on your nails than one quick acetone swipe. Rubbing back and forth with a soaked pad roughs up the nail surface, pushes pigment into the skin around your cuticles and keeps your fingertips in solvent for longer. So "gentler" on paper isn't always gentler in practice, which is exactly why the situation matters more than the label.
Acetone vs Non-Acetone: The Side-by-Side Table
Here's the whole comparison at a glance. Screenshot it for the next time you're standing in the remover aisle wondering which bottle to grab.
| Feature | Acetone Remover | Non-Acetone Remover | Best For |
|---|---|---|---|
| Main solvent | Acetone | Usually ethyl acetate, sometimes another mild solvent | Knowing what you're actually buying |
| Speed | Very fast: 10–20 seconds of holding for regular polish | Slower: 30–60 seconds of holding, plus more wiping | Acetone when you're short on time |
| Dryness | Can leave nails and skin dry or chalky white for a few hours | Milder and less drying overall | Non-acetone for dry or peeling nails |
| Regular polish | Removes easily | Removes well with patience | Either one |
| Glitter polish | Removes well, especially with the foil method | Slow and frustrating | Acetone |
| Gel polish | Removes after a 10–15 minute soak | Does not remove gel | Pure acetone |
| Acrylics and press-ons | Softens acrylic and loosens many glues | Usually safe to use on top of them | Non-acetone to keep them, acetone to remove them |
| Smell | Sharp and strong | Usually softer, often lightly scented | Non-acetone if strong smells bother you |
| Flammable | Yes | Yes, still | The same safety rules for both |
| Cost | Usually cheaper per ounce, and you use less | Similar price, but you often use more | Acetone for value |
How They Compare, Point by Point
The table gives you the quick answer. Here's the little bit of context behind each row, so you can decide with confidence instead of guessing.
Speed
For one coat of a light shade, the difference is small. For three coats of deep red, a quick-dry top coat and a touch of shimmer, acetone wins by minutes, not seconds. If you tend to change your polish in a rush before work or an evening out, speed is acetone's strongest argument.
Dryness and the Effect on Nails and Skin
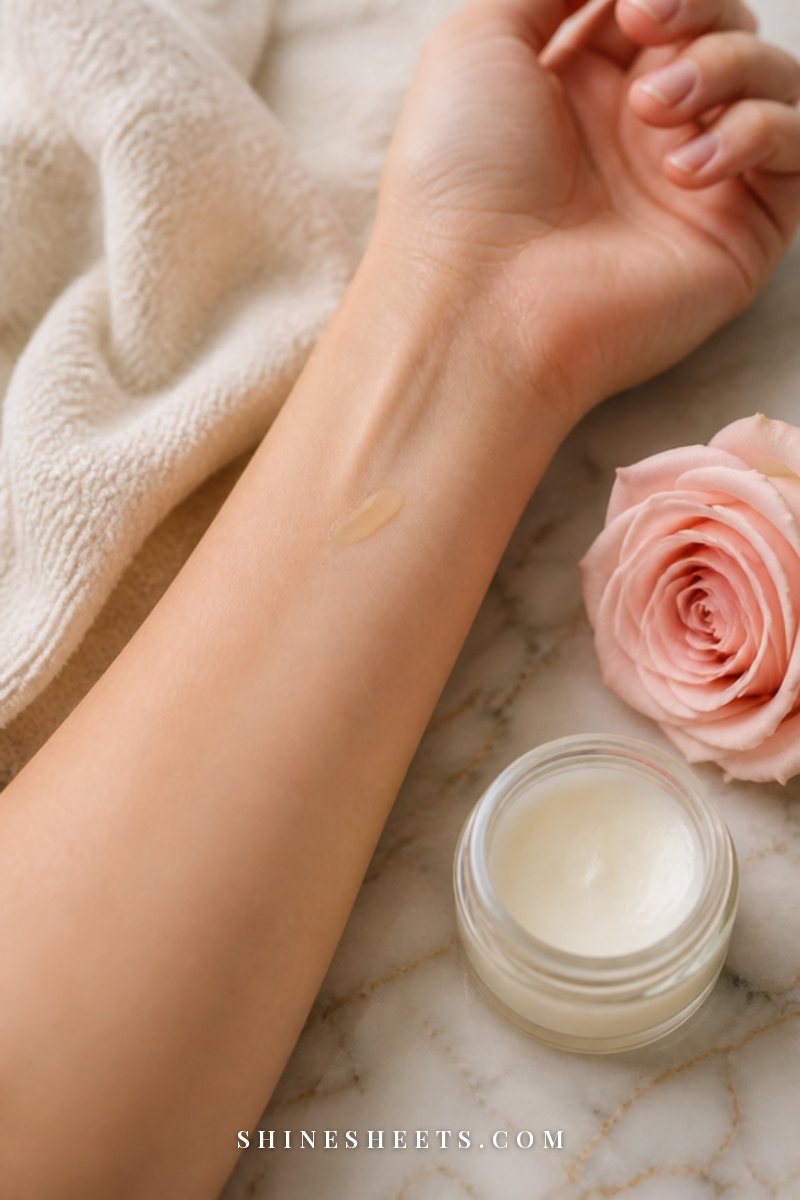
Acetone strips natural oils from your nail plate and the skin around it. That's why nails can look chalky or white right after removal. That whiteness is surface dehydration, and it usually fades within a few hours, faster if you oil and moisturize straight away.
The real issue is frequency. Using acetone several times a week on nails that are already dry, brittle or peeling can make those problems more noticeable. Non-acetone removers are milder, so they're the kinder option for regular color changes on thirsty nails. If your nails are already splitting in layers, my guide to stopping peeling nails pairs beautifully with a gentler remover routine.
Which Polishes Each One Removes
- Regular polish: both work. Non-acetone just asks for a little more patience.
- Glitter polish: acetone, ideally with the foil wrap method. Non-acetone will get there eventually, but it's a lot of scrubbing.
- Gel polish: acetone only, usually pure acetone after gently filing away the shiny top layer.
- Press-on nails and acrylics: non-acetone if you want to keep them and only change the polish on top; acetone when you're removing them or dissolving leftover glue.
For the full soak-off method, my step-by-step on removing gel polish at home without damage walks you through filing, soaking times and the mistakes to skip.
Smell
Acetone has that sharp, unmistakable smell, and it reaches you fast. Non-acetone removers tend to smell softer, and many are lightly scented. Neither one should be breathed in for long in a closed room, so open a window either way. If strong smells give you a headache (or make you feel a bit jittery, which happens to me on anxious days), a non-acetone formula and a cracked-open window make the whole thing far more pleasant.
Safety
Both types are flammable, both give off fumes, and both belong far away from children. The main difference is that acetone evaporates very quickly and its fumes are stronger, so it deserves a little extra respect in small, closed bathrooms. You'll find all the safety basics in their own section below.
Cost
Remover is one of the most affordable things in your nail kit. Acetone is often a little cheaper per ounce, and since it works faster, one bottle tends to last longer. Non-acetone removers cost about the same, but you usually use more product per manicure.
The real money saver for both is technique: a properly soaked pad held still on the nail uses far less remover than wiping, re-wetting and wiping again.
6 Situations: When To Choose Which
Instead of picking a team, match the remover to what's going on with your nails this week. Here are six common situations and the pick I'd make for each.
1. Dry or Peeling Nails
Choose: non-acetone. When nails are dry, flaky or splitting at the tips, the milder solvent is the kinder option for regular polish. Lean toward sheer or lighter shades for a few weeks so removal takes less rubbing, and follow every single removal with oil. If your nails also snap easily, my tips for making brittle nails stronger help you build them back up.
2. Gel or Glitter Polish
Choose: acetone. This is where acetone earns its spot. For glitter, soak a cotton pad, press it on the nail, wrap the fingertip in a small square of foil and wait 5–10 minutes. The glitter slides off instead of being scrubbed. For gel, pure acetone and a 10–15 minute soak after gently filing the top coat is the standard method. Non-acetone simply won't break gel down, no matter how long you wait.
3. A Quick Weekly Color Change
Choose: either, based on your nails. If your nails are healthy and you're switching from one cream polish to another once a week, a conditioning acetone remover is fast and absolutely fine. If you change color more often (twice a week or more), a non-acetone formula is easier on your nails over time.
A small pack of lint-free nail wipes also helps here. They don't leave fluffy bits behind, so your fresh base coat goes onto a clean, smooth nail.
4. Sensitive Skin
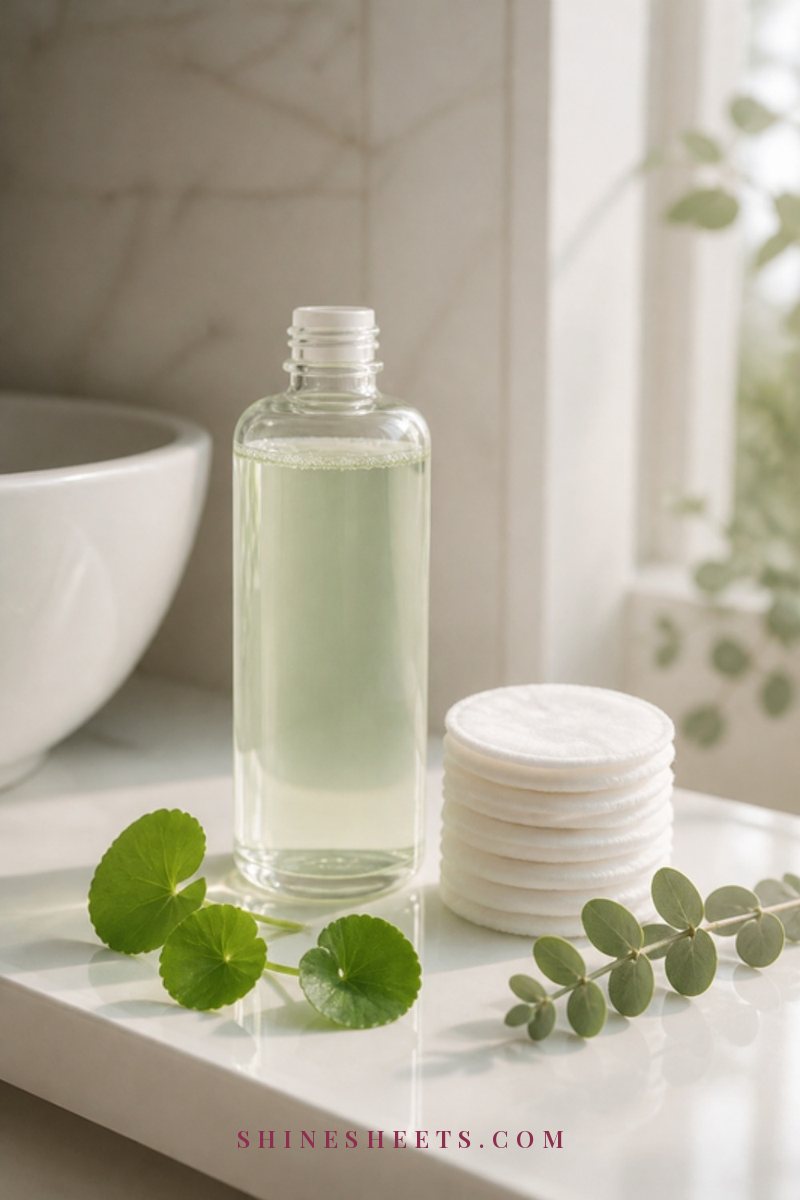
Choose: non-acetone, and patch test. If the skin around your nails turns red, tight or itchy easily, start with a fragrance-free non-acetone remover. Try it on one nail first and wait a day before doing all ten.
Keep the remover on the nail plate as much as possible, rinse your fingers with lukewarm water and a mild soap right after, then moisturize. Some people react to added fragrance or to a specific extra ingredient rather than to the solvent itself, so a simpler formula is often the answer. My combination, sensitive skin has taught me that "fewer ingredients" is usually the safest place to start.
5. Acrylic or Press-On Nails
Choose: non-acetone to keep them, acetone to take them off. Acetone softens acrylic and many nail glues, which is exactly what you want at removal time and exactly what you don't want when you're only changing the polish on top. Many non-acetone bottles say "safe for artificial nails" right on the label.
When it's time to remove press-ons, warm soapy water and a little oil around the edges usually loosen them first. A little acetone on a cotton pad then helps with any glue left behind, so you never have to pry or peel.
6. Kids' Nails
Choose: non-acetone, used by an adult. For little nails, a gentle non-acetone remover is the calm choice (or a water-based, peel-off kids' polish, so you need no remover at all). Do the removal yourself in a well-ventilated room, use a small amount on a pad, wash their hands right after and put the bottle away immediately. Removers should always be stored out of children's reach and sight.
How To Use Acetone Remover Gently
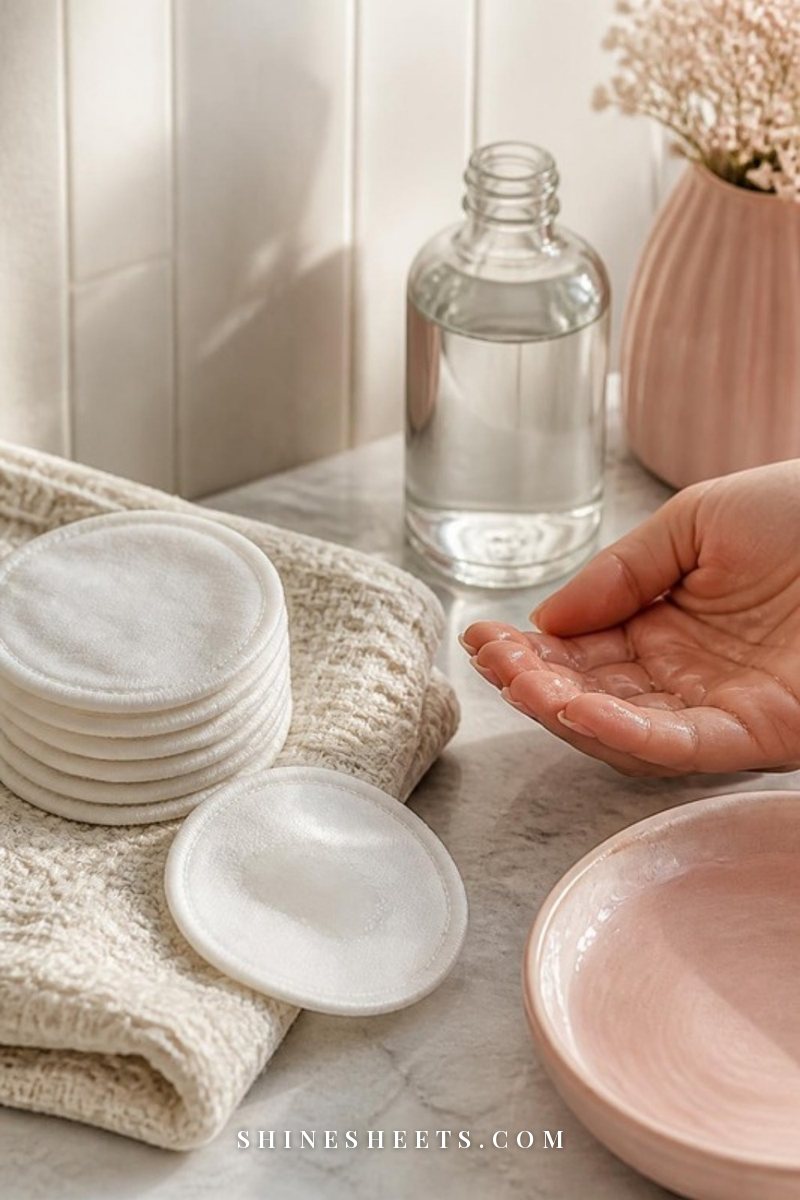
Acetone isn't the villain. Most of the dryness comes from using too much, for too long, with too much scrubbing. This method keeps it quick and kind:
- Prep your space. Open a window, make sure no candles are lit and work on an old towel, since acetone can mark varnished wood and some plastics.
- Protect the skin. Smooth a little cuticle oil or balm around (not on) each nail. It works as a light barrier for the skin.
- Soak the pad, not your fingertips. Saturate a cotton round so it's wet but not dripping.
- Press and hold for 10–20 seconds. Let the acetone soften the polish while you do nothing at all.
- Wipe in one firm stroke from the cuticle toward the tip. Fold the pad to a clean side and move to the next nail.
- Clean the edges with a cotton swab dipped in remover instead of scrubbing the whole nail again.
- Wash your hands with lukewarm water and a mild soap within a few minutes.
Reusable cotton rounds work nicely for regular polish: rinse them well under the tap, let them air-dry, then wash them in a mesh laundry bag. For glitter and gel, disposable pads are easier, since glitter and dark pigment cling to fabric.
How To Use Non-Acetone Remover Gently
With a non-acetone formula, the secret is patience instead of pressure.
- Use a generous soak. The milder solvent needs more product on the pad to work properly.
- Press and hold for 30–60 seconds. This is the step everyone skips, and it's the one that saves your nails from scrubbing.
- Wipe slowly from base to tip, then flip to a clean side of the pad.
- Repeat once for dark shades instead of rubbing harder the first time.
- Rinse and moisturize exactly as you would after acetone.
If a deep shade leaves a tint behind, stop scrubbing. A pale yellow or pink cast is usually staining in the top layers of the nail, not polish you missed, and my gentle guide to whitening stained nails covers how to fade it kindly.
The Aftercare That Makes Any Remover Kinder
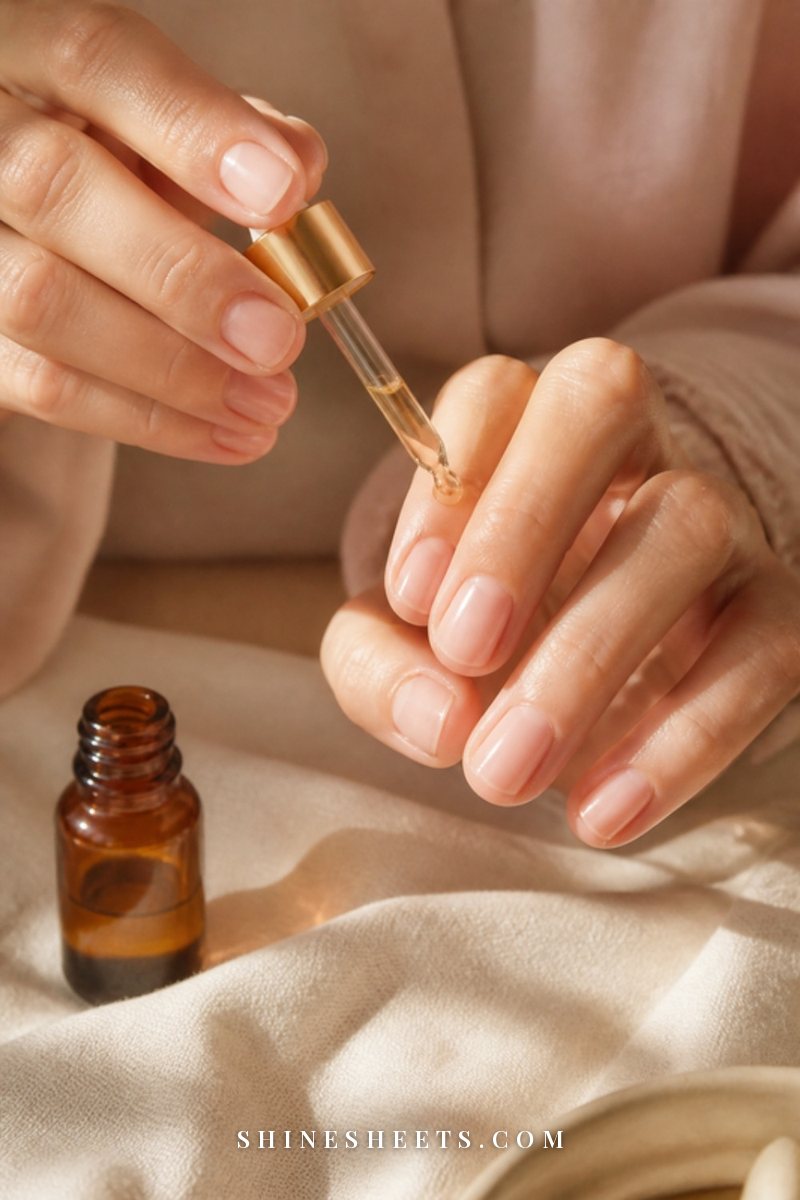
This is the part that makes the biggest difference, whichever bottle you choose. Removal takes oils away; aftercare puts them back. It takes about three minutes:
- Wash: lukewarm water and a mild soap to rinse off any solvent residue, then pat your hands dry.
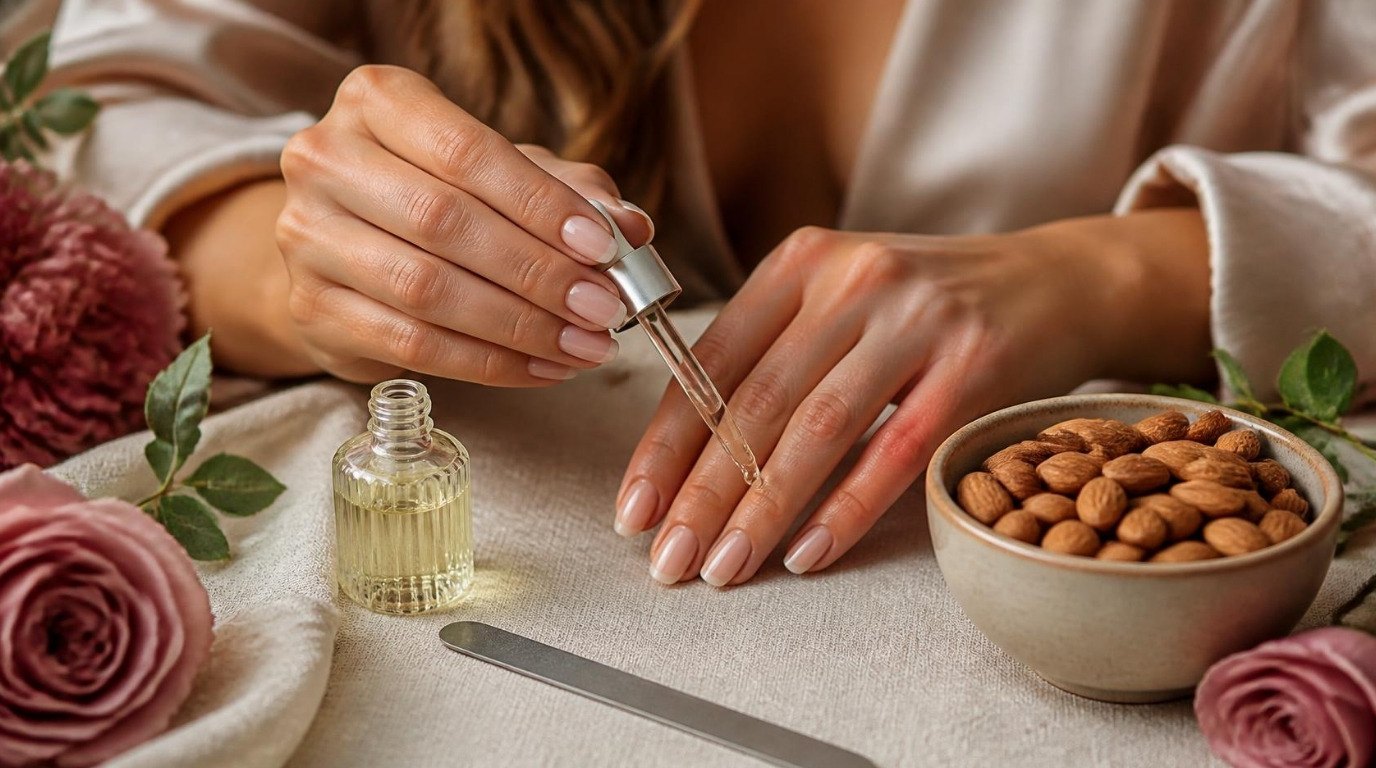
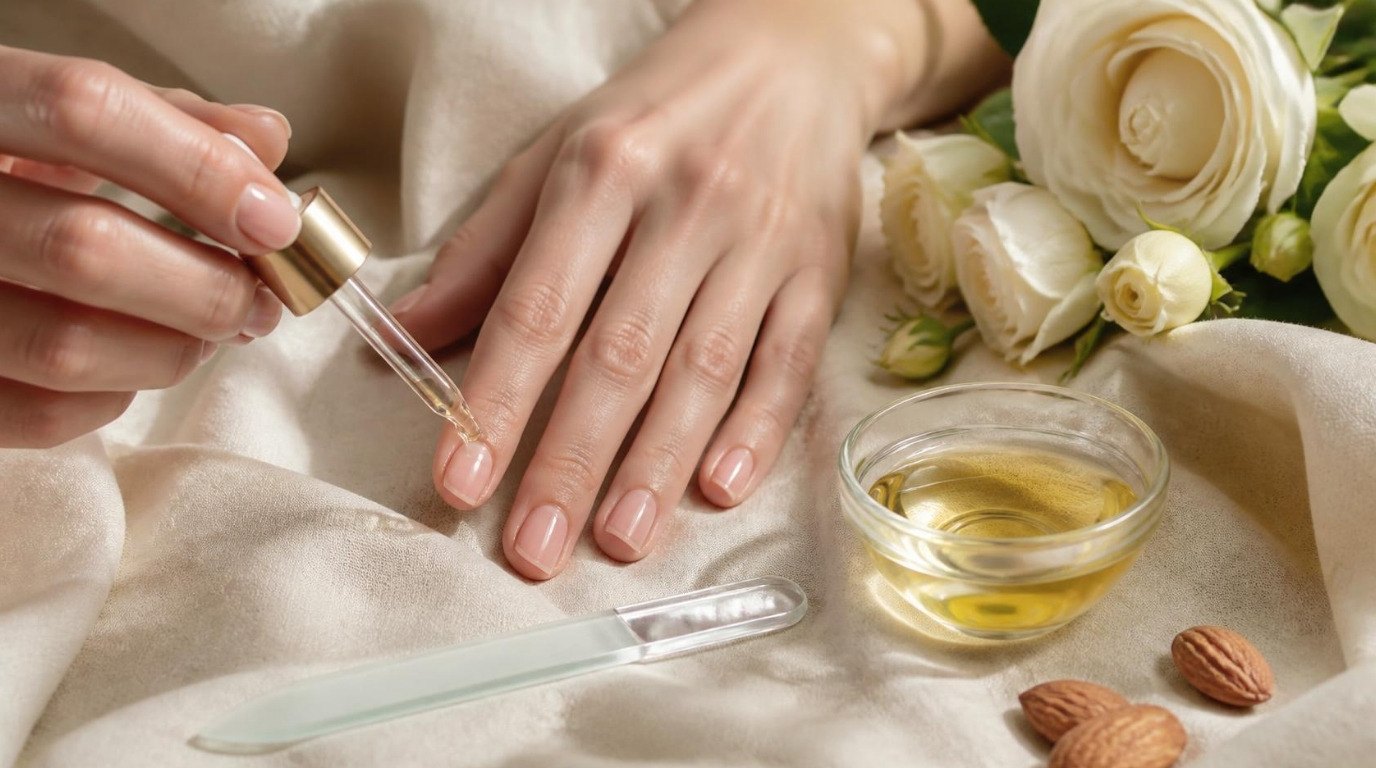
- Oil: one drop of cuticle oil per nail, massaged into the cuticle and across the nail plate for about 20 seconds. A cuticle oil pen in your bag turns this into a two-second habit you'll actually keep.
- Cream: a rich hand cream over the oil to seal it in. A shea butter hand cream by the bathroom sink is a pick for this step, especially in cold months.
- Pause: if your nails look chalky, give them a few hours (or overnight) before painting them again.
I like doing this part in the evening with a cup of tea, when there's nowhere to rush off to and the oil can actually sink in. For softer, neater cuticles between manicures, my guide to cuticle care without cutting has the full routine.
Safety Basics for Every Bottle

Whichever remover you choose, these rules stay the same:
- Ventilate. Open a window or sit near one, and avoid long sessions in a small, closed bathroom.
- Keep it away from flames and heat. No lit candles, gas stoves, hot hair tools or heaters nearby while you work. Both acetone and non-acetone removers are flammable, so wait until your hands are dry and the room has aired out before lighting your evening candle.
- Close the cap right away. It prevents spills, cuts down on fumes and keeps the remover from evaporating.
- Store it safely. Upright, tightly closed, in a cool spot and up high, where children and pets can't reach it.
- Protect your surfaces. Work on a towel; removers can damage varnish, some plastics and painted finishes.
- Keep it out of eyes and mouths. If remover gets in your eyes, rinse with plenty of clean water. If a child swallows any, contact Poison Control or emergency services right away.
A Few Remover Myths Worth Letting Go
- "Non-acetone is chemical-free." It isn't. It's simply a different, milder solvent, and it's still flammable.
- "Acetone ruins your nails." Occasional, gentle use followed by oil and cream is fine for most healthy nails. Frequent use plus scrubbing is what tends to cause trouble.
- "White patches after removal mean damage." Usually it's temporary dehydration on the surface, and it fades within hours once you moisturize.
- "More rubbing gets it off faster." Holding the pad still for a few seconds works better and is much kinder to the nail.
When To See a Dermatologist
A little dryness after removal is normal. Ongoing irritation is not something you have to just live with. Patch test any new remover on one nail first. If the skin around your nails stays red, itchy, cracked or swollen for more than a few days, even after switching to a gentler formula, it's time to see a dermatologist.
Please also check in with a doctor if your nails change color, thicken, lift away from the nail bed or start to hurt. Those changes usually have nothing to do with your remover, and they deserve a proper look. This article is general beauty information, not medical advice.
Final Thoughts
When it comes to acetone vs non-acetone nail polish remover, there's no wrong team. Acetone is the quick, capable one for gel, glitter and stubborn dark shades. Non-acetone is the gentle everyday friend for dry nails, sensitive skin and anything you want to keep on your fingertips.
Keep one of each if you can, hold the pad instead of scrubbing, and always finish with oil and cream. Your nails will feel the difference long before you see it, and that small ritual can turn a boring chore into a few calm minutes that are just for you.