Press-on nails don't fall off because they're cheap, or because your hands are somehow "bad at holding nails." They usually fall off because of something that happened in the first ten minutes: a little oil left on the nail plate, a size that's a touch too wide, or a dot of glue that crept onto your cuticle. Fix those three things and a good set can stay put for up to two weeks.
This guide walks you through press-on nails from start to finish: how to prep so the glue actually grips, how to size every finger, when glue makes sense and when adhesive tabs are the smarter choice, a 7-step application method, and how to take them off without peeling layers away from your real nails.
It took me a while to accept that prep is the boring part that does all the work. Once you do, a set of press-ons becomes one of the easiest ways to have tidy, polished hands through a busy stretch (and to feel a tiny bit Old Hollywood while you answer emails).
Why Press-On Nails Pop Off Early
Almost every early pop-off comes back to one of three culprits:
- An oily or damp nail plate. Your nails naturally carry oils, and hand cream, cuticle oil and even soap residue sit right on top. Glue and tabs bond to a clean, dry, slightly matte surface, not a slick one.
- The wrong size. A press-on that's too wide rests on the skin at the sides. Every time you bend a finger, that skin moves and levers the nail up a little, until one day it simply lets go.
- Glue on the cuticles or skin. Same problem: skin moves, nails don't. Glue that bridges the two cracks within a day or two and lets water creep underneath.
Two smaller reasons finish the job: water in the first hour, while the bond is still setting, and using your nails as tools to open cans, peel stickers or scrape at things. A long hot bath on day one is also surprisingly hard on a fresh set.
The good news is that every single one of these is in your control. Nothing about lasting wear depends on luck or expensive products.
What You Need Before You Start
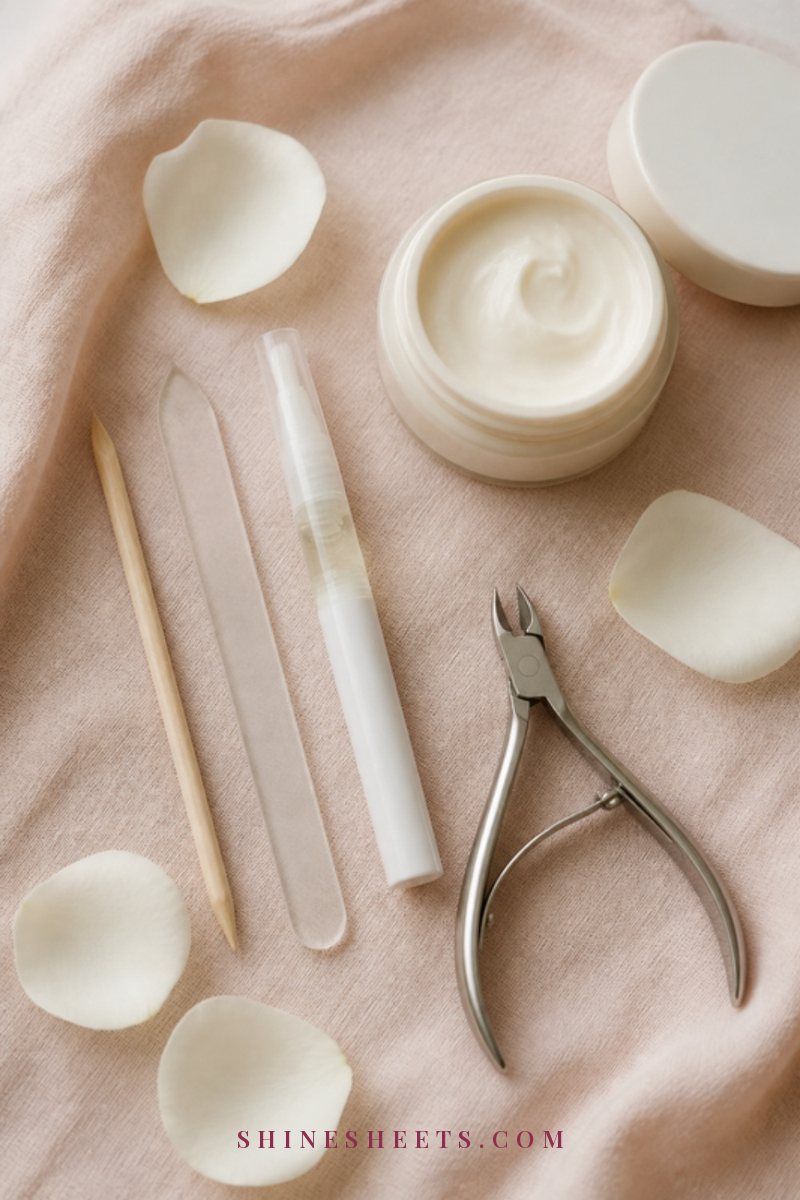
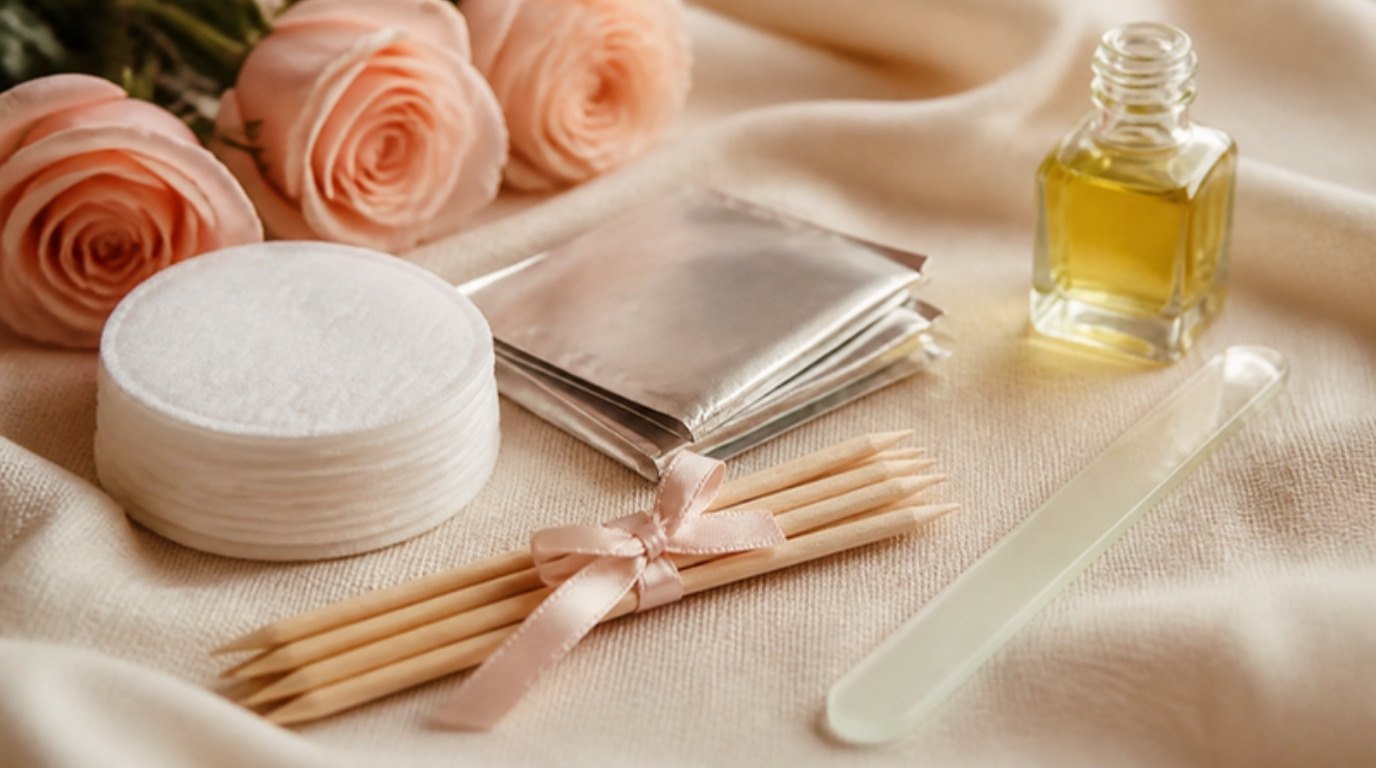
You don't need a salon kit. You do need a few simple things laid out before you begin, because hunting for a wipe with glue on your fingertip is how sets go crooked.
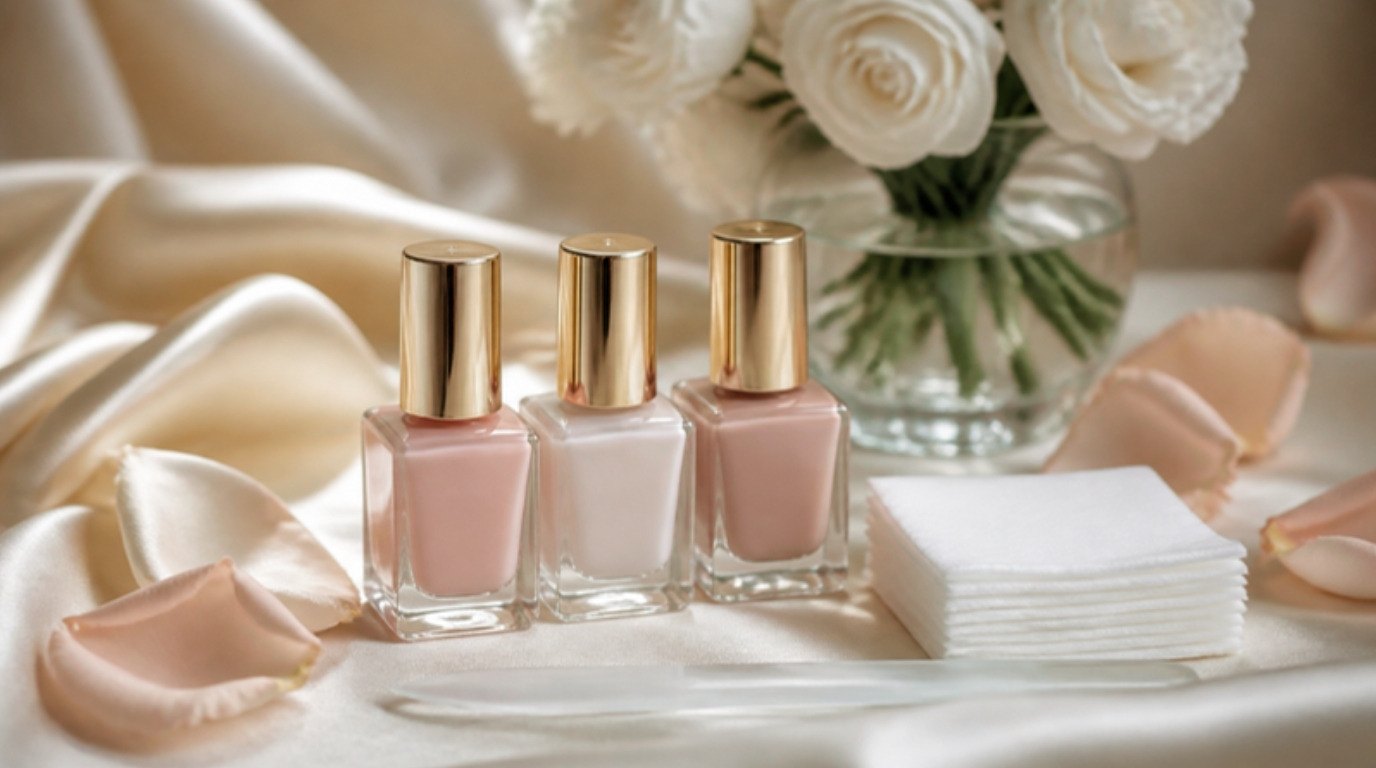
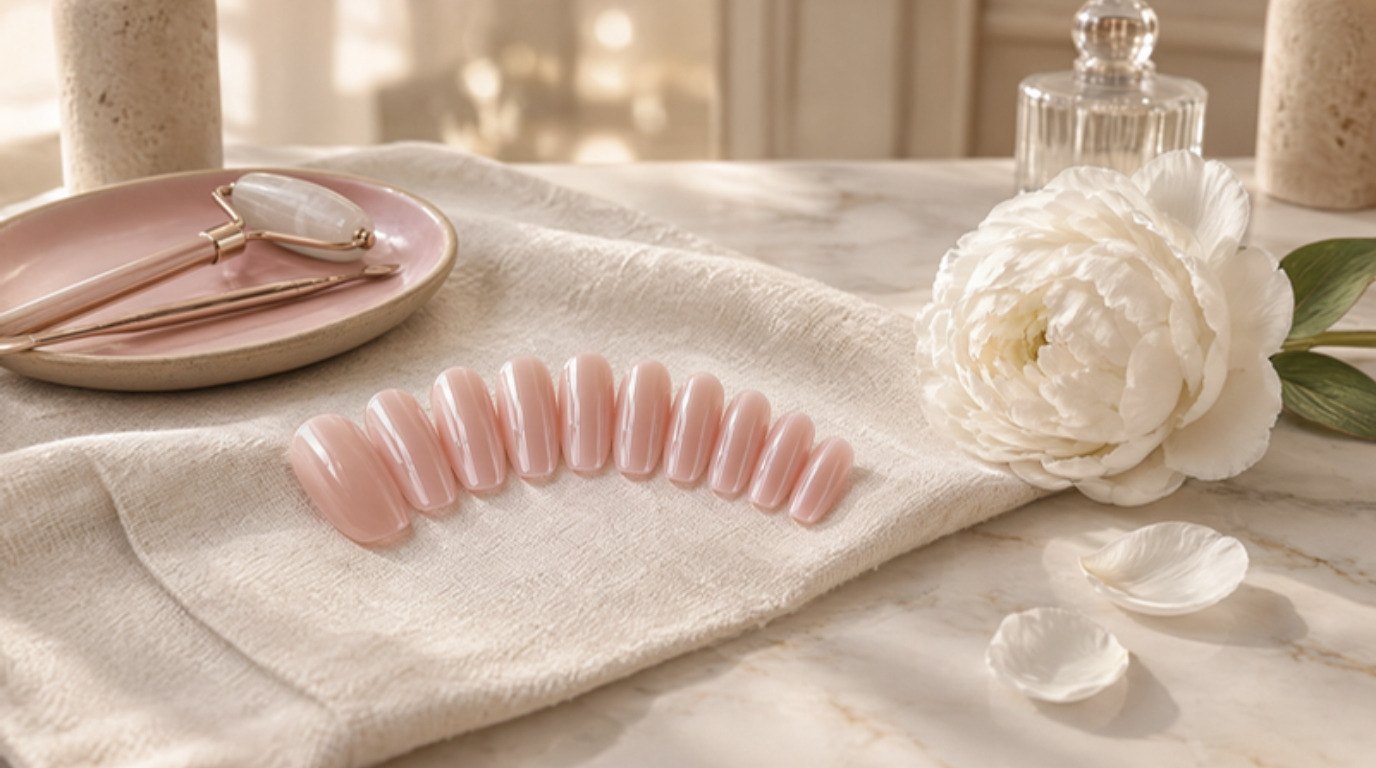
- A set with plenty of sizes. A reusable press-on nail set in soft pink or a sheer nude shade is the easiest place to start, because a natural color forgives tiny gaps at the cuticle and goes with everything. Look for at least 24 nails in 10 or more sizes, so every finger has a real match.
- Glue or tabs. If you're going for long wear, I'd choose a brush-on nail glue over a squeeze tube. The brush spreads a thin, even layer and makes it much harder to flood the edges.
- A gentle cuticle pusher. A cuticle pusher with a rounded, smooth edge or a simple orangewood stick both work. Skip anything sharp or scratchy.
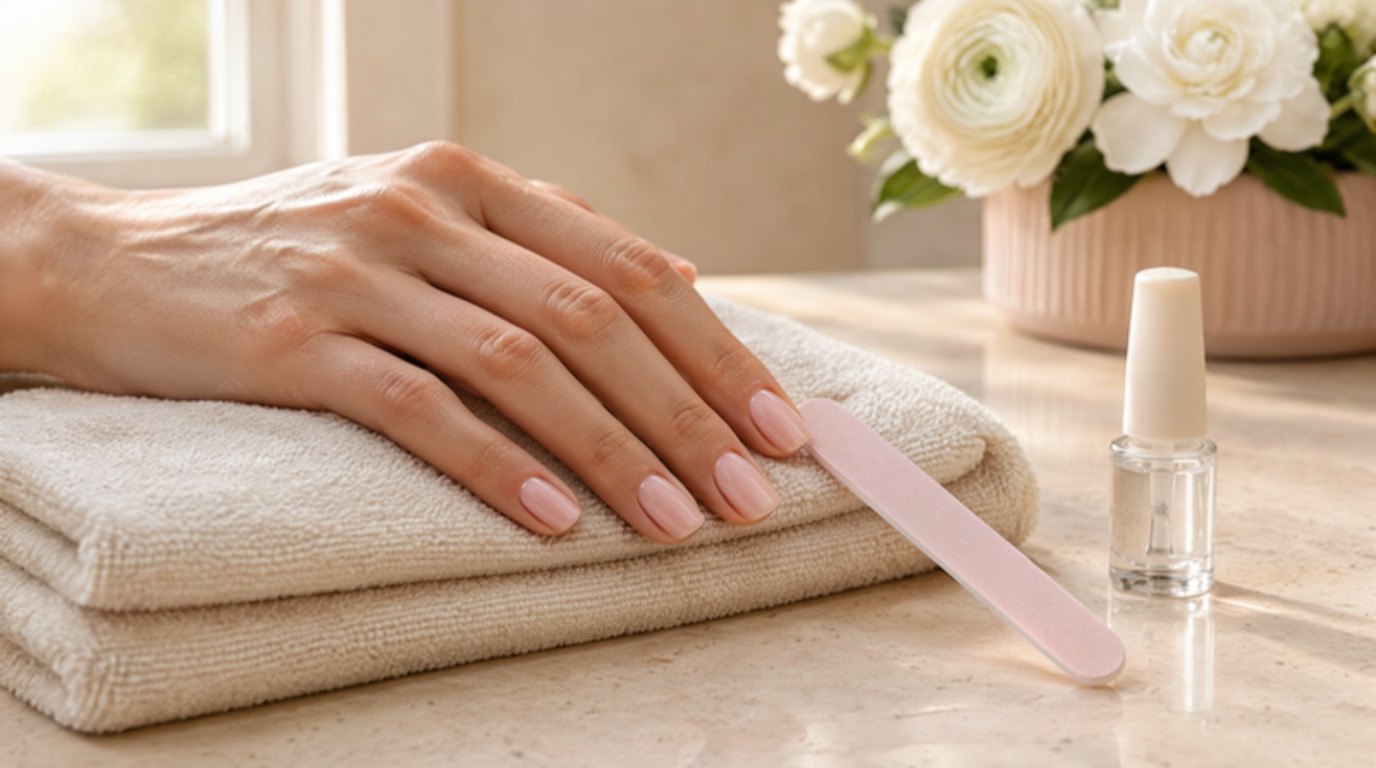
- A fine buffer or file. 180 grit or higher, so you take away shine without thinning the nail.
- Alcohol wipes, or lint-free pads with a little rubbing alcohol.
- Optional but helpful: a nail dehydrator, a quick-drying liquid that removes the last trace of moisture and oil. It's the one extra step that makes the biggest difference for two-week wear.
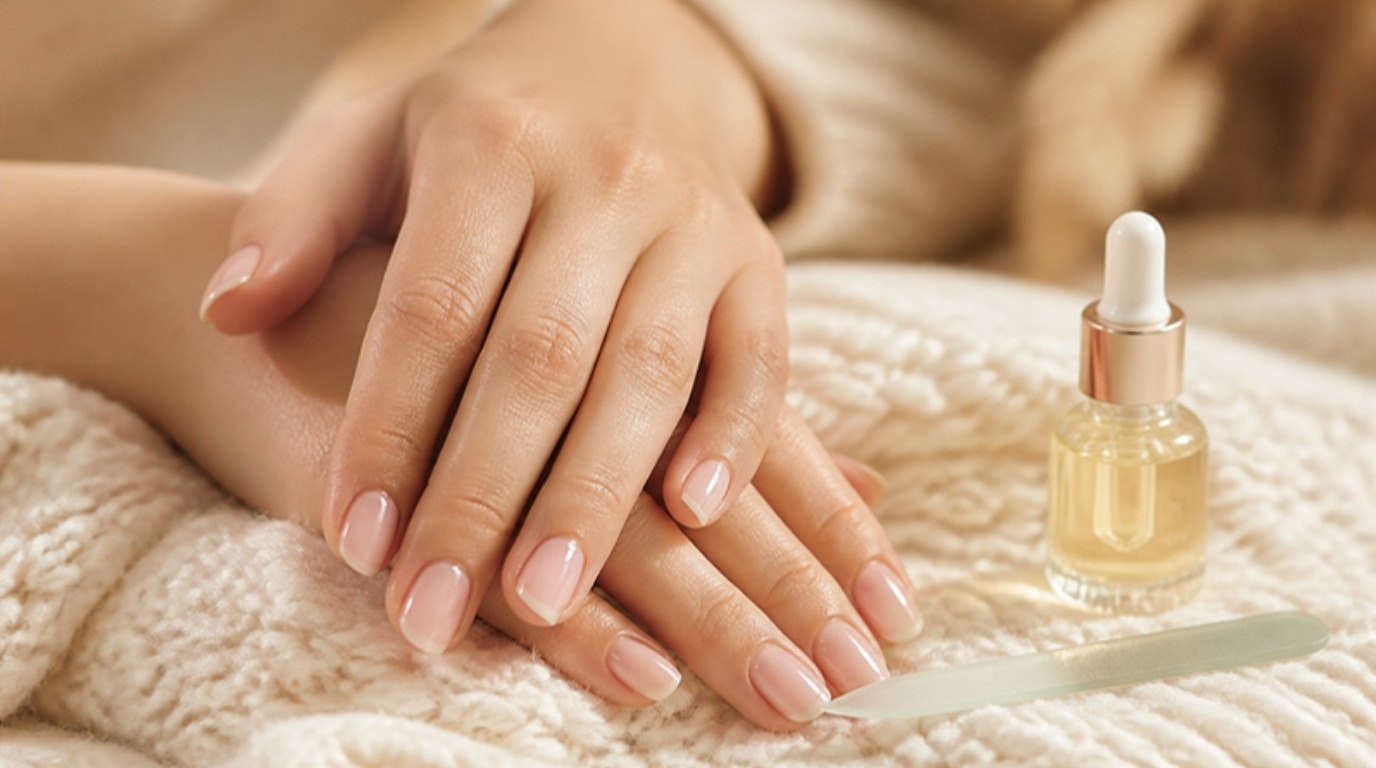
Keep cuticle oil and hand cream nearby too, but for afterwards. Putting them on before you apply is the single most common reason a set starts lifting on day two.
How To Prep Your Nails So Press-Ons Stick
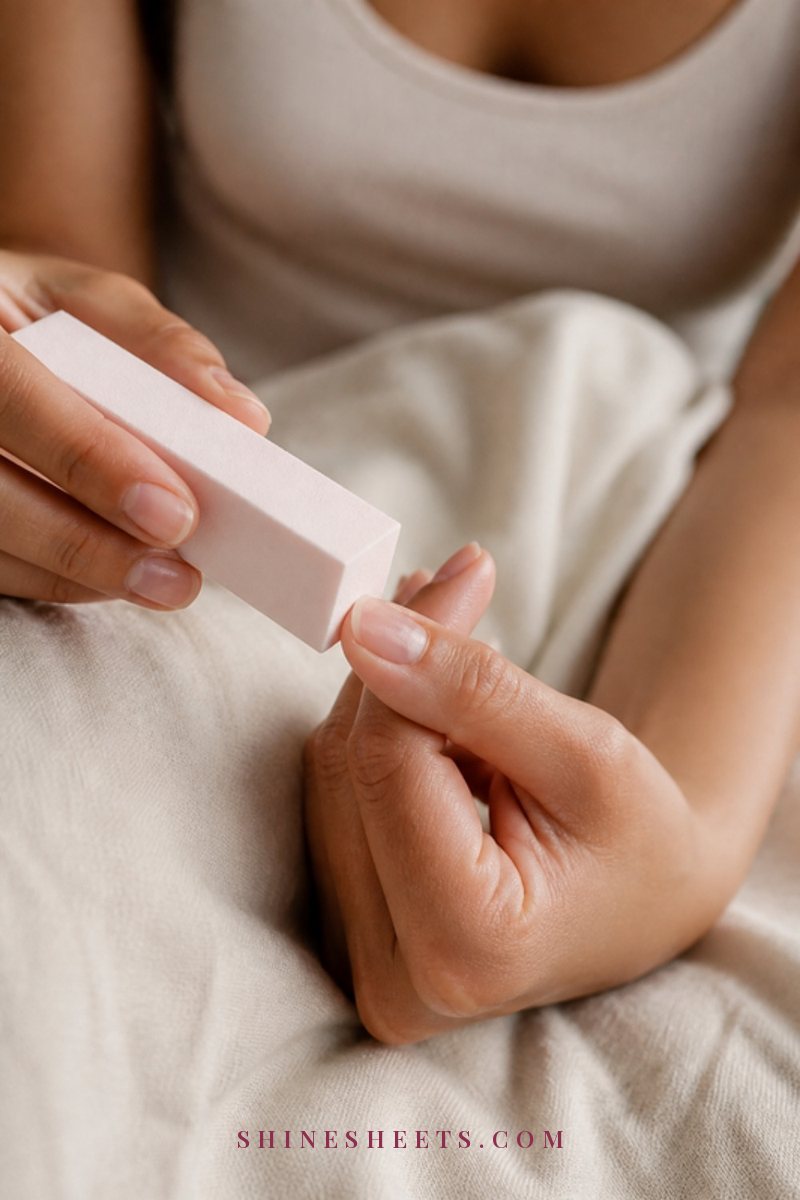
Give yourself 10 to 15 minutes. It feels slow for something that looks so simple, but this is exactly where two weeks of wear come from.
- Remove old polish completely. Even a thin film of old color or base coat stops glue from gripping. Wash your hands afterwards, since remover leaves its own oily residue.
- Wash and dry your hands well. Plain soap, then dry thoroughly, including the sides of each nail. If you've just showered, wait about 20 minutes: nails absorb water and swell slightly, then shrink back and loosen the bond.
- Shorten and shape your natural nails. Keep them short enough that they don't poke past the press-on tip, and smooth the edge in one direction. My guide on how to file your nails covers the gentle technique if you want a refresher.
- Push back your cuticles gently. Hold the pusher at a low angle and move only the thin, clear skin that sits on the nail plate, so the press-on can sit flush. No cutting needed. Living skin around the nail is a protective seal, which my cuticle care guide explains in more detail.
- Buff off the shine lightly. Two or three soft strokes per nail, just enough to take away the gloss. You're giving the glue some texture, not filing the nail thinner.
- Cleanse with alcohol. Wipe each nail firmly, pressing a little into the sidewalls and along the cuticle line where dust likes to hide. Let it evaporate for a few seconds.
- Apply dehydrator, if you're using it. One thin coat on the nail only, then give it about 30 seconds to dry. From here on, try not to touch your face or hair, because fingertips pick up oil fast.
A small honest admission: the alcohol wipe is the step I was always tempted to skip when I was in a hurry, and skipping it showed every single time. Now it's the one step I treat as non-negotiable, even on a rushed evening.
How To Size Press-On Nails Correctly
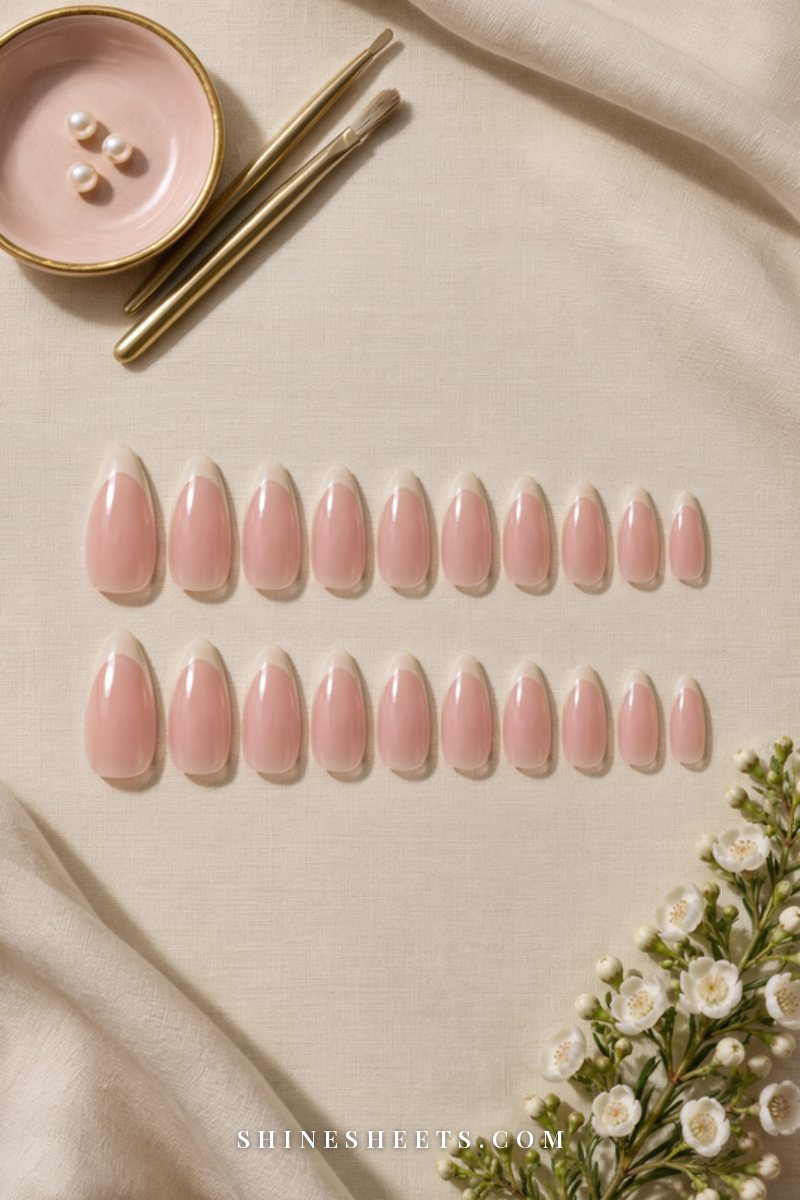
Sizing is the step people rush the most, and it's the one that decides whether a nail stays put or catches on everything. Before you open the glue, match all ten fingers.
- Measure at the widest point. Hold each press-on against your nail and check it from sidewall to sidewall. It should cover the nail edge to edge without resting on the skin.
- Between two sizes? Go slightly smaller. A press-on that's a hair narrower leaves a sliver of natural nail at the sides, which is barely visible and far less likely to lift than one that touches skin.
- Check the curve. If the press-on rocks or leaves a gap at the sides, your nail may be flatter than the set's curve. Try the next size down, or file the side edges of the press-on very slightly until it sits flush.
- Look at the cuticle edge. The base of the press-on should follow the shape of your cuticle line with a tiny gap, never sitting on top of the skin. Gently file the base into a softer curve if it's too square.
- Write your sizes down. Jot each finger's size number in your phone notes. The next set then takes two minutes to match instead of fifteen.
Thumbs and pinkies are the fingers most often sized wrong, so double-check those two before moving on.
Glue vs Adhesive Tabs: Which Should You Use?
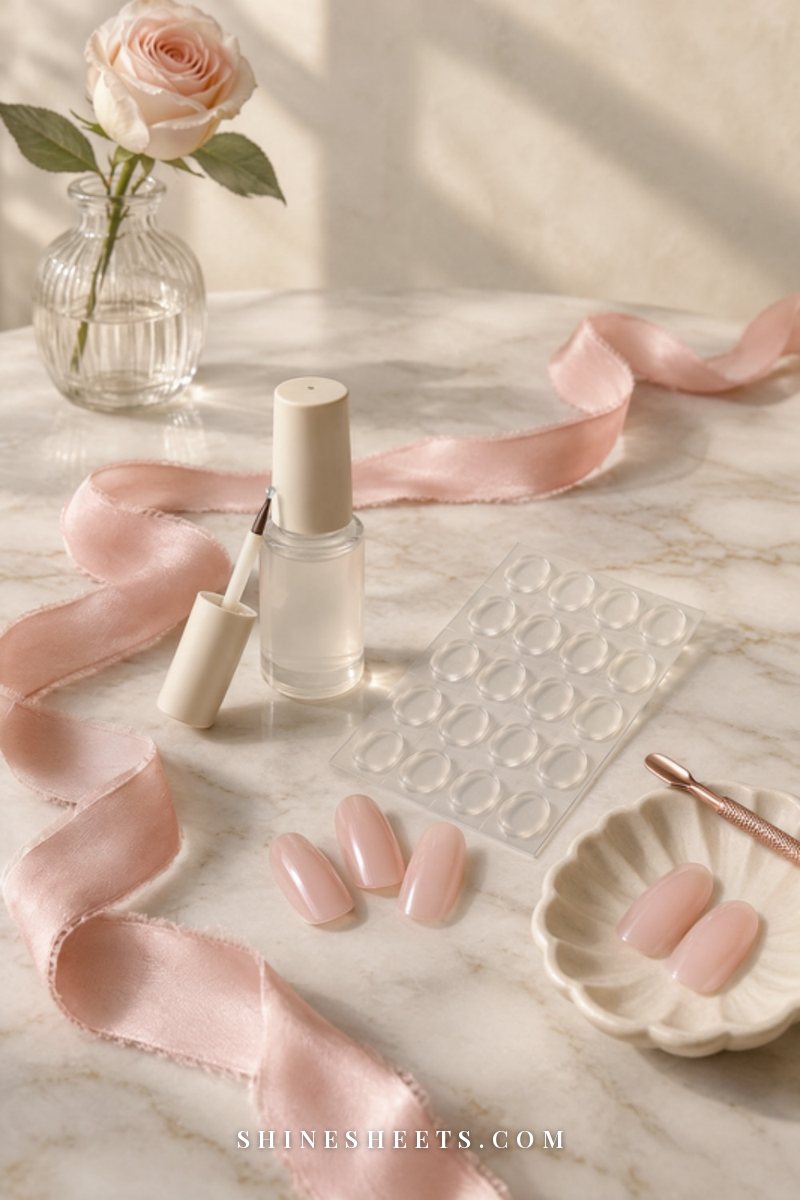
Both options work. They just suit different goals, and choosing the right one for the week ahead saves a lot of frustration.
Adhesive tabs are thin, double-sided sticky pads. Many sets include them, or you can buy a separate sheet of nail adhesive tabs in assorted sizes. They're gentle, quick to remove and kind to your natural nails, and they let you reuse the same press-ons several times. The trade-off is wear time: usually a day or two, and up to a few days if you're careful with water.
Nail glue gives the strongest hold and is the choice for a week or two of wear. It does take more care to remove, and a heavy hand with it is what causes damage, so think thin layers rather than big drops.
There's also a middle option: press a tab onto your nail, then brush a very thin layer of glue on top of the tab before adding the press-on. It usually holds longer than a tab alone and comes off more gently than glue applied straight to the nail. It's a nice choice for a long weekend or a week away.
Glue or Tabs? Your Press-On Wear Plan by Goal
Here's the whole decision in one table. Find your wear goal, then follow the prep that goes with it. Screenshot it if you like, so it's handy the next time you open a set.
| Wear goal | Glue or tabs | Prep needed | Expected wear |
|---|---|---|---|
| One evening or event | Tabs | Wash, dry, alcohol wipe | 1–2 days |
| Reusing a favorite set | Tabs | Clean the inside of each press-on, wash, dry, alcohol wipe | 1–3 days |
| Thin or sensitive nails | Tabs | Gentle prep, skip buffing | 1–3 days |
| Long weekend or short trip | Tab with a thin layer of glue on top | Cuticles pushed back, light buff, alcohol wipe | 3–6 days |
| Busy work week | Glue, thin layer | Full prep (dehydrator optional) | 5–8 days |
| Two weeks of wear | Glue on the nail and inside the press-on | Full prep plus dehydrator, an hour away from water | 10–14 days |
Think of the last column as a realistic range, not a promise. Hands that spend a lot of time in water, or nails that grow quickly, will land at the shorter end, and that's completely normal.
How To Apply Press-On Nails in 7 Steps
Work on one hand at a time, and start with your non-dominant hand while your steadier hand is doing the work. Sit somewhere with good light and a towel under your hands.
1. Lay Out Your Sizes in Order
Line up all ten press-ons from thumb to pinky, in the order you'll apply them. It sounds fussy, but it stops the classic mistake of grabbing the wrong size with glue already on your nail.
2. Do a Final Alcohol Wipe
Right before each nail, give it one more quick swipe with alcohol. If a few minutes have passed since prep, your nails have already picked up a little oil again. Wipe the inside of the press-on too, especially if it's a reused set.
3. Add Glue or a Tab
With glue: brush a thin layer over your natural nail, stopping just short of the cuticle and sidewalls, then add a small amount to the inside of the press-on near the base. Thin is the goal. Excess glue squeezes out onto the skin, which is exactly what you're trying to avoid.
With tabs: peel a tab that fits within your nail, press it on firmly, smooth out any air pockets with your fingertip, then peel off the top film.
4. Place It at an Angle From the Cuticle
Hold the press-on at roughly a 45-degree angle and set the base against your nail just in front of the cuticle line. Then lower it forward onto the nail, like slowly closing a lid. This pushes air out toward the tip instead of trapping bubbles underneath, and air pockets are where water and lifting begin.
5. Press and Hold for 30 Seconds
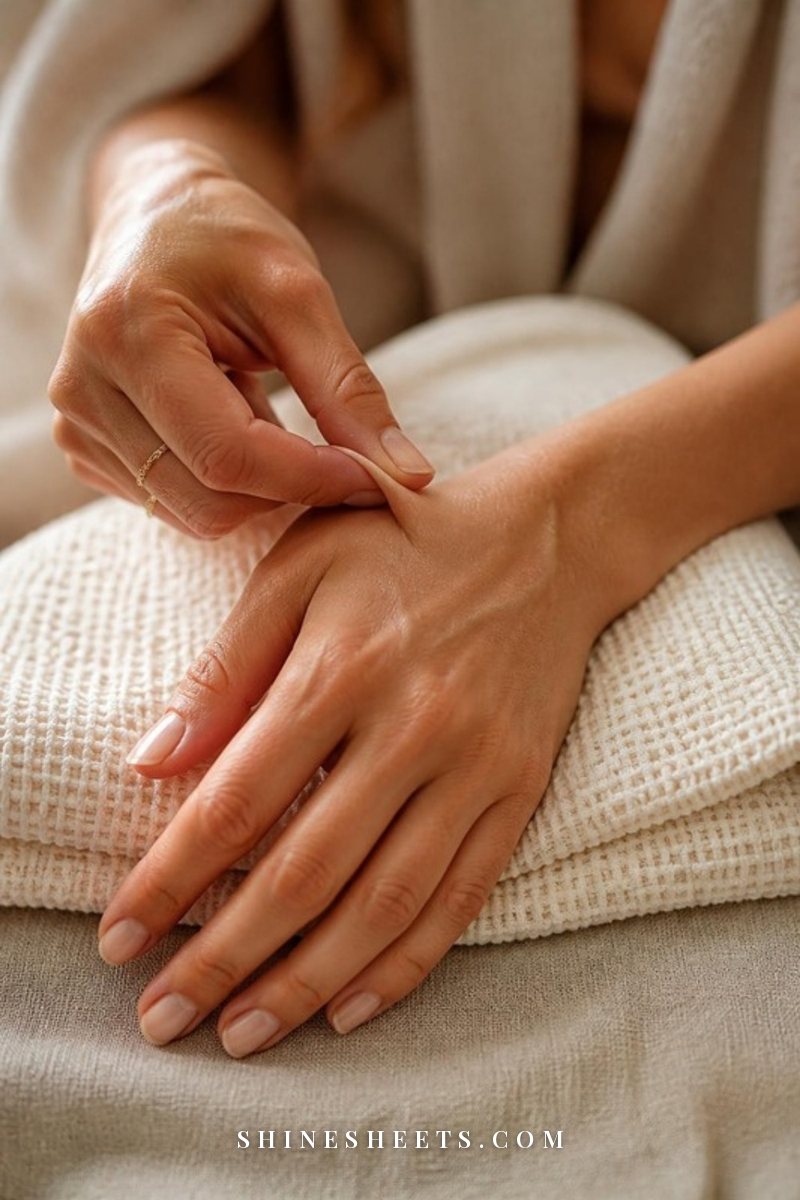
Press firmly with the pad of your opposite thumb for a full 30 seconds. Push in the center first, then roll gently toward each side. Count it out, because 10 seconds feels like 30 when you're excited to see the finished hand.
If a nail looks crooked or you see a bubble, remove it immediately, within the first minute, while the glue is still soft. Wipe, reapply and press again. Fixing it later is much harder.
6. File and Shape the Tips
Once all ten are on, file the tips to your preferred length and shape, moving the file in one direction. File only the press-on, never down toward your natural nail, and keep the length practical if you type a lot. Shorter nails get knocked less, which means fewer chances to lift.
7. Keep Your Hands Out of Water for an Hour
Glue feels set within a minute, but it keeps curing for a while. Skip dishes, showers and hand washing for at least an hour if you can, and avoid hand cream for the rest of the evening. After that, a little cuticle oil on the skin around the nails is lovely and helps the whole set look finished.
How To Make Press-On Nails Last Two Weeks
Application gets you the first few days. These habits get you the rest of the way:
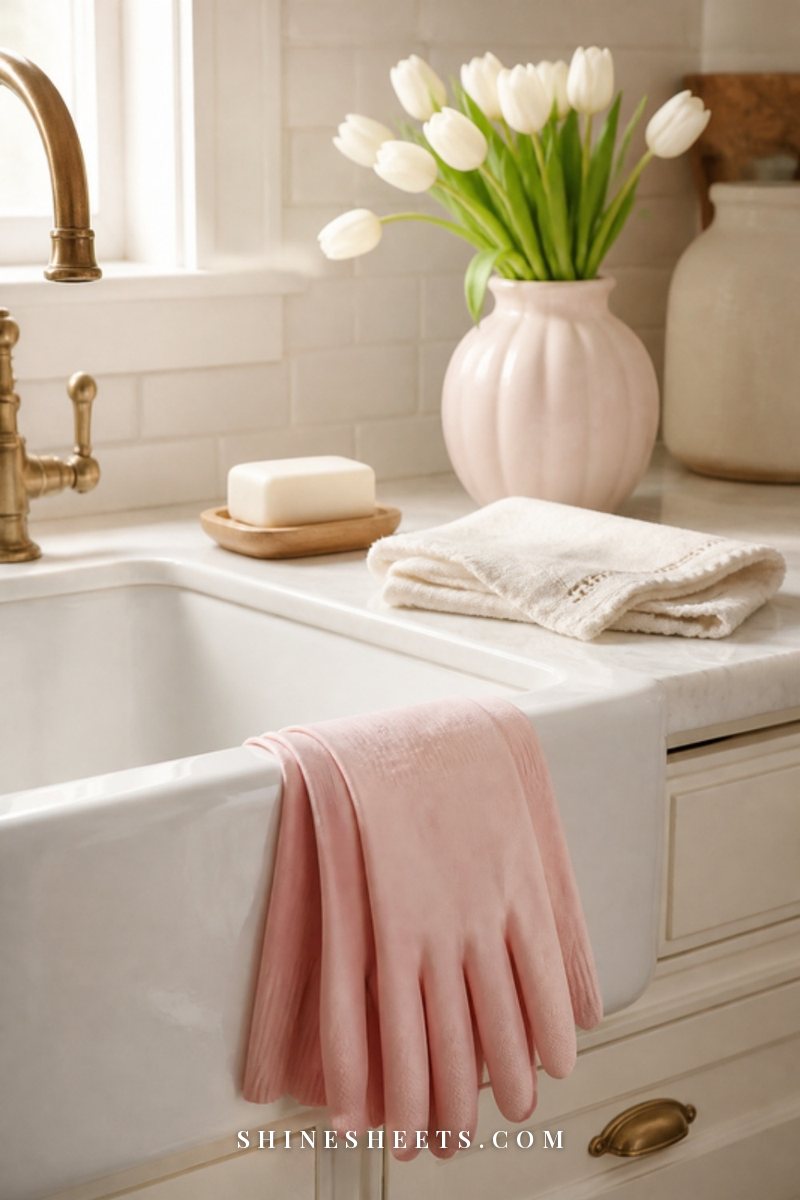
- Wear gloves for wet chores. A pair of pastel pink rubber gloves by the sink protects your set from hot water and cleaning sprays, which soften glue faster than anything else.
- Stop using nails as tools. Open cans with a spoon edge, peel labels with the pad of your finger and type with your fingertips rather than the nail tip.
- Dry your hands well every time. After washing, pat around the edges of each nail. Water that sits at the sidewalls slowly works its way underneath.
- Refresh with a clear top coat every 4 to 5 days. One thin layer over the whole nail and across the tip seals the edges and brings back the shine.
- Fix a lifted corner right away. If a corner lifts but is completely dry underneath, slide in a tiny drop of glue and press for 30 seconds. If water has already gotten in, gently remove that one nail, let your natural nail dry, then prep and reapply. Sealing water in is never worth it.
- Oil the skin, not the edges. A cuticle oil pen in your bag makes a daily swipe easy. Apply it to the skin around the nail and avoid flooding the press-on edges.
- Go easy on long, hot soaks. Baths, hot tubs and long swims shorten wear. A quick shower is fine after the first hour.
Two weeks is a good upper limit. After that, your natural nails have grown enough to leave a gap at the cuticle, and that gap tends to trap moisture. It's time for a fresh set or a little break.
How To Remove Press-On Nails Without Damage
This is the part that decides how healthy your natural nails look next month. Patience here protects everything else.
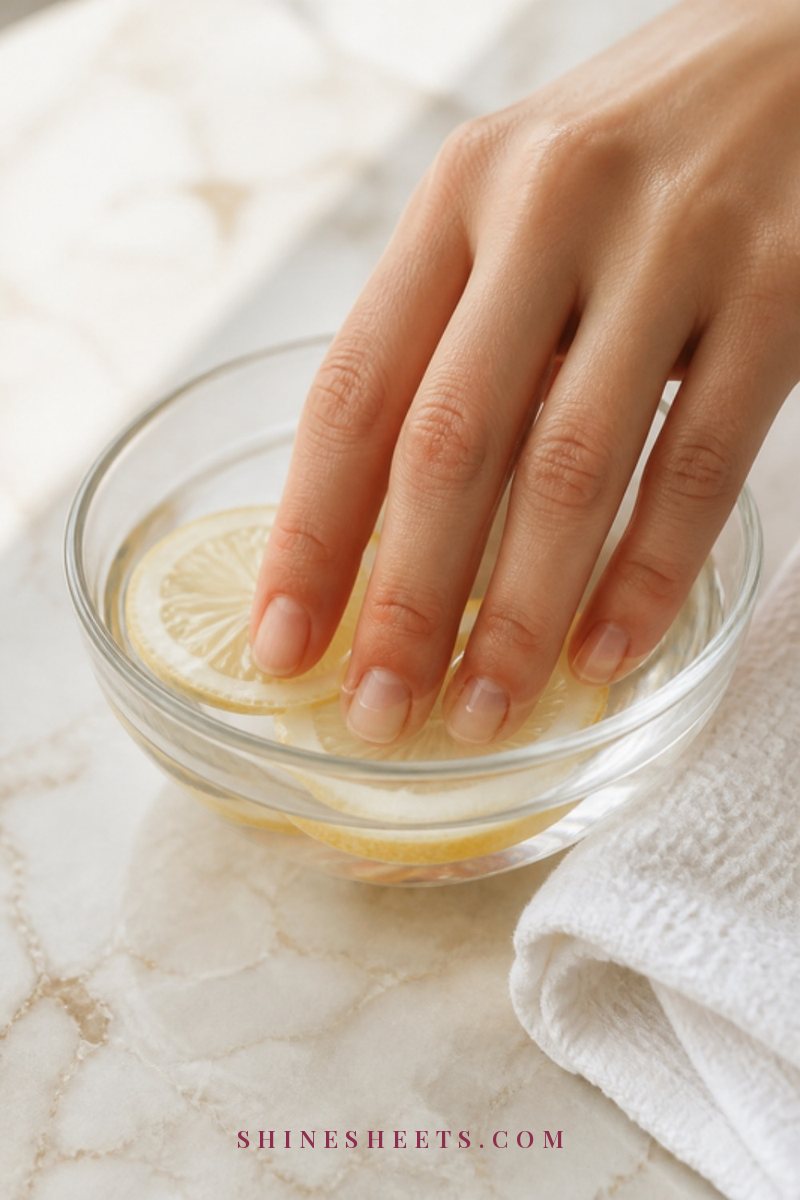
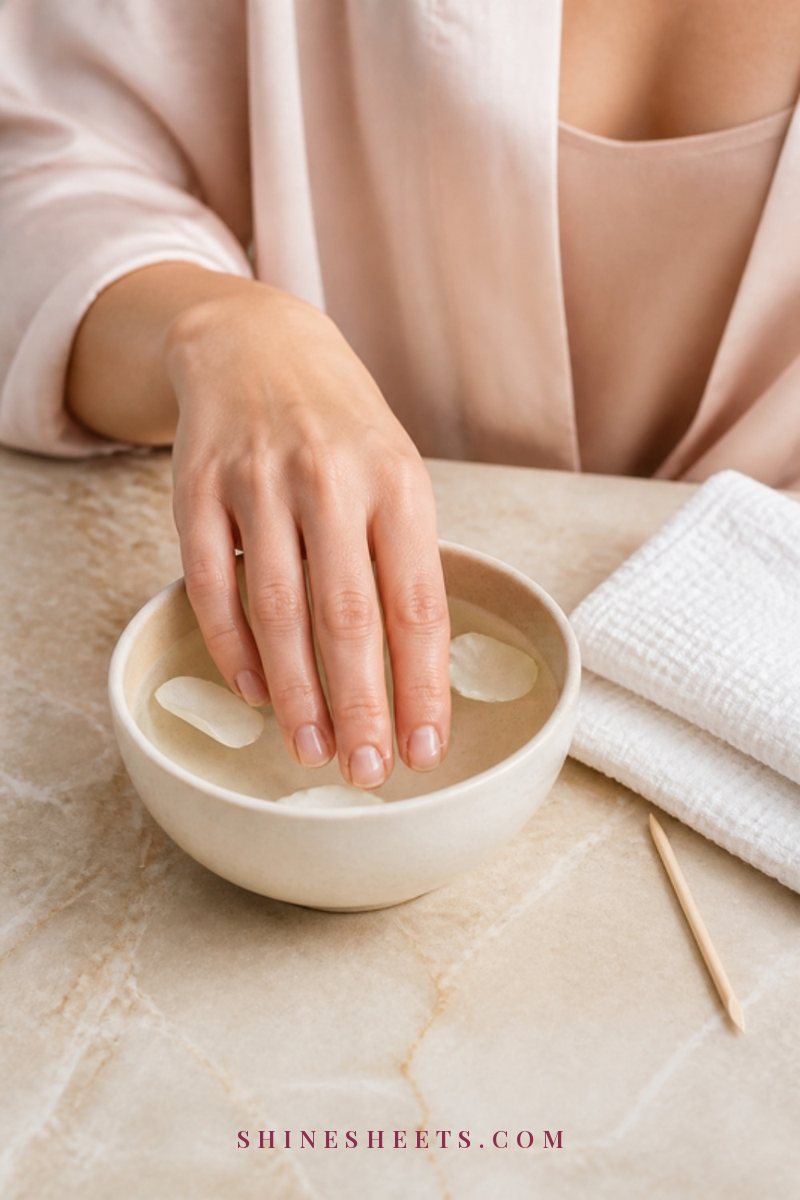
- Soak in warm, soapy water for 10 to 15 minutes. Add a few drops of any body or cuticle oil to the bowl to help it seep under the edges.
- Work oil around the edges. Massage cuticle oil along the sidewalls and under the tip of each press-on.
- Wiggle gently from the sides. Slide your cuticle pusher or an orangewood stick under the side edge and lift slowly. If you feel resistance, stop and soak for another 5 minutes.
- For a stubborn glue set you won't reuse: a 10-minute soak in acetone remover loosens the glue (it can damage the press-ons themselves, so keep those for a fresh set). Use it in a ventilated room, away from candles, heat and children, then wash your hands well.
- Buff away leftover glue softly. A few light strokes with a fine buffer, then wash, oil and moisturize.
Never pry, bite or rip a press-on off. When you force it, the glue takes the top layers of your nail with it, leaving thin, white, peeling patches that take weeks to grow out.
If you want to reuse the set, clean the inside of each press-on, gently scrape away dried glue or tab residue, and store them in their box sorted by size.
Aftercare and Breaks Between Sets
Nails don't actually need to "breathe," but a short break between glue sets is still a kind habit. It gives you a chance to look at your natural nails, rehydrate them and notice if anything feels off. A few days to a week between long-wear sets works well for most people.
During the break, oil your cuticles twice a day and keep nails short and smooth. A simple at-home manicure with a sheer polish keeps your hands looking tidy in the meantime. If your nails look thin or peel after removal, a few weeks of the routine in my guide on how to repair your nails after gel or acrylics helps them bounce back before the next set.
A gentle safety note: if you notice redness, swelling, warmth or pain around a nail, or a green or dark patch under it, remove the press-ons and see a doctor. The same goes for itchy or irritated skin after using glue, since some people react to nail adhesives. Switching to tabs and talking to a doctor or dermatologist is the safe next step.
Common Press-On Mistakes To Avoid
If your last set didn't last, one of these is probably the reason:
- Applying lotion or oil beforehand. Save both for after the first hour.
- Using too much glue. More glue doesn't mean more hold. It means glue on the skin and a weaker edge.
- Choosing sizes that touch the skin. When in doubt, size down.
- Pressing straight down. Placing the nail flat traps air. Angle it from the cuticle and roll it forward.
- Skipping the 30-second press. Those 30 seconds are what lock the bond in.
- Over-buffing. Taking off shine is enough. Thinning the nail makes it bendy, and bendy nails lift.
- Wearing a set too long. Past two weeks, regrowth gaps trap water. Remove and refresh instead of pushing it.
Most of these come down to rushing, which is very human. Give yourself one calm evening with a cup of tea and a good playlist, and the whole process gets easier with every set.
Final Thoughts
Lasting press-ons are less about the nails themselves and more about a few quiet details: a clean, dry nail plate, the right size, a thin layer of glue and a little patience at the end. Get those right and you'll have neat, polished hands for days without a salon appointment.
Be gentle with your natural nails between sets, take them off slowly, and let each set teach you a little more about what your hands need. You've got this, one nail at a time.