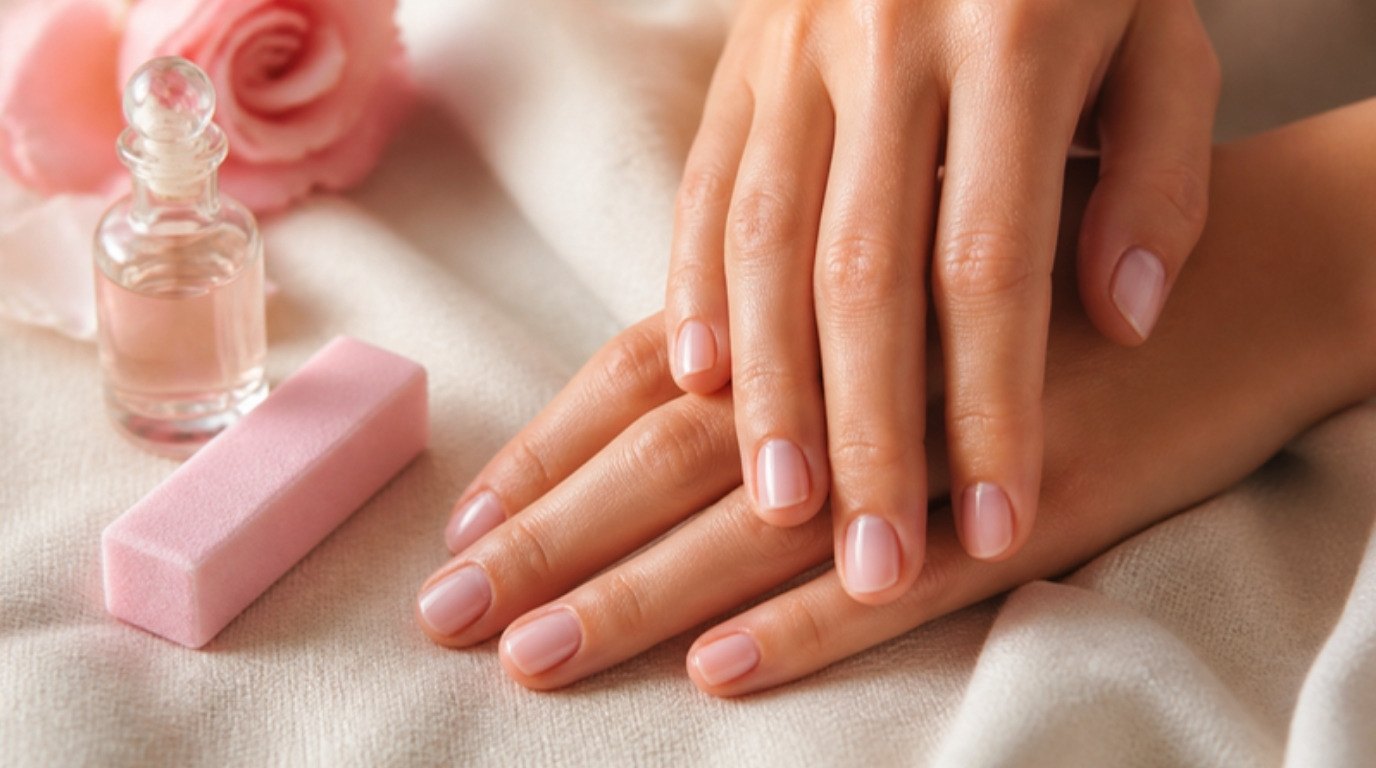
Peeling nails are rarely a sign that your nails are "bad." Most of the time they're a sign that the very tip of each nail is being worn down faster than it can hold together. Nails are made of thin layers of keratin stacked like the pages of a closed book, and when water, friction and harsh products keep prying at the edge, those pages start to lift. The good news is that the same thing works in reverse: protect the edge, and the layers stay together.
That's why the fix is less about buying a miracle bottle and more about changing a handful of everyday habits. Small, boring things like how you file, how you wash dishes and how you take off polish make a far bigger difference than any single product. It took me a while to accept that the habit side mattered more than the shopping side, but it really does.
This guide is all about peeling nails: why nails split and peel in layers at the tips, the main causes, a table that matches each cause with its fix, 7 simple steps to stop the peeling, an easy daily routine, how long it realistically takes to see change, and when it's worth talking to a doctor. If your nails feel weak all over rather than splitting at the edge, my guide to making brittle nails stronger is a good companion read.
Be patient and gentle with yourself here. Your nails aren't failing you, they just need a little more protection than they're getting right now.
What Peeling Nails Actually Are

Peeling nails (you'll sometimes see the word onychoschizia) means the nail splits horizontally into thin layers at the free edge, the white part that grows past your fingertip. You might notice a flaky, white, slightly rough tip, a layer that lifts when you run your thumb over it, or a little "shelf" where the top layer has come away and the layer underneath looks thinner and more bendy.
This is different from a few other nail troubles that often get lumped together:
- Brittle nails snap, crack or break across the whole nail, often in a straight line.
- Vertical splits run from the tip down toward the cuticle, more like a crack than a peel.
- Ridges are raised lines on the surface of the nail plate. Lengthwise ridges are common and usually harmless; they usually need nothing more than gentle care.
- Peeling happens in layers, mostly at the very tip, and usually comes and goes depending on how you treat your hands.
Knowing which one you're dealing with matters, because layer peeling responds beautifully to protecting the edge, while other issues sometimes need a different approach.
Why Nails Split and Peel in Layers
The free edge of your nail is the oldest, most exposed part. It has been through weeks of washing, typing, opening things and drying out. A healthy nail can handle a lot, but certain habits wear the layers apart faster than anything else. Here are the five most common culprits.
The Wet-Dry Cycle
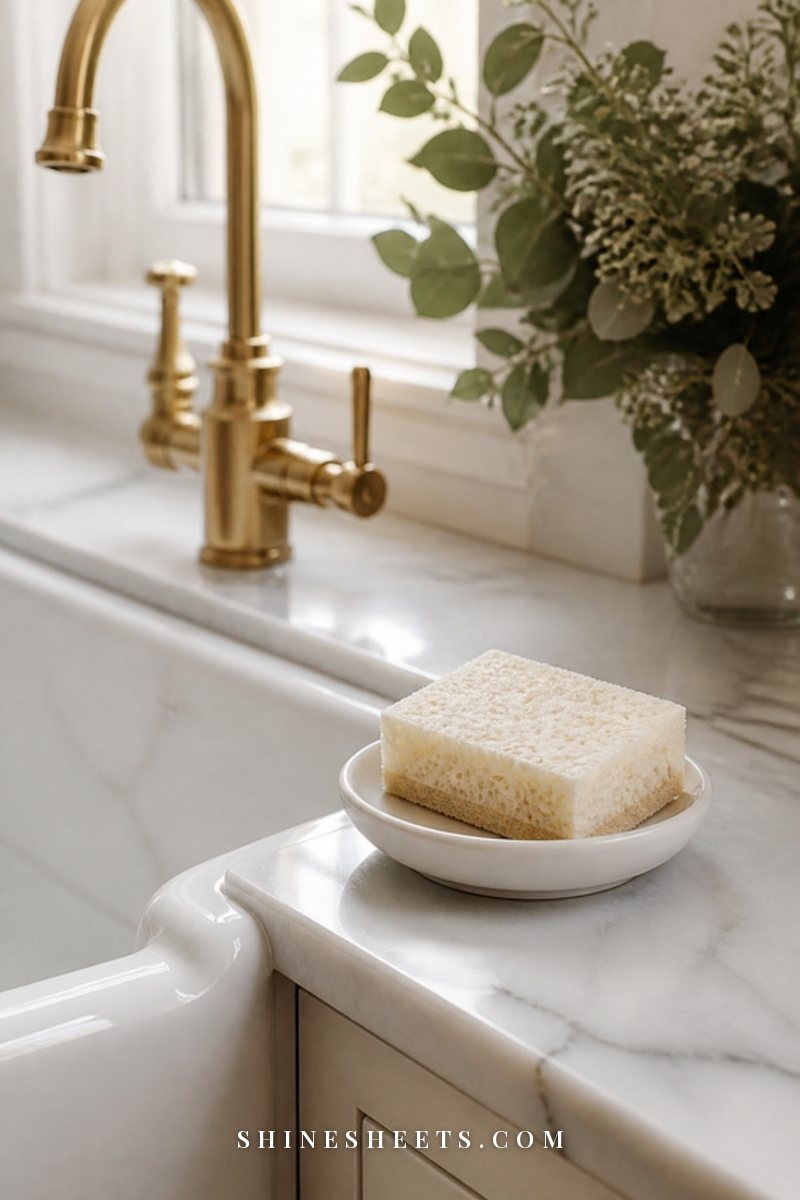
This is the big one. Nails absorb water far more than skin does. Every time you wash your hands, do dishes or take a long shower, the nail plate swells a little. Then it dries and shrinks again. Repeat that ten or twenty times a day and the layers at the tip start to loosen, just like a paperback that has been dropped in the bath and dried on the radiator.
That's why peeling often gets worse when you're cleaning a lot, cooking every night or washing your hands constantly. It isn't the water alone, it's the swelling and shrinking over and over again.
Back-and-Forth Filing
Sawing a file back and forth across the tip feels quick, but it roughs up the edge and drags the layers in two directions. Coarse metal or rough emery boards make it worse, because they leave tiny tears that become the starting point for a peel. If you've ever filed a nail and noticed it looked fuzzy or white afterward, that's the layers fraying.
Peeling Off Gel or Polish
When you peel or pick off gel polish, a press-on or even a stubborn coat of regular polish, it doesn't come away alone. It takes the top layers of your natural nail with it. One session of picking can leave nails thin, bendy and peeling for months, because the damaged part has to grow all the way out.
Using Nails as Tools
Scraping off stickers, opening soda tabs, prying lids, separating stuck pages, pushing buttons with the tip: every one of these puts pressure right on the free edge. Each small knock lifts the layers a tiny bit, and over a few weeks that adds up to a visible peel.
Harsh Removers and Cleaners
Acetone works fast, but frequent use is very drying for both nails and the skin around them. The same goes for strong household cleaners, hand sanitizer used many times a day and hot water. Dryness makes the layers less flexible, so they split instead of bending.
Less often, peeling can be linked to things like low iron, thyroid changes or skin conditions. That's not something to self-diagnose, and it's one reason the doctor section further down is worth reading.
Peeling Nails Causes and Fixes at a Glance
Here's the whole picture in one place. Find the causes that sound like your week and start with those fixes first. Feel free to screenshot it.
| Cause | What it does to the nail | Fix | How long to see change |
|---|---|---|---|
| Wet-dry cycle (dishes, long showers, frequent handwashing) | Swells and shrinks the nail plate until the layers at the tip loosen | Gloves for water work, oil after drying hands, shorter hot-water time | Less new peeling in 3–4 weeks; fully healthy tips in 3–6 months |
| Back-and-forth filing | Frays the edge and drags layers apart in two directions | Glass file, one direction only, light pressure | Smoother edges after the first filing; peeling slows in 2–4 weeks |
| Peeling off gel or polish | Rips away the top layers, leaving thin, bendy nails | Soak-off removal only, a break from gel while nails recover | The damaged part grows out in about 4–6 months |
| Using nails as tools | Repeated pressure lifts the free edge | Use fingertips, a coin or a small tool instead | New peeling slows within 2–3 weeks |
| Harsh removers and cleaners | Dries out the nail so layers split instead of bending | Gentler remover used less often, oil and hand cream after | Tips feel less dry in 1–2 weeks |
| Long length while nails are weak | More leverage on the edge, so every knock causes a split | Keep nails short until the healthier nail reaches the tip | Immediate fewer snags; full grow-out in a few months |
Notice how the "how long" column keeps landing on months. That's not a sign the fixes don't work. It's just how slowly nails grow, which I'll explain in a moment.
7 Steps To Stop Peeling Nails
You don't need a twelve-product routine. These seven steps, done consistently, are what actually stops layers from separating. Start with the first four this week, then add the rest.
1. File in One Direction With a Glass File
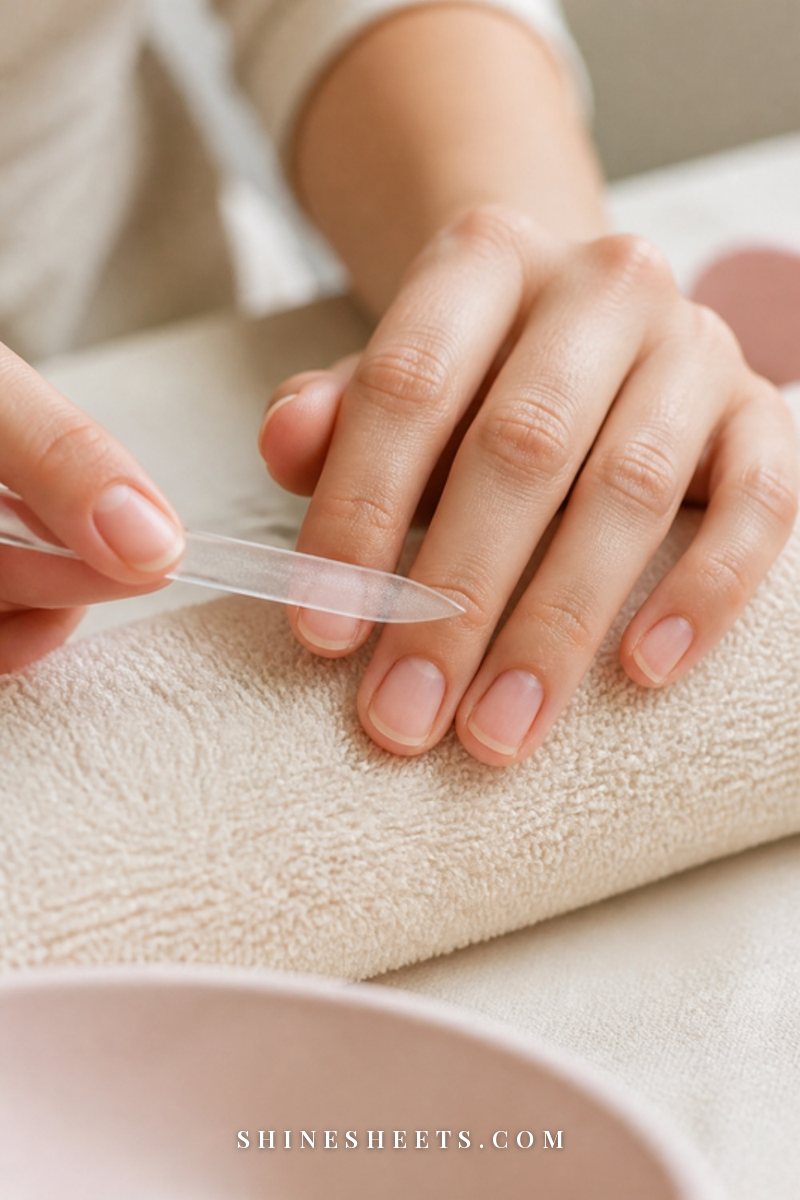
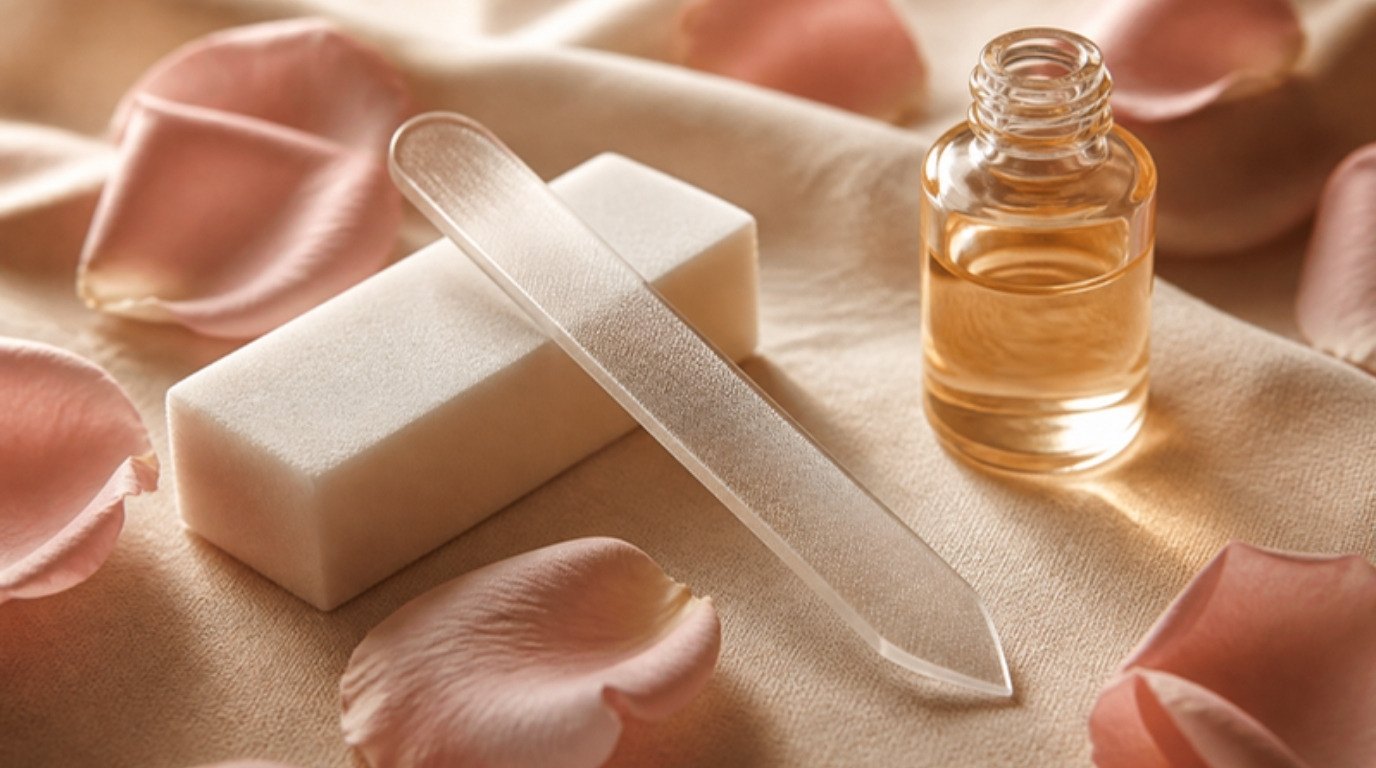
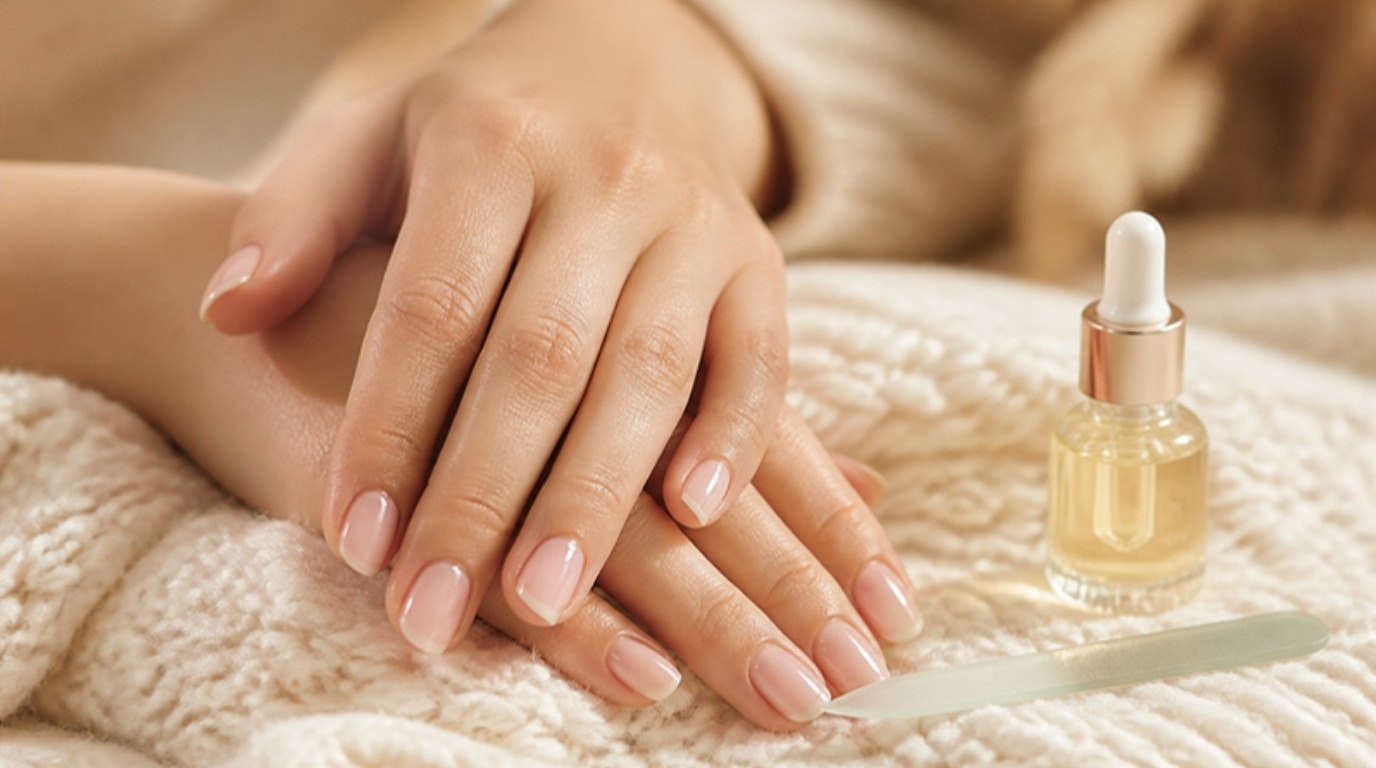
Swap a rough emery board for a glass nail file. Glass has a very fine grit that seals the edge as it shapes, instead of tearing it. Look for one with a fine side and a slightly coarser side, and keep the coarse side for shaping only.
How to do it: hold the file at a slight angle under the nail, then glide from the outer corner toward the center in one direction. Lift, return to the corner, repeat. Light pressure, short strokes, and no sawing. File once a week, or whenever you notice a snag, rather than every day.
If you'd like a full walkthrough of angles and shapes, my guide on how to file and shape your nails covers it step by step. A soft rounded or squoval shape tends to peel less than a sharp square, because the corners don't catch.
2. Seal the Free Edge
After filing, run the fine side of the glass file very lightly along the tip at a 45-degree angle, once or twice. This smooths the cut edge so the layers sit flat together. Then, if you wear a base coat or strengthener, "cap" the tip: swipe a thin layer horizontally across the very edge of the nail, not just the surface.
Sealing the edge is the step most people skip, and it's the one that protects the exact spot where peeling begins.
3. Oil the Tips Twice a Day
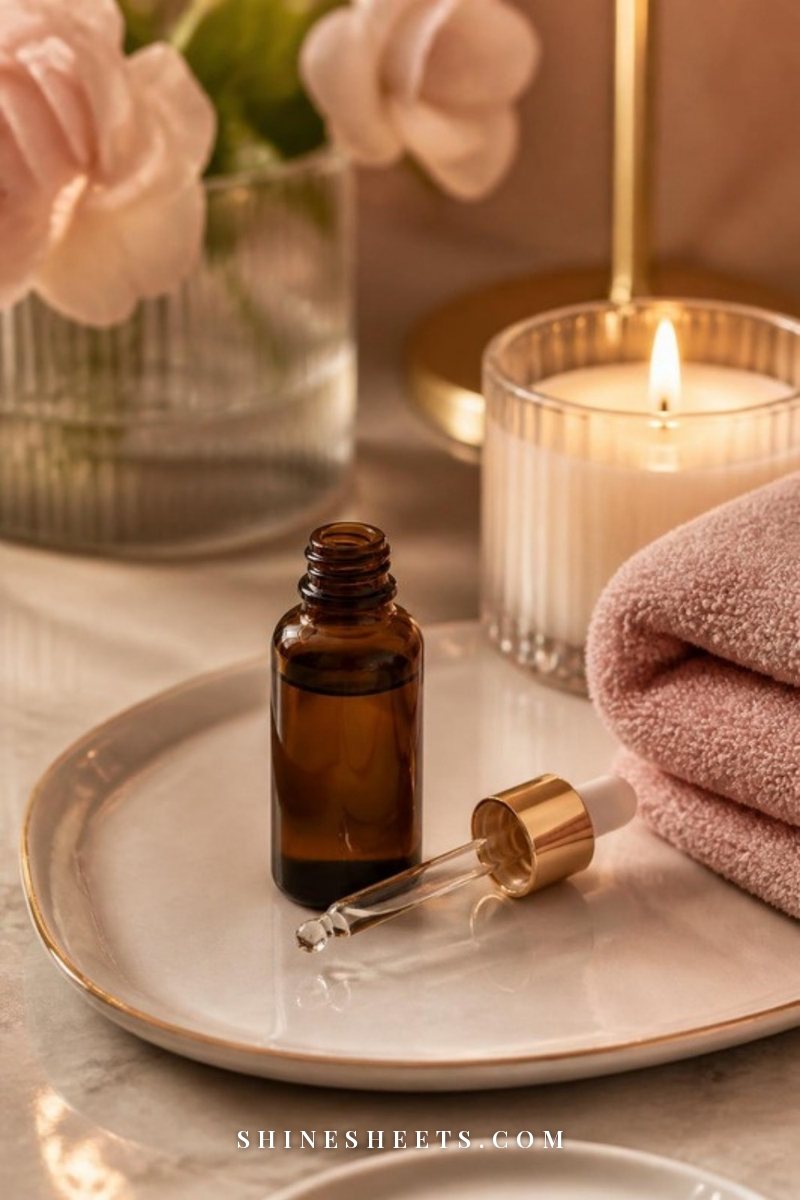
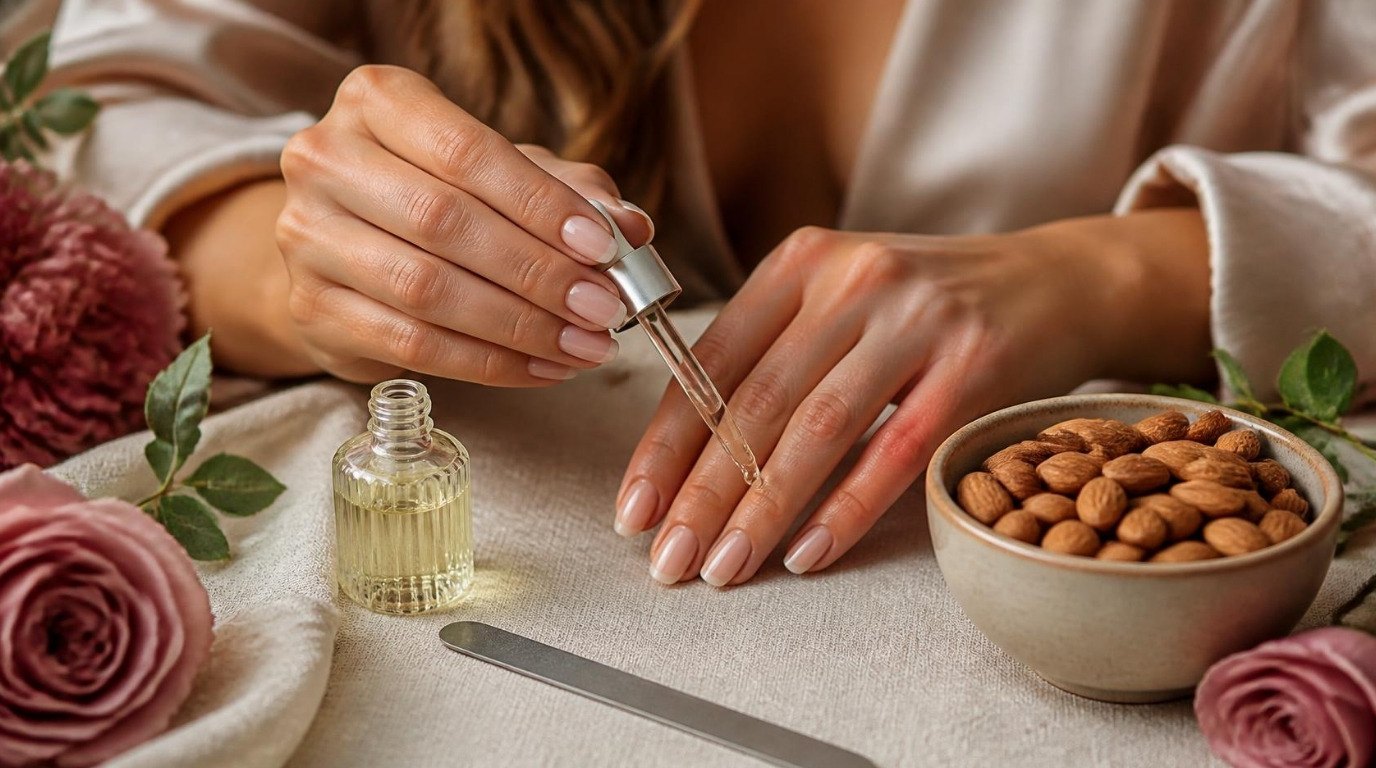
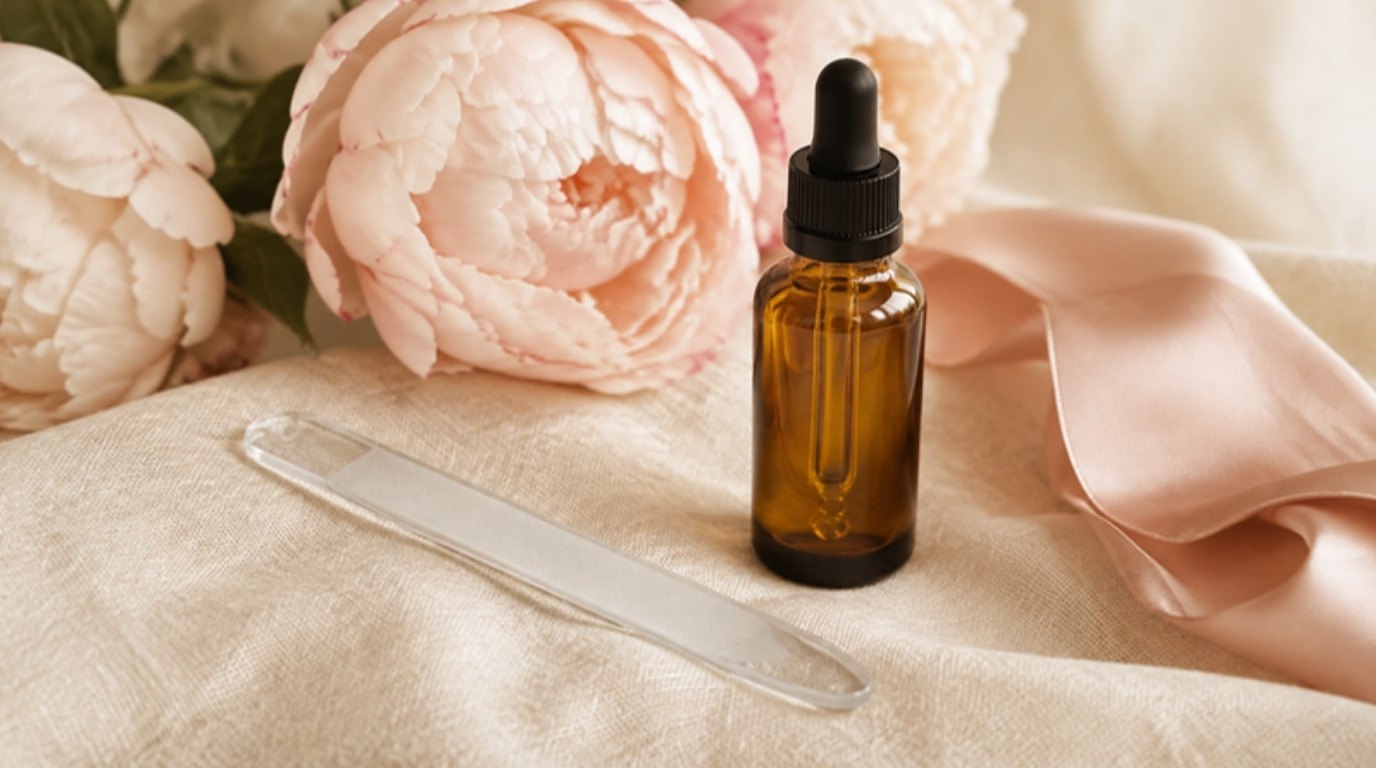
Oil keeps the nail flexible, so it bends instead of splitting. A nourishing cuticle oil with jojoba or sweet almond oil is a good pick, because jojoba is light and sinks into the nail rather than sitting on top.
How to do it: one drop per nail, morning and evening. Massage it into the cuticle, then deliberately drag a little onto the free edge and under the tip. That last part matters most for peeling. It takes about a minute, and I'd attach it to something you already do, like evening tea or the moment you get into bed.
If your cuticles are dry or ragged too, my cuticle care guide explains how to keep them soft without cutting.
4. Wear Gloves for Water Work

This single habit can halve your peeling, because it interrupts the wet-dry cycle. Keep a pair of lined rubber cleaning gloves by the sink and wear them for dishes, scrubbing, and anything with cleaning products. The cotton lining stops your hands from getting sweaty and soggy inside.
A few more water-smart habits:
- Wash your hands with lukewarm water, not hot.
- Pat hands and nails dry fully, including under the tips.
- Keep showers on the shorter side, or oil your nails right after a long bath.
- Put hand cream next to every sink you use, so moisturizing happens automatically.
5. Avoid Peeling Off Polish or Gel
I know how tempting it is when a gel manicure starts lifting at the corner. Please leave it. Pick at it and you take a layer of nail with it, every single time.
For regular polish, use a gentler remover. An acetone-free nail polish remover is less drying for everyday polish, though it works more slowly on dark shades. Press a soaked cotton pad on the nail for ten seconds, then wipe from cuticle to tip in one stroke instead of scrubbing.
For gel, soak it off properly with acetone and foil, and push it off gently only once it's lifting on its own. My guide on how to remove gel polish at home without damage walks you through the whole process. If your nails are already peeling, consider a break from gel for a couple of months while the healthier nail grows out.
6. Use a Strengthener Short-Term
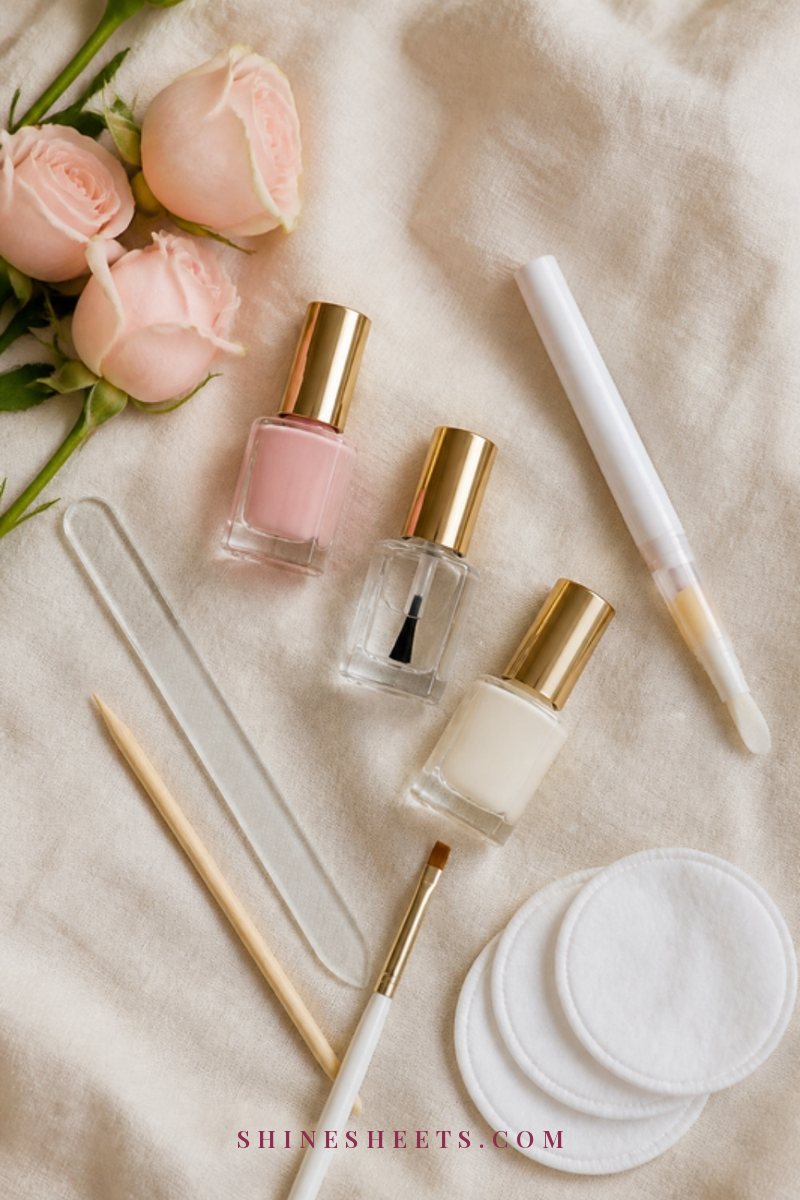
A nail strengthener base coat can act like a protective jacket while the layers recover. Look for a clear formula that says it's for peeling or splitting nails, and apply it as a thin layer, capping the free edge.
How to use it: two thin coats, then one fresh coat every two to three days. After a week, remove it gently and start again. Use it for a few weeks at a time, then take a short break. Some strengtheners (especially formaldehyde-based ones) can make nails more brittle if they're used nonstop, so "short-term" is the key word. My guide on whether nail strengtheners work and how to use them right explains the different types.
A quick safety note: if the skin around your nails becomes red, itchy or sore after a new product, remove it and stop using it. Patch-testing a new formula on one nail for a few days is a smart idea if your skin tends to be sensitive (mine definitely does).
7. Keep Length Short While It Grows Out
Long nails act like a lever. Every tap on a keyboard or knock against a counter puts force right on the weakest part. Keeping nails short, just past the fingertip, gives the layers a much easier life.
This is temporary. Once the newer, healthier nail reaches the tip (you'll notice the peeling simply stops appearing), you can grow them longer slowly. Old Hollywood stars often wore a short, glossy, rounded nail, and it looks every bit as elegant as long nails do.
A Simple Daily Routine for Peeling Nails
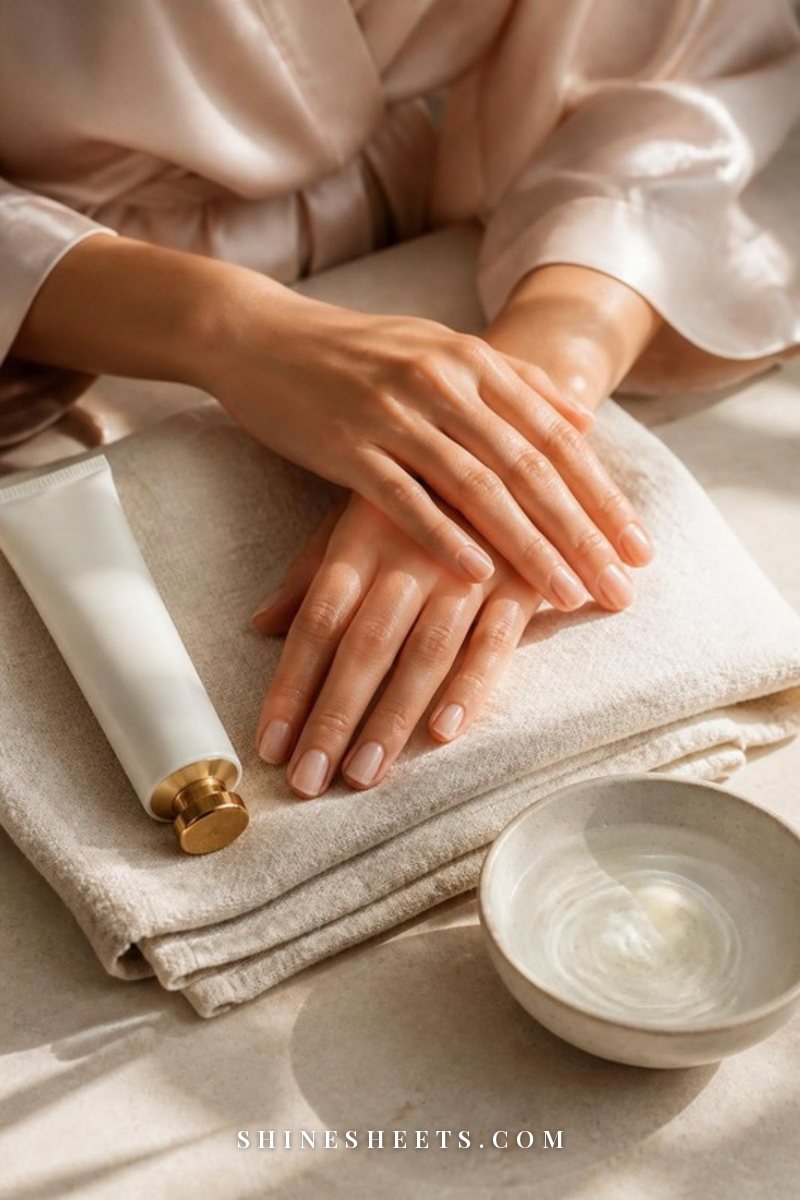
Here's how those seven steps fit into a normal day without feeling like a project:
Morning
- After washing your face and hands, pat nails dry.
- One drop of oil per nail, dragged onto the tips.
- A small amount of hand cream, massaged into the nail area too.
During the Day
- Gloves on for dishes and cleaning.
- Hand cream after washing your hands, especially after sanitizer.
- Fingertips or a small tool for stickers, tabs and lids, never the nail edge.
Evening
- Oil again, focusing on the free edge.
- Apply a thick layer of rich hand cream with shea butter or glycerin.
- Two or three nights a week, slip on white cotton moisturizing gloves over the cream and sleep in them, so the moisture stays where it's needed.
Once a Week
- File in one direction and seal the edge.
- Refresh your strengthener if you're using one.
- Check for snags and smooth them before they catch.
The whole routine adds about three minutes a day. If you love a slower evening, it pairs nicely with a lit candle and a cup of tea. For a longer version that covers your whole hands, my simple daily hand care routine builds on the same steps.
How Long It Takes To See a Difference
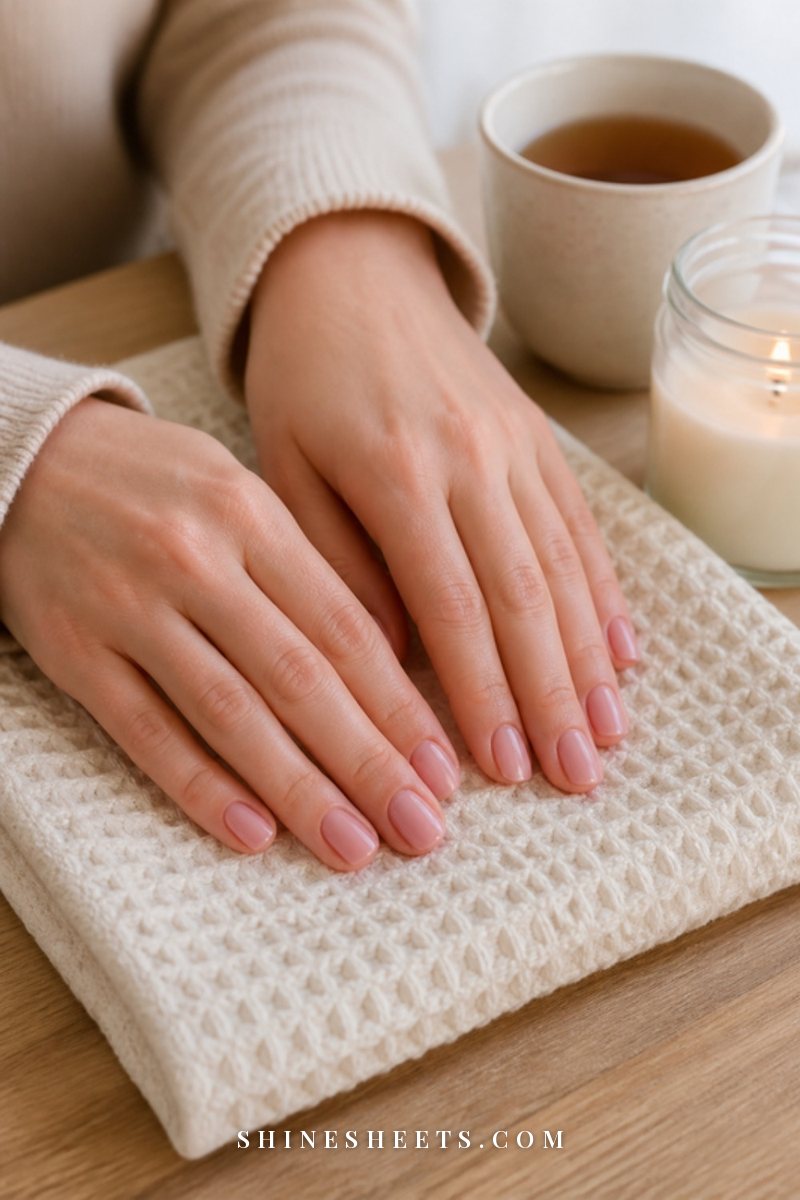
Fingernails grow slowly, roughly 3 millimeters a month on average, and it takes about four to six months for a fingernail to grow out completely from cuticle to tip. The peeling layers you see today were formed months ago, so no product can repair them. What you can do is protect the new nail as it grows.
A realistic timeline looks like this:
- Week 1–2: tips feel less dry and rough, and filing makes the edge look neater right away.
- Week 3–6: fewer new peels, because you've stopped creating fresh damage.
- Month 2–3: a clear line of stronger, smoother nail starts to move toward the tip.
- Month 4–6: the old, peeling part has grown out and been filed away.
Toenails grow even more slowly, so changes there take closer to a year. Be kind to yourself during the in-between stage. A few peels during the first weeks don't mean it isn't working.
5 Common Mistakes That Keep Nails Peeling
- Peeling the loose layer off. It feels satisfying, but it pulls healthy layers with it. File the lifted bit away gently instead.
- Oiling only the cuticles. The tip is where peeling starts, so it needs the oil most.
- Buffing to smooth peeling. Heavy buffing thins the nail further. If you want shine, buff very lightly and rarely.
- Wearing a strengthener for months nonstop. Give nails short breaks so they don't get stiff and brittle.
- Giving up after two weeks. Nails need months. The habits are working long before you can see it.
When To See a Doctor
Most peeling is about habits and dryness, but nails can sometimes reflect what's going on elsewhere in your body. It's a good idea to see a doctor or dermatologist if:
- Peeling comes with color changes, such as yellow, green, dark or white patches, or dark streaks.
- There's pain, swelling, redness or pus around the nail.
- Your toenails are peeling or splitting too, not just your fingernails.
- The nail is lifting away from the skin underneath.
- You notice sudden horizontal grooves, pitting or a change in nail shape.
- Peeling keeps getting worse after a few months of gentle care, or you also feel unusually tired.
A doctor can check for things like iron levels, thyroid changes, fungal infections or skin conditions, and suggest what's right for you. Please don't start supplements on your own in the hope of fixing your nails; it's much better to find out first whether you actually need them.
Final Thoughts
Peeling nails can feel frustrating, especially when you can see every flaky edge while you type. But they're one of the most fixable nail problems there is, because the cause is usually something you can change: water, friction, filing and removal.
File gently in one direction, seal the edge, oil the tips, wear gloves for water work and let polish come off kindly. Keep them short for a little while and give it a few months. The new nail growing in right now is already stronger for every small habit you add.