A bedroom deep clean goes faster and feels calmer when you follow one simple rule: work from the top of the room to the bottom, and from dry cleaning to wet. Dust falls, crumbs fall, everything falls, so the floor always comes last. Get the order right and you clean each surface once instead of three times.
The bedroom is also the room that quietly collects the most dust. Bedding sheds fibers every night, skin cells and hair settle into the mattress, and the tops of wardrobes and ceiling fans go months without anyone looking up. A proper deep clean a few times a year makes the whole room feel lighter, and it can make a real difference to how fresh the air feels when you go to sleep.
This is my calm, step-by-step plan for how to deep clean your bedroom: what to gather, a room-zone table with times and how often to do each task, thirteen steps from decluttering to the finishing touches, and a simple rhythm for weekly, monthly and seasonal cleaning. Put on something comfortable, open a window and let's begin.
Why the Order Matters: Top to Bottom, Dry to Wet

Most of us clean the way we notice mess: the nightstand looks dusty, so we wipe it, then we vacuum, then we notice the lamp shade and the fan... and suddenly there's a fresh layer of dust on the clean floor. Working in a set order stops that loop.
- Top to bottom means ceiling fan and light fixtures first, then the tops of wardrobes and curtains, then furniture surfaces, then under the bed, and the floor at the very end.
- Dry to wet means dusting and vacuuming loose debris before you wipe anything with a damp cloth. Wetting dust turns it into a muddy smear that's harder to remove.
- Laundry first means stripping the bed early, so the washing machine works while you clean the rest of the room.
Plan on about three to four hours for a full deep clean, plus washing and drying time. If that feels like too much for one day, split it over a weekend: bedding and mattress on Saturday, everything else on Sunday.
What You'll Need
You don't need a cupboard full of specialty sprays. A small kit covers almost everything:
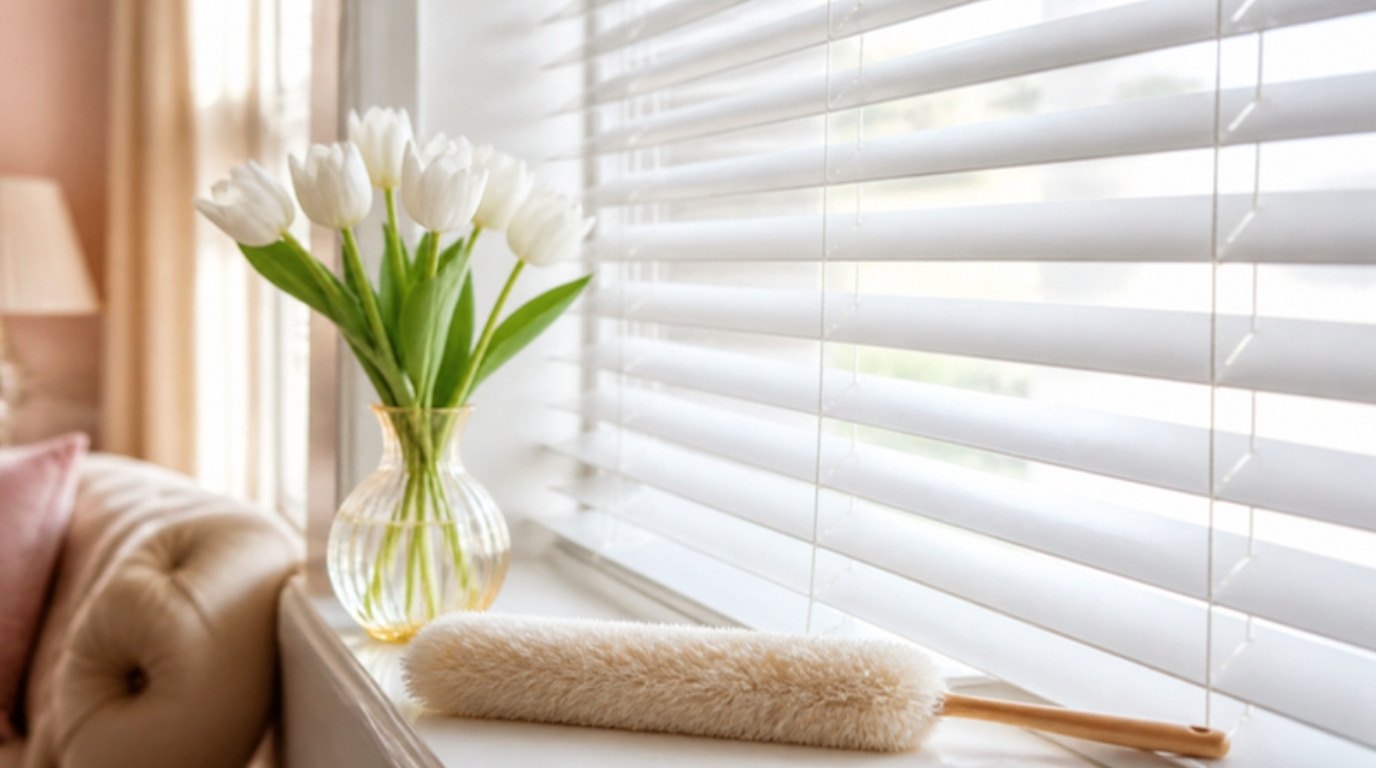
- A duster with a long handle for the fan, light fixtures, corners and tops of wardrobes. An extendable microfiber duster saves you from balancing on a chair for most high spots.
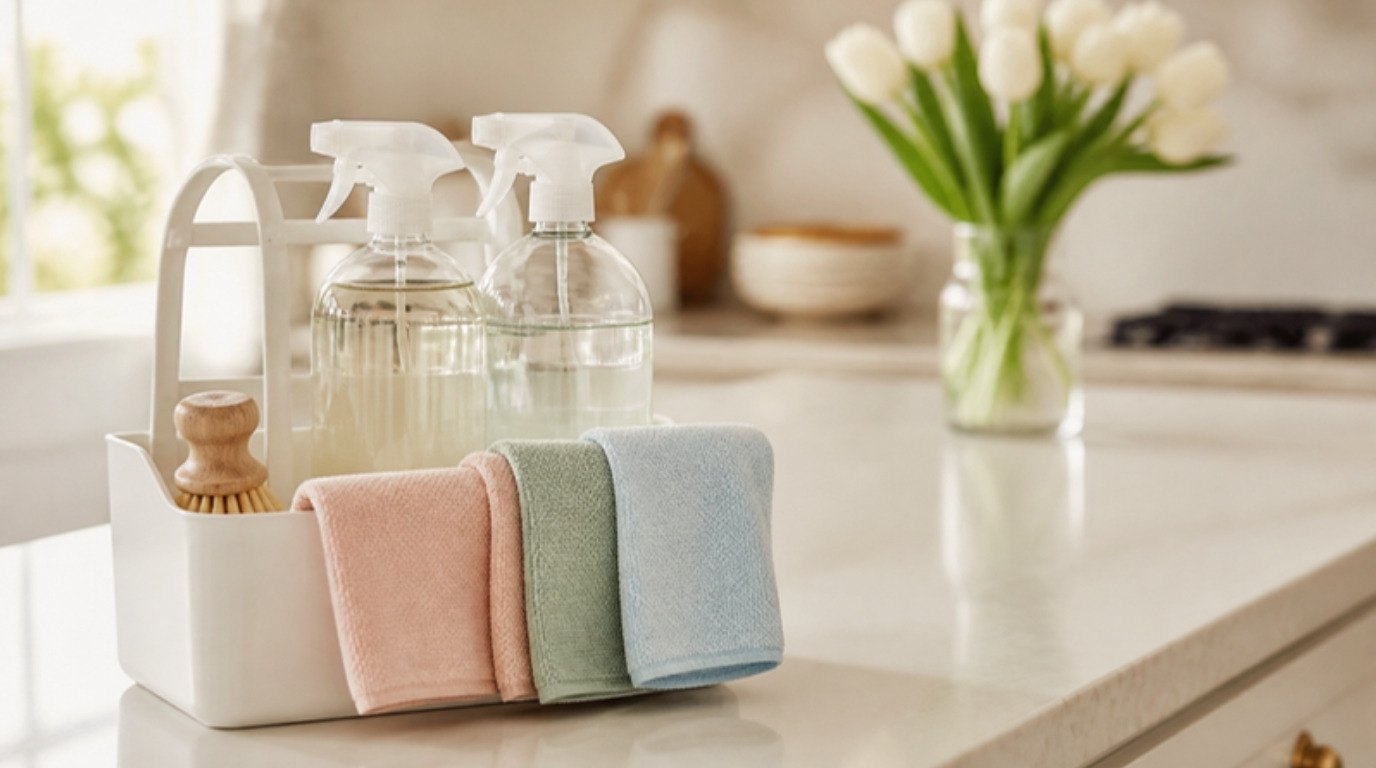
- Microfiber cloths, at least five or six, so you're never spreading dust from one surface to the next. A pack of soft microfiber cleaning cloths washes and reuses for years.
- A vacuum with attachments: the crevice tool for edges, the brush for lamp shades and the upholstery tool for the mattress.
- A gentle all-purpose cleaner or a bowl of warm water with a few drops of dish soap.
- Glass cleaner or a mix of equal parts water and white vinegar for windows.
- Baking soda for deodorizing the mattress.
- A laundry basket and a donate bag for decluttering.
One important safety note: never mix bleach with vinegar or ammonia, as it releases harmful fumes. And always test any cleaner on a hidden spot of furniture, fabric or paint first.
Your Room-Zone Plan at a Glance
Here's the whole deep clean in one table. Screenshot it and tick off zones as you go.
| Zone | Task | Time | How often |
|---|---|---|---|
| Surfaces | Clear nightstands, dresser and floor clutter | 15 min | Weekly quick tidy, deep declutter monthly |
| Bed linens | Strip and wash sheets and pillowcases | 10 min + wash | Weekly |
| Mattress | Vacuum, spot clean, deodorize, air out, rotate | 30 min + 1–2 hrs airing | Every 3–6 months |
| Pillows and duvet | Wash or air per care label | 15 min + wash | Every 3–6 months |
| High spots | Ceiling fan, light fixtures, wardrobe top, curtains or blinds | 20–30 min | Monthly dusting, curtains seasonally |
| High-touch spots | Light switches, door handles, remote, lamp switches | 10 min | Weekly |
| Nightstands and lamps | Empty drawers, wipe inside and out, dust lamp shades | 15 min | Monthly |
| Under the bed | Pull out storage, vacuum, wipe bins | 15 min | Monthly |
| Closet | Quick reset, wipe shelves, vacuum floor | 20 min | Seasonally |
| Windows and sills | Vacuum tracks, wipe sills, clean glass | 15 min | Monthly sills, glass seasonally |
| Floors | Vacuum edges and under furniture, mop or deep clean carpet | 20–30 min | Weekly vacuum, deep clean seasonally |
| Air | Ventilate, clean humidifier, check purifier filter | 10 min | Weekly airing, filters per manufacturer |
Step 1: Clear and Declutter Surfaces (15 Minutes)

You can't clean around clutter, so this is always the first job. Set a 15-minute timer and work around the room with a laundry basket and a donate bag.
- Return everything that belongs in another room (mugs, water glasses, mail, chargers you borrowed from the kitchen) to the basket.
- Put clothes in the hamper or back in the closet.
- Toss receipts, empty packaging and old tissues.
- Put anything you're unsure about into the basket to decide on later, so you keep moving.
The goal isn't a full declutter of your life. It's empty surfaces, so you can dust and wipe them properly in the next steps.
Step 2: Strip the Bed and Start the Laundry (10 Minutes + Wash Time)
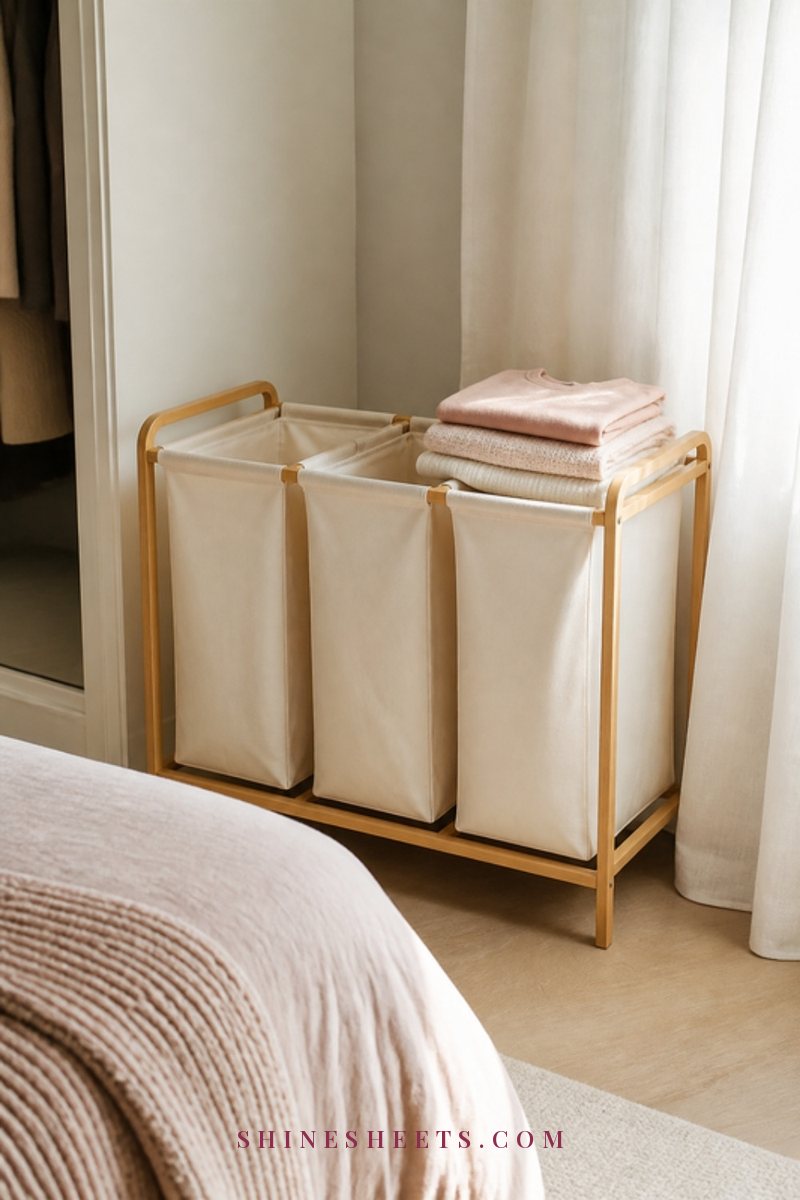
Take off everything: sheets, pillowcases, duvet cover, mattress protector and any throws or decorative pillow covers that are washable. Start the first load right away so it can wash while you work.
Wash sheets and pillowcases on the hottest setting the care label allows. For cotton, that's often warm or hot; for linen, silk or anything with a delicate finish, it may be cooler. Hot water does a better job with body oils and dust mites, but the label always wins, because shrinking or fading a set of sheets is no one's idea of a good clean. If you're not sure how often your linens should be in rotation, my guide on how often to change your pillowcase has a simple rhythm.
While the bed is bare, leave it that way. The mattress needs to breathe, and that's the next step.
Step 3: Refresh the Mattress (30 Minutes + Airing Time)
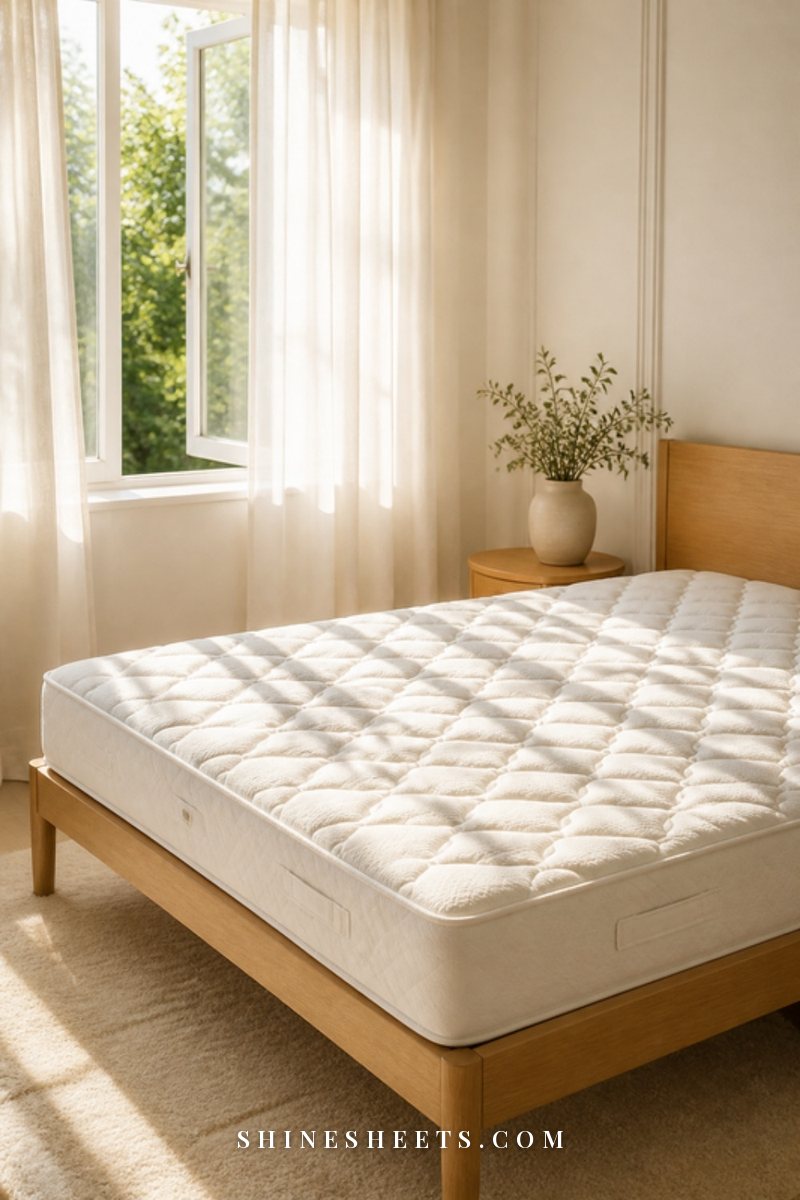
Your mattress quietly collects dust, skin flakes and moisture every night. A seasonal refresh keeps it fresher and more comfortable:
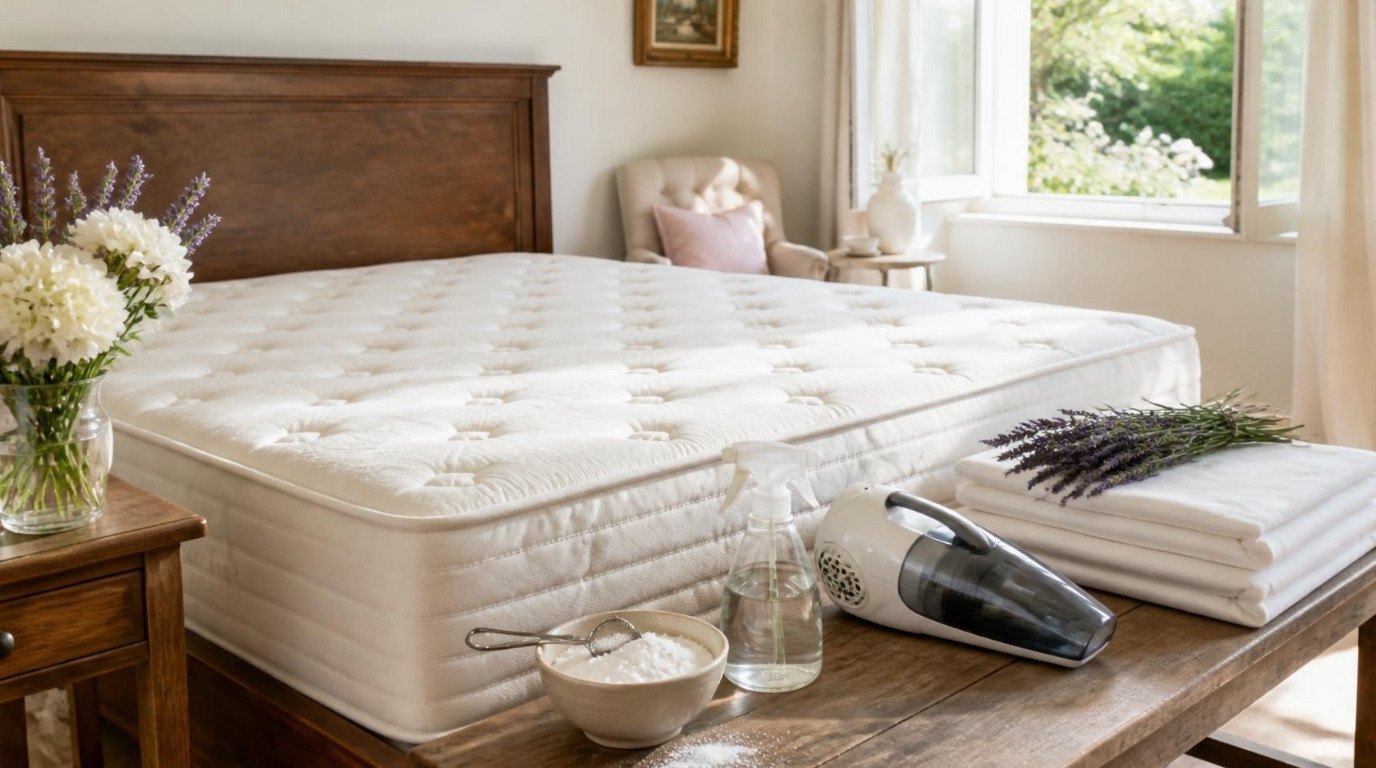
- Vacuum the top and sides. Use the upholstery attachment and go slowly, paying attention to seams and edges where dust collects. A cordless handheld vacuum with an upholstery tool makes this much easier than wrestling a full-size vacuum onto the bed.
- Spot clean stains. Dab (never rub) with a cloth dampened with cool water and a drop of mild dish soap, then blot with a dry cloth. Use as little liquid as possible, because a soaked mattress can take a very long time to dry. Test on a hidden spot first.
- Deodorize. Sprinkle a thin, even layer of baking soda over the surface and leave it for at least one hour, longer if you can. Then vacuum it all up thoroughly.
- Air it out. Open the window and let the mattress sit uncovered for one to two hours. Sunlight on the mattress is a lovely bonus if your room gets it.
- Rotate it. Turn the mattress 180 degrees, head to foot, so it wears evenly. Only flip it if the manufacturer says it's double-sided.
Before you remake the bed, consider a breathable waterproof mattress protector. It's much easier to wash a protector every month or two than to deep clean a mattress. For stubborn stains and odors, my full guide on how to clean your mattress goes step by step.
Step 4: Wash or Freshen Pillows and the Duvet
Pillows and duvets are easy to forget because they hide under covers, but they absorb a surprising amount of sweat and oils. Check the care label before you do anything:
- Machine-washable pillows (many polyester and some down pillows) can go in the washer two at a time to keep the drum balanced, on a gentle cycle with a small amount of detergent and an extra rinse.
- Memory foam and latex pillows should not go in the washer. Vacuum them, spot clean the cover and air them by an open window.
- Duvets and comforters often need a large-capacity machine. If yours doesn't fit comfortably, a laundromat's big washers are worth the trip.
- Dry completely. Tumble dry on low with two or three clean tennis balls or dryer balls to keep the filling fluffy, and check that the center is fully dry. Damp filling can turn musty.
My guide on how to wash pillows has the details for each filling type, if you'd like more.
Step 5: Dust From the Ceiling Down (20–30 Minutes)
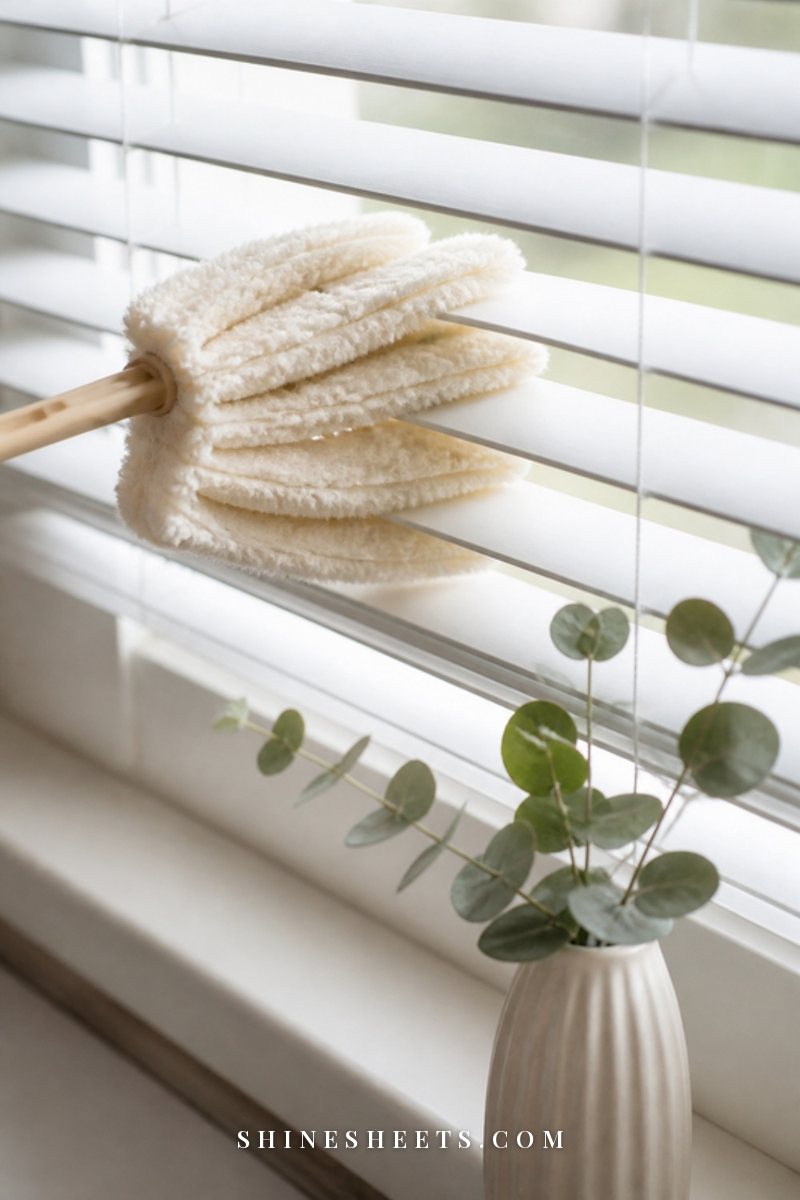
Now the high spots. Turn off the ceiling fan and any lights and let the bulbs cool before you start. Work in this order:
- Ceiling fan. Slide an old pillowcase over each blade and pull it back gently. The dust stays inside the pillowcase instead of raining onto your bed. Then wipe the blades with a barely damp cloth.
- Light fixtures. Dust with the extendable duster. If a glass shade is removable, wash it in warm soapy water and dry it completely before putting it back.
- Corners and ceiling edges. Sweep for cobwebs with the duster.
- Top of the wardrobe and tall shelves. These are often the dustiest surfaces in the room. Dust first, then wipe with a damp cloth.
- Curtains or blinds. Vacuum curtains with the brush attachment from top to bottom, or take them down and wash them per the care label. Wipe blinds slat by slat with a microfiber cloth.
If you need to stand on something to reach, use a sturdy step stool, never a rolling chair, and keep one hand free for balance.
Step 6: Wipe Switches, Handles and High-Touch Spots (10 Minutes)
These are tiny surfaces, but they're touched every single day. Lightly dampen a microfiber cloth with your all-purpose cleaner (spray the cloth, not the switch, to keep liquid away from electrical parts) and wipe:
- Light switches and switch plates
- Door handles, both sides
- Wardrobe and drawer pulls
- Lamp switches and the base of each lamp
- Remote controls and anything else that lives on your nightstand
Finish with a quick wipe of the door frame and the bit of wall around the switch, where fingerprints collect.
Step 7: Nightstands and Lamps (15 Minutes)

Nightstands collect a funny mix: hand cream, books, hair ties, tissues and a lot of dust. Give each one a real reset:
- Empty the drawers completely onto the bed or a towel.
- Vacuum the drawer with the crevice tool, then wipe it with a damp cloth and let it dry.
- Toss anything expired, empty or broken, and return only what you actually use at bedtime.
- Dust the lamp shade with the brush attachment or a lint roller (fabric shades don't like water).
- Wipe the tabletop, sides and legs, then dry with a clean cloth so wood doesn't stay damp.
A small tray or a little lidded box inside the drawer keeps the tiny things corralled, so next month's reset is even faster.
Step 8: Under the Bed (15 Minutes)
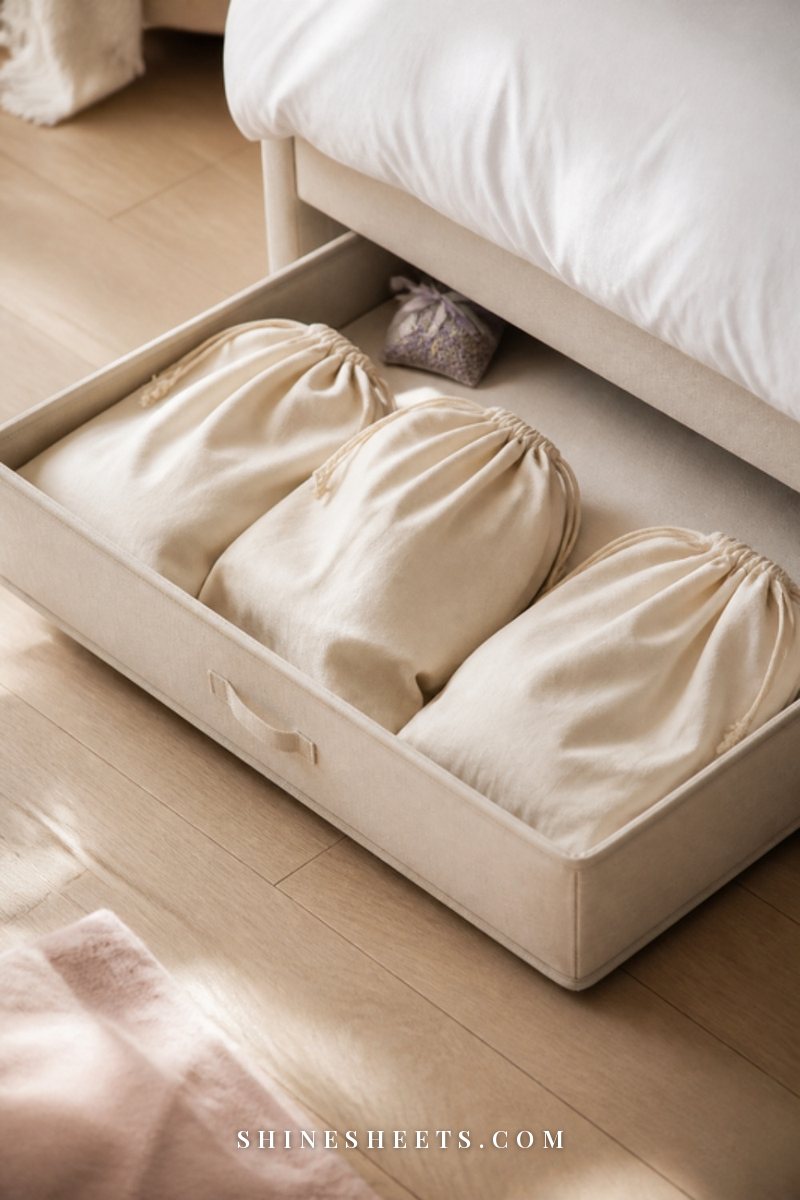
Under the bed is where dust bunnies go to multiply, and where lost socks go to retire. Pull everything out, and while you're at it, decide what really needs to be stored there.
- Vacuum the floor under the bed thoroughly, including along the wall and the legs of the frame.
- Wipe the bed frame slats and legs with a damp cloth.
- Wipe storage boxes inside and out before sliding them back.
Lidded storage keeps dust out far better than open baskets or loose bags. Zippered under-bed storage bins in a soft neutral fabric are a good pick for out-of-season clothes and spare linens, and they slide out easily the next time you vacuum.
Step 9: A Quick Closet Reset (20 Minutes)
This isn't a full wardrobe overhaul, just a quick reset so the closet doesn't undo your clean room:
- Pick up anything on the closet floor and either hang it, fold it or add it to the donate bag.
- Dust the shelves and the hanging rail, then wipe them with a damp cloth.
- Vacuum the closet floor and the corners where dust gathers.
- Turn all your hangers the same direction. Anything you haven't worn by your next seasonal clean is a good candidate to let go.
When your fresh sheets come out of the dryer, fold them neatly before they go onto the shelf. If fitted sheets always end up in a crumpled ball, my guide on how to fold a fitted sheet makes it surprisingly easy.
Step 10: Windows and Sills (15 Minutes)
Clean windows make the whole room feel brighter. Work dry before wet again:
- Vacuum the window tracks and sills with the crevice tool to lift loose dust and grit.
- Wipe the sills and frames with a damp cloth and a little all-purpose cleaner.
- Spray the glass with glass cleaner or your water and vinegar mix and wipe in an S shape from top to bottom with a clean, dry microfiber cloth.
- Choose a cloudy day or a time when the sun isn't hitting the glass, so the cleaner doesn't dry into streaks.
If your windows show signs of condensation or dark spots in the corners of the frame, wipe them dry daily during cold months, and keep an eye on them.
Step 11: Floors Last (20–30 Minutes)
Now everything that fell during your clean can finally go. Move light furniture like chairs, the laundry basket and floor baskets out of the way.
- Vacuum the edges first with the crevice tool, along baseboards and in corners, then do the open floor.
- Get under furniture like the dresser and nightstands as far as you can reach.
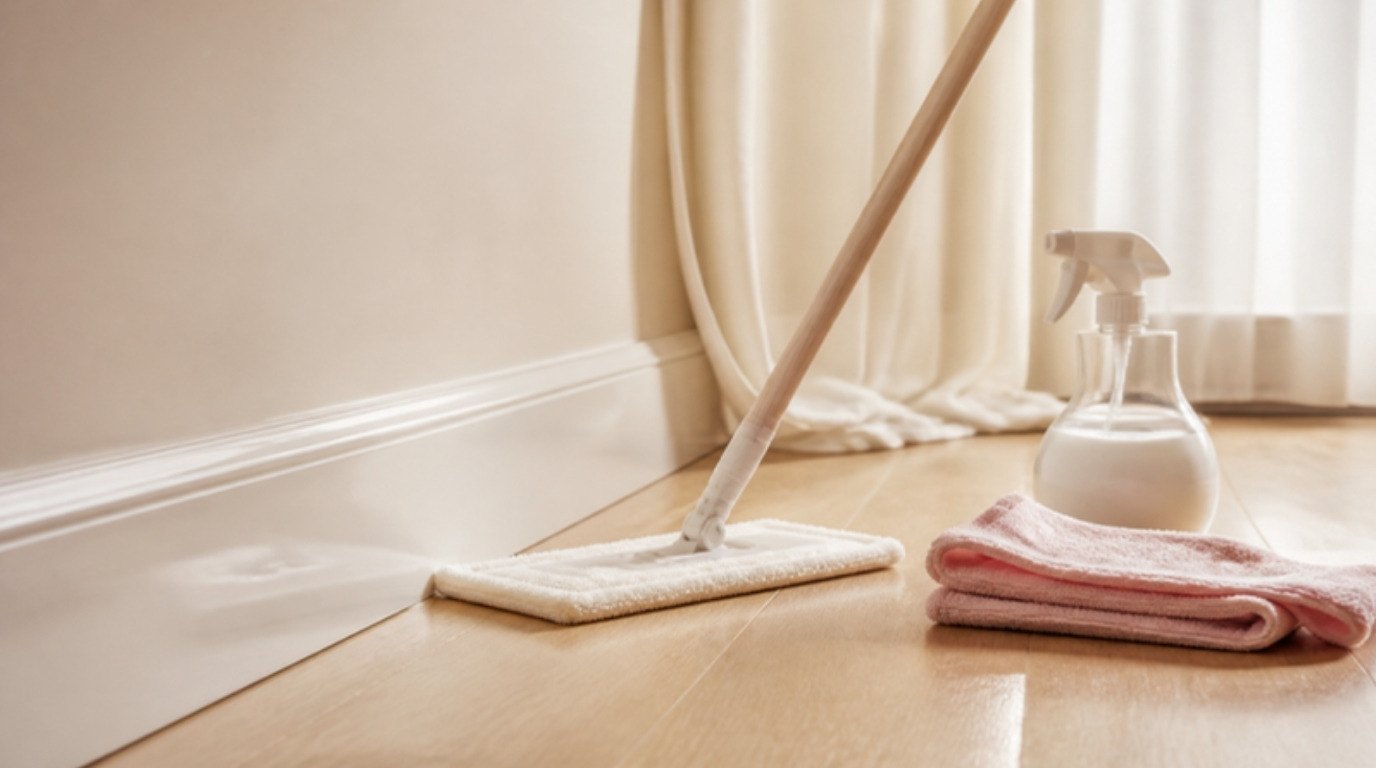
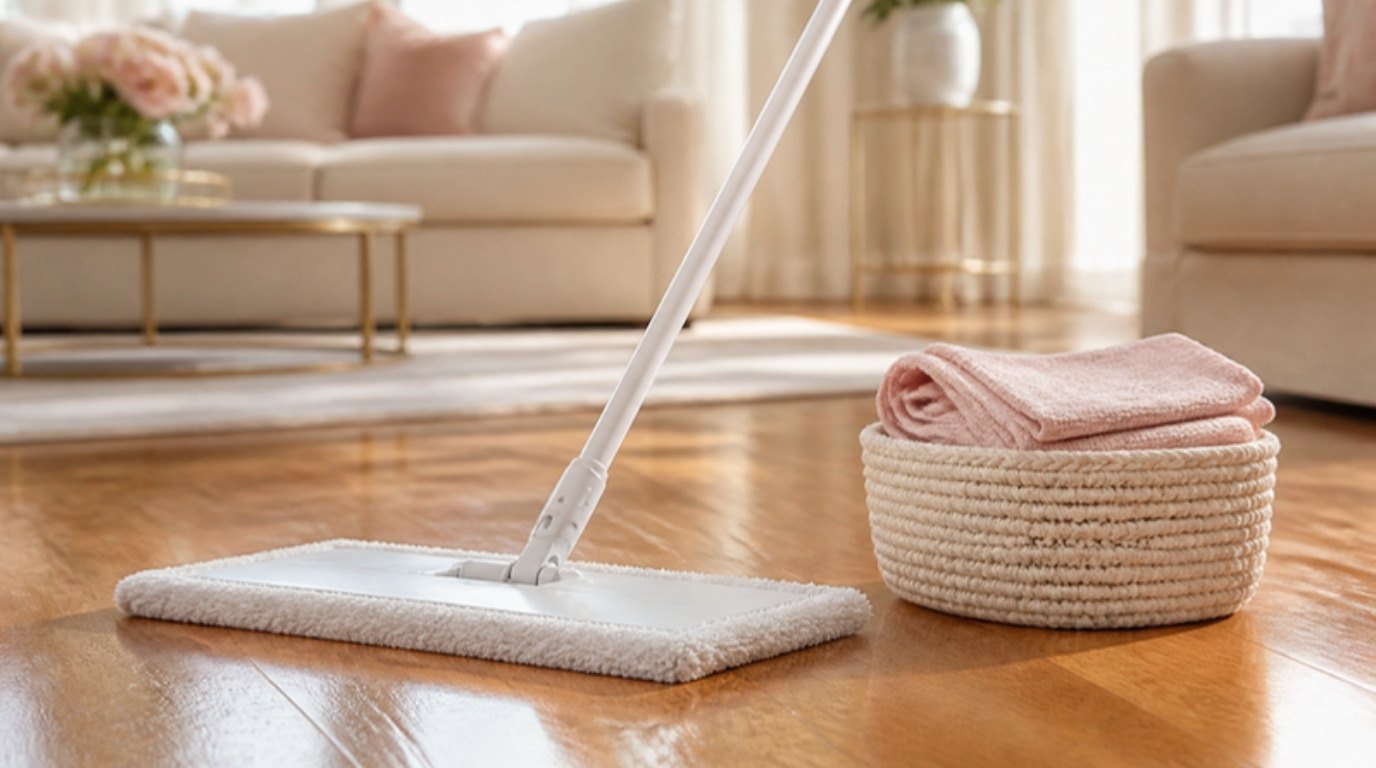
- Hard floors: mop with a well-wrung mop and a cleaner made for your floor type. Too much water can damage wood, so damp, not wet.
- Carpet: vacuum slowly in two directions to lift dust from the pile. Spot treat stains with a carpet cleaner tested on a hidden area first, and consider a seasonal deep clean with a carpet cleaner or professional service.
- Rugs: vacuum both sides if they're small enough to flip, and shake small rugs outside.
Finish by wiping the baseboards with a damp cloth. It takes five minutes and makes the whole room look finished.
Step 12: Clear the Air (10 Minutes)
Fresh air is the cheapest way to make a bedroom feel clean. Open a window for at least 10–15 minutes, even in winter, to let out dust stirred up during cleaning and bring in fresh air.
- Humidifier: empty, clean and dry it according to the manufacturer's instructions. A humidifier that sits with old water can grow mold and bacteria.
- Air purifier: check the filter and replace or wash it as the manufacturer recommends.
- Vents: vacuum the grilles of air vents with the brush attachment.
Skip heavy air fresheners right after cleaning. Let the room smell like clean laundry and fresh air first.
Step 13: Remake the Bed and Add the Finishing Touches

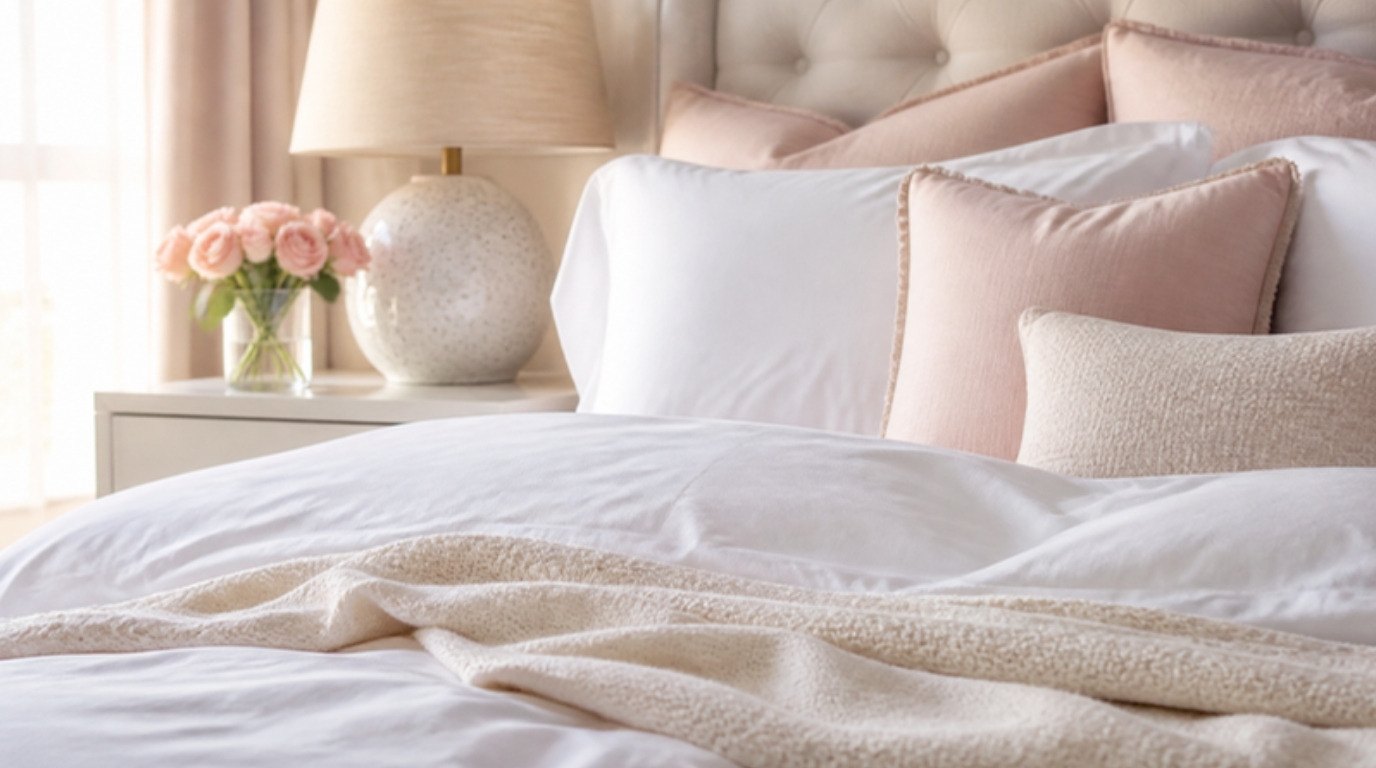
This is the best part. Put the mattress protector back on, then fresh sheets, pillowcases and the duvet cover. Smooth everything out, fluff the pillows and fold a throw at the foot of the bed.
A few finishing touches make the room feel like a little reward:
- A light mist of lavender linen spray over the pillows and duvet (test it on a hidden spot of fabric first).
- Fresh flowers or a green plant on the dresser.
- A glass candle on the nightstand, lit in the evening and always blown out before you sleep.
- Your one bedtime book back on the nightstand, and nothing else.
If you'd like your bed to feel extra special every night, my guide to a hotel bed at home shares the layering tricks that make it look so inviting.
How Often To Deep Clean Your Bedroom
You don't need to do all thirteen steps every week. Here's a realistic rhythm that keeps the room fresh without taking over your weekends:
- Weekly (about 30 minutes): change and wash sheets and pillowcases, quickly declutter surfaces, wipe high-touch spots, vacuum the floor and air the room.
- Monthly (about 1 hour): everything weekly, plus dust the high spots, reset the nightstands, vacuum under the bed and wipe window sills.
- Seasonally (3–4 hours): the full deep clean in this plan, including the mattress, pillows, duvet, curtains, closet reset, window glass and a deeper floor clean.
If you'd like to fit the bedroom into a plan for the whole home, my cleaning schedule breaks every room into daily, weekly and monthly tasks.
Final Thoughts
A deep-cleaned bedroom isn't about perfection. It's about walking into a room that feels light, smells fresh and invites you to rest. Work from top to bottom, dry to wet, and let the washing machine do its job while you do yours.
Start with one zone if the whole plan feels like too much today. Even fresh sheets and a cleared nightstand change the way a room feels at the end of a long day, and the rest can follow at its own pace.