Baseboards are the quiet giveaway in a clean room. You can vacuum, fluff the pillows and light a candle, but a gray line of dust along the bottom of the wall makes everything look a little tired. The good news is that clean baseboards don't require an afternoon on your hands and knees. With the right tools, most of the work can be done standing up, and a whole room takes about ten minutes.
The trick is to separate two jobs: a quick dust-and-wipe you do often, and a proper wash you do a few times a year. Once I stopped treating every baseboard session like a deep clean, I actually started doing it, and my floors look so much fresher for it.
This guide covers how to clean baseboards both ways: the fast, no-kneeling method, a full deep clean for scuffs and grime, how to care for painted and wood baseboards, a 10-minute routine by room you can screenshot, and small habits that keep the dust from coming back so quickly.
What You Need To Clean Baseboards
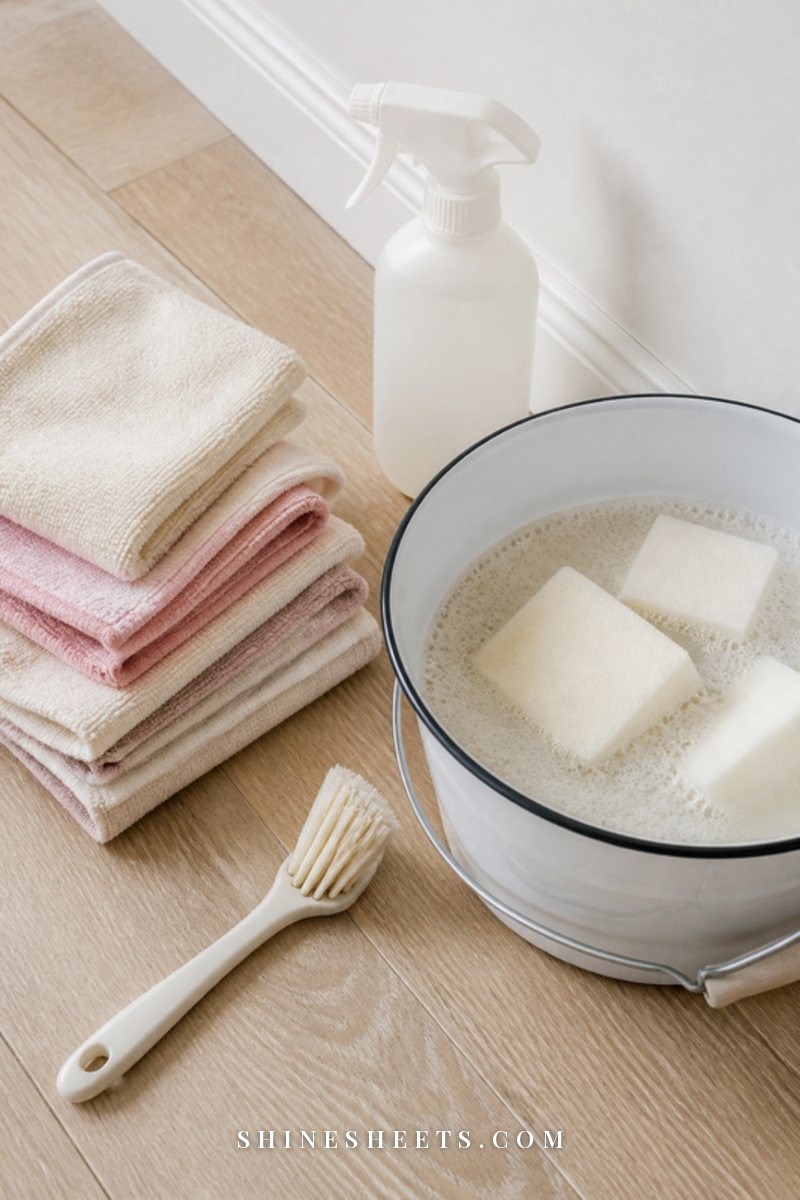
You probably own most of this already. The only things I'd add if you don't have them are a good mop with a flat head and a stack of microfiber cloths.
- A vacuum with a brush attachment, or a white cordless handheld vacuum for quick passes between deep cleans.
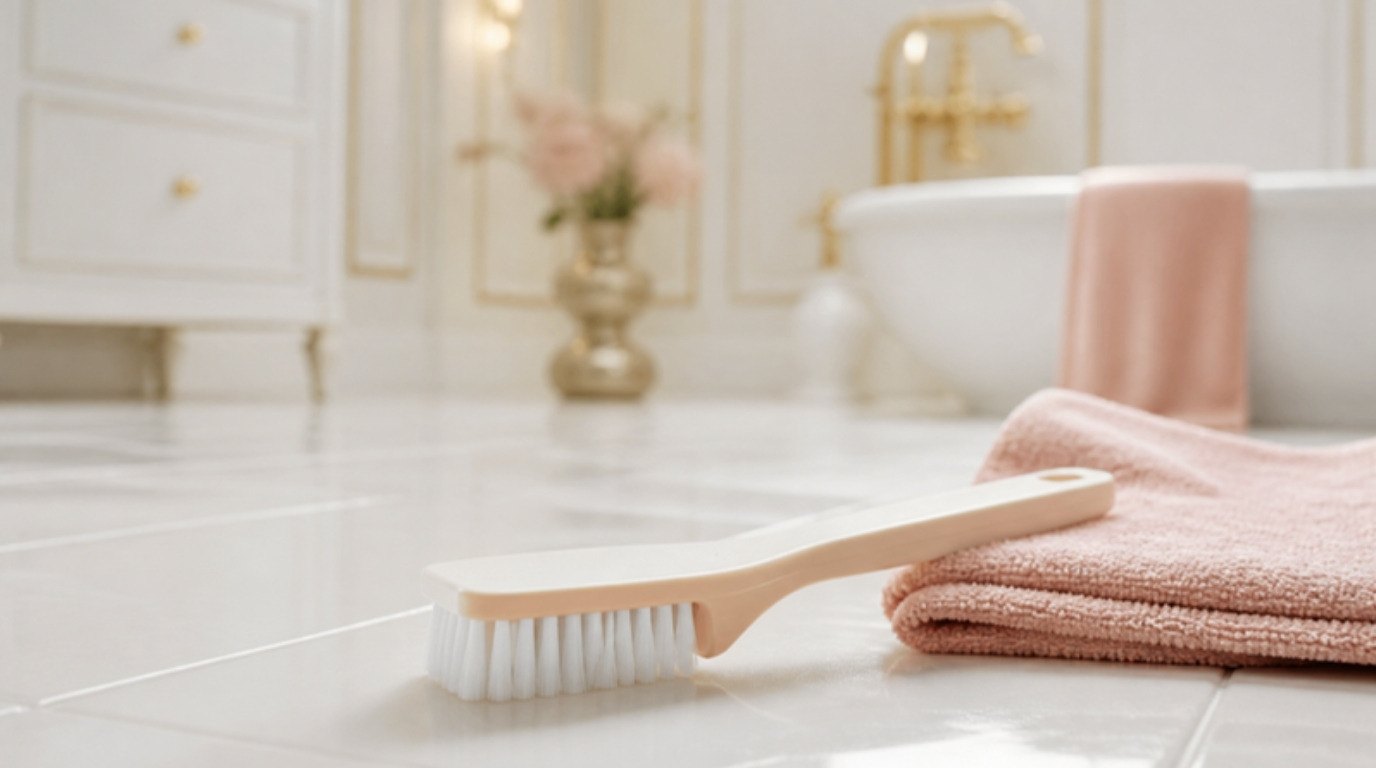
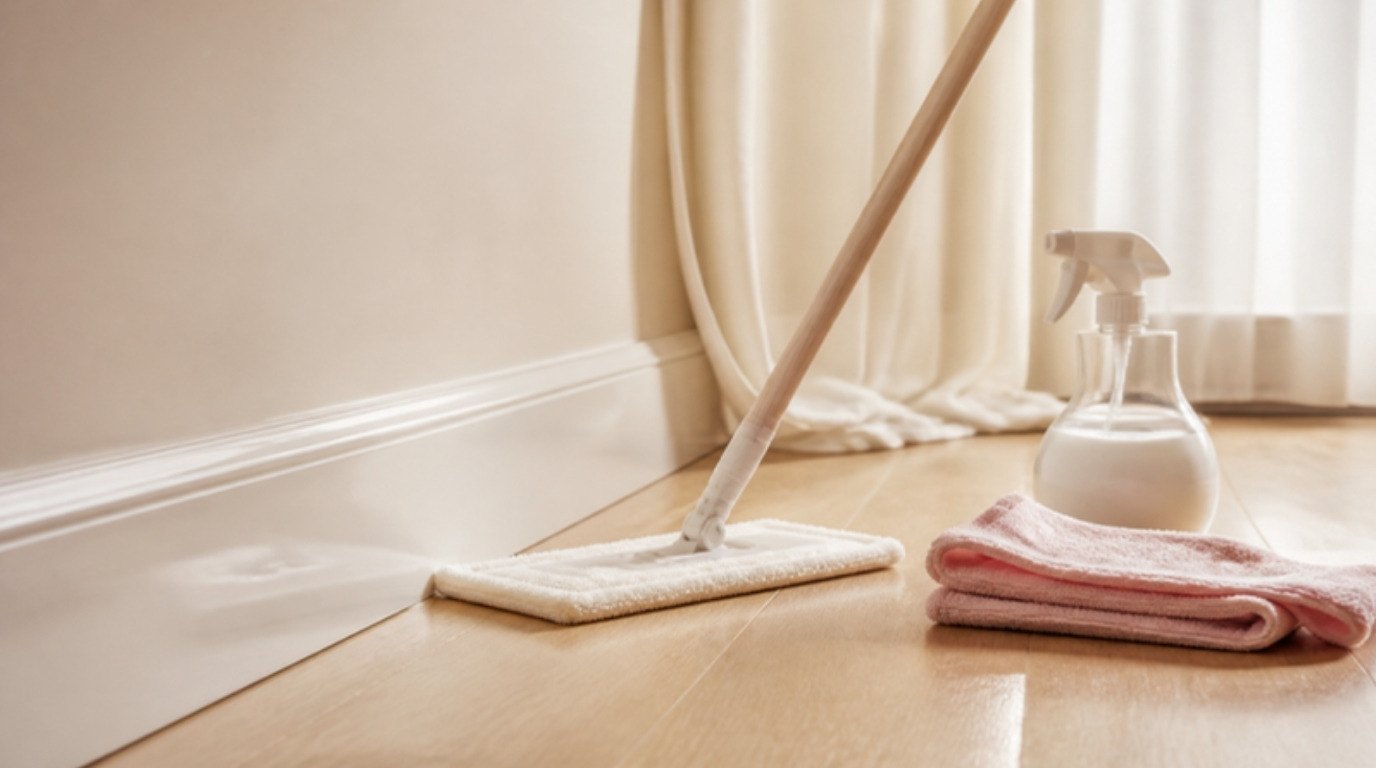
- A flat mop with a long handle. An extendable microfiber flat mop is what saves your knees. The flat head slides along the top and face of the baseboard while you stand.
- Microfiber cloths. A pack of soft microfiber cleaning cloths grabs dust instead of pushing it around, and they're washable.
- A bucket or bowl of warm water with a few drops of dish soap.
- A spray bottle for the soapy water, so you can mist instead of soaking. A refillable glass spray bottle looks nice enough to leave under the sink.
- Melamine sponges for scuffs. A few melamine eraser sponges go a long way, since you only need a small piece at a time.
- A detail brush or an old toothbrush for corners and grooves. A small detail cleaning brush set makes tight spots much easier.
- Optional: a folded towel or cushion to kneel on for very dirty spots, and a used dryer sheet for the dust trick at the end.
How Often Should You Clean Baseboards?
Less often than you might fear. Here's a rhythm that works for most homes:
- Quick dust: every two to four weeks, or whenever you notice a gray line. This is the five-to-ten-minute standing method.
- Deep wash: every three to six months, or before guests, holidays and a seasonal reset.
- Kitchen and bathroom: a damp wipe monthly, because grease, splashes and hair stick here faster.
- Homes with pets, carpet or a lot of foot traffic: a quick dust every one to two weeks.
If you like having a plan for all of this, add baseboards to your cleaning schedule as a rotating task, one or two rooms per week, so it never turns into a whole-house project.
The Quick Method: Clean Baseboards Without Kneeling
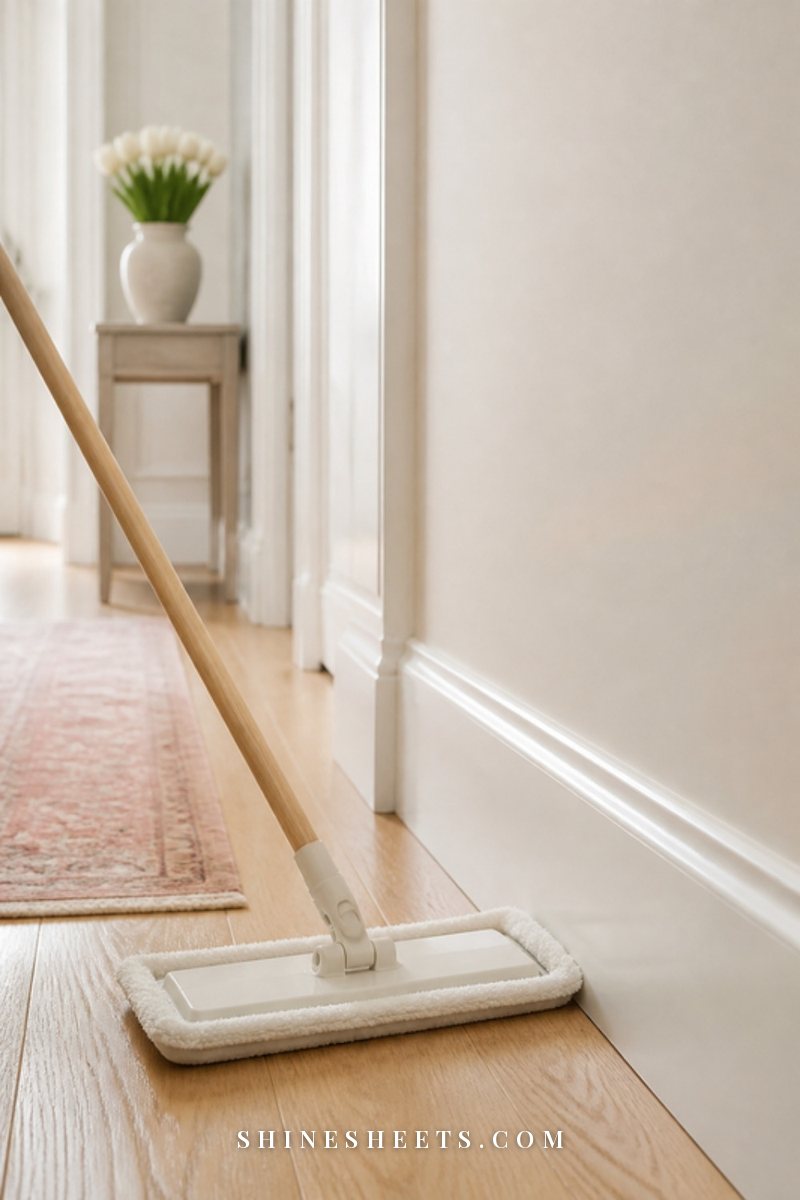
This is the version you'll do most often, and it takes five to ten minutes per room. No bending, no bucket.
- Vacuum along the floor edge first. Run the brush attachment along the top of the baseboard and where it meets the floor. This lifts loose dust and hair so you don't turn it into muddy streaks. About one minute per wall.
- Lightly mist the mop head. Two or three sprays of plain water or your soapy mix on the microfiber pad. It should feel barely damp, not wet.
- Slide the mop along the top edge. Hold the handle at a low angle and push the flat head along the top lip of the baseboard, where most dust settles.
- Turn the head to wipe the face. Tilt the mop so the pad presses flat against the front of the baseboard and move slowly along the wall.
- Swap or rinse the pad when it looks gray. For a medium room, one pad is usually enough. For a dusty room, flip it halfway.
- Spot-check corners. If a corner still looks dusty, wrap a cloth around the mop head or grab the detail brush.
That's it. The first time, you'll probably be surprised how much comes off. After a few rounds, the pads come back much cleaner because there's less buildup.
The Deep Clean Method: Step by Step
For scuffs, sticky spots, kitchen grease or baseboards you haven't touched in a long time, do a proper wash. Plan on 20 to 30 minutes for a medium room. This is the one time a cushion under your knees is worth it for the dirtiest stretches.
1. Clear and Vacuum First
Move furniture a few inches away from the wall, pick up cords and baskets and vacuum the floor edge and the top of the baseboard with the brush attachment. Skipping this step is the most common reason baseboards end up streaky: wet water plus dry dust equals gray paste.
2. Wash With Warm, Soapy Water
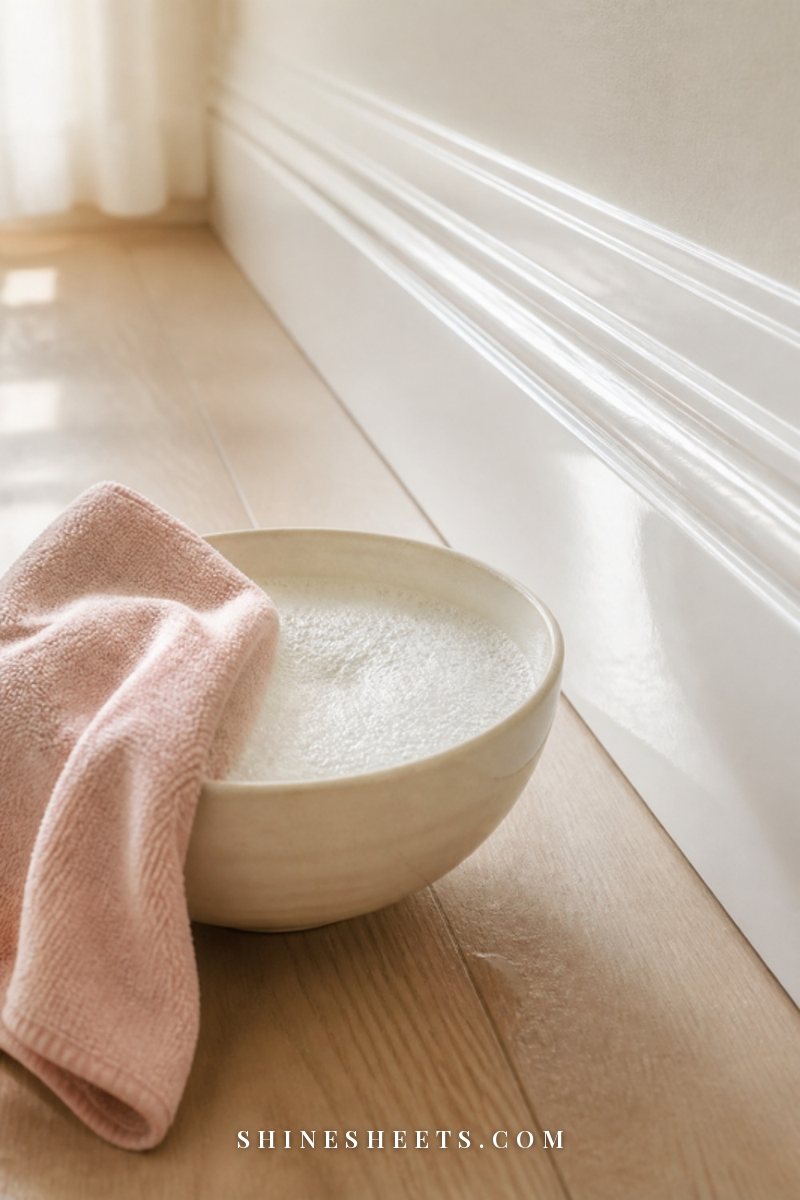
Mix about one teaspoon of mild dish soap into a liter (roughly a quart) of warm water. Dip a microfiber cloth, wring it until it's just damp, and wipe the baseboard in sections of about one meter (three feet) at a time.
- For light grime, one pass is enough.
- For sticky or greasy spots, let the soapy cloth rest on the area for 30 to 60 seconds, then wipe again.
- Rinse the cloth often and change the water when it looks cloudy.
Dish soap is enough for almost every baseboard. If you prefer gentler, low-scent options, my guide to natural cleaning covers simple mixes that are safe for most painted surfaces.
What about vinegar? A splash of white vinegar in warm water (about a quarter cup per liter) can cut kitchen grease on glossy painted baseboards, but skip it on wood, stone thresholds and matte paint, where acid can dull the finish. And never add it to a bucket that has any bleach-based cleaner in it. For most baseboards, plain warm water with a little dish soap simply works better and smells nicer.
3. Lift Scuffs With a Melamine Sponge
Shoe marks, vacuum bumps and furniture scuffs usually come off with a damp melamine sponge. Tear off a small piece, wet it, squeeze it out and rub the mark with light pressure in small circles for 10 to 15 seconds.
Important: melamine is a very fine abrasive, a bit like ultra-soft sandpaper. Always test on a hidden spot first, such as behind a door or a sofa. On glossy and semi-gloss paint it's usually fine. On flat or matte paint and on stained or varnished wood, it can leave a dull, shiny or lighter patch. If the test spot changes, stick to the soapy cloth.
4. Detail the Corners and Grooves
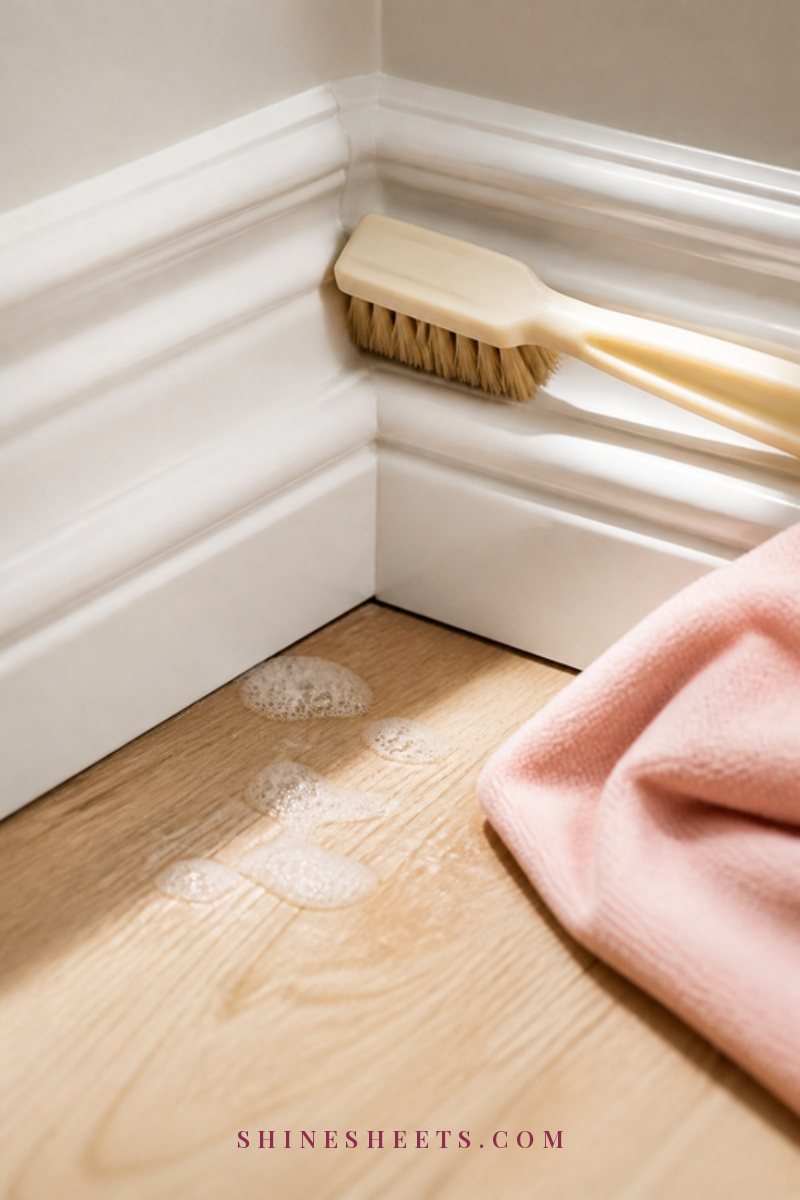
Corners, the grooves on decorative baseboards and the line where the baseboard meets the floor collect the most dust. Dip a detail brush or old toothbrush in the soapy water, tap off the excess and brush along the groove in short strokes. Follow with a damp cloth to pick up what you loosened.
For really stubborn corners, let the soapy water sit for one to two minutes before brushing. A cotton swab works for the tiniest gaps around door frames.
5. Dry and Buff
Go over everything with a dry microfiber cloth. Water left sitting on wood can raise the grain or leave marks, and on painted baseboards it can leave streaks. A quick buff also makes paint look a little brighter.
6. Add a Dust Barrier (Optional)
The popular dryer sheet trick: once the baseboards are completely dry, wipe them with a used dryer sheet. It leaves a thin anti-static film that helps dust slide off instead of clinging. Some people swear it stretches the time between cleans by a couple of weeks.
It's optional, and I'd skip it if anyone in your home is sensitive to fragrance, if you have pets that lick baseboards or if you use unscented laundry products anyway. A clean, dry baseboard already holds dust less than a grimy one.
Painted vs. Wood Baseboards
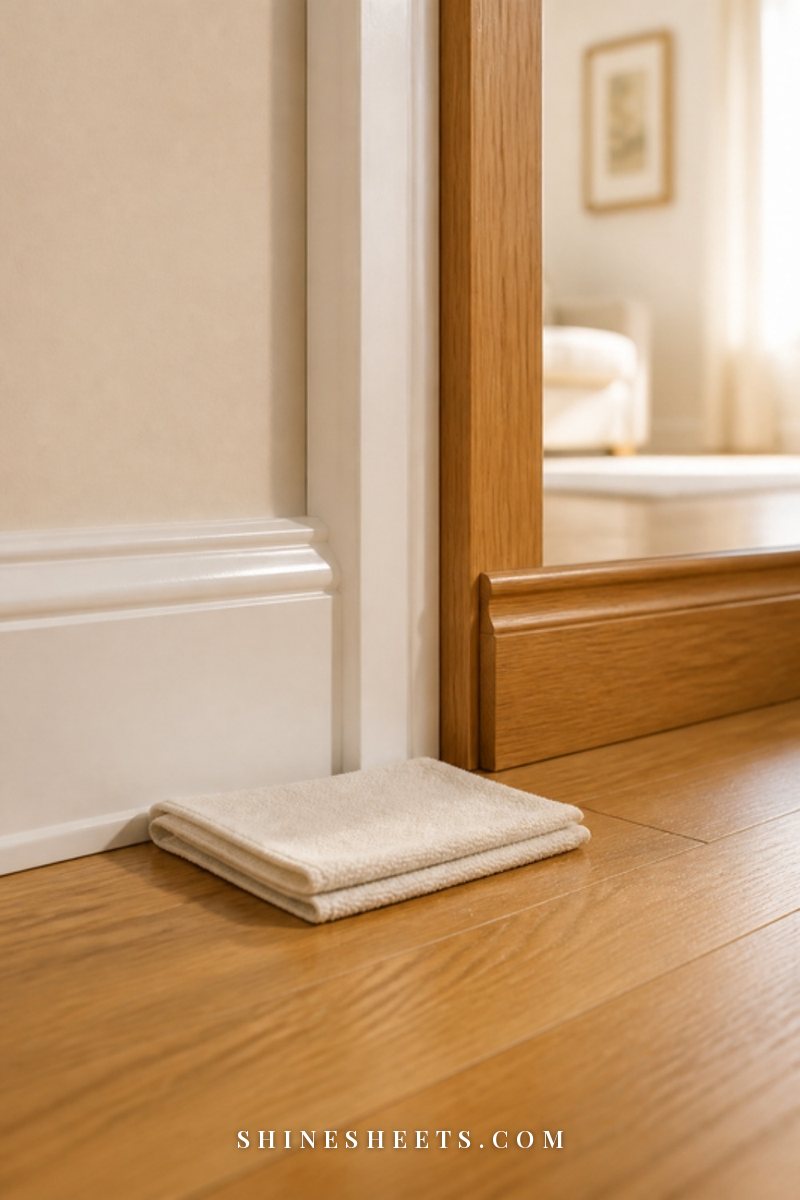
The method above works for both, but each finish has its own little rules.
| Type | Best cleaner | Avoid | Extra tip |
|---|---|---|---|
| Glossy or semi-gloss paint | Warm water and dish soap | Harsh scrub pads | Melamine is usually safe after a spot test |
| Flat or matte paint | Barely damp cloth, very light pressure | Melamine, scrubbing | Dab marks instead of rubbing |
| Stained or varnished wood | Damp cloth with a drop of dish soap | Soaking, melamine, vinegar | Dry immediately and buff along the grain |
| Unfinished or raw wood | Dry dusting only | Water, any liquid cleaner | Vacuum and dry microfiber |
| MDF or vinyl | Warm soapy water | Wet seams and bottom edges | Keep water away from joints so they don't swell |
A note on older homes: if your home was built before 1978 and the paint on the baseboards is chipping or flaking, don't scrub or sand it. Older paint may contain lead, and the EPA's lead safety information explains what to do instead. Gentle damp wiping of intact paint is fine.
Tricky Spots: Carpet, Furniture and Radiators
Some baseboards are harder to reach than others. Here's how to handle the awkward ones without making a mess.
Baseboards Next to Carpet
Carpet makes things trickier because water can drip into the fibers and the mop can push dust into the carpet edge.
- Vacuum the carpet edge with the crevice tool first, pressing it gently into the gap between carpet and baseboard.
- Slide a sheet of thin card or a folded paper towel along the carpet edge as a shield while you wipe.
- Use a cloth that's only barely damp, and wipe top to bottom so drips fall onto the shield, not the carpet.
- Dry the baseboard right away so moisture doesn't wick into the carpet backing.
Behind Sofas, Beds and Dressers
You don't need to move every piece of furniture every time. For the quick method, a slim extendable mop slides behind most sofas and beds. Pull heavy furniture out only for the deep clean a few times a year, and use furniture sliders so you don't scratch the floor. While it's out, vacuum the floor underneath too, because that hidden dust is what drifts onto baseboards the moment the air moves.
Around Radiators and Vents
Radiators and floor vents pull dust toward the wall with the warm air, so the baseboards nearby get dusty faster. Turn heating off and let the radiator cool before cleaning. Use a long, thin brush or a microfiber duster to reach behind it, then wipe the baseboard below. Vacuum vent covers with the brush attachment once a month during the heating season.
Door Frames and Stair Edges
The vertical trim around doors and the side baseboards on stairs get handled a lot and pick up fingerprints and shoe marks. A soapy cloth and a quick melamine touch-up (after a spot test) take care of both. On stairs, always work from the top step down so dust falls onto steps you haven't cleaned yet.
Make Baseboard Cleaning Feel Less Like a Chore
It's a dull job, so it helps to make it pleasant. A few ideas that genuinely make a difference:
- Pair it with something you enjoy. A podcast episode or a favorite playlist is usually about the length of two rooms.
- Do it right after vacuuming. The vacuum is already out and the floors are clear, so the baseboards take half the time.
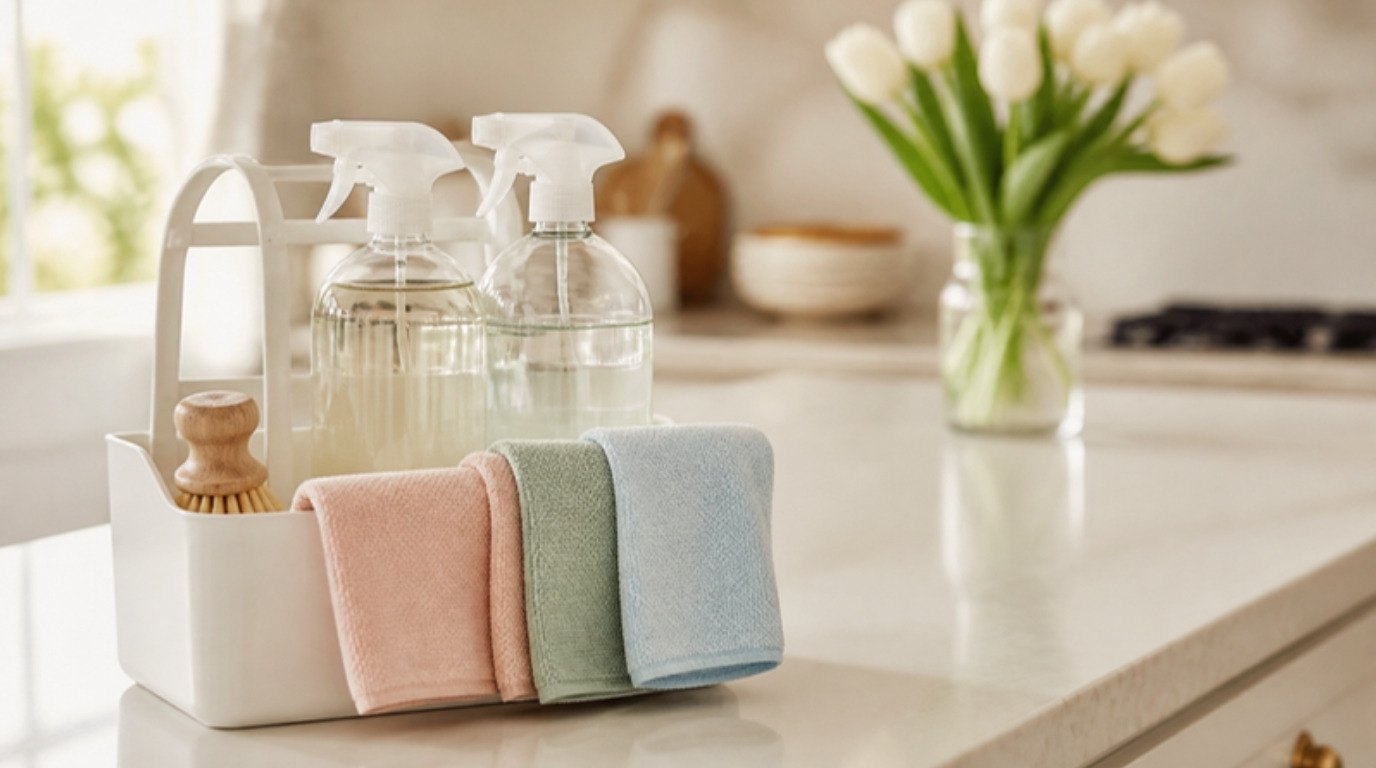
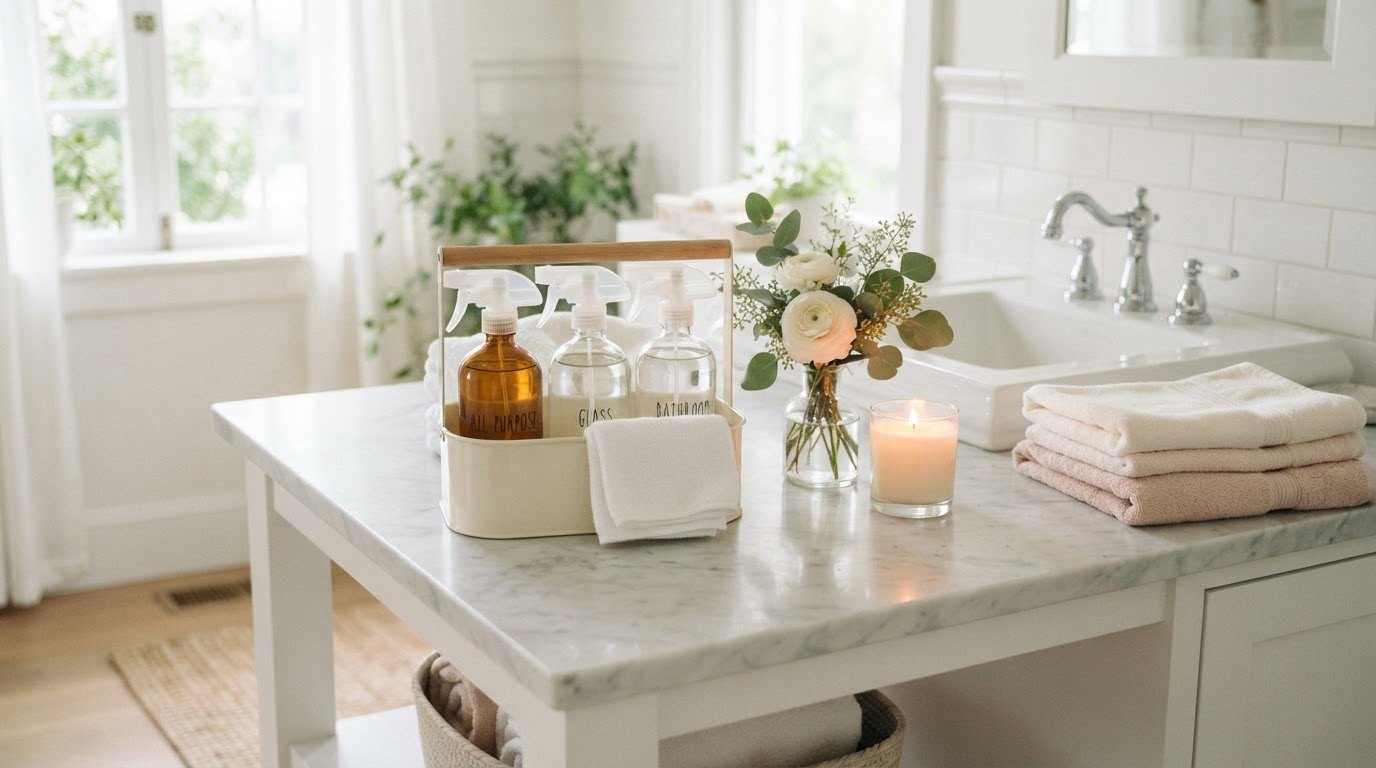
- Keep your kit together. A small caddy with the mop pads, a spray bottle, a few melamine pieces and the detail brush means you can start in seconds.
- Finish with a reward. Light a candle, open a window for fresh air and enjoy the room for a minute before moving on.
Small, repeatable sessions always beat one heroic weekend. A clean baseboard you maintain in ten minutes is much kinder to your time than a grimy one you need two hours to rescue.
Your 10-Minute Baseboard Routine by Room
This is the routine I'd suggest pinning to your fridge mentally, or screenshotting. Each room gets about ten minutes with the standing method, plus a room-specific focus.
| Room | Minutes 0–3 | Minutes 3–8 | Minutes 8–10 | How often |
|---|---|---|---|---|
| Living room | Vacuum edges, behind sofa corners | Damp mop pass along every wall | Melamine on shoe scuffs | Every 2–3 weeks |
| Bedroom | Vacuum edges and under the bed line | Damp mop pass | Detail brush on corners | Every 3–4 weeks |
| Kitchen | Vacuum crumbs along cabinets and edges | Soapy cloth on grease near the stove | Dry and buff | Monthly |
| Bathroom | Vacuum or dry-wipe hair and dust | Soapy cloth around the toilet and tub | Dry thoroughly | Monthly |
| Hallway and entry | Vacuum grit along the walls | Damp mop pass | Melamine on shoe and bag marks | Every 2 weeks |
| Stairs | Vacuum each step edge with the brush | Damp cloth on the side baseboard | Detail brush in step corners | Monthly |
Kitchen baseboards collect a sticky mix of grease and dust, so they're worth adding to a bigger session. My guide on how to deep clean your kitchen shows where they fit in the order of tasks.
How To Keep Baseboards Clean Longer
Most baseboard dust comes from the air and the floor, so the best prevention happens elsewhere in the room:
- Vacuum floors regularly with the edge setting or a brush roll that reaches walls.
- Take shoes off at the door. Less grit on floors means less grit kicked up onto baseboards.
- Change air filters on schedule and dust high surfaces before low ones, so falling dust lands on floors you're about to vacuum.
- Leave a small gap behind furniture. A couple of inches lets air and the vacuum reach the wall.
- Use soft bumpers on the backs of chairs and doors to prevent scuffs.
For a bigger plan that tackles dust at the source, my sister guide on how to reduce dust goes room by room.
5 Baseboard Cleaning Mistakes To Avoid
- Wiping before vacuuming. Wet cloth plus loose dust creates streaky gray paste.
- Using a soaking wet cloth. Too much water seeps into seams, swells MDF and can damage wood and paint.
- Scrubbing flat paint. It leaves shiny patches that look worse than the original mark.
- Using strong cleaners. Baseboards rarely need more than dish soap, and harsh products can strip finishes.
- Trying to do the whole house at once. One room at a time keeps it quick and actually gets it done.
A Quick Safety Note
Keep it simple and safe:
- Never mix bleach with vinegar or ammonia. Together they release harmful gases. Baseboards don't need bleach at all.
- Always test melamine and any new cleaner on a hidden spot first and wait until it dries to judge the result.
- Open a window if you use anything with a strong scent.
- Keep cleaning products and melamine sponges away from children and pets.
- If you have knee or back trouble, stick with the long-handled method and use a cushion for any low work.
More small shortcuts like this live in my roundup of cleaning hacks, if you enjoy finding easier ways to do the boring jobs.
Final Thoughts
Clean baseboards are one of those details that make a whole room feel fresh, even if nobody can quite say why. You don't need hours on the floor to get there: vacuum first, glide a damp flat mop along the wall, lift scuffs gently and save the full wash for a few times a year.
Start with the room you spend the most time in this week. Ten minutes, one wall at a time, and your home will feel noticeably lighter from the floor up.