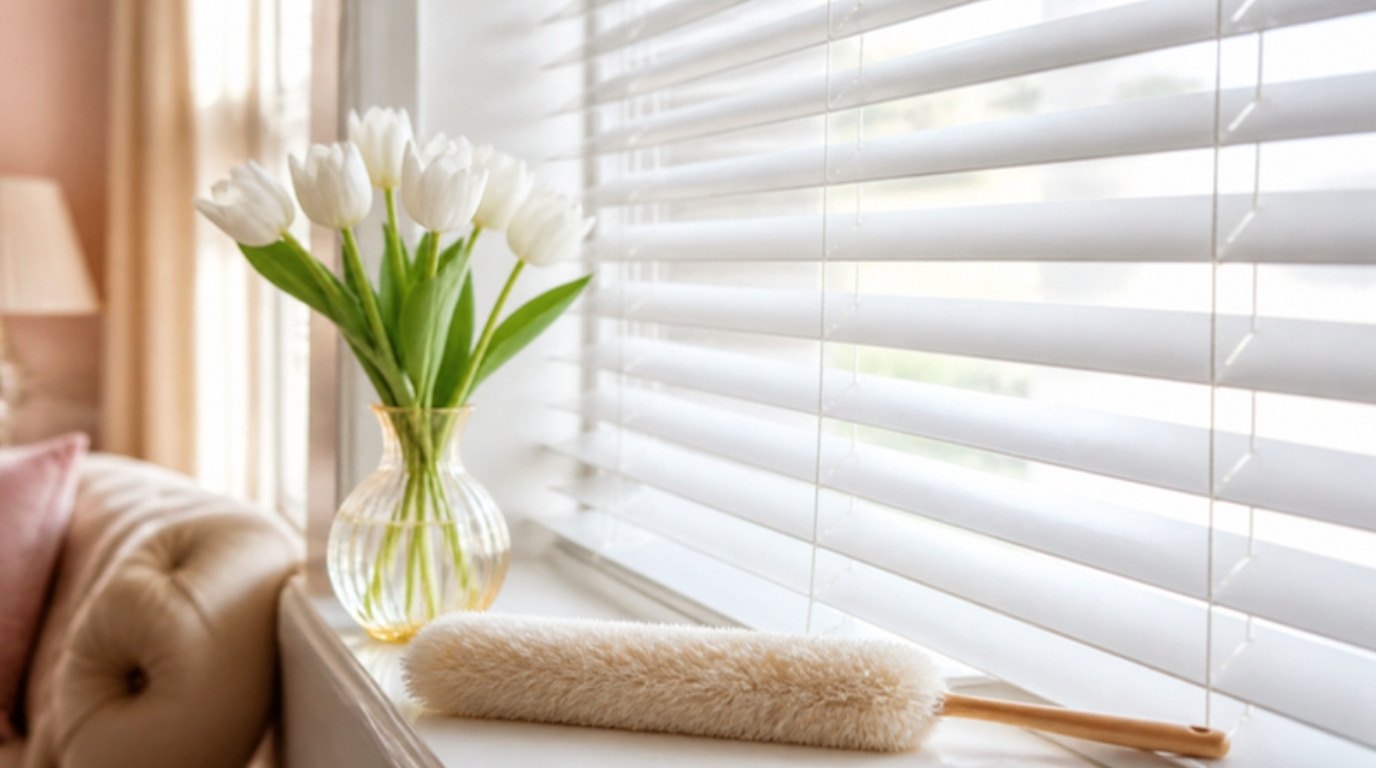
Blinds get dusty faster than almost anything else in a room, and the fastest way to keep them clean isn't a big deep-clean day. It's a two-minute dust once a week, done the right way, so the dust never has the chance to turn into that sticky gray film. Once you know the trick (close the slats, dust, flip, dust again), it becomes one of the easiest jobs in the house.
The only part that really needs thought is the material. Vinyl and aluminum blinds can handle water. Real wood can't. Fabric and cellular shades need a gentle touch. Use the wrong method and you can warp slats, leave water spots or loosen the glue that holds a shade together.
This guide to how to clean blinds covers how to identify your blind type, the tools you'll need, a quick weekly dusting method, step-by-step cleaning for vinyl, aluminum, real wood, faux wood, fabric, vertical and cellular blinds, cords and ladder tapes, greasy kitchen blinds, a type-by-type cleaning table, how often to clean and a few safety notes.
Before You Start: Check Your Blind Type

Before you add any water, it's worth taking thirty seconds to figure out what your blinds are made of. Here's a quick way to tell:
- Aluminum (metal mini blinds): very thin, light, slightly flexible slats that feel cool to the touch and may bend if you press them.
- Vinyl: thin plastic slats, a bit thicker than aluminum, often found in rentals.
- Real wood: wider, lightweight slats with visible wood grain and a warm feel. Often stained or painted.
- Faux wood: wide slats that look like painted wood but feel heavier and smoother. Usually PVC or a composite.
- Fabric or vertical blinds: soft fabric vanes, often hanging from the top on a track.
- Cellular or honeycomb shades: pleated fabric with little hollow pockets you can see from the side.
If you're not sure, check the label on the headrail (the box at the top) or look up the manufacturer's care instructions online. When in doubt, treat them gently and test any cleaner on a hidden spot first, like the back of a bottom slat.
What You'll Need
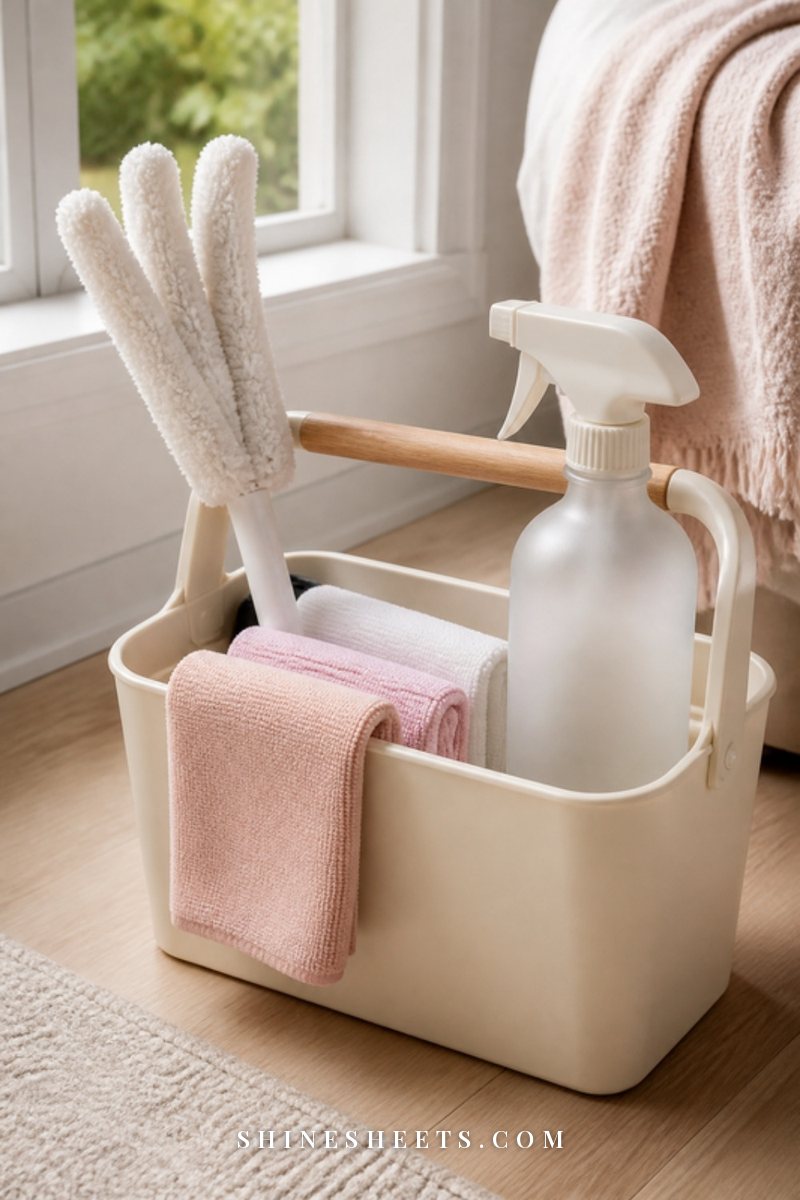
You don't need special gadgets, but a few tools make the job much faster:
- A blind duster. A microfiber blind duster tool with several soft fingers cleans three or four slats at once. Look for one with removable, washable sleeves.
- Microfiber cloths. A set of soft microfiber cleaning cloths grabs dust instead of pushing it around. Keep a few dry and one slightly damp.
- A vacuum with a soft brush attachment. A full-size vacuum works, or a lightweight cordless handheld vacuum with a dusting brush for quick weekly passes.
- Microfiber gloves (optional). Microfiber dusting gloves let you run each slat between your fingers, which is surprisingly satisfying.
- A gentle cleaner. Warm water with a few drops of mild dish soap, or a gentle all-purpose cleaner labeled safe for the surface.
- An old towel or sheet to catch dust under the window.
How To Dust Blinds Weekly
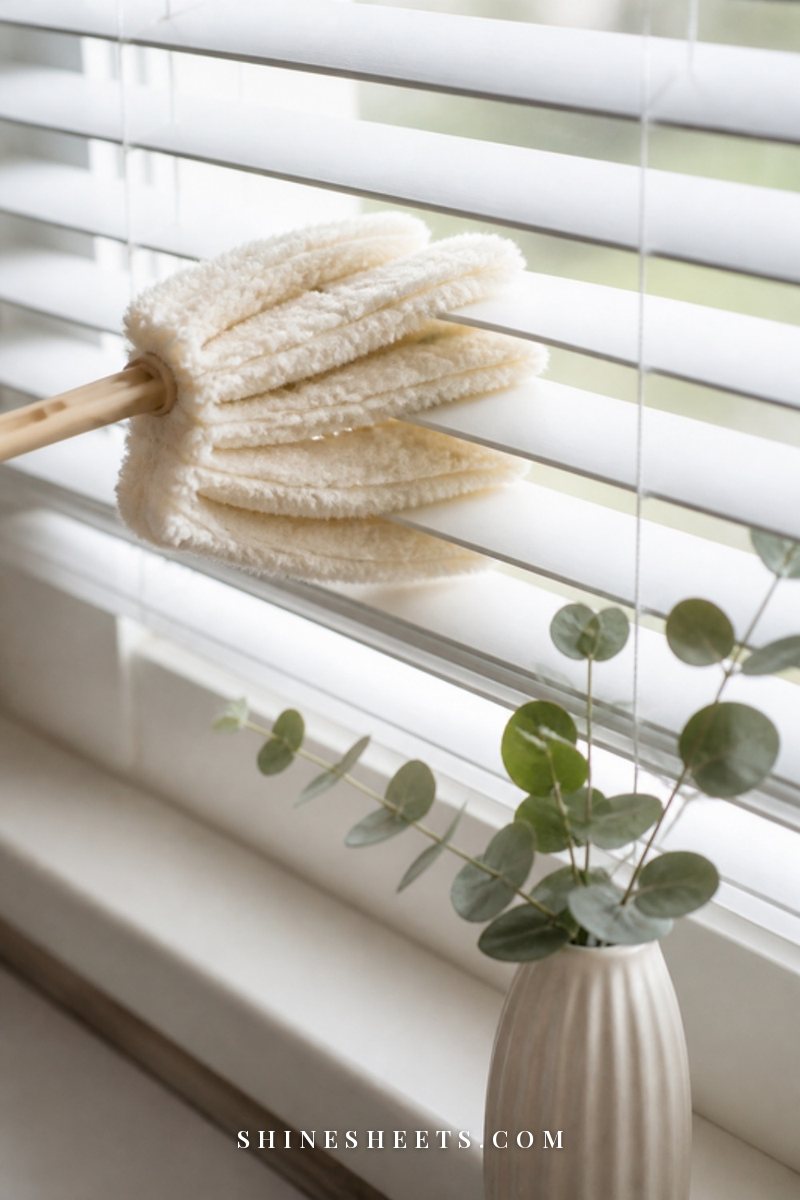
This is the habit that keeps blinds looking clean without ever needing a big scrub. It takes about two minutes per window:
- Close the slats facing one direction so they form a flat surface (rounded side facing you).
- Dust from top to bottom with your blind duster, microfiber cloth or vacuum brush, using light horizontal strokes.
- Flip the slats the other way and close them again.
- Dust the second side from top to bottom.
- Open the slats halfway and run the duster between them for any spots you missed.
- Wipe the windowsill last, since dust falls down.
Working top to bottom matters. Dust falls, so cleaning the bottom first just means doing it twice. If you'd like to cut down on how much dust lands on your blinds in the first place, my guide on how to reduce dust has lots of easy fixes.
The Sock-on-Hand Trick
No blind duster? Slip a clean, soft sock over your hand, pinch each slat between your thumb and fingers and slide from one end to the other. For a deeper clean, lightly dampen the sock with water and a drop of mild soap (only for vinyl, aluminum or faux wood), and keep a second dry sock on the other hand to wipe right after.
Using a Vacuum Brush Attachment
Set your vacuum to a lower suction if it has the option, attach the soft dusting brush and run it along the closed slats in horizontal strokes. This works especially well for heavier dust and for fabric blinds, since it lifts dust instead of spreading it.
How To Clean Blinds by Type
Once a season (or when dusting isn't enough), give your blinds a deeper clean based on their material.
Vinyl and Aluminum Blinds
These are the most forgiving and can handle water.
For a wipe-down on the window:
- Dust first, using the weekly method above.
- Mix a bowl of warm water with a few drops of mild dish soap.
- Dip a microfiber cloth, wring it out well and wipe each slat from the center outward.
- Follow with a dry cloth so you don't leave water spots.
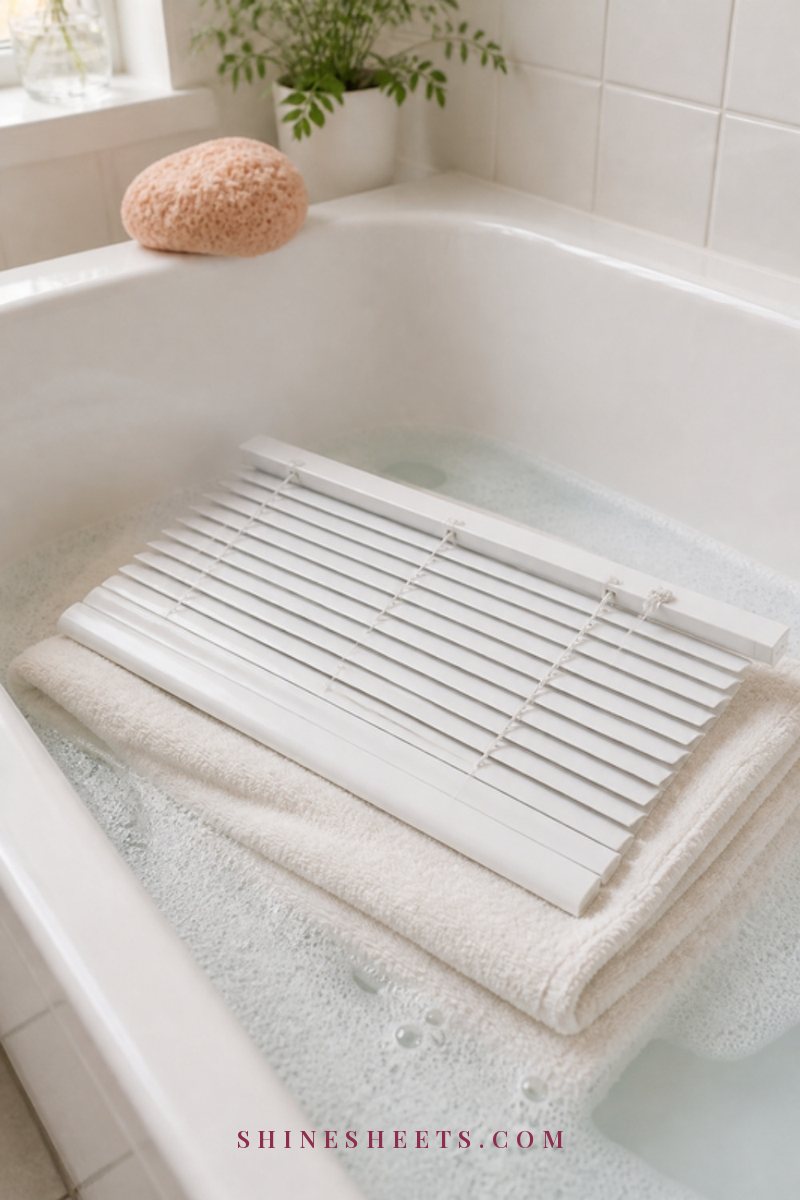
For a bathtub soak (removable blinds only):
- Check the manufacturer's instructions first. Some blinds aren't meant to be submerged, and metal parts can rust.
- Take the blinds down carefully and lay an old towel in the bottom of the tub to protect it from scratches.
- Fill the tub with a few inches of warm (not hot) water and a squeeze of mild dish soap.
- Lay the blinds in, keeping the headrail mechanism out of the water if you can.
- Let them soak for 30–60 minutes.
- Wipe each slat with a soft sponge, rinse with clean water and drain.
- Hang them over a shower rod or lay them flat on towels until completely dry before rehanging.
Real Wood Blinds

Real wood is beautiful but sensitive to water. Too much moisture can warp the slats, raise the grain or leave marks on the finish. Never soak real wood blinds.
- Dust thoroughly with a dry microfiber cloth or a vacuum brush.
- For marks, use a cloth that's only barely damp (wrung out until it feels almost dry) and wipe gently along the grain.
- Dry each slat right away with a second dry cloth.
- For a deeper clean, use a cleaner made for wood furniture or wood blinds, applied to the cloth (never sprayed directly on the slats). Test it on a hidden spot first.
Faux Wood Blinds
Faux wood is tougher than real wood and handles moisture well. Wipe it with a damp microfiber cloth and a little mild soapy water, then dry with a clean cloth. Avoid very hot water and long soaks, since some faux wood can warp with heat. Check the manufacturer's care guide before putting it in the tub.
Fabric and Vertical Blinds

Fabric holds on to dust and can stain easily, so a dry clean comes first.
- Vacuum weekly or every two weeks with the soft brush attachment, from top to bottom.
- Check the care label before using any water. Some fabric vanes can be removed and gently hand washed or even machine washed on a delicate cycle, but many can't.
- Spot clean marks with a cloth dampened in cool water and a drop of mild soap. Dab, don't rub, and work from the outside of the stain inward.
- Blot with a dry cloth and let the vane hang straight to dry.
For hard vinyl vertical blinds, you can wipe each vane with a damp, soapy microfiber cloth, then dry.
Cellular or Honeycomb Shades

These clever shades trap dust inside their little pockets, so they need a slightly different approach:
- Vacuum on low suction with the soft brush attachment, moving gently across the pleats.
- Use a hair dryer on the cool setting to blow dust, dead insects and debris out of the cells. Hold the shade fully lowered and blow through the open end.
- Spot clean with a cloth barely dampened with water and a drop of mild soap. Dab gently and let it air dry fully.
- Avoid soaking unless the manufacturer specifically says it's okay, since water can weaken the glue that forms the cells.
Cleaning Cords and Ladder Tapes
Cords and fabric ladder tapes (the strips that hold the slats) get grubby from hands and can yellow over time.
- Cords: wipe with a cloth dampened in mild soapy water, then a dry cloth.
- Fabric ladder tapes: dab with a soft toothbrush or cloth dipped in mild soapy water, then blot dry. Don't soak them while they're on the window.
- Headrail and bottom rail: dust and wipe them too. The top of the headrail is a classic dust collector.
How To Clean Greasy Kitchen Blinds
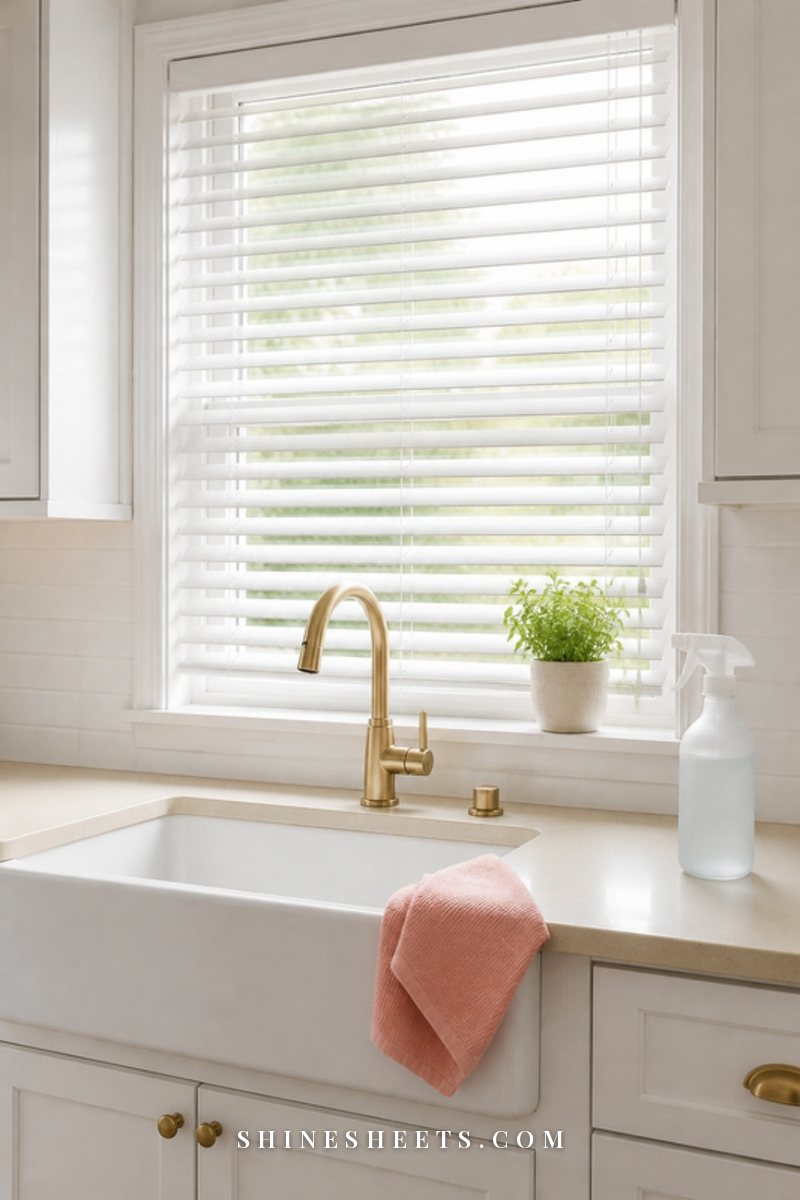
Kitchen blinds, especially near the stove, collect a sticky mix of grease and dust that a dry duster can't remove.
- Dust first to remove loose dirt.
- Use warm water and dish soap. Dish soap is designed to cut grease. Mix a few drops into a bowl of warm water.
- Wipe and wait. Wipe the slats with a soapy microfiber cloth and let the solution sit for about 5 minutes to loosen the grease.
- Wipe again with a clean damp cloth, then dry.
- For stubborn spots, use an all-purpose cleaner or degreaser labeled safe for your blind material. Follow the label's dwell time and test on a hidden spot first.
For real wood blinds in a kitchen, stick to a barely damp cloth with a tiny drop of dish soap and dry immediately. If your kitchen windows need some love too, my guide on how to clean windows pairs well with this one.
How To Clean Bathroom Blinds With Mildew Spots
Bathroom blinds live in steam, so they can develop little dark mildew spots, especially on the lower slats and fabric ladder tapes.
- Open a window or run the fan before you start, and wear gloves.
- Dust first so you're not smearing dust into damp slats.
- For vinyl, aluminum or faux wood, wipe the spots with a bathroom cleaner labeled for mildew and safe for the material. Follow the label's dwell time, usually around 5–10 minutes, then wipe with a clean damp cloth and dry.
- For fabric tapes or shades, spot clean gently with mild soapy water and let them dry fully. If mildew keeps coming back on fabric, it may be time to replace that shade.
- Prevent it by tilting the slats open after showers so air can move, and running the fan for 15–20 minutes afterward.
Remember, if your bathroom cleaner contains bleach, don't use any vinegar or ammonia-based product on the same surface. One product, then rinse.
Quick Fixes for Common Blind Problems
- Dust comes right back: you may be pushing it around instead of trapping it. Switch to microfiber, and dust before vacuuming the floor, not after.
- Static makes dust cling: wipe vinyl and aluminum slats with a barely damp microfiber cloth once a month. A tiny bit of moisture reduces static.
- Pet hair on fabric blinds: run a slightly damp rubber glove down each vane, or use a lint roller, then vacuum.
- Yellowed white vinyl: sun and cooking can tint vinyl over time. A soapy wipe helps with grime, but some yellowing is permanent. In that case, a fresh set may be the kindest fix.
- A bent aluminum slat: gently straighten it with your fingers while it's clean and dry. If it creases, replacement slats are often available from the manufacturer.
- Water spots after cleaning: wipe again with a clean, dry microfiber cloth. Next time, dry as you go rather than letting slats air-dry.
Blind Cleaning Table by Type
Here's everything in one place. Screenshot it for cleaning day.
| Blind type | Weekly | Deep clean (every 3–6 months) | Avoid |
|---|---|---|---|
| Aluminum | Dust or vacuum both sides | Soapy wipe or bathtub soak 30–60 min | Bending slats, hot water |
| Vinyl | Dust or vacuum both sides | Soapy wipe or bathtub soak 30–60 min | Harsh scrubbers, heat |
| Real wood | Dry dust or vacuum brush | Barely damp cloth, dry at once, wood cleaner | Soaking, wet cloths |
| Faux wood | Dust or vacuum both sides | Damp soapy cloth, then dry | Very hot water, long soaks |
| Fabric / vertical | Vacuum with brush | Spot clean, wash only if label allows | Rubbing stains, soaking |
| Cellular / honeycomb | Vacuum on low | Cool hair dryer, gentle spot clean | Soaking, high suction |
How Often To Clean Blinds
- Dust: once a week, or every two weeks in rooms that don't get much use.
- Wipe down or spot clean: once a month, or as soon as you notice marks.
- Deep clean: every three to six months, and more often in kitchens or homes with pets.
Adding blinds to your cleaning schedule makes it so much easier to remember. I like pairing them with other "top of the room" jobs, then moving down to the floor. Dusting your baseboards at the end of the same session catches everything that falls.
Mistakes To Avoid
- Cleaning with the slats open. You'll miss half of each slat and push dust into the window.
- Using too much water on wood. This is the most common way real wood blinds get damaged.
- Spraying cleaner straight onto blinds. Spray onto the cloth instead, so it doesn't drip onto walls, sills or the floor.
- Using harsh chemicals. Strong solvents can strip finishes and discolor vinyl. A mild soap is usually enough.
- Mixing cleaning products. Never mix bleach with vinegar or ammonia. It can create dangerous fumes. Use one product at a time and rinse in between if you switch.
- Rehanging blinds while damp. This can lead to water spots, rust on metal parts or mildew on fabric.
Safety Notes
- Cord safety: loose, looped blind cords are a strangulation risk for young children and pets. Keep cords short and out of reach, use cord cleats or tie-downs to wrap them up high, and move cribs, beds and furniture away from windows.
- Ladders and step stools: use a stable step stool for tall windows, and don't lean out to reach the far side.
- Ventilation: open a window or turn on a fan when using any cleaning spray.
- Follow labels: always follow your cleaner's label and your blind manufacturer's care instructions.
If your curtains hang in front of your blinds, it's a lovely moment to freshen them up too. My guide on how to clean curtains walks you through it.
Blind Cleaning FAQs
Can you clean blinds without taking them down?
Yes. Weekly dusting and most wipe-downs are done with the blinds hanging. Only removable vinyl or aluminum blinds need to come down for a bathtub soak.
What's the fastest way to clean blinds?
Close the slats, dust with a microfiber blind duster from top to bottom, flip the slats and repeat. For most windows that's about two minutes.
Can you put blinds in the dishwasher?
It's best not to. The heat can warp vinyl and faux wood, and detergent can damage finishes. Stick to hand cleaning unless the manufacturer says otherwise.
Final Thoughts
Clean blinds make a whole room look brighter, and they let in that soft, filtered light that makes even an ordinary afternoon feel calm. Two minutes a week is all it really takes.
Close the slats, dust, flip, dust again, and save the bigger clean for a sunny day every few months. Your windows will thank you with lovely, clean light.