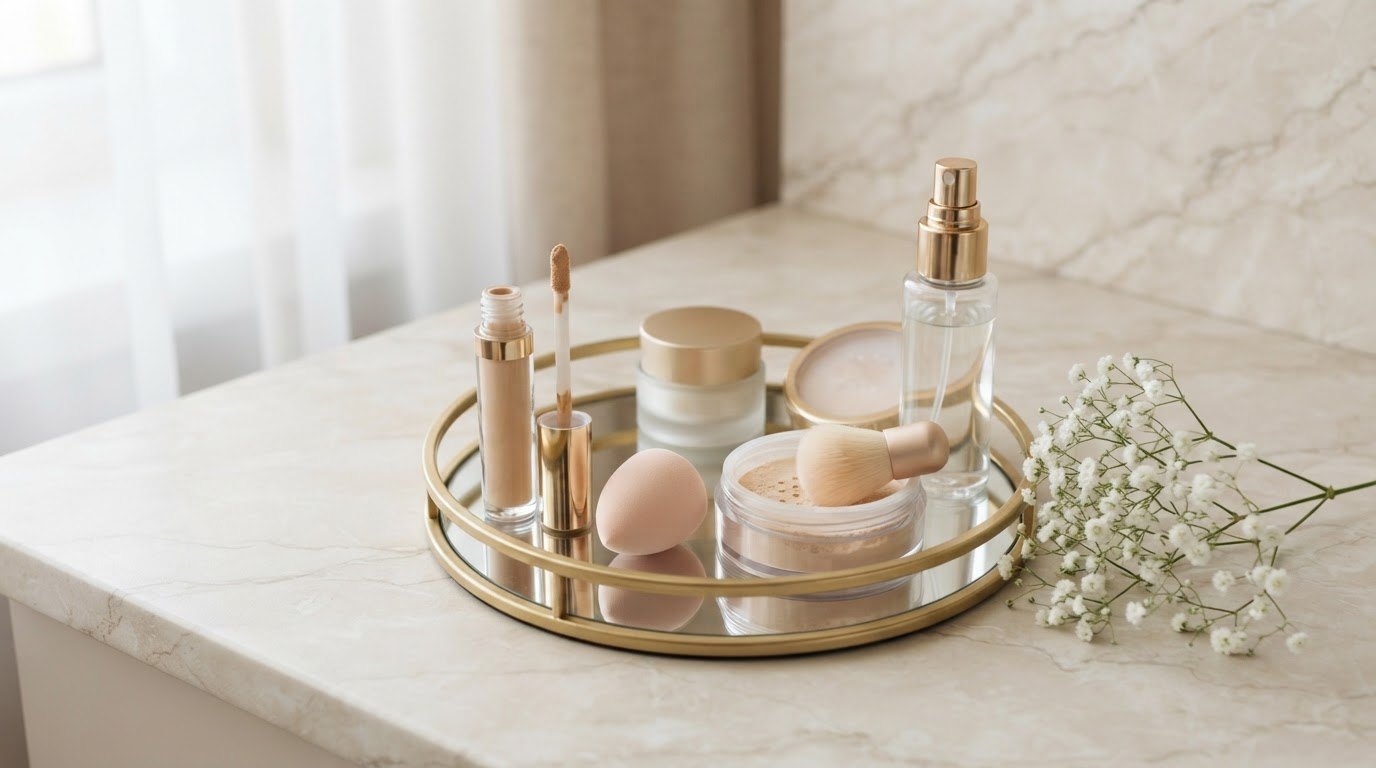
Covering acne with makeup is less about hiding every spot and more about using less product in exactly the right places. Most cakey, patchy coverage happens when you try to solve the whole face with one thick layer. Thin skin prep, a tiny dot of corrector, a sheer base and a small brush for the spots themselves will almost always look smoother than a heavy foundation pressed on top of everything.
I have combination, sensitive skin with a shiny T-zone, so I know the frustration of a breakout that seems to get more noticeable the more you try to cover it. It took me a while to understand that texture, redness and dark marks are three different problems, and each one wants a slightly different technique.
This guide walks you through how to cover acne with makeup step by step: prep that helps makeup grip, color correcting, thin layers of foundation, spot concealing, setting, hygiene, gentle removal at night and what "non-comedogenic" really means. There is also a spot type and cover technique table you can screenshot for your next breakout day.
And before anything else: having acne is completely normal. You are allowed to wear makeup over it, skip makeup over it, or do a little of both. This is just a toolkit for the days you want it.
Why Acne Makeup Turns Cakey
When makeup looks heavy over breakouts, it usually comes down to one of four things. Knowing which one is happening makes the fix so much easier:
- Too much product in one go. A thick layer sits on top of the skin instead of melting into it, and it settles around every bump.
- Dry, flaky patches. Many acne treatments dry the skin around spots, and foundation clings to those flakes like dust on a shelf.
- Wiping instead of tapping. Rubbing concealer moves it off the spot and onto the skin around it, so you keep adding more.
- Powder everywhere. A full face of powder on top of foundation and concealer adds a fourth layer, which is often the one that tips it into cakey.
The good news is that all four are habits, not skin problems. Every step below is built to keep layers thin and to put coverage only where you actually need it.
Step 1: Prep Your Skin So Makeup Can Grip
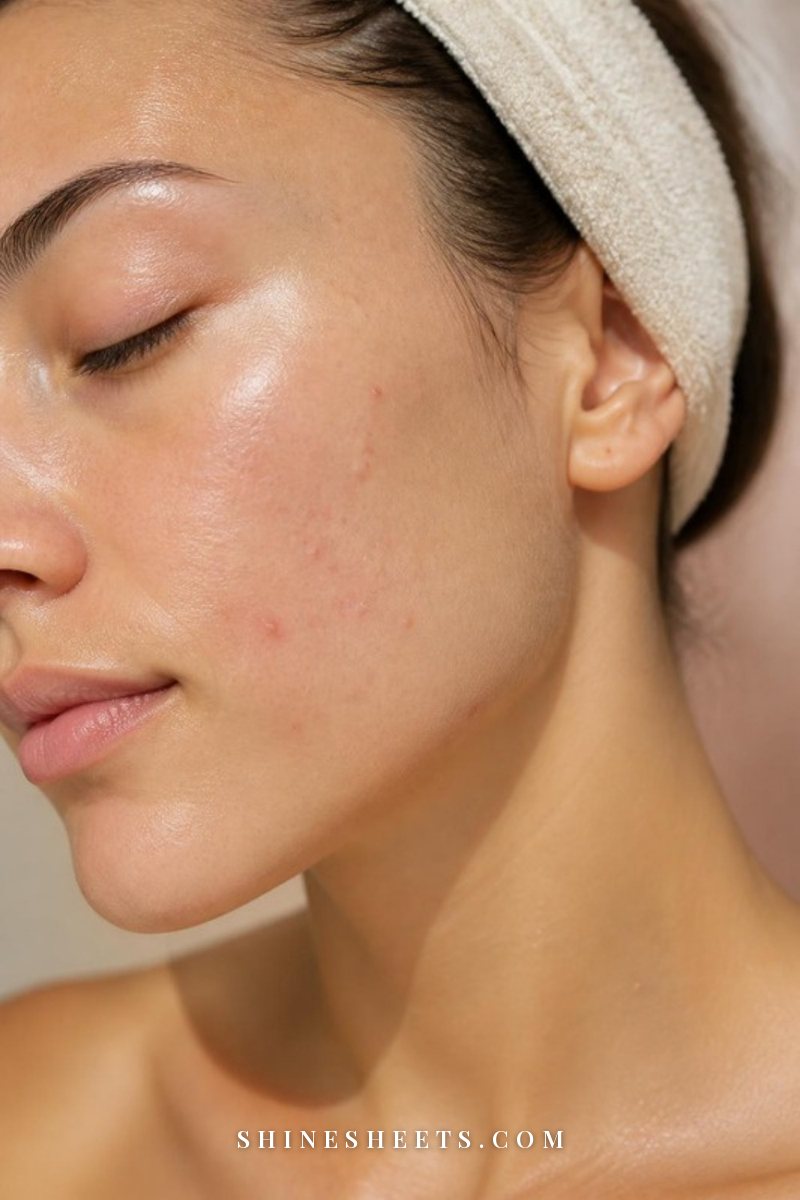
Good coverage starts before any makeup comes out. Skin that is clean, calm and evenly hydrated lets thin layers blend in, while skin that is tight or oily makes everything slide or cling.
Cleanse Gently
Wash with a mild, non-stripping cleanser and lukewarm water, then pat (don't rub) dry with a clean towel. If your face feels squeaky afterward, that cleanser is probably too harsh for makeup days, because tight skin flakes by midday.
Moisturize Lightly, Even If You Are Oily
A light gel or lotion moisturizer is your best friend under acne makeup. Use a pea-sized amount for the whole face and give it two to three minutes to sink in before you start. If you have dry flakes around treated spots, press a tiny extra bit of moisturizer right onto those areas with your fingertip.
Daytime also means sunscreen. A lightweight, non-greasy formula goes on after moisturizer, and it helps post-acne marks from getting darker over time. Wait another few minutes before primer or foundation.
Use Primer Only Where It Helps
You don't need primer all over your face. A mattifying primer is useful on an oily T-zone, and a gripping or hydrating primer helps on drier cheeks. Pat a thin layer onto only the areas that need it. On my own skin, primer usually goes on the nose and center of the forehead and nowhere else.
If you want the bigger picture on calming breakouts underneath the makeup, my guide on gentle habits for clearer skin is a good place to start.
Step 2: Color Correct Only the Spots That Need It
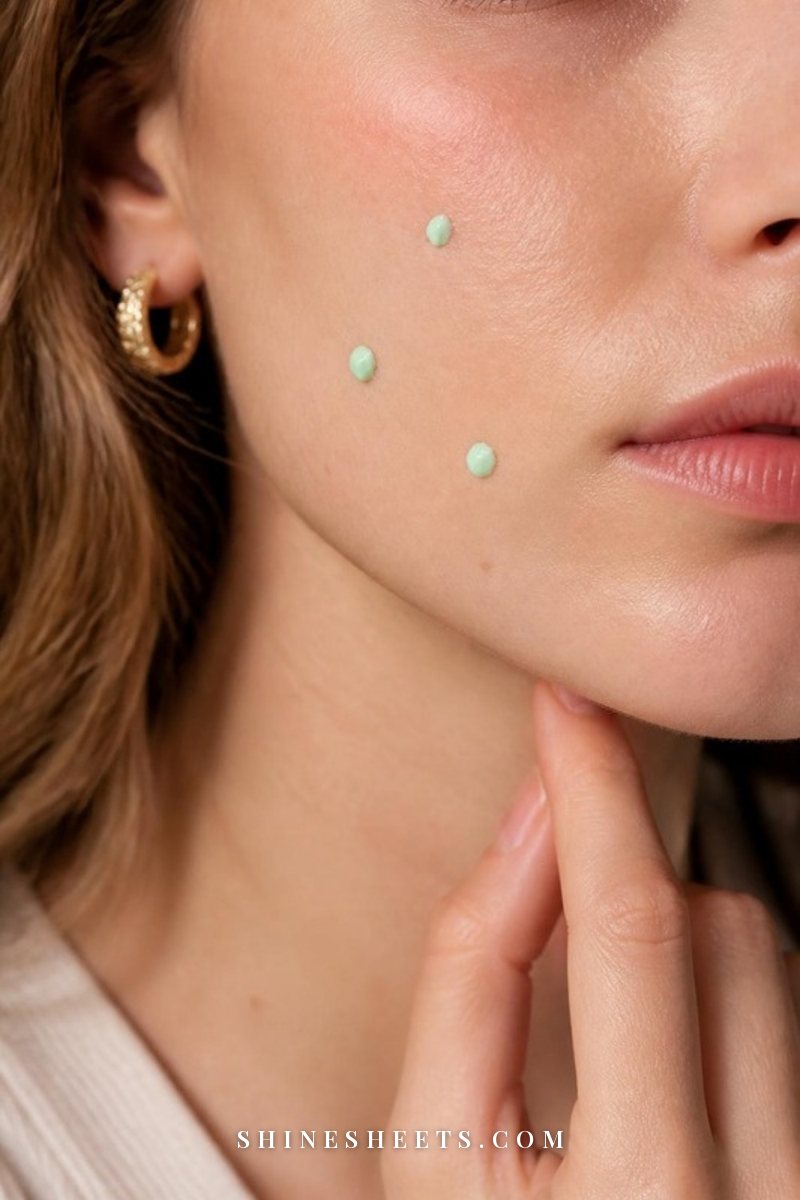
Color correcting has a reputation for being complicated, but for acne it comes down to two shades and one rule: use the tiniest amount possible. You are neutralizing color, not painting over it.
Green for Red, Active Spots
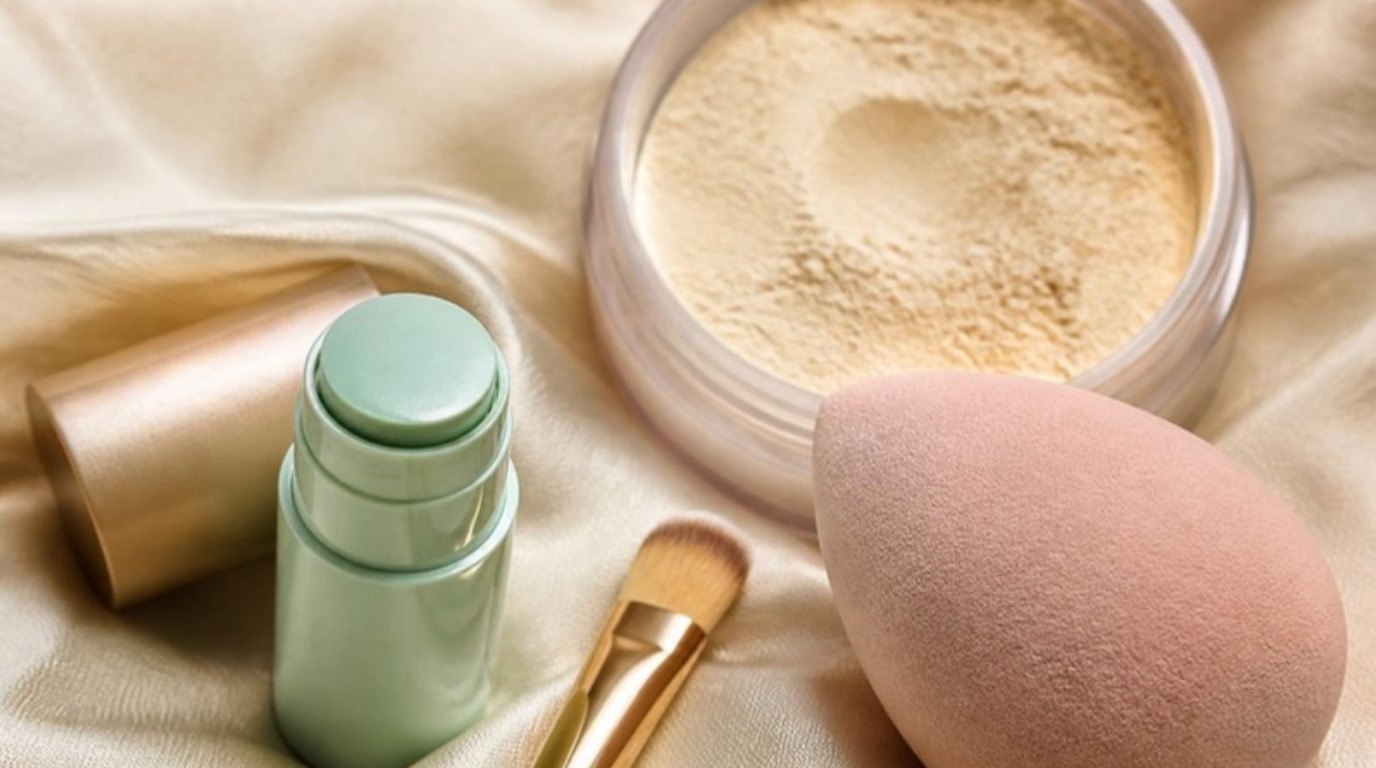
Green cancels out red, so it is the shade for inflamed, angry spots and patches of redness around the nose or chin. Take a creamy green color correcting stick, touch it to the back of your hand, then pick up a speck with a small brush or your ring finger and tap it only on the red part of the spot. If the area looks minty afterward, you used too much. Blot with a clean fingertip and go again.
Peach or Orange for Dark Marks
Flat brown or purple marks left behind after a spot heals (post-inflammatory hyperpigmentation) respond better to peach on light to medium skin and orange or deep apricot on deeper skin tones. Green on a dark mark tends to look gray, so match the corrector to what you see, not to the word "acne."
Skip correcting entirely on days when your spots are small or few. Foundation and a dab of concealer are often enough, and fewer layers always looks fresher.
Step 3: Apply Thin Layers of Foundation
Here is the biggest mindset shift: foundation is not where acne gets covered. Foundation evens out the overall tone, and concealer does the targeted work. That means you can usually go one coverage level lighter than you think.
Choose a non-comedogenic liquid foundation in a light to medium coverage, ideally one that says it is oil-free or for combination skin if you get shiny. Getting the shade right matters even more on breakout days, because a mismatched color draws attention to every spot. If you are not sure about yours, my simple undertone guide for choosing a foundation shade walks through it.
Here is the method I'd recommend:
- Start with one pump (or less) on the back of your hand.
- Dot it on the center of your face, where redness usually lives: around the nose, chin and inner cheeks.
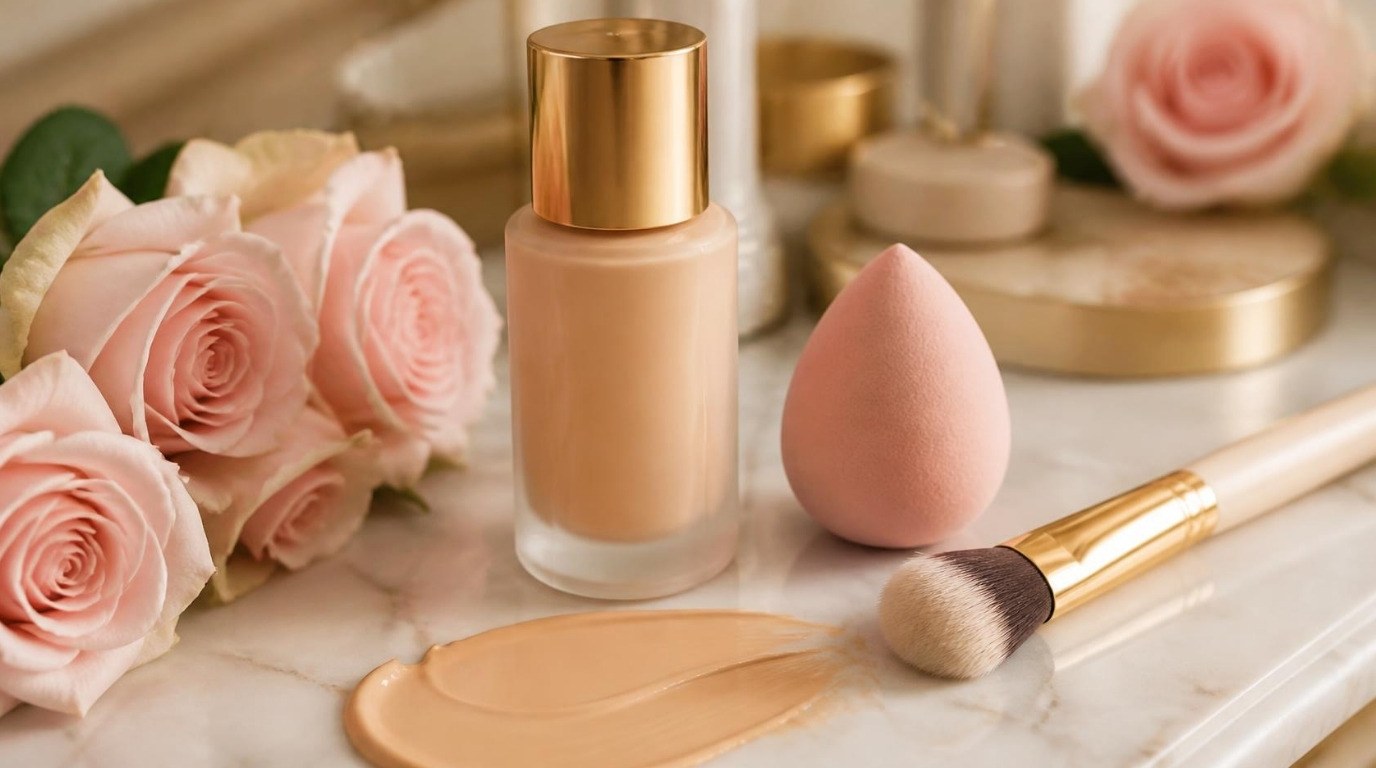
- Bounce it outward with a damp pink makeup blending sponge, pressing rather than dragging over active spots.
- Let it sit for one minute, then check in natural light.
- Add a second thin layer only where you still see redness, not everywhere.
Two sheer layers look much more like skin than one thick one. For more on blending and making base last, see my full guide on how to apply foundation so it looks like skin.
Step 4: Spot Conceal With a Small Brush
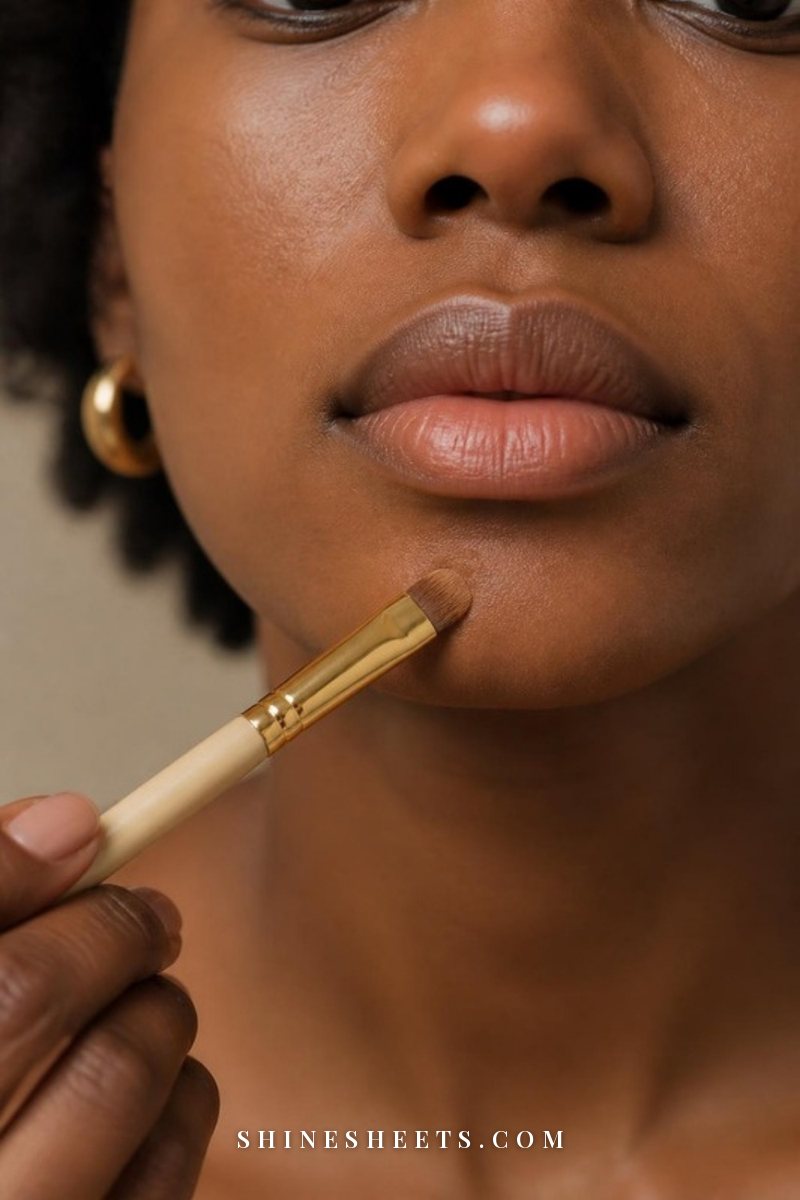
This is the step that makes the biggest difference, and it is all about precision. Use a full coverage concealer that matches your foundation exactly (not lighter, because a lighter shade on a raised bump makes it look like a little spotlight).
Pick up a tiny amount with a small, flat precision concealer brush. A synthetic brush about the width of a pencil eraser is ideal. Then:
- Place. Touch the concealer directly on the center of the spot.
- Wait. Give it 30 to 60 seconds to thicken slightly. Most concealers grip better when they are not totally wet.
- Tap the edges. Using the clean side of the brush or your ring finger, tap only around the outer edge so it melts into the foundation. Leave the center alone.
- Repeat if needed. A second tiny dot on a stubborn spot is better than one big blob.
The golden rule: tap, don't wipe. Wiping lifts the product off the spot you just covered. If you also cover under-eye circles, keep that a separate step with a different technique, because under-eye skin needs a lighter, more flexible formula. My guide to applying concealer without creasing has that part covered.
How To Cover Each Type of Spot
Not every blemish behaves the same under makeup. This is the cheat sheet I wish I had years ago, so screenshot it for your next breakout morning:
| Spot type | What it looks like | Cover technique | Avoid |
|---|---|---|---|
| Active red spot | Raised, pink or red, sometimes tender | Speck of green corrector, thin foundation, matte concealer tapped at the edges, tiny bit of powder on top | Shimmer, rubbing, a concealer lighter than your skin |
| Whitehead | Small bump with a white or yellow center | Leave it alone, skip corrector, one small dot of concealer pressed on with a clean brush, set lightly | Squeezing it before makeup, thick layers that crack around it |
| Dark mark | Flat brown, purple or reddish mark after a spot heals | Peach or orange corrector (by skin tone), then a satin concealer blended a little wider | Green corrector, which turns gray on brown marks |
| Texture or small bumps | Many tiny closed bumps, uneven surface | Light foundation only, matte or soft-matte finish on the bumpy area, satin finish around it | Shimmer, glow drops and highlighter on the area |
| Dry flakes around spots | White flakes or rough patches near treated spots | Extra moisturizer pressed in first, hydrating concealer, no powder directly on the flakes | Peeling the flakes, heavy powder, scrubbing before makeup |
Raised Bumps vs Flat Marks vs Texture
The simplest way to think about it is light. Shine catches anything raised, so matte on bumps keeps them from casting tiny shadows. Flat marks are only a color problem, so a satin finish looks most natural on them. And anything shimmery (highlighter, glowy primer, illuminating powder) belongs on the high points of your face, well away from texture.
If texture is your main concern rather than spots, my guide on smoothing textured skin gently goes deeper into the skincare side.
Step 5: Set Only Where You Need It
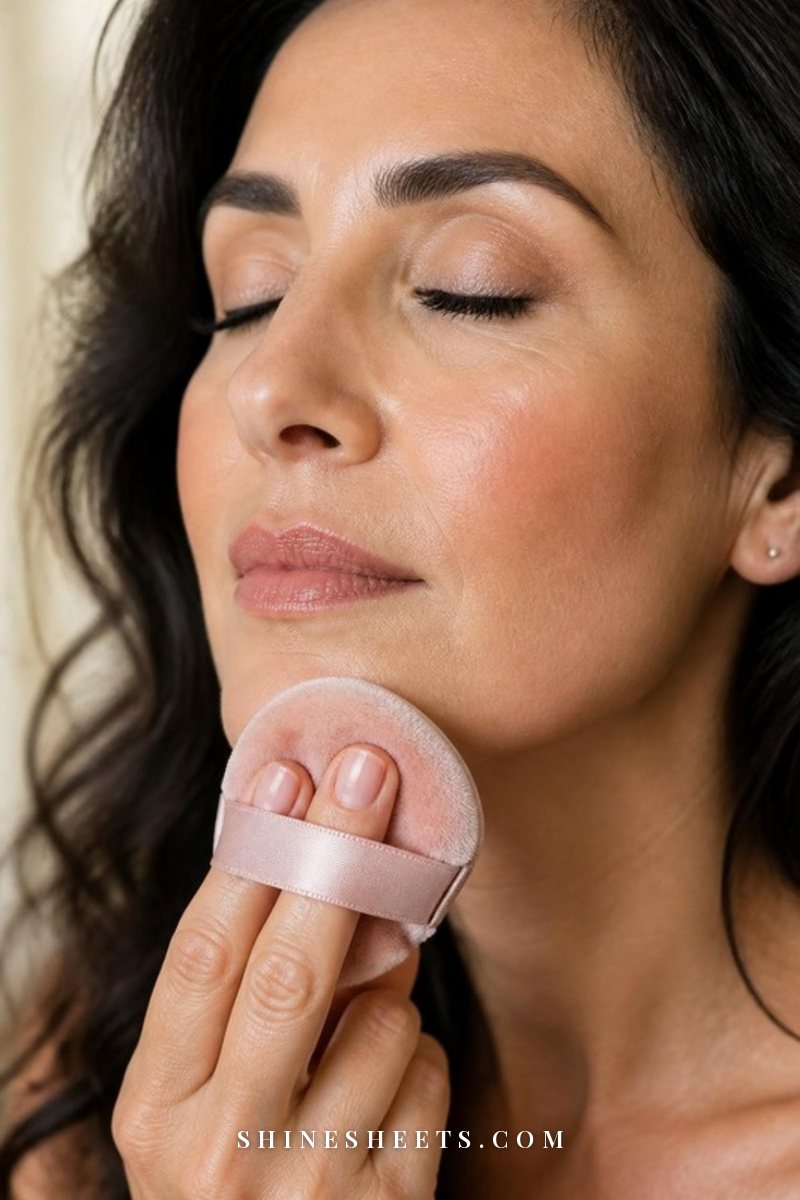
Powder keeps concealer on the spot, but a full face of it is what usually makes acne makeup look dry and heavy. Think of setting as spot work too.
A finely milled translucent loose setting powder is the most forgiving choice because it does not add color or coverage. Tap a small fluffy brush or a velour puff into the powder, knock off the excess, and press it onto:
- each concealed spot
- the sides of your nose
- your chin and the center of your forehead, if they get shiny
Leave dry areas and flaky patches bare. If you need a mid-day touch-up, blot oil with a tissue first and then add a whisper of powder. Adding powder on top of oil is how you end up with that thick, patchy look by 3 p.m.
One optional finishing step: a light mist of hydrating face spray held at arm's length, then a gentle press with a clean, dry sponge. It melts the layers together so the skin looks less "made up."
Keep It Hygienic
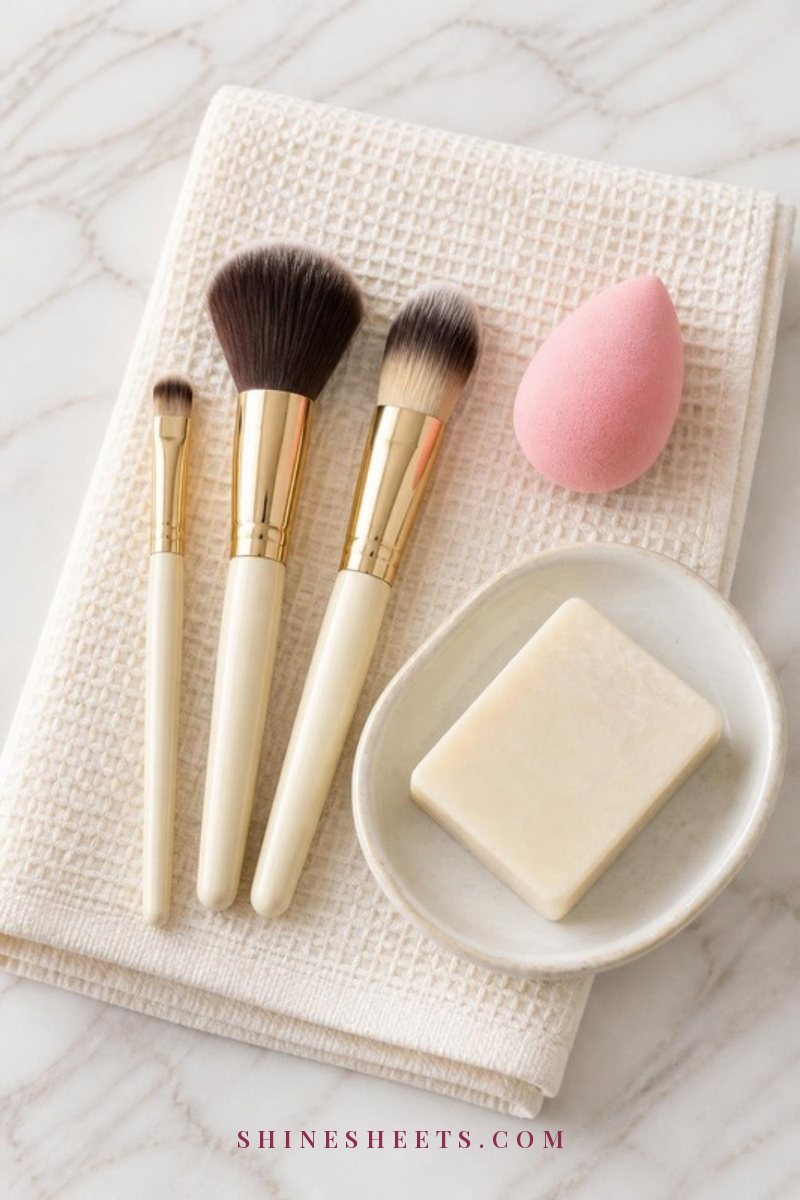
If you are covering breakouts, the cleanliness of your tools matters more than which concealer you choose. A dirty sponge or brush moves oil and bacteria back onto your skin every morning.
- Concealer brush: wash it at least once a week, ideally twice, with gentle soap or brush cleanser and lukewarm water. Lay it flat to dry.
- Makeup sponge: wash after every use if you can, or at least every few days. Squeeze it out, let it dry completely and replace it every one to three months.
- Corrector sticks: never swipe them directly over an active spot. Scrape a tiny bit onto the back of your hand or a clean palette first.
- Your fingers: wash your hands before makeup, especially if you tap concealer in with your ring finger.
- Old products: liquid foundation and concealer are best within about a year of opening. If something smells off or separates, let it go.
And the hardest one: try not to pick or squeeze before makeup. A picked spot is open, flatter in the middle and redder around the edges, and it is genuinely harder to cover than a spot you left alone. If one is truly bothering you, a hydrocolloid patch overnight is a far kinder option.
Remove Your Makeup Gently at Night
Whatever you put on in the morning needs to come off fully at night, without scrubbing. Sleeping in foundation and concealer on breakout-prone skin is one habit worth breaking, even on the most tired evenings.
The simplest method: soak a cotton pad with a gentle micellar cleansing water, hold it on each area for ten seconds so it dissolves the makeup, then wipe softly. Follow with your regular cleanser so nothing is left in your pores. If you wear long-wear or full coverage formulas often, a double cleanse with a cleansing balm or oil first can make removal much easier, and many are labeled non-comedogenic too.
Afterward, keep the rest of the routine calm: treatment (if you use one), moisturizer, done. If your breakouts follow a monthly pattern, my gentle hormonal acne skincare routine lays out a plan for the nights around your cycle.
What "Non-Comedogenic" Actually Means
"Non-comedogenic" means a product was formulated to be less likely to clog pores. A comedone is a clogged pore (blackhead or whitehead), so the label simply says the brand tried to avoid ingredients known to cause them.
A few honest points to keep in mind:
- It is a helpful guideline, not a guarantee. There is no single strict standard every brand has to meet.
- Your skin is the final judge. A product labeled non-comedogenic can still break you out, and some products without the label are perfectly fine for you.
- "Oil-free" and "non-comedogenic" are not the same thing, though they often appear together.
- Try one new product at a time and give it about two weeks, so if your skin reacts you know exactly what caused it.
When in doubt, look for labels like "non-comedogenic," "won't clog pores" or "suitable for acne-prone skin" on foundation, concealer and primer, since those three sit on your skin the longest.
7 Mistakes That Make Acne Makeup Look Cakey
If your makeup still looks heavy after all of this, one of these is usually the culprit:
- Applying makeup on damp moisturizer. Wait a few minutes, or the foundation pills and slides.
- Using full coverage foundation all over. Save full coverage for the concealer step.
- Choosing a concealer lighter than your skin. On a raised spot, lighter highlights the bump.
- Too much color corrector. If you can see green or orange, you used too much.
- Rubbing instead of tapping. Rubbing moves product off the spot every single time.
- Powdering dry patches. Powder clings to flakes and makes them more visible.
- Putting shimmer near texture. Glow belongs on smooth high points, not on bumpy areas.
Here is my small honest admission: the most common mistake is trying to make every spot disappear completely. From a normal conversation distance, a spot that is 80 percent covered looks better than one buried under three layers. Real skin with a few softened spots is still beautiful skin.
When To See a Dermatologist
Makeup is a lovely tool for confidence, but it is not a treatment. Please consider seeing a dermatologist or doctor if:
- your acne is painful, deep or cystic (large, sore lumps under the skin)
- breakouts are leaving scars or dark marks that are not fading
- over-the-counter products haven't helped after two to three months
- acne appeared suddenly or changed a lot, or it is affecting how you feel about yourself day to day
- a product causes burning, swelling or a rash
Prescription treatments have come a long way, and getting professional help is a kind thing to do for yourself, not a sign that you failed at skincare. This article is general beauty information and not medical advice.
Final Thoughts
Covering acne with makeup gets so much easier once you stop treating your whole face like a problem to hide. Prep gently, correct with a tiny touch, keep foundation sheer and let a small brush do the precise work. Tap, set only where you need it, and take it all off kindly at night.
Some mornings you will want flawless coverage and some mornings you will want nothing at all, and both are completely fine. Your skin is doing its best, and you are allowed to be gentle with it and with yourself.