Dry skin doesn't need more makeup to look fresh. It needs more moisture underneath and fewer powders on top. Nearly every flaky, patchy, "why does my foundation look like it's sitting on my face" moment comes down to those two things, and both are easy to fix once you know where to look.
The good news is that dry skin is actually a lovely canvas for that soft, lit-from-within finish. Oily skin has to work hard to look dewy without looking greasy. Dry skin just needs a little preparation, the right textures and a gentle hand.
This guide covers makeup for dry skin from start to finish: how to prep the day before and the morning of, which primer and base to choose, how to apply it so it melts in, why cream products beat powders, how to keep concealer from cracking, where (and whether) to set, and what to do when dry patches show up at 3 p.m. There's also a dry skin makeup swap table you can screenshot for your next shopping trip.
Take a deep breath. Nothing here requires a fifteen-step routine. Most of it is just swapping one habit for a softer one.
Why Makeup Looks Flaky on Dry Skin
Before we get to products, it helps to understand what's actually going wrong. When skin is low on moisture, the outer layer gets a little rough. Tiny flakes lift at the edges, and the surface stops being smooth. Makeup doesn't hide that roughness. It clings to it, like paint on an unsanded wall.
Three things make it worse:
- Thirsty skin drinks your foundation. If your face hasn't had enough moisture, it pulls the liquid out of your base, and what's left behind is pigment sitting in patches.
- Powder adds more dryness. Setting powder, powder blush and powder bronzer all absorb oil and moisture. On dry skin, that means they absorb the little hydration you had.
- Matte, long-wear formulas set hard. They're designed to grip and not move, which is great on an oily forehead and not so great on a cheek that wants to flex and stay soft.
Every step below works against one of those three. If you only remember one thing, remember this: hydrate first, use creams, powder only where you truly need it.
Prep: Where Dry Skin Makeup Really Starts
I'll be honest: prep matters more than anything you put on afterwards. A mid-range foundation over well-prepped skin looks better than an expensive one over flakes. My own skin is combination and sensitive, which means a shiny T-zone and cheeks that turn rough the minute the heating comes on, so I've learned to treat prep as part of the makeup, not a separate chore.
Exfoliate Gently the Day Before
Flakes are the number one enemy of smooth makeup, and the fix is gentle exfoliation. The key word is gentle, and the key timing is the day (or evening) before, not the morning of. Freshly exfoliated skin can be a little sensitive, and makeup sits better once it has had a night to settle.
- What to use: a mild lactic acid or PHA toner, or a soft washcloth with lukewarm water. Skip gritty scrubs, which can leave tiny scratches and make dry patches angrier.
- How often: once or twice a week is plenty for most dry skin. More than that and you can strip the very barrier you're trying to support.
- Follow with: a rich night cream so the fresh skin gets sealed in moisture straight away.
Layer Hydration, Then Wait Five Minutes
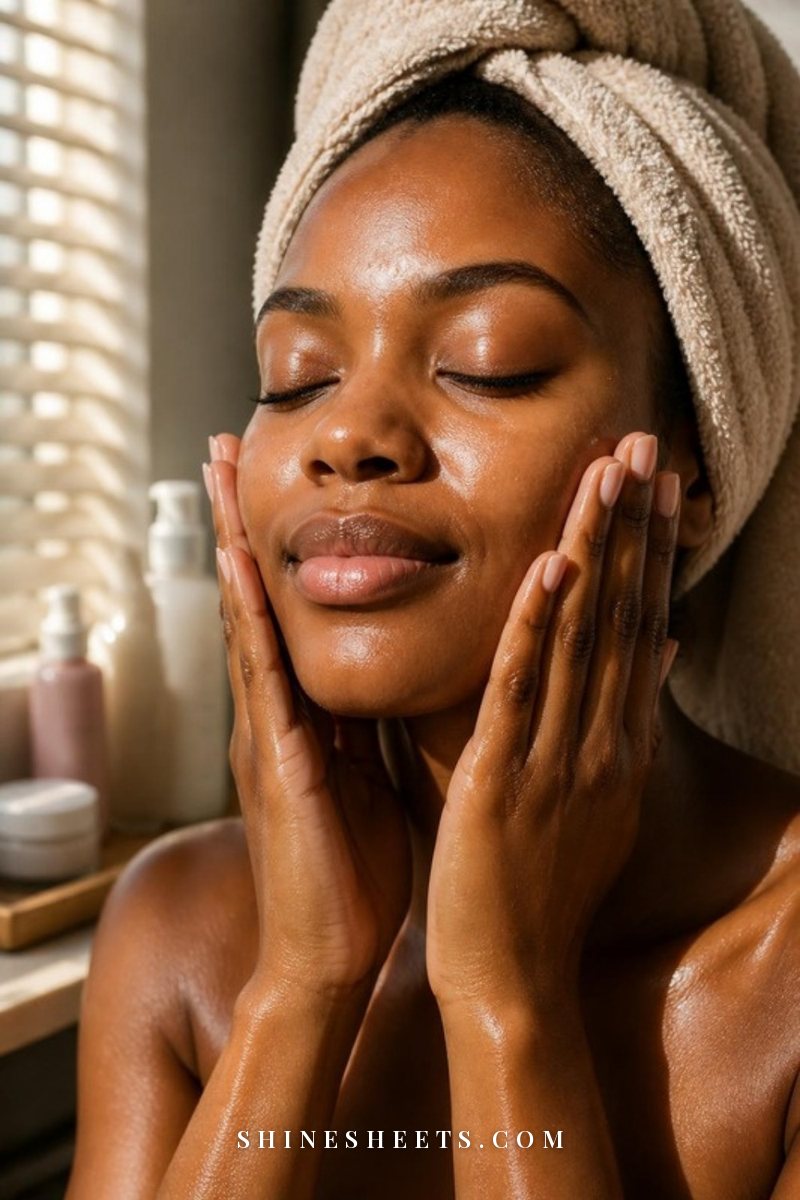
In the morning, think in thin, watery layers first and a richer cream last. A typical order looks like this:
- Hydrating toner or essence: pat it in with your palms while your skin is still a little damp from cleansing. Two thin layers beat one heavy splash.
- Hydrating serum (optional): something with hyaluronic acid or glycerin, again on slightly damp skin.
- Rich moisturizer: a cream with ceramides, squalane or shea, massaged in with upward strokes.
- Sunscreen: a moisturizing formula, if your moisturizer doesn't already have SPF.
Then comes the step almost everyone skips: wait five minutes. Make your tea, pick your earrings, brush your brows. Moisturizer that hasn't sunk in yet will slide around under foundation and cause pilling. Moisturizer that has settled gives you a soft, slightly tacky surface that base grips beautifully.
My skincare routine for dry skin goes into which ingredients to look for in each step if you'd like to build the full morning and night plan.
Balm Your Lips First
This one takes ten seconds and saves your lipstick later. Put a thick lip balm on right after your moisturizer, before you even touch foundation. By the time you get to lips at the end, the balm has softened any flakes, and you can blot the excess with a tissue so color goes on smooth instead of catching on dry edges.
Hydrating Primer or a Drop of Facial Oil
Primer isn't mandatory, but on dry skin the right one acts like a moisture cushion between your skincare and your base. The wrong one (anything labeled "mattifying", "pore-blurring" or "oil control") will do the opposite.
Look for a hydrating primer with a dewy finish that feels like a light lotion, often with glycerin, hyaluronic acid or a touch of oil in the ingredient list. Use a pea-sized amount for your whole face, warm it between your fingertips and press it in, focusing on the areas that tend to get rough: cheeks, around the nose, chin and between the brows.
No primer? A drop of facial oil works just as well. Here's my little formula:
- One drop of a light oil (squalane is a lovely choice for most skin types)
- Pressed only onto the driest spots, not your whole face
- Two minutes of waiting before foundation
You can also mix that single drop straight into your foundation on the back of your hand for a sheerer, dewier finish. My guide to facial oils for every skin type explains which oils are lightest and which are better saved for night.
Choosing a Base That Loves Dry Skin
When skin is dry, the formula of your base matters more than the brand. Here's how the main options compare:
Skin Tint
The easiest choice for everyday. A dewy skin tint gives sheer, even coverage with lots of slip, so it moves with your skin instead of settling on top of it. It's ideal if your main goals are evening out redness and looking rested. Dot it on with fingers and spot-conceal wherever you need more.
Dewy or Hydrating Foundation
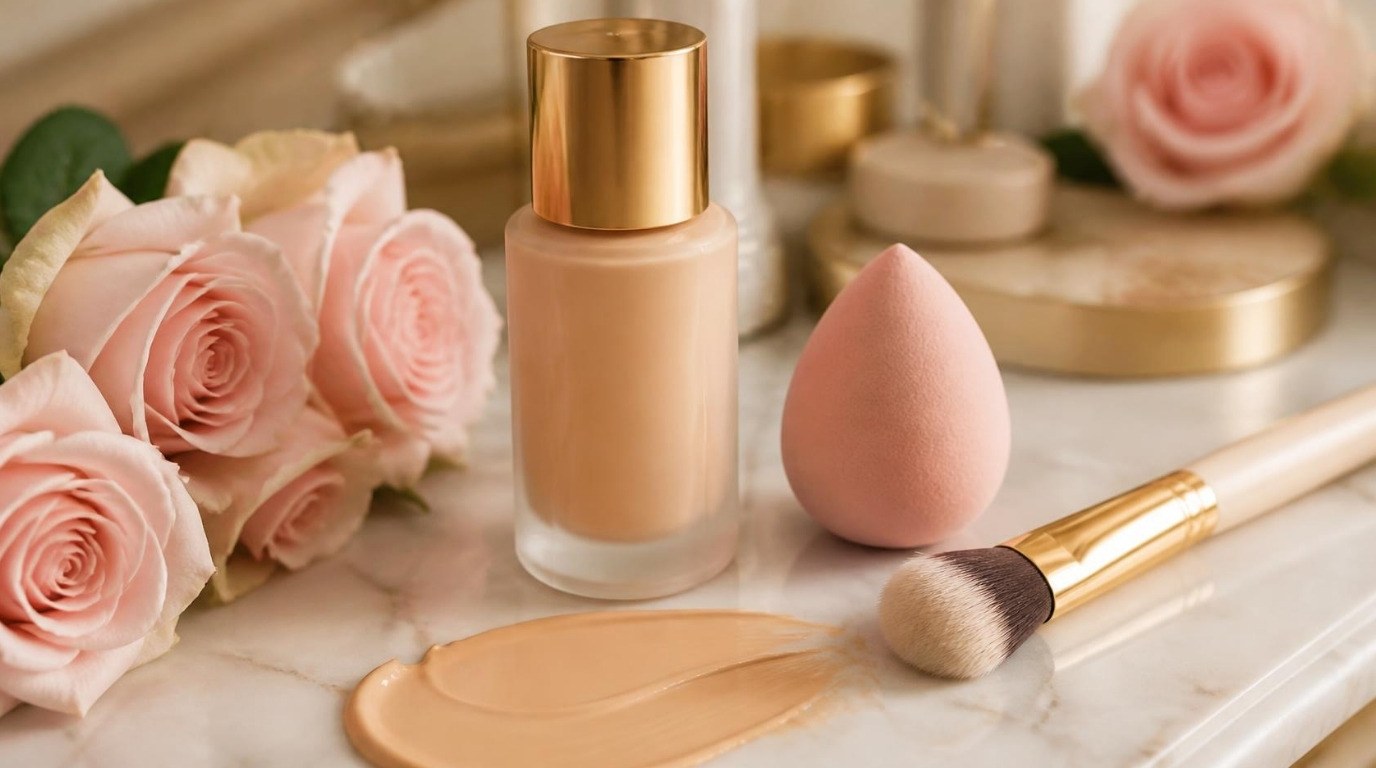
When you want more coverage, look for words like "hydrating", "luminous", "radiant" or "satin" on the bottle. Liquid and serum foundations are usually kinder to dry skin than thick creams that contain a lot of powdery pigment. Start with half a pump. You can always add a second thin layer where you need it.
Cushion Compact
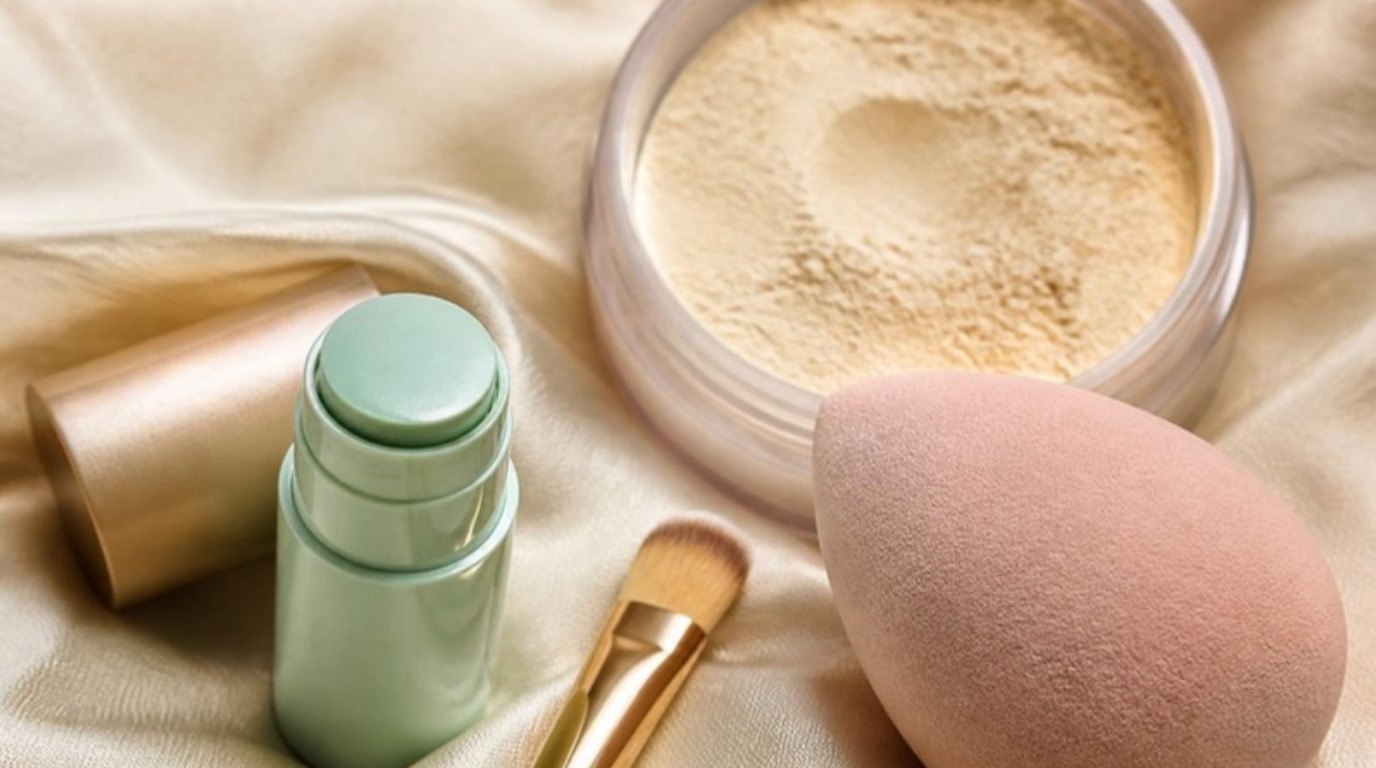
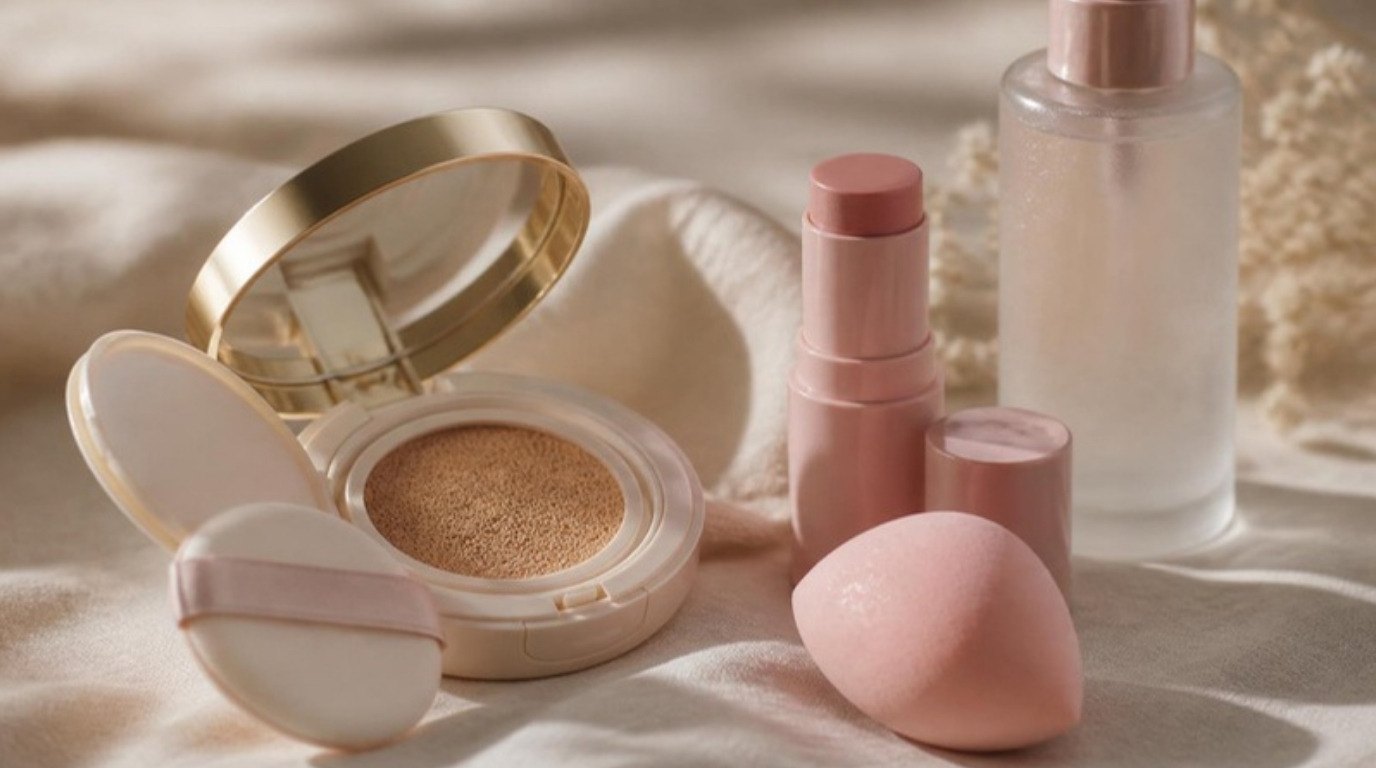
A Korean beauty favorite for good reason. A cushion foundation compact holds a watery, hydrating formula in a sponge, so every pat deposits a thin, fresh layer. It's also brilliant for touch-ups because it adds moisture rather than powder. Press the puff gently into the cushion once, then tap (don't swipe) from the center of your face outwards.
What To Skip
Matte long-wear foundations, "24-hour" formulas and anything described as "velvet matte" are built to set firmly and stay put. On dry skin they often cling to texture, emphasize fine lines and crack around the nose and mouth by lunchtime. If you love one for a special event, keep it to your T-zone and use a dewy base everywhere else.
For a full walkthrough of picking your shade and building coverage, read my guide on how to apply foundation so it looks like skin.
How To Apply Your Base With a Damp Sponge

Brushes are wonderful, but on dry skin they can sometimes lift flakes and leave streaks. A damp sponge does the opposite: it presses product in and adds a little extra moisture as you go.
- Soak it. Run a soft makeup blending sponge under the tap until it doubles in size, then squeeze it in a clean towel until no water drips out. It should feel damp, not wet.
- Dot, don't spread. Put small dots of foundation on your forehead, cheeks, nose and chin.
- Bounce. Use quick, light tapping motions to press the product into skin. Never drag or swipe, which is what lifts dry patches.
- Go thin around movement. Use whatever is left on the sponge for around the nose, mouth and under the eyes. These areas crack first when they get too much product.
- Finish with a clean side. Bounce the clean part of the sponge over everything to melt any edges.
Rinse your sponge after every use and let it dry fully in the air. A damp sponge stored in a closed bag is not something you want near your face.
Cream Products Over Powders
This is the swap that changes everything. Powder blush, bronzer and highlighter are pressed pigment designed to grab onto skin. Cream and liquid versions blend into your base instead of sitting on top, so the whole face looks like one smooth surface rather than layers stacked on layers.
One rule for all of them: apply creams before any powder. Cream over powder drags and goes patchy. Cream over cream melts together.
Cream Blush
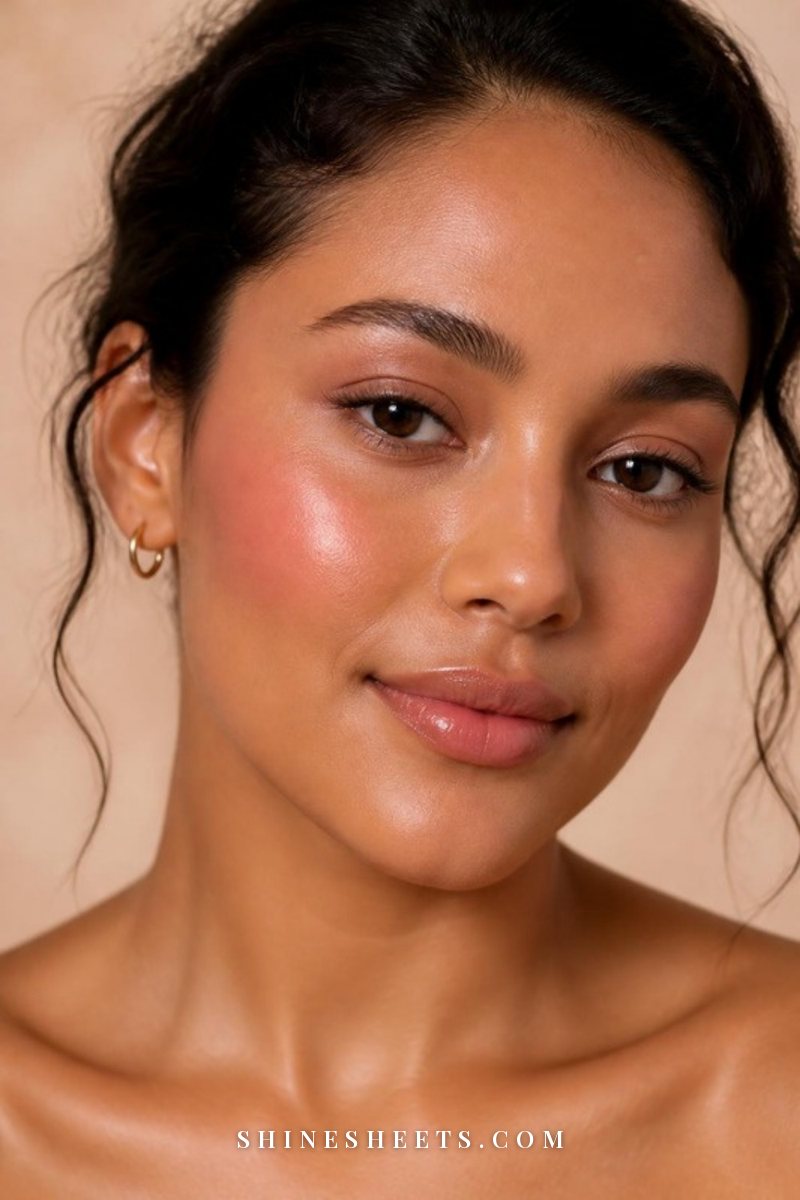
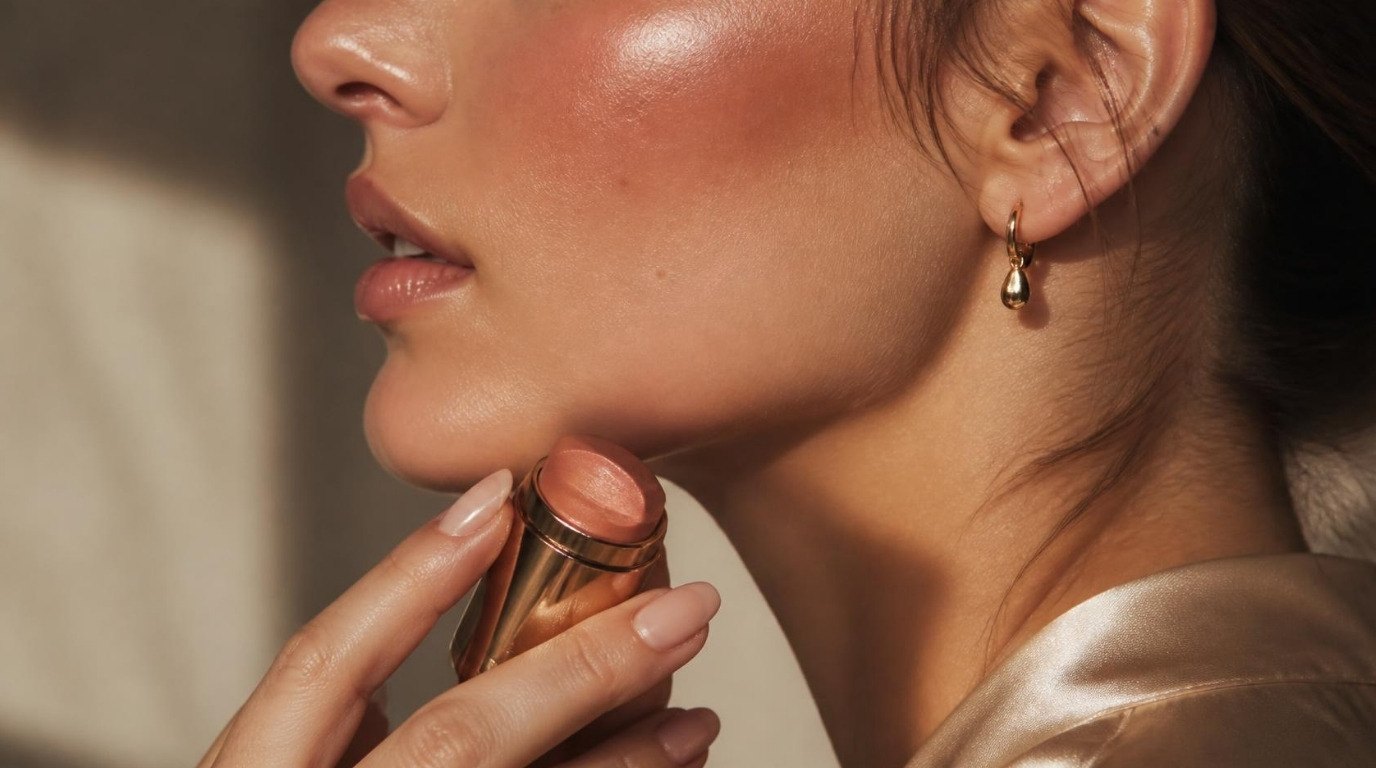
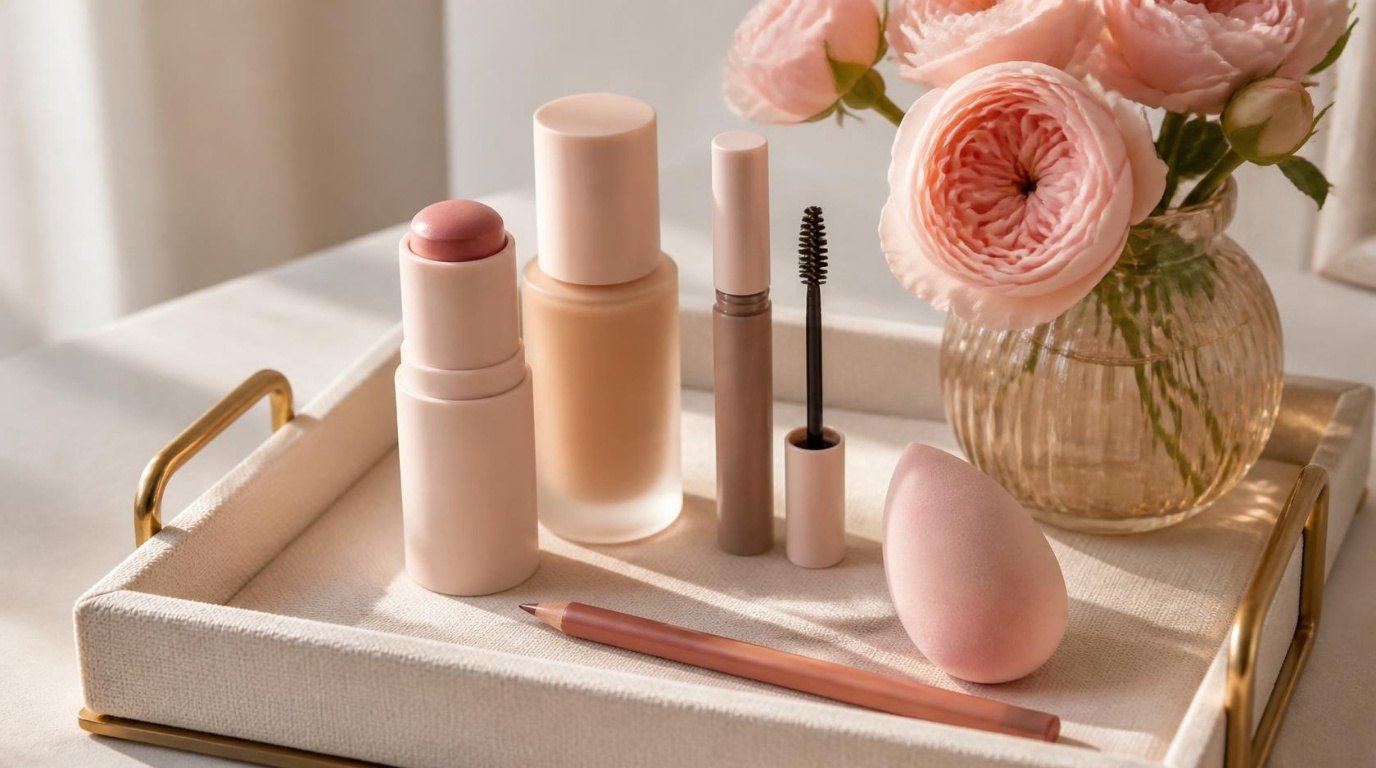
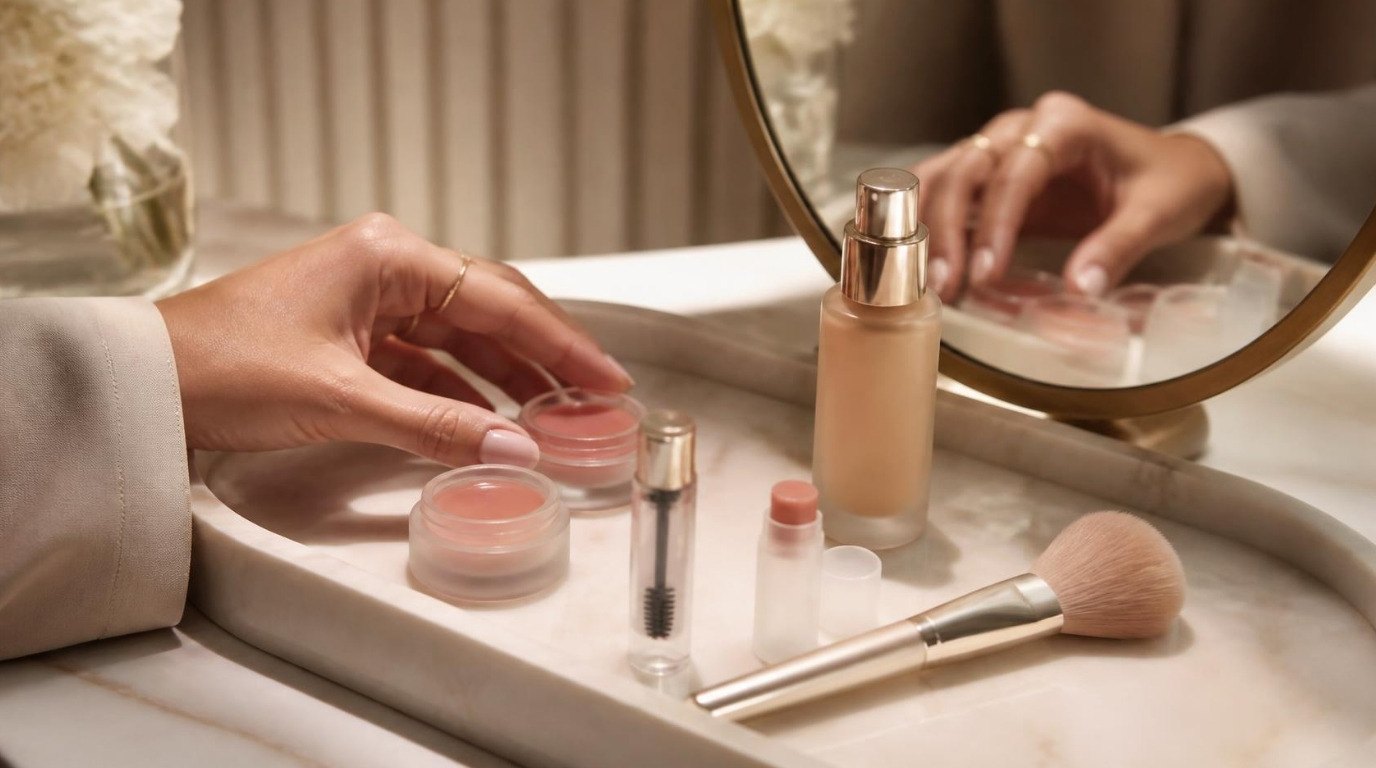
A pink cream blush stick is the fastest way to look awake on dry skin. Swipe it directly onto the high point of your cheeks (two short lines on each side is enough), then tap it upwards towards your temples with your fingertips. Fingers work beautifully here because the warmth of your skin helps the cream blend.
Soft pinks and peachy roses tend to look the freshest. If the blush looks too strong, bounce your damp foundation sponge over it to sheer it out.
Cream Bronzer
Use it the same way, just placed where the sun would naturally hit: along the top of the forehead, under the cheekbones and lightly along the jaw. Choose a shade only one or two tones deeper than your skin, and blend in small circles with a dense brush or your fingers. Cream bronzer gives warmth without the dusty look that powder can leave on a dry face.
Liquid Highlighter
Dry skin often has a lovely natural sheen once it's well hydrated, so highlighter is optional. If you love it, a liquid or balm highlighter tapped onto the tops of your cheekbones looks like healthy skin. Powder highlighters with big shimmer particles, on the other hand, tend to sit on texture and make flakes look sparkly (not the effect anyone wants). My guide to the dewy makeup look shows exactly where to place it so it reads fresh, not oily.
Concealer That Won't Crack
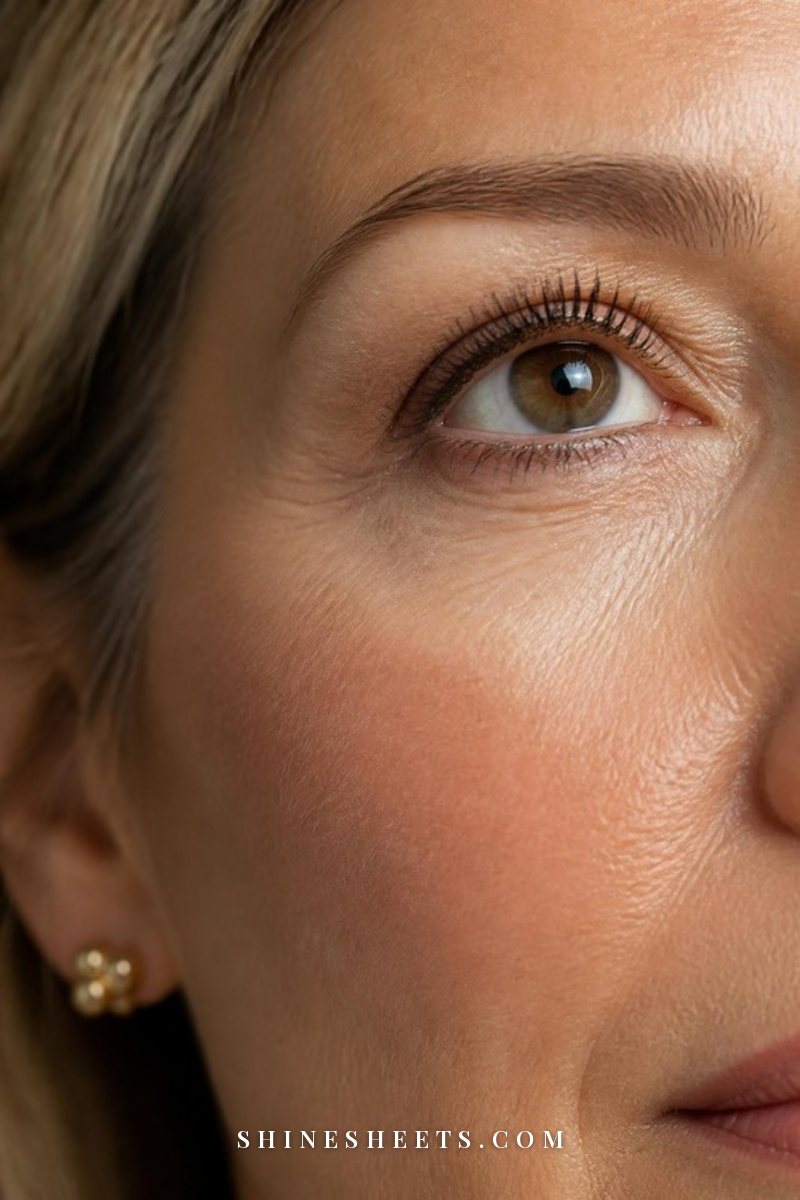
The under-eye area is thinner and drier than the rest of your face, so concealer here cracks faster than anywhere else. A few small habits make a big difference:
- Eye cream first. Tap a rice-grain amount around the orbital bone with your ring finger and give it a couple of minutes to absorb.
- Choose a creamy formula. Hydrating, radiant concealers are kinder than full-coverage matte ones. If it feels thick on the back of your hand, it will feel thick under your eyes.
- Less product, placed well. Put a tiny dot only at the inner corner and the darkest spot, not a big triangle down your cheek.
- Warm it, then tap. Warm the concealer on your fingertip for a second, then tap it in. Finish with the damp sponge to press away any excess.
- Smile and check. Smile, then look straight ahead. Any concealer collecting in lines gets one more gentle tap.
If creasing is your biggest frustration, I wrote a whole guide on how to apply concealer without creasing, including how to set (or not set) the under-eye area.
Setting: Only Where You Need It
Here's some gentle permission: you don't have to powder your whole face. In fact, on dry skin, you probably shouldn't. Full-face powder is usually what turns a fresh base into a dull, flat one by midday.
Ask yourself one question: where do I actually get shiny or where does my makeup actually move? For most people with dry skin, the honest answer is "the sides of my nose and maybe the center of my forehead." That's where powder goes.
- Use a small, fluffy brush, not a big puff.
- Tap off the excess before it touches your face.
- Press (don't sweep) a whisper of finely milled translucent powder only on those spots.
If your skin is very dry, skip powder entirely. Your makeup will be a little more "alive" and that's exactly the point.
Instead, finish with a hydrating setting spray. Hold it about an arm's length away and mist in an X shape, then a T shape. Let it dry on its own without touching your face. It helps every layer melt together and takes away any leftover powdery look.
The Dry Skin Makeup Swap Table
This is the short version of everything above. Screenshot it and keep it handy the next time you're standing in the makeup aisle:
| Instead of… | Use… | Why it helps |
|---|---|---|
| Gritty face scrub on the morning of | A gentle acid toner the night before | Removes flakes without leaving skin raw under makeup |
| Moisturizer, then foundation straight away | Moisturizer, then a five-minute wait | Stops pilling and gives base something to grip |
| Mattifying or pore-blurring primer | Hydrating primer or one drop of facial oil | Adds a moisture cushion instead of drying the surface |
| Matte long-wear foundation | Skin tint, dewy foundation or cushion compact | Moves with skin instead of cracking in lines |
| A dry brush for base | A damp makeup sponge | Presses product in and adds moisture as you go |
| Powder blush and bronzer | Cream blush and cream bronzer | Blends into base instead of clinging to texture |
| Chunky shimmer powder highlighter | Liquid or balm highlighter | Looks like healthy skin, not sparkly flakes |
| Thick matte concealer | Eye cream plus a thin creamy concealer | Stays smooth under the eyes for longer |
| Full-face setting powder | Powder on the T-zone only, or none | Keeps cheeks fresh and luminous all day |
| Blotting papers for midday dryness | Facial mist plus gentle tapping | Brings moisture back instead of taking it away |
| Matte liquid lipstick | Hydrating tint over balm | No cracking or flaky edges on lips |
You don't need to swap all eleven at once. Pick the two that sound most like your current routine and start there.
How To Fix Dry Patches Midday
Even with perfect prep, dry patches sometimes appear in the afternoon, especially in heated offices or on cold days. The instinct is to add more powder or more foundation. Please don't. Both make patches more obvious.
Try this three-step rescue instead:
- Mist. Spritz a hydrating facial mist (your setting spray works too) from a little further away than usual so it lands as a fine veil.
- Tap. While your skin is still damp, tap the dry area with clean fingertips or the clean side of a sponge. This softens flakes and re-melts the makeup around them.
- Balm. If a spot is still rough, glide a moisturizing balm stick over it, then tap once more. A tiny bit of your cushion compact on top evens things out if needed.
The whole thing takes about a minute and fits easily into a bathroom break. If midday dryness is a constant battle in the colder months, my winter skincare routine covers the small swaps that keep skin happier while the heating is on.
Lips: Hydrating Tint Over Balm
Remember the balm you put on at the very start? Now's when it pays off. Blot away anything still sitting on the surface, then choose your color.
- Best choices: tinted balms, lip oils, sheer hydrating lipsticks and glossy tints. They give color with comfort.
- Use carefully: matte liquid lipsticks. If you love one, apply a thin layer of balm, blot well, and keep the matte formula on the center of the lips only, softening the edges with a fingertip.
- Quick trick: tap a little of your cream blush onto your lips, then add balm over the top. Matching cheeks and lips always looks fresh and put together.
And if your lips are cracked or peeling, focus on repair for a few days before reaching for color. A thick balm at night and a few days off matte formulas usually make a big difference.
5 Dry Skin Makeup Mistakes To Stop Making
- Skipping moisturizer because "foundation is enough". Foundation is not skincare. Even a hydrating one can't replace a proper cream underneath.
- Applying foundation over visible flakes. If you spot them in the morning, press a little moisturizer onto the patch, wait a minute, then gently roll the flake away with a damp sponge before applying base.
- Building one heavy layer. Two thin layers always look more natural than one thick one, especially around the nose and mouth.
- Powdering everything "just in case". Powder only goes where you get shiny. If you don't get shiny, it doesn't go anywhere.
- Using old, dried-out products. Cream blushes and concealers lose moisture over time and start to drag. If a product feels stiff or patchy, it may simply be past its best.
A small, kind note: if your skin stays rough, itchy, red or peeling no matter what you do, it's worth checking in with a dermatologist. Sometimes what looks like dryness is something that needs a little more help than a better primer.
Final Thoughts
Makeup for dry skin isn't about hiding your skin. It's about giving it what it's asking for: moisture first, soft creamy textures, a gentle hand and powder only where it truly earns its place. Once those pieces are in place, makeup stops fighting your face and starts looking like you on a really good day.
Start with the five-minute wait and one cream swap this week. Those two small changes alone can turn flaky into fresh, and you deserve to feel comfortable in your skin from your morning tea to your evening one.