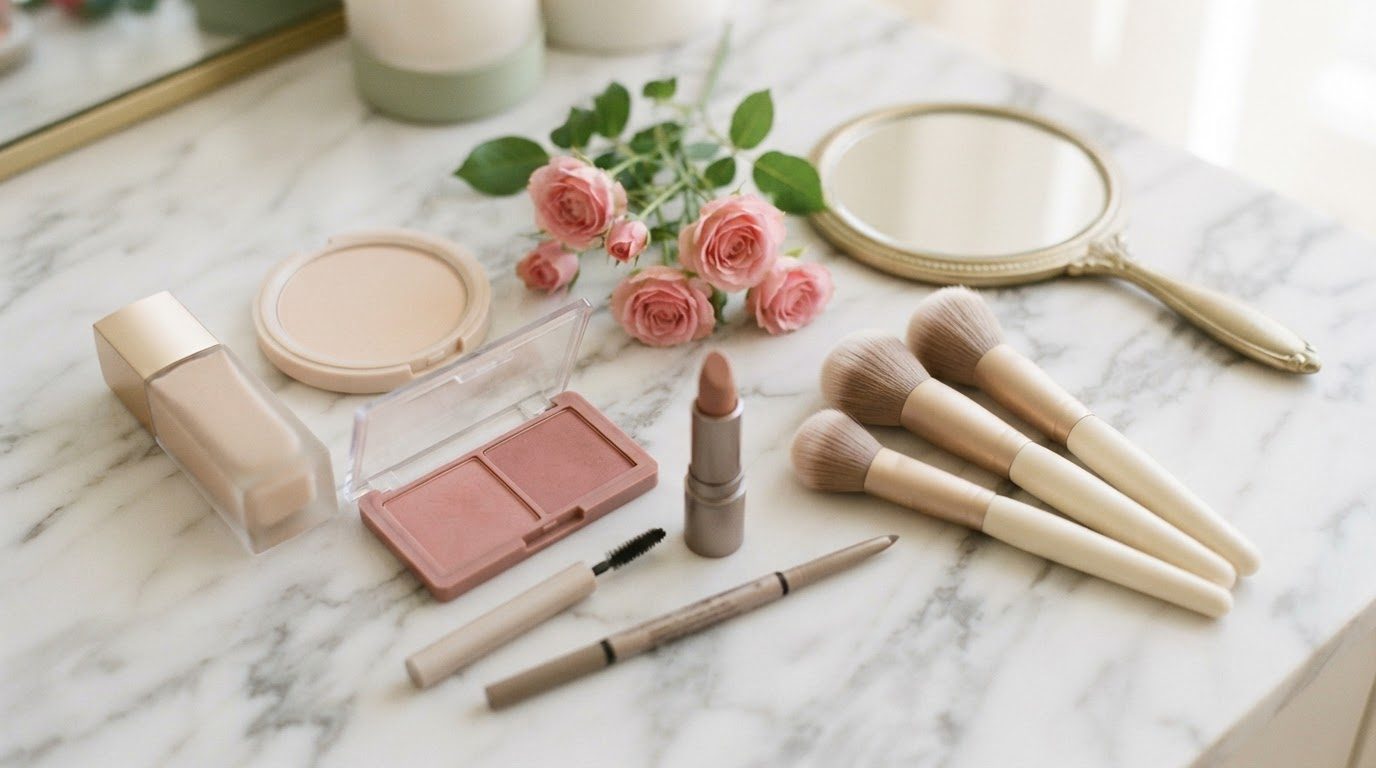
Contour isn't about drawing a new face on top of yours. On most days, a good contour is barely there at all: a soft shadow that makes your cheekbones look a little more lifted, your jaw a little more defined and your whole face a little more awake in photos. If someone can see exactly where you put it, it's probably too much.
The good news is that a natural contour is one of the easiest makeup skills to learn once you know three things: which formula suits your skin, which shade actually looks like a shadow (not a stripe of mud), and where to put it for your face shape instead of copying someone else's map.
This guide to contour for beginners walks you through all of it: cream vs powder vs stick, how to pick your shade, the four tools worth having, the four basic placements, a simple step-by-step routine and a face-shape placement table you can screenshot. There's also a little "too much? fix it" section for the days your hand gets heavy (it happens to everyone).
Keep it soft, keep it blended, and remember that you can always add more. Taking it away is the harder part.
What Contour Actually Does (and What It Doesn't)
Contour is simply a shade a little deeper than your skin, placed where natural shadows already fall. It works because our eyes read darker areas as "further back" and lighter areas as "closer." That's all. It doesn't change your bone structure, and it doesn't need to.
It helps to know the difference between three products that often get mixed up:
- Contour creates shadow. It's usually cooler or more neutral in tone, with a matte finish, and it goes under the cheekbones, along the jaw and at the temples.
- Bronzer adds warmth, like a bit of sun. It's warmer in tone and goes where the sun would naturally hit: the high points of the forehead, cheeks and nose.
- Highlighter catches light. It goes on the tops of the cheekbones, the bridge of the nose and the cupid's bow.
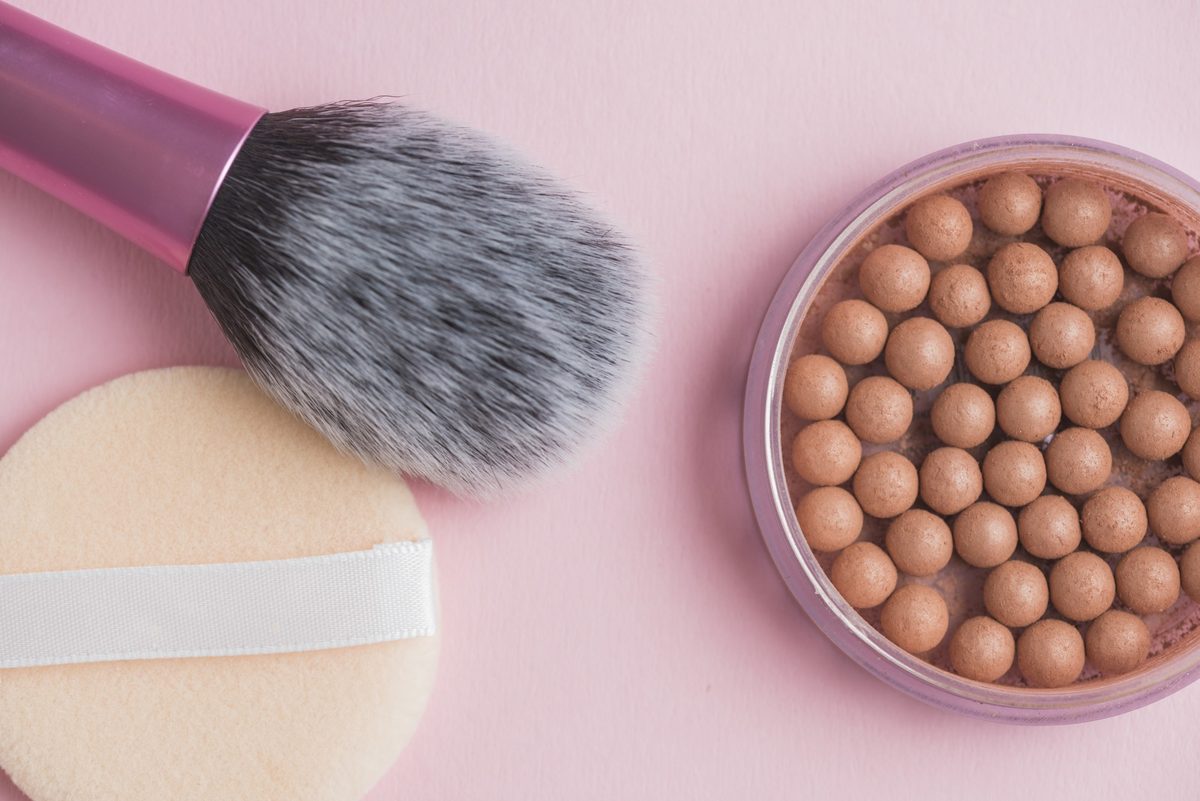
You can use one bronzer for both jobs if it's neutral enough, and plenty of people do. But if your contour always looks orange or "dirty," a warm bronzer in a contour spot is usually the reason.
Cream vs Powder vs Stick: Which Formula Should You Choose?
There's no "best" formula, only the one that suits your skin type and the rest of your makeup. Here's how they compare:
- Cream contour (pots or palettes). Melts into the skin and looks the most natural. Great for normal and dry skin, and for no-foundation days. Goes on after liquid or cream products and before powder.
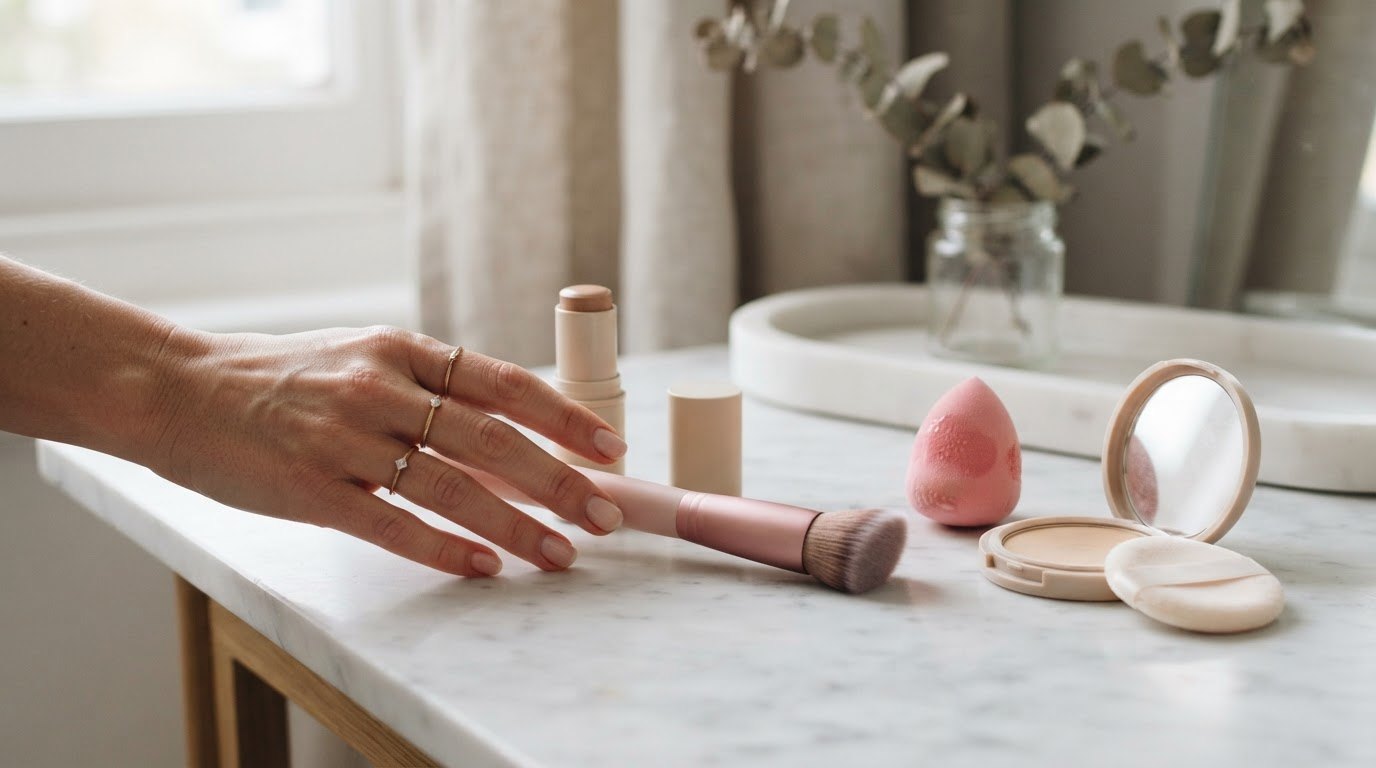
- Stick contour. The same cream texture in a twist-up stick, which makes it the easiest for beginners because you can draw a light line and blend it out in seconds. A creamy contour stick in a soft neutral shade is the format I'd point most beginners toward.
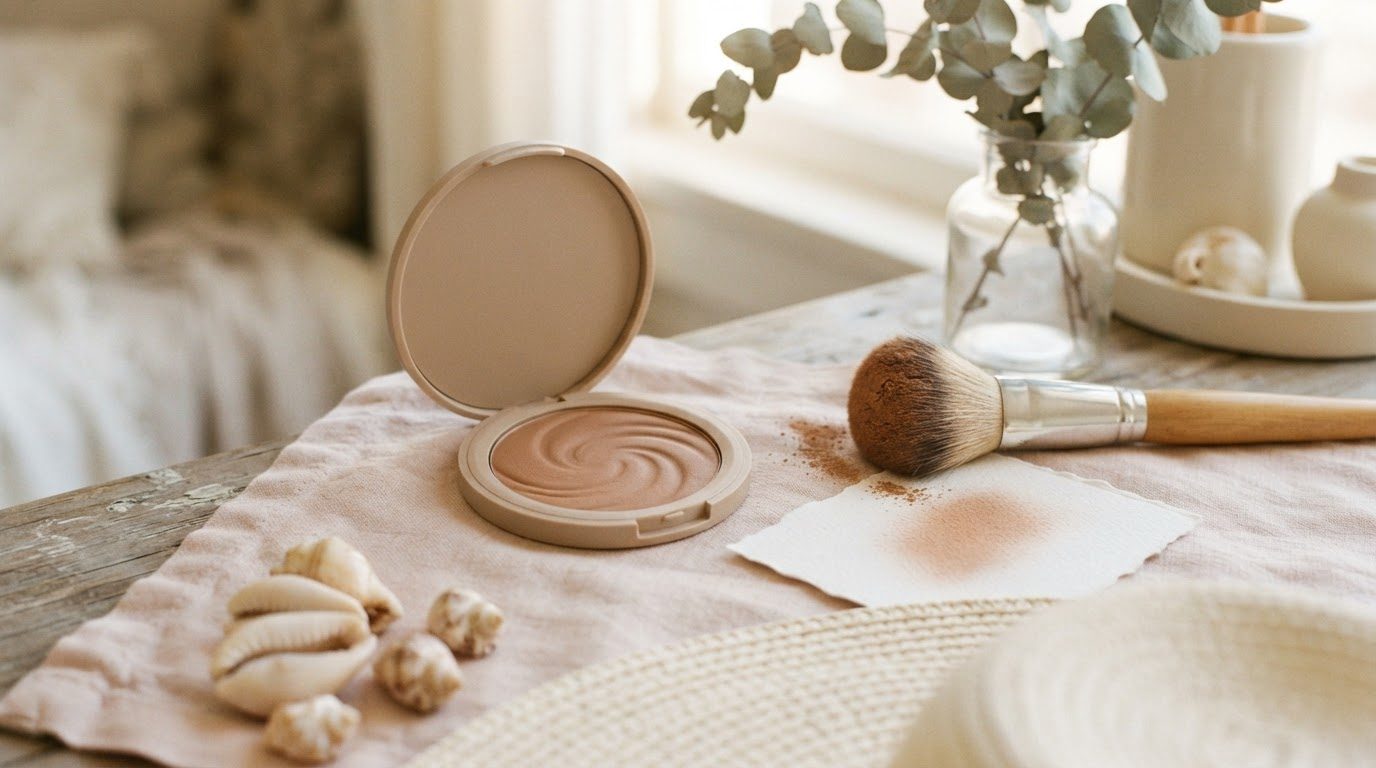
- Powder contour. Easier to control and longer-wearing, especially on oily skin or in summer. It goes on after setting powder. If you have a shiny T-zone (I do), a small matte powder contour palette is also handy for touching up later in the day.
A simple rule of thumb: cream for skin that looks dewy or dry, powder for skin that gets shiny, and both (cream first, a whisper of powder on top) if you want it to last from morning coffee to late dinner.
Combination skin can go either way. Look for a cream formula described as "blendable" or "buildable" rather than "long-wear," which often sets too fast to blend.
How To Choose Your Contour Shade
This is where most beginner contour goes wrong, and it's not your fault: so many shades on the shelf are actually bronzers. Use these three checks:
- Go about two shades deeper than your skin. Not four, not six. If you're fair, that means a soft taupe, not a chocolate brown. If you have deep skin, a rich neutral brown that's just slightly deeper than your foundation.
- Pick a cool or neutral undertone. Real shadows are grayish-brown, not orange. A shade that looks a little "boring" in the pan is often the one that looks the most natural on your face.
- Swatch it on your jaw, not your hand. Swipe a little along your jawline in daylight. The right shade looks like a soft shadow. The wrong one looks like a stripe or like dirt.
If you're not sure what your undertone is, my guide on how to choose your foundation shade walks through the vein, jewelry and white-shirt tests. Once you know your undertone for foundation, contour gets much easier: neutral and cool undertones usually suit taupe contours, warm undertones suit soft neutral browns (still not orange).
The 4 Tools You Actually Need
You don't need a twelve-piece brush set. These four tools cover every contour look in this guide:
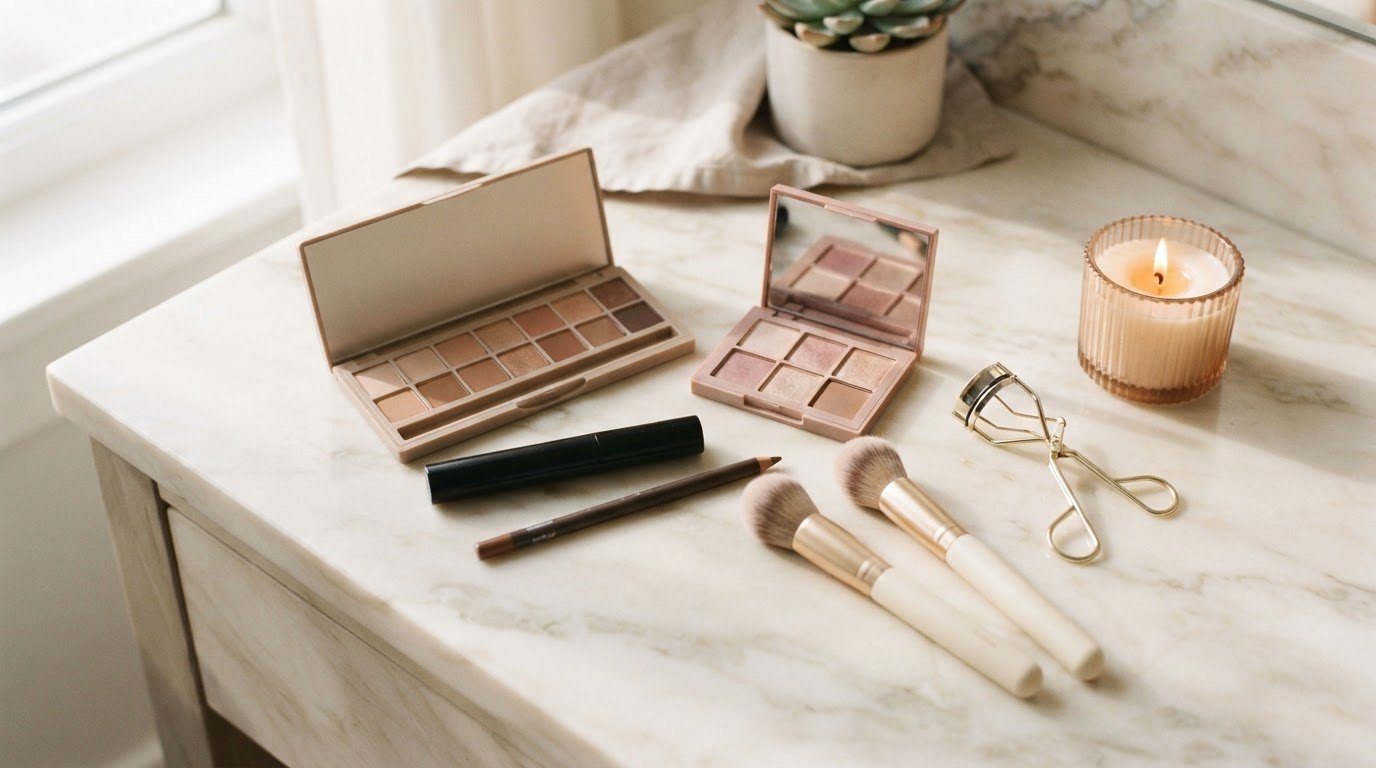
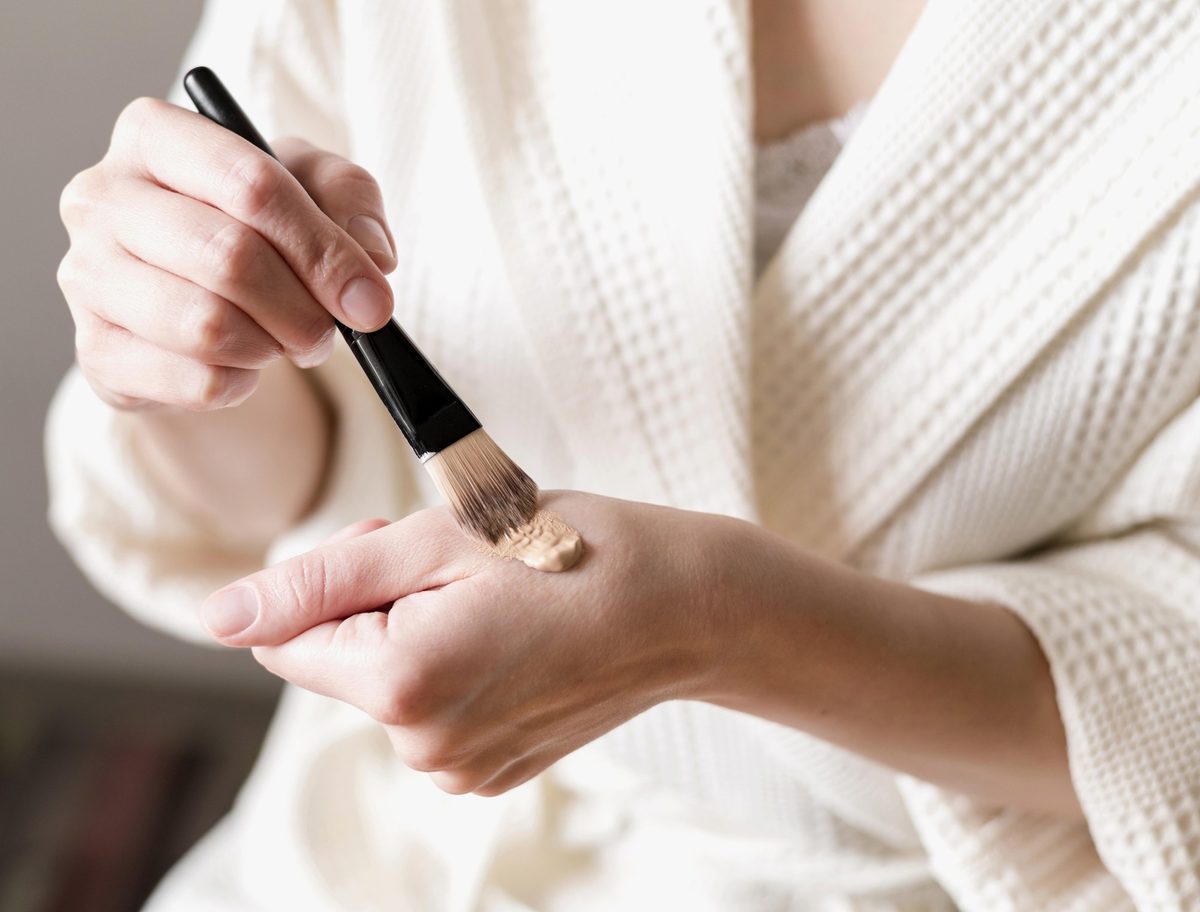
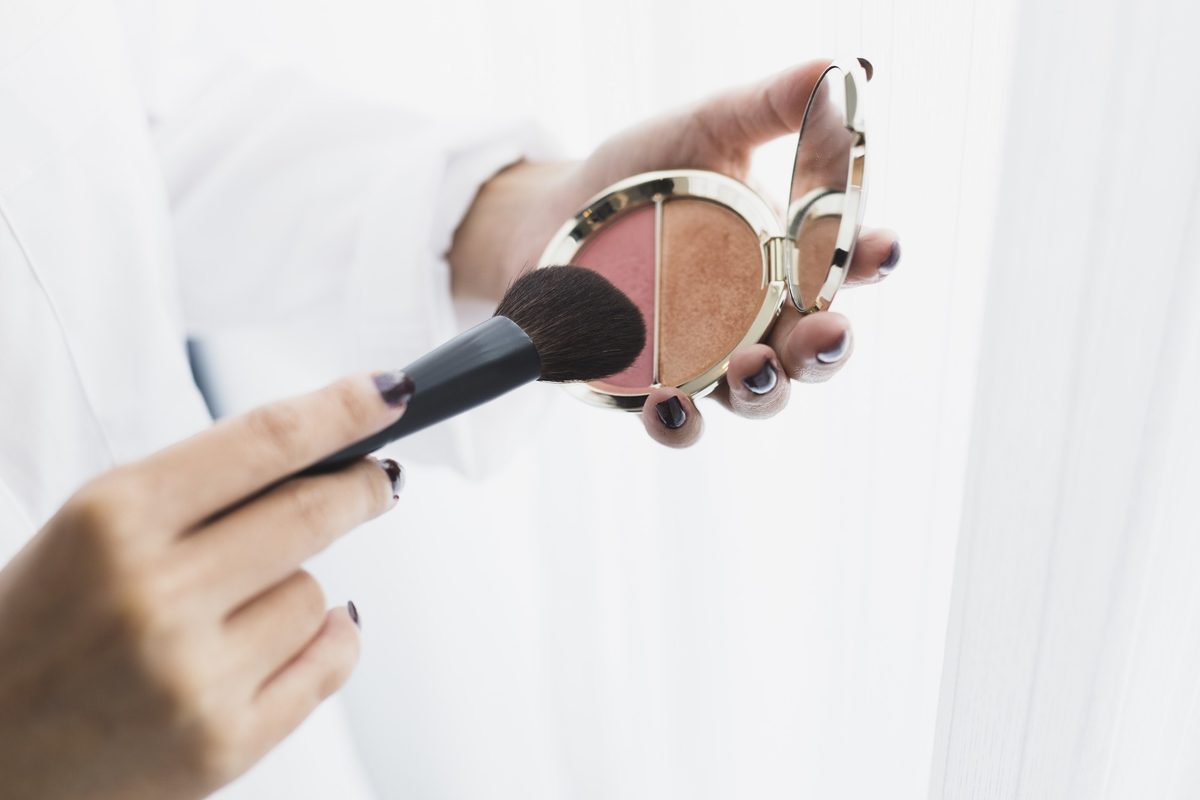
- An angled contour brush. The slanted shape fits right under the cheekbone and does half the placement work for you. An angled contour brush with soft, dense bristles works with both cream and powder.
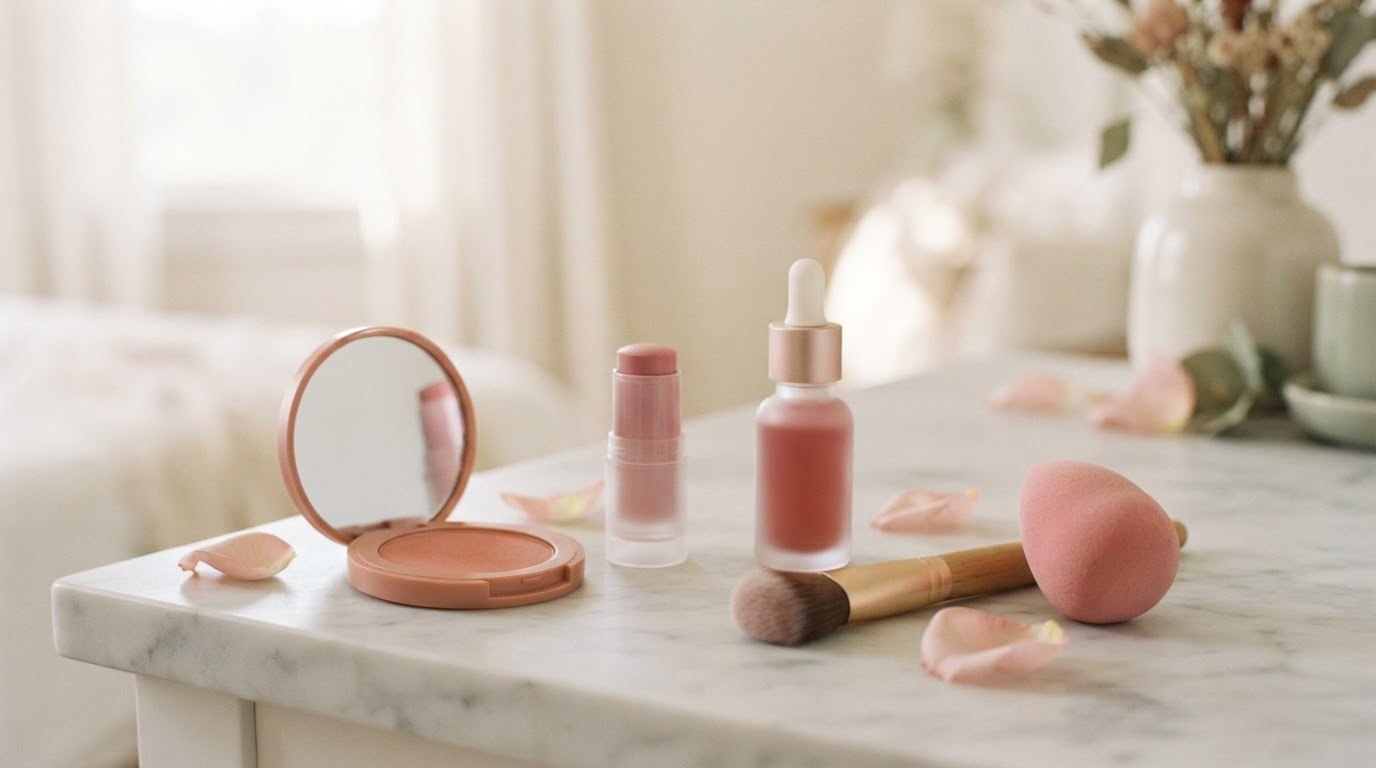
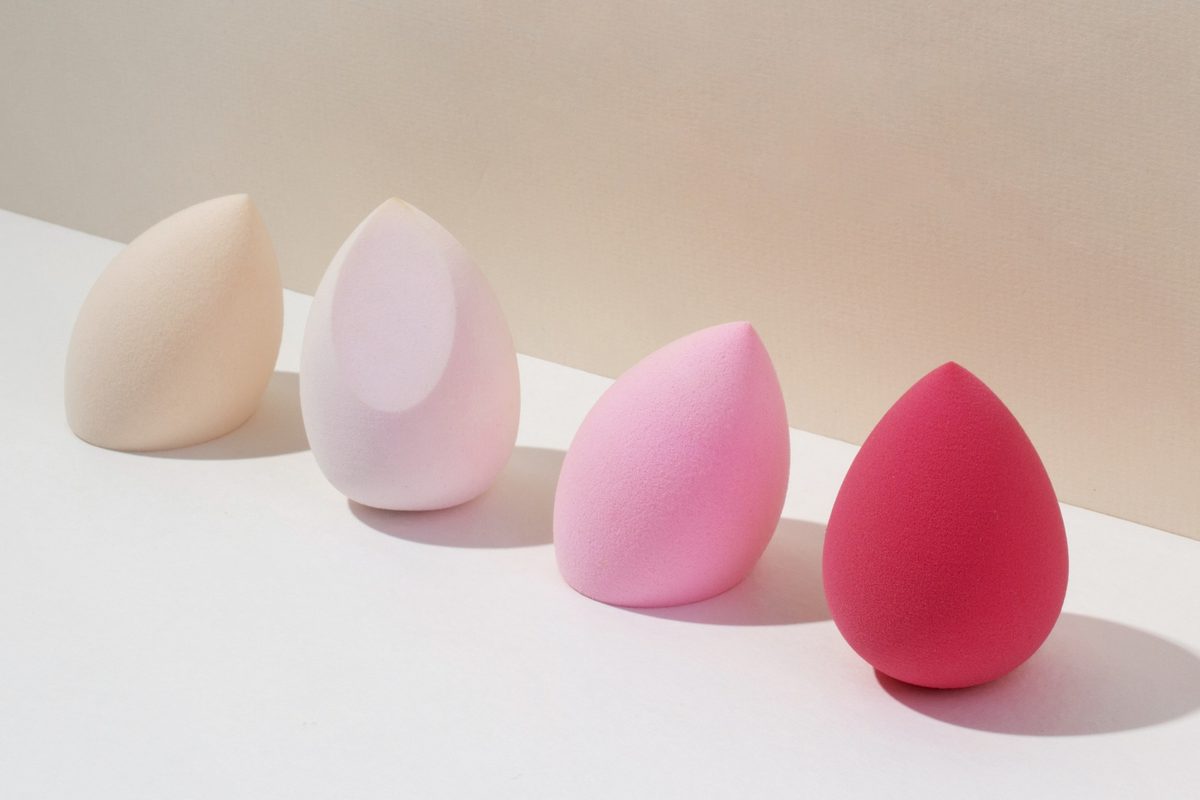
- A damp beauty sponge. The easiest way to soften cream contour so it melts into foundation instead of sitting on top. Squeeze it under water, wring it out until it's just damp, and press (don't swipe). A classic teardrop beauty sponge is perfect here.
- A fluffy blending brush. For softening edges and for the "too much" fixes later. Look for a loose, fluffy blending brush with no harsh edges, something you'd happily use for setting powder too.
- A light setting powder. A sheer veil of finely milled translucent setting powder on top of cream contour keeps it from sliding around, especially on an oily T-zone.
Wash your contour brush once a week if you use cream products. Cream residue builds up fast and makes the next application patchy.
The 4 Basic Contour Placements
Before we get into face shapes, here are the four classic spots. Think of them as the starting point, and then adjust with the table below.
1. Under the Cheekbones
Find the hollow by gently feeling for the bottom of your cheekbone with your fingers. Place the contour just above that hollow, starting near the top of your ear and stopping roughly in line with the outer corner of your eye. Going further toward the mouth is what creates that heavy, "sucked-in" look.
2. Along the Jawline
A soft line just under the jawbone, from below the ear toward the chin. Keep most of it under the jaw, blended down toward the neck, so there's no visible edge between face and neck.
3. At the Temples
A light sweep at the outer edge of the forehead, connecting toward the cheek contour in a soft "3" shape. This frames the face and makes a higher forehead look a little shorter.
4. The Nose (Optional)
Two very thin, very soft lines down the sides of the nose bridge, blended well. Honestly, most people can skip this on everyday days. If you do it, use what's left on the brush, never a fresh dip.
How To Contour Step by Step
Here's a simple routine for a soft, natural contour. It takes about five minutes once you've done it a few times.
- Prep your skin. Moisturize and let it sink in for a minute or two. Contour on dry patches clings and looks blotchy. If you have combination skin, my routine for combination skin keeps the T-zone and cheeks balanced so makeup sits evenly.
- Apply your base. Foundation, skin tint or just concealer where you need it. If you're skipping foundation, contour still works; just use a lighter hand.
- Map with a light hand. Draw a thin line or tap two or three small dots of cream contour on each spot. Less than you think.
- Blend upward and outward. Use the damp sponge or the angled brush in small circles and presses, moving up toward the hairline. Blending downward drags the face down; blending up keeps it lifted.
- Check in daylight. Step back from the mirror, or look at your reflection near a window. Any visible line means more blending.
- Set it. Press a little setting powder over the contour with a fluffy brush. If you want more depth, add a whisper of powder contour on top.
- Finish with blush and highlight. Blush goes just above the contour on the apples of your cheeks, highlighter above that. The three layers blending into each other is what makes it look like skin.
If you love an effortless finish, this pairs beautifully with my clean girl makeup routine: skip the nose, keep the cheeks soft and let your skin do the talking.
How To Contour for Your Face Shape
The four basic placements work for everyone, but small adjustments make a big difference. A quick way to find your face shape: pull your hair back, look straight into a mirror and notice which part of your face is widest (forehead, cheekbones or jaw) and whether your face is longer than it is wide. Most faces are a mix, so pick the shape that feels closest and borrow from the next one if it helps.
Oval
Balanced proportions, slightly longer than wide, with a gently rounded jaw. You need the least contour of all: a soft touch under the cheekbones is often enough. Keep it light and skip the jaw unless you want a little definition for photos.
Round
Similar width and length, with full cheeks and a soft jaw. Place the cheek contour slightly lower and angle it a bit more diagonally (toward the corner of the mouth, but stop at the outer eye line). Add a soft line along the sides of the jaw to create gentle definition.
Square
A strong, angular jaw and a forehead of similar width. Focus on softening the corners: contour at the outer corners of the jaw and the temples, blended in rounded shapes rather than straight lines. Keep cheek contour soft and slightly higher.
Heart
Wider forehead and cheekbones, narrower chin. Contour the temples and the sides of the forehead to balance the width up top. Keep cheek contour light and high, and skip the jaw, which is already delicate.
Long (Oblong)
Longer than wide, with similar width at forehead, cheeks and jaw. Contour along the hairline at the top of the forehead and lightly under the chin to visually shorten the face. Keep cheek contour horizontal, almost straight back toward the ear, rather than angled down.
Diamond
Narrow forehead and jaw, with wide, high cheekbones. Place contour just under the widest point of the cheekbones and keep it soft. Skip the temples (they're already narrow) and add only a light touch at the point of the chin if you want.
Face-Shape Placement Table
Here's everything on one screen. Screenshot it and keep it next to your mirror for the first few tries.
| Face shape | Where to contour | Where to skip | Beginner tip |
|---|---|---|---|
| Oval | Lightly under the cheekbones | Nose, heavy jaw contour | Less is more; one soft stroke per side is plenty |
| Round | Under the cheekbones (slightly lower, angled), sides of the jaw | Center of the cheeks, chin | Angle the cheek line diagonally, but stop at the outer eye |
| Square | Outer corners of the jaw, temples, soft cheek line | Straight lines along the full jaw | Blend in rounded shapes to soften the angles |
| Heart | Temples, sides of the forehead, high on the cheeks | Jawline, chin | Keep the brush high; let blush do the work lower down |
| Long | Top of the forehead along the hairline, under the chin, cheeks straight back | Steep diagonal cheek lines | Think horizontal: every stroke goes toward the ears |
| Diamond | Just under the widest part of the cheekbones, lightly at the chin | Temples | Soft and short; your cheekbones already do most of it |
Too Much? Fix It: A Mini Rescue Guide
Heavy contour is the most common beginner mistake, and it's completely fixable without starting over. Here are five quick rescues:
- Too dark or too wide. Take a clean, damp beauty sponge and press (don't rub) over the area. It lifts excess product and softens the edges in about 30 seconds.
- A harsh line you can see. Dip your fluffy brush in a little setting powder or a tiny bit of your foundation and buff the edge in small circles, only along the line.
- It looks muddy or orange. The shade is too warm. Tap a light veil of translucent powder on top to mute it, and next time reach for a cooler, grayer tone.
- Patchy on dry areas. Press a drop of moisturizer or face oil between your fingertips and gently pat it over the patch, then blend again with the sponge.
- Contour placed too low. Blend the bottom edge up toward the cheekbone with the sponge, then sweep a little blush just above it. Blush pulls the eye upward and hides the low line.
One small habit prevents most of these: tap the brush on the back of your hand before it touches your face. It knocks off excess product, and you'll be surprised how little you need.
Common Contour Mistakes Beginners Make
Apart from "too much," these are the little things that make contour look obvious:
- Using a warm bronzer as contour. It adds warmth instead of shadow. Lovely as bronzer, confusing as contour.
- Bringing the cheek line all the way to the mouth. Stop in line with the outer corner of your eye.
- Forgetting the neck. If your jaw contour stops abruptly, it creates a visible "beard" line. Blend it down toward the neck.
- Contouring on bare, dry skin. Moisturizer first, always. Even on no-foundation days.
- Checking only in bathroom lighting. Bathroom lights are often warm and dim. Check near a window before you leave.
- Layering powder over wet cream. Give cream contour a minute to settle before powder, or it can turn patchy.
Concealer can also play a part here: if it creases or cakes under the eyes, the contour around it looks heavier too. My guide to concealer without creasing covers the small tweaks that keep the whole face looking fresh.
Everyday vs Evening Contour
Once you've got the basics, you can adjust the intensity depending on where you're going:
- Everyday (2 minutes): cream stick under the cheekbones only, blended with a damp sponge, no powder needed. Done.
- Work or brunch (4 minutes): cheeks plus temples, a light dusting of setting powder, blush on top.
- Evening or photos (6–8 minutes): all four placements, cream set with a thin layer of powder contour, and a soft highlight. Cameras flatten the face, so a bit more definition looks natural in pictures. This is where a little Old Hollywood glamour comes in: sculpted cheeks and a defined eye. If you want to build out the eyes too, my eye makeup for beginners guide has five easy looks that pair well with an evening contour.
Whatever the occasion, the same rule applies: build in thin layers, check in daylight and stop a step before you think you're finished.
Final Thoughts
Contour doesn't have to be dramatic, complicated or something you only attempt for special occasions. With the right shade, a damp sponge and placements that suit your face, it becomes a quiet little step that makes you look rested and put-together.
Start with just the cheekbones this week, find your row in the table, and let your hand get lighter with practice. The best contour is the one nobody notices, only the lovely, lifted version of you it leaves behind.