Your phone is probably the most-touched object in your life, and your laptop is a close second. They go from your hands to your face to the kitchen counter to your bag and back again, all day long, and most of us clean them far less often than we wipe down the bathroom sink. The good news is that cleaning electronics isn't hard at all. It's mostly about what you don't do.
No sprays aimed straight at the screen, no paper towels scratching the coating, no toothpicks poking into the charging port. Once you know the few rules that keep devices safe, the actual cleaning takes about ten minutes, and it feels surprisingly satisfying to pick up a phone that's clear and smudge-free.
This guide walks you through how to clean your phone and laptop safely, step by step: the golden rules first, then the phone (screen, case, lenses, ports), the laptop (screen, keyboard, trackpad, vents), a separate keyboard and mouse, what's actually safe for disinfecting, a table you can screenshot with the right tool and rhythm for every part, and the five mistakes I see most often.
Put a little calm music on, clear a spot on the table and let's give your most-used things some care.
Why Your Phone and Laptop Get So Grimy

Devices collect a very particular mix: skin oils from your fingers, makeup and moisturizer from your cheek during calls, hand cream, crumbs from desk lunches, dust from the air and whatever was on the café table where you set your phone down. Screens show it as smudges and that cloudy film. Keyboards hide it in the gaps between keys, where it slowly turns into a gray, slightly sticky layer.
A few habits make it build up faster than you'd think:
- Eating at your desk. Crumbs fall straight into the keyboard and oils travel from snack to fingertips to keys.
- Phone calls without earbuds. Foundation, SPF and lip balm transfer straight onto the screen.
- Taking your phone everywhere. Yes, including the bathroom (no judgment, almost everyone does it).
- Hand cream right before typing. Lovely for your hands, less lovely for the trackpad.
- A dusty room. Dust settles on the laptop and gets pulled into the vents, which can make the fan work harder.
None of this means you're doing anything wrong. It just means your devices are working hard for you and deserve a regular, gentle wipe. If dust is a big part of the story in your home, my guide on simple habits to reduce dust at home will help your laptop vents (and your shelves) stay cleaner for longer.
The 5 Golden Rules Before You Clean Any Device
Read these once and they'll protect every phone, tablet and laptop you ever own. Everything else in this guide is built on them.
- Power off and unplug. Turn the device fully off (not just asleep) and disconnect the charger, cables and any accessories. A dark screen also shows smudges much more clearly, and you won't accidentally send a half-typed message to your boss.
- Never spray liquid directly onto a device. Always spray or dampen the cloth, never the screen or keyboard. Liquid that runs down the edge can seep into openings and cause damage that doesn't show up right away.
- Use a barely damp microfiber cloth. "Barely damp" means you wring it out until no drop forms when you squeeze it. If it feels wet to the touch, it's too wet. Microfiber is soft, lint-free and won't scratch coatings the way paper towels or tissues can.
- Keep moisture out of every opening. Charging ports, headphone jacks, speaker grilles, microphone holes, vents and the gaps around buttons all stay dry. Wipe around them, never into them.
- Follow the maker's own care guidance. Every brand publishes cleaning instructions on its support site, and they differ a little (some allow alcohol wipes, some only water). When this guide and your device's maker disagree, the maker wins.
One more gentle note: if your device has a cracked screen or a damaged case, keep cleaning to a dry cloth only, since moisture can get through cracks much more easily.
What You Need: A Small, Gentle Cleaning Kit
You don't need special gadgets. A small kit that lives in a desk drawer is enough, and having it ready is half the reason you'll actually clean your devices regularly.
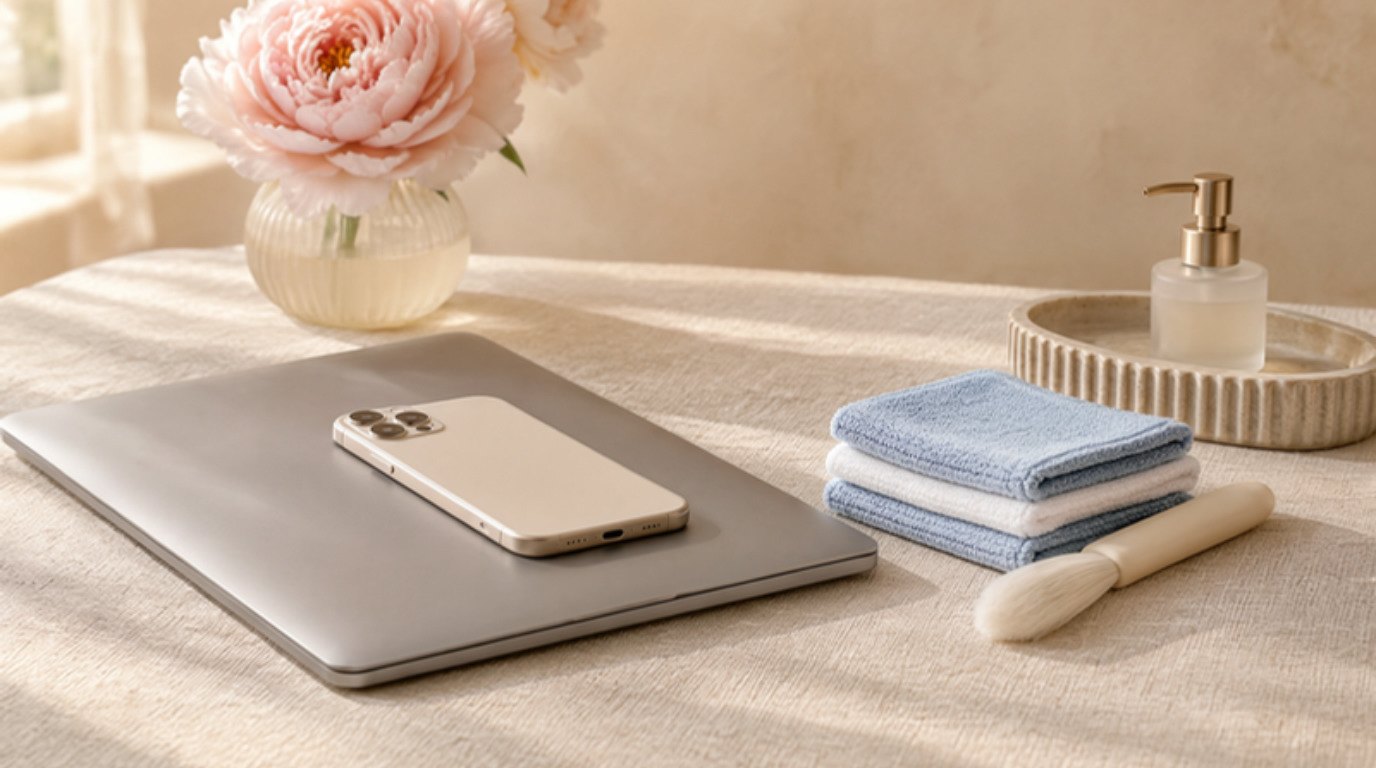
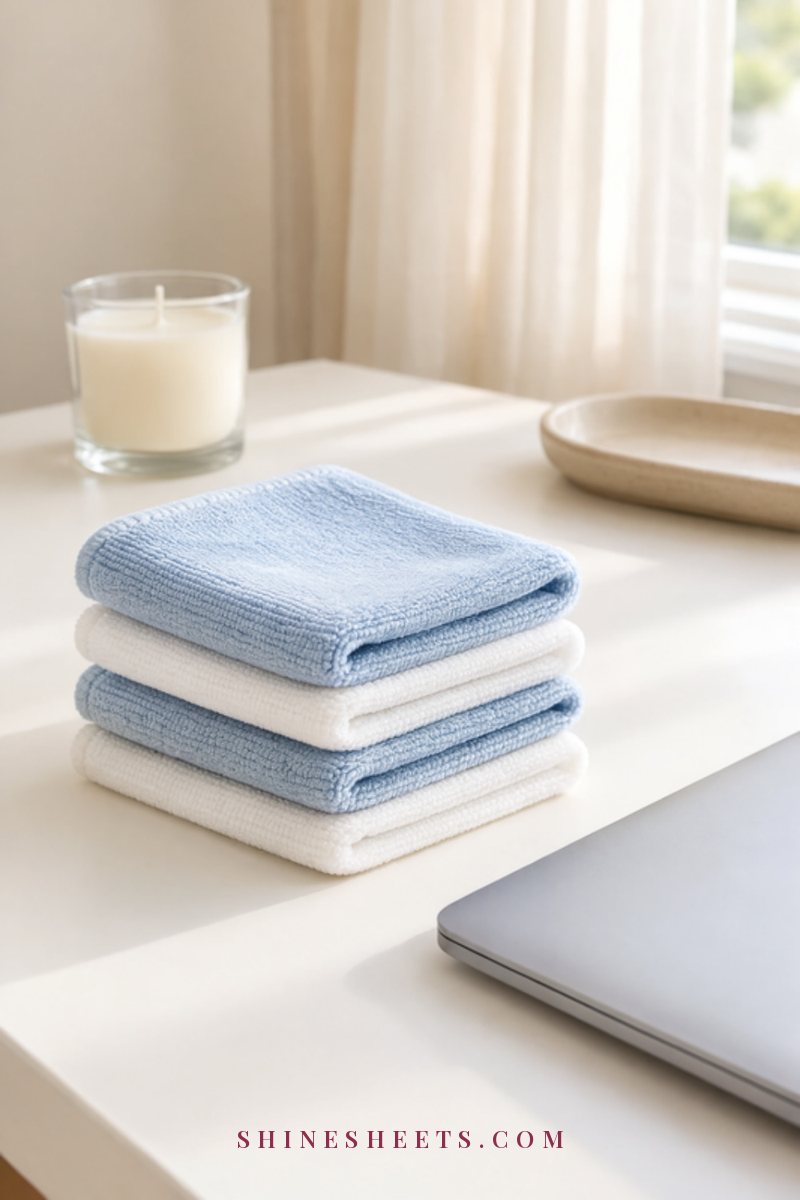
- Two or three microfiber cloths. One for dry dusting, one for barely damp wiping, one spare. A set of soft microfiber cloths in baby blue and white makes it easy to keep a "dry" color and a "damp" color so you never mix them up.
- A soft brush. For ports, keyboard gaps and speaker grilles. Look for a small soft-bristle keyboard cleaning brush with fine, gentle bristles. A clean, dry, soft makeup brush or a new soft toothbrush works too.
- Distilled or plain tap water. For dampening the cloth. Distilled leaves fewer mineral spots, but tap water is fine for most homes.
- Screen-safe wipes (optional). If you like the convenience, choose pre-moistened screen-safe cleaning wipes made for electronics, alcohol-free or 70% isopropyl depending on what your device's maker allows.
- A can of compressed air (optional). Only for keyboards and vents, and only used upright in short bursts (more on that below).
- A drop of mild dish soap. Only for washing a silicone or plastic phone case once it's off the phone, never for the device itself.
Wash your microfiber cloths every few uses with warm water and no fabric softener, which coats the fibers and leaves streaks.
How To Clean Your Phone, Step by Step
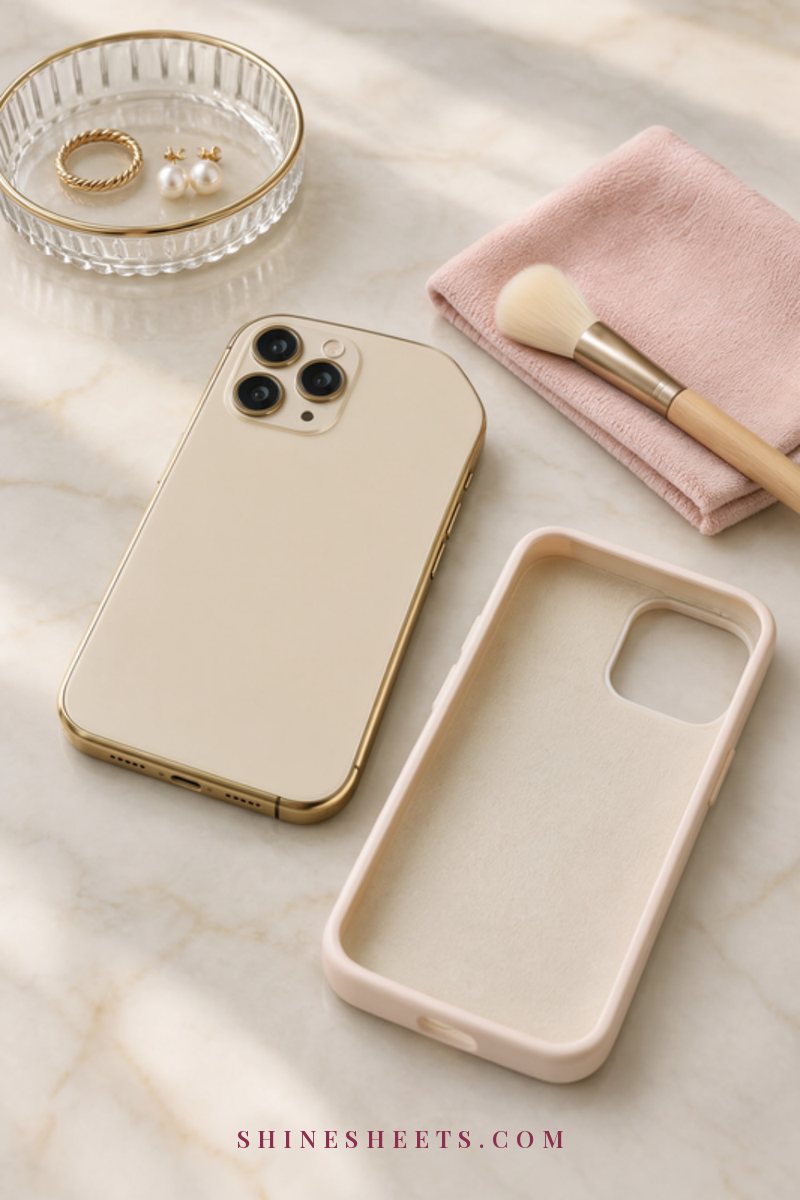
Set aside about five minutes. Power the phone off, unplug it and take off the case first, because dust and grit love to hide underneath.
Step 1: Wipe the Screen
Start with a dry microfiber cloth and wipe the screen in gentle, slow strokes from top to bottom. This lifts dust and loose grit before you add any moisture, so you're not dragging tiny particles across the glass.
If there's still a film, lightly dampen a second cloth with water, wring it out well and wipe again. Then buff dry with the first cloth. Most modern phones have an oil-repelling coating on the glass, and harsh cleaners slowly wear it away, so plain water is usually all you need for everyday smudges.
If your screen protector is the one getting smudgy, clean it the same way while it stays on the phone.
Step 2: Clean the Case by Material
Cases get grimier than phones, since they're what you actually hold. With the case off:
- Silicone or soft plastic: wash it in a bowl of warm water with one small drop of mild dish soap, rub gently with your fingers or a soft brush, rinse well and let it dry completely (at least an hour) before putting it back on. A trapped drop of water between case and phone is exactly what you want to avoid.
- Clear plastic that has yellowed: the same gentle wash helps with grime, though yellowing from age and sunlight usually won't wash out. That's the moment to replace it.
- Leather or faux leather: no soaking. Wipe with a barely damp cloth, let it air dry and follow any care note from the case maker.
- Fabric or woven cases: spot clean with a damp cloth and a tiny bit of soap, then blot and air dry.
If your case is past saving, a soft pastel silicone phone case is easy to wash and feels lovely in the hand. Look for one with raised edges around the camera and screen.
Step 3: Polish the Camera Lenses
Smudged lenses are the reason so many photos look hazy. Fold a clean, dry microfiber cloth into a small point and wipe each lens in tiny circles with very light pressure. If there's an oily mark, use the barely damp corner, then buff dry. Never use your shirt or a tissue, which can leave fibers and fine scratches.
Step 4: Clear the Ports and Speaker Grilles
This is where people do the most damage, usually with a pin, a toothpick or a paperclip. Please don't. Metal can scratch the contacts inside the charging port, and wood can splinter and leave pieces behind.
Instead, hold the phone with the port facing down and gently sweep with a dry, soft brush, letting gravity help the lint fall out. For the speaker grille, brush softly across it rather than into it. If your phone still won't charge properly after a gentle brushing, a repair shop or the maker's support team can clean the port safely.
Step 5: Wipe the Back, Edges and Buttons
Finish with a barely damp cloth over the back and sides, paying attention to the buttons where oils collect. Keep the cloth away from openings, buff dry and wait a minute before you put the clean, fully dry case back on and power up.
How To Clean Your Laptop, Step by Step
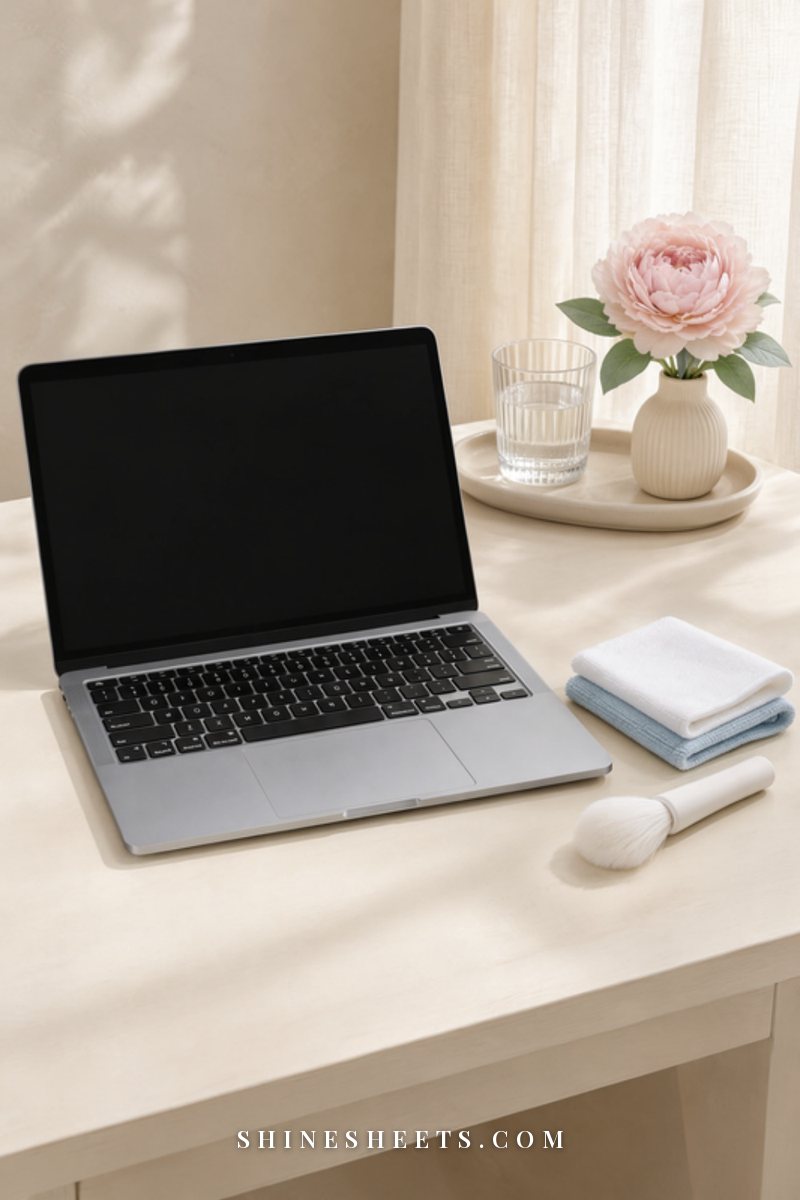
Give yourself ten to fifteen minutes. Save your work, shut the laptop down completely, unplug the charger and disconnect anything plugged into it. Let it cool for a few minutes if you've just been using it.
The Screen
Laptop screens are more delicate than phone glass, and many have a matte or anti-glare coating. Start with a dry microfiber cloth and wipe in one direction (top to bottom, or side to side) with light pressure. Don't press hard on the display. If you can see a ripple of color under your cloth, you're pressing too hard.
For fingerprints and spots, lightly dampen a second cloth with water, wring it out until it's barely damp and wipe again, then buff dry. Steer clear of glass cleaner, vinegar, ammonia and anything with "streak-free shine" on the label unless your laptop's maker specifically allows it, because these can strip or cloud the coating.
Avoid getting any moisture into the thin gap where the screen meets the frame. If you're tempted to clean that edge, use a dry cloth only.
The Keyboard
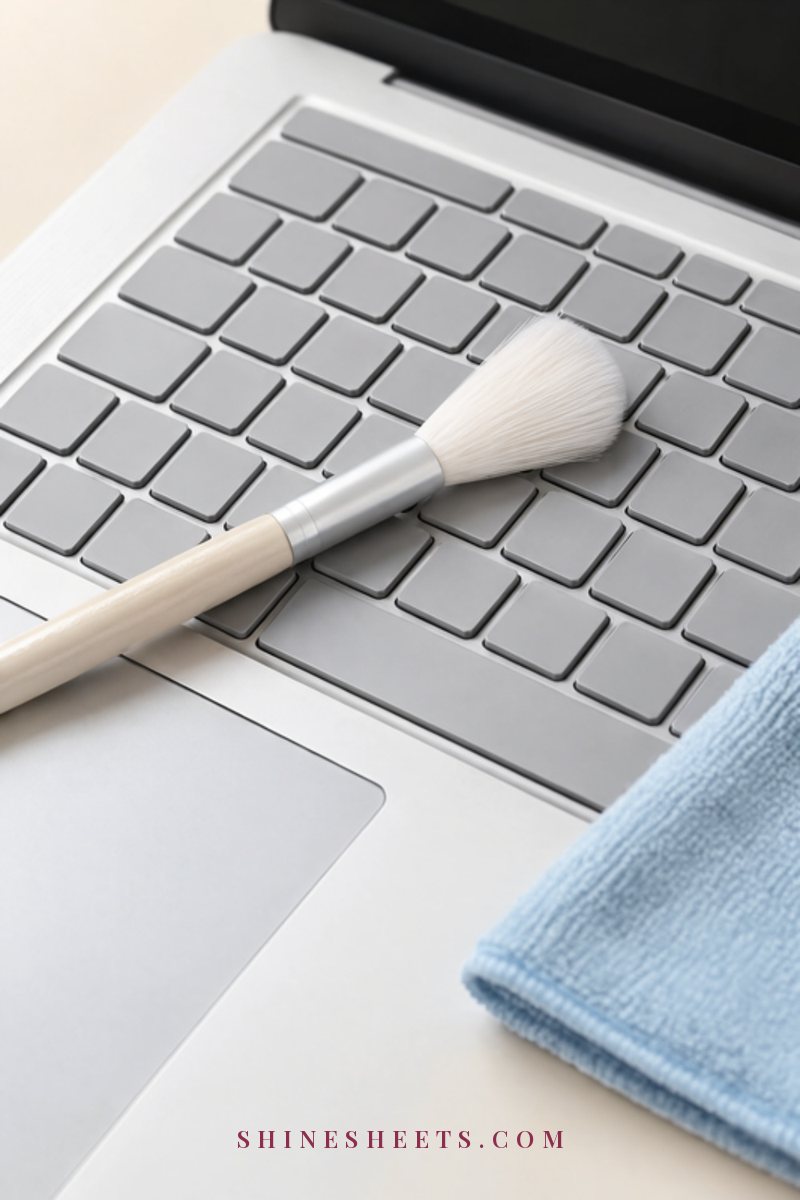
Keyboards collect the most grime and the most crumbs. Here's the gentle order:
- Tip and tap. Open the laptop wide, hold it upside down at an angle over a towel or the sink and tap the bottom very gently a few times. You'll be amazed what falls out.
- Brush the gaps. Turn it back over and sweep a soft dry brush between the keys in one direction.
- Short bursts of air (optional). Holding the can upright, use short bursts at an angle, working across the keyboard from one side to the other. Never tip the can upside down, which can spray cold liquid propellant.
- Wipe the keys. Finish with a barely damp microfiber cloth over the keycaps, then buff dry. The shiny keys you type on most (often the space bar and the vowels) usually need a second pass.
Don't try to pry keycaps off a laptop keyboard. They're attached with tiny clips that break easily, and replacing them is fiddly.
The Trackpad and Palm Rest
These two areas collect hand cream and skin oils, which is why they start to look shiny or slightly darker. Wipe them with a barely damp cloth in small circles, then buff dry. For stubborn shine, a second gentle pass usually does it. Skip any abrasive powder or a "magic" sponge, which can permanently dull the finish.
The Vents
Dusty vents can make a laptop run warmer and louder. With the laptop off and unplugged, look for the vents (usually on the sides, back or underneath). Brush loose dust away with a dry soft brush, then use short bursts of compressed air held upright, a few inches from the vent, angled so the dust blows out rather than deeper in.
Never open the laptop casing yourself to clean inside. If it keeps overheating after you've cleaned the vents, that's a job for the maker's support or a repair technician.
The Lid and Bottom
Close the laptop and wipe the lid and underside with a barely damp cloth, then dry. Stickers leave a sticky residue? A tiny bit of soapy water on the cloth and patience usually lifts it, but avoid solvents on painted or coated finishes and test any method on a hidden spot first.
How To Clean a Separate Keyboard and Mouse
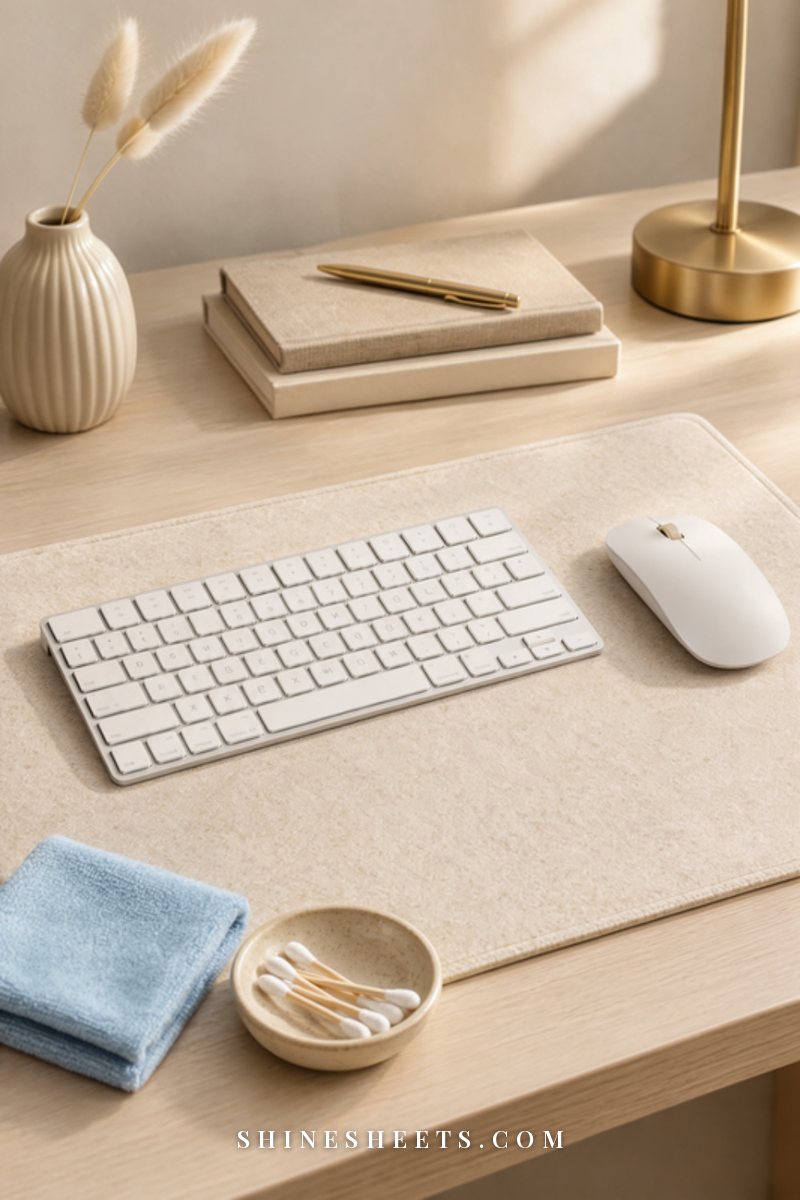
A separate keyboard is often even dirtier than a laptop one, simply because it sits flat on the desk for years. Unplug it or switch it off and remove the batteries first.
Keycap Gaps
Turn the keyboard upside down and give it a few gentle shakes over a towel. Brush between the rows, then use short upright bursts of compressed air. Wipe the keycaps with a barely damp cloth and buff dry. On many full-size desktop keyboards the keycaps are designed to be removed with a keycap puller. If yours are (check the maker's guidance), take a photo of the layout first, pop off a few at a time and wipe underneath with a dry brush.
Sticky Keys
A sticky key usually means a small spill dried under it. Power off, tip the keyboard and brush around the key. Then wipe the edges of the key with a cloth that's only very slightly damp, pressing the key up and down a few times. If it's still sticking after it has fully dried, a removable keycap can be lifted and the area underneath wiped with a barely damp cotton swab. For laptop keys, stop at the gentle wipe and ask a technician rather than forcing anything.
If you spill a whole drink on a keyboard or laptop, power off and unplug right away, turn it upside down to drain and let it dry for at least a day or two before switching it on. For laptops, contacting the maker or a repair shop is the safest next step.
Wired vs Wireless
- Wired keyboard or mouse: unplug from the computer before cleaning. Wipe the cable too, since it picks up dust and grime from the desk.
- Wireless keyboard or mouse: switch off and remove the batteries or disconnect the charging cable. Keep moisture away from the battery compartment and the charging port.
For the mouse, wipe the top and sides with a barely damp cloth, then flip it over and gently clean around the sensor with a dry cotton swab. Don't press into the sensor window or let any moisture near it.
Disinfecting: What's Safe and What's Not

Everyday cleaning removes oils and grime, and that's what most devices need most of the time. Disinfecting is worth adding when someone at home has been sick, or after you've had your phone out in busy public spaces.
Generally okay (if the maker allows it): 70% isopropyl alcohol wipes or a microfiber cloth lightly dampened with 70% isopropyl alcohol, wiped gently over hard, non-porous surfaces like the back of a phone, the keys and the outer lid. Many big brands now say this is fine on their devices, but always check your own model's care page first. Wring the cloth out so it isn't dripping, and let the surface air dry.
Skip completely:
- Bleach in any form, including bleach wipes.
- Vinegar on coated screens. It can wear away the anti-glare and oil-repelling layers.
- Ammonia-based glass cleaners and window sprays.
- Abrasive powders, scouring pads and "magic" sponges.
- Higher alcohol concentrations and acetone, which can damage plastics and coatings.
- Any spray aimed directly at the device.
And the rule I repeat for every cleaning job: never mix bleach with vinegar or ammonia, even when cleaning other things nearby. The fumes are harmful. If you're doing a bigger clean after a cold or flu has been through the house, my guide on how to clean your home after being sick covers the rest of the rooms, from door handles to pillowcases.
Device Cleaning Table: Safe Tools, What To Avoid and How Often
This is the whole guide in one place. Screenshot it and keep it in your favorites album for the next time your screen looks foggy.
| Device part | Safe tool | What to avoid | How often |
|---|---|---|---|
| Phone screen | Dry microfiber, then barely damp microfiber | Paper towels, glass cleaner, vinegar, direct spray | Quick dry wipe daily; damp wipe weekly |
| Phone case (silicone/plastic) | Warm water and a drop of mild soap, off the phone | Putting it back on while damp | Every 2–4 weeks |
| Camera lenses | Folded dry microfiber corner | Your shirt, tissues, pressing hard | Before photos; weekly |
| Phone ports and grilles | Soft, dry brush with the port facing down | Pins, toothpicks, paperclips, any liquid | Monthly, or when charging feels loose |
| Laptop screen | Dry microfiber, then barely damp microfiber | Pressing hard, ammonia, vinegar, moisture in the frame gap | Weekly |
| Laptop keyboard | Tip and tap, soft brush, upright air bursts, barely damp cloth | Prying keycaps, upside-down air can, wet cloths | Brush weekly; full clean monthly |
| Trackpad and palm rest | Barely damp microfiber in small circles | Abrasive sponges and powders | Weekly |
| Laptop vents | Soft brush, short upright bursts of air | Opening the casing, blowing dust inward | Every 2–3 months |
| Separate keyboard | Shake, brush, air, barely damp cloth; keycap puller if allowed | Soaking, moisture near batteries | Monthly |
| Mouse | Barely damp cloth on top, dry swab around the sensor | Moisture in the sensor window | Every 2 weeks |
| Disinfecting (hard surfaces) | 70% isopropyl wipe or cloth, only if the maker allows it | Bleach, acetone, stronger alcohol | After illness; weekly in busy seasons |
If the "how often" column looks like a lot, don't worry. A daily dry wipe of your phone takes ten seconds, and the rest fits into one short weekly reset (I like pairing it with Sunday evening tea and a glass candle, which makes even cleaning feel like a ritual).
Keep Your Desk Clean Too

A clean laptop on a crumb-covered desk doesn't stay clean for long. A few small changes help your devices stay fresh between wipes:
- Add a desk mat. A cream felt or vegan leather desk mat gives your keyboard and mouse a soft, wipeable surface and catches crumbs before they reach the keys. Wipe it weekly with a damp cloth.
- Tidy the cables. Cords on the floor collect dust and get tugged on. A few small white cable clips along the desk edge keep chargers within reach and off the floor. For more ideas, see my post on renter-friendly ways to hide cords.
- Give your phone a home. A small tray or dish on your desk means your phone isn't being set down on random kitchen counters all day.
- Move snacks to a plate, away from the keyboard. Even a little distance helps.
- Wash your hands before long typing sessions, and let hand cream sink in for a few minutes first.
If your whole workspace feels like it needs a reset, my desk organization ideas help you create a calm corner that's easy to keep clean. And while your phone is freshly wiped, it's a lovely moment for a digital declutter of your apps, email and photos, so it feels clean on the inside too.
5 Common Mistakes When Cleaning Electronics
These are the habits that cause most of the damage. Avoiding them matters more than any product you could buy.
- Spraying cleaner straight onto the screen. It runs to the edges and into openings. Always dampen the cloth instead.
- Using paper towels or tissues. They feel soft, but their fibers can leave fine scratches and lint, especially on matte laptop screens.
- Cleaning while the device is on or charging. It's less safe, and you can't see smudges properly on a bright screen. Power off and unplug, every time.
- Poking ports with sharp objects. Pins and toothpicks can scratch contacts or leave splinters. A soft dry brush is enough.
- Reaching for household cleaners. Glass sprays, vinegar, bleach and abrasive powders can strip screen coatings and dull finishes. Water on a microfiber cloth handles most jobs, with 70% isopropyl only where the maker allows it.
Final Thoughts
Your phone and laptop carry your messages, your photos, your work and probably half your plans. A few minutes of gentle care, with a soft cloth, a barely damp corner and the patience to keep moisture away from every opening, keeps them looking almost new.
Start small: wipe your phone screen tonight, and give your laptop a proper ten-minute clean this weekend. It's one of those tiny resets that makes everything you touch every day feel a little lighter and a little more yours.