A toaster is one of those appliances that quietly gets messy without ever looking dramatic. The outside picks up fingerprints, the crumb tray fills up, and the inside collects a fine layer of toasted bits that can start to smell (or even smoke) the next time you make breakfast. The good news is that it takes about ten minutes to fix, and you don't need anything harsh to do it.
What you do need is a gentle approach. Toasters and toaster ovens have delicate heating elements, so the usual kitchen-cleaning instincts – scrubbing hard, soaking everything, poking around with a fork – are exactly what you want to avoid. Clean the parts that can be cleaned, leave the parts that can't alone, and let everything dry fully before it goes back on.
This guide covers how to clean a toaster and a toaster oven step by step, without damaging either one. You'll find the safety basics, the simple tools that work best, a pop-up toaster routine, a toaster oven routine for baked-on grease, a quick table of how often to clean each part, and six small habits that keep it looking new.
It took me a while to realize a clean toaster is half about the cleaning and half about not letting crumbs pile up in the first place. Let's start with the part that matters most.
Safety First: Unplug, Cool, Never Submerge
Before any cloth or brush comes near your toaster, go through these three rules. They take thirty seconds and protect both you and the appliance.
- Unplug it. Not just switched off – actually pull the plug from the wall. A toaster can still carry power through the elements while it's plugged in.
- Let it cool fully. Give it at least 20–30 minutes after the last use. A toaster oven may need closer to 45 minutes, especially the glass door and the walls.
- Never submerge it. The main body of a toaster or toaster oven never goes into water, into the sink or into the dishwasher. Only removable parts (crumb tray, rack, baking tray) can be washed.
Two more things worth knowing. Never put a knife, fork or any metal object into the slots, even when the toaster is unplugged – metal can bend or snap the thin heating wires, and that damage isn't always visible until the next time it heats up. And skip bleach and heavy oven cleaner inside the appliance; the fumes linger on the elements and the coating can be damaged. If you ever use different cleaners around the kitchen, never mix bleach with vinegar or ammonia.
A crumb-packed toaster is also a small fire risk, which is one more reason to keep up with the crumb tray. Never leave a toaster or toaster oven running while you step out of the kitchen.
What You Need
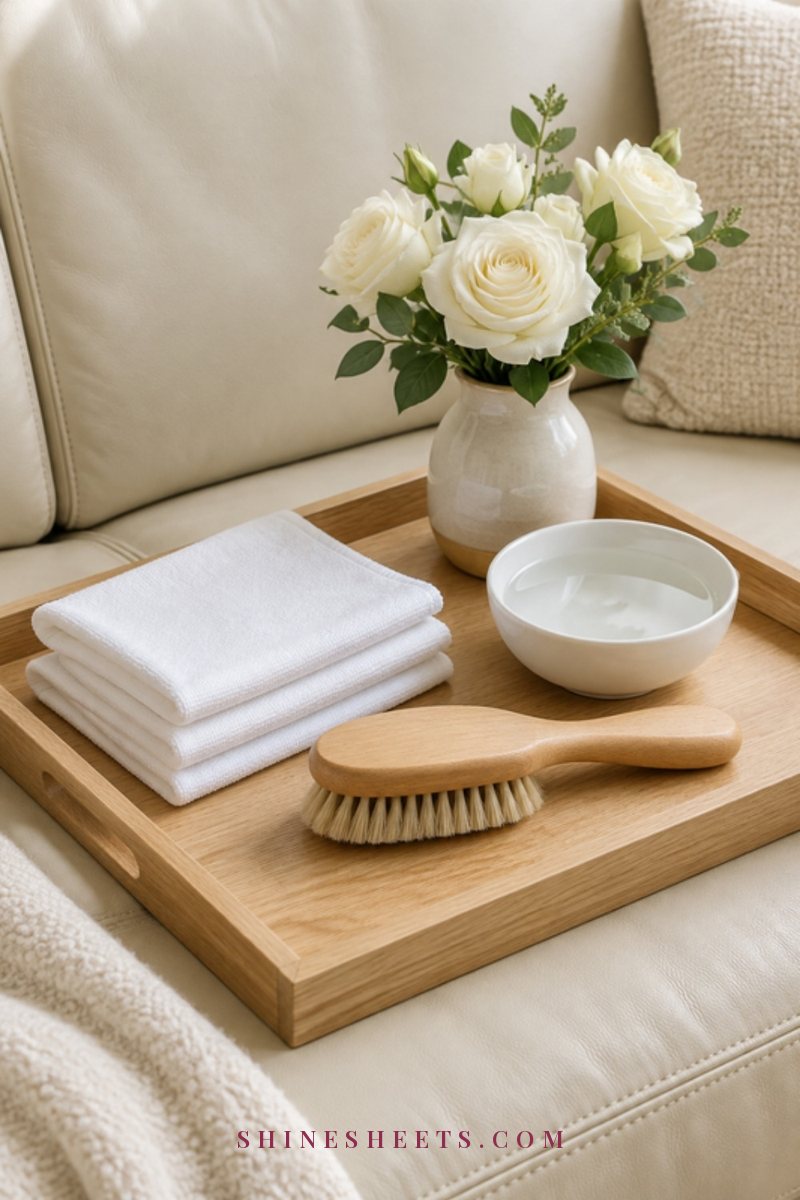
You probably already have most of this. A toaster doesn't need special products – it needs soft tools that won't scratch and won't leave too much water behind.
- Soft brushes. A set of soft bristle cleaning brushes in a few sizes is perfect: a wide one for the slots, a narrow one for corners and the edges of the crumb tray. A clean, soft pastry brush or an old soft toothbrush works too.
- Microfiber cloths. Two or three cream microfiber cloths – one damp for wiping, one dry for buffing. Microfiber picks up grease and fingerprints without lint.
- A spray bottle. A refillable glass spray bottle filled with warm water and a few drops of mild dish soap lets you mist the cloth instead of the appliance, which is the safest way to control moisture.
- Mild dish soap. Any gentle one. Keeping it in a cream ceramic soap dispenser by the sink makes these small cleaning jobs feel a little nicer.
- Baking soda. For the toaster oven only – mixed into a paste for baked-on grease.
- A non-scratch scrubber. A sage silicone scrubber is gentle enough for trays and racks but still lifts stuck-on bits.
What you don't need: steel wool, abrasive powders, metal scrapers or anything sharp. They leave scratches that actually make grime stick faster next time.
How To Clean a Pop-Up Toaster
A regular two- or four-slice toaster is the quickest to clean. Plan on about ten minutes for a full clean, and only two minutes for the weekly crumb tray. Unplug, let it cool, and work through these steps in order.
Step 1: Empty the Crumb Tray
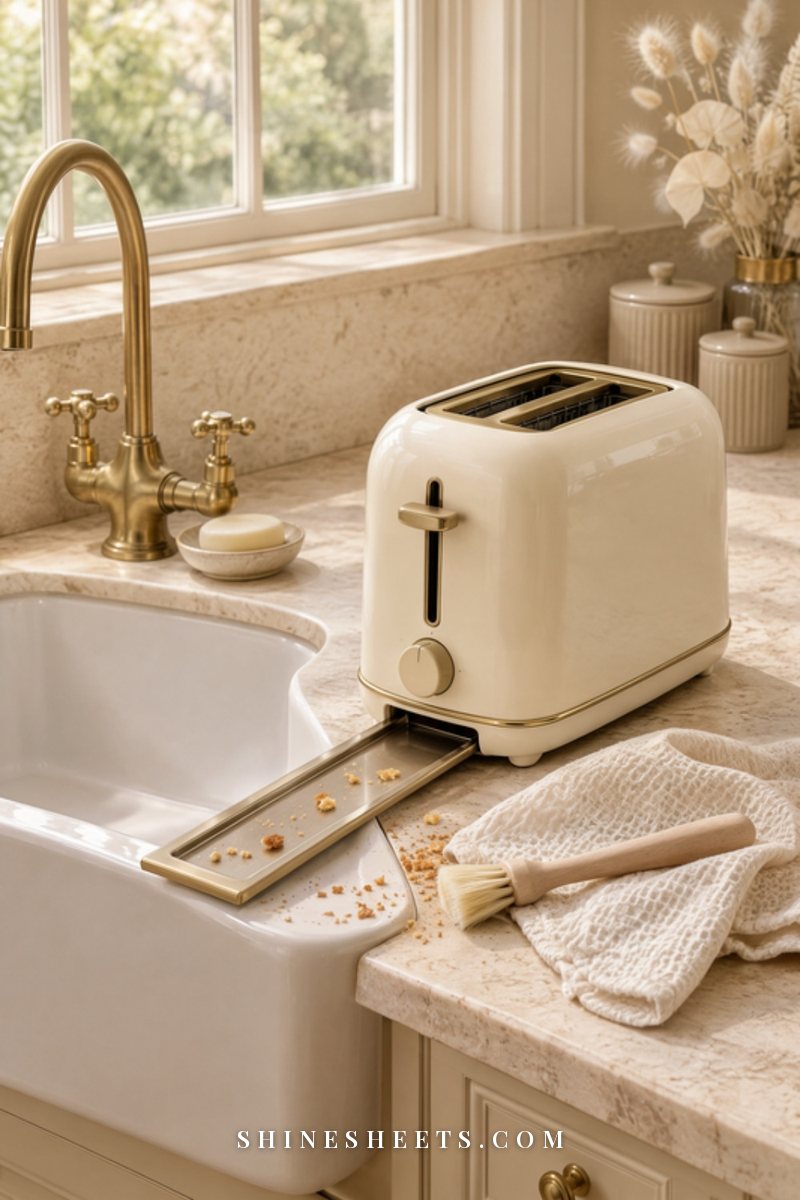
Almost every pop-up toaster has a slim tray at the bottom that slides out (look at the base, sometimes at the back). Pull it out over the sink or the trash and tap it gently so the crumbs fall away.
If the tray is greasy or has sticky bits, wash it in warm soapy water, use a soft brush on the corners, rinse and dry it completely with a cloth. Let it air dry for another 10–15 minutes before sliding it back in. Most trays aren't dishwasher safe, so check your manual before you try it.
If your toaster has no removable tray (some older or very compact ones don't), skip straight to step 2 – that's where the crumbs come out.
Step 2: Tip and Gently Tap Out Loose Crumbs
Hold the toaster over the sink, turn it upside down and give it a few gentle shakes. Then tap the sides lightly with the flat of your hand. You'll be surprised how much falls out, especially the first time.
Be gentle here. Hard banging can knock the internal parts out of alignment. Two or three soft taps on each side are enough. Turn it right side up, then upside down again once more for any stragglers.
Step 3: Brush the Slots Gently
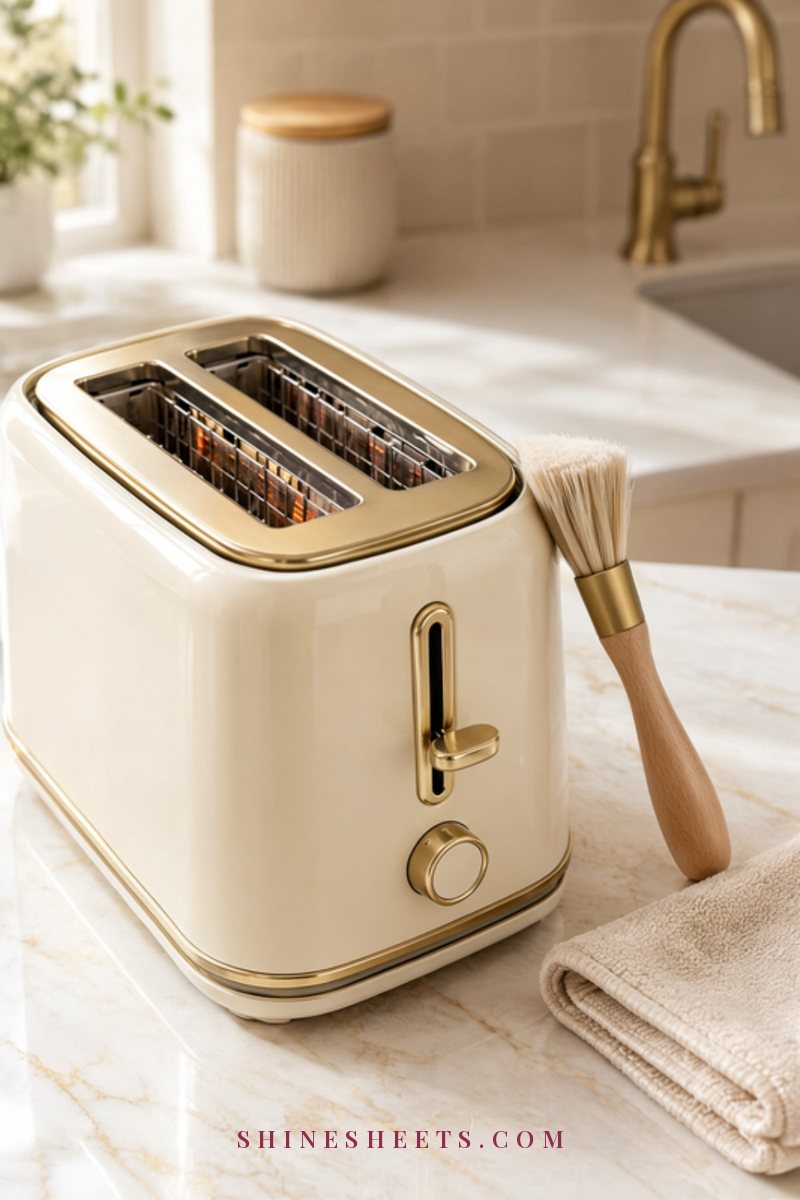
Now take your softest brush and sweep it down into each slot with slow, light strokes. Brush toward the bottom, then tip the toaster again to let the loosened crumbs fall out. The goal is to lift crumbs off the walls and the grate, not to scrub the wires.
A few rules for this step:
- Never use water inside the slots, not even a damp cloth.
- Don't press on the thin heating wires; if the bristles touch them, keep the pressure feather-light.
- A small handheld vacuum on low, held just above the slots, can help pull out fine crumbs – but don't push the nozzle inside.
A little darkening inside the slots is normal and harmless. You're removing loose crumbs, not trying to make the inside look brand new.
Step 4: Wipe the Outside
Mist your cloth (not the toaster) with your soapy water spray until it's damp but not dripping. Wipe the top, sides, lever and buttons, then go around the base where crumbs and drips tend to collect. Fold the cloth to a clean side as you go.
For sticky spots, hold the damp cloth on the spot for 30–60 seconds to soften it, then wipe. Go back over everything with a second cloth dampened with plain water to remove any soap film, and finish with a dry cloth. Keep moisture well away from the slots and the plug.
Stainless Steel vs Plastic Finishes
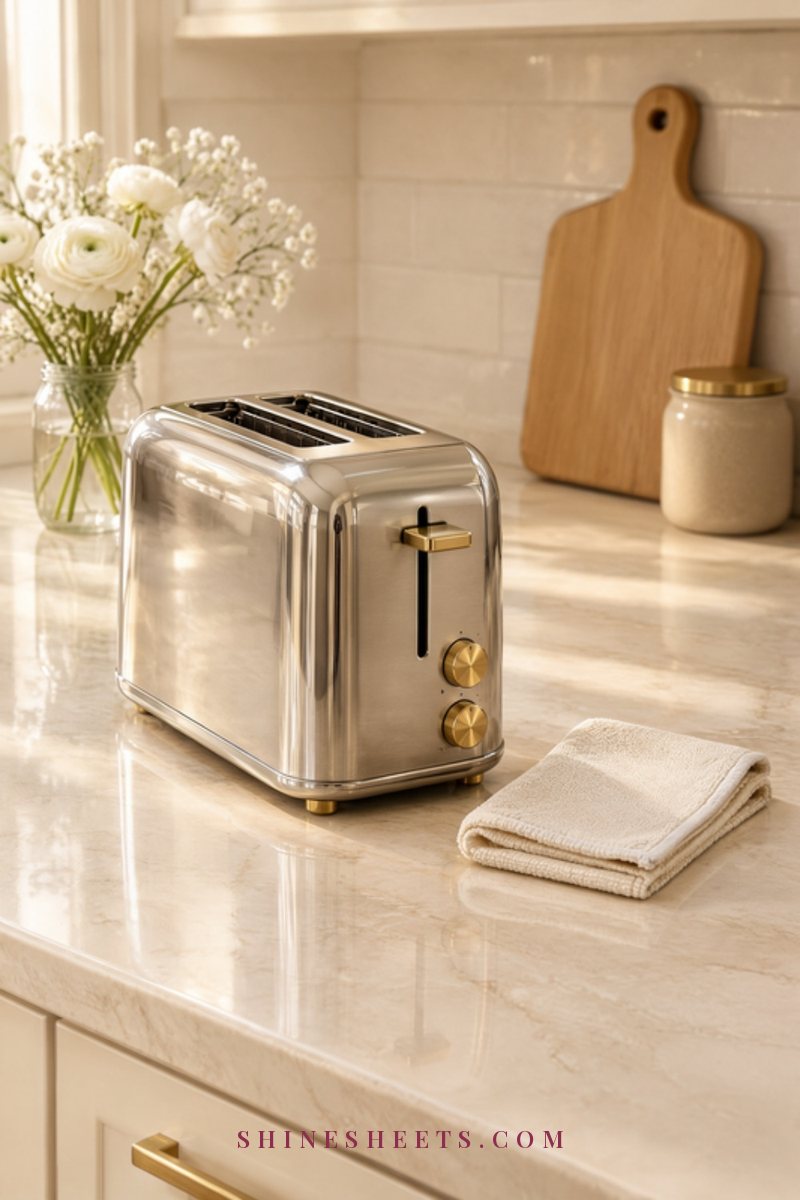
The outside of your toaster decides how gentle you need to be and what finish to aim for.
- Stainless steel: wipe in the direction of the grain (look closely and you'll see fine lines). Mild soapy water is enough. Avoid abrasive pads – they leave visible swirls. For more tips, my guide on how to clean stainless steel without streaks covers the grain trick in detail.
- Plastic or painted finishes (cream, pastel, retro): use only a soft cloth and mild soap. Skip alcohol-based sprays, which can dull or discolor the paint over time. Pat dry rather than rubbing hard.
- Chrome or shiny mirror finishes: they show every smudge, so they love a final dry buff with a clean microfiber cloth.
Buff Away Fingerprints
This is the step that makes a toaster look new. Once the outside is fully dry, take a clean, dry microfiber cloth and buff the whole surface in small circles (or along the grain for stainless steel). It takes about a minute.
For extra shine on stainless steel, put a single drop of mineral oil or olive oil on the cloth – not on the toaster – and buff it in thinly, then wipe off any excess with a clean side. It helps fingerprints slide off. Keep oil away from the slots and from any surface that gets hot.
How To Clean a Toaster Oven
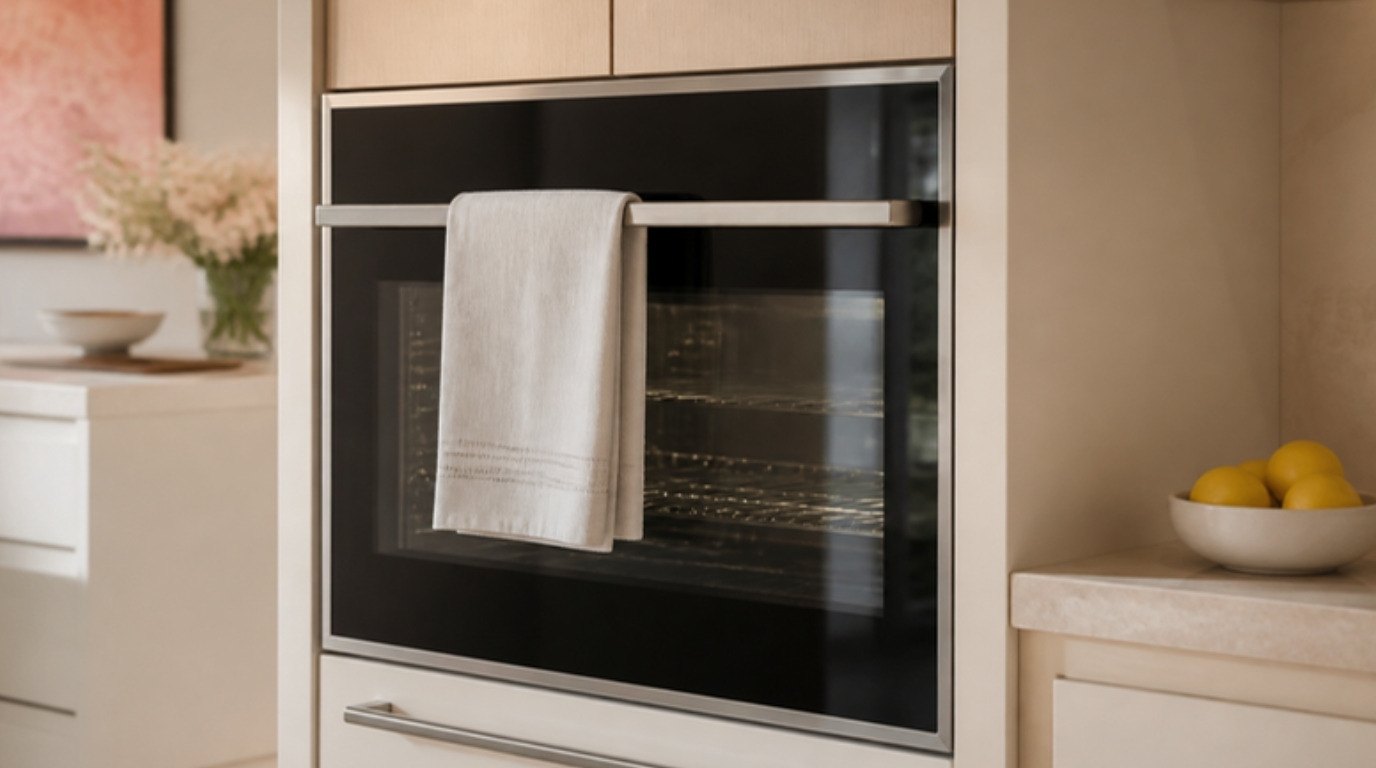
A toaster oven gets messier than a pop-up toaster because it bakes, roasts and melts things – cheese, sauces, drips of oil. It takes a bit longer (plan on 30–45 minutes including soaking time), but it's mostly hands-off. If you also own a regular oven, the process is a smaller, gentler version of cleaning your oven.
Unplug it, let it cool fully, and open the door so you can see what you're working with.
Step 1: Remove the Rack and Tray To Soak
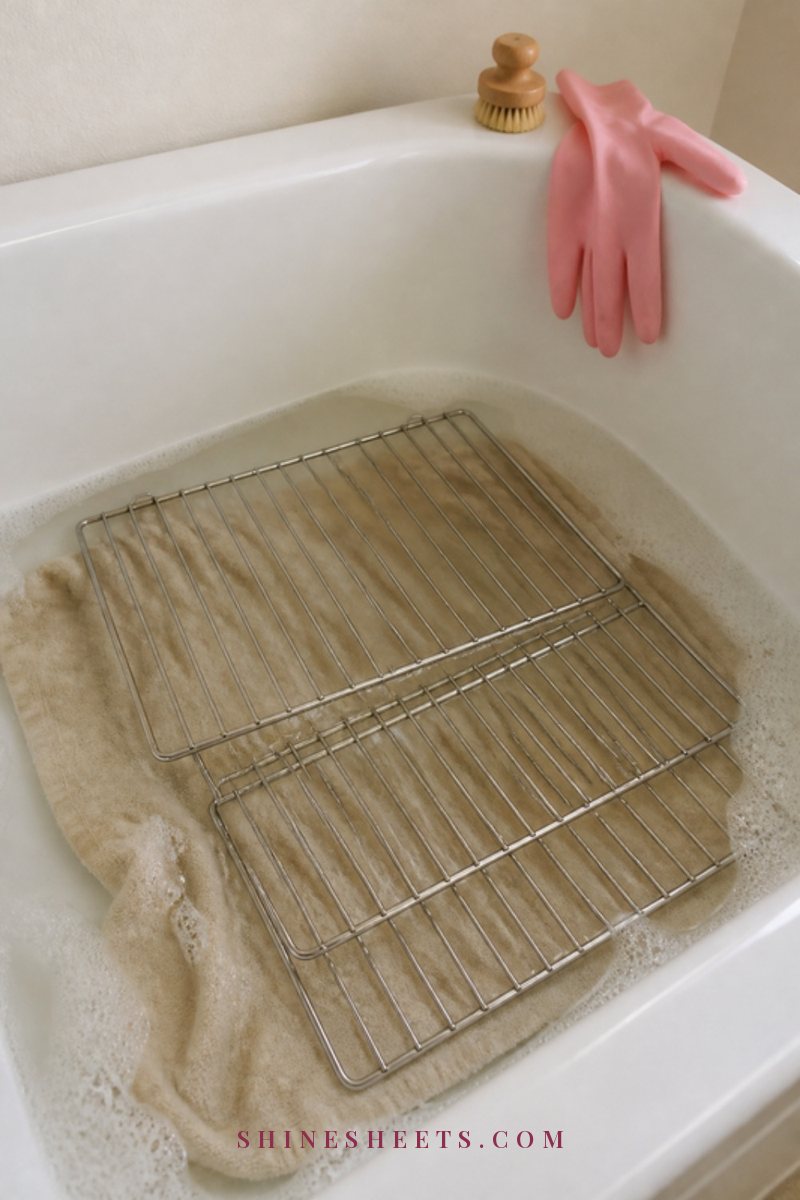
Take out the wire rack, the baking or broiling tray and the crumb tray. Fill the sink (or a large basin) with hot water and a good squeeze of dish soap, and let everything soak for 20–30 minutes. For heavy baked-on grease, give it up to an hour.
After soaking, scrub with a non-scratch scrubber or a soft brush, paying attention to the corners of the tray and where the rack wires cross. Rinse and dry completely. If a tray still has stubborn dark spots, the same methods from my guide on how to clean baking sheets work beautifully on a small scale.
Step 2: Use a Baking Soda Paste for Baked-On Grease
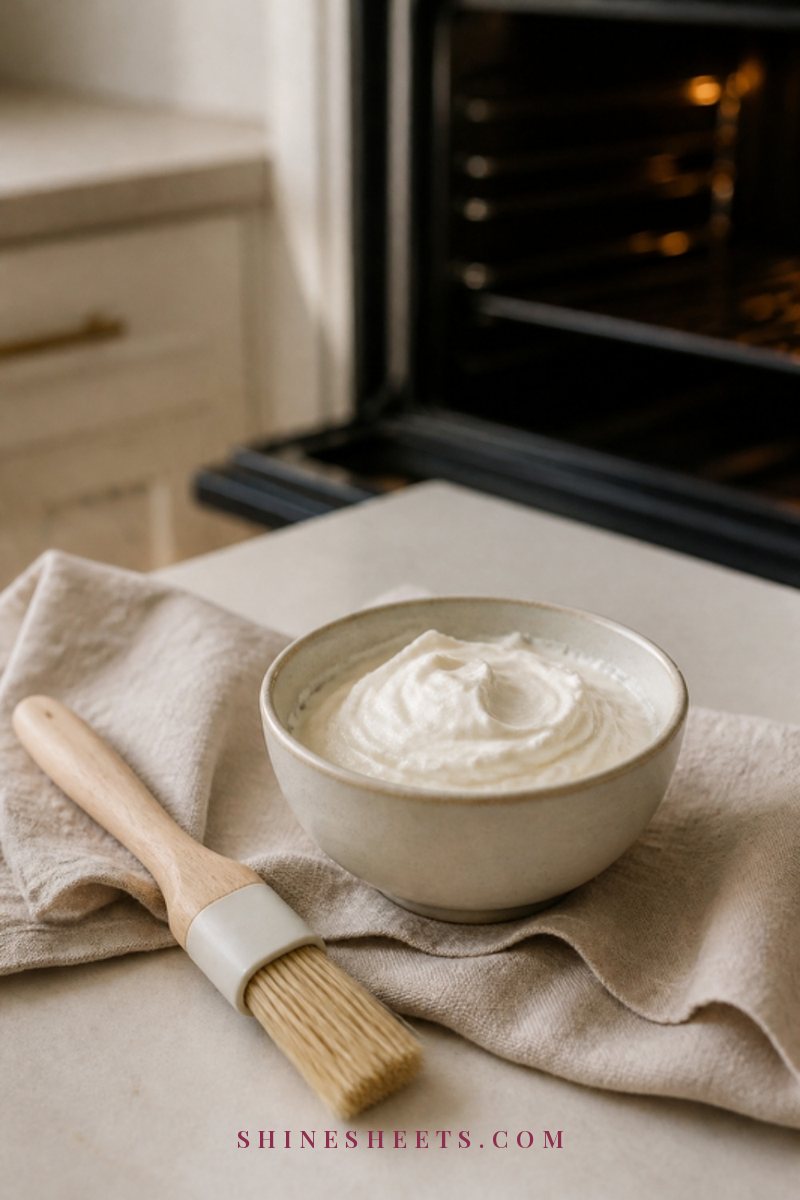
While the parts soak, mix about 3 tablespoons of baking soda with 1 tablespoon of water in a small bowl. You want a thick, spreadable paste, like frosting.
Spread the paste over greasy spots on the bottom and the interior walls with a soft brush or your cloth. Avoid the heating elements (the metal rods or coils at the top and bottom) completely – no paste, no water, no scrubbing. If a little gets on them by accident, wipe it off gently with a barely damp cloth.
Leave the paste to sit for 15–20 minutes. For really stubborn spots, you can leave it for up to an hour. Then wipe it away with a damp cloth, rinsing the cloth often. A silicone scrubber helps on any spots that are still holding on.
Step 3: Clean the Glass Door
The glass door is where you notice grime most, and it's also where baking soda paste works best. Spread a thin layer on the inside of the glass, leave it for 15–20 minutes, then wipe it away with a damp cloth.
Finish the glass with a mist of plain water and a dry microfiber cloth for a streak-free look. Wipe the outside of the door and the handle the same way you would wipe a pop-up toaster.
A tip: never spray cleaner directly into a toaster oven. Spray the cloth instead, so no liquid runs down into the controls or toward the elements.
Step 4: Rinse, Wipe and Dry Fully
Go over the inside one last time with a cloth dampened with clean water to remove any baking soda residue (leftover powder can smoke a little when heated). Wipe the outside, the control knobs and the top.
Then leave the door open and let the toaster oven air dry for at least an hour before you put the parts back and plug it in. If it's been a deep clean with lots of wiping, give it a few hours – there's no rush. Everything must be completely dry before it goes back on.
The first time you heat it after cleaning, run it empty for 5 minutes on a low setting with a window open, to burn off any trace of moisture.
Toaster Cleaning Table: Part, Tool, Method and How Often
Here's the whole routine in one place. Screenshot it and you'll never have to wonder which part needs what.
| Part | Tool | Method | How often |
|---|---|---|---|
| Crumb tray (pop-up or toaster oven) | Hands, soft brush | Slide out, tap crumbs into the trash; wash in warm soapy water if greasy, dry fully | Weekly (empty), monthly (wash) |
| Toaster slots | Soft dry brush | Tip upside down, tap gently, brush lightly downward; no water ever | Monthly |
| Outside (stainless steel) | Microfiber cloth, soapy water spray | Wipe with the grain, rinse with plain damp cloth, dry and buff | Weekly or as needed |
| Outside (plastic or painted) | Soft cloth, mild soap | Gentle wipe, pat dry, no alcohol sprays | Weekly or as needed |
| Toaster oven rack and tray | Sink soak, silicone scrubber | Soak 20–30 minutes in hot soapy water, scrub, rinse, dry | Every 2–4 weeks, or after spills |
| Toaster oven interior walls | Baking soda paste, damp cloth | Paste on greasy spots for 15–20 minutes, avoid elements, wipe clean | Monthly |
| Toaster oven glass door | Baking soda paste, microfiber cloth | Paste on the inside for 15–20 minutes, wipe, mist with water, buff dry | Every 2 weeks |
| Heating elements | None | Leave alone; only remove a loose crumb with a dry soft brush | Never scrub |
6 Habits To Keep Your Toaster Clean
A deep clean is nice, but small habits are what keep a toaster looking good between cleans. These six take almost no time.
- Empty the crumb tray every week. Pick a day (Sunday evening works well) and make it a two-minute job. This is the single best habit for avoiding smells and smoke.
- Wipe up spills the same day. Once the toaster oven has cooled, a quick wipe with a damp cloth takes 30 seconds. Left for a week, the same drip bakes on and needs a paste.
- Keep the tray liner-free. Skip foil on the bottom of a toaster oven or over the crumb tray unless your manual says it's fine – it can block airflow, trap heat and even damage the finish. Wash the tray instead.
- Toast only what belongs in a toaster. Buttery, sugary or filled pastries in a pop-up toaster drip onto the elements. Those go in the toaster oven on the tray.
- Give the outside a weekly buff. A dry microfiber cloth once a week keeps fingerprints and dust from building up, especially on stainless steel.
- Do a monthly reset. Once a month, shake out the slots, brush them, wipe everything and check the cord for wear. Put it on your list with other small jobs from your kitchen deep-clean routine.
A pretty spot for the toaster helps too. Setting it on a heat-resistant silicone mat in beige catches stray crumbs and makes the counter quicker to wipe.
Common Toaster Cleaning Mistakes To Avoid
Most toaster damage comes from good intentions. Here's what to skip:
- Using a knife or fork to get toast out. Unplug the toaster, let it cool, and use wooden tongs instead. Metal and live heating wires are a dangerous combination.
- Cleaning while it's warm. Even a few minutes after toasting, the elements can be hot enough to burn you or crack a cloth fiber onto the wire.
- Spraying cleaner into the slots or interior. Liquid can reach the wiring and controls. Always spray the cloth.
- Scrubbing heating elements. They're thin and easy to damage. Dark marks on them are normal.
- Plugging it in too soon. Moisture plus electricity is never a good mix. When in doubt, wait longer.
- Using abrasive pads on the outside. Scratches dull the finish and give grime somewhere to hide.
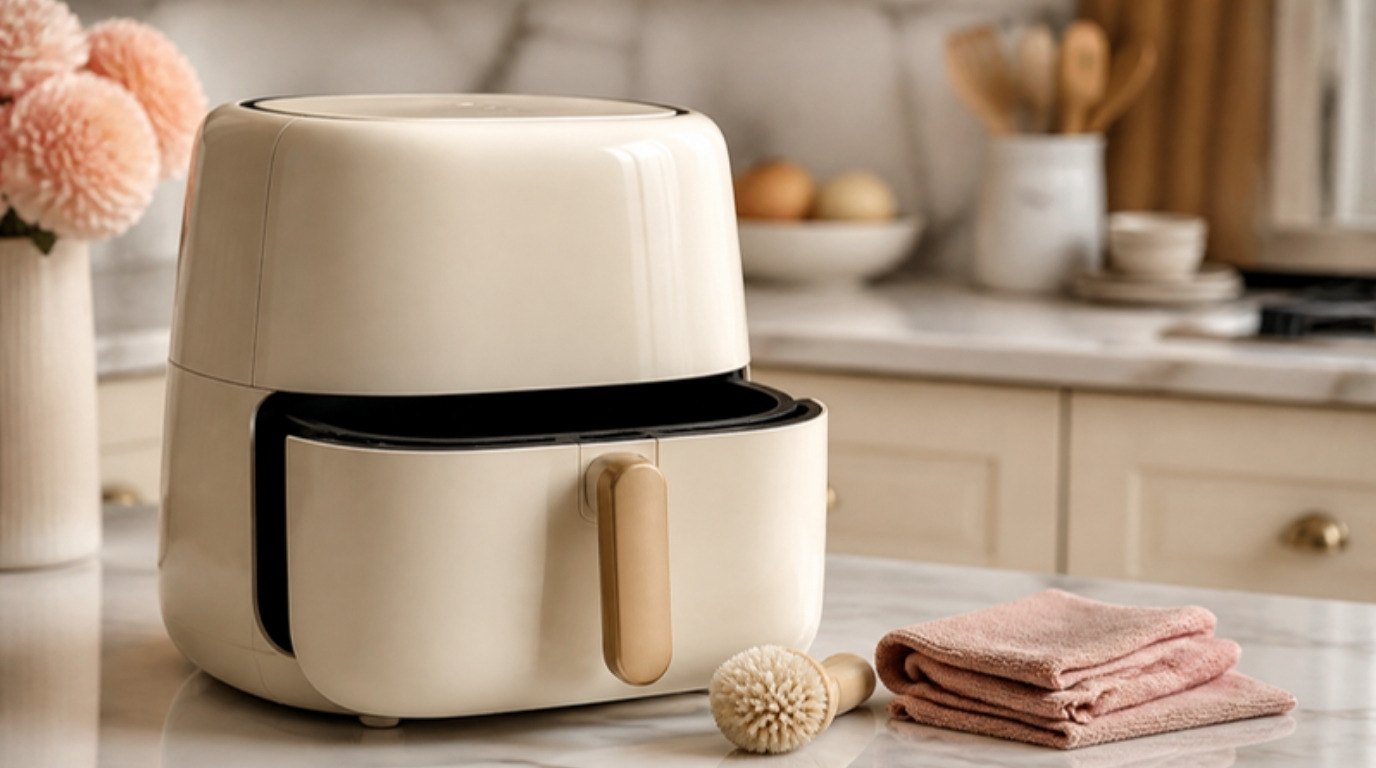
If your toaster oven doubles as your everyday cooking spot, you might also like my guide on how to clean an air fryer – the same gentle, no-soak approach applies.
And if your toaster sparks, smells like burning plastic, has a damaged cord or keeps tripping the power, stop using it. Those aren't cleaning problems, and it's time to replace it.
Final Thoughts
Cleaning a toaster really comes down to three things: unplug and cool it first, keep water away from the inside, and stay gentle with everything you touch. The rest is a soft brush, a damp cloth and a little patience while things dry.
Once you've done it once, the weekly crumb tray and a quick wipe become second nature, and your breakfast corner stays fresh, calm and lovely to look at every single morning.