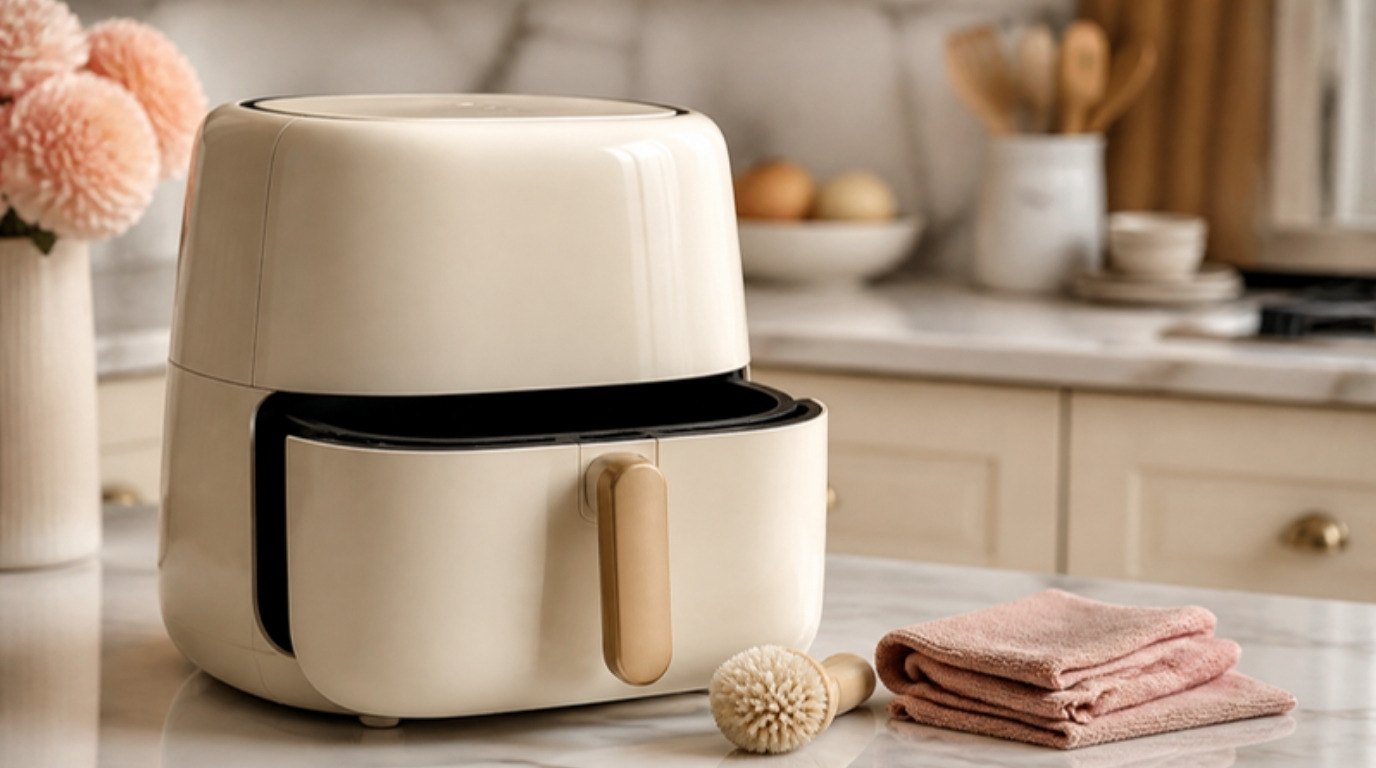
An air fryer stays easy to clean as long as you never let the grease sit. A two-minute wash while the basket is still slightly warm takes care of almost everything; leave it for a week and that same grease bakes into a sticky, smoky layer that needs a long soak and a lot more patience.
The other secret is being gentle. Most air fryer baskets have a nonstick coating, and the heating element sits right above where you cook, so harsh scrubbers and strong sprays do more harm than good. Warm water, mild dish soap, a soft brush and a little dwell time do the job beautifully.
This guide covers how to clean an air fryer from top to bottom: safety first, the quick clean after every use, a deep clean for the basket and tray, how to clean the heating element safely, the inside, outside and window, how to get rid of lingering smells, what never to use, whether liners are worth it and a simple cleaning schedule you can screenshot.
Before You Start: Unplug, Cool and Check the Manual
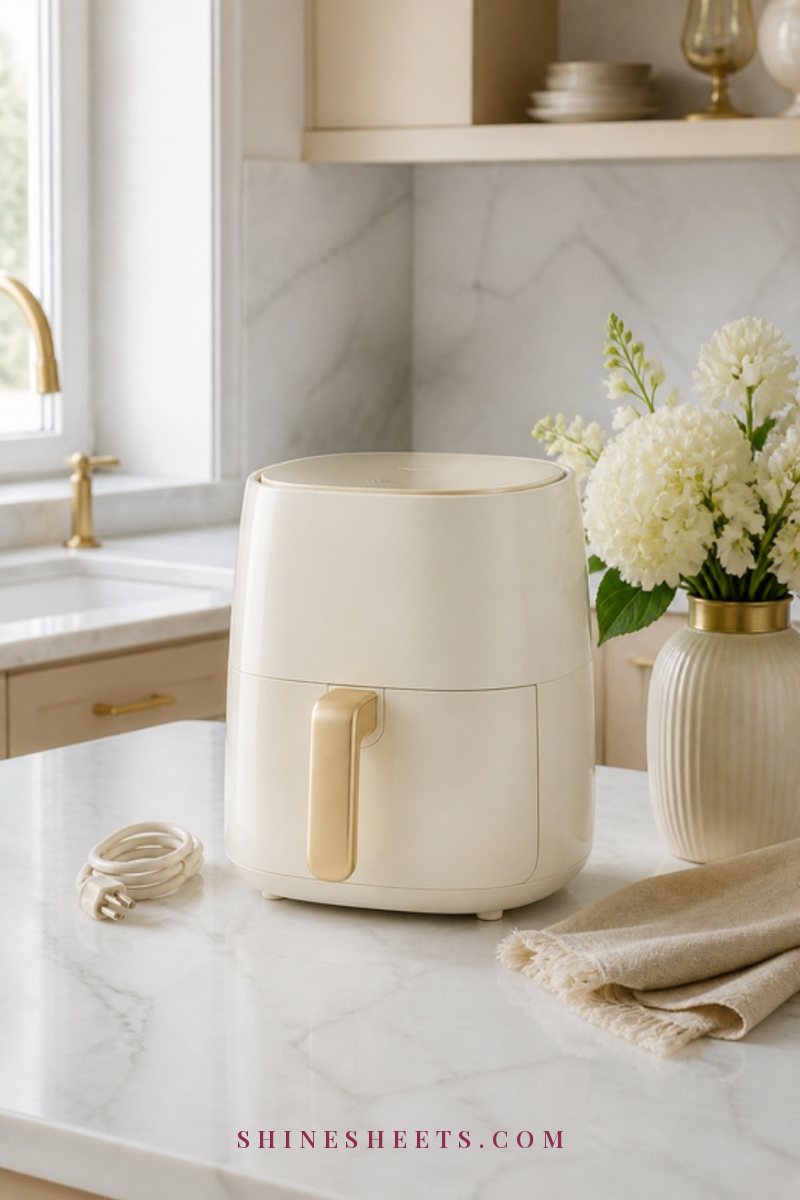
Three quick rules before any cleaning:
- Unplug it. Always disconnect the air fryer from the outlet before cleaning any part of it, especially the inside and the heating element.
- Let it cool. Wait at least 30 minutes after cooking for the basket, tray and interior to cool down. Warm (not hot) is the ideal moment to wash the basket, because grease softens and lifts more easily.
- Read the manual. Air fryers differ a lot. Your manual tells you which parts are removable, which are dishwasher-safe, whether the unit can be tipped over and what cleaners to avoid. When this guide and your manual disagree, follow the manual.
Never submerge the main unit (the part with the plug, controls and heating element) in water, and never run water directly into it. Only the removable basket, tray and accessories should go in the sink.
What You'll Need
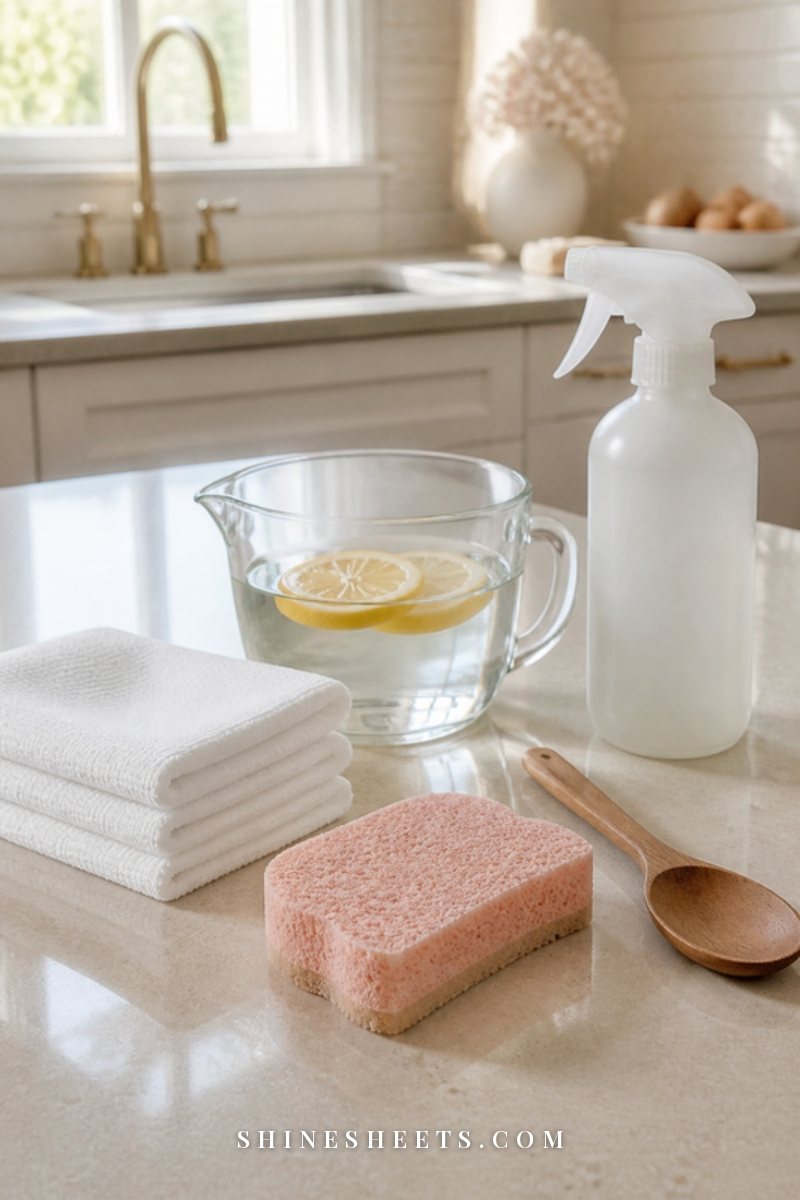
You probably own most of this already. Here's the gentle kit that keeps nonstick coatings safe:
- Mild dish soap. A gentle dish soap cuts grease without being harsh on coatings or your hands.
- A soft brush. A soft-bristle dish brush gets into the mesh or holes of the basket without scratching.
- Non-scratch sponges. Look for non-scratch sponges labeled safe for nonstick cookware.
- Microfiber cloths. A set of microfiber cloths for wiping the interior, exterior and window without leaving lint.
- A soft, small brush or an old soft toothbrush for corners and the heating element.
- Baking soda (optional) for a gentle paste on stubborn spots, if your manual allows it.
- Warm water and a sink or a large bowl for soaking.
Keep your sponges fresh, too. A sponge that's been sitting damp for weeks spreads more grime than it removes; my guide to kitchen sponge hygiene explains how often to swap them.
The Quick Clean After Every Use
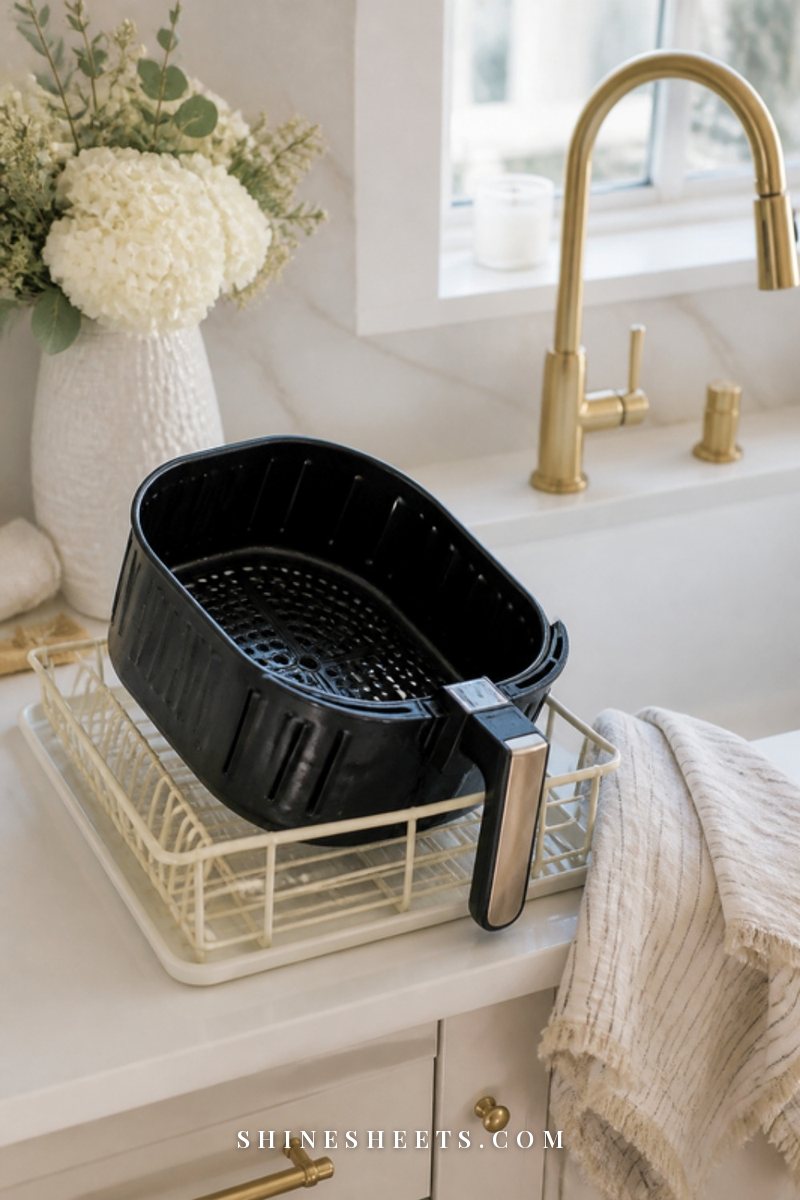
This is the habit that saves you from deep cleaning often. It takes about two minutes:
- Once the air fryer is unplugged and the basket is warm but safe to touch, remove the basket and any tray or crisper plate.
- Pour away any loose grease into a paper towel or a container for the trash, not down the drain.
- Wash the basket and tray in warm, soapy water with a soft sponge or brush.
- Rinse well and dry completely with a cloth, or let the parts air-dry fully before putting them back.
- Wipe the inside of the unit with a damp microfiber cloth if you see crumbs or splatters.
That's it. If you wash the basket after every use, grease never gets the chance to harden, and the deep clean below becomes a once-in-a-while job.
How To Deep Clean the Basket and Tray
Do this when the basket looks sticky, cloudy or has brown spots that don't come off with a quick wash, or roughly once a week if you use your air fryer daily.
Step 1: Soak in Warm Soapy Water
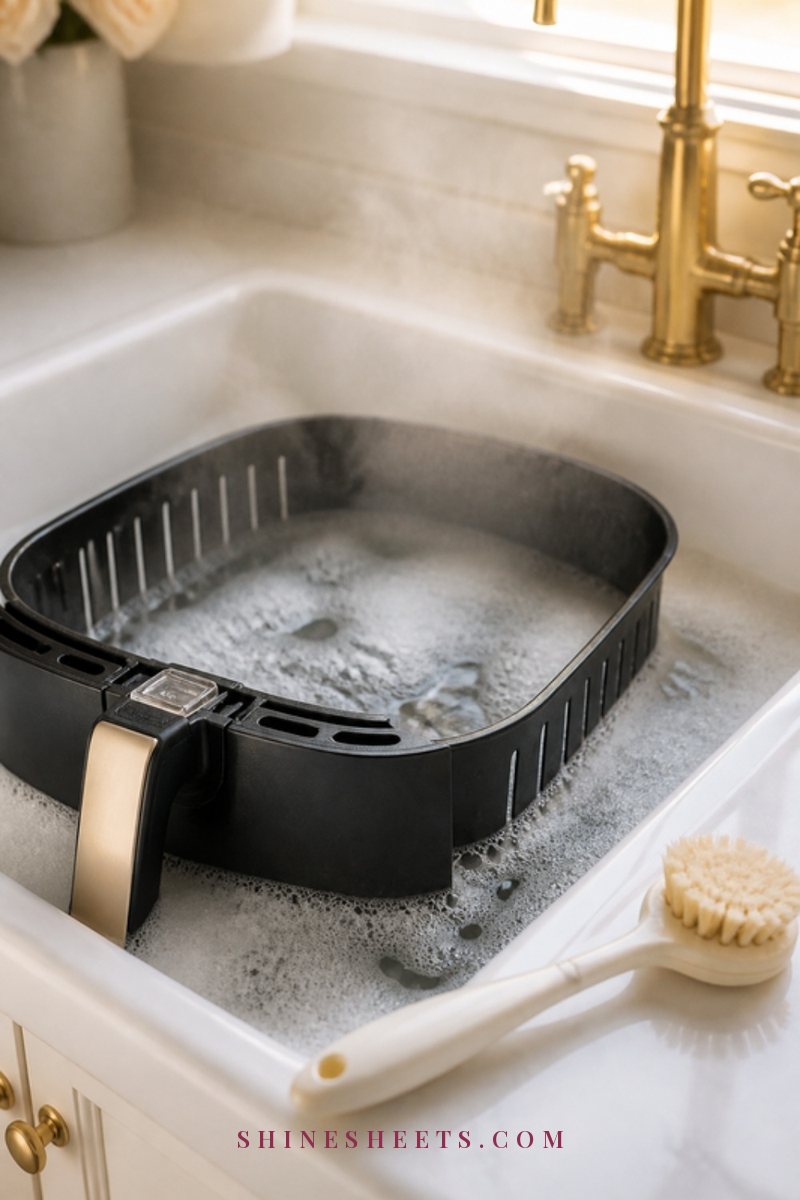
Fill your sink or a large bowl with hot tap water and a good squeeze of dish soap. Place the basket and tray in it and let them soak for 20 to 30 minutes. For very baked-on grease, you can leave them for up to an hour. Soaking does most of the work, softening the grease so it wipes away instead of needing to be scrubbed.
A tip: if the basket doesn't fit fully in your sink, soak one half, then turn it and soak the other half. Or fill the basket itself with warm soapy water and let it sit (only if your basket is a solid drawer style, not a mesh one).
Step 2: Loosen Stuck-On Grease Gently
After soaking, use a soft brush to work into the holes or mesh of the basket and along the edges, and a non-scratch sponge for the flat surfaces. Move in small circles with light pressure.
For stubborn spots, mix a little baking soda with a few drops of water to make a paste (check your manual first, since some brands recommend only soap and water for their coating). Spread it over the spot, let it sit for 10 to 15 minutes, then wipe gently with a damp, non-scratch sponge. Repeat rather than scrubbing harder. Pressure is what damages nonstick surfaces.
If you see flaking, peeling or deep scratches in the coating, it's time to stop using that basket and contact the manufacturer about a replacement. A worn coating also makes food stick more, which means more scrubbing and even faster wear, so replacing the basket early usually saves you effort.
Step 3: Rinse and Dry Completely
Rinse thoroughly under warm running water until there's no soap or paste left. Dry with a clean cloth and let everything air-dry for another 15 to 20 minutes before reassembling. Putting parts back while they're damp can leave water spots and trap moisture inside the unit.
Some baskets are dishwasher-safe, but even then, hand washing usually helps the coating last longer. If you do use the dishwasher, place the parts on the top rack if your manual allows it.
How To Clean the Heating Element
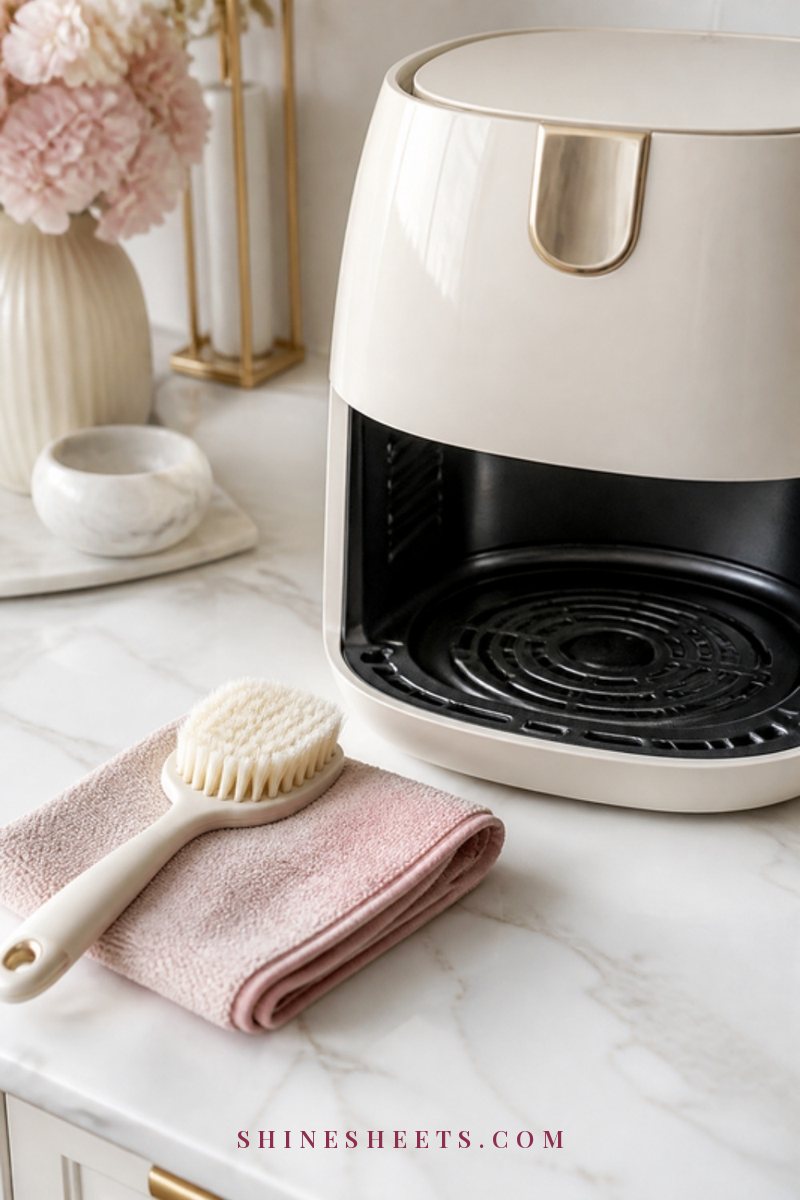
The heating element sits at the top of the cooking chamber. Grease and tiny food bits can splatter onto it and cause smoke or a burnt smell. It needs care, but it's not difficult:
- Make sure the unit is unplugged and completely cool. Never touch the element while it's warm.
- Remove the basket so you can see the element. Use a flashlight if your kitchen is dim.
- Turn the unit upside down only if your manual says it's safe to do so. Many air fryers can be tipped gently for access; some brands say not to. If yours shouldn't be tipped, clean the element from below with a long, soft brush.
- Brush away loose bits with a soft, dry brush, working gently along the coils.
- Wipe with a barely damp cloth. Wring a microfiber cloth until it's almost dry, add a tiny drop of dish soap if there's grease, and wipe the element and the area around it. Don't spray anything directly onto the element.
- Wipe again with a cloth dampened only with water to remove any soap residue.
- Let it dry completely, ideally for an hour or two with the basket out, before plugging it back in.
Do this about once a month, or sooner if you notice smoke or a burnt smell while cooking.
If you ever see sparks, smell burning plastic or notice the element looks damaged or warped, unplug the air fryer and stop using it until you've contacted the manufacturer. Those aren't cleaning problems, and it's always safer to ask than to guess.
How To Clean the Inside, Exterior and Window
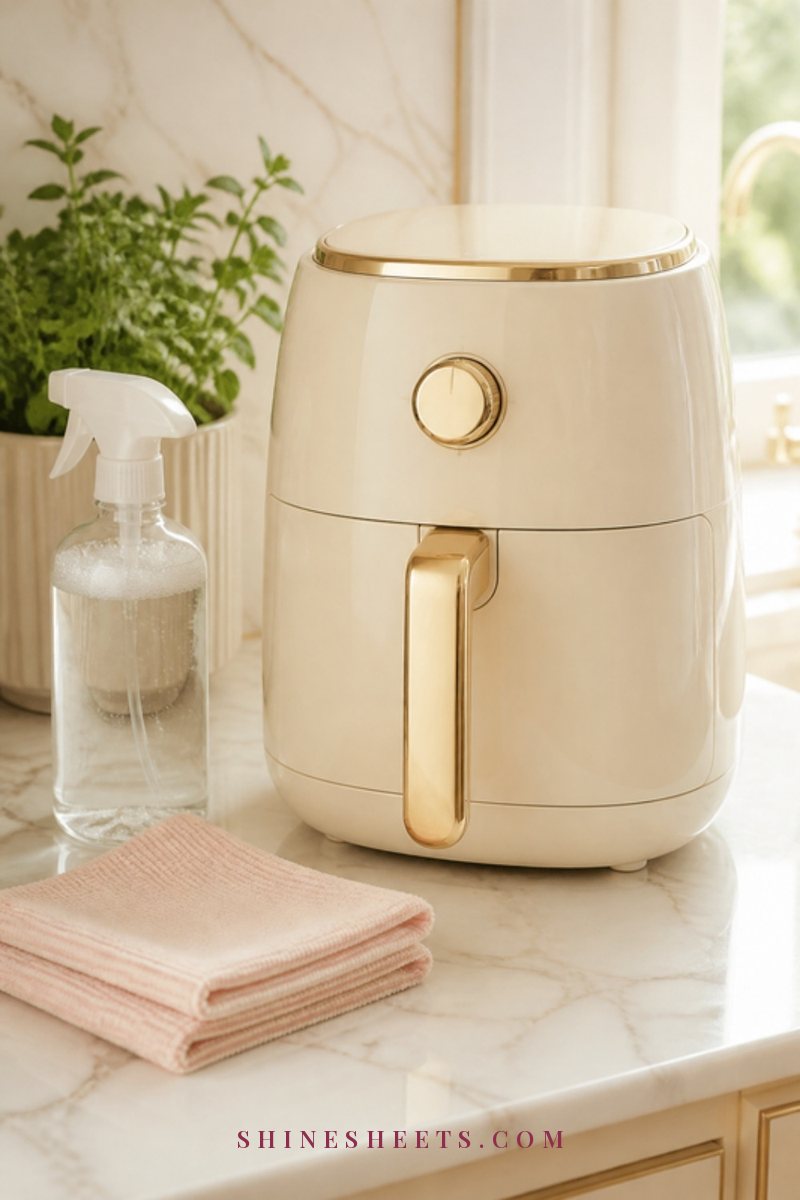
Inside the chamber: With the unit unplugged and cool, wipe the inner walls with a microfiber cloth dipped in warm, soapy water and wrung out well. Follow with a cloth dampened with plain water, then a dry cloth. Use a soft brush or a cotton swab for the corners where crumbs collect.
Exterior: Wipe the outside with a damp microfiber cloth and a drop of dish soap, paying attention to the handle and buttons, which collect fingerprints and grease. Dry it with a clean cloth for a streak-free finish. For stainless steel, wipe in the direction of the grain. Don't spray cleaner directly onto the control panel; spray or wet the cloth instead.
Window (if yours has one): Wipe the inside of the window with a soapy cloth, let it sit for a minute if it's greasy, then wipe with a clean, damp cloth and buff dry. Avoid scraping it with anything sharp. For the outside of the window, a light mist of water and a drop of soap on a cloth is enough.
If you're cleaning your air fryer as part of a bigger kitchen refresh, my guide on how to deep clean your kitchen walks you through every other appliance and surface too.
How To Get Rid of Air Fryer Smells
Lingering smells usually come from grease that hasn't been fully removed, often in a spot you can't easily see. Try these steps in order:
- Deep clean the basket and tray using the soak method above.
- Check and clean the heating element, since burnt-on grease there is the most common culprit for a smoky smell.
- Wipe the interior with a cloth dampened with a mix of equal parts white vinegar and water, then wipe again with plain water. Let it air out with the basket removed for a few hours.
- Leave it open to dry. Storing the air fryer with the basket slightly pulled out after washing helps any remaining moisture and smell escape.
If your air fryer is brand new and smells a little like plastic, that's common. Follow the manual's first-use instructions, which usually suggest washing the parts and running the empty air fryer for a few minutes in a well-ventilated room.
Please never mix vinegar with bleach or any cleaner containing ammonia; the combinations can release harmful fumes. Use one cleaner at a time and rinse in between. The same trick works in other appliances too: my guide on how to clean a microwave uses steam to loosen grime with almost no scrubbing.
7 Things Not To Use on Your Air Fryer
These can scratch nonstick coatings, damage the heating element or leave residues you don't want near your food:
- Steel wool or metal scouring pads. They scratch nonstick coatings in seconds.
- Abrasive powders and scrubbing creams, unless your manual specifically allows them.
- Oven cleaner or heavy-duty degreasing sprays, especially on or near the heating element. (Those belong in your oven, and even there they need care; see my guide on how to clean your oven.)
- Sharp or metal tools like knives or metal skewers to scrape off stuck food.
- Bleach on the basket or inside the unit.
- Running water or submerging the main unit, which can damage the electronics.
- Nonstick cooking sprays in aerosol cans directly on the basket, which some manufacturers say can build up and damage the coating over time. A light brush of oil works better if you need it.
Should You Use Air Fryer Liners?
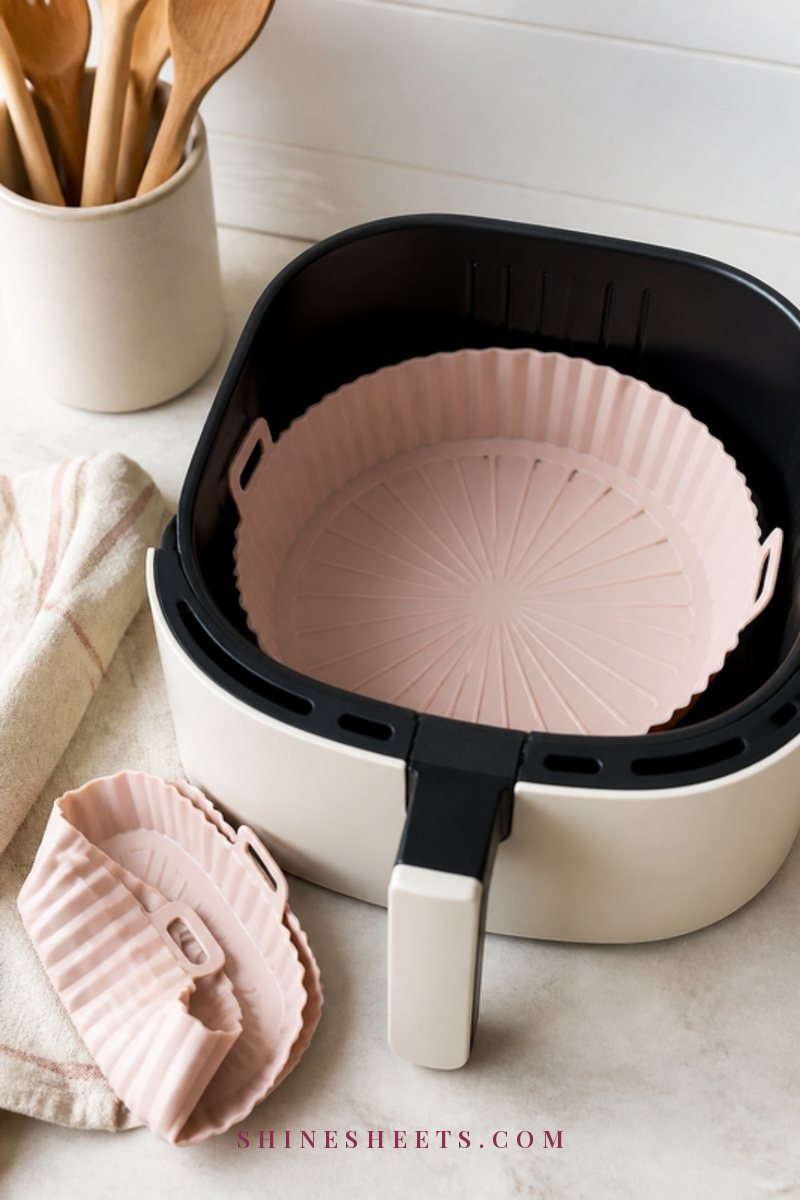
Liners can make cleanup much faster by catching grease and crumbs before they reach the basket. Reusable silicone air fryer liners are easy to wash and come in soft colors that look sweet on the counter. Parchment liners made for air fryers are another option.
A few safety rules if you use them:
- Never preheat the air fryer with an empty liner inside. Without weight on top, it can lift into the heating element.
- Choose a liner that fits your basket and doesn't block all the airflow holes, since air needs to circulate.
- Check your manual; some brands advise against certain liners.
- Wash silicone liners in warm, soapy water after every use and dry them fully.
Liners don't replace cleaning, but they do mean less grease on the basket and fewer deep cleans.
How To Clean Air Fryer Accessories
Racks, baking inserts, grill plates and silicone molds that came with your air fryer collect grease in the same way the basket does. Treat them gently, too:
- Metal racks and grill plates: soak in warm soapy water for 15 to 20 minutes, then work along the wires or ridges with a soft brush. Dry fully to prevent water spots or rust on any uncoated metal.
- Nonstick baking inserts: wash like the basket, with a non-scratch sponge only.
- Silicone accessories: wash in warm soapy water; if they feel slightly greasy even after washing, soak them for 10 minutes in very hot soapy water and rinse again.
- Skewers: wash carefully with the points facing away from you, and dry before storing.
Store accessories clean and completely dry, ideally in a drawer or a lidded box so dust and kitchen grease don't settle on them between uses.
How To Keep Your Air Fryer Cleaner Between Washes
A few small habits mean less grease to deal with in the first place:
- Don't overfill the basket. Crowding pushes crumbs and splatter upward toward the heating element.
- Shake or turn food gently so pieces don't fly up and stick to the top of the chamber.
- Empty grease promptly. Pour off pooled grease once the basket is cool enough to handle safely.
- Give it breathing room. Keep a few inches of space around the air fryer on the counter (or as the manual says), so the vents stay clear and the wall and cabinets behind it don't get greasy.
- Wipe the counter underneath every time you clean the basket, since grease mist settles there too.
None of this takes more than a minute, and together these habits stretch the time between deep cleans quite a bit.
Air Fryer Cleaning Schedule

Here's a simple rhythm that keeps your air fryer fresh with very little effort. Screenshot it and keep it near your kitchen notes.
| When | What to clean | How | Time |
|---|---|---|---|
| After every use | Basket, tray, crisper plate | Warm soapy water, soft sponge, dry fully | 2 to 3 minutes |
| After every use | Interior crumbs and splatters | Damp microfiber cloth | 1 minute |
| Weekly (or when sticky) | Basket and tray deep clean | Soak 20 to 30 minutes, soft brush, rinse and dry | About 35 minutes, mostly soaking |
| Weekly | Exterior, handle and buttons | Damp cloth with a drop of soap, buff dry | 2 minutes |
| Monthly | Heating element | Unplugged and cool, soft brush, barely damp cloth, dry 1 to 2 hours | 10 minutes plus drying |
| Monthly | Interior walls and window | Soapy cloth, plain water cloth, dry cloth | 5 minutes |
| As needed | Smells or smoke | Deep clean, check element, vinegar-water wipe, air out | Varies |
If you love having a routine for every corner of your kitchen, you'll find more quick tricks in my guide to cleaning hacks.
Final Thoughts
Learning how to clean an air fryer really comes down to two habits: wash the basket while it's still warm, and treat every surface gently. Soap, warm water, a soft brush and a bit of soaking time handle almost anything, and a monthly check of the heating element keeps smoke and smells away.
Unplug first, follow your manual and skip the harsh scrubbers. Your air fryer will stay clean, safe and lovely on your counter for a long time.