Clean walls make a whole room look fresher, brighter and somehow newly painted, but the secret isn't scrubbing harder. It's knowing what kind of paint you're working with. A gloss finish in a kitchen can handle a good wipe; a flat matte wall in a living room can lose its color or develop shiny patches if you rub it the same way.
Once you know your finish, cleaning walls is a gentle, almost meditative job: dust first, wash with very little water and a drop of soap, rinse, dry, and handle marks one at a time with the softest method that works.
This guide covers how to clean walls without ruining the paint: how to identify your finish, a simple table that matches each finish to the right method (and what to avoid), the step-by-step wash, how to remove scuffs, crayon, grease and fingerprints, what to do with wallpaper and when a quick touch-up is smarter than scrubbing.
Know Your Paint Finish First
Paint finishes range from completely flat to very shiny. The shinier the finish, the more durable and washable it usually is. Here's a quick overview:
- Flat or matte: No shine at all. Beautiful for hiding wall imperfections, but the most delicate to clean. Rubbing can leave shiny spots ("burnishing") or lift the color.
- Eggshell: A very soft, low sheen, like the surface of an egg. A little more washable than flat, popular in living rooms and bedrooms.
- Satin: A gentle, velvety sheen. Durable and washable, often used in hallways, kids' rooms and family spaces.
- Semi-gloss: Noticeably shiny. Very durable and moisture resistant, common in kitchens, bathrooms and on trim.
- Gloss: The shiniest and toughest. Usually on doors, trim and cabinets rather than whole walls.
How to tell which one you have: If you have leftover paint, the finish is printed on the can. If not, look at the wall from the side with light falling across it. No shine at all means flat or matte; a faint glow means eggshell; a soft sheen means satin; a clear reflection of light means semi-gloss or gloss. When in doubt, treat it as the more delicate finish.
Many newer paints are labeled "scrubbable" or "washable matte," which can handle more cleaning than older flat paints. If you painted recently, check the brand's website for its cleaning advice.
Paint Finish Cleaning Guide
This table is the heart of the whole guide. Screenshot it and you'll know exactly how to treat each wall in your home.
| Paint finish | Best cleaning method | How firm you can be | Avoid |
|---|---|---|---|
| Flat / matte | Dry dusting, then water only or a tiny drop of mild soap; blot rather than rub | Very gentle, light pressure only | Melamine sponges, scrubbing, degreasers, soaking the surface |
| Eggshell | Mild dish soap in warm water, well-wrung sponge, light circles | Gentle | Abrasive powders, stiff brushes, repeated rubbing in one spot |
| Satin | Mild soapy water; melamine sponge very lightly on scuffs after testing | Moderate | Harsh solvents, scouring pads |
| Semi-gloss | Soapy water; diluted degreaser for kitchen grease (1–2 minute dwell) | Firm | Steel wool, gritty powders that dull the shine |
| Gloss | Soapy water or a gentle all-purpose cleaner | Firm | Abrasives that scratch the surface |
| Vinyl wallpaper | Damp cloth with a drop of mild soap, then dry | Gentle to moderate | Soaking seams, harsh cleaners |
| Paper or fabric wallpaper | Dry dusting only; spot clean with a barely damp cloth if the maker allows | Very gentle | Water on seams, any scrubbing |
Whatever your finish, always test any cleaner or tool in a hidden spot first, like behind a sofa or inside a closet, and wait until it's fully dry before judging the result.
What You'll Need
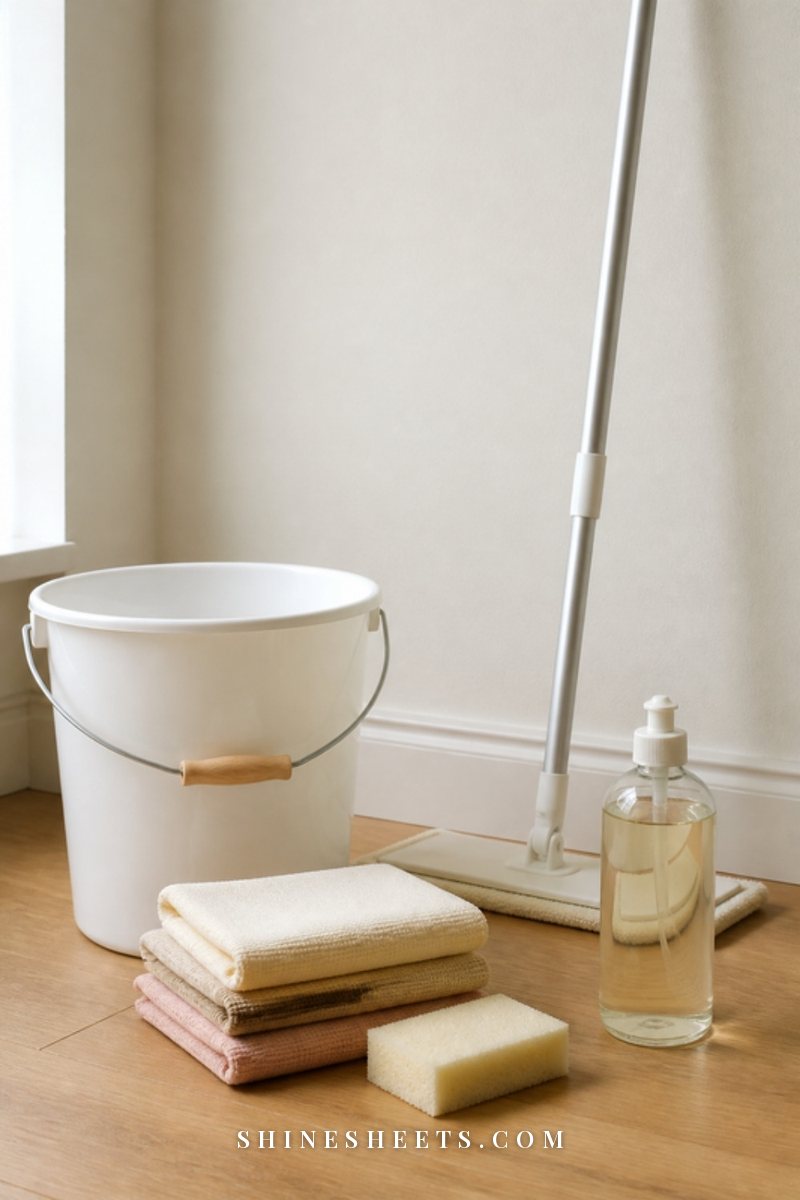
You don't need special wall cleaners. A gentle, simple kit works for almost every wall in the house:
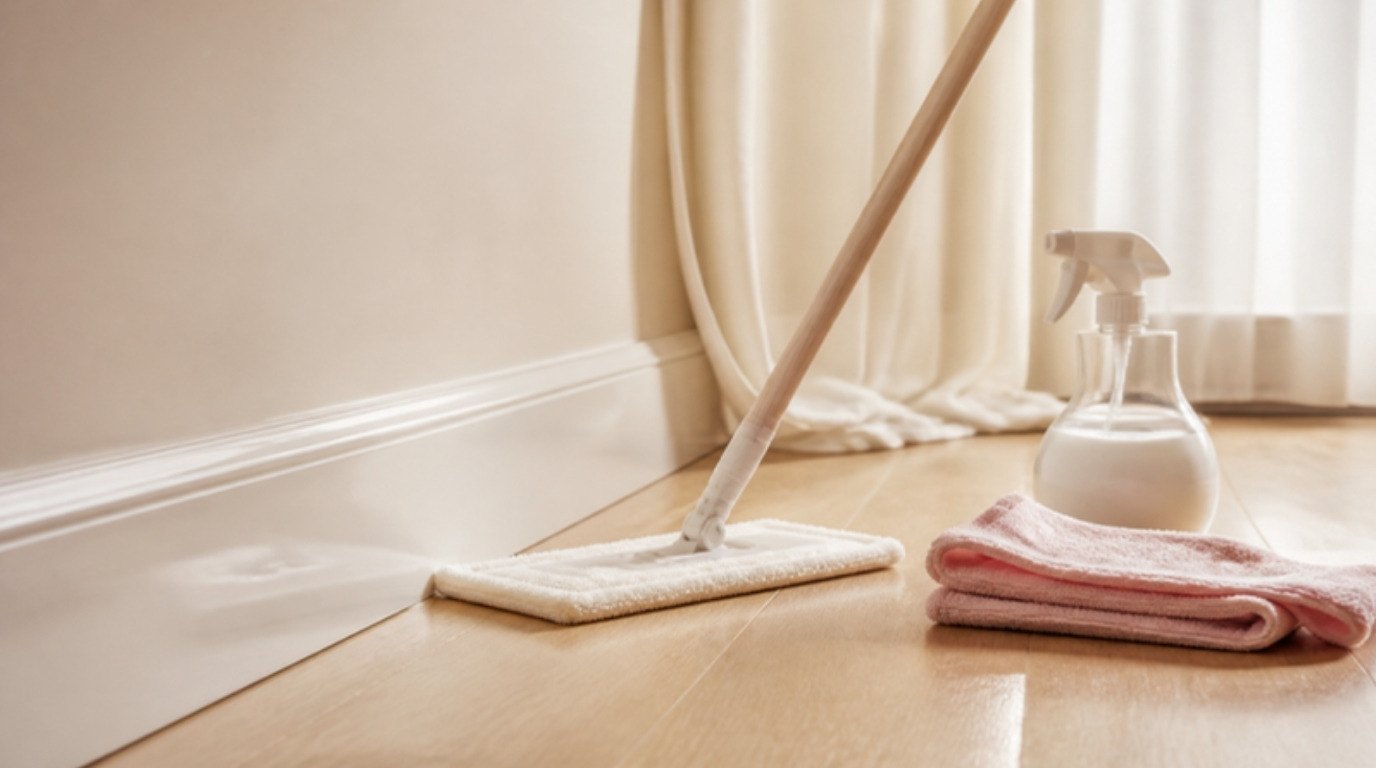
- A duster or dry microfiber mop. A microfiber flat mop with an extension handle is the easiest way to reach high walls and ceilings without a step stool. Use it dry for dusting and slightly damp for washing.
- An extendable duster for corners and the tops of door frames. An extendable microfiber duster catches dust and cobwebs instead of pushing them around.
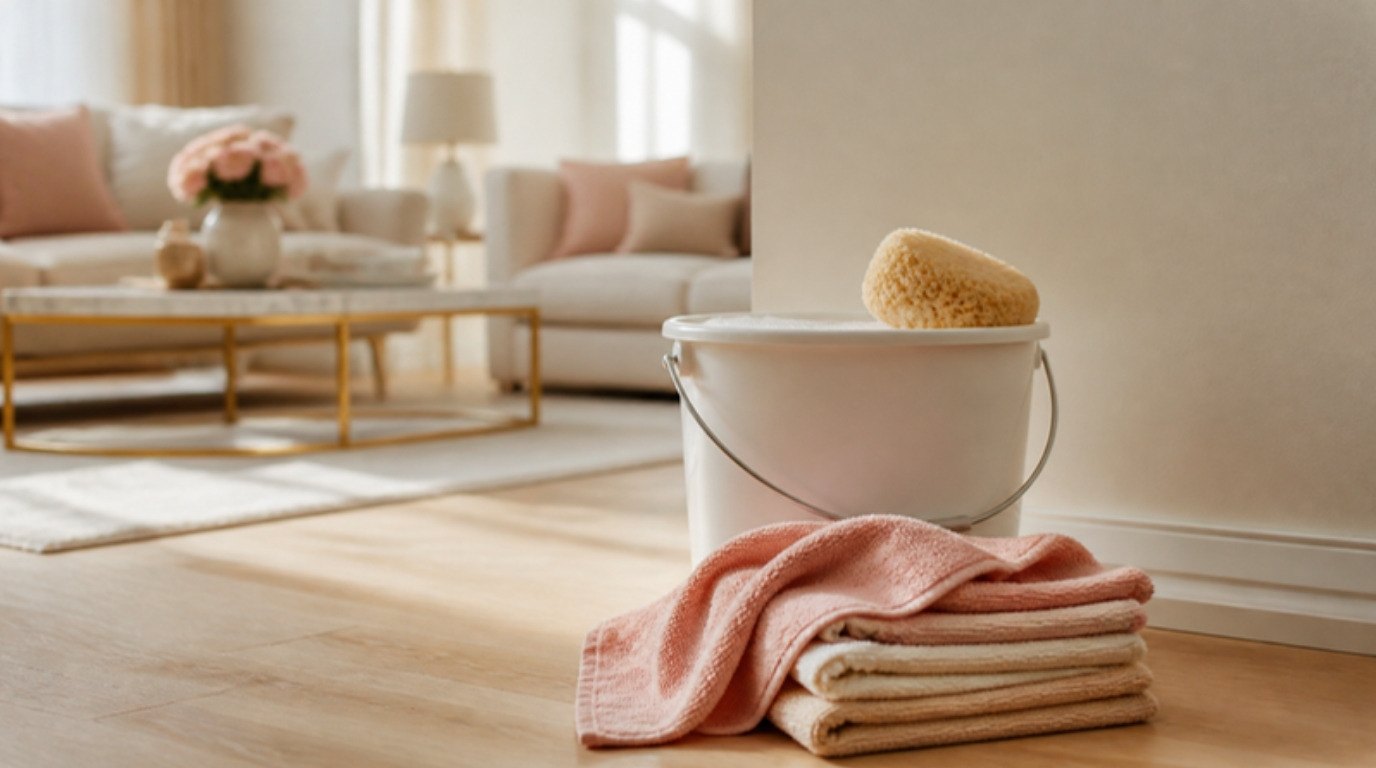
- Two buckets. One for soapy water, one for clean rinse water. A white collapsible bucket set takes up almost no space in a cupboard.
- Mild dish soap. A gentle, unscented dish soap without bleach or added degreasers is kind to most paint.
- Soft sponges and microfiber cloths. A stack of cream microfiber cleaning cloths for washing and drying.
- Melamine sponges for stubborn scuffs, used gently and only on durable finishes (more on that below).
- Old towels to protect the floor and catch drips along the baseboards.
How To Clean Walls Step by Step
Set aside about 30–45 minutes for an average room. Work one wall at a time, and if you're doing several rooms, start with the least visible wall to get a feel for how your paint behaves.
Prepare the Room
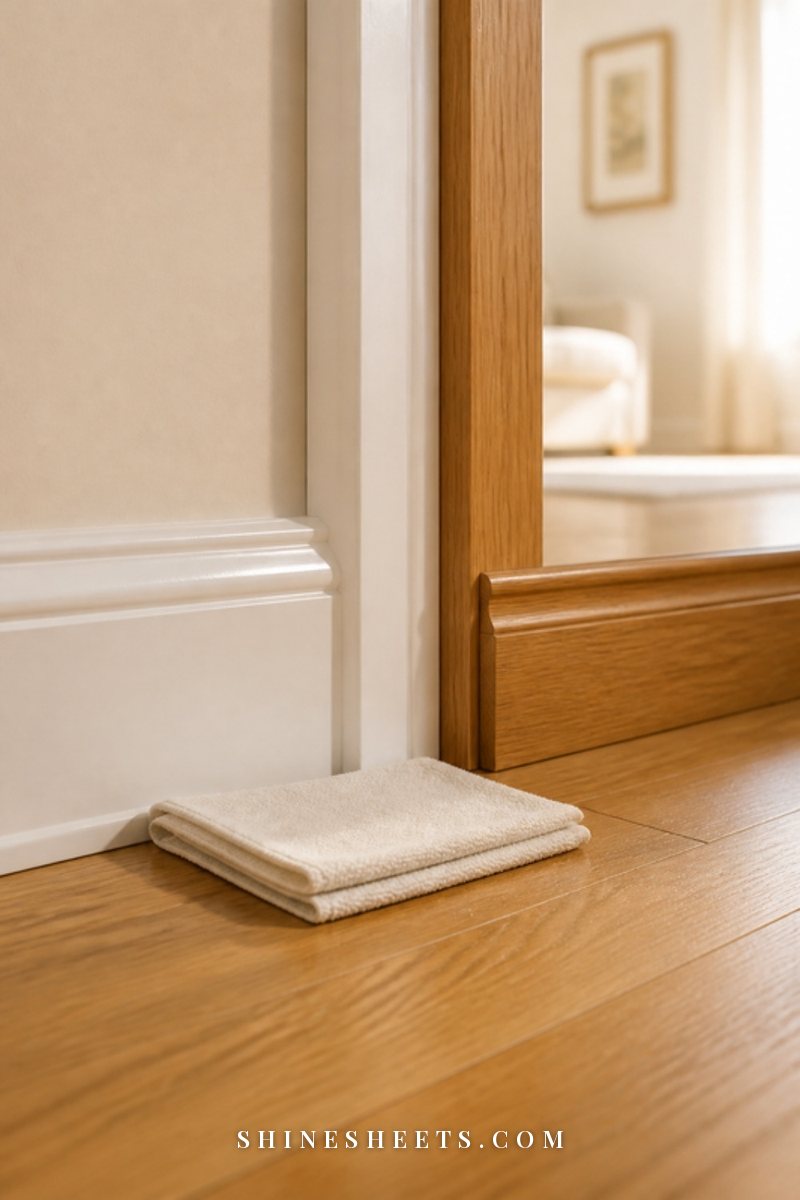
Move furniture a little away from the walls, take down any light frames you can easily lift, and lay an old towel along the baseboard to catch drips. Switch off and cover electrical outlets and light switches with a strip of painter's tape if you'll be using a damp sponge near them. Open a window for airflow, which also helps the walls dry faster.
Dust From Top to Bottom
Dust is the reason walls often look gray or dull, and washing a dusty wall just turns dust into muddy streaks. Start at the ceiling line and work down in long, vertical strokes with a dry microfiber mop or duster. Pay extra attention to corners, the tops of door and window frames, and the area right above the baseboards.
If dust seems to come back quickly, my guide on how to reduce dust covers the small daily habits that keep it from building up on walls and shelves.
Test in a Hidden Spot
Before you wash the whole wall, dip a sponge in your soapy water, wring it out well and wipe a small area behind a piece of furniture. Let it dry for about 10–15 minutes and check from the side for shiny patches, color change or streaks. If all looks the same, you're good to go.
Wash With Gentle Soapy Water
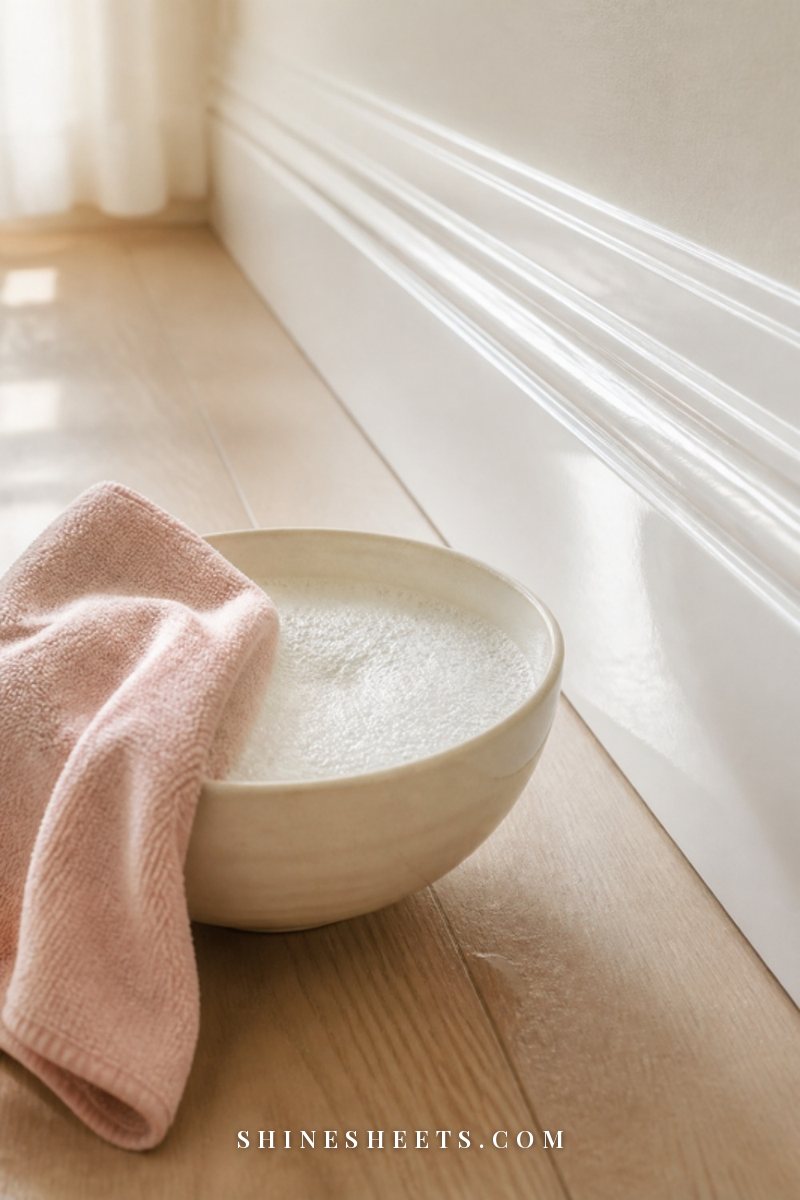
Fill one bucket with warm water and add just a few drops of mild dish soap, roughly a teaspoon per gallon (about 4 liters). You want barely-there suds, not a bubble bath. Fill the second bucket with clean warm water.
- Dip a soft sponge in the soapy water and wring it out until it's only damp. A dripping sponge is the most common way to damage paint and leave drip marks.
- Wash in small sections, about an arm's width at a time, using light, overlapping circles or gentle vertical strokes.
- Work from the bottom up when washing. It sounds backward, but drips running down a dry, dirty wall can leave streaks that are hard to remove, while drips over a clean, damp area wipe off easily.
- Change the soapy water as soon as it looks cloudy.
Rinse and Dry
Dip a clean sponge or cloth in the rinse bucket, wring it out well and wipe over each section to remove soap residue (leftover soap attracts dust). Then dry with a clean microfiber cloth or towel straight away, especially on flat and eggshell finishes. Letting water sit on matte paint is what causes water marks.
Finish by wiping the baseboards with the same gentle method. My guide on how to clean baseboards covers the corners and the dusty top edge in more detail.
How To Remove Common Wall Marks
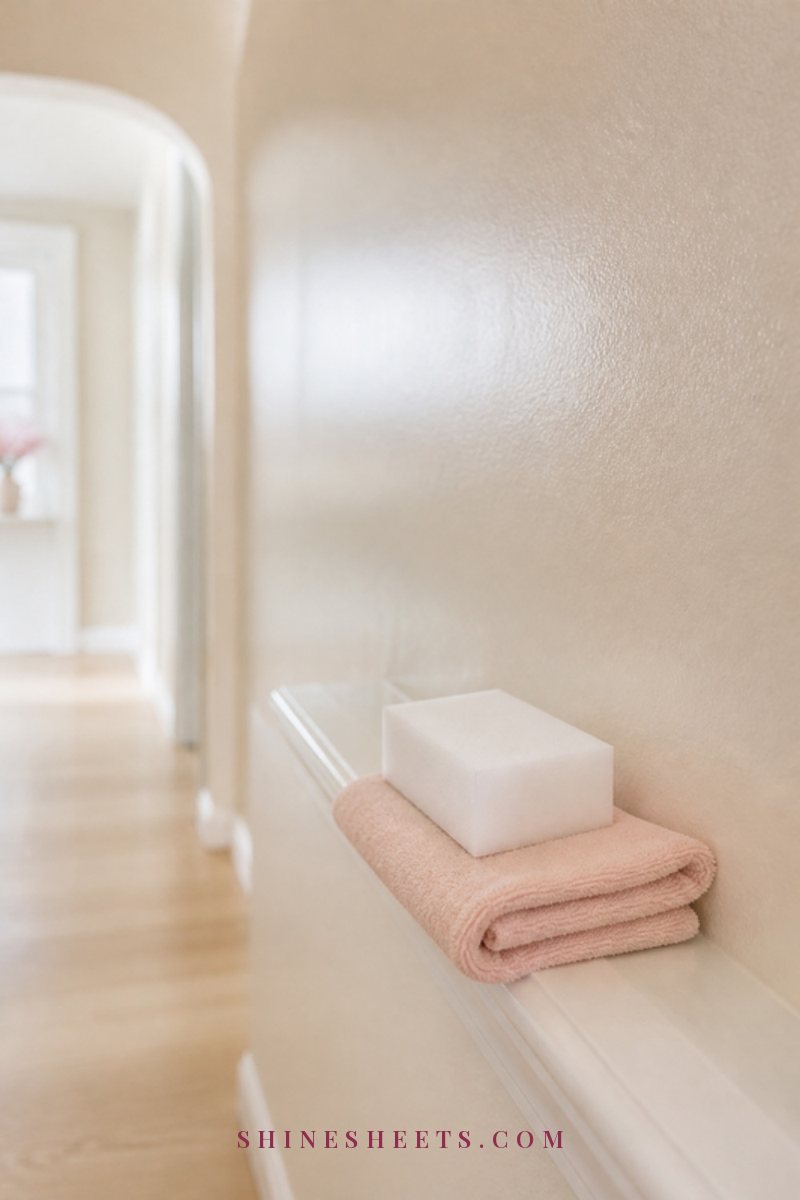
Spot cleaning is where most wall damage happens, because it's tempting to scrub harder at one stubborn mark. Start with the gentlest option and move up only if needed.
Scuff Marks
Try a damp microfiber cloth with a drop of dish soap first. If the scuff stays, a melamine sponge can lift it, but it works like very fine sandpaper. Use it only on satin, semi-gloss or gloss finishes, test first, dampen it, and use the lightest possible pressure for just a few strokes. On flat or eggshell paint, a melamine sponge can leave a dull or shiny patch that's more noticeable than the scuff.
Crayon and Pencil
Start with a soft, dry cloth or a clean white eraser and rub very gently. For crayon on a durable finish, a cloth with a drop of dish soap and warm water usually works after a 1-minute dwell. On flat paint, dab rather than rub, and accept that a light trace might need a touch-up.
Grease in the Kitchen
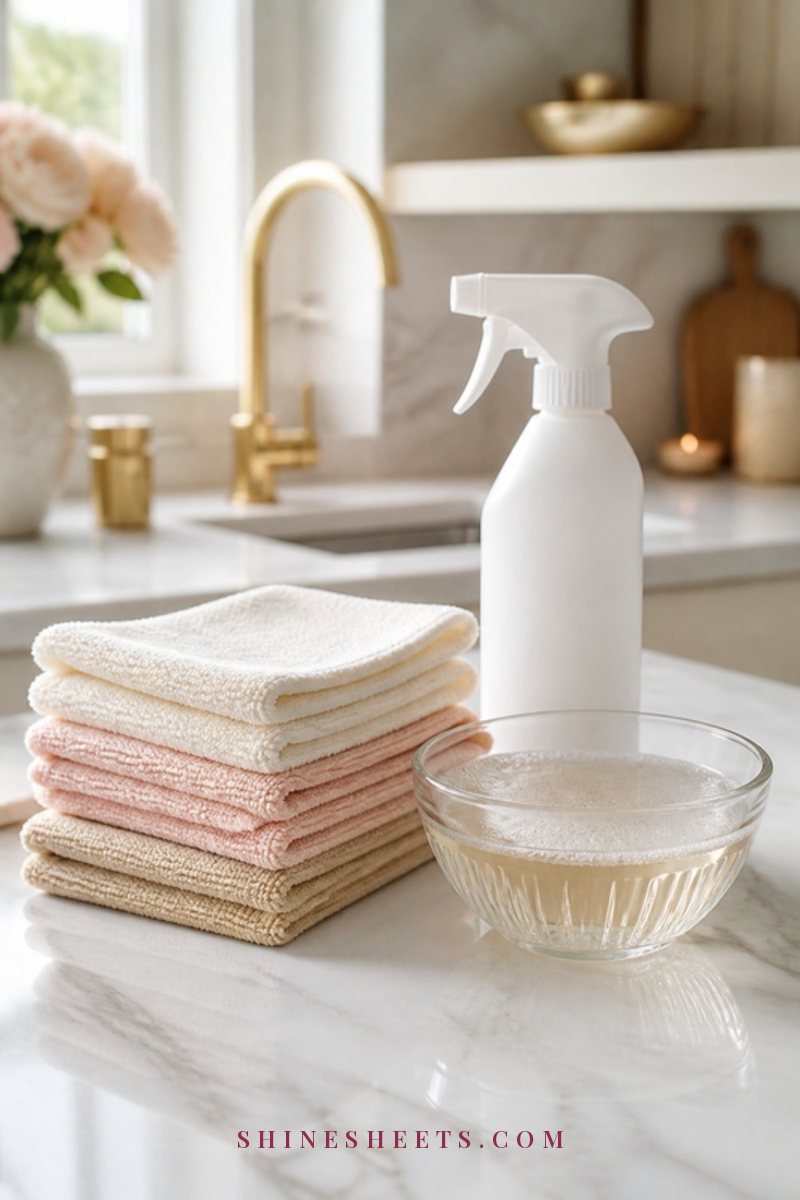
Kitchen walls, especially behind the stove, collect a thin layer of grease that grabs dust. Mix warm water with a little more dish soap than usual (about a tablespoon per gallon), apply it with a cloth, let it sit for 1–2 minutes to loosen the grease, then wipe and rinse. For tougher buildup on semi-gloss or gloss paint, a diluted kitchen degreaser can help. Follow the label's dilution and dwell time exactly, test first, and rinse well afterward.
Fingerprints Around Light Switches and Door Frames
These spots collect skin oils from hands, so they need a little soap. Wipe with a well-wrung soapy cloth, rinse and dry. Turn off the light switch first and keep the cloth barely damp so no water gets behind the switch plate. Making this a weekly two-minute job means you'll rarely need anything stronger.
Water Marks and Drips
Drip trails often appear below windows or near bathrooms. Wipe them with a damp cloth from the bottom up, then dry. If a drip has left a tide-line on flat paint, gently blot the whole area with a damp cloth so it dries evenly.
How To Clean Wallpaper
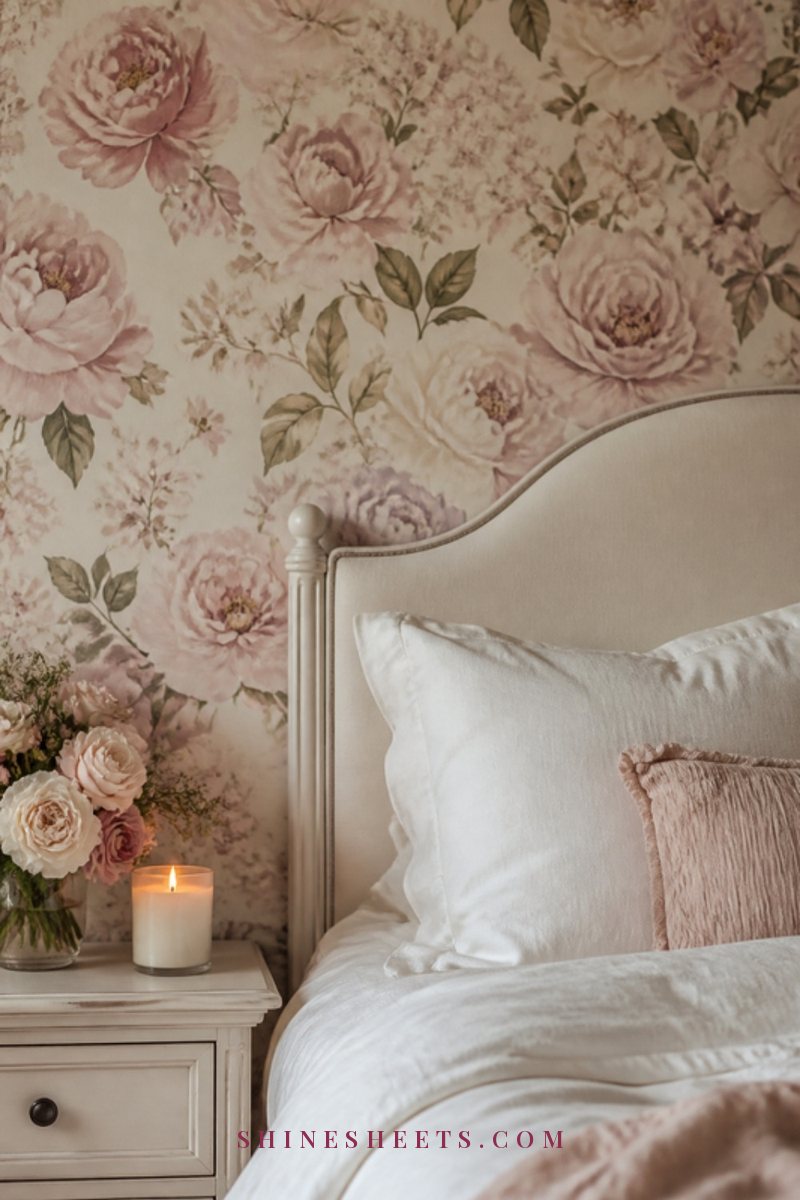
Wallpaper needs its own approach, and the type makes all the difference.
- Vinyl and vinyl-coated wallpaper is the most washable kind and is common in kitchens and bathrooms. Dust it first, then wipe with a damp cloth and a drop of mild soap. Rinse and dry. Keep water away from the seams, where it can loosen the paste.
- Paper, grasscloth and fabric wallpapers are delicate. Dust them gently with a dry microfiber cloth or the brush attachment of your vacuum on low suction. Only spot clean with a barely damp cloth if the manufacturer says it's safe, and blot rather than rub.
- Peel-and-stick wallpaper can usually handle a soft, damp cloth, but check the brand's care instructions.
If you're not sure what type you have, try a drop of water in a hidden spot. If it beads up, it's likely vinyl. If it soaks in or darkens the paper, treat it as delicate.
Bathroom Walls and Small Mildew Spots
Bathroom walls deal with steam every day, so they're usually painted in a satin or semi-gloss finish that can handle a little more cleaning. A quick routine keeps them fresh:
- After showers, run the exhaust fan for 20–30 minutes or crack a window so moisture doesn't settle on the walls.
- Monthly, wipe the walls nearest the shower with mild soapy water, rinse and dry.
- For small gray or black mildew spots, use a mildew cleaner labeled safe for painted surfaces. Test it in a hidden spot first, follow the label's dwell time (often 5–10 minutes), rinse, dry and keep the room well ventilated while you work. Wear gloves, and never mix it with other cleaners.
- If mildew keeps returning or covers a large area, it's usually a sign of a moisture problem behind the wall or poor ventilation. That's worth checking with a professional rather than scrubbing harder.
For more bathroom-friendly shortcuts, my cleaning hacks roundup has plenty of quick ideas that keep steamy rooms looking fresh with very little effort.
What To Avoid When Cleaning Walls
These are the habits that cause most paint damage, and they're all easy to skip:
- Soaking the wall. Too much water can soften paint, cause bubbling and seep behind wallpaper or switch plates. Always wring sponges until just damp.
- Abrasive powders and scouring pads. They scratch and dull the finish, especially on flat and eggshell paint.
- Too much pressure on matte paint. Rubbing causes burnishing, those shiny patches that are visible from across the room.
- Melamine sponges on delicate finishes. Keep them for satin and glossier finishes, and use them lightly.
- Bleach on colored paint. It can lighten or blotch the color. If you need to tackle mildew in a bathroom, use a product made for painted surfaces, follow the label carefully and ventilate well.
- Mixing cleaners. Never mix bleach with vinegar or ammonia. The combination can release harmful fumes.
- Cleaning freshly painted walls. New paint can take several weeks to fully cure. Check the paint can, and stick to dusting until then.
- Skipping the rinse. Leftover soap leaves a dull film that attracts dust faster.
When To Touch Up Instead of Scrub
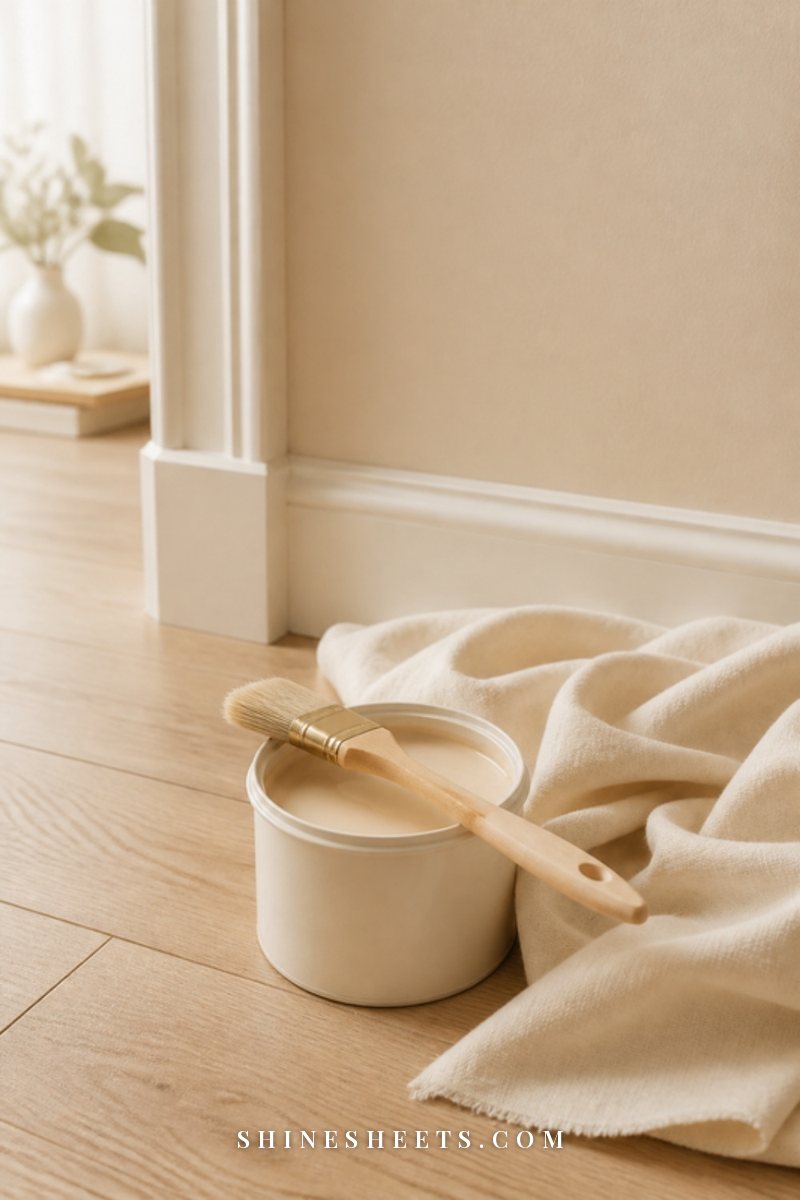
Some marks simply won't come off without hurting the paint, and that's okay. Sometimes a tiny touch-up is the kinder, faster solution, especially on flat or matte walls.
- Keep leftover paint. Store a small amount in a well-sealed jar with the color name and finish noted on a piece of tape. It makes touch-ups simple.
- Clean and dry the spot first, then apply a thin layer of paint with a small brush or a mini foam roller, feathering the edges outward.
- Use the same finish. A satin touch-up on a matte wall will show as a shiny patch.
- Let it dry fully before judging the result, since paint often looks darker when wet.
If marks keep appearing in the same spot (behind a chair, along a hallway), it might be worth adding a slim bumper to the furniture or choosing a more durable finish next time you paint. If you're planning a refresh, my guide on how to choose paint colors can help you pick both the shade and the right finish for each room.
How Often To Clean Walls
Walls don't need much, which is part of their charm. A simple rhythm:
- Weekly: Wipe fingerprints around light switches and door handles (two minutes).
- Monthly: Spot clean scuffs and marks, especially in hallways and kitchens.
- Every 3 months: Dust walls from top to bottom, especially in rooms with lots of activity.
- Once or twice a year: A full wash in kitchens and bathrooms; once a year in bedrooms and living areas.
Adding these small tasks to your cleaning schedule means you'll never face a big wall-washing weekend. And while you're working your way around the room, it's the perfect moment to give the glass a quick polish too; my guide on how to clean windows has a streak-free method.
A small note on safety: use a sturdy step stool rather than a chair to reach high spots, keep buckets out of walkways, and wear gloves if your skin is sensitive to soapy water for longer periods (mine is, so I'd always choose gloves).
Final Thoughts
Clean walls are one of those quiet upgrades that make a home feel cared for. You don't need strong cleaners or hours of scrubbing, only a little knowledge of your paint finish and a gentle, patient hand.
Dust first, use very little water, test in a hidden spot and choose the softest method that works. Your walls will look fresher, your paint will last longer, and the whole room will feel brighter for it.