Dirty grout can make a perfectly clean bathroom look tired. The tiles shine, but those dark lines between them make everything feel older than it is. The encouraging part: most grout isn't stained for good. It's simply full of dirt, soap residue and grease that has settled into its tiny pores, and that comes out with the right method and a bit of patience.
The trick is starting gentle and only stepping up when you need to. Harsh chemicals and stiff wire brushes can wear grout away, while a soft paste, a good brush and the right dwell time often do the job without any damage.
This guide covers how to clean grout on floors, in showers and on kitchen backsplashes: why it gets dirty, routine versus deep cleaning, a step-by-step method from gentlest to strongest, a stain-by-stain method table, how to seal grout afterward, when it's time to regrout and the mistakes that cause damage.
Put on some music, open a window and let's bring those lines back to their original color.
Why Grout Gets So Dirty
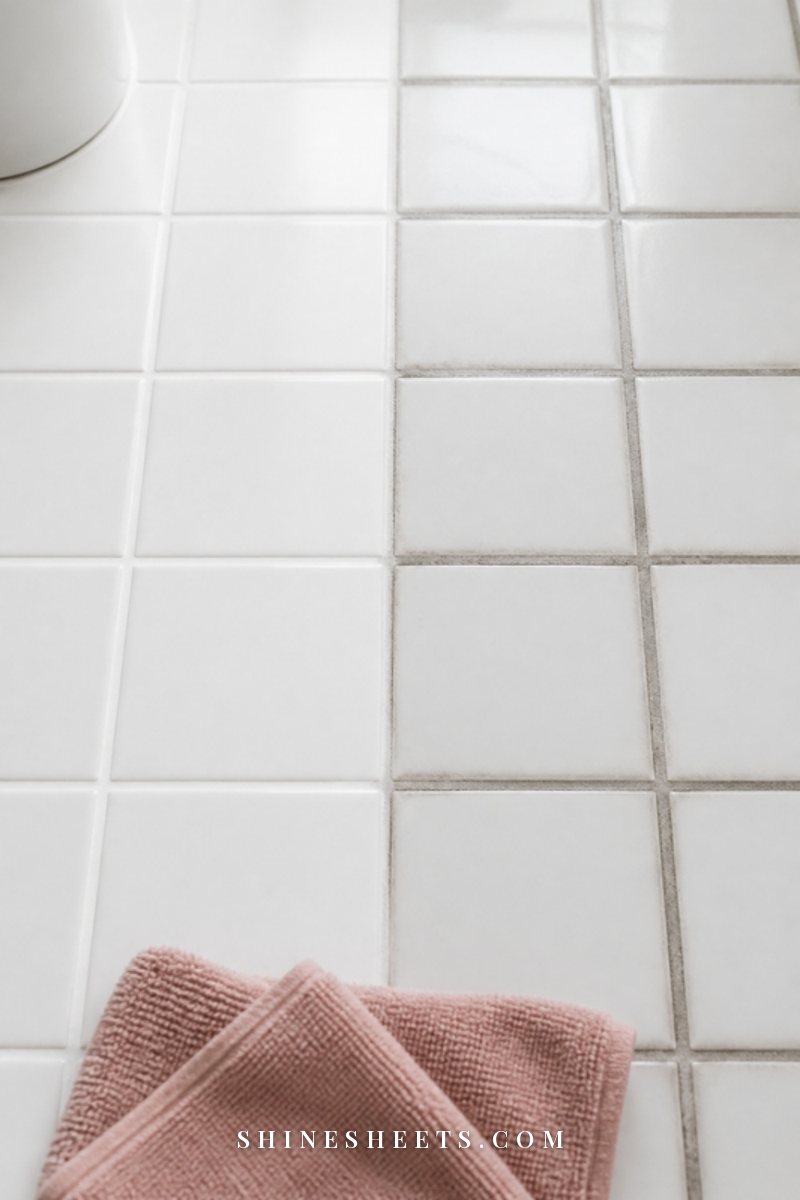
Grout is mostly cement, sand and water. Unlike glazed tile, it's porous, which means it has countless tiny holes that soak up whatever touches them:
- On floors: mop water carrying dirt from shoes, spills and dust settles into the lines, especially in kitchens, entryways and bathrooms.
- In showers: soap scum, body oils, hard water minerals and constant moisture create the perfect conditions for mildew.
- On backsplashes: cooking grease sprays onto the wall, cools and grabs onto dust.
Grout is also usually set slightly below the tile surface, so dirty mop water and cleaning residue collect right there. That's why mopping alone often makes grout darker over time instead of cleaner.
What You'll Need
You don't need a cupboard full of products. A small, well-chosen kit covers almost everything:
- A grout brush set with a narrow, stiff-bristled brush for lines and a wider one for corners. Nylon bristles are strong enough without scratching.
- Warm water and a bucket or spray bottle.
- Mild dish soap for routine cleaning.
- Baking soda and water for a gentle paste.
- Oxygen bleach powder or 3% hydrogen peroxide for stains on light grout.
- A stack of microfiber cleaning cloths for wiping and drying.
- A pair of rubber cleaning gloves, because even gentle cleaners dry out hands during a long scrub.
- Optional: an electric scrubber or steam mop for large areas.
- Grout sealer for the final step.
Routine Cleaning vs. Deep Cleaning
Grout doesn't need a big scrub every week. Think of it in two layers:
- Routine (weekly): wipe shower walls after use or a few times a week, mop floors with clean water and a little mild soap, and dry the floor if water is left standing. This keeps grime from settling in.
- Deep clean (every 1–3 months, or when it looks dingy): the full step-by-step method below, followed by sealing once or twice a year.
If you'd like grout to fit into a bigger plan, my guide on cleaning your bathroom fast shows how to keep the whole room fresh between deep cleans.
How To Clean Grout Step by Step
Always start with the gentlest method and only move to the next step if the grout still looks dirty. Before using anything new, test it on a small, hidden spot (behind the toilet or in a corner) and check after it dries.
Step 1: Dry Brush and Vacuum
Loose dirt turns to mud as soon as it gets wet. Sweep or vacuum the floor first, then run a dry grout brush along the lines to loosen grit. On walls, a quick dry brush is enough.
Step 2: Scrub With Warm Water
Spray the grout lines with warm water and scrub with the narrow brush in short back-and-forth strokes along the line. Work in small sections, about one square yard at a time. You'll be surprised how much lifts with just water and friction. Wipe with a damp microfiber cloth as you go.
Step 3: Scrub With a Baking Soda Paste
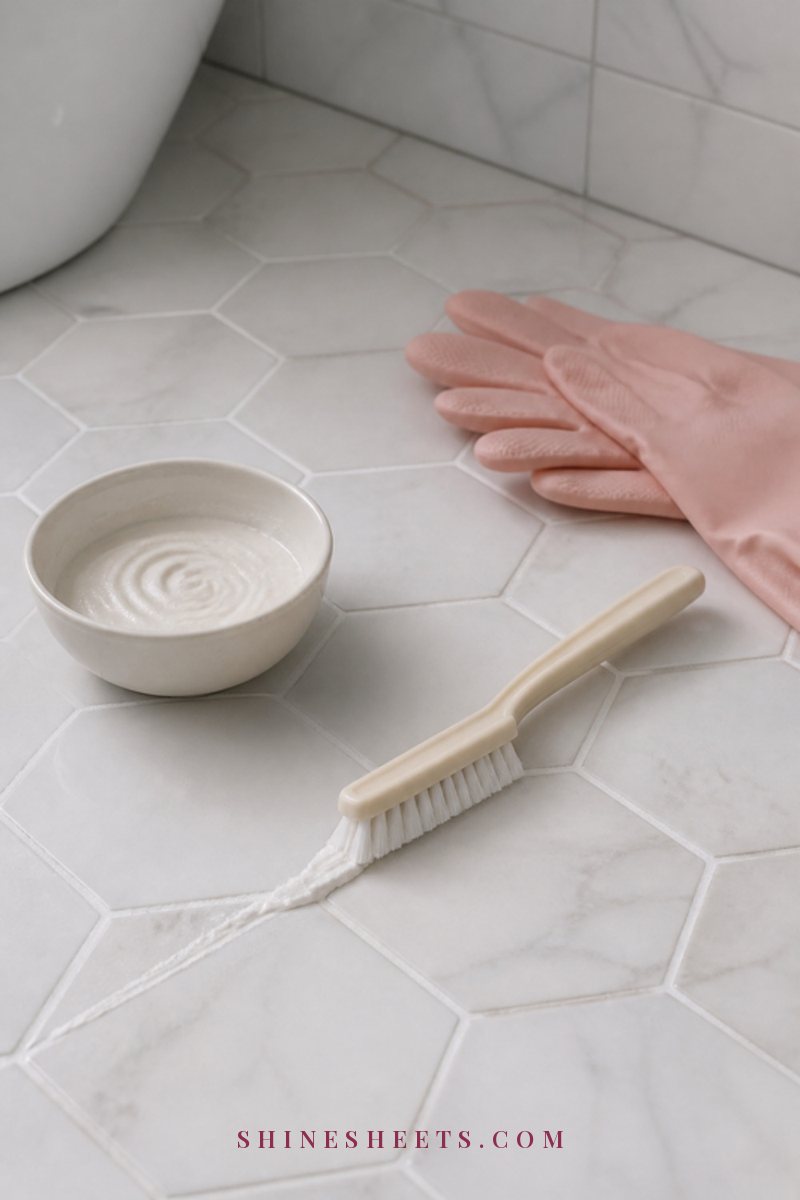
If water isn't enough, mix baking soda with a little water until it's the texture of toothpaste. Spread it along the grout lines with the brush or your gloved finger.
- Dwell time: leave it for 10 minutes.
- Scrub: brush firmly along the lines.
- Rinse: wipe with a damp cloth, rinsing the cloth often so you're not spreading the paste around.
For greasy kitchen grout, add a drop of dish soap to the paste. It helps break down the oily layer that holds the dirt.
Step 4: Lift Stains With Oxygen Bleach or Peroxide
For deeper discoloration on white or light grout, oxygen bleach is the next step. It's gentler than chlorine bleach and releases oxygen bubbles that lift stains from the pores.
- Dissolve the powder in warm water according to the package directions.
- Apply it to the grout lines with a sponge or brush and keep the area wet.
- Dwell time: 10–15 minutes, up to 30 for stubborn stains (don't let it dry out).
- Scrub, then rinse thoroughly with clean water.
Alternatively, 3% hydrogen peroxide mixed with baking soda into a paste works well on small stained areas. Leave it 10 minutes, scrub and rinse. Peroxide can lighten colored grout, so test first.
Step 5: Use Steam for Stubborn Grime
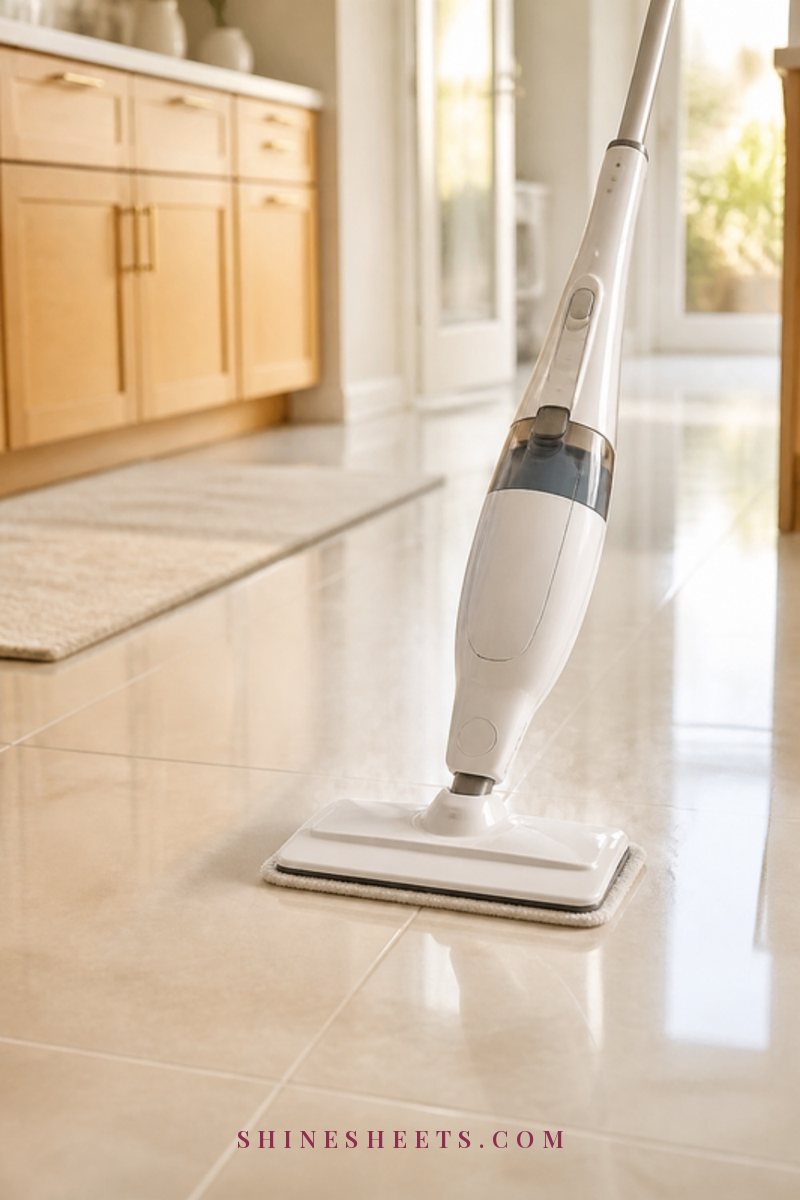
Steam loosens grime from the pores without chemicals, which makes it especially nice for homes with pets or for people who prefer fewer cleaning products. A white steam mop with a grout attachment or a small handheld steamer works well.
Hold the nozzle over each line for a few seconds, then brush and wipe the loosened dirt away immediately. Avoid steam on unsealed natural stone, cracked grout or old tiles that may be loose, since the heat and moisture can push water underneath.
Step 6: Try an Electric Scrubber for Big Areas
For a large floor or a full shower, scrubbing by hand gets tiring quickly. An electric spin scrubber with a small, firm brush head does the back-and-forth for you. Use it with water, dish soap or the baking soda paste, never with a wire or metal head.
Step 7: Rinse Well and Dry
Leftover cleaner attracts dirt, so this step matters more than it looks. Rinse the area with clean water at least twice, changing the water as you go, then dry the grout with a microfiber cloth. Leave the room ventilated for a few hours, and if you plan to seal, wait until the grout is completely dry (usually 24 hours, or according to the sealer's directions).
Grout Cleaning Method Table
Match the problem to the method. Screenshot it and keep it handy for your next deep clean.
| Stain or problem | Method | Dwell time | Notes |
|---|---|---|---|
| Light everyday dirt | Warm water + grout brush | None – scrub right away | Safe for all grout and tile |
| General grime on floors | Baking soda paste | 10 minutes | Rinse twice to remove residue |
| Kitchen grease | Baking soda paste + drop of dish soap | 10 minutes | Wipe with hot water afterward |
| Soap scum in the shower | Dish soap solution, then baking soda paste | 10 minutes | Dry the walls after showering to prevent it |
| Discolored white grout | Oxygen bleach solution | 10–30 minutes | Keep wet; test on colored grout |
| Small dark stains | Hydrogen peroxide + baking soda paste | 10 minutes | May lighten colored grout |
| Mildew spots in the shower | Oxygen bleach or diluted chlorine bleach (white grout only) | 10 minutes | Ventilate well; never mix with other cleaners |
| Deep, stubborn grime | Steam + grout brush | A few seconds per line | Not on unsealed stone or cracked grout |
Colored Grout and Natural Stone
Gray, beige and charcoal grout hide dirt well, but they need a little more care when cleaning, and natural stone tile needs the most care of all.
- Colored grout: stick to warm water, dish soap, baking soda paste and steam. Skip chlorine bleach entirely and patch-test peroxide or oxygen bleach in a hidden corner, letting it dry fully before judging the color.
- Marble, travertine, limestone and slate: use a pH-neutral cleaner made for stone and a soft brush. No vinegar, lemon, acidic bathroom sprays or abrasive pastes on the stone itself. Work carefully along the grout so the paste doesn't sit on the tile.
- Porcelain and ceramic: the most forgiving. Every method in this guide is fine on the tile, as long as the grout is in good shape.
When in doubt, go gentler and repeat rather than reaching for something stronger. A second round of baking soda paste is always safer than one round of a harsh product.
How To Clean Grout by Location
The basic method stays the same, but each area has its own quirks.
Floor Grout
Floors collect the most dirt, so work in small sections and change your rinse water often. Kneel on a folded towel and start in the far corner so you're working toward the door. After cleaning, switch from a string mop to a flat microfiber mop that you rinse frequently; it picks dirt up instead of pushing it into the lines.
Shower Grout and Mildew

Shower grout is wet so often that mildew is a common guest. Those small black or gray spots usually sit on the surface and come off with oxygen bleach or a peroxide paste. Here's how to keep them from coming back:
- Ventilate. Run the exhaust fan during your shower and for 20–30 minutes afterward, or open a window.
- Squeegee or wipe walls after showering, especially the lower half and corners.
- Keep bottles off the floor. A shelf or caddy lets the corners dry.
- Wash bath mats and shower curtains regularly so they don't hold moisture against the grout.
If dark spots come back within days or seem to be inside the grout rather than on it, see the regrouting section below. For the glass parts of the shower, my guide to cleaning glass shower doors covers hard water spots and streak-free finishing, and these tips on removing hard water stains help with the white mineral crust that often sits right on grout lines too.
Kitchen Backsplash Grout

Backsplash grout is mostly a grease problem. Wipe it weekly with warm soapy water, and for a deep clean use the baking soda and dish soap paste with a soft brush. Work from the bottom up so drips don't run over dry, dirty grout and leave streaks. Finish by drying with a microfiber cloth. The backsplash is a great finishing touch for a larger kitchen refresh, and my deep kitchen cleaning guide walks through the whole room.
How To Seal Grout (and How Often)
Sealing is the step most people skip, and it's the one that keeps your hard work looking good. Sealer fills the pores so dirt and water sit on top instead of soaking in.
- Start with clean, completely dry grout. Wait at least 24 hours after deep cleaning.
- Apply the sealer to the grout lines only. A grout sealer spray or one with a small applicator tip makes this easier. Follow the product's directions for how many coats to use.
- Wipe any sealer off the tiles within a few minutes with a dry microfiber cloth, before it leaves a haze.
- Let it cure. Most sealers need 24–72 hours before the area gets wet or walked on heavily. Check the label.
How often: high-moisture areas like showers usually need resealing every 6–12 months, floors and backsplashes about once a year. A quick test: sprinkle a few drops of water on the grout. If they bead up, the seal is still working. If they darken the grout and soak in, it's time to reseal.
Note: epoxy grout is non-porous and doesn't need sealing. If you're unsure which type you have, ask your landlord or whoever installed the tile.
When It's Time To Regrout
Sometimes cleaning simply isn't enough. Consider regrouting (or asking a professional to do it) if you notice:
- Cracked, crumbling or missing grout
- Mold that keeps returning within days of cleaning, which often means moisture has gotten underneath
- Loose tiles or soft spots in the wall behind the shower
- Stains that don't change at all after oxygen bleach and steam
If you rent, mention it to your landlord rather than tackling it yourself; water getting behind tiles can turn into a bigger repair.
What Not To Do
A few habits can damage grout or create real safety risks. Please avoid these:
- Never mix bleach with vinegar, ammonia or other cleaners. Combining them creates toxic gases. Use one product at a time, rinse thoroughly in between and ventilate.
- Don't use wire or metal brushes. They scratch tile and gouge grout, which makes it collect even more dirt.
- Don't use acidic cleaners on natural stone. Vinegar, lemon and acidic bathroom cleaners can etch marble, travertine and limestone permanently. Use a pH-neutral stone cleaner instead.
- Avoid chlorine bleach on colored grout. It can leave pale, blotchy patches.
- Don't let cleaners dry on the grout. Dried residue attracts new dirt and can leave a film.
- Don't skip the patch test. Especially with older tile, colored grout or anything you're not sure about.
If you prefer gentle, low-scent options for the routine part, my guide to natural cleaning has simple ideas that are kind to grout and to you.
How To Keep Grout Clean Longer
- Wipe or squeegee shower walls after use.
- Mop with clean water and a small amount of pH-neutral cleaner, and change the water halfway through.
- Dry floors after mopping in bathrooms and kitchens.
- Use doormats and bath mats to catch water and dirt.
- Run a dry grout brush along floor lines once a week while you tidy.
- Reseal on schedule and test with a few drops of water.
Common Grout Questions
Is vinegar safe for grout?
Occasionally and diluted on sealed grout between ceramic or porcelain tiles, but it isn't the best choice for regular cleaning. Vinegar is acidic, and over time it can wear away grout and break down sealer. On natural stone it can cause permanent etching. Warm water with a little dish soap, or a pH-neutral cleaner, is safer for everyday use.
How long does a deep grout clean take?
For a small bathroom floor, plan on about an hour including dwell times. A full shower takes a similar amount of time. Breaking it into sections over two or three evenings works just as well and is easier on your knees.
Is a grout pen a good idea?
A grout pen or colorant can refresh grout that's clean but permanently discolored. It's a cosmetic fix, so clean and dry the grout thoroughly first, and keep in mind that it won't hide cracks or crumbling grout.
How do I make grout cleaning less tiring?
Kneel on a folded towel or a garden kneeling pad, work in small sections, let the paste do the work during its dwell time and use an electric scrubber for large areas. And put on a podcast. It really does make the time go faster.
Final Thoughts
Clean grout is one of those quiet details that makes a whole room feel fresh. Start gentle, give each method its dwell time, rinse well and seal once the lines are bright again. After that, a few minutes of weekly care keeps them looking that way.
Take it one small section at a time. By the time you reach the door, your tiles will look brand new again.