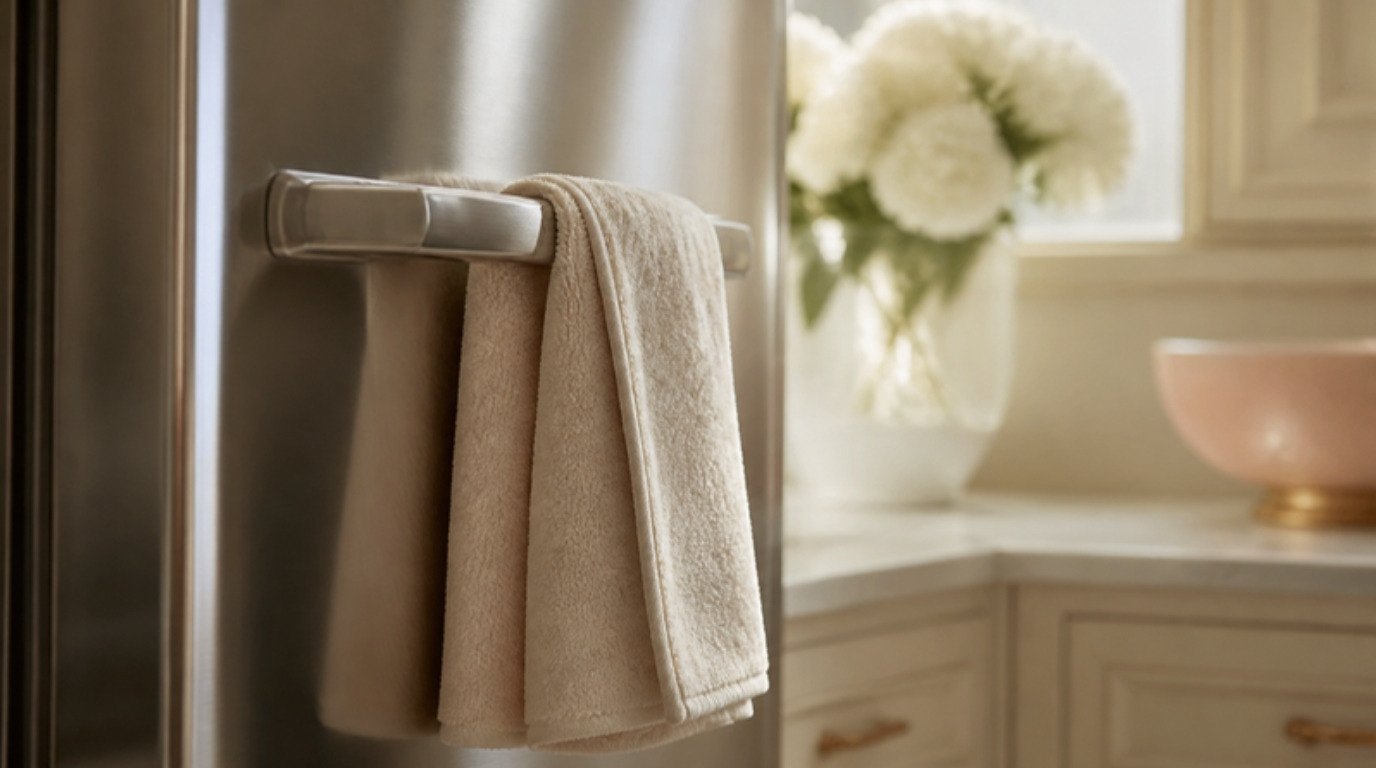
Streaky stainless steel is almost never a sign that you're cleaning too little. Usually it's the opposite: too much product, the wrong cloth, or wiping in circles across a finish that has a direction. Once you know those three things, a fridge door that looked smeary in every light can go back to that soft, even, showroom shine in a few minutes.
In this guide, I'll show you how to clean stainless steel appliances without streaks: why streaks happen, how to find the grain, a quick daily wipe, a proper weekly clean, how to deal with fingerprints and grease, appliance-by-appliance tips, what to do with black stainless and fingerprint-resistant coatings, and a simple finish-by-finish table you can screenshot for your kitchen.
One thing before we start: always check your appliance's care guide. Manufacturers sometimes recommend (or forbid) specific products for their finishes, and their advice wins over anything general, including mine.
Why Stainless Steel Streaks
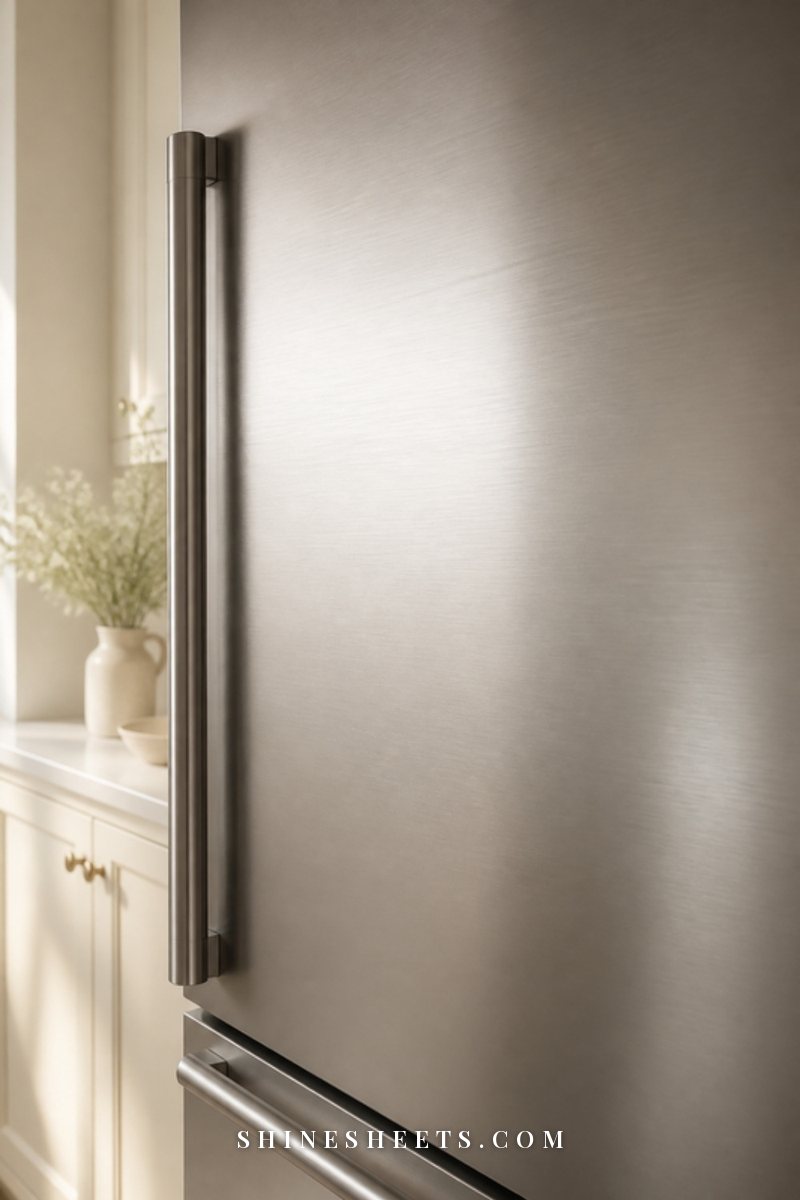
Stainless steel is tough, but its surface shows everything that sits on top of it. Most streaks come from one of these:
- Minerals in your water. If you wipe with tap water and let it air-dry, the minerals stay behind as cloudy marks. Hard water makes this much worse.
- Oils. Skin oils from fingerprints, cooking grease and even too much polish all smear rather than wipe away.
- The wrong cloth. Paper towels leave lint and push grime around. Old, fabric-softened cloths leave a film.
- Going against the grain. Brushed stainless has fine lines. Wiping across them or in circles drags residue into the grooves, where it catches the light as streaks.
- Too much product. More cleaner is not more clean. Excess spray just becomes a layer you then have to buff off.
The fix for nearly all of them is the same: less product, the right cloth, a separate dry cloth, and wiping with the grain.
Find the Grain First
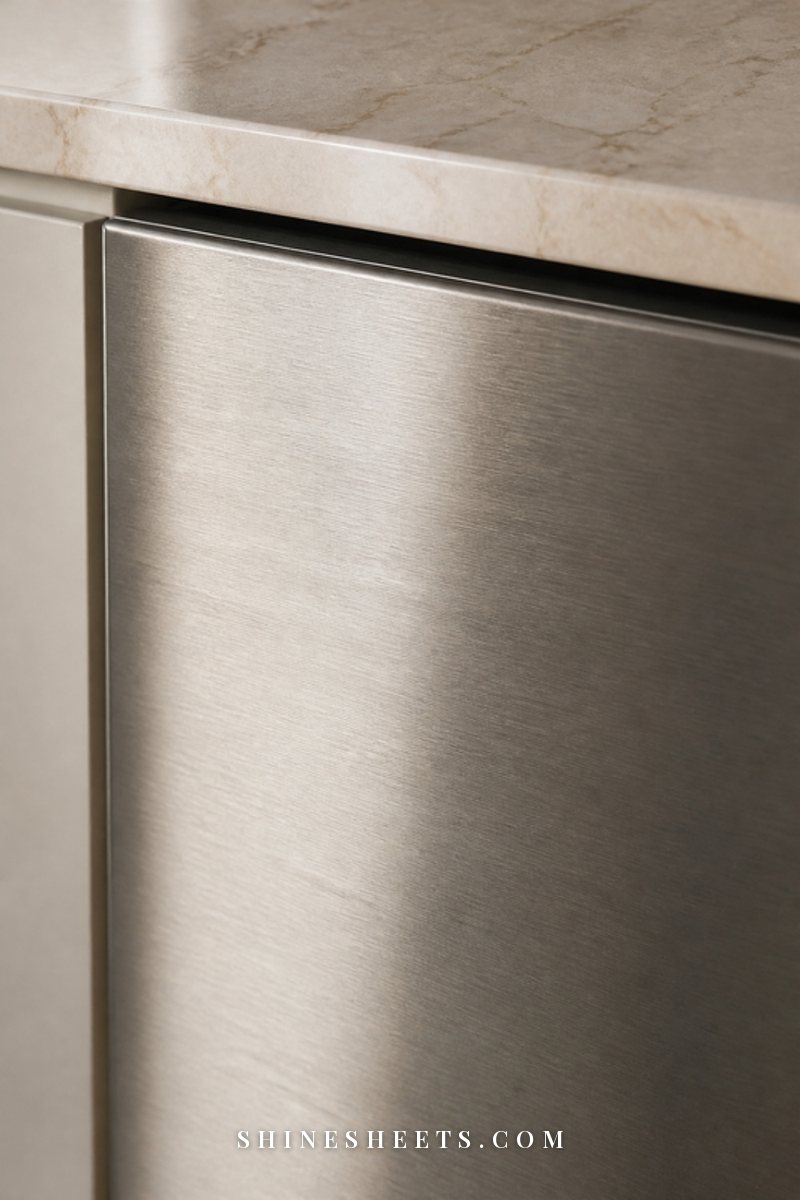
This is the single most useful habit, and it takes ten seconds. Stand close to your appliance and look at the surface at an angle, with light coming across it. You'll see very fine parallel lines, a bit like the grain in wood. On most fridges and dishwashers they run vertically or horizontally.
If you can't see them, run a fingertip lightly in two directions. One direction will feel smoother. That's the grain.
From now on, every wipe and every buff goes in that direction, in long, straight strokes from one edge to the other. Not circles, not zigzags. It feels almost too simple, but it's the reason professional cleaners get streak-free results with nothing more than soap and water.
(Some surfaces, like very smooth polished stainless or many coated finishes, have no visible grain. On those, choose one direction and stick to it.)
What You Need
You don't need a cupboard full of special products. A small, good kit does it all:
- Two or three microfiber cloths. One damp for cleaning, one dry for drying, one for buffing. A soft microfiber cloth set in one color for stainless only keeps them free of other residues.
- Warm water. Distilled or filtered water helps if you have hard water.
- A mild dish soap. A gentle dish soap without added lotions or bleach works best.
- A spray bottle. A glass spray bottle for your soapy water mix makes it easy to mist lightly instead of drenching.
- A non-scratch sponge for stuck-on spots only. A soft non-scratch sponge (never the green scouring kind) is gentle enough for brushed steel when used with the grain.
- Optional: a dedicated stainless steel cleaner or polish for the final buff.
Wash microfiber without fabric softener (it clogs the fibers), and air-dry or tumble on low. A clean cloth is half of a streak-free finish.
The Daily Wipe
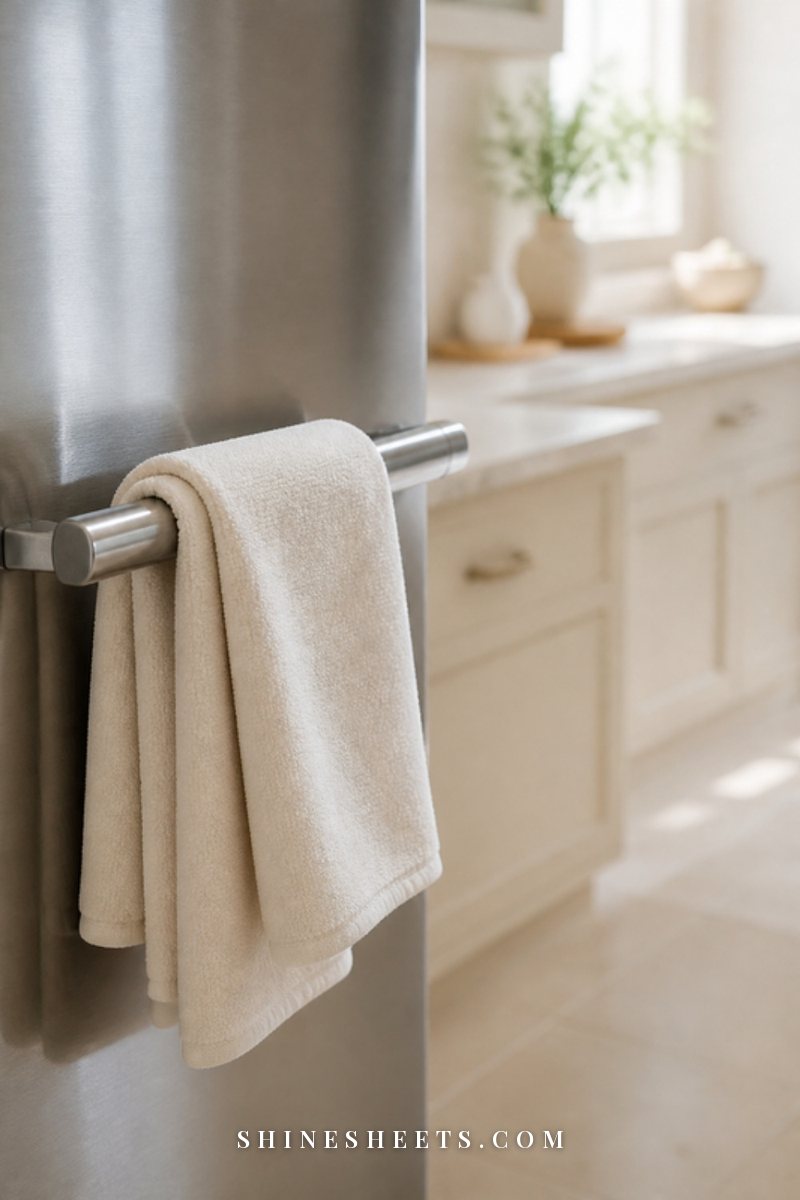
This takes about two minutes and keeps things from building up. Do it after dinner, when the kitchen is already in clean-up mode.
- Dampen a microfiber cloth with warm water and wring it out until it's barely damp.
- Wipe handles first (they collect the most oils), then the front, with the grain.
- Follow straight away with a dry microfiber cloth, again with the grain.
That's it. No product needed most days. If your kitchen gets lots of little hands (or your own after cooking), the handles may be the only part that needs it daily.
The Weekly Clean: Step by Step
Once a week, give the fronts a slightly deeper clean. It takes about ten minutes for a fridge, dishwasher and oven front together.
- Mix. Add one or two drops of mild dish soap to about two cups of warm water in your spray bottle. Swirl, don't shake (too many bubbles leave more residue).
- Test. Try it first on a hidden spot, like the side of the fridge near the wall or the bottom edge of the dishwasher door.
- Mist lightly. Spray onto your cloth rather than straight onto the appliance, especially near control panels, vents and seams.
- Wipe with the grain. Work from top to bottom in long, straight strokes, one section at a time.
- Rinse. Go over the same section with a clean cloth dampened in plain water. This step is what most people skip, and leftover soap is a big cause of haze.
- Dry immediately. Use a dry microfiber cloth with the grain before the water evaporates.
- Buff (optional). If you want extra shine, finish with a stainless cleaner or a tiny amount of polish, as described in the next section.
How To Remove Fingerprints and Grease
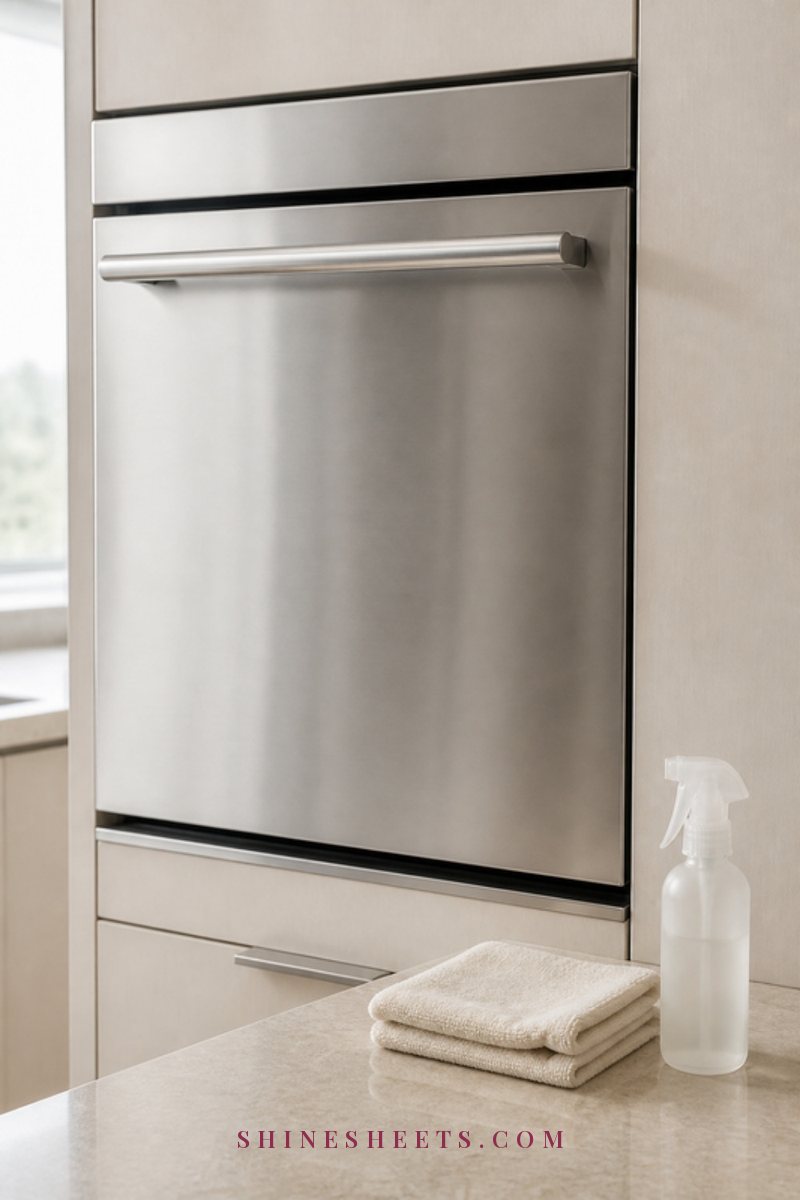
Fingerprints and grease are oily, so water alone tends to smear them. Here's the order that works:
- Degrease first. Use your soapy water mix on the cloth and wipe with the grain. For a greasy patch, let the solution sit for 1–2 minutes, then wipe.
- Rinse and dry as above. If the marks are gone, you're done.
- Buff with a stainless product. For extra shine or a light fingerprint-resistant layer, use a stainless steel cleaner and polish spray. Spray it onto a clean cloth, not the surface, and use very little. Follow the label for dwell time and wipe with the grain.
- Or buff with a tiny bit of oil. Many people use a few drops of food-grade mineral oil on a cloth to buff brushed (uncoated) stainless. The key word is tiny: a thin layer adds shine and helps hide prints, but too much attracts dust and leaves a greasy film. Mineral oil is usually a better choice than cooking oils, which can turn sticky over time.
Never use oil or polish on black stainless or on fingerprint-resistant coatings. More on those below.
Appliance by Appliance
Each appliance has its own little challenges. Here's what to pay attention to.
Fridge Doors

Fridge doors are big, so work in sections: top half, then bottom half, each with the grain. Clean handles with extra attention, including the inside curve that faces the door. Wipe the door seals with your soapy cloth too, then dry them, since crumbs and spills there can keep the door from sealing well. For a full inside-and-out refresh, my guide on how to deep clean your kitchen covers the fridge interior and everything around it.
Dishwasher Fronts
Dishwasher fronts often have a control panel along the top edge. Never spray near it. Mist your cloth instead and wipe around the buttons gently. Pay attention to the bottom edge, where drips run down and dry into marks. While you're there, the inside often needs attention too: here's how to clean a dishwasher step by step, filter included.
Ovens and Range Hoods
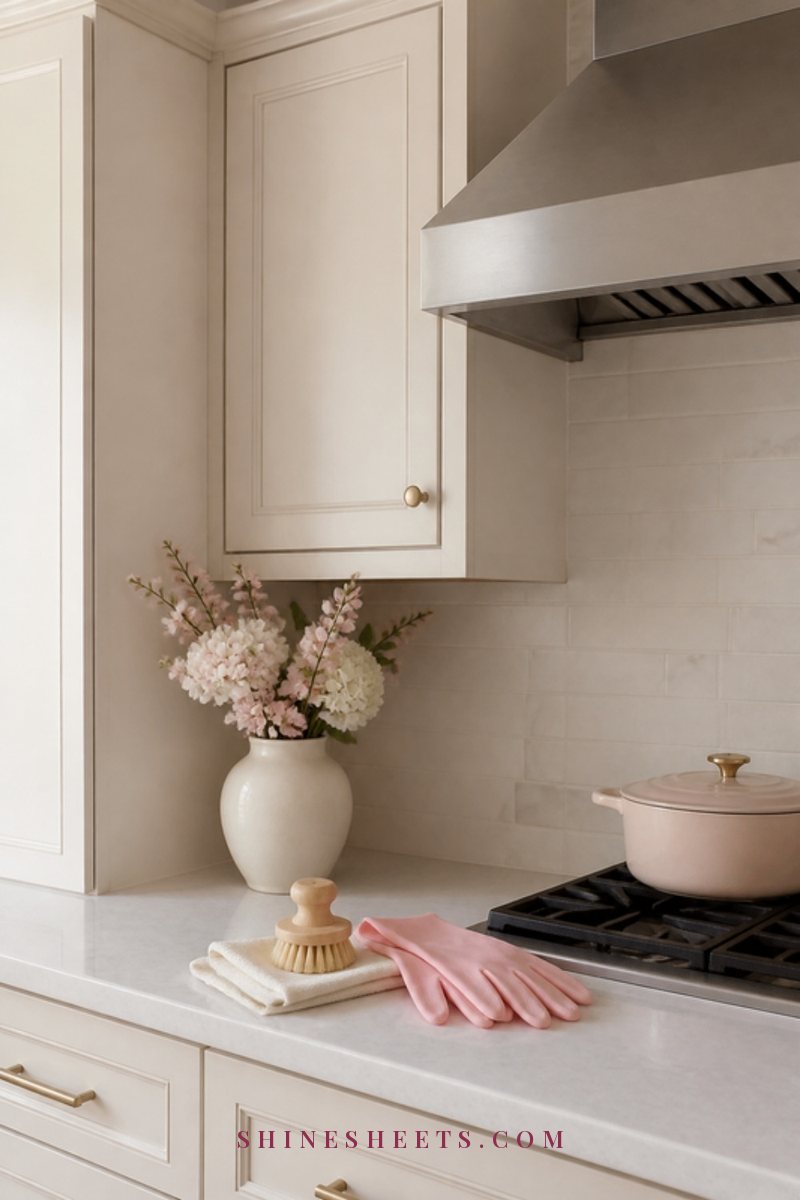
These get the most grease, so they need a degreasing step:
- Oven front and door: Make sure the oven is completely cool. Wipe with your soapy solution, let it sit 2–3 minutes on greasy spots, then wipe, rinse and dry with the grain. Keep liquid away from the control knobs and display.
- Range hood exterior: Cooking grease builds up in a sticky film. Use warm soapy water, let it sit about 5 minutes, then wipe. A non-scratch sponge helps with tacky patches, moving with the grain and with light pressure. Rinse and dry well.
- Range hood filters: If your filters are removable metal mesh, check the manual. Many can soak in hot water with a squeeze of dish soap for 15–20 minutes, then get a gentle scrub with a soft brush, a rinse and a full air-dry before going back in. Some are dishwasher-safe, some aren't.
The oven interior is a separate job, and my guide on how to clean your oven walks through it without harsh fumes.
Microwave Fronts
Microwave fronts are small but get touched constantly. Turn the microwave off, mist your cloth (never the keypad), and wipe the door with the grain, then the handle, then dry. If the inside needs help, see how to clean a microwave the easy way.
Black Stainless and Fingerprint-Resistant Finishes
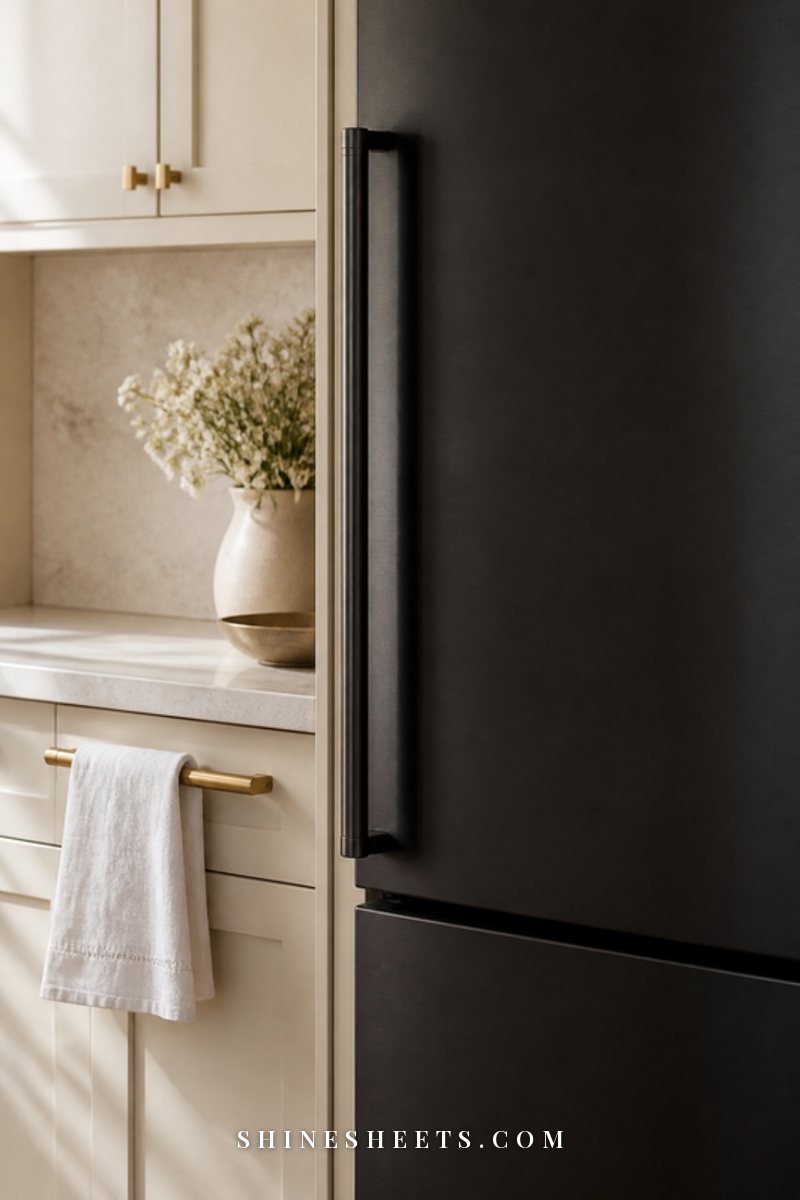
Black stainless steel and many "fingerprint-resistant" or "smudge-proof" finishes are regular stainless with a thin protective coating on top. That coating is what makes them look so sleek, and it's also what makes them more delicate.
For these finishes:
- Use only warm water and, if needed, a drop of mild dish soap.
- Use a soft microfiber cloth only. No sponges with scrubbing sides.
- Wipe gently in one direction, rinse with a damp cloth, and dry.
- Skip stainless polishes, oils, vinegar and anything abrasive. They can cloud, streak or slowly wear away the coating.
Scratches on coated finishes usually can't be buffed out the way they sometimes can on regular brushed steel, so prevention is everything here. When in doubt, the care guide in your manual (or on the manufacturer's website) will tell you exactly what's safe.
The Stainless Steel Care Table
Here's the whole guide in one place: find your finish, follow the method, skip what's in the last column.
| Surface or finish | Method | How often | Avoid |
|---|---|---|---|
| Brushed stainless (most fridges, dishwashers) | Damp microfiber, then dry, with the grain. Weekly: drop of dish soap, rinse, dry, optional thin buff | Handles daily, fronts weekly | Steel wool, scouring powder, bleach, circles |
| Polished or mirror-finish stainless | Soapy water, rinse, dry in one direction; buff with a stainless cleaner if the label allows | Weekly | Abrasive sponges, paper towels, too much product |
| Black stainless | Warm water plus a drop of mild dish soap, rinse, dry with a soft cloth | Weekly, spot-clean as needed | Oils, polishes, vinegar, abrasives, scrubby sponges |
| Fingerprint-resistant coating | Warm water only, or a drop of dish soap; rinse and dry | Weekly | Stainless polishes, oils, glass cleaner, abrasives |
| Range hood exterior | Warm soapy water, sit about 5 minutes, wipe, rinse, dry with the grain | Every 1–2 weeks | Oven cleaner on the outside, harsh scrubbing |
| Hard water spots on brushed steel | If your manual allows: 1:1 white vinegar and water on a cloth, sit 1–2 minutes, wipe, rinse with plain water, dry | As needed | Leaving it on, using it on coated or black finishes |
What To Avoid on Stainless Steel
Stainless steel is called "stainless," not "indestructible." A few products can scratch, dull or even corrode it:
- Bleach and chlorine cleaners. Chlorine can damage the protective layer that keeps stainless from rusting and can cause pitting or discoloration.
- Abrasive powders and scouring pads. They leave fine scratches that catch grime and look dull.
- Steel wool. It scratches, and tiny particles left behind can rust and leave orange spots that look like the appliance is rusting.
- Glass cleaner with ammonia on some finishes. It can streak and may harm coatings. Check your manual before using it anywhere on an appliance.
- Oven cleaner on exterior surfaces. It's far too harsh for the outside of appliances.
- Mixing cleaners. Never mix bleach with vinegar or with ammonia. Both combinations release dangerous gases. Use one product at a time, rinse in between, and keep the room ventilated.
If you've already got light scratches on regular brushed steel, don't try to sand them out yourself without the manufacturer's guidance. A gentle cleaning and a thin buff with the grain will often make them much less visible.
Small Stainless Steel Appliances and Sinks
The same rules work on smaller pieces too, with a few tweaks:
- Kettles and toasters: Unplug and let them cool completely. Wipe the outside with a barely damp soapy cloth, then a plain damp cloth, then dry. Never submerge them or spray near the base or the slots.
- Coffee machines and stand mixers: Wipe drips as they happen, because coffee and sugary splashes dry into sticky spots. A soapy cloth with a 1-minute dwell loosens them easily.
- Stainless steel sinks: These take more wear, so they can handle a little more. Wash with dish soap and a non-scratch sponge with the grain, rinse, and dry with a towel to prevent water spots. For a full routine, here's how to clean a kitchen sink and keep it fresh.
- Trash cans: Wipe the lid and pedal area weekly with soapy water, and dry. Fingerprints on the lid are the first thing people notice.
Small Habits That Keep Stainless Steel Clean Longer
The less often you need a full clean, the better. These tiny habits make a real difference over a few weeks:
- Keep a dedicated cloth nearby. A folded microfiber cloth in a drawer close to the fridge makes the daily wipe a ten-second job instead of a chore you postpone.
- Wipe spills while they're fresh. Splashes of sauce, milk or juice are easy to remove in the first minute and much harder once they've dried.
- Dry your hands before opening the fridge. Wet or greasy hands leave the most visible prints, especially while cooking.
- Use the handles. It sounds obvious, but pushing doors closed with your palm is where many smudges come from. A gentle nudge with the handle keeps the flat surfaces cleaner.
- Clean the kitchen from top to bottom. Wipe counters and the range hood before the appliance fronts, so drips land on surfaces you haven't cleaned yet.
- Refresh your cloths often. Swap to a fresh microfiber cloth every few days and wash them separately from towels that shed lint.
Most weeks, these habits mean the "weekly clean" is just a quick polish of the handles and a fast once-over of the fronts. That's the kind of cleaning routine that actually lasts.
Troubleshooting: Still Seeing Streaks
If you've followed every step and the surface still looks smeary, one of these is usually the culprit:
- Soap residue. Do one more pass with a cloth dampened in plain (ideally distilled) water, then dry.
- Old polish build-up. If you've used polish or oil for months, there may be layers of it. Clean twice with soapy water, rinse, dry, and see how it looks before adding any more.
- A dirty or softened cloth. Swap for a fresh microfiber cloth washed without fabric softener.
- Air-drying. Always dry by hand right after rinsing.
- Wiping in circles. Go back over the surface with the grain in long, straight strokes.
For more small kitchen shortcuts like this, my roundup of cleaning hacks is full of five-minute fixes.
Final Thoughts
Streak-free stainless steel isn't about expensive products or elbow grease. It's about a clean cloth, very little product, a quick rinse, drying straight away and following the grain.
Give your appliances a two-minute wipe on most evenings and a ten-minute clean once a week, and your kitchen will feel calmer, brighter and more put-together every time you walk in.