Greasy kitchen cabinets almost never need harsh scrubbing. That sticky film is mostly cooking oil mixed with dust, and warm water, a little dish soap and enough time to let it soften will lift most of it without touching your paint or wood finish.
The cabinets that get ruined are usually the ones that got attacked: abrasive sponges, too much water, strong cleaners straight on the surface. The cabinets that look new for years are the ones cleaned gently and often. Good news for anyone who doesn't want to spend a Saturday scrubbing.
This guide shows you how to clean greasy kitchen cabinets step by step: what causes the buildup, the gentle method that handles most kitchens, what to do with old, tacky grease, a finish-by-finish table (painted, wood, laminate, high-gloss), handles and hinges, the insides, and a few easy habits that keep the grease from coming back.
Why Kitchen Cabinets Get So Greasy
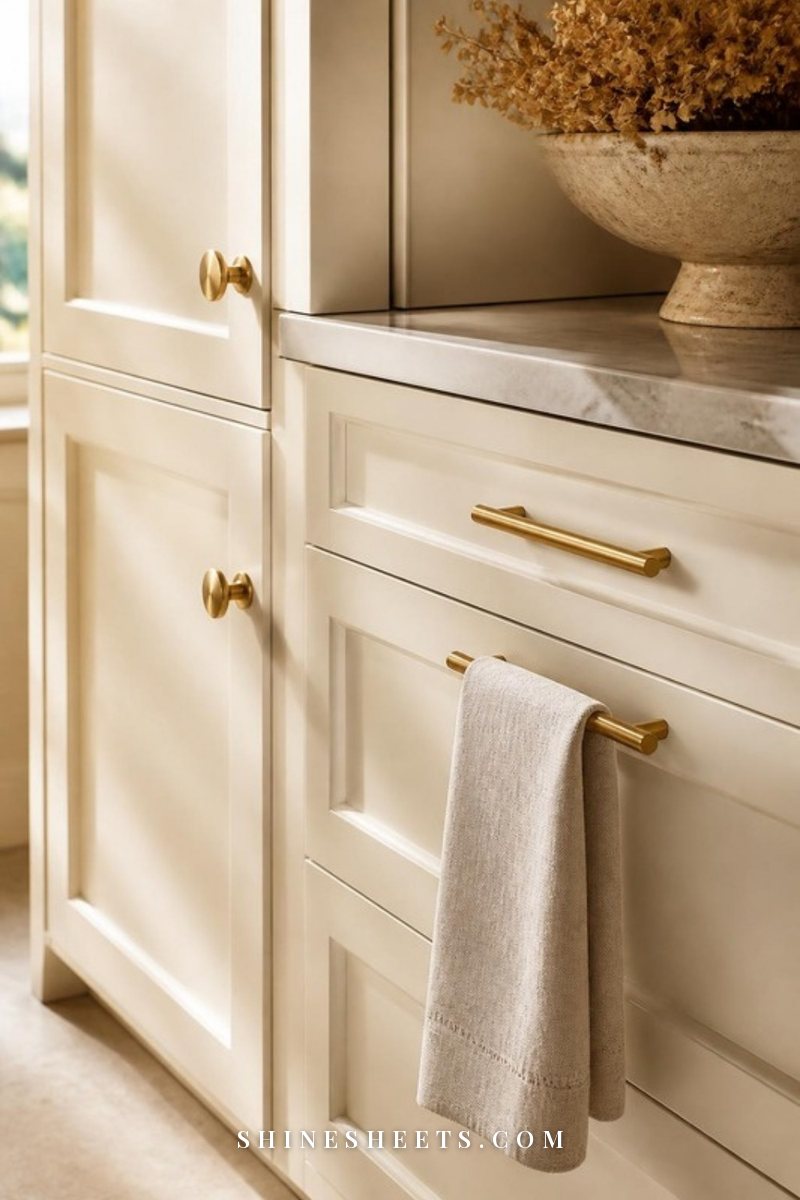
Every time you cook, tiny droplets of oil travel up with the steam. They settle on whatever is nearby (the range hood, the backsplash, and especially the cabinets on either side of and above the stove). On their own they'd be easy to wipe. But oil is sticky, so it grabs dust, lint and pet hair from the air, and over weeks the layers build into that tacky, slightly yellow film you can feel with your fingertips.
A few spots get it worst:
- Cabinets directly above and beside the stove.
- The bottom edges of upper cabinets, where steam hits first.
- Handles and the areas around them, which also collect hand oils and lotion.
- The tops of upper cabinets (if they don't reach the ceiling), where grease and dust can sit for months unseen.
- Lower cabinet doors near the trash and the sink, which catch drips and splashes.
The older the film, the more it hardens, which is why a regular light wipe is so much easier than one big yearly scrub.
What You'll Need
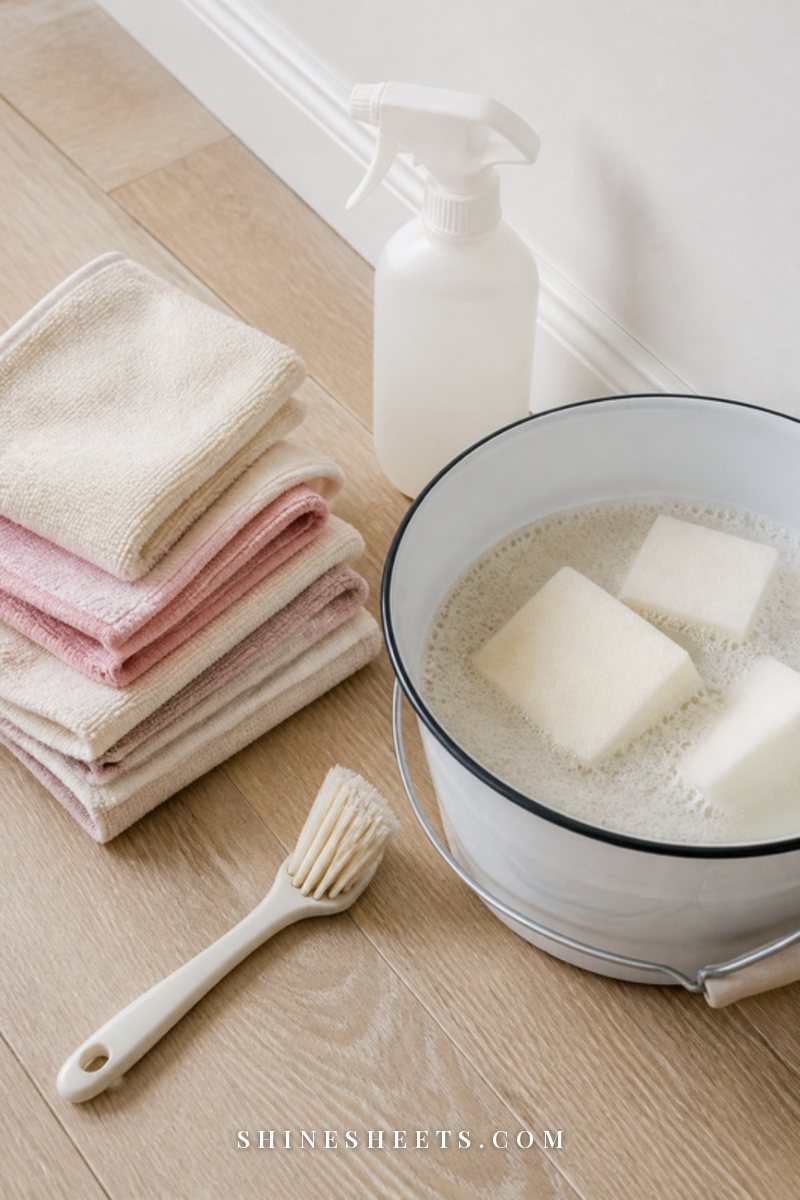
You don't need a cupboard full of products. For most kitchens, this short list covers everything:
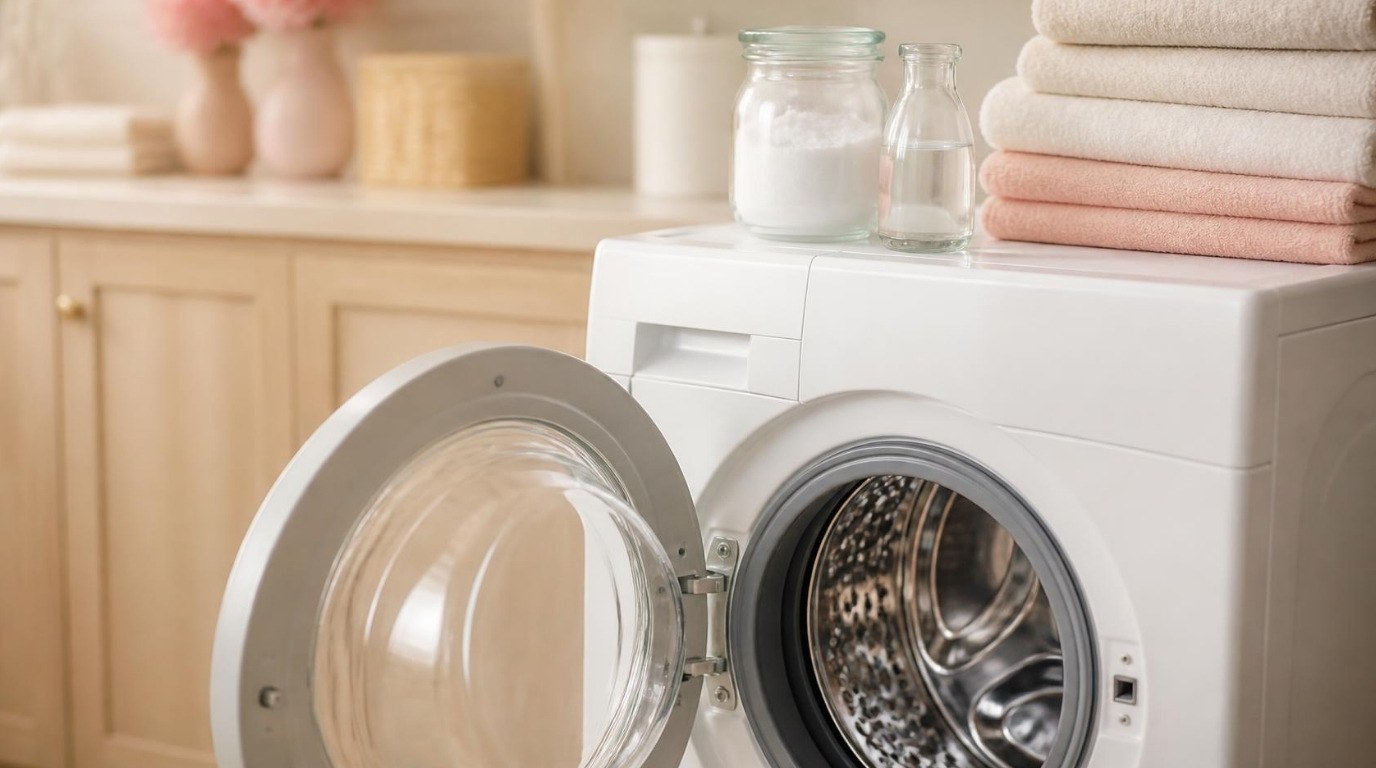
- Microfiber cloths. A stack of soft microfiber cleaning cloths grabs grease far better than paper towels and won't scratch. Have at least three: one to wash, one to rinse, one to dry.
- A gentle dish soap. A plain, gentle grease-cutting dish soap is the hero of this whole guide. Dish soap is designed to break up cooking oil, and it's mild on finishes when diluted.
- Warm water in a bowl or small bucket.
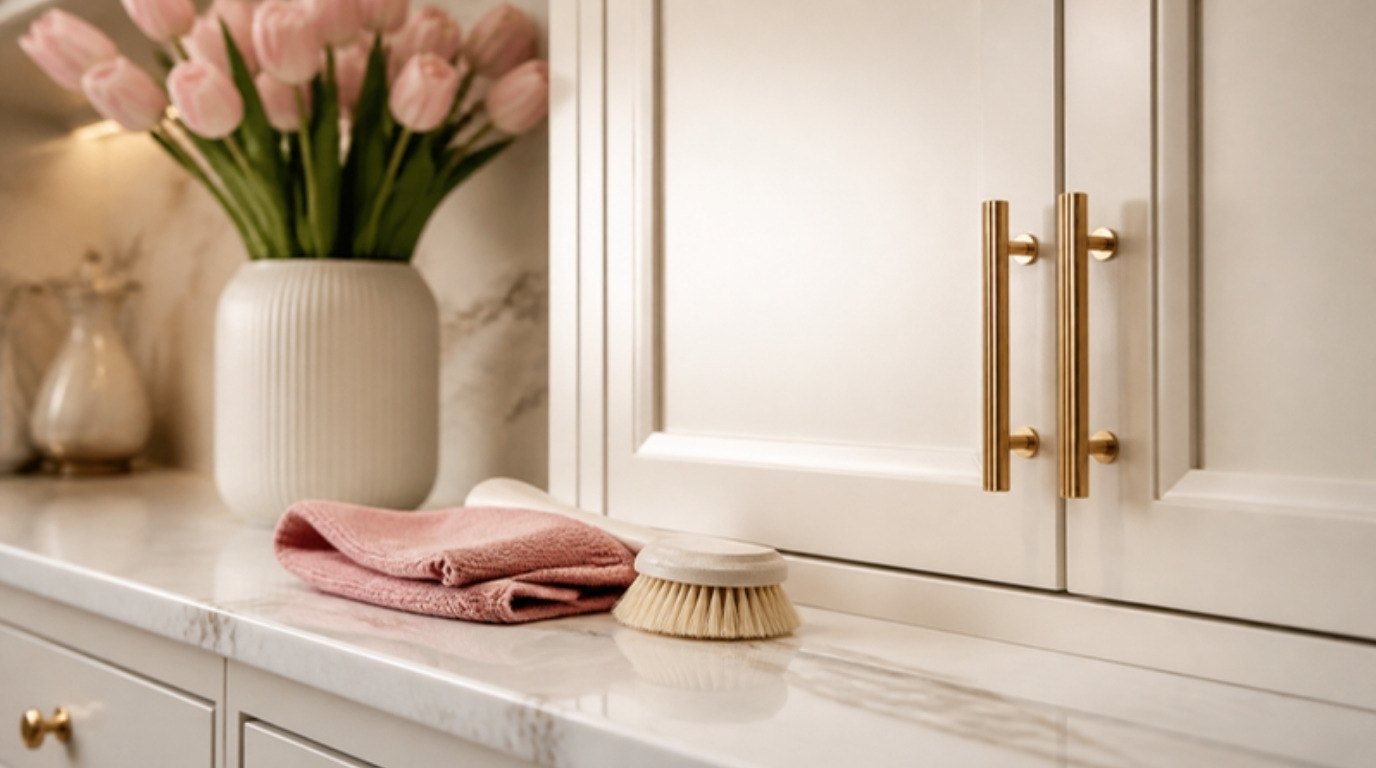
- A soft brush. A soft-bristled detail brush (or a clean, soft toothbrush) for grooves, hinges and the edges of shaker doors.
- Rubber gloves. A pair of pink rubber cleaning gloves keeps your hands from drying out, especially if you're stepping up to a degreaser.
- For tougher spots: a gentle cream cleanser, and a kitchen degreaser you've checked is suitable for your cabinet finish.
If you're cleaning the whole kitchen while you're at it, my deep kitchen cleaning guide walks you through the room in the right order, top to bottom.
Always Test a Hidden Spot First
Before you clean a single door, pick an inconspicuous spot: the inside edge of a door, the side of a cabinet that faces the wall, or the back of a drawer front. Apply your cleaning solution exactly as you plan to use it, let it sit for the same amount of time, wipe it off and let it dry for a few minutes.
Look for any change in color or sheen, softening, stickiness or cloudiness. If anything looks different, dilute the solution further or switch to plain warm water and a drop of soap. This takes five minutes and can save you from repainting a whole kitchen.
Also check any care instructions from the cabinet maker or your landlord if you rent. Some finishes, especially custom painted or older wood, have specific dos and don'ts.
The Gentle Everyday Method
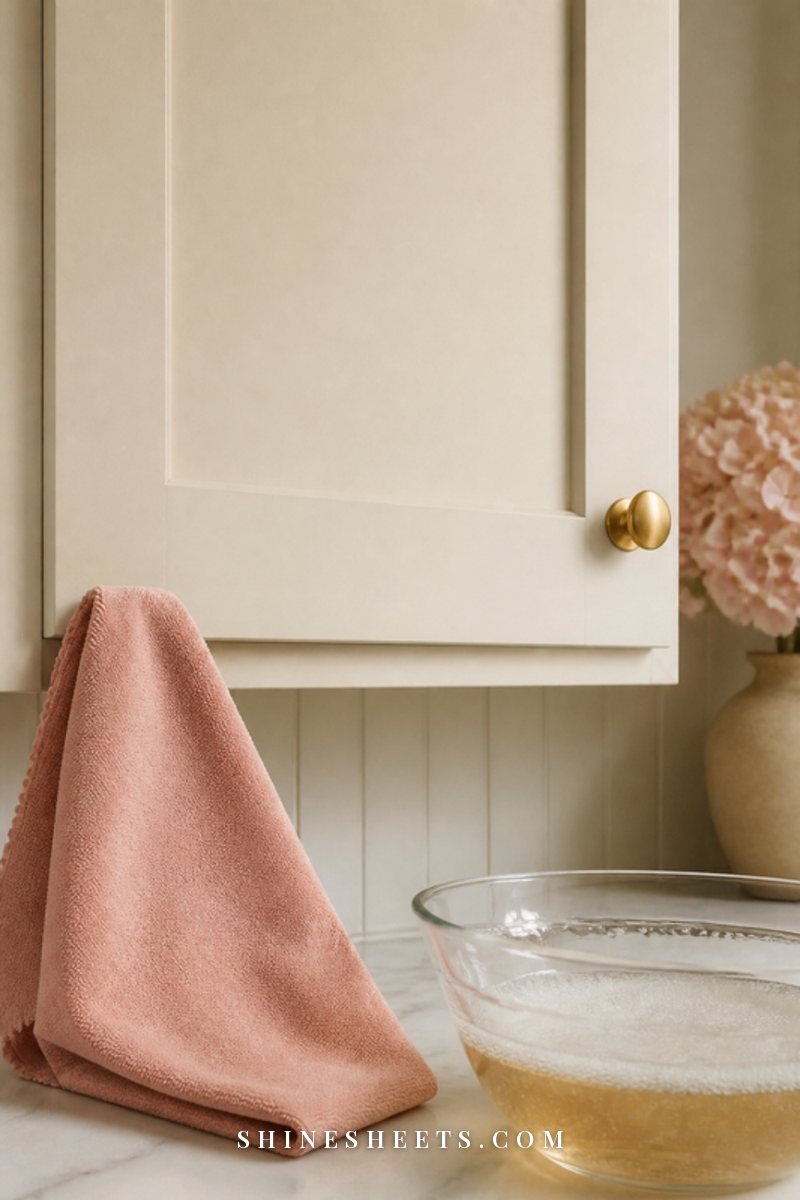
This method handles light to moderate grease on almost any finish. Plan about five minutes per cabinet run once you get into a rhythm.
- Mix your solution. Add about one teaspoon of dish soap to a quart (roughly a liter) of warm water. You want light bubbles, not a foam party.
- Dampen, don't soak. Dip a microfiber cloth, then wring it out until it's barely damp. Water dripping into seams and edges is what damages cabinets over time.
- Let it sit. Press the damp cloth over the greasy area, or wipe a light layer on, and let it dwell for 2–3 minutes. This softens the oil so you don't have to scrub.
- Wipe with the grain. On wood, follow the grain. On painted or flat doors, wipe top to bottom in overlapping strokes.
- Detail the grooves. Run the soft brush along shaker panel edges and corners where grease collects.
- Rinse. Wipe again with a second cloth dampened in plain water to remove soap residue (leftover soap is sticky and attracts dust).
- Dry right away. Finish with a dry microfiber cloth. Never leave cabinets to air-dry.
Work one door or section at a time, and start with the dirtiest cabinets near the stove while your solution is freshest. Change the water when it looks cloudy.
How To Remove Tough, Sticky Grease
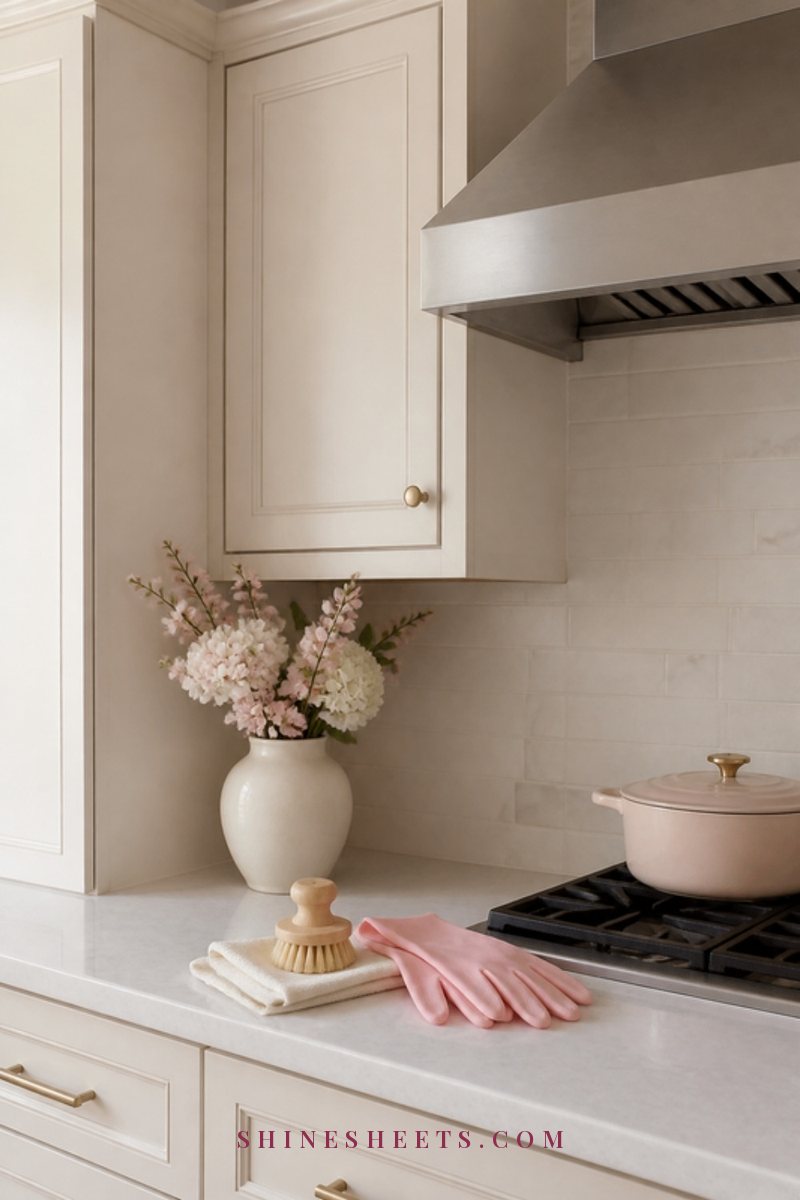
If the surface still feels tacky after the gentle method, the grease has had time to harden. Step up slowly, one level at a time, and test each new step on your hidden spot first.
Repeat With a Longer Dwell Time
Before reaching for anything stronger, try the gentle method again with slightly warmer water and a 5-minute dwell. Lay a soapy, well-wrung cloth flat over the area so the warmth has time to work. Old grease often just needs patience.
Try a Gentle Cream Cleanser
For stubborn spots on painted or laminate finishes, a small amount of gentle cream cleanser on a damp microfiber cloth can lift grease with very mild friction. Use light circles, minimal pressure and a tiny amount, then rinse and dry thoroughly. Avoid this on high-gloss and on delicate wood finishes, where even mild abrasion can dull the shine.
Use a Degreaser the Safe Way
A kitchen degreaser spray is the strongest option here, and it needs to be used carefully. Read the label to confirm it's suitable for your cabinet finish, dilute it if the label says to, and spray it onto your cloth rather than directly onto the cabinet. Follow the label's dwell time (often just a minute or two), then wipe, rinse with plain water and dry. Wear gloves and open a window.
If you're tackling the stove area anyway, my guide on how to clean your oven pairs perfectly, since the grease up top usually starts down there.
Cabinet Finish Cleaning Guide
Different finishes need different care. Here's the quick table to screenshot and keep on your phone.
| Cabinet finish | Safe cleaner | Avoid |
|---|---|---|
| Painted (satin or semi-gloss) | Warm water + a few drops of dish soap; gentle cream cleanser for spots | Abrasive sponges, scouring powder, soaking wet cloths |
| Stained or sealed wood | Barely damp cloth with diluted dish soap; dry immediately, follow the grain | Excess water, steam cleaners, strong degreasers, vinegar on its own |
| Natural or oiled wood | Dry dusting and a barely damp cloth; the maker's recommended wood cleaner | Water left on the surface, all-purpose sprays, any abrasives |
| Laminate | Dish soap solution; diluted degreaser per label for tough spots | Scouring pads, soaking edges and seams |
| Thermofoil / vinyl wrap | Dish soap solution, soft cloth | Heat (keep away from the oven vent), solvents, abrasives |
| High-gloss lacquer or acrylic | Dish soap solution, then a dry, clean microfiber buff | Cream cleansers, paper towels, any abrasive, heavy pressure |
| Glass-front doors | Glass cleaner sprayed on the cloth, not the glass | Spraying near wooden frames |
Cleaning Tips by Cabinet Finish
The table covers the basics. Here's a bit more detail on each finish, because this is where most cabinet damage happens.
Painted Cabinets
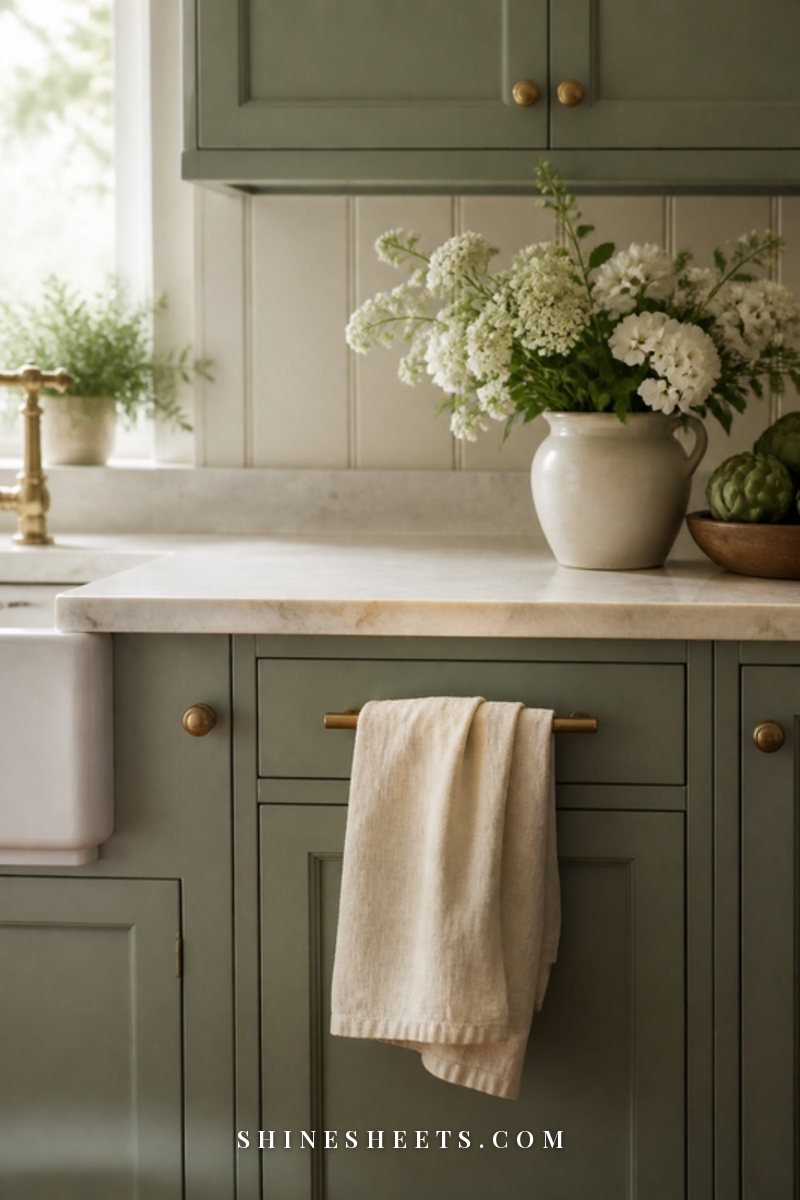
Paint can soften or dull if you scrub hard or use strong solvents. Stick with warm, soapy water and a soft cloth, and press rather than rub. If you see a cloth picking up color, stop immediately and switch to plain water. White and cream cabinets show yellowed grease the most, so they benefit from a quick wipe every week near the stove.
Wood Cabinets
Water is wood's biggest enemy. Use the least amount you can: a cloth that feels almost dry to the touch. Wipe with the grain and dry each section as you go. Once or twice a year, a cleaner made specifically for wood cabinets can help restore the sheen, but check that it's suitable for your finish first. Skip all-purpose sprays, which can leave a cloudy residue on wood.
Laminate and Thermofoil
Laminate is the most forgiving finish and handles a diluted degreaser well. The weak point is the edges: water creeping into seams can make the surface lift or swell. Thermofoil (a vinyl wrap) also dislikes heat, so don't use hot water, and keep a gap between it and any heat source.
High-Gloss Cabinets
High-gloss shows every streak and every scratch. Use a very soft, clean microfiber cloth (never paper towels), the mild soap solution, and then buff dry with a second cloth in straight lines. Skip cream cleansers and anything with grit. If fingerprints are your main issue, a weekly dry buff goes a long way.
Don't Forget Handles, Hinges and Edges
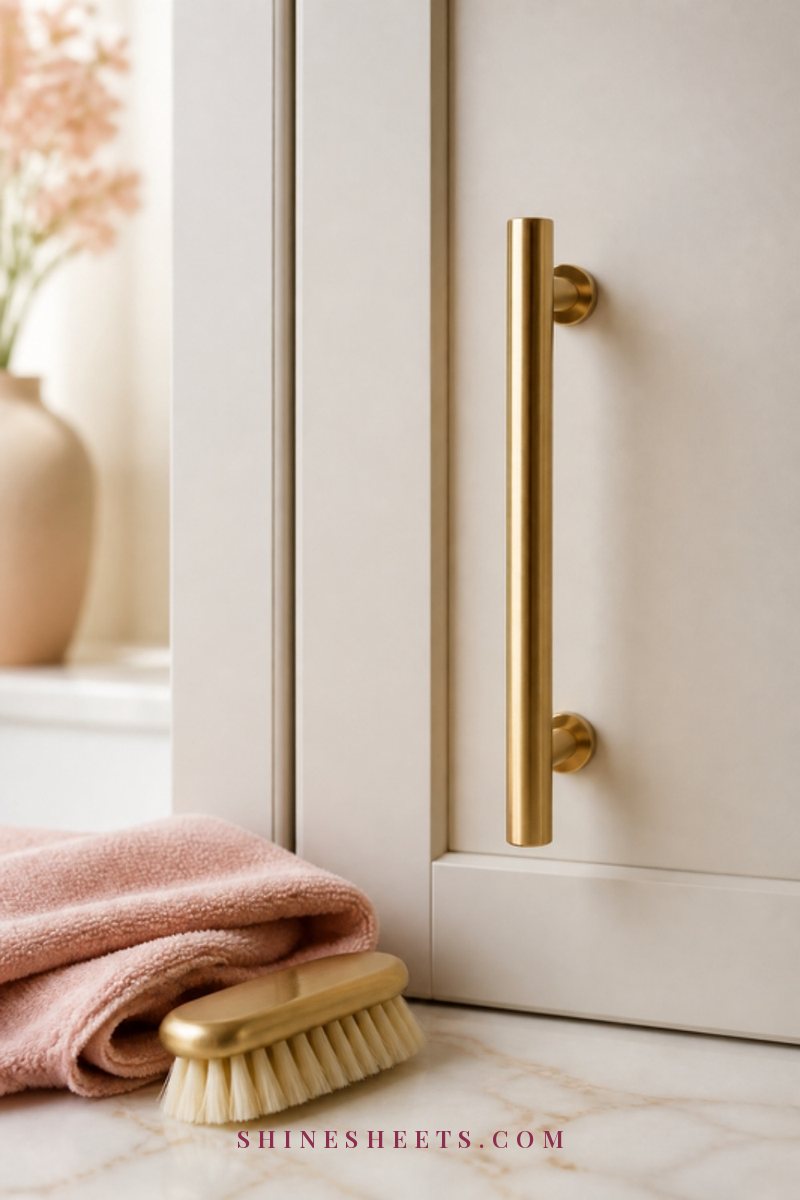
Handles are touched dozens of times a day, so they collect hand oil and lotion on top of cooking grease. Give them their own attention:
- Wipe handles and knobs with the soapy cloth, then use the soft brush around the base where they meet the door.
- For metal hardware, dry thoroughly to prevent water spots. Brass and gold finishes just need soap and water; avoid harsh metal polishes unless the maker recommends them.
- If the hardware is very grimy, unscrew it, soak it in warm soapy water for 10–15 minutes, scrub gently with the brush, rinse, dry and reattach.
- Open each door and wipe the hinges and the inside edges of the frame, where grease and crumbs hide.
- Don't forget the top edges of doors and drawer fronts, and the toe-kick at the bottom of base cabinets.
The tops of upper cabinets deserve a special mention. If yours don't reach the ceiling, that hidden ledge can hold months of grease and dust. Use a sturdy step stool, wipe off loose dust with a dry cloth first, then lay a soapy, well-wrung cloth over the sticky film for 5 minutes before wiping. Once it's clean, some people line the tops with plain wax paper or shelf liner cut to size, so next time you simply swap the sheet instead of scrubbing. Check behind any decor you keep up there, too, since baskets and vases trap grease underneath.
How To Clean Inside Your Cabinets
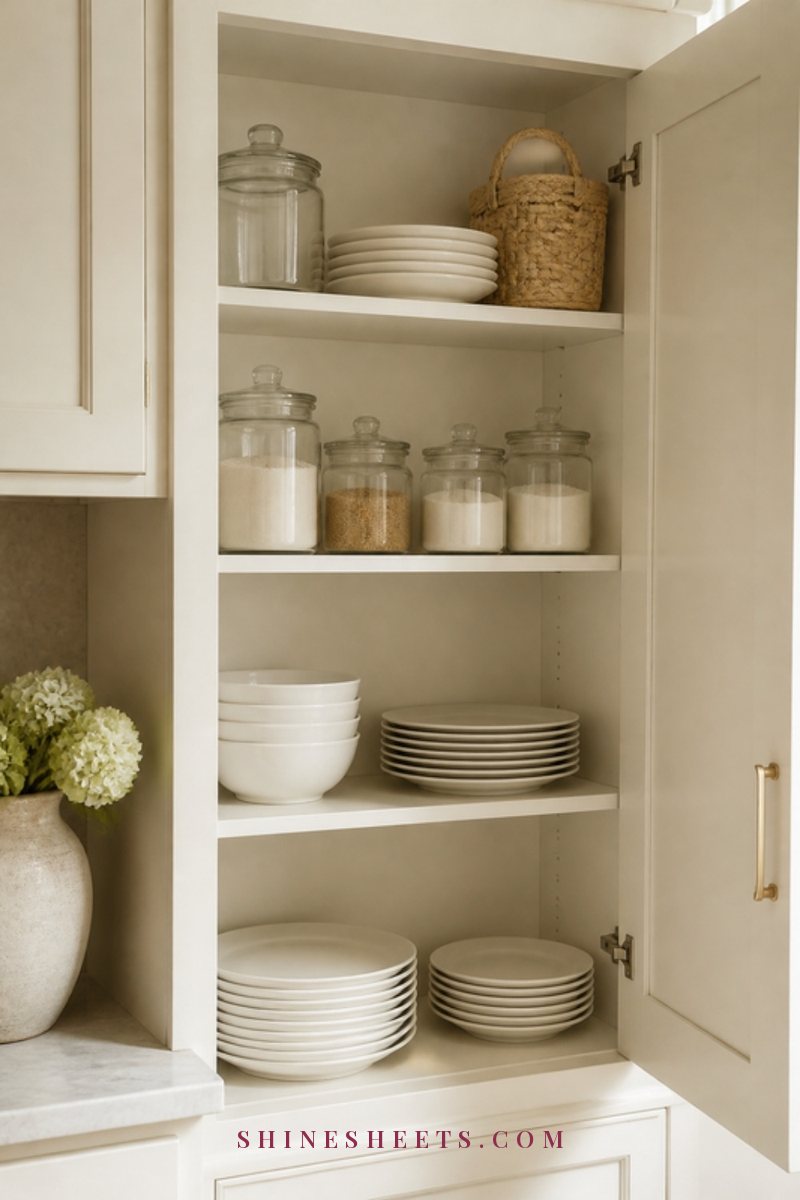
Inside cabinets don't get greasy the same way, but they collect crumbs, spills and dust. A twice-a-year clean-out (spring and fall are easy reminders) keeps them fresh:
- Empty one cabinet at a time onto the counter.
- Vacuum crumbs with a brush attachment, especially in the corners.
- Wipe shelves with the soap solution, then rinse and dry fully before putting anything back.
- For sticky rings from oil bottles or honey jars, let a soapy cloth sit on the spot for 5 minutes, then wipe.
- Leave doors open for 15–20 minutes so everything airs out completely.
- Before you put things back, check for expired items and things you never use.
It's the perfect moment to rethink what goes where. My kitchen organization ideas can help you put things back in a way that actually makes sense for how you cook.
Cleaning Safety Notes
A few rules that matter every time you clean cabinets (or anything in the kitchen):
- Never mix bleach with vinegar or ammonia. These combinations release harmful gases. Don't layer different cleaners on the same surface either; rinse with plain water between products.
- Follow the label for dilution, dwell time and ventilation, and keep cleaners in their original containers.
- Turn off and let the stove cool before cleaning cabinets right next to it.
- Use a sturdy step stool for upper cabinets instead of climbing on the counter.
- Wear gloves for degreasers, and open a window or run the range hood fan.
- Keep cleaning supplies away from children and pets, ideally in a high or latched cabinet.
How To Keep Cabinets Clean Longer
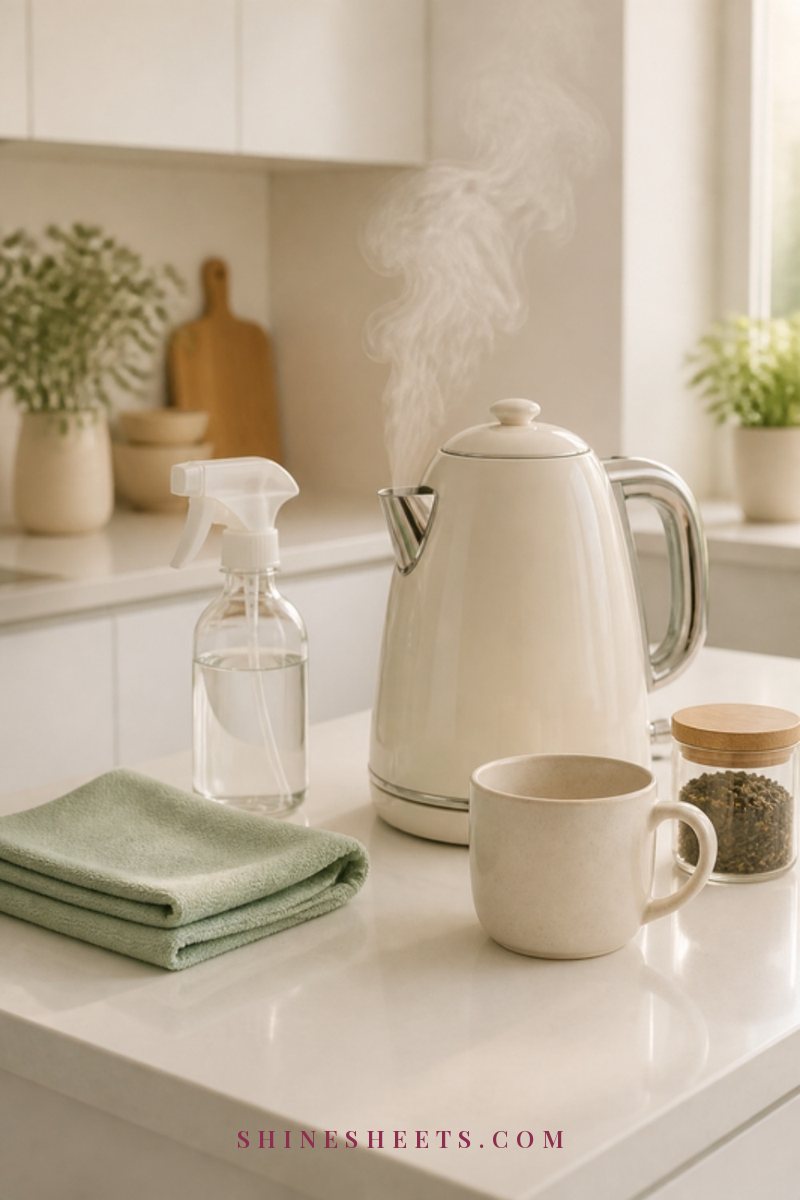
The real secret to grease-free cabinets is not letting the film build up in the first place. A few tiny habits do most of the work:
- Turn on the range hood every time you cook, and leave it running for 10–15 minutes after you finish. Clean or replace the hood filter every one to three months, according to the maker.
- Use lids on pans when frying or simmering. Less splatter means less grease in the air.
- Do a weekly wipe of the cabinets around the stove with a barely damp microfiber cloth. Two minutes, once a week, prevents an hour of scrubbing later.
- Wash your hands before touching handles after cooking with oil or butter.
- Keep your cleaning cloths fresh. A dirty sponge or cloth just spreads grease around. My guide on kitchen sponge hygiene covers how often to wash and replace them.
- Add a monthly deeper clean using the gentle method on all doors, plus handles and hinges.
If you love a good shortcut, my roundup of cleaning hacks has more small tricks that make the whole kitchen easier to keep nice.
How Often To Clean Kitchen Cabinets
You don't need a strict schedule, but a loose rhythm keeps grease from ever getting the upper hand. Here's what works for most kitchens:
- Weekly (2–5 minutes): a barely damp microfiber wipe on the doors closest to the stove, plus all handles.
- Monthly (20–30 minutes): the gentle soap method on every cabinet door and drawer front, including the edges and hinges.
- Every 3 months: the tops of upper cabinets and the range hood filter, if the maker allows washing it.
- Twice a year: empty and clean the insides, and check hardware for loose screws.
If you cook with a lot of oil, or most nights, move everything one step up. If you mostly reheat and make salads, you can stretch it out. The point is consistency, not perfection.
Common Cabinet Cleaning Mistakes
These are the habits that cause most of the dull patches, peeling edges and streaks people blame on their cabinets:
- Using a soaking wet cloth. Water seeps into seams and edges, and over time that leads to swelling or lifting.
- Scrubbing with the rough side of a sponge. It leaves fine scratches that make painted and glossy doors look dull.
- Spraying cleaner straight onto the door. Overspray runs into hinges and seams. Spray the cloth instead.
- Skipping the rinse. Soap and degreaser residue stays sticky and attracts new grease faster.
- Letting cabinets air-dry. It leaves water spots and gives moisture time to soak in.
- Reaching for the strongest product first. Always start gentle; you can step up, but you can't undo damage.
Final Thoughts
Clean kitchen cabinets come down to warm water, a little soap, a few minutes of patience and a soft cloth. Start gently, test first, step up only when you need to, and dry everything as you go.
Once you've done one proper clean, a quick weekly wipe keeps that fresh, just-finished feeling in your kitchen. It's one of those small home habits that makes the whole room feel calm, bright and cared for.