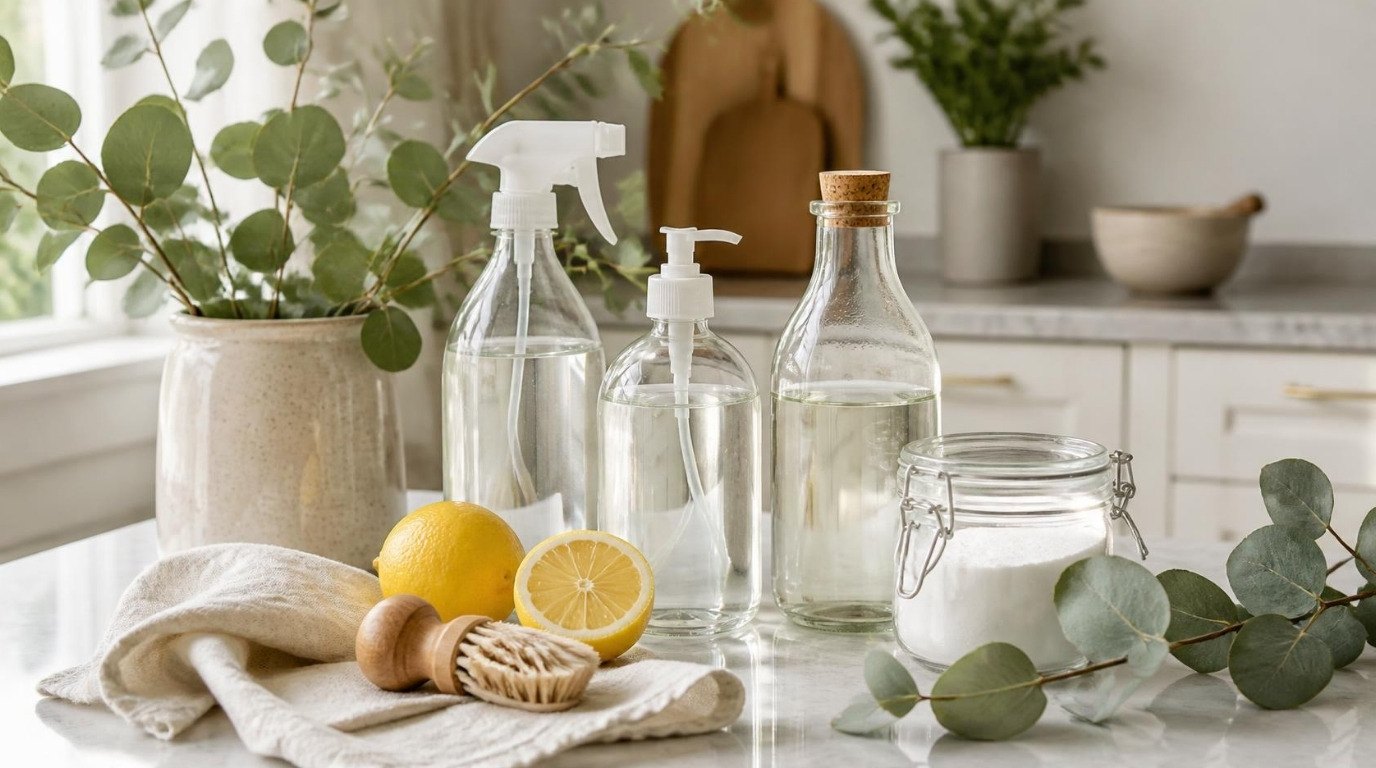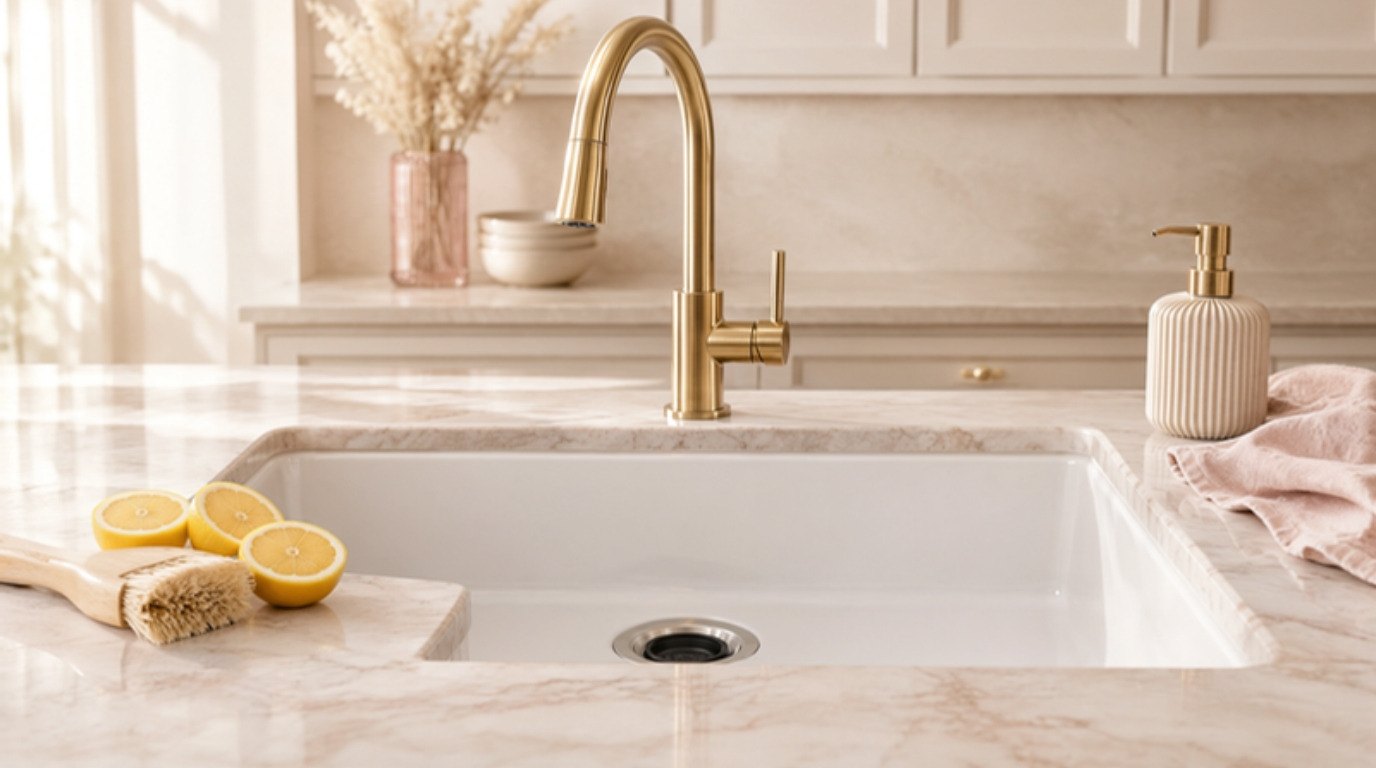
A smelly garbage disposal is almost never a sign that your kitchen is dirty. It's usually a sign that tiny bits of food and grease have been quietly collecting in places you can't see – under the rubber flaps, along the walls of the grinding chamber and around the blades. The good news is that these spots respond beautifully to a simple routine, and you don't need harsh chemicals to get there.
The other good news? A fresh disposal is mostly about habits. Once you've done one proper clean, a few small things each week keep the smell from coming back.
This guide shows you exactly how to clean a garbage disposal safely and in the right order: switching off the power first, scouring the blades with ice and salt, a gentle baking soda and vinegar fizz, scrubbing the rubber splash guard, and freshening everything with citrus. You'll also find what should never go down the drain, a troubleshooting table for common smells and sounds, six easy habits, and clear signs it's time to call a plumber.
Put on some rubber gloves, clear the sink, and let's start with the most important part: safety.
Why Garbage Disposals Start To Smell
Your disposal is a small chamber with a spinning plate and two blunt "impellers" that fling food against a grinding ring. Water carries the pieces away – mostly. A little residue always stays behind, and that's where the trouble starts.
The usual culprits:
- Grease and oil that coat the chamber walls and trap tiny food particles.
- Food stuck under the rubber splash guard – the flappy black ring at the top of the drain. This is the number one source of smells.
- Not enough water while grinding, so food sits in the chamber or pipes instead of washing through.
- Infrequent use, which lets moisture and leftovers sit for days.
If the smell seems to come from the whole sink area rather than just the disposal, my guide on how to clean a kitchen sink and drain covers the basin, the faucet and the second drain too. This article focuses on the disposal unit itself.
Safety First: Before You Clean Anything
A garbage disposal is a machine with a motor, so please take these few seconds seriously:
- Switch off the power at the wall switch before any step where your tools go near the opening. If your disposal plugs into an outlet under the sink, unplug it as well. If you can't tell how it's powered, switch off the breaker for the disposal.
- Never put your hands inside a disposal – not even with the power off. Use long tongs or needle-nose pliers to reach anything that's fallen in.
- Never mix bleach with vinegar or ammonia. These combinations release harmful fumes. In this guide we only use baking soda, vinegar, salt, ice, dish soap and citrus – no bleach needed.
- Use hot tap water, not boiling water, if you have plastic (PVC) pipes, since very hot water can soften joints over time.
- Wear rubber gloves for scrubbing; the splash guard can be surprisingly grimy.
Only switch the power back on for the steps where you run the disposal – and only once your hands and tools are out of the sink.
What You'll Need
You probably have most of this already:
- Rubber gloves and a small flashlight
- Long kitchen tongs or needle-nose pliers
- 2 cups of ice cubes and 1/2 cup of coarse salt (rock salt or kosher salt)
- 1/2 cup of baking soda and 1 cup of white vinegar
- Dish soap
- An old toothbrush and a long-handled brush
- One lemon, lime or orange
- A soft cloth or microfiber cloth
A pair of sage silicone kitchen tongs is a pick worth keeping near the sink – look for ones at least 12 inches long with a locking clip, so you can reach into the drain without your fingers ever getting close. For the deeper parts of the chamber, a long-handled bottle brush with firm bristles does what a sponge can't.
How To Clean a Garbage Disposal Step by Step
Plan on about 30 minutes for a full clean, most of which is just waiting for the fizz to work. Do it in this order – each step makes the next one more effective.
Step 1: Check the Chamber and Run Hot Water
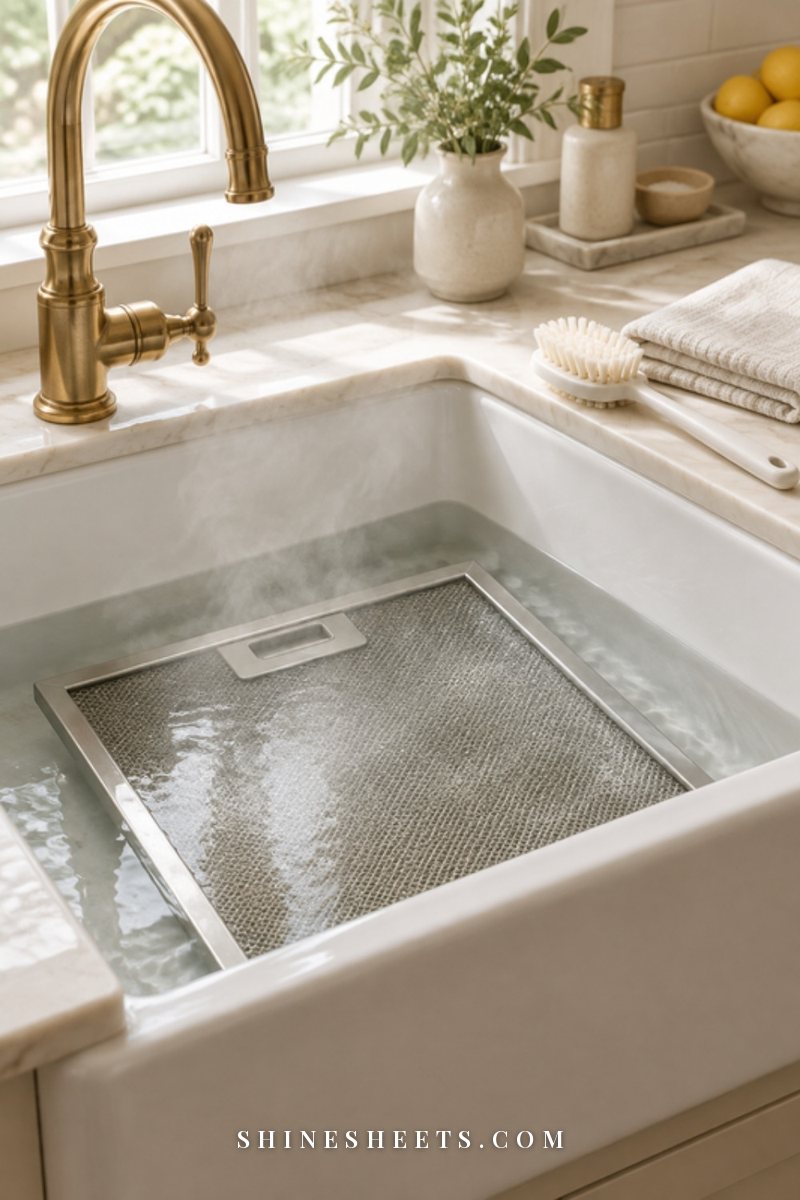
With the power off, shine a flashlight into the drain. If you see anything that doesn't belong – a bottle cap, a fruit pit, a small utensil – lift it out with tongs or pliers.
Then switch the power back on, remove your tools, and run hot tap water with a good squirt of dish soap. Let the disposal run with the water for about 1 minute. This loosens surface grease so the scouring step can reach the stubborn stuff underneath.
Step 2: Scour the Blades With Ice and Coarse Salt
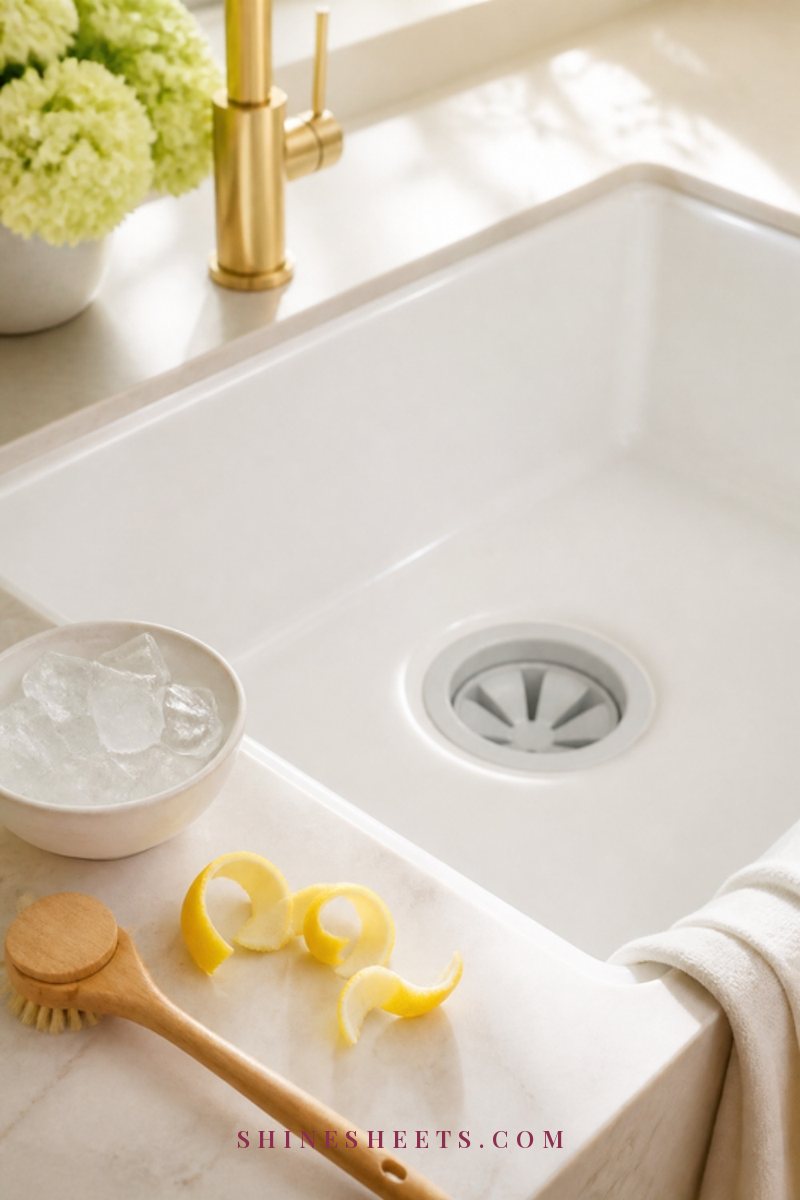
This is the satisfying part. Turn the disposal off, then drop about 2 cups of ice cubes and 1/2 cup of coarse salt into the drain.
Turn on the cold water (a steady, medium stream), then switch on the disposal. Let it run until the grinding sound stops – usually 30 to 60 seconds. The ice and salt act like a gentle scrub, knocking buildup off the grinding ring and impellers.
A small note: despite the popular myth, ice doesn't really "sharpen" the blades (they aren't true blades), but it does a wonderful job of cleaning them.
Step 3: Baking Soda and Vinegar Fizz
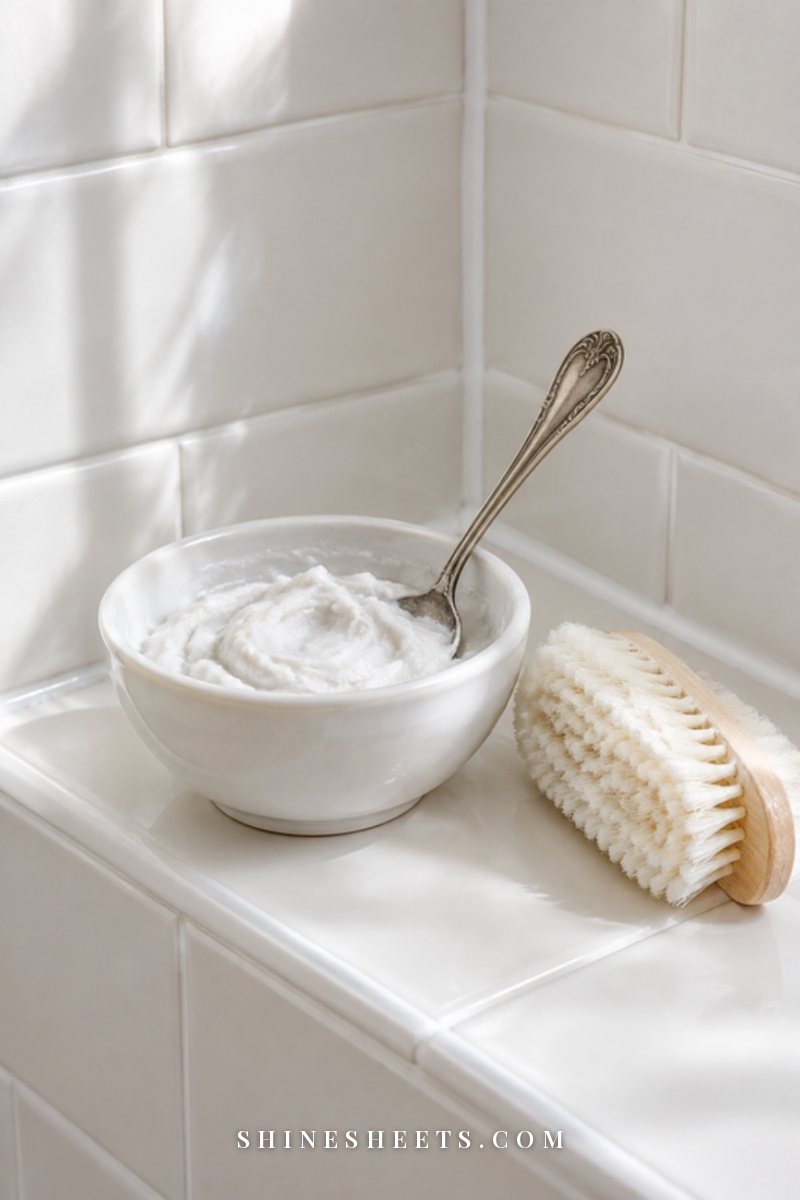
With the power off, pour 1/2 cup of baking soda into the drain. Follow it with 1 cup of white vinegar, poured slowly. You'll hear and see a fizz – that's the reaction loosening grime and neutralizing smells.
Leave it for 10 to 15 minutes. Don't run the water or the disposal during this time. If you'd like, cover the drain with a sink stopper to keep the fizz working down into the chamber.
Afterward, run hot tap water for about 1 minute while the disposal runs, to flush everything away.
Reminder: never add bleach to this step or follow it with a bleach product. Vinegar and bleach should never meet.
Step 4: Scrub the Rubber Splash Guard
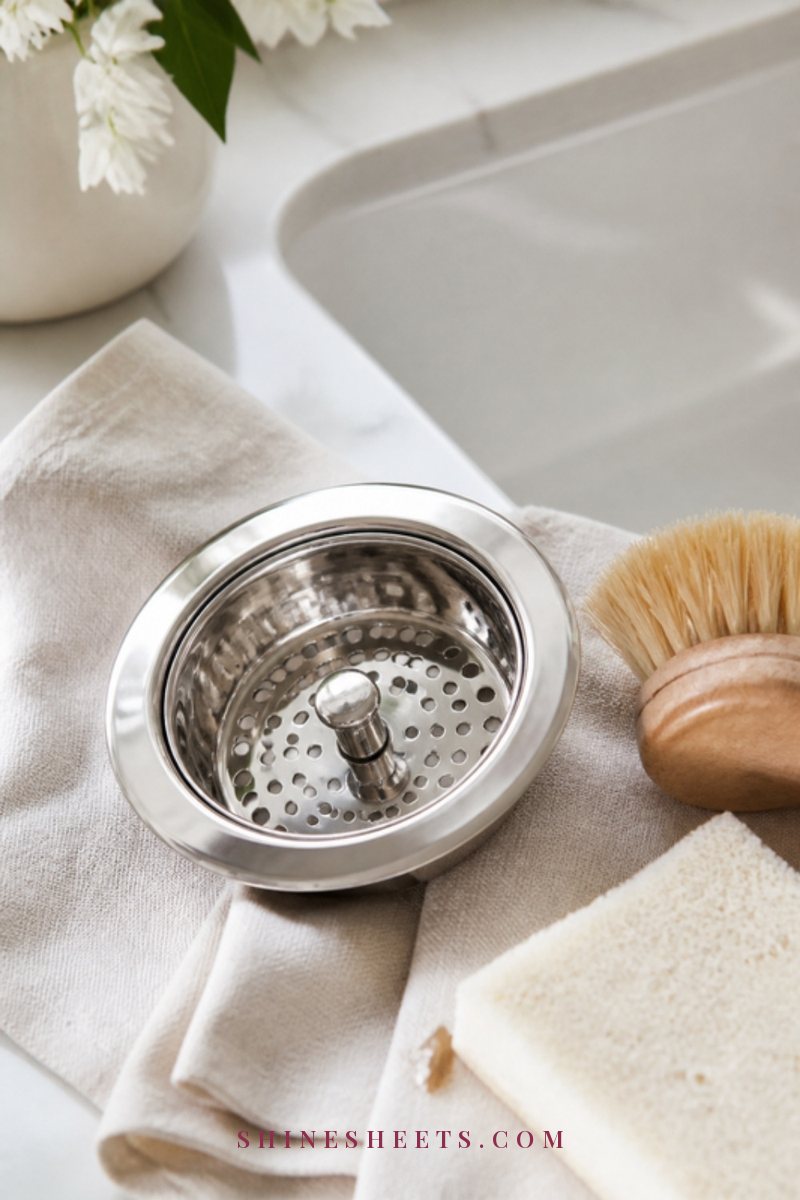
This step makes the biggest difference to the smell. Switch the power off (and unplug it if you can).
Some splash guards lift straight out – if yours does, remove it and scrub both sides at the sink with warm, soapy water and an old toothbrush, then pop it back in. If it doesn't come out, lift each rubber flap with the toothbrush and scrub the underside, working your way around the ring. You'll probably find a dark film there, which is completely normal.
For the walls just below the guard, a cream dish brush with a long handle reaches a few inches down without putting your hand anywhere near the opening. Rinse with hot water when you're done.
Your kitchen sponge can harbor smells too, so this is a good moment to check it. My kitchen sponge hygiene guide explains how often to clean and replace one.
Step 5: Freshen With Citrus Peels
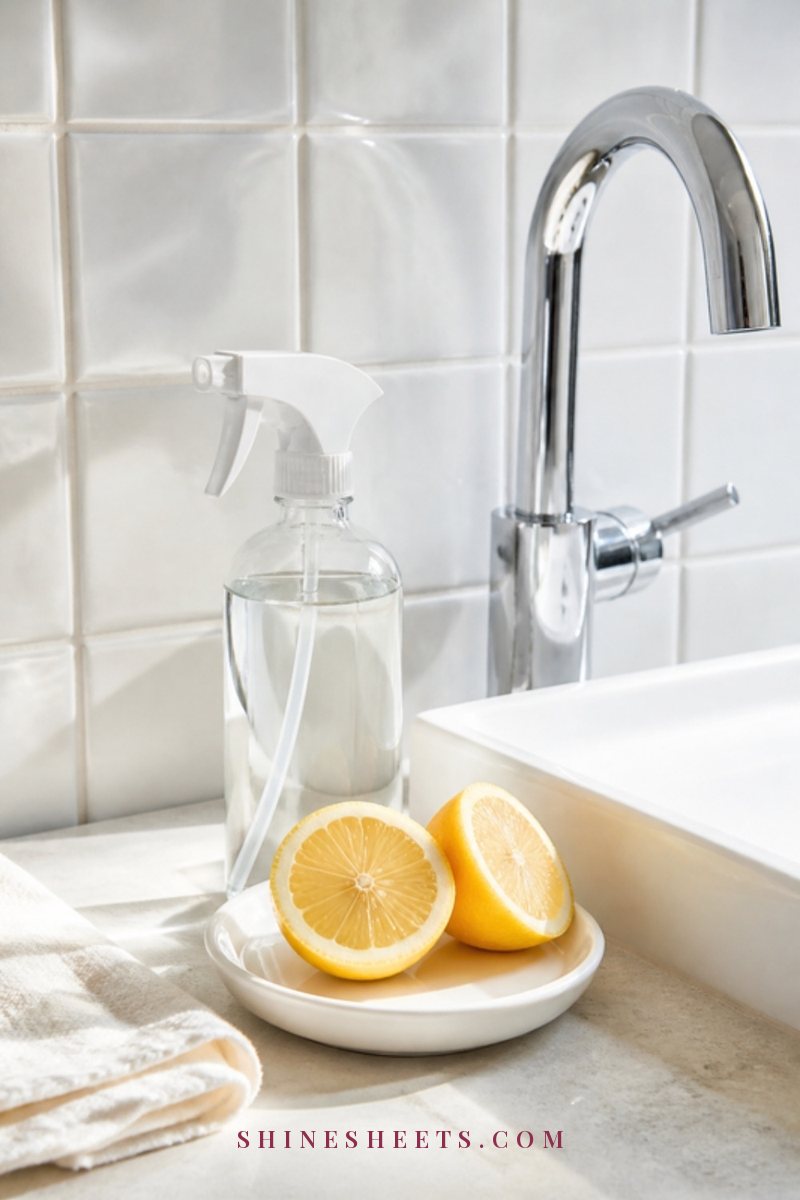
Finish with something that smells lovely. Cut the peel of one lemon, lime or orange into small pieces – about thumbnail size, no bigger. With the cold water running, switch on the disposal and drop in a few pieces at a time.
The natural oils leave a bright, clean scent, and the peel gives one last gentle scrub. Use just one fruit's worth; this is a finishing touch, not a way to dispose of a whole bag of peels.
Wipe the sink, the switch and the faucet with a damp cloth, and you're done. A glass spray bottle filled with a simple mix of water and a few drops of dish soap is handy for this last wipe-down – look for one with an adjustable mist and stream nozzle.
How To Remove Something Stuck (Without Your Hands)
If something falls in or the disposal hums but won't turn, follow these steps calmly:
- Switch off the power at the wall switch, and unplug the unit or switch off the breaker.
- Look with a flashlight to find the object.
- Use tongs or needle-nose pliers to lift it out. Never use your fingers.
- If it's jammed, many disposals have a small hex socket in the center of the underside. The matching hex key (often included with the unit) lets you turn the motor by hand from below to free it. Check your manual before trying this.
- Press the reset button (usually a small red button on the bottom of the unit) if the motor tripped.
- Restore the power, run cold water and test it briefly.
If it still hums without turning, stop and call a plumber – running a jammed motor can burn it out.
What Never Goes Down a Garbage Disposal
Most smells and clogs start with something that shouldn't have gone in. Keep these out of the drain:
- Grease, oil and fat. They solidify in pipes and coat the chamber. Let them cool and wipe them into the trash with a paper towel.
- Bones. Even small ones can jam the plate.
- Fibrous peels and stalks. Celery, corn husks, artichoke leaves, onion skins and banana peels wrap around the impellers.
- Coffee grounds in bulk. They form a thick sludge in the pipes. A tiny amount rinsed off a cup is fine; a whole filter is not.
- Pasta, rice and bread. They swell with water and turn into a paste.
- Eggshells. The membrane can stick and the gritty bits settle in the pipes.
- Fruit pits and seeds. Too hard to grind.
- Anything non-food: paper towels, twist ties, rubber bands, bottle caps.
A cream silicone sink strainer in the second basin (or over the disposal when you're not using it) catches small bits before they slip in. Empty it into the trash after dishes – and if your bin is the one starting to smell, my guide on how to clean a trash can will sort that out too.
Garbage Disposal Troubleshooting Table
This table is the quickest way to figure out what's going on. Find your problem, check the likely cause, and follow the fix. Screenshot it and keep it on your phone for the next time something smells off.
| Problem | Likely cause | Fix | How often |
|---|---|---|---|
| Musty or rotten smell | Food trapped under the splash guard | Power off; scrub the flaps with an old toothbrush and hot soapy water | Weekly |
| Greasy, sour smell | Grease coating the chamber walls | Ice and coarse salt, then the baking soda and vinegar fizz for 10–15 minutes | Every 2 weeks |
| Smell returns within a day | Not enough water while grinding | Run cold water 15–20 seconds before and 30 seconds after each use | Every use |
| Slow draining | Starchy food or coffee grounds building up | Hot water flush for 1 minute; skip pasta, rice and grounds | As needed |
| Fruit flies around the sink | Residue sitting in the drain | Full clean, then citrus peel freshen-up | Weekly in warm months |
| Hums but doesn't turn | Jammed object or tripped motor | Power off, remove object with tongs, press reset button | When it happens |
| Rattling or grinding noise | Something hard in the chamber | Power off; check with a flashlight and lift it out with pliers | When it happens |
| Water under the sink | Loose connection or cracked housing | Turn off the power and call a plumber | Right away |
If fruit flies have already moved in, my guide to getting rid of fruit flies fast has a simple three-step plan that pairs nicely with a disposal clean.
6 Habits for a Fresh-Smelling Disposal

Once your disposal is clean, these small habits keep it that way. None of them take more than a minute:
- Always use cold water. Cold water keeps any grease solid so it gets chopped and carried away instead of melting onto the walls.
- Run water before and after. About 15–20 seconds before you start and 30 seconds after the grinding stops.
- Feed it slowly. Add scraps a handful at a time instead of a whole plate at once.
- Use it regularly. Running it every day or two, even briefly with water, stops residue from sitting and souring.
- Scrub the splash guard weekly. Two minutes with a toothbrush (power off) prevents most smells before they start.
- Do a fizz-and-freshen every two weeks. Baking soda and vinegar, then a few citrus peel pieces – your sink will smell bright again.
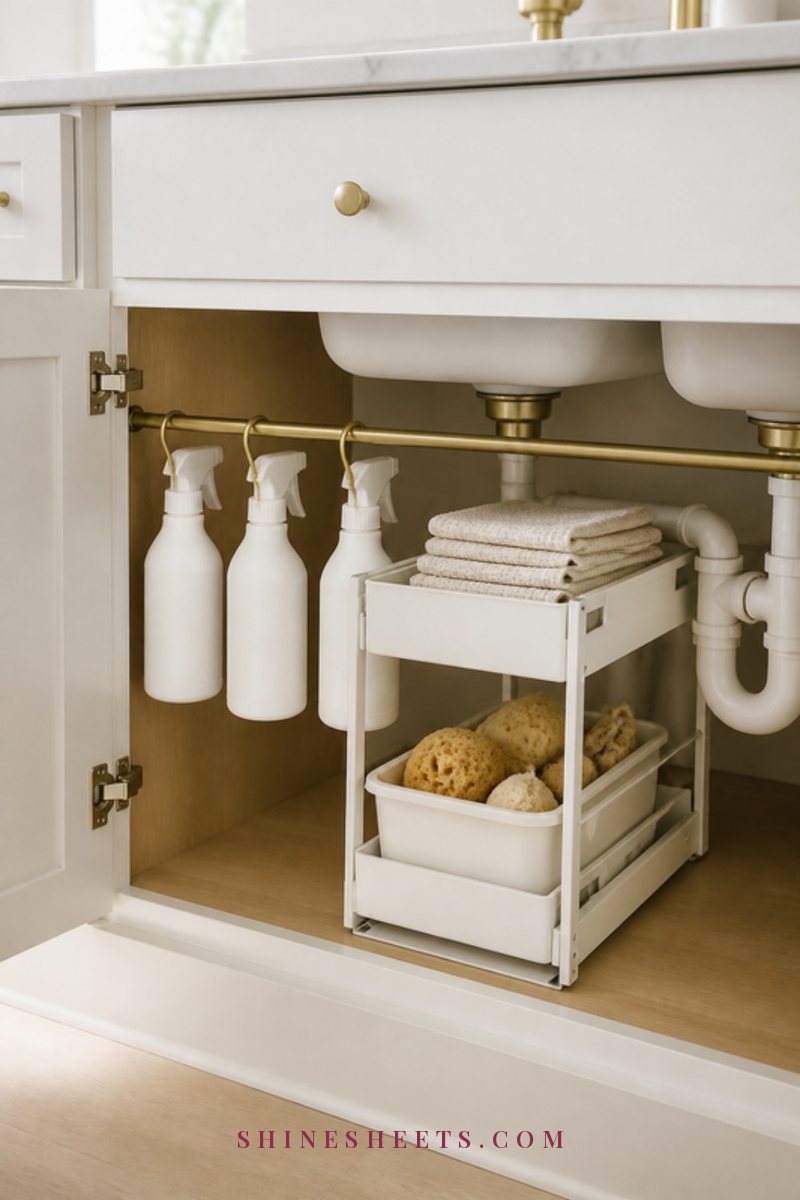
It helps to keep your cleaning bits in one spot. If the cabinet below your sink is a jumble, my guide to under-sink organization has simple ideas for keeping gloves, brushes and tongs within easy reach.
How Often To Clean Your Garbage Disposal
You don't need to deep clean your disposal every few days. A simple rhythm works for most kitchens:
- After every use: run cold water for about 30 seconds after the grinding stops. That's it.
- Once a week: scrub the splash guard with an old toothbrush (power off), then run hot tap water for a minute.
- Every two weeks: the ice and salt scour, followed by the baking soda and vinegar fizz.
- Once a month: the full five-step clean, plus a quick look under the sink for drips or damp spots.
Adjust it to your household. If you cook a lot, live somewhere warm, or have a busy family kitchen, lean toward the weekly fizz. If you rarely use the disposal, run it with cold water for 20 seconds every couple of days anyway, so nothing sits in the chamber.
A small trick that makes this easier: tie the weekly splash-guard scrub to something you already do, like changing the dish towels or taking out the recycling. Habits stick much better when they ride along with an existing routine. A nice way to finish is a quick wipe of the counters with soft white microfiber cleaning cloths, which pick up crumbs and water spots without leaving lint behind. Look for a thick, plush set that can go straight into the washing machine.
And if your kitchen still has a faint smell after all of this, look around the rest of the room before blaming the disposal again. The trash can, the dishwasher filter, the sponge and the fridge drip tray are the usual hiding spots, and a quick check of each one often solves the mystery.
When To Call a Plumber
Cleaning solves most disposal problems, but some signs mean it's time for a professional:
- Constant humming without turning, even after you've removed any object and pressed the reset button.
- Leaks from the bottom of the unit or the pipe connections. A leak from the body of the disposal often means it needs replacing.
- The reset button trips again and again. This can point to a motor or electrical problem.
- Smells that won't go away after a full clean, which can mean a clog further down the pipes.
- Water backing up into the other sink basin whenever you run the disposal.
Don't take the unit apart or work on the wiring yourself. Turn off the power, put a bowl under any drips, and let a plumber take it from there.
Final Thoughts
A fresh-smelling kitchen often comes down to one small, hidden spot – and now you know exactly how to take care of it. One proper clean, a weekly splash-guard scrub and a little cold water every time you use it will keep your disposal working quietly in the background.
Light a candle, make a cup of tea, and enjoy a kitchen that smells as clean as it looks.