A smelly trash can is rarely about the trash you threw out today. It's about what's left behind: a little liquid that leaked through a bag last week, a sticky film on the bottom, a few crumbs caught under the rim, all sitting in a warm, closed space where bacteria are very happy. Swap the bag as often as you like, and the smell will come right back until you clean the can itself.
The good news is that a proper deep clean takes about 20 minutes of actual work, and once it's done, a few small habits keep the smell from returning for weeks. You don't need anything fancy, just hot water, dish soap, a long brush, a disinfectant used the way its label says, and a bit of patience while everything dries.
This guide covers how to clean a trash can so it stops smelling: why bins start to smell, a simple six-step deep-clean routine, how to deal with the lid, pedal and hinges, the differences between indoor and outdoor bins, a cleaning-frequency table, and eight odor-prevention habits that make the whole job smaller next time.
It's one of the least glamorous chores in the house, I know. But a fresh-smelling kitchen is one of those quiet luxuries you notice every single time you walk in.
Why Trash Cans Start To Smell
Understanding where the smell comes from makes it much easier to stop. Most bin odors come from a handful of everyday causes:
- Leaky bags. A tiny tear or a bag that's too thin lets liquid drip into the bottom of the can. You often don't see it, but you'll definitely smell it.
- Pooling liquids. Coffee grounds, the last bit of juice in a carton or a damp tea bag can all leave liquid behind. It collects at the bottom and slowly turns sour.
- Bacteria and mold. Food residue plus moisture is the perfect home for bacteria and mold, which produce that heavy, musty smell.
- Warmth. Heat speeds everything up. A bin next to the oven, under a sunny window or outside in summer will smell much faster than one in a cool spot.
- Residue under the rim and in the hinges. Splashes dry onto the underside of the lid and around the pedal mechanism, where they're out of sight but very much not out of mind.
If the smell lingers after the bin is clean, it might be coming from somewhere nearby. The cabinet under the sink, a drain or a damp corner can all smell similar, and my guide on getting rid of musty smells at home, room by room can help you track it down.
What You'll Need
Gather everything before you start, so you're not walking through the house with dripping gloves:
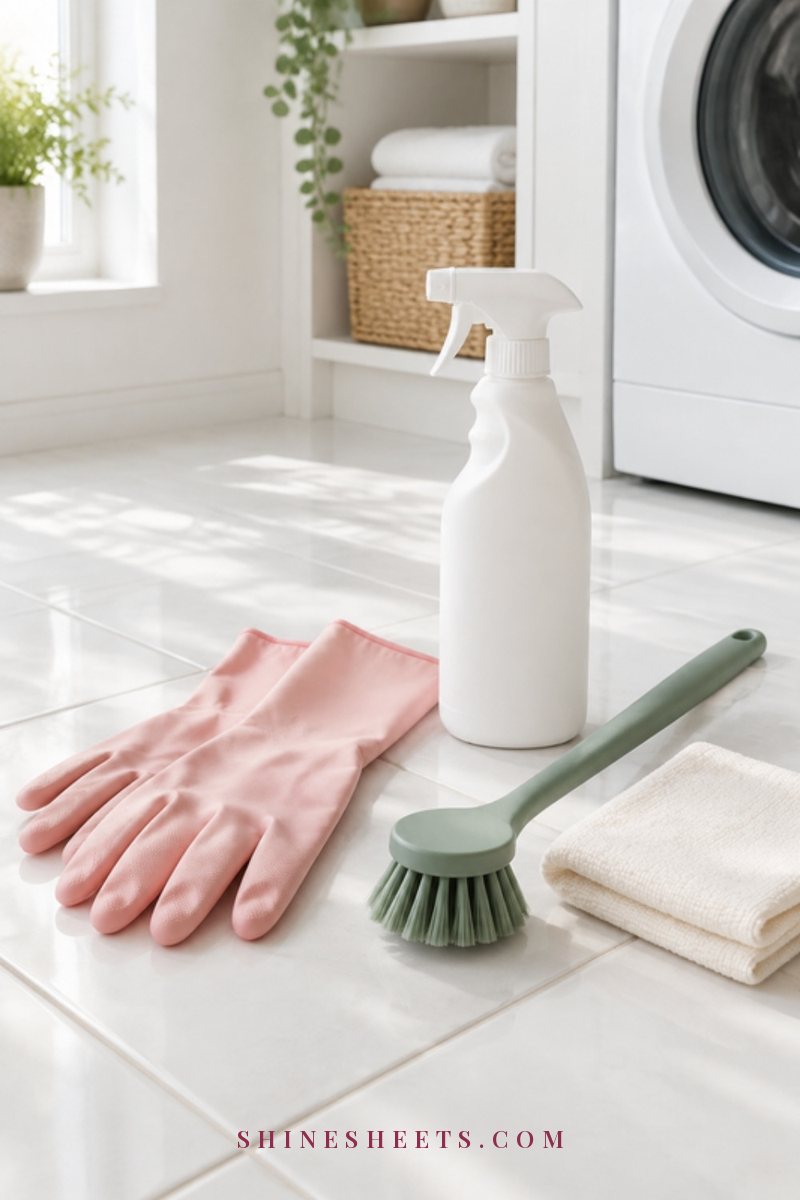
- Gloves. A pair of blush reusable cleaning gloves keeps your hands protected from grime and cleaners, and a pretty pair makes the job feel a tiny bit less grim.
- A long-handled brush. A long-handled scrub brush in sage reaches the bottom of a tall bin without you having to lean inside.
- Hot water and dish soap. A good squeeze of dish soap in a bucket of hot water cuts through grease and sticky residue.
- A disinfectant such as a disinfecting spray or wipes, used exactly as the label directs.
- An old toothbrush for hinges, pedals and lid grooves.
- Paper towels or old rags for drying, plus a few for the bottom of the clean bin.
- A hose, a shower head or a bathtub for rinsing, depending on the size of your bin.
How To Clean a Trash Can: 6 Steps
This routine works for kitchen bins, bathroom bins and outdoor carts. The steps are the same; only the location and the scale change. Plan for about 20 minutes of work and an hour or so of drying time.
1. Empty It and Take It Outside or to the Tub
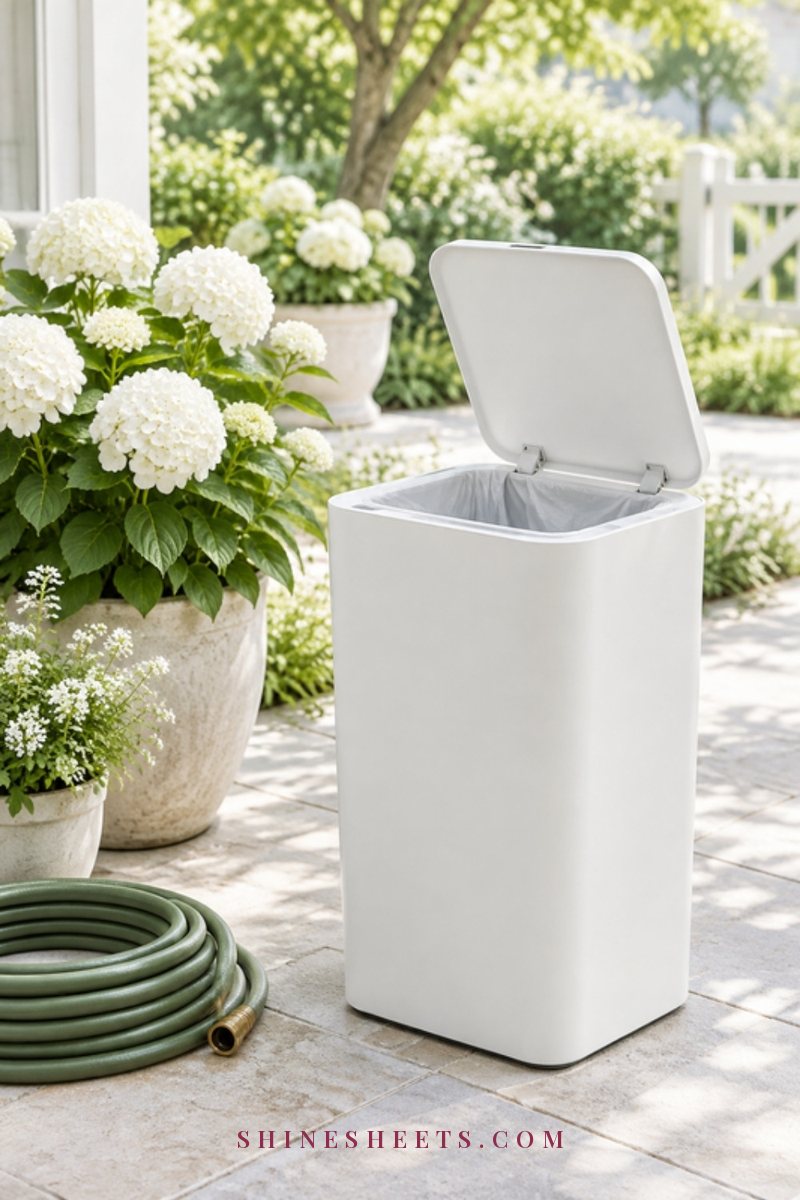
Remove the bag and anything that's fallen underneath it. Check the bottom for stuck bits of paper, labels or food, and pick them out with a gloved hand or a paper towel.
Then move the bin to a place where you can rinse it easily. Outside with a hose is ideal, since you can be as splashy as you like. If you live in an apartment, a bathtub or a shower works well for small and medium bins. Lay an old towel in the tub first to protect the surface, and clean the tub afterward. A small bathroom bin can go straight into a laundry sink or a deep kitchen sink, but wipe the sink thoroughly once you're done.
If the lid comes off, take it off now. Many step bins also have a removable inner bucket, which is much easier to clean on its own.
2. Rinse Out the Loose Grime
Give the inside a strong rinse with warm or hot water to flush out crumbs, dried drips and anything loose. Pour the water out into an outdoor drain or the toilet rather than the kitchen sink, so any food debris doesn't end up near where you prepare meals.
If there's dried-on residue at the bottom, fill the bin with a few inches of hot water and a squeeze of dish soap and let it sit for 10–15 minutes. This softens sticky spots so the scrubbing step is quick instead of exhausting.
3. Scrub With Hot Soapy Water and a Long Brush
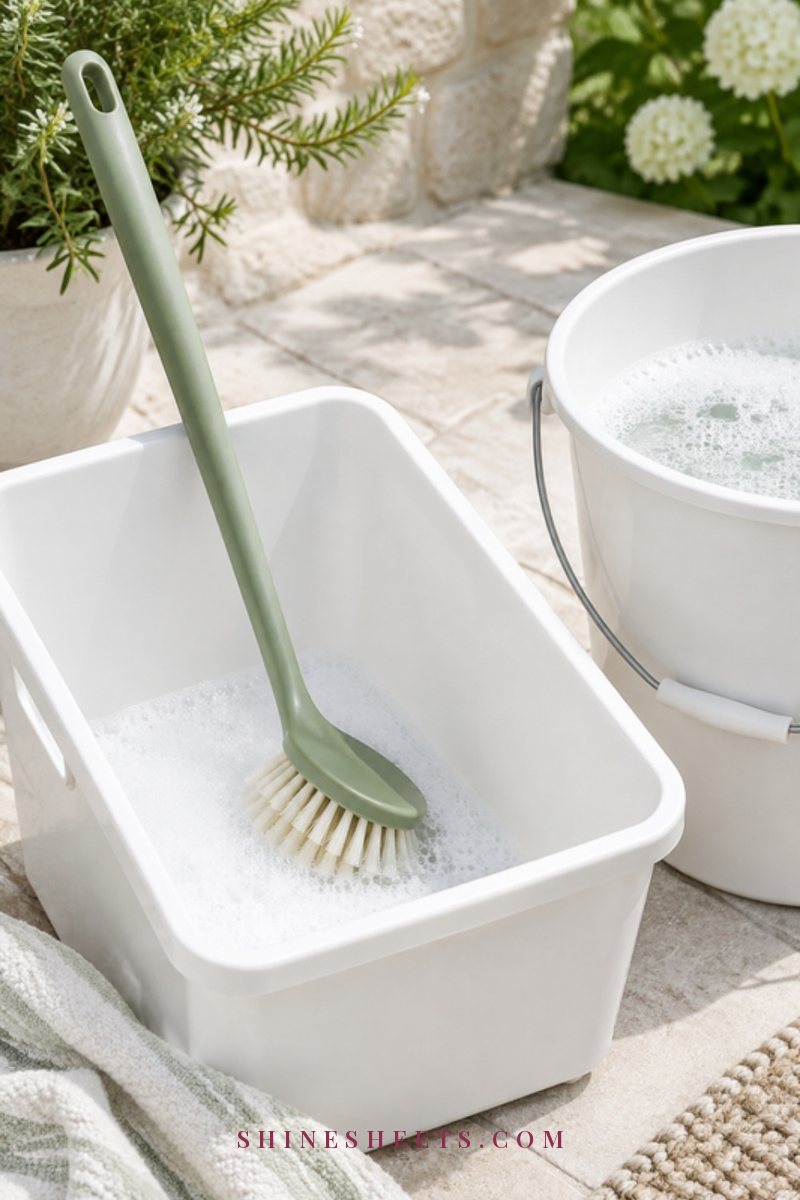
This is where the real cleaning happens. Disinfectants work best on surfaces that are already clean, so don't skip scrubbing and jump straight to spray.
- Fill a bucket with hot water and a generous squeeze of dish soap.
- Dip the long brush and scrub the inside walls from top to bottom, then the bottom itself. Pay extra attention to the corners and the seam where the walls meet the base, since that's where liquid collects.
- Scrub the outside of the bin too, especially around the top edge and any handles you touch.
- Use the toothbrush on the rim, the grooves under the lid and any textured areas.
Expect this step to take about 5–10 minutes for a kitchen bin and a bit longer for a large outdoor cart.
4. Disinfect With a Product Used as Labeled
Once the bin is clean, disinfect it to tackle the bacteria behind the smell. Choose a household disinfectant spray or wipe that's suitable for plastic or metal, and follow the label exactly. That last part matters: most disinfectants need to stay visibly wet on the surface for a specific contact time, often anywhere from a few minutes to ten minutes, before they actually work. Wiping them off straight away mostly just leaves the surface damp.
Spray the inside walls, the bottom, the underside of the lid and the rim. Set a timer for the contact time on your product's label and let it sit. If you'd like to use diluted bleach instead, check that the product is labeled for disinfecting, follow its dilution directions, use it only with plain water, and keep the area well ventilated.
For stainless steel bins, check that the product is safe for stainless steel, since some cleaners can mark or dull the finish.
5. Rinse Again
After the contact time, rinse the bin thoroughly with clean water, unless your product's label says it doesn't need rinsing. Rinsing removes leftover soap and cleaner, which can otherwise leave a sticky film that attracts new grime and smells.
Swish the water around the bottom, pour it out, and give the lid one final rinse too.
6. Dry It Fully Before a New Bag
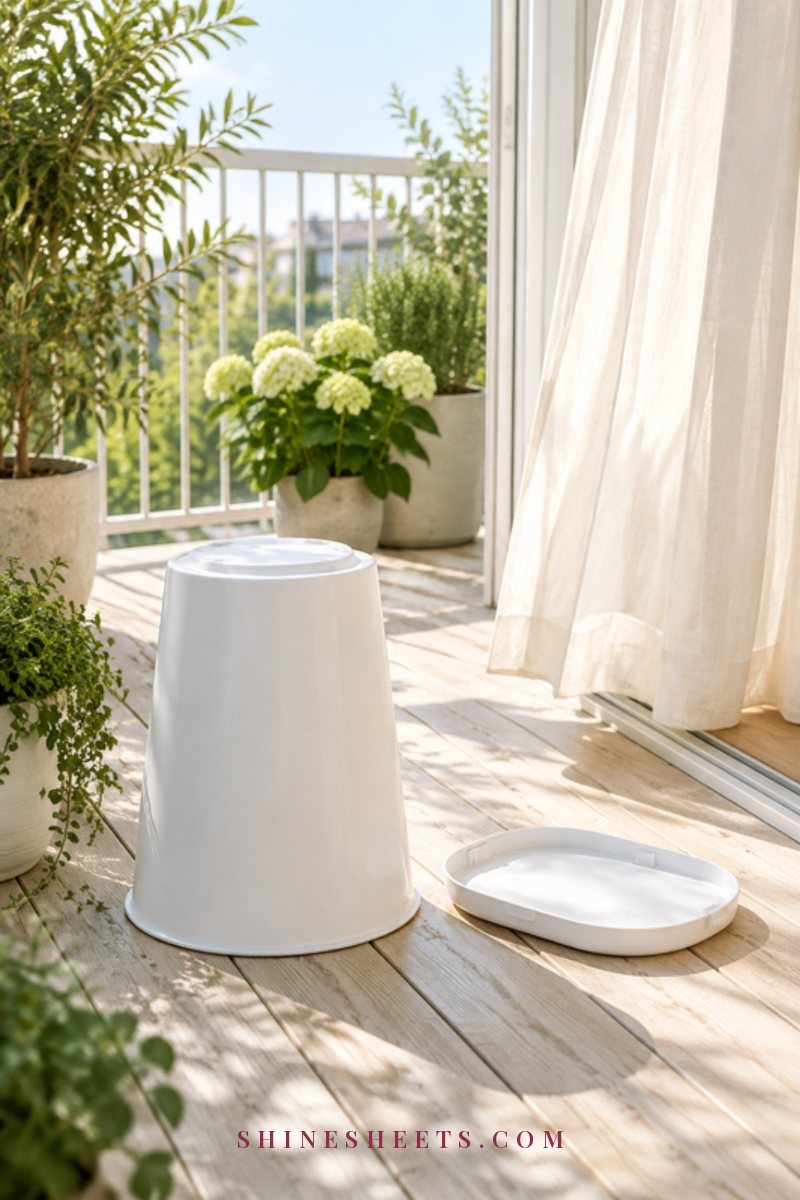
Moisture is half the reason bins smell in the first place, so drying is not optional. Turn the bin upside down outside in the sun, or prop it at an angle in a well-ventilated room, and let it air-dry completely. Sunlight is lovely for this, since it dries quickly and helps freshen the bin.
Give it at least an hour, longer for large bins or humid days. Wipe the inside with a dry towel if you're in a hurry, then let it air out a little more. Only put a new bag in once the bottom is completely dry to the touch.
Don't Forget the Lid, Pedal and Hinges
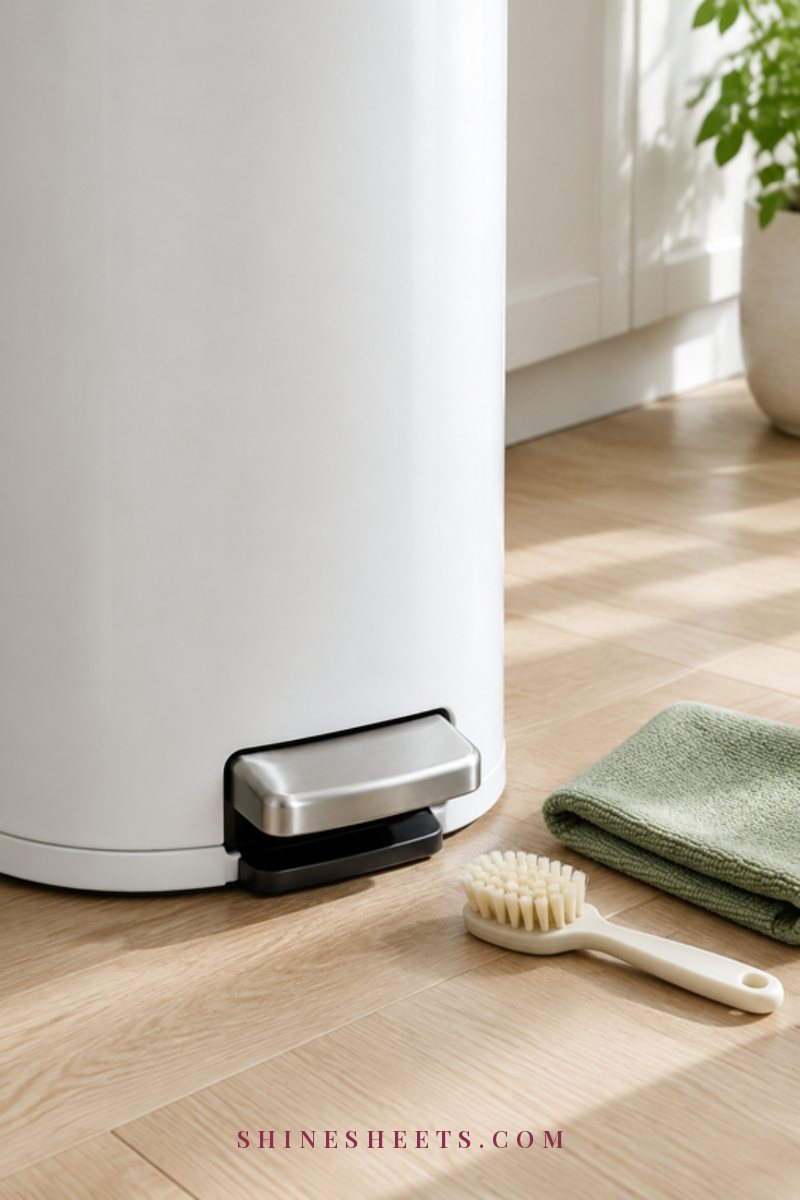
The lid and its moving parts are often the actual source of the smell, because they catch splashes and are rarely cleaned. Give them their own attention:
- Underside of the lid: scrub it with the soapy brush, then disinfect it just like the inside of the bin. This is the spot that hovers right over the trash, so it gets splashed constantly.
- Hinges: use the toothbrush dipped in soapy water to clean around the hinge pins and into the gaps. Rinse with a damp cloth if you can't run water over it.
- Pedal and pedal bar: step bins have a pedal and a rod connecting it to the lid. Wipe the pedal top and underside, and run a cloth along the rod, where drips and dust collect.
- Soft-close mechanisms: keep water away from any damper or soft-close part. Wipe around it with a damp cloth and dry it straight away.
- Touch-free sensor bins: remove the batteries or unplug first, and never rinse the electronic lid. Wipe it with a barely damp cloth and dry it well.
If you're giving your whole kitchen some attention, a bin clean fits perfectly into my top-to-bottom kitchen deep-clean plan, ideally right after the counters and before the floors.
Indoor vs Outdoor Bins
The basic routine is the same everywhere, but each type of bin has its own little quirks.
Kitchen and Bathroom Bins
Kitchen bins work hardest, because they handle food waste and liquids every day. Wipe the lid and the outside weekly, and deep clean the inside every month. If your bin lives in a cabinet, wipe the cabinet floor and walls at the same time, since smells soak into wood and particleboard. My guide to under-sink organization that actually fits has ideas for keeping that space tidy, so the bin isn't squeezed in with sprays and sponges.
If your kitchen bin sits near the sink and you're noticing a smell that won't leave, the drain might be partly to blame. My post on cleaning a kitchen sink and drain so it smells fresh covers that side of things.
Bathroom bins collect lighter waste, but tissues, cotton pads and hair products can still leave a film. A quick monthly wash and dry is usually enough. A small bin with a lid is a kinder choice for bathrooms, since it keeps things discreet and contained.
Outdoor Bins and Curbside Carts
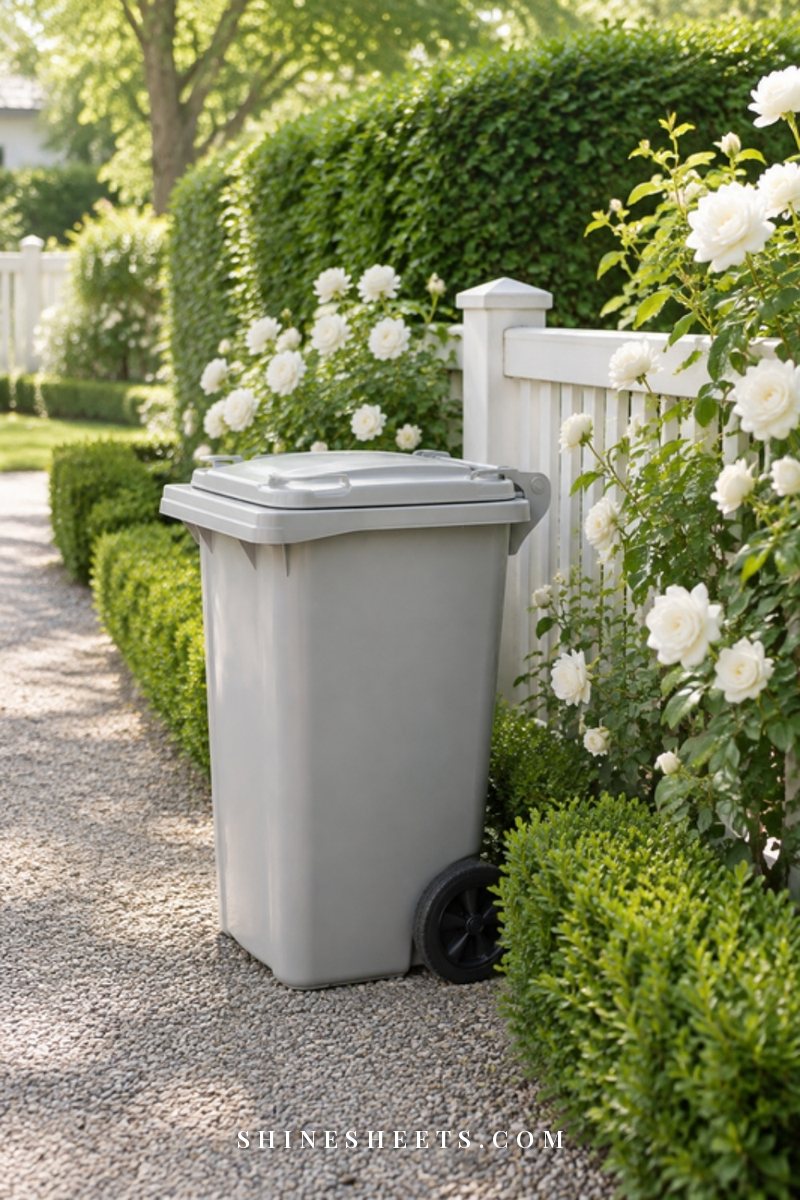
Outdoor bins deal with heat, rain and bigger loads, so they need a deep clean more often in warm months. The easiest time to clean them is right after bin day, when they're already empty.
- Park the bin on grass or a gravel area rather than a paved driveway that drains into a storm drain, so dirty water soaks into the ground instead.
- Use the hose on a strong setting to blast out the bottom, then scrub with the long brush and soapy water.
- Disinfect, rinse and leave it upside down in the sun to dry.
- Check the wheels and the underside, where drips can build up.
- Keep the lid closed between bin days so rain doesn't collect inside.
Trash Can Cleaning Table: How Often and What To Use
Here's a quick table to keep the rhythm simple. Screenshot it and you'll never have to wonder whether it's time again.
| Bin type | Cleaning frequency | Best cleaner | Odor tip |
|---|---|---|---|
| Kitchen step bin | Wipe lid and outside weekly; deep clean monthly | Hot water and dish soap, then a disinfectant spray used as labeled | Sprinkle baking soda in the bottom under each new bag |
| Kitchen bin in a cabinet | Deep clean monthly; wipe the cabinet floor at the same time | Dish soap solution, disinfectant for the bin only | Leave the cabinet door open for an hour after cleaning to air out |
| Stainless steel bin | Wipe outside weekly; deep clean monthly | Mild soap and water, a stainless-safe cleaner for the outside | Dry fully to avoid water spots and trapped moisture |
| Touch-free sensor bin | Wipe lid weekly; clean the inner bucket monthly | Damp cloth on the lid; soap and disinfectant on the removable bucket | Never let liquid reach the lid electronics |
| Bathroom bin | Every 2–4 weeks | Hot soapy water, disinfectant wipe | Use a lidded bin and a fitted liner |
| Outdoor curbside cart | Every 1–3 months; monthly in summer | Hose, dish soap and a long brush, then disinfectant | Rinse right after bin day and dry upside down in the sun |
8 Habits That Keep a Trash Can From Smelling
Once your bin is clean, these small habits stretch the time between deep cleans and keep the kitchen smelling fresh every day.
- Sprinkle baking soda in the bottom. A thin layer (about two tablespoons) under each new bag absorbs odors and small leaks. Keeping it in a glass shaker jar with a lid next to the bin makes this a two-second habit.
- Add a paper towel layer. Fold a paper towel or a few sheets of newspaper and place it under the bag to catch drips before they reach the plastic. Swap it every time you change the bag.
- Use bag liners that actually fit. Bags that are too small slip down and tear, while bags that are too big bunch up and leak at the folds. Fitted drawstring liners sized for your bin stay in place and tie easily.
- Double-bag wet waste. Put anything damp or messy in a small bag first, tie it, then drop it in the main bag. This one habit prevents most leaks.
- Freeze smelly scraps until bin day. Keep a small, lidded container or bag in the freezer for things like fish skin, meat wrappings or shellfish shells, then toss it in the outdoor bin on collection day.
- Rinse containers before tossing. A quick rinse of yogurt pots, takeout boxes and cans stops sour residue from building up in the bin (and in the recycling).
- Take it out daily in summer. Heat speeds up bacteria and attracts fruit flies, so on warm days, empty the kitchen bin every evening even if it isn't full.
- Use deodorizing pods or discs. A trash can deodorizer that sits in the bottom or clips under the lid adds a light, clean scent. Choose a gentle fragrance, since strong scents can clash with cooking smells.
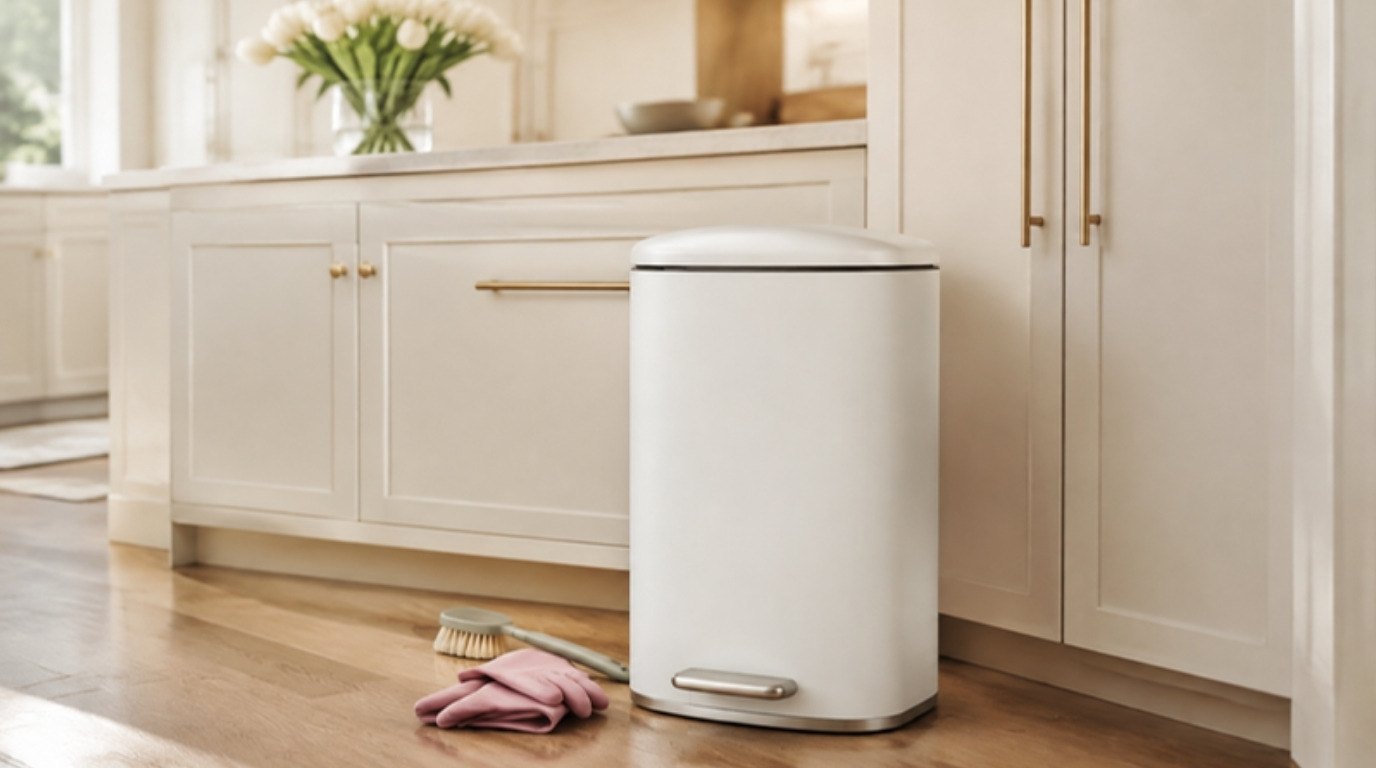
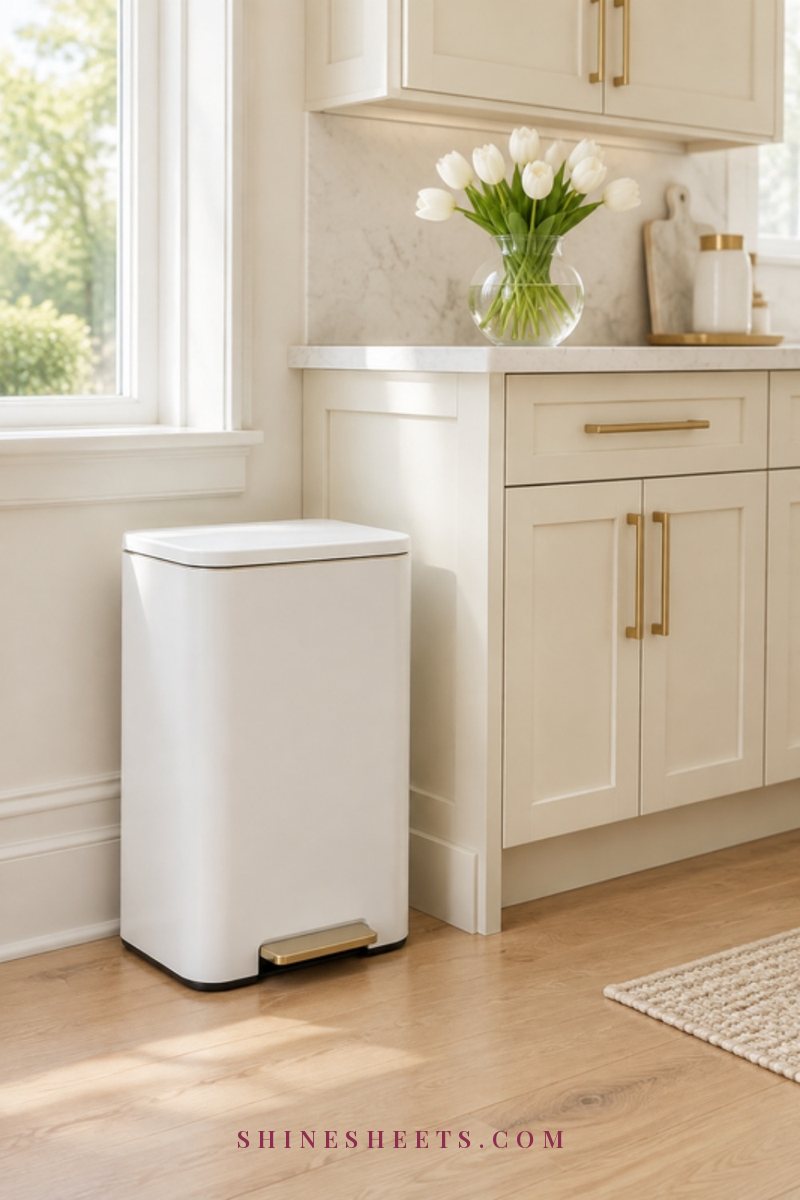
If you'd like your bin itself to make life easier, a white step bin with a lid is a good pick for most kitchens. Look for a tight-fitting lid, a removable inner bucket that's easy to wash, a smooth interior without deep ridges, and a soft-close lid so it doesn't slam. For more small ways to keep your whole home smelling lovely, my guide on keeping your apartment smelling fresh has easy everyday ideas.
Safety Notes for Cleaning Trash Cans
Bin cleaning means dealing with bacteria and cleaners at the same time, so a few simple precautions keep you safe:
- Wear gloves for the whole job, from emptying to drying, and wash your hands well afterward.
- Ventilate. Clean outside if you can. Indoors, open a window and turn on the bathroom fan, especially when you use a disinfectant.
- Never mix bleach with ammonia or vinegar. These combinations release harmful fumes. Never mix different cleaning products at all, and rinse the bin between soap and disinfectant if the label recommends it.
- Follow the label. Use disinfectants only as directed, including the contact time, dilution and any rinsing instructions.
- Keep cleaners away from children and pets, and don't leave a bucket of cleaning solution unattended.
- Clean the tub or sink afterward if you washed the bin indoors, so no residue stays where you bathe or prepare food.
Final Thoughts
A trash can that stops smelling isn't about expensive sprays or scrubbing every day. It's about one good deep clean, a dry bin before every new bag, and a few small habits that stop leaks and residue before they start.
Give your bin its six-step refresh this week, add one or two of the odor-prevention habits, and you'll notice the difference every time you lift the lid. A kitchen that smells clean is a small, everyday kindness to yourself.