A dirty oven doesn't need harsh, eye-watering sprays to come clean. It needs time. Baking soda, water and a long, patient overnight rest do most of the hard work for you, and the scrubbing part the next morning is far easier than you'd expect.
The trick is to stop thinking of oven cleaning as a single exhausting session and start thinking of it as two short ones: about 30 minutes in the evening and about 45 minutes the next morning. In between, you sleep while the paste softens months of drips and splatters.
This guide shows you how to clean your oven naturally, without strong fumes: an overnight timeline with times you can follow, the step-by-step baking soda method, how to clean racks in the bathtub or sink, how to get the door glass clear again, what to know about the self-clean cycle and the small habits that keep your oven cleaner for longer.
Put on some music, open a window, and let's turn this into one of those chores that feels oddly satisfying once it's done.
Before You Start: A Few Safety Basics
Every oven is a little different, so a few minutes of preparation saves a lot of trouble later:
- Check your manual first. Some ovens have special enamel or catalytic (self-cleaning) liners that shouldn't be scrubbed with anything abrasive. If you've lost the paper manual, search for your oven's model number online – it's usually printed on a sticker inside the door frame.
- Make sure the oven is completely cool and turned off. For an electric oven, you can switch it off at the breaker if you'd feel safer.
- Keep paste and water away from heating elements, the fan and gas openings. In a gas oven, don't push paste into the burner slots or around the igniter. In an electric oven with an exposed bottom element, clean around it, not on it.
- Never mix vinegar with bleach or ammonia-based cleaners, and don't combine homemade methods with a store-bought oven cleaner in the same session. My guide to natural cleaning and the combos never to mix explains why.
- Wear gloves. Baking soda is gentle, but hours of scrubbing still dry out your hands.
What You'll Need
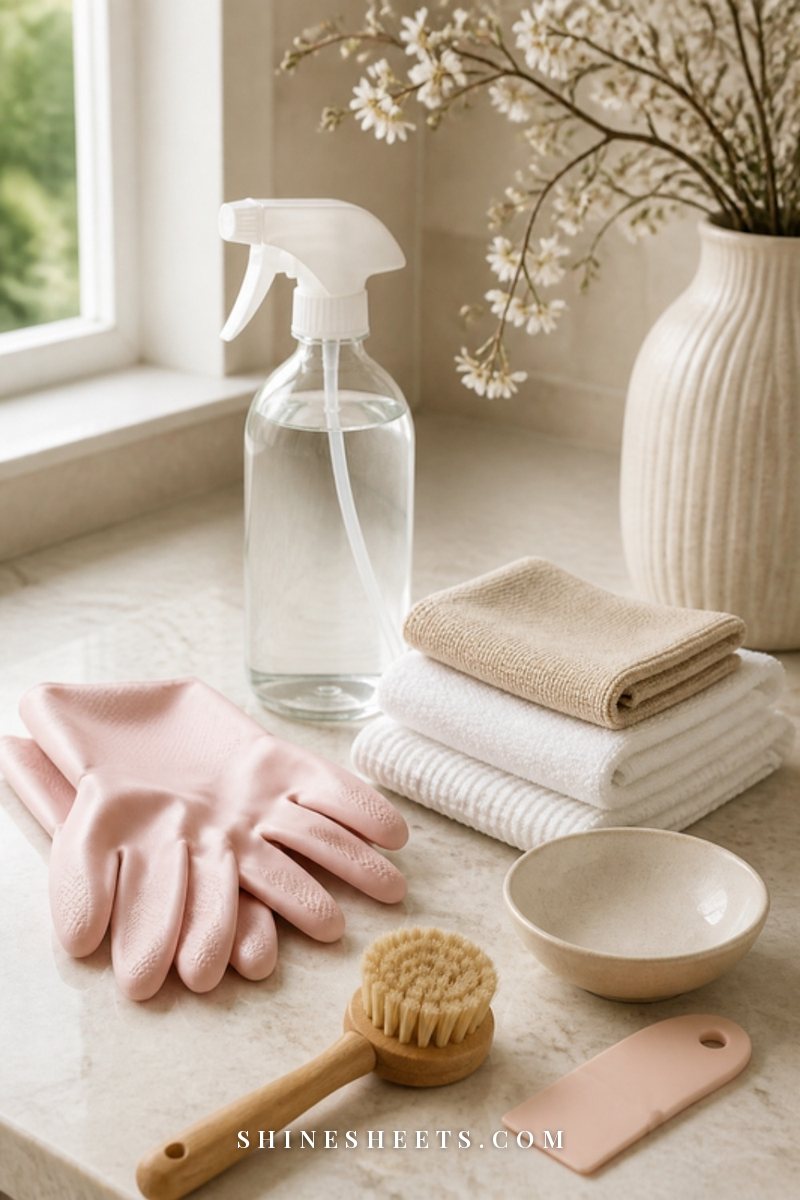
The nice thing about this method is that you probably have most of it already:
- Baking soda (about half a cup to a full cup, depending on how dirty your oven is)
- Water
- White vinegar in a spray bottle
- Dish soap
- A small bowl and a spoon or soft paintbrush for spreading paste
- A plastic or silicone scraper
- Non-scratch sponges and microfiber cloths
- A scrub brush
- Rubber gloves
- Old towels for the bathtub or floor
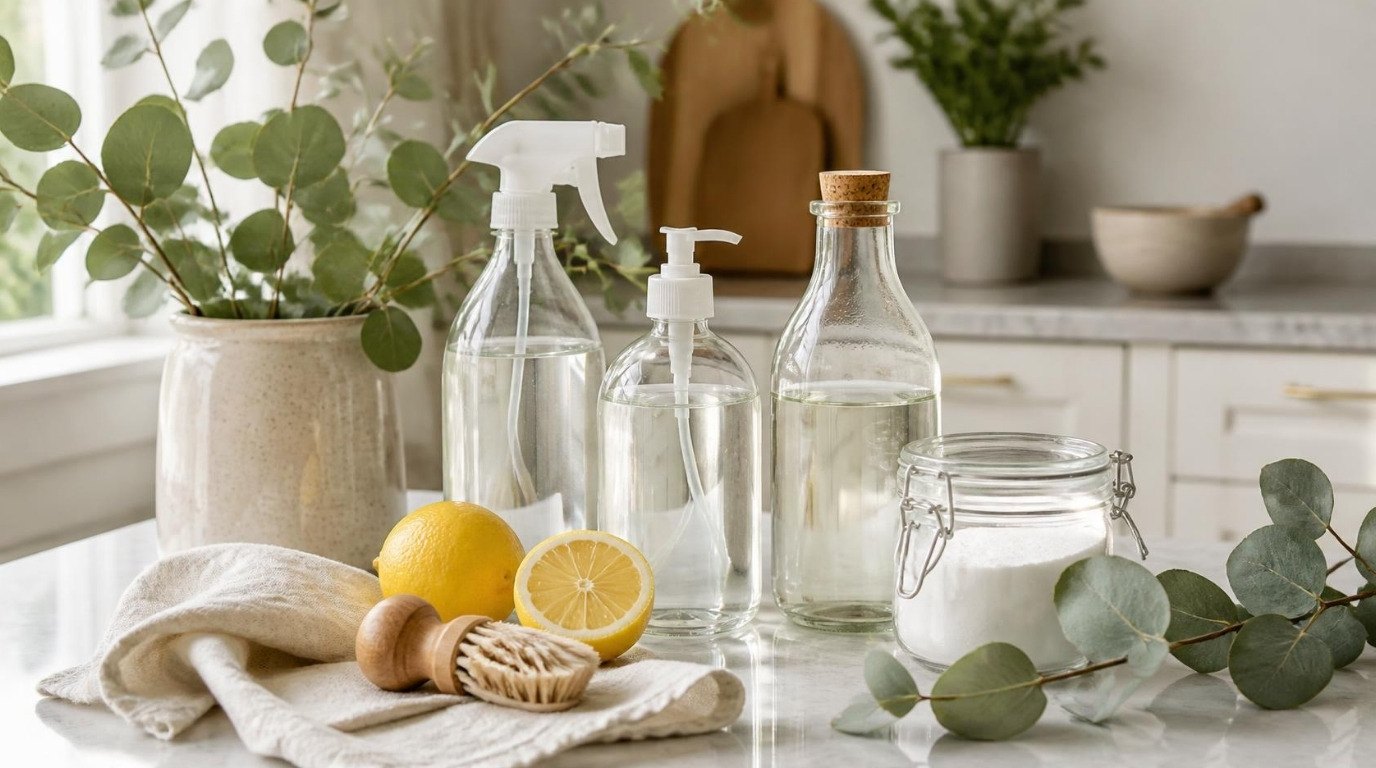
A pair of long rubber cleaning gloves is worth it here, because you'll be reaching deep into the oven, and the longer cuffs keep paste off your wrists. For the vinegar, a refillable glass spray bottle is a nice upgrade from an old plastic one, and it looks pretty enough to leave out under the sink.
Skip metal scouring pads and steel wool on enamel and glass. They can leave scratches that make the oven harder to clean next time.
The Overnight Oven Clean Timeline
This is the heart of the guide. Instead of one long afternoon of scrubbing, the work is split across an evening and a morning, with the waiting doing the heavy lifting. Adjust the times to your own schedule – just keep the overnight rest of at least 8 to 12 hours.
| Time | Step | How Long |
|---|---|---|
| Evening, 7:00 | Make sure the oven is cool, remove racks, thermometer and trays | 5 minutes |
| 7:05 | Scrape out loose crumbs and burnt bits, vacuum or wipe them out | 5 minutes |
| 7:10 | Mix baking soda paste and spread it over the inside of the oven | 15 minutes |
| 7:25 | Put racks in the bathtub or sink to soak in hot water and dish soap | 5 minutes |
| 7:30 | Spread a thin layer of paste on the inside of the door glass, close the door | 5 minutes |
| Overnight | Let the paste and the racks rest (go to bed) | 8–12 hours |
| Morning, 7:00 | Wipe and scrape the paste out of the oven with a damp cloth | 15 minutes |
| 7:15 | Spray vinegar on any white residue, let it fizz, wipe again | 10 minutes |
| 7:25 | Scrub, rinse and dry the racks | 15 minutes |
| 7:40 | Clean the door glass, knobs and handle; put racks back | 10 minutes |
| 7:50 | Run the oven on low for 10–15 minutes with a window open to dry it fully | 15 minutes |
That's roughly 35 minutes of active work in the evening and 50 in the morning. If you like, screenshot the table and keep it on your phone so you don't have to think about it next time.
How To Clean Your Oven Naturally, Step by Step
Here's each step in more detail, with the little tricks that make the difference between a smeary oven and a really clean one.
Step 1: Empty and Cool the Oven
Take out the racks, any oven thermometer, pizza stone or baking trays, and anything stored in the drawer underneath if you'll be kneeling in front of it. The oven should be completely cold, so this is best done several hours after you last cooked, ideally after dinner on a night you ate something that didn't need the oven.
Step 2: Scrape Off Loose Crumbs and Burnt Bits
Use a plastic or silicone scraper to lift any loose, crusty spots from the oven floor, then sweep them out with a dry cloth or a handheld vacuum. A silicone pan scraper is perfect here: firm enough to lift burnt sugar, soft enough not to scratch enamel.
This step matters more than it seems. If you leave crumbs in, the paste turns into a gritty mess that's harder to wipe out in the morning.
Step 3: Mix and Apply the Baking Soda Paste
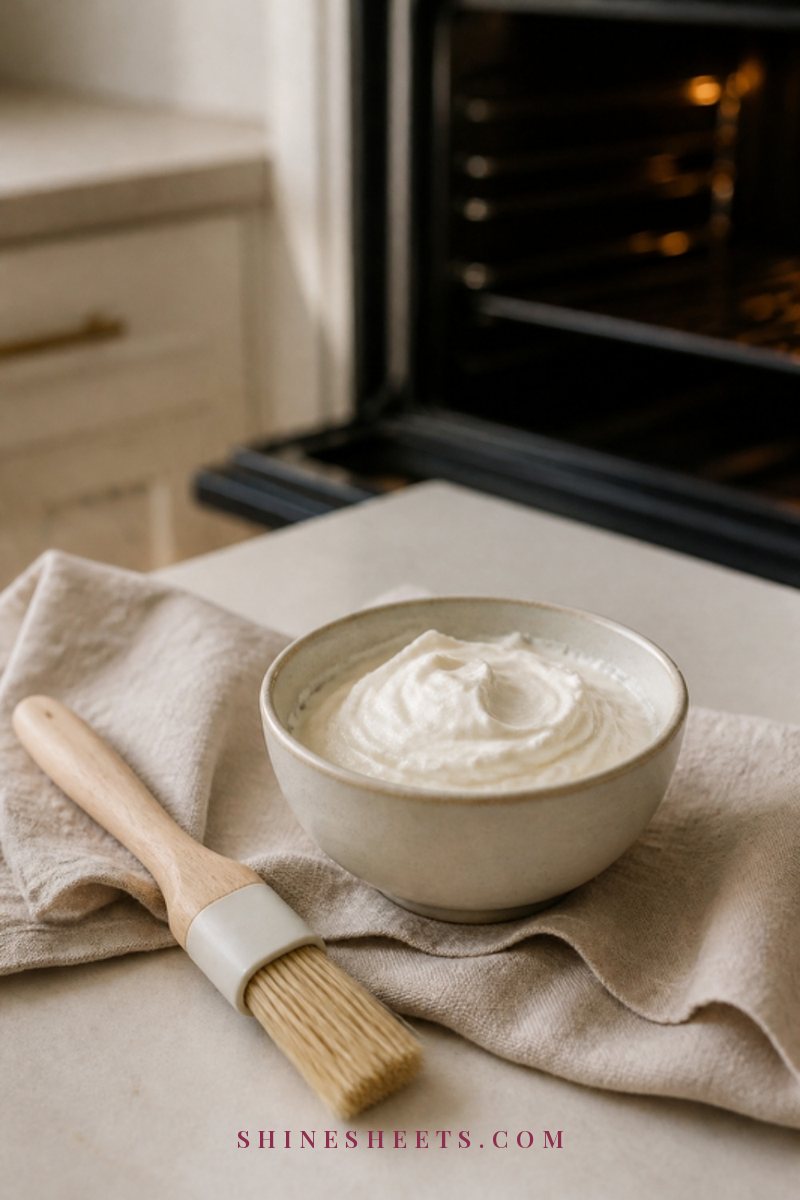
In a small bowl, mix about half a cup of baking soda with three to four tablespoons of water. You want a spreadable paste, roughly the texture of thick frosting. Add water a teaspoon at a time if it's too stiff, or more baking soda if it's runny. For a very dirty or large oven, double it.
With gloved fingers, a spoon or a soft paintbrush, spread the paste over the bottom, sides, back wall and the inside of the door. Go thicker on brown, greasy spots (they'll turn a toasty brown color as the paste works – that's normal). Keep it away from the heating elements, the fan cover and any gas openings.
Don't worry about making it neat. Coverage matters, not beauty.
Step 4: Let It Sit Overnight
Close the oven door and leave the paste for at least 8 hours, ideally 12. Baking soda is a mild alkali, which helps loosen greasy, baked-on residue, but it works slowly. The longer it sits, the less you'll have to scrub.
If you'll use the kitchen in the evening, leave a little note on the oven door so nobody turns it on while the paste is inside.
Step 5: Wipe and Scrape the Paste Away
In the morning, the paste will be dry and crumbly in places. Use your scraper to gently loosen it, then wipe it out with a damp cloth. Rinse the cloth often in a bowl of warm water, otherwise you're just spreading paste around.
For stubborn spots, use a non-scratch scrub sponge in small circles. Most of the grime should lift with very little pressure. If one area is still dark and sticky, add a dab of fresh paste, wait 20 minutes and try again.
Step 6: Spray Vinegar on the Leftover Residue
Even after a thorough wipe, there's usually a thin white film of baking soda left behind. Lightly spray white vinegar over those areas. It will fizz as it reacts with the leftover baking soda, which helps lift the last of it.
Let it fizz for a minute or two, then wipe again with a clean damp cloth. You can repeat this once or twice until the surfaces look clear rather than chalky.
Step 7: Rinse, Dry and Air It Out
Do one last wipe with plain warm water, then dry everything with a soft microfiber cloth. Open a window, put the racks back once they're dry, and turn the oven on low (around 100°C / 210°F) for 10 to 15 minutes. That evaporates any hidden moisture and burns off tiny traces of residue so your next meal doesn't smell faintly of vinegar.
How To Clean Oven Racks in the Bathtub or Sink
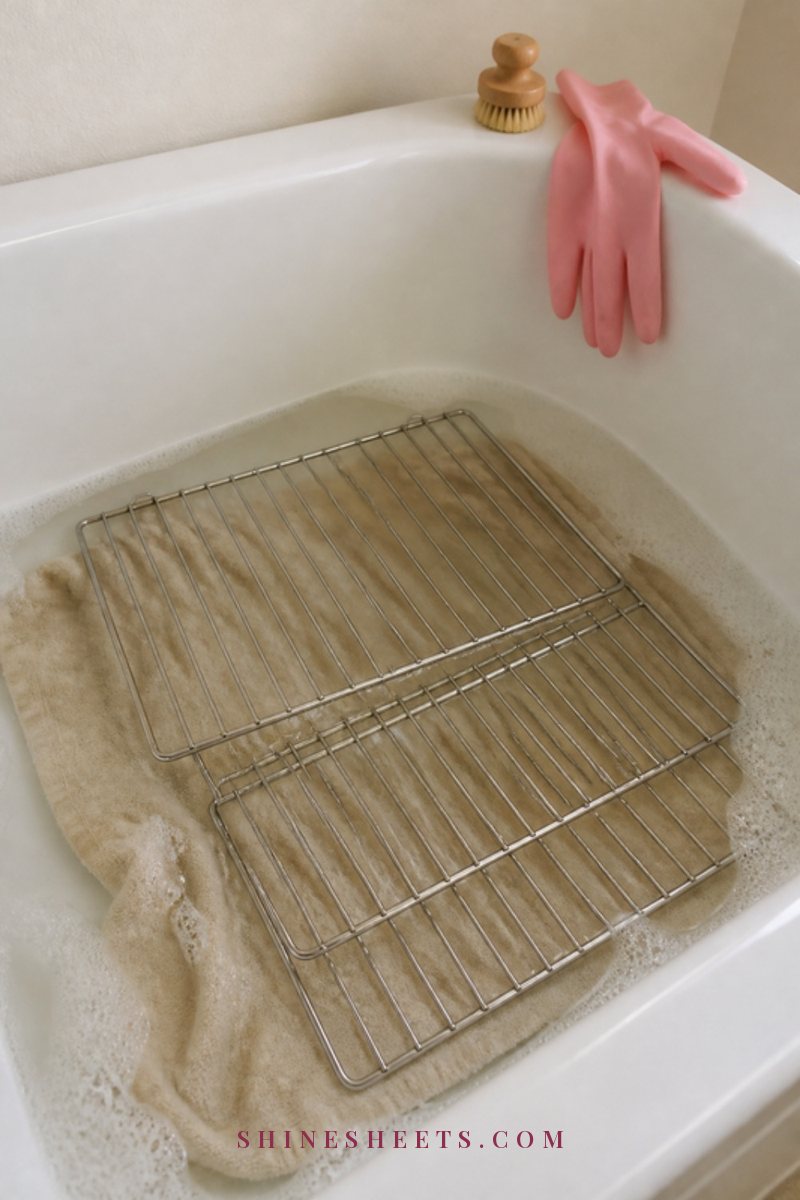
Racks are often the dirtiest part of the oven, and the bathtub is the easiest place to clean them because they can lie flat and soak completely.
- Protect the tub. Lay an old towel along the bottom so the racks don't scratch the surface.
- Fill with hot water until the racks are fully covered, and add a generous squeeze of dish soap (about a quarter cup for a full tub). Swish to mix.
- Soak overnight, or for at least 4 to 6 hours. For very greasy racks, sprinkle baking soda over them before adding the water.
- Scrub in the morning with a stiff scrub brush, working along the bars. Use the scraper for any burnt-on bits at the corners.
- Rinse well and dry completely before putting them back, so they don't rust or leave water spots.
- Clean the tub right away with a quick spray and wipe, since greasy water leaves a ring.
No bathtub? Soak the racks one at a time in a large kitchen sink, or lay them in a big plastic storage bin with hot soapy water. Smaller racks sometimes fit in the dishwasher, but check your oven manual first, as some finishes don't like it. And if the racks come out cloudy, it may be time to give the dishwasher itself a good clean.
How To Clean the Oven Door Glass
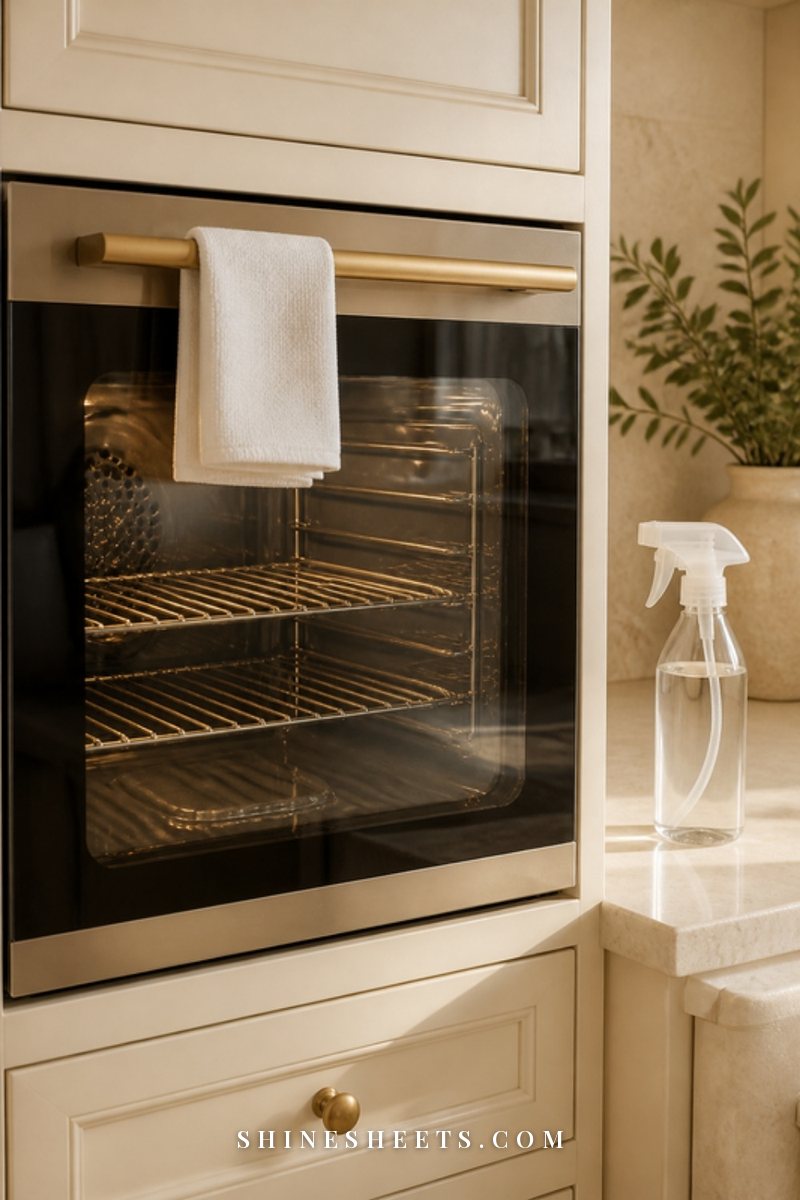
A clean oven door makes the whole kitchen look tidier, and it's the part people notice first.
Inside and Outside of the Glass
The inside of the glass gets the same paste treatment as the rest of the oven. In the morning, wipe it off, then use your scraper held at a low angle to lift any stubborn brown spots. Finish with a vinegar spray and dry with a clean microfiber cloth, buffing in circles for a streak-free shine.
For the outside, a simple spray of half water, half vinegar and a dry microfiber cloth is usually enough. Don't spray directly onto the control panel; spray the cloth instead.
Between the Panes
If you see drips or crumbs between the glass layers, they've fallen through vents at the top or bottom of the door. Some oven doors can be lifted off their hinges or have a removable inner pane, which makes it easy to wipe between the layers. Others are sealed and shouldn't be opened at home.
Check your manual before taking anything apart, and if the door is heavy, ask someone to help you lift it. If your door isn't designed to open, it's better to leave a little smudge between the panes than to risk cracking the glass.
Knobs, Control Panel and Handle
These are the most-touched parts of the oven and often the stickiest.
- Knobs: If they pull straight off, soak them in warm soapy water for 15 minutes, scrub with an old toothbrush, rinse and dry fully before replacing. If they don't come off, wipe around them with a soapy cloth and a cotton swab.
- Control panel: Spray a little all-purpose cleaner or vinegar solution onto a cloth, never directly onto buttons or displays, and wipe gently.
- Handle: Wipe with warm soapy water, then dry. Grease collects underneath the handle, so don't forget the back.
- Front and sides: For stainless steel, wipe in the direction of the grain and dry with a microfiber cloth to avoid streaks.
Should You Use the Self-Clean Cycle?
Many ovens have a self-clean (pyrolytic) cycle that heats the oven to a very high temperature and turns food residue into ash. It can be convenient, but it isn't completely hands-off, and it's worth using with some care.
- Read your manual first. It will tell you whether to remove the racks (usually yes), how long the cycle lasts and what to wipe out beforehand.
- Wipe out big spills and grease first, since heavy residue creates more smoke and smell.
- Ventilate well. Open windows and turn on your range hood. The cycle can produce strong odors and smoke, especially the first time.
- Keep pets away from the kitchen, and be especially careful with pet birds, which are very sensitive to fumes from high-heat cycles.
- Stay home while it runs. Don't start it right before you leave or go to sleep.
- Let it cool completely, then wipe the ash out with a damp cloth.
Some ovens have a gentler steam-clean setting, which works well for light messes. For a heavily soiled oven, many people find the overnight baking soda method gentler on the senses and on the oven itself.
How To Keep Your Oven Clean Longer
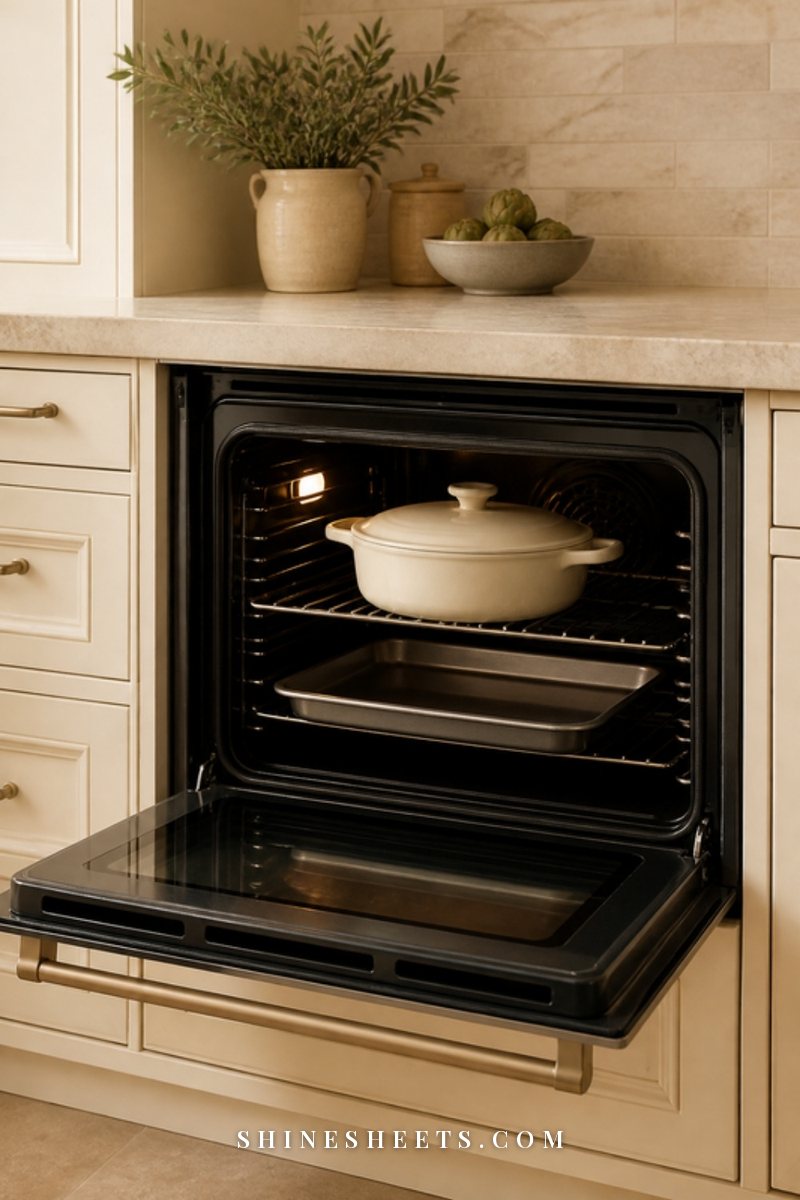
The best oven clean is the one you don't have to do as often. These small habits make a big difference:
- Use a sheet pan under anything that might bubble over, like casseroles or roasted dishes, placed on the rack below.
- Wipe small spills once the oven has cooled the same day. A fresh spill takes 30 seconds; a baked-on one takes an overnight soak.
- Sprinkle a little salt on a fresh, still-warm sugary spill, then wipe it once cool. It makes the residue easier to lift.
- Cover dishes that splatter with a lid or a sheet of foil tented loosely over the top.
- Be careful with oven liners. If you use one, follow your oven's manual – many manufacturers advise against placing liners or foil directly on the oven floor because they can block airflow or vents, damage the enamel or interfere with heating. A liner on a lower rack is often the safer option.
- Do a quick monthly wipe of the door glass and floor with a damp microfiber cloth.
- Give the racks a soak every few months, before they turn sticky and dark.
If you like building small cleaning tasks into the week, my simple cleaning schedule shows where an oven wipe fits without overwhelming you.
Oven Cleaning Mistakes To Avoid
A few common slip-ups make oven cleaning harder or can even damage the oven:
- Making the paste too wet. Runny paste slides down the walls and pools on the floor instead of clinging to grease. Thick is better.
- Not waiting long enough. Thirty minutes isn't the same as eight hours. If you're short on time, clean only the door glass today and save the full clean for a night you can leave it.
- Using too much water when wiping. Excess water drips under the oven floor and into gaps. Wring your cloth out well.
- Scrubbing a self-cleaning or catalytic liner. These special surfaces are designed to absorb grease and can be damaged by abrasives. Check your manual.
- Forgetting the seal. Wipe the rubber door gasket gently with a soapy cloth, but don't scrub or soak it, and never remove it.
- Turning the oven on before it's fully rinsed. Leftover paste can smoke or leave a white haze. One extra wipe is always worth it.
How Often Should You Clean Your Oven?
There's no strict rule, but here's a realistic rhythm for most homes:
- After a big spill: wipe it as soon as the oven has cooled.
- Every month: a quick wipe of the floor and the door glass.
- Every 3 to 6 months: a full overnight baking soda clean, more often if you roast or bake a lot.
- Whenever the oven smokes or smells when you preheat it, that's your sign it's time.
An oven clean also pairs nicely with a bigger kitchen refresh. If you're in the mood to keep going, my guide on how to deep clean your kitchen covers the fridge, cabinets and all the corners that usually get skipped. And for more shortcuts around the house, these easy cleaning hacks make the everyday tidying feel lighter.
Final Thoughts
Cleaning your oven naturally isn't about scrubbing harder. It's about letting baking soda and time do the work while you sleep, then finishing with a quick wipe, a little vinegar fizz and a few minutes of airing out.
Follow the overnight timeline once and you'll see how manageable it really is. There's something lovely about opening the oven door to clean, clear glass and a bright interior – a small, quiet win that makes the whole kitchen feel fresh again.