A kitchen sink can look clean and still smell a little off, and that's usually the clue to where the real problem lives. The bowl itself is the easy part. The smell comes from the places you don't see: the strainer basket, the underside of the stopper, the rubber splash guard on the disposal and the first few inches of the drain, where a thin film of food and grease quietly builds up.
The good news is that a fresh-smelling sink doesn't take hours of scrubbing. It takes a two-minute daily habit, a weekly clean that suits your sink's material, and a little attention to the drain. Once those three are in place, the sink stops being the corner of the kitchen you avoid looking at.
This guide covers how to clean a kitchen sink and drain from top to bottom: what you'll need, a quick daily routine, a deep clean for stainless steel, porcelain, composite and fireclay sinks, a material table to screenshot, the faucet and handles, drain smells, the garbage disposal, sponge and brush hygiene, and the weekly habits that keep odors from coming back.
What You'll Need
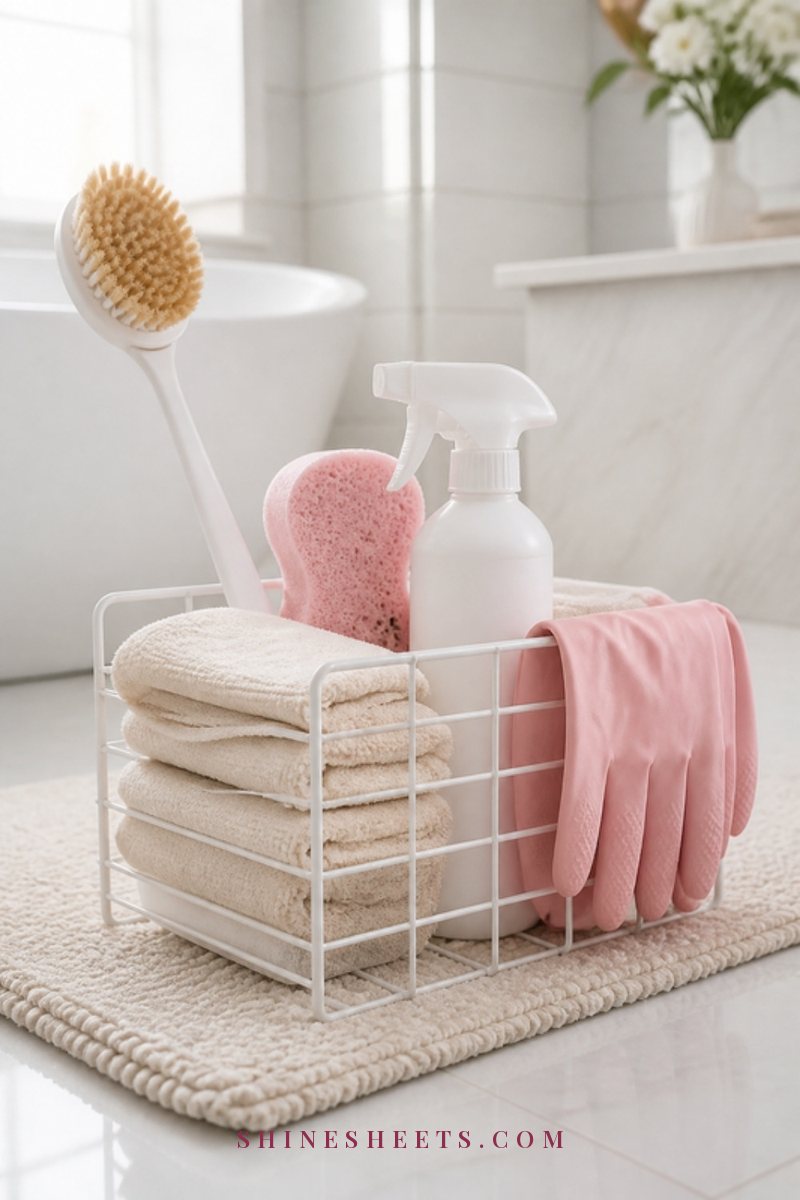
You probably have most of this already. Gather it into one spot so the weekly clean is quick:
- Dish soap (any gentle liquid dish soap)
- Baking soda for gentle scrubbing pastes and drain refreshes
- Distilled white vinegar for hard water spots and drain refreshes (not for natural stone)
- A non-scratch scrub sponge that's safe for most sink surfaces
- A dish brush with stiff but not metal bristles
- Microfiber cloths for drying and buffing
- An old soft toothbrush for around the faucet base and drain rim
- A non-scratch cream cleaner for porcelain, enamel and fireclay
- A pH-neutral cleaner if your sink is composite or granite
- An enzyme drain cleaner for stubborn drain smells
- Rubber gloves to protect your hands
Good tools make the job kinder on both you and your sink. I'd pick non-scratch scrub sponges over anything labeled "heavy duty," because the gentle ones clean just as well on everyday grime without leaving fine scratches that trap dirt later. A pair of reusable rubber cleaning gloves keeps your hands soft while you work.
The Daily 2-Minute Sink Routine
This tiny habit does more for a fresh sink than any weekly scrub. Do it after the last dishes of the evening:
- Empty the strainer basket into the trash or compost. Food sitting overnight is the number one cause of sink smells.
- Rinse the bowl with hot tap water, swirling it around the sides.
- Add a drop of dish soap to your sponge or brush and give the bowl a quick wipe, including the rim around the drain.
- Rinse again and run hot tap water down the drain for 30 seconds.
- Dry the sink with a microfiber cloth. This step prevents water spots and stops the damp that encourages smells.
- Hang your cloth to dry and stand your brush upright.
Two minutes, and you wake up to a clean sink. That morning feeling alone makes it worth it.
How To Deep Clean Your Sink by Material
Once a week, give the sink a proper clean. The method depends on what it's made of, because a cleaner that's perfect for stainless steel can dull or damage composite or enamel. If you're not sure what your sink is made of, check the manufacturer's manual or the brand's website, and always test any new product on a hidden spot first.
Stainless Steel Sinks
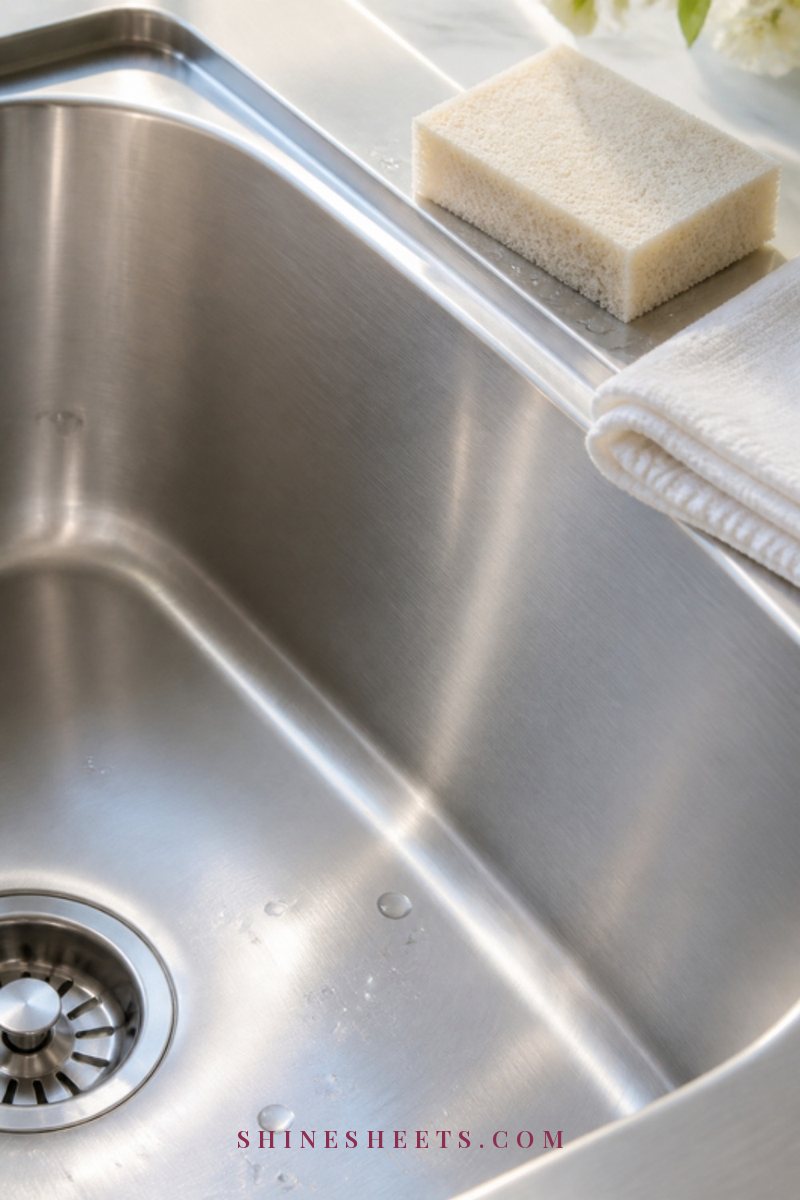
Stainless steel is tough, but it scratches and shows water spots easily. Here's the routine:
- Rinse and wash the whole sink with warm water and a few drops of dish soap, using a non-scratch sponge.
- Make a paste of about three parts baking soda to one part water. It should feel like soft toothpaste.
- Scrub with the grain. Look closely and you'll see fine lines in the steel. Rub the paste along those lines, never in circles, with a soft sponge. This lifts stains and dullness without leaving swirl marks.
- Leave it for 5 minutes on stubborn marks.
- Rinse thoroughly with warm water.
- Treat water spots. If you have hard water spots, wipe them with a cloth dampened with white vinegar, wait 2 to 3 minutes, then rinse well. Don't leave vinegar sitting for long periods.
- Dry and buff with a dry microfiber cloth, again following the grain. Buffing is what gives stainless steel that clean, bright finish.
Avoid steel wool, abrasive powders, and cleaners containing chlorine bleach, which can pit or discolor stainless steel over time. For chalky buildup around the faucet and drain, my guide on how to remove hard water stains has extra tricks.
Porcelain and Enamel Sinks
Porcelain and enamel-coated sinks are beautiful but their glossy surface scratches easily, and once scratched it stains more readily.
- Wash with warm water and dish soap using a soft sponge.
- Apply a non-scratch cream cleaner to any stains, following the label. Rub gently with a soft sponge.
- For stubborn stains (coffee, tea, pan marks), spread a baking soda paste over the area, leave it for 15 minutes, then rub gently and rinse.
- Rinse well and dry with a microfiber cloth.
Never use steel wool, scouring powders or wire brushes on porcelain or enamel. Gray metal marks from pans can usually be lifted with cream cleaner and patience. If you have a white porcelain sink and the manufacturer allows a diluted bleach product for stains, follow the label exactly, ventilate the room, and rinse very thoroughly.
Composite and Granite Sinks

Composite sinks (often made of crushed granite or quartz with resin) have a matte finish that can look chalky if cleaned with the wrong products.
- Wash daily with warm water and a few drops of dish soap.
- Use a pH-neutral cleaner for the weekly clean. Spray, leave for 2 to 3 minutes, then wipe with a soft sponge.
- For stains, a gentle baking soda paste on a soft sponge usually works. Leave it for 5 to 10 minutes, then rinse.
- Rinse thoroughly and dry. Water left to evaporate is what causes that white chalky film on dark composite sinks.
Avoid bleach, harsh acids, abrasive powders and stiff scouring pads unless your manufacturer specifically says they're safe. Many composite makers recommend their own care product, so it's worth checking your manual.
Fireclay Sinks
Fireclay is clay fired at very high temperatures with a glazed finish. It's sturdy and stain resistant, but the glaze still deserves gentleness.
- Wash with warm water and dish soap after use.
- Use a non-abrasive cream cleaner once a week for marks and dullness.
- Lift metal marks with a cream cleaner and a soft sponge, rubbing gently.
- Avoid harsh acids, drain cleaners left sitting in the bowl and anything abrasive.
- Use a sink grid or a mat if you often handle heavy pans, to reduce chips.
Sink Material Cleaning Table
Screenshot this for quick reference. It's the simplest way to remember what's safe for your sink:
| Sink material | Best cleaner | Stubborn stains | Avoid |
|---|---|---|---|
| Stainless steel | Dish soap and warm water | Baking soda paste, scrubbed with the grain; vinegar on a cloth for water spots (2–3 minutes) | Steel wool, chlorine bleach, abrasive powders, scrubbing in circles |
| Porcelain / enamel | Dish soap, non-scratch cream cleaner | Baking soda paste for 15 minutes | Steel wool, scouring powder, wire brushes, heavy pans dropped in |
| Composite / granite composite | pH-neutral cleaner, dish soap | Gentle baking soda paste for 5–10 minutes | Bleach, strong acids, abrasive pads, letting water dry on the surface |
| Fireclay | Dish soap, non-abrasive cream cleaner | Cream cleaner on a soft sponge | Harsh acids, abrasives, drain cleaner sitting in the bowl |
| Natural stone (granite, soapstone, marble) | Stone-safe pH-neutral cleaner | Follow the stone fabricator's guidance | Vinegar, lemon, bleach, abrasives |
When in doubt, follow your sink manufacturer's manual. It always wins over general advice.
Cleaning the Faucet and Handles

The faucet is touched with messy hands dozens of times a day, so it deserves its own attention:
- Wipe the faucet and handles with a cloth dampened with warm soapy water.
- Scrub the base where the faucet meets the counter with an old soft toothbrush. Grime and limescale love that little ring.
- Clean the aerator. If water sprays unevenly, unscrew the aerator at the tip (by hand, or with a cloth-wrapped wrench), rinse the screen, and soak it in white vinegar for 15 to 30 minutes if it's chalky. Rinse and screw it back on. Check your faucet's manual first, especially for specialty finishes.
- Rinse and dry everything with a microfiber cloth to avoid spots.
Brass, matte black, gold-tone and other specialty finishes can be damaged by vinegar and abrasive cleaners. For those, stick to mild dish soap and water unless the manufacturer says otherwise, and test anything new on a hidden spot.
A soft microfiber cleaning cloth is the best tool for this part of the clean. It dries and buffs in one pass, without lint.
How To Get Rid of Drain Smells
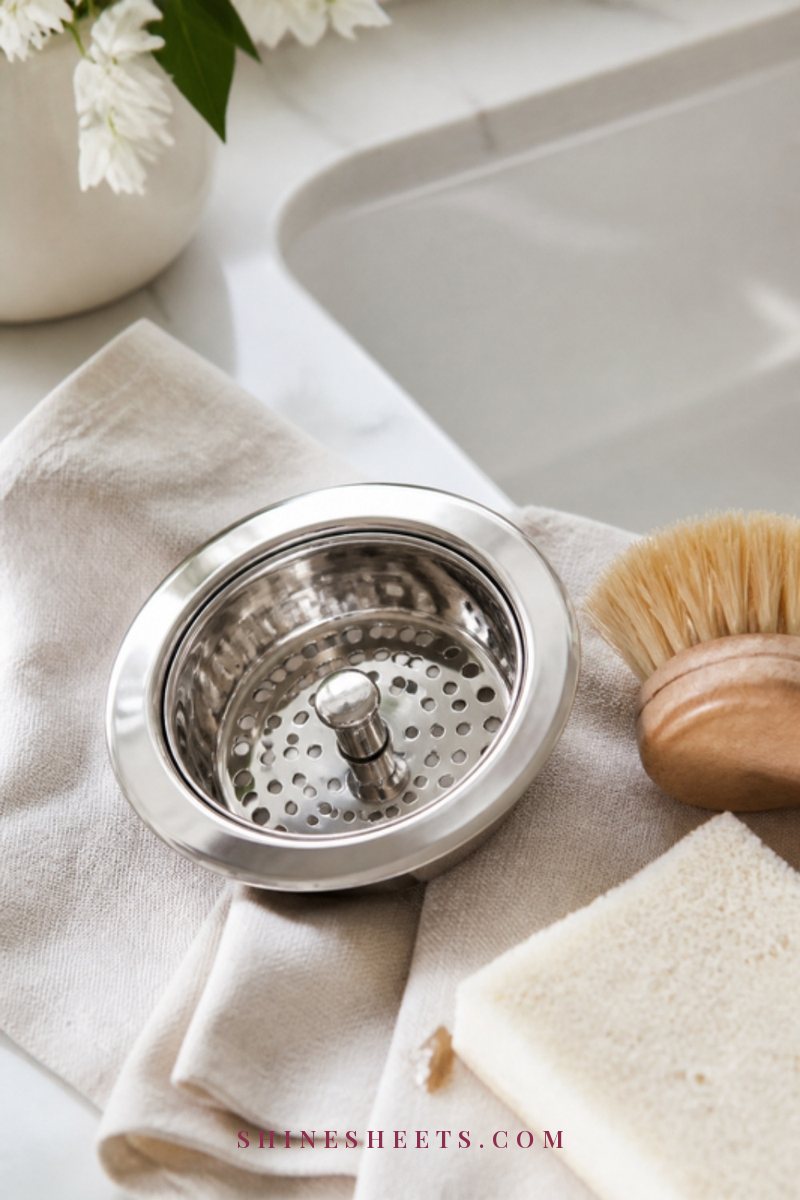
If your sink smells, the drain is almost always the source. Work through these steps in order, stopping when the smell is gone.
Clean the Strainer Basket and Stopper
Remove the strainer basket or stopper and look underneath. That slippery film is usually the whole problem. Scrub it with a dish brush in hot soapy water, paying attention to the mesh and the rubber seal. Then wipe the rim of the drain opening with your toothbrush. Do this weekly.
If your strainer is old, bent or doesn't catch much, replacing it is a small upgrade that makes a big difference. A fine-mesh sink strainer basket catches small bits of food before they reach the pipes.
Flush With Hot Tap Water
Run the hottest water from your tap for 1 to 2 minutes. This helps loosen fresh grease and soap film.
About boiling water: it's often recommended, but be careful. Boiling water can soften or damage PVC pipe joints and can crack porcelain sinks. If you have plastic pipes (look under your sink), stick with hot tap water. If you're unsure, hot tap water is the safer choice every time.
Baking Soda and Vinegar (Gently)
This is a mild refresh, not a clog fix, but it can help a slightly smelly drain:
- Pour about half a cup of baking soda directly into the drain.
- Follow with one cup of white vinegar. It will fizz.
- Cover the drain with the stopper and leave it for 15 minutes.
- Flush with hot tap water for 1 to 2 minutes.
Never use this right after a chemical drain cleaner, and never combine vinegar with bleach. Mixing bleach with vinegar (or any acid) releases chlorine gas, and mixing bleach with ammonia creates toxic chloramine vapors. If you've used any other product in the drain recently, flush with plenty of water and wait before trying something else.
Use an Enzyme Drain Cleaner
For lingering smells, an enzyme drain cleaner is the gentlest effective option. Enzymes break down the organic buildup that causes odors, and they're generally safer for pipes than harsh chemical drain openers. They work best overnight, when the drain isn't used:
- Pour the amount recommended on the label into the drain before bed.
- Don't run water for the time the label says, usually 6 to 8 hours.
- Flush with warm water in the morning.
- Repeat weekly for a few weeks, then monthly to maintain.
An enzyme drain cleaner is a pick I'd choose for regular maintenance. Look for one labeled safe for all pipes and septic systems.
If your sink drains slowly, gurgles or smells even after all this, there may be a deeper clog or a venting issue. A plumber can check it properly, and it's much easier to fix early.
How To Clean a Garbage Disposal
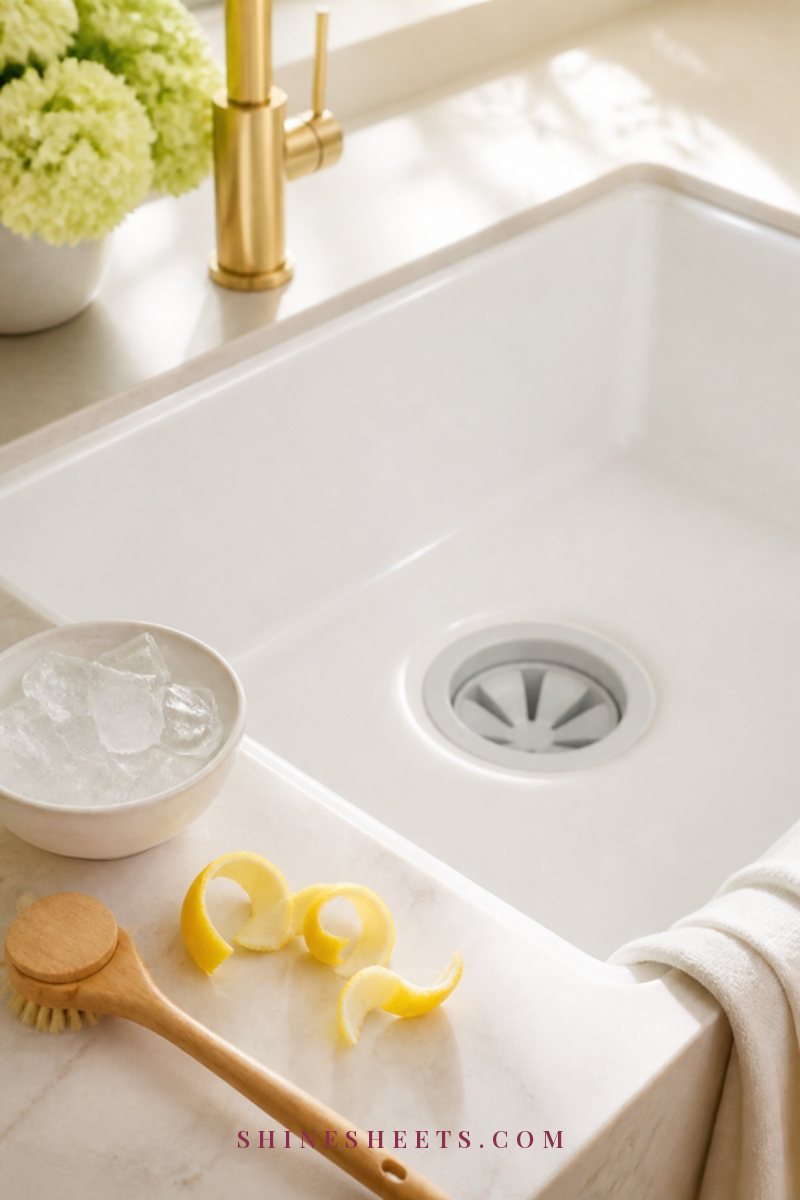
The disposal is a common source of sink smells, mainly because of food trapped under the rubber splash guard. Safety first: never put your hand inside a disposal, and always switch the power off before cleaning anything near the blades. Turn off the wall switch, and if your disposal plugs in under the sink, unplug it, or switch off the circuit breaker.
- Turn off the power as above. Double check by flipping the switch: nothing should happen.
- Scrub the splash guard. Lift each flap and scrub the underside with a dish brush and hot soapy water. This is where most of the smell hides. Some guards lift out completely for easier cleaning.
- Remove any objects you can see with tongs or pliers, never your fingers.
- Turn the power back on.
- Grind ice cubes. Run cold water and drop in a large handful of ice cubes, then turn the disposal on. Ice helps knock buildup off the grinding chamber.
- Freshen with citrus peels. Drop in a few small pieces of lemon or orange peel with cold water running, and grind them. It leaves a fresh scent.
- Flush with cold water for about 15 seconds after the disposal is quiet.
Use cold water, not hot, when running the disposal, because cold water keeps any grease solid enough to be ground and flushed. Avoid putting grease, oil, coffee grounds, fibrous peels, pasta, rice or bones down the disposal. And never pour chemical drain openers into a disposal unless the label says it's safe for disposals.
Keep Your Sponge and Brush Clean
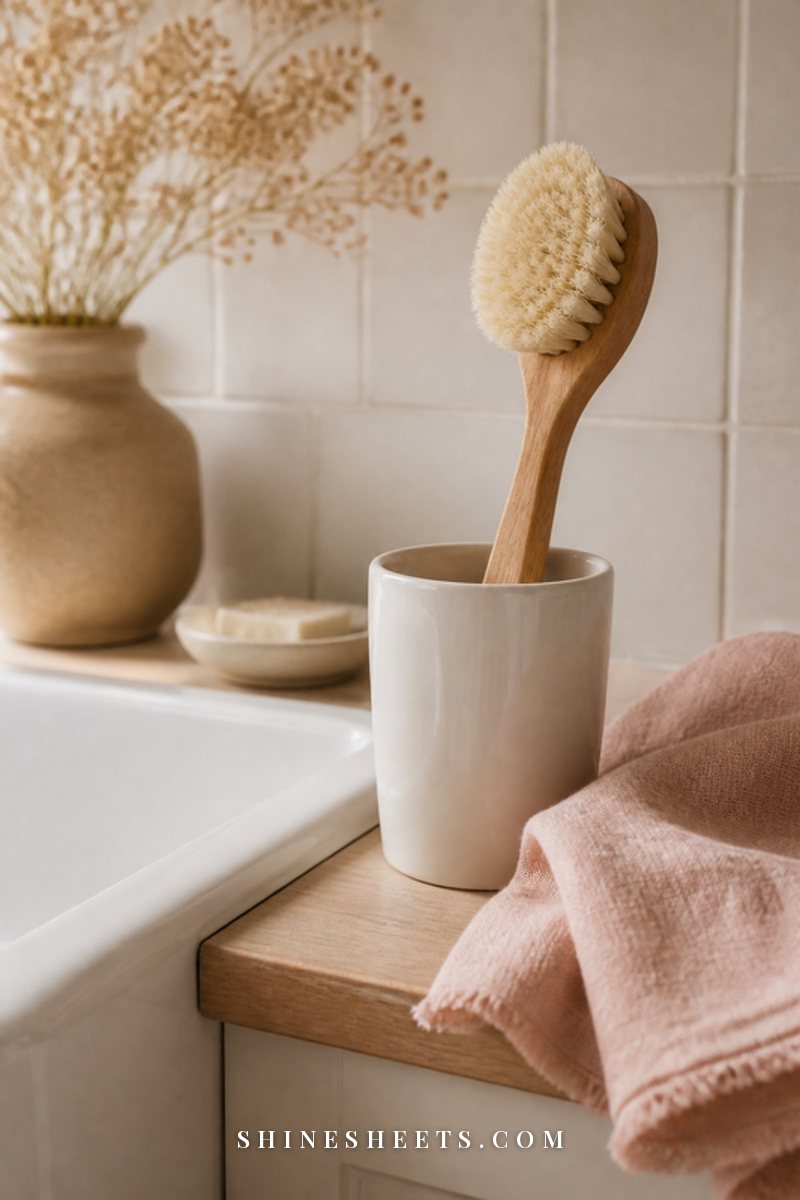
A dirty sponge spreads smells back into a clean sink. A few habits help:
- Rinse and wring your sponge after every use and let it dry upright, not sitting in a puddle.
- Wash your dish brush weekly: run it through the top rack of the dishwasher or soak it in hot soapy water for 10 minutes, then rinse and dry upright.
- Replace sponges often, roughly every one to two weeks, or sooner if they smell.
- Use separate tools for dishes and for cleaning the sink itself, so the grime from one doesn't end up on the other.
A dish brush with its own holder keeps the bristles dry between uses, which is exactly what prevents that musty smell. For the full routine, my guide to kitchen sponge hygiene covers how to clean and when to replace each tool.
How To Prevent Sink Smells
Once your sink is fresh, these habits keep it that way:
- Scrape plates into the trash before rinsing them. Less food in the drain means less to rot.
- Always use the strainer basket, and empty it every evening.
- Never pour grease or oil down the sink. Let it cool, then wipe it out of the pan with a paper towel and throw it away.
- Run hot tap water for 30 seconds after washing dishes.
- Keep the area under the sink dry and tidy so you notice leaks early. My guide to under-sink organization makes that cabinet much easier to check.
A Simple Weekly Sink Routine
- Every evening: the 2-minute routine (empty, rinse, wipe, dry).
- Once a week: deep clean for your sink material, scrub the strainer and stopper, wipe the faucet and clean the disposal splash guard.
- Once a month: enzyme drain treatment overnight, clean the aerator and wash or replace your dish brush.
If you're doing a bigger clean of the whole room, my deep kitchen cleaning guide walks through the rest of the space in a sensible order. And if you like simple, low-fuss cleaning ingredients, my natural cleaning guide explains which ones work and where they don't belong.
Safety Notes
- Never mix bleach with vinegar, ammonia or other cleaners. These combinations release dangerous gases.
- Read every label and follow the dwell times and directions exactly.
- Test new products on a hidden spot of your sink or faucet before using them everywhere.
- Ventilate by opening a window or turning on the hood fan when using any cleaning product.
- Wear gloves, especially with drain products.
- Keep cleaning products away from children and pets, in their original containers.
- Follow your sink and faucet manufacturer's manual over any general advice, including this guide.
Final Thoughts
A fresh kitchen sink comes from small, regular care rather than one heroic scrub. Empty the strainer every night, clean by material once a week, give the drain and disposal a little love, and keep your sponge and brush dry.
Within a week or two, you'll notice the difference every time you walk into the kitchen: a sink that looks bright, smells clean and feels like a calm place to start the next meal.