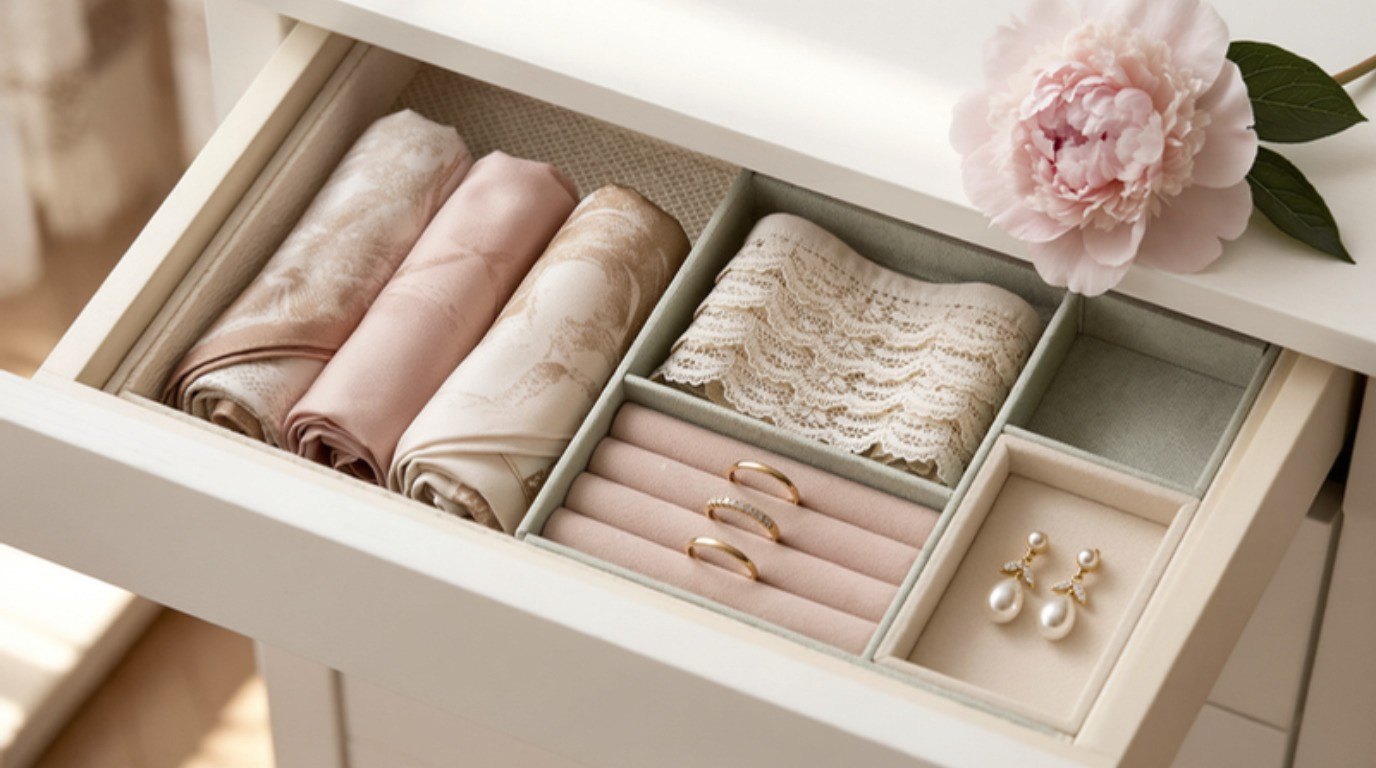
A drawer doesn't get messy because you own too much. It gets messy because everything slides into one big pile the moment you close it. Dividers fix that, and the best ones are often already sitting in your recycling bin, your craft box or the back of a kitchen cupboard.
You don't need a matching set of bamboo organizers to have drawers that stay neat. You need a few measurements, a little sorting and some simple materials cut to the right size. Most of the ideas below cost almost nothing, leave no marks on furniture and can move with you to the next apartment.
This guide is all about DIY drawer dividers: how to measure, how to sort, 10 divider ideas using what you have, a comparison table of materials, how to cover boxes so they look pretty, and what works best in the kitchen, bathroom, desk and sock drawer. If you're looking for help with folding and keeping clothes neat, my dresser drawer organization guide covers that side. This one is about building the dividers themselves.
Measure Your Drawer First
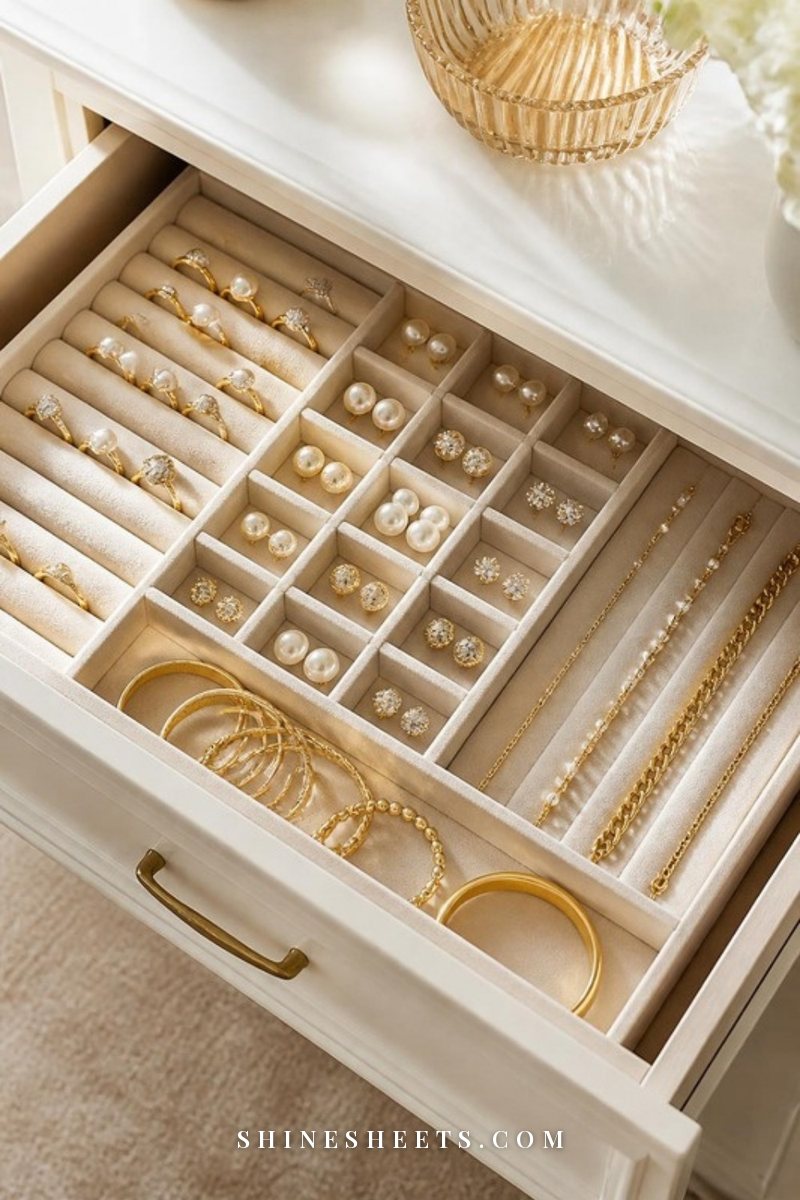
Five minutes with a measuring tape saves you a lot of wobbly, too-tall boxes. Empty the drawer completely, wipe it out and write down three numbers:
- Inside width (left to right), measured at the front and at the back, since older drawers aren't always perfectly square.
- Inside depth (front to back), measured from the inside of the front panel to the back panel.
- Usable height: measure from the drawer bottom to the underside of the frame or the drawer above, then subtract about half an inch (around 1 cm) so the drawer closes without catching.
Sketch a quick rectangle on paper with those numbers. As you plan, mark rough zones on the sketch. It's much easier to move a pencil line than to recut a box.
A small tip I always follow: dividers should be at least an inch shorter than the usable height. Anything taller tends to scrape and tip when the drawer opens and closes.
Sort Before You Divide
Dividers only work when you know what's going into each section. Before you cut anything:
- Pull everything out and lay it on a towel or the bed.
- Remove what doesn't belong in this drawer (that stray charger, the takeout menus, the earring that lost its partner a year ago). The junk drawer organization guide has a kind way to handle the odds and ends.
- Group the rest by use: things you reach for daily, weekly and rarely.
- Size each group. Lay each group flat in a rough rectangle and measure it. That's roughly the compartment size you need.
- Place daily items at the front of your sketch, rarely used items at the back.
Now you have a plan, and the materials below become a simple matching game.
10 DIY Drawer Divider Ideas Using What You Have
Each of these can be made in an afternoon (most in under 30 minutes). Mix and match them in the same drawer if that's what fits.
1. Cut-Down Cereal or Shoe Boxes
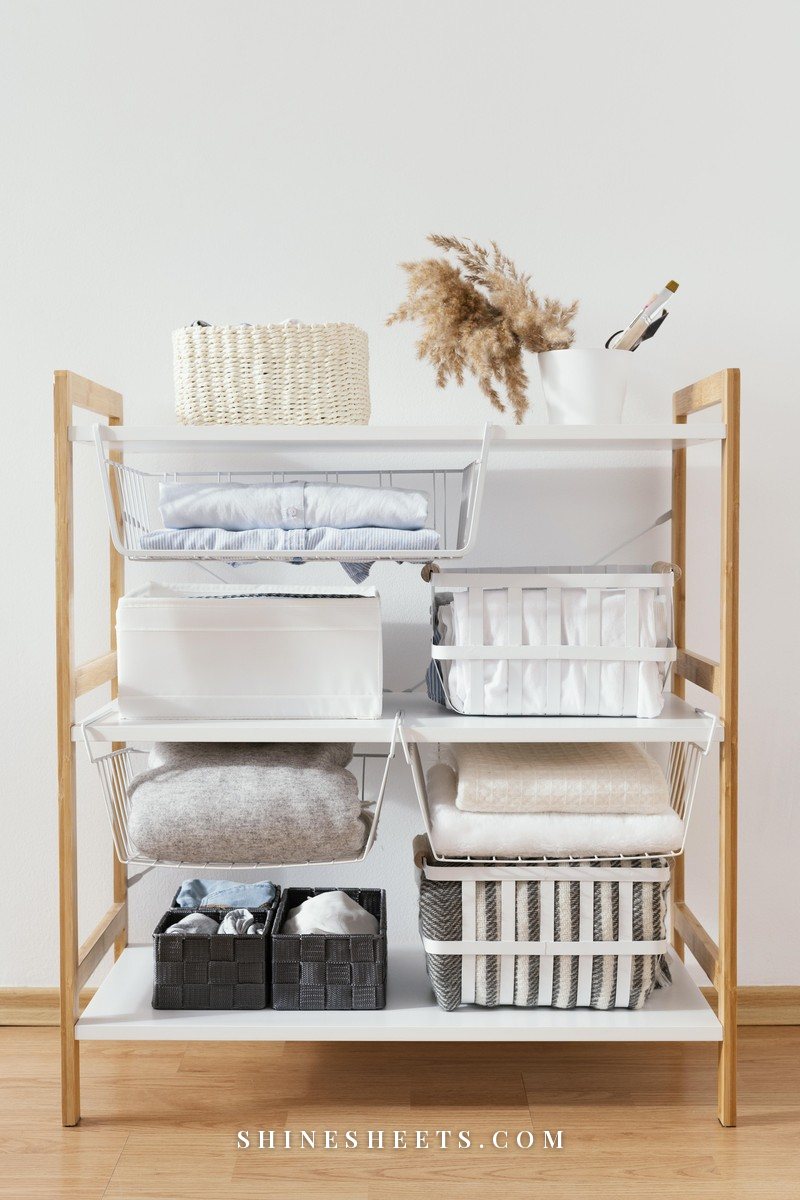
Shoe boxes, shoe box lids and cereal boxes are the classic free divider. Cut them down to the height you need (just under your usable height), keep the base and three or four sides, and cover them with paper or fabric (see the covering section below). Shoe box lids make brilliant shallow trays for desk drawers. Cereal boxes work best for narrow, upright sections, like a strip for pens or hair ties.
Durability tip: reinforce the cut edges with a strip of masking tape folded over the top before you cover them. It stops the cardboard from fraying.
2. Foam Board Slats
Foam board is the closest you'll get to a custom-made insert. Cut long strips the height of your drawer, then cut matching notches halfway through each strip so they slot together in a grid (like the dividers inside a tea gift box). A sheet of white foam board is a pick for this, because it's light, clean-looking and easy to trim with a sharp blade.
Make the notches the exact thickness of the board, no wider. If they're too loose, a dab of craft glue at each joint holds the grid together.
3. Tension Rods
Small spring tension rods (the kind for short curtains) can be wedged across a deep drawer to separate it into front and back sections. They're best in deep kitchen or bathroom drawers, where you want to keep tall bottles upright or stop lids from sliding. Twist until snug, never forced, so they don't press on the drawer sides.
4. Clean Glass Jars for Dry Items
Small glass jars stand nicely in a deep drawer and hold cotton swabs, hair pins, paper clips or makeup brushes. Only use jars that have been washed well and fully dried, and keep them for dry items only. Glass is heavy, so this idea belongs in a sturdy lower drawer, never one that's high up or that little hands might pull out.
5. Small Cardboard Boxes
Tea boxes, phone boxes, jewelry boxes and the little boxes skincare comes in are perfect ready-made compartments. Collect a few over a couple of weeks, then play with the layout like a puzzle. Lids can be used as extra-shallow trays. Line them up tightly so they hold each other in place.
6. Mesh Baskets
Small mesh or plastic baskets you already own (from the bathroom, a desk or a pantry shelf) slide straight into deeper drawers. The open sides let you see what's inside and let air circulate, which is lovely for a bathroom drawer where things can get slightly damp. Make sure they're shorter than your usable height.
7. Folded Fabric Rolls
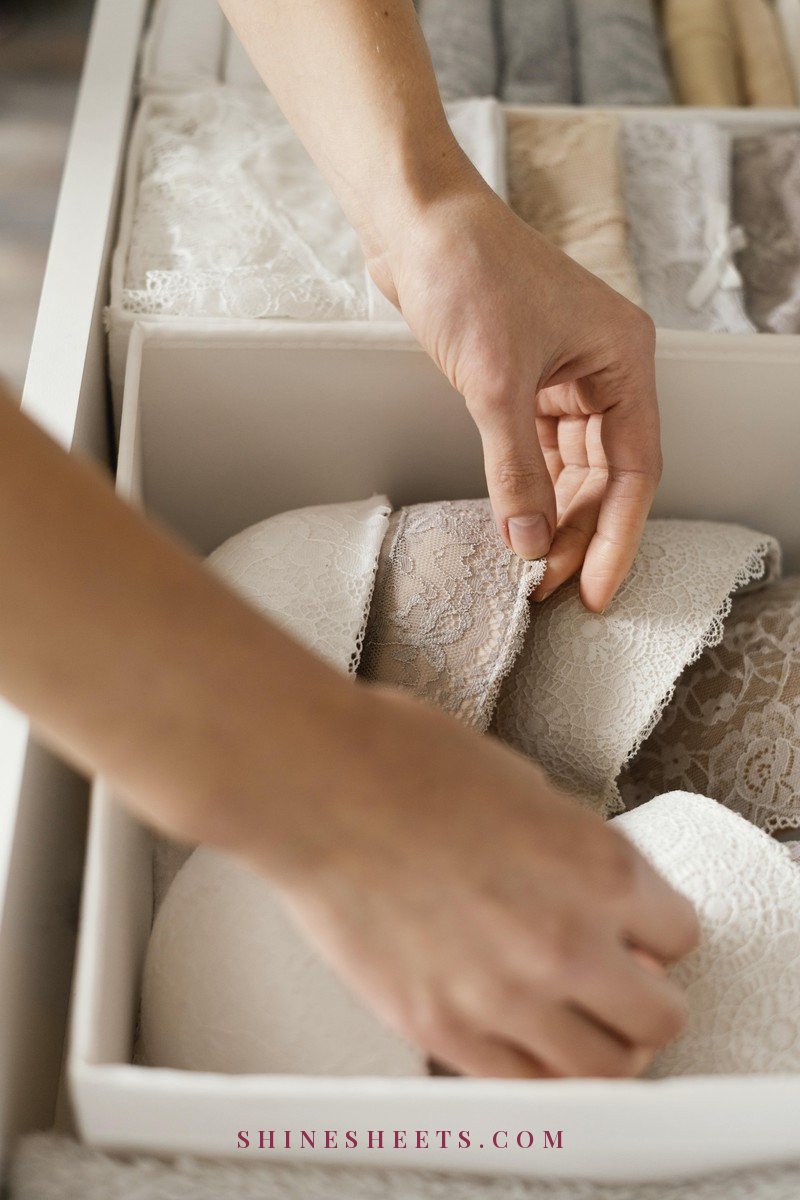
This is the softest idea, and one of my favorites for socks, tights and delicate underwear. Take a strip of fabric (an old pillowcase, leftover linen, a scarf you no longer wear), fold it into a long, firm rectangle about 2–3 inches tall and roll or fold it into a "wall." Lay a few in a row to make soft lanes. Sage fabric scraps are a sweet pick if you don't have spare fabric at home, and they look calm and pretty in a drawer.
For a firmer roll, wrap the fabric around a strip of cardboard first.
8. Egg Carton for Jewelry
A clean, dry cardboard or plastic egg carton is a surprisingly good jewelry tray. Each cup holds a pair of earrings, a ring or a coiled necklace. Cut off the lid, trim it to fit the drawer, and line each cup with a small square of felt or tissue for a softer look. Only use a carton that's completely clean and dry; if it's stained or smells, recycle it.
9. Wooden Paint Stirrers With Felt
Wooden paint stirrers (often handed out free at hardware stores) make neat little walls for shallow drawers. Cut them to the width of the drawer, glue a strip of felt to the bottom edge with craft glue so they don't scratch or slide, and stand them upright. You can also glue two together in an L-shape so they stand on their own.
10. Ice Cube Trays for Tiny Items
An old ice cube tray is perfect for the tiniest things: earring backs, safety pins, hair elastics, buttons, spare screws. Wash and dry it, then dedicate it to the drawer for good (once it's an organizer, it stays an organizer). Silicone trays are soft and flexible; rigid plastic ones hold their shape better.
DIY Drawer Divider Materials Compared
Here's how each idea stacks up, so you can pick the right one for each drawer. Screenshot it before you start raiding the recycling bin.
| Material | Best drawer | Cost | Durability | Difficulty |
|---|---|---|---|---|
| Cereal or shoe boxes | Desk, bathroom, socks | Nothing | Medium (better when covered) | Easy |
| Foam board slats | Desk, dresser, makeup | Low | Medium to high | Medium |
| Tension rods | Deep kitchen or bathroom | Low | High | Easy |
| Clean glass jars (dry items) | Deep, low bathroom or desk drawer | Nothing | High (but breakable) | Easy |
| Small cardboard boxes | Desk, bathroom, jewelry | Nothing | Medium | Easy |
| Mesh baskets | Bathroom, kitchen | Nothing if you own them | High | Easy |
| Folded fabric rolls | Socks, underwear, scarves | Nothing to low | Medium | Easy |
| Egg carton | Jewelry, tiny desk items | Nothing | Low | Easy |
| Paint stirrers with felt | Shallow kitchen, desk | Nothing to low | High | Medium |
| Ice cube trays | Jewelry, sewing, hardware | Nothing | High | Easy |
If you only make one kind, I'd choose covered boxes: they're endlessly adjustable, and they look much more polished than you'd expect.
How To Cover Boxes With Paper or Fabric
Covering turns a cereal box into something that looks bought. It also adds strength. Here's the simple method:
- Cut the box to height and reinforce the top edges with masking tape.
- Choose your covering: wrapping paper, leftover wallpaper, contact paper, kraft paper or cotton fabric. Thin cotton is easier than anything stretchy.
- Cut a piece big enough to wrap all four sides with about an inch of overlap, plus an inch extra at the top to fold inside.
- Glue the sides with a glue stick (for paper) or a thin layer of craft glue or decoupage glue (for fabric). Smooth from the center outward to push out bubbles.
- Fold the top edge inside the box and glue it down. This hides the raw cardboard.
- Cover the base last, or line just the inside bottom with a cut-to-fit square of paper.
- Let it dry overnight before filling, especially with fabric.
For a finishing touch, a small gold-accent label set makes each section easy to find. My home labeling ideas guide has more ways to label pretty and simply.
Add a Non-Slip Liner
Even the best DIY divider slides around if the drawer bottom is slick. A liner is the quiet hero here. Cut a cream non-slip drawer liner to the exact inside size of the drawer and lay it flat before you place your dividers. It grips boxes and jars, cushions glass, and protects the drawer from scratches and spills.
It's also renter-friendly: no adhesive, nothing to peel off when you move. If you prefer paper liners, choose one without sticky backing for the same reason.
DIY Drawer Dividers by Drawer
Different drawers need different strengths. Here's where each idea shines.
Kitchen Drawers
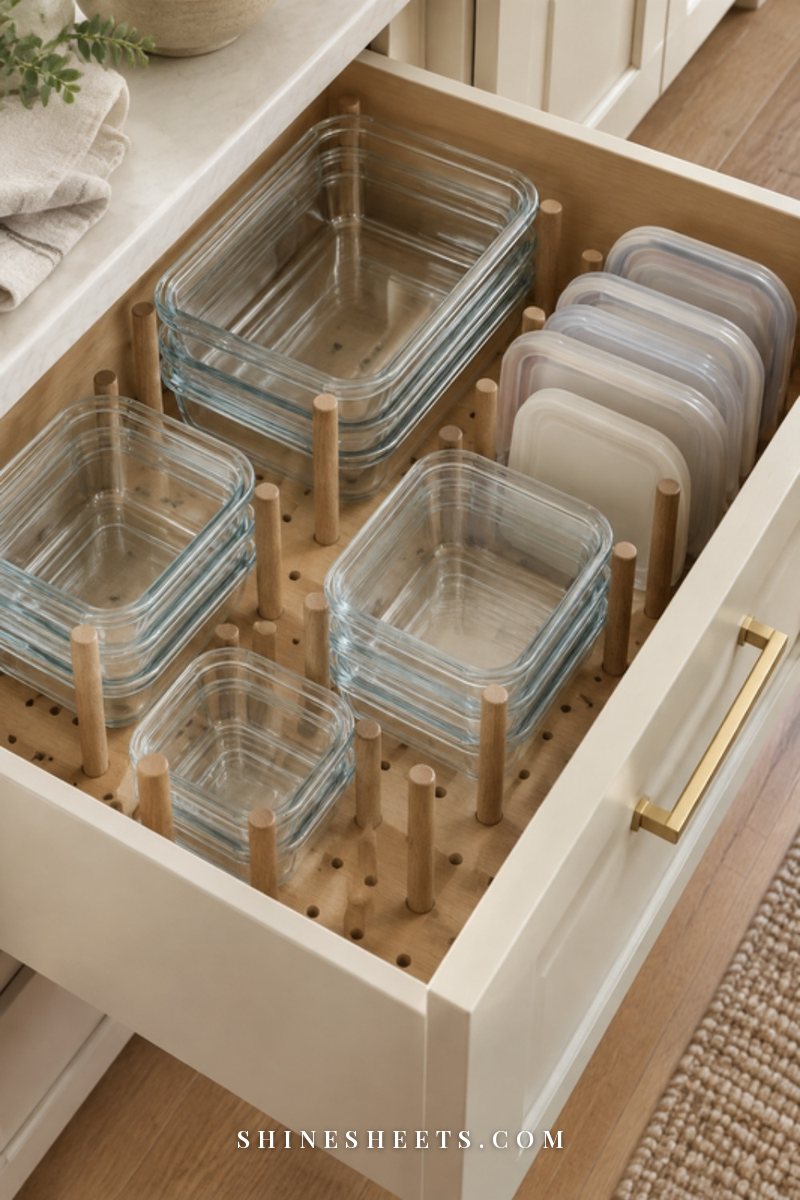
Kitchen drawers take the most wear, so choose sturdy dividers: paint stirrers with felt, tension rods in deep drawers, and mesh baskets for small gadgets. Cardboard is fine for a rarely used drawer but will soften near the sink. Keep utensils separated by use: cooking tools in one lane, measuring spoons and cups in another, and the bits you rarely use at the back. My kitchen drawer organization guide shows layouts that work for real cooking.
Keep sharp knives out of open drawer sections where hands reach in without looking. A covered knife guard or a separate block is safer.
Bathroom Drawers
Bathrooms are damp, so plastic and glass beat cardboard. Mesh baskets, clean jars for cotton swabs and pads, and an ice cube tray for hair elastics and bobby pins all work well. If you do use covered boxes, seal paper with a thin coat of decoupage glue and check them every few months. Keep medicines and anything that shouldn't be within a child's reach in a higher cabinet, not a low open drawer.
Desk Drawers
Desk drawers love shallow trays: shoe box lids, small boxes and a foam board grid. Give pens, sticky notes, clips and chargers each their own section, with the things you use daily at the front. For more ideas around the desk itself, my desk organization ideas pair nicely with these.
Socks and Underwear
This is where fabric rolls and covered cereal boxes are at their best. Roll socks or fold them in half, then stand them upright in lanes so you can see every pair at a glance. Use a separate small box for tights, and soft fabric walls for delicate underwear so nothing snags. Lay a gentle sachet in a corner if you like a drawer that smells fresh.
Safety Notes for DIY Dividers
A few small habits keep this project safe and tidy:
- Cut on a mat. Always use a craft knife on a proper surface. A craft knife and cutting mat set is a pick here, since it protects your table and keeps cuts straight. Cut away from your body, with a fresh blade, and keep the knife out of reach of children.
- No sharp edges left. Run your fingertip carefully along every cut edge. Sand rough wood, fold tape over cardboard edges, and trim any plastic burrs.
- Recycled food containers stay clean and dry. Wash and fully dry jars, cartons and trays. Never store chemicals, cleaners or beauty liquids in containers that once held food or drinks, and never move food back into a container that has held anything else.
- Heavy items low. Glass jars and heavier dividers go in lower, sturdy drawers.
- Ventilate when gluing. Open a window if you're using spray adhesive or strong glue, and let everything dry fully before closing it in a drawer.
Keep Your Dividers Working: A 5-Minute Monthly Reset
Homemade dividers stay useful when you give them a tiny bit of attention. Once a month (I like to tie it to changing my bedsheets), pick one drawer and do this quick reset:
- Empty one section at a time. Not the whole drawer, just one compartment, so it never feels like a big job.
- Return strays. Anything that wandered in from another room goes back where it lives.
- Check the dividers. Look for soft corners, peeling paper or bent cardboard. Re-glue, re-tape or replace the weak ones. Cardboard is meant to be replaced now and then, and that's part of its charm: it costs nothing.
- Wipe the liner. A barely damp microfiber cloth, then let it air dry before you put things back. In the bathroom, check for any damp spots or musty smells and let the drawer air out if needed.
- Resize if your life changed. New hobby, more skincare, fewer pens? Swap a big box for two small ones or merge two lanes. The best part of DIY dividers is that they can change as fast as you do.
If a section keeps overflowing, that's useful information, not a failure. It usually means the category needs more space, or that it's time for a gentle edit of what's inside. Either way, five minutes is enough to notice and adjust.
One more small idea: when you find a section that works perfectly, measure it and note the size on the back of your original sketch. Next time you divide a drawer, you'll already know exactly how much room your hair ties, socks or spoons really need.
Final Thoughts
DIY drawer dividers don't need to be perfect to work. A cut-down box, a rolled scarf or an old ice cube tray can turn a jumbled drawer into one you actually enjoy opening, and you can rearrange them whenever your life changes.
Start with the one drawer that bothers you most. Measure it, sort it, divide it, and let that small calm corner be your proof that organized doesn't have to mean expensive.