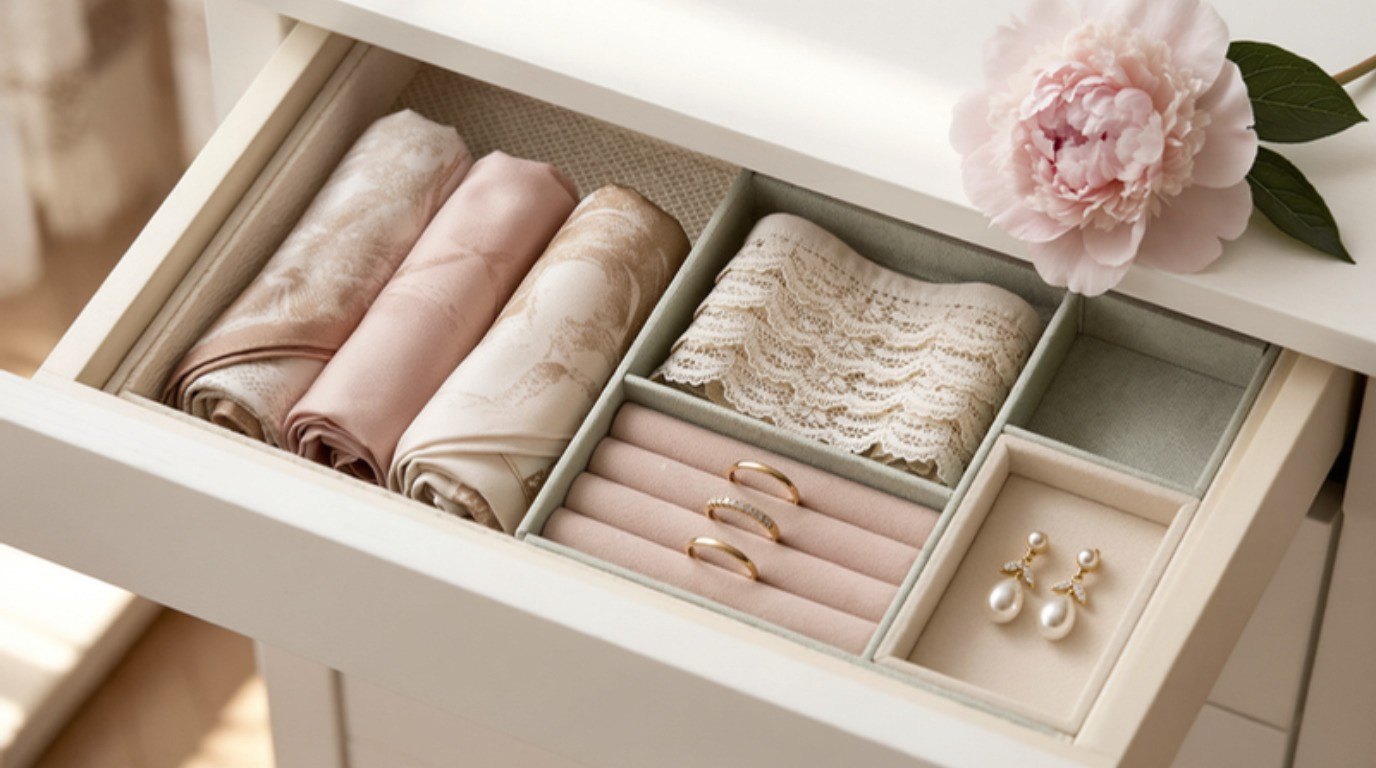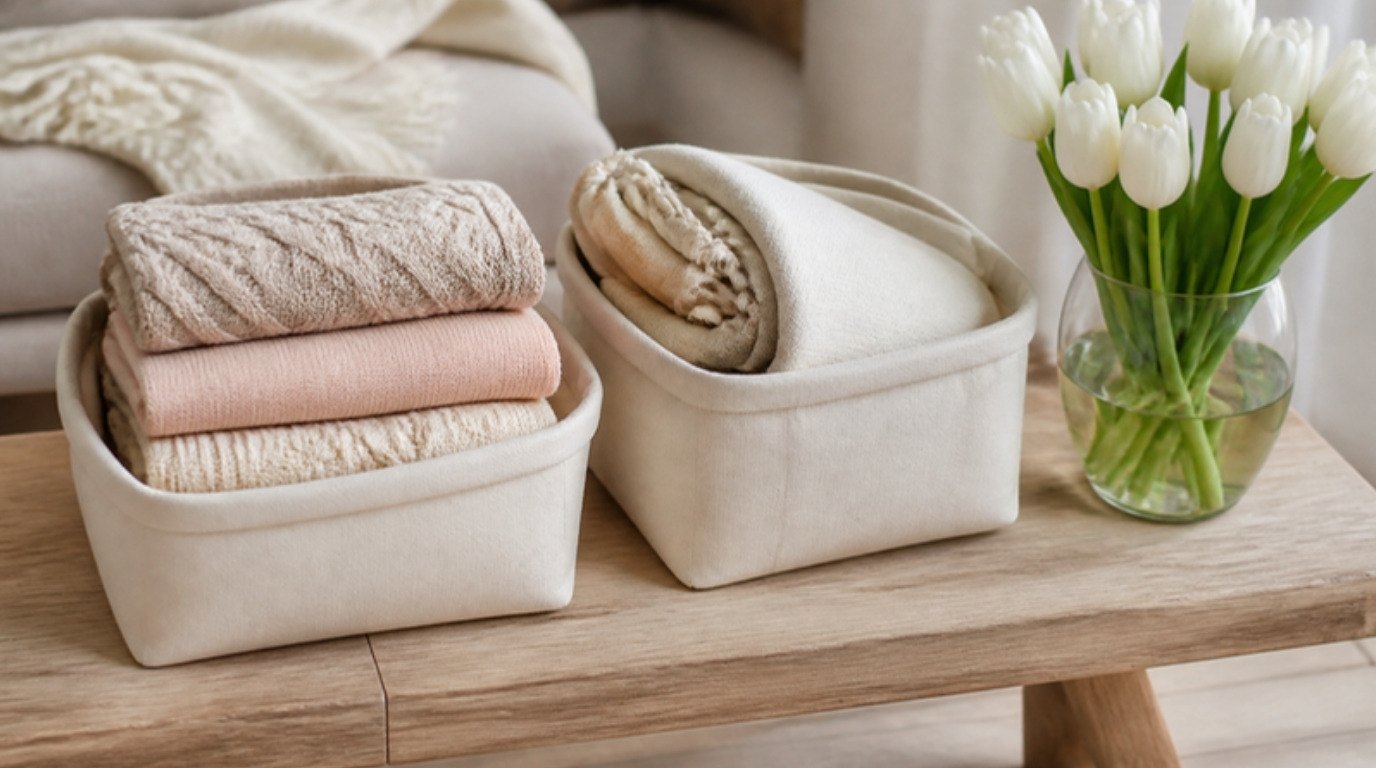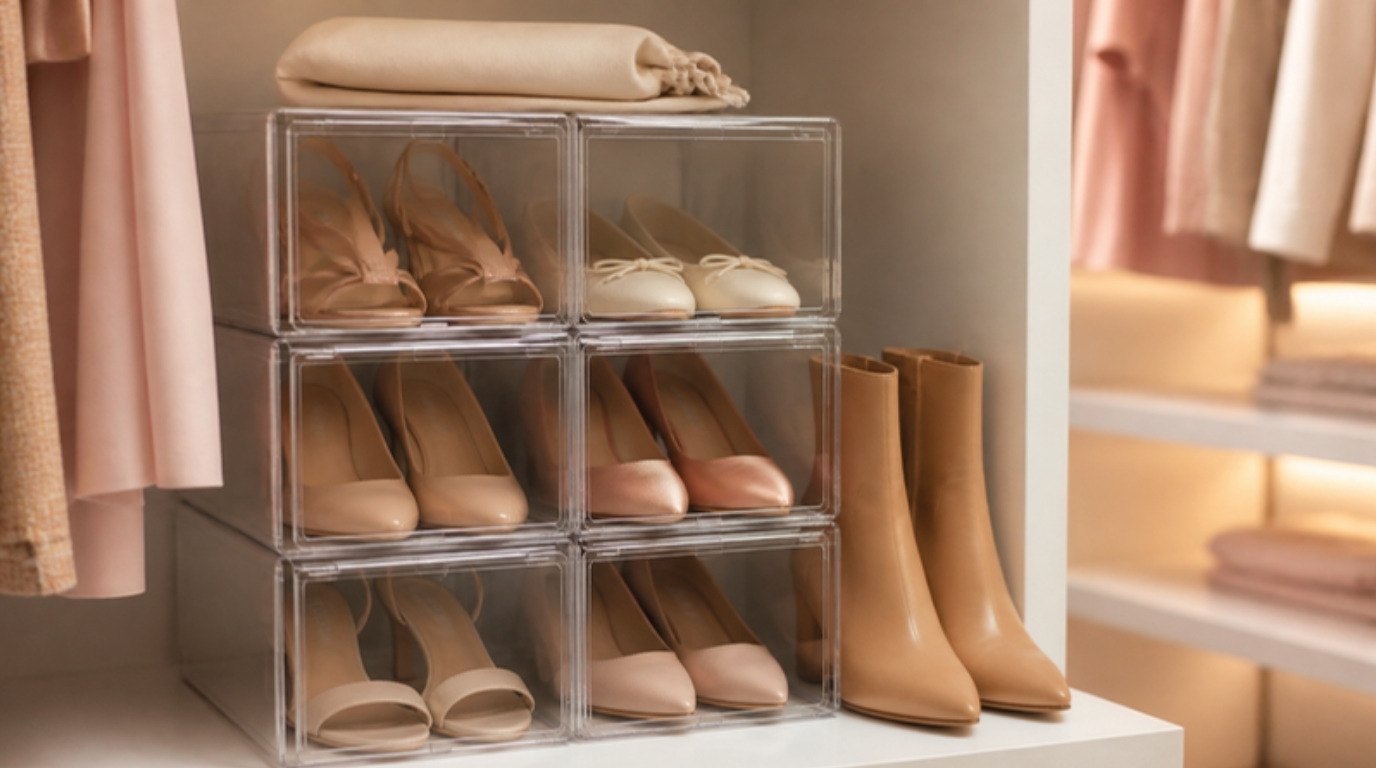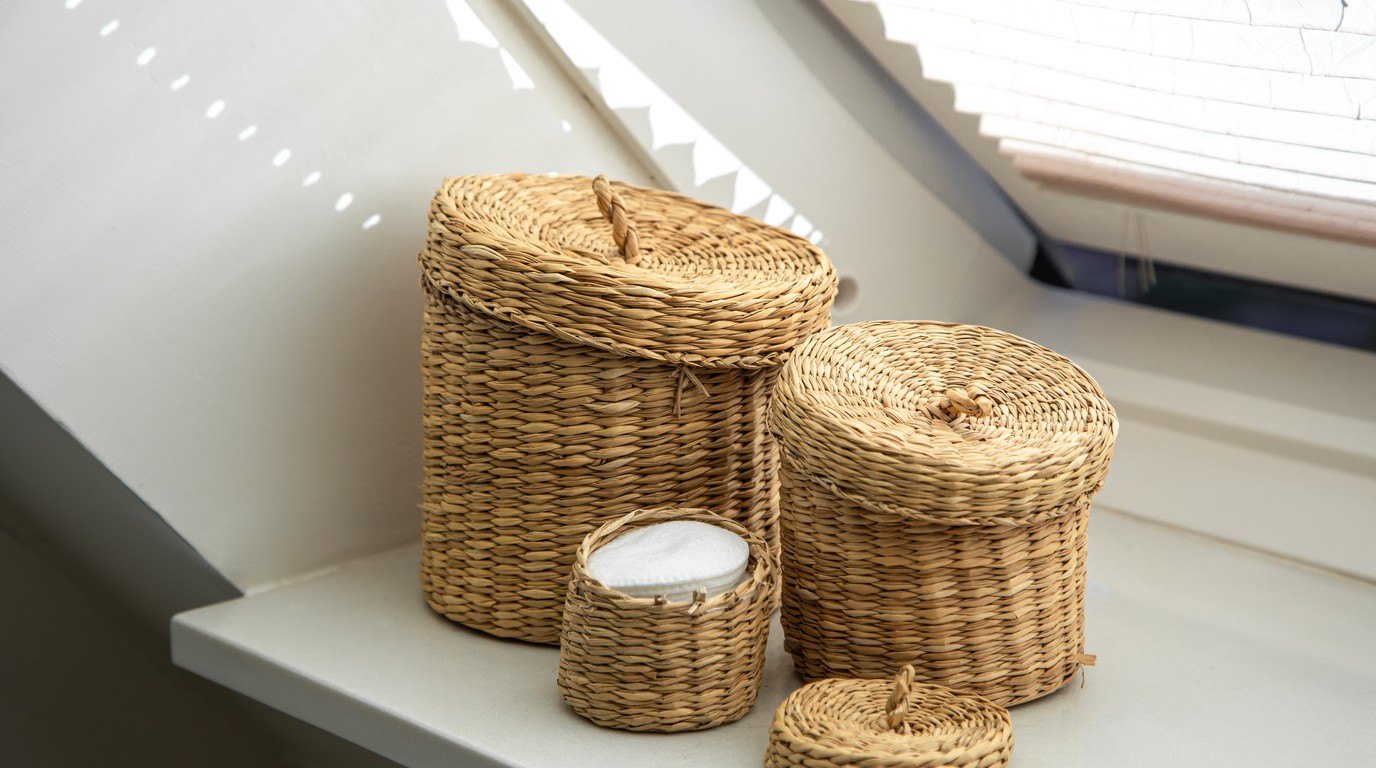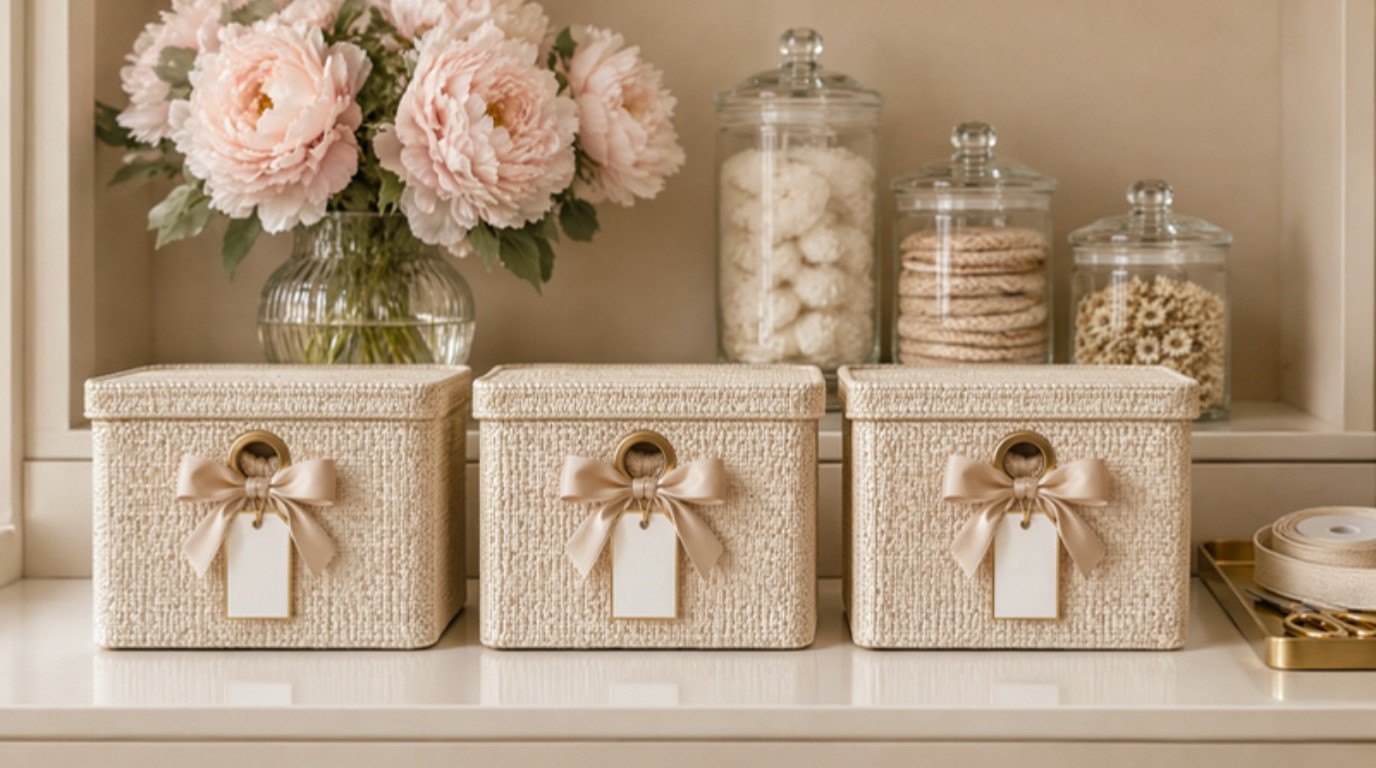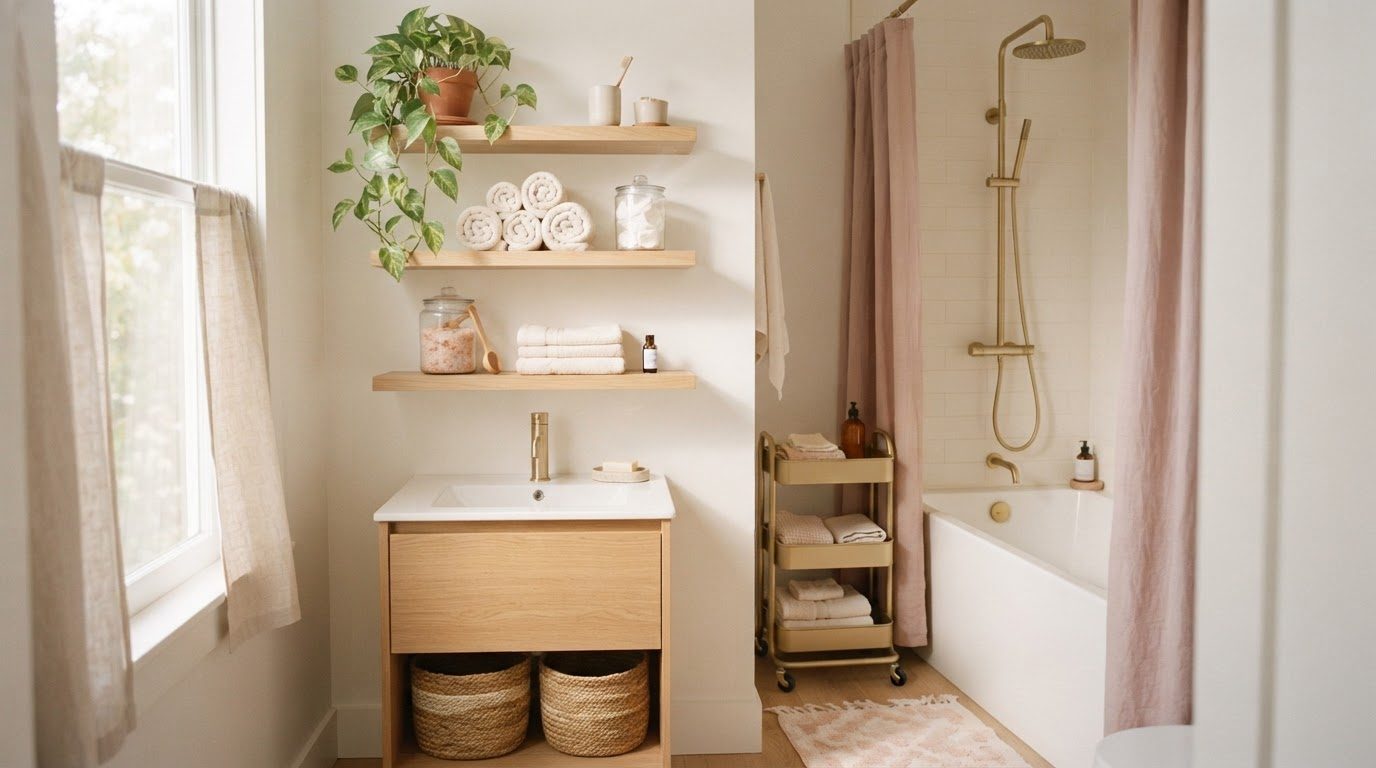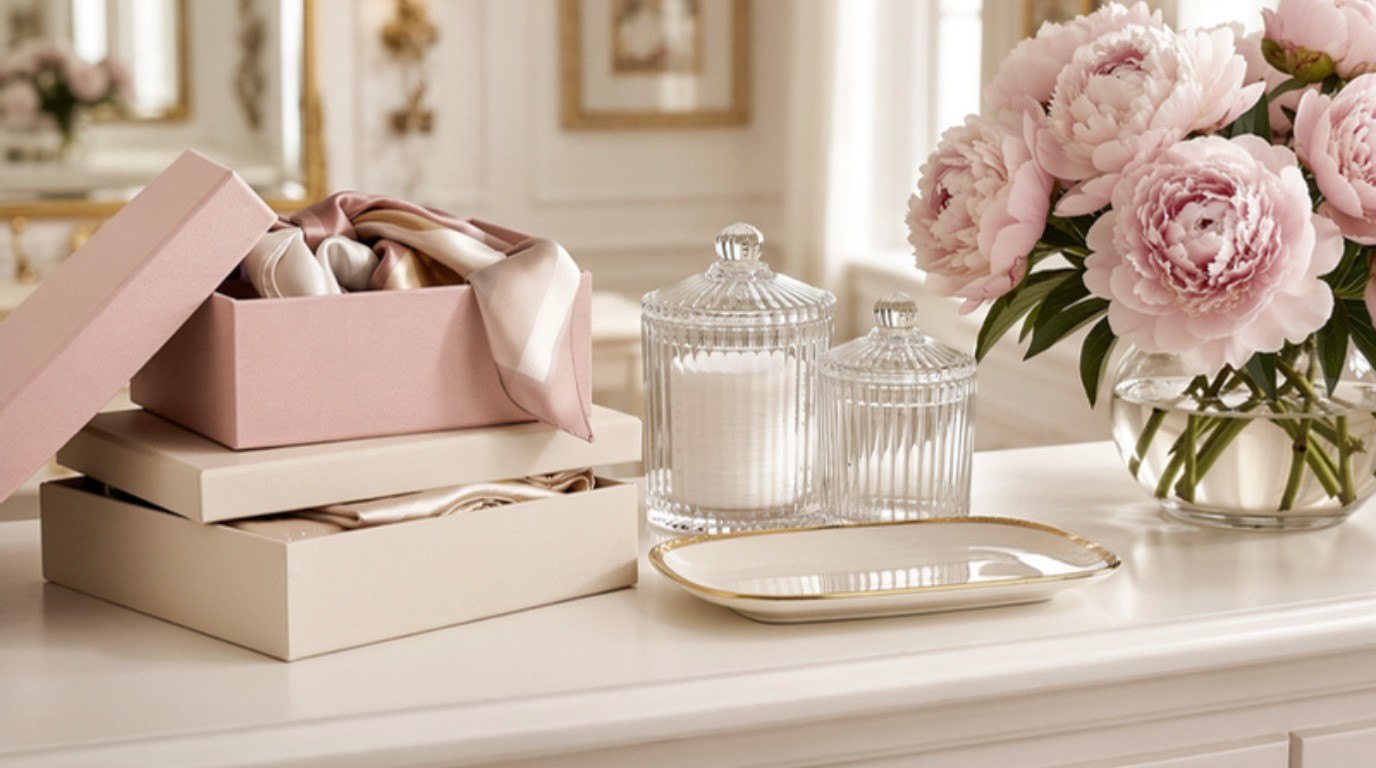
Getting organized doesn't start in the storage aisle. It starts with having a little less stuff and giving everything you keep a clear home, and most of those homes are already sitting in your recycling bin, your kitchen cupboard or the back of your closet. The prettiest organized spaces I've seen weren't the ones with the most matching bins. They were the ones where everything simply made sense.
This guide is all about organizing on a budget, and I mean properly on a budget: getting organized without buying bins at all. You'll find how to declutter first so you need less storage, ten free or almost-free organizers you probably already own, a table that shows where each one works best and how to make it look pretty, a few safety notes, and what to do if you genuinely need to buy something.
It's renter-friendly, it's gentle on your wallet, and it's far less overwhelming than a big haul.
Start by Decluttering (Less Stuff Needs Less Storage)
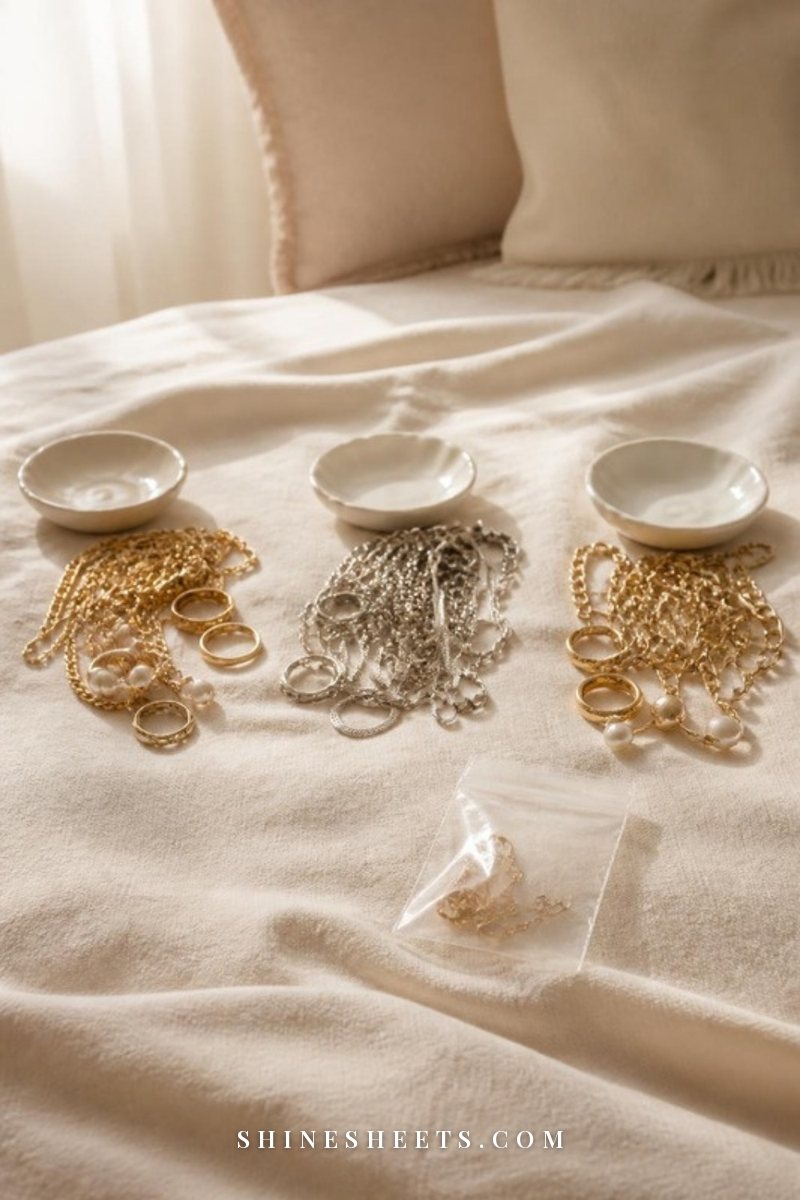
The cheapest organizing tip is also the most effective: own less. Every item you let go of is one less thing to store, sort, dust and find a container for. Before you reach for a single box, spend some time thinning out the space you want to organize.
A simple way to do it:
- Pick one small area. One drawer, one shelf, the space under the sink. Not the whole kitchen.
- Take everything out. Put it on a towel or the bed so you can see it all.
- Make three piles: keep, donate, toss. Be honest about duplicates, expired products and things you keep "just in case."
- Wipe the space clean. It's oddly motivating.
- Put back only the keep pile, and notice how much less room you actually need.
Twenty to thirty minutes per area is plenty. If you'd like a structured approach, my guide to decluttering methods explained compares several ways to do it so you can pick one that suits you. And once a space is lighter, you'll often find the containers you already have are more than enough.
10 Organizing Ideas Using What You Already Have
These are the everyday things I'd look for before spending a cent. Most are free; a couple might cost you a roll of tape. Gather a few, wash or wipe them, and keep them in one spot until you're ready to use them.
1. Shoeboxes
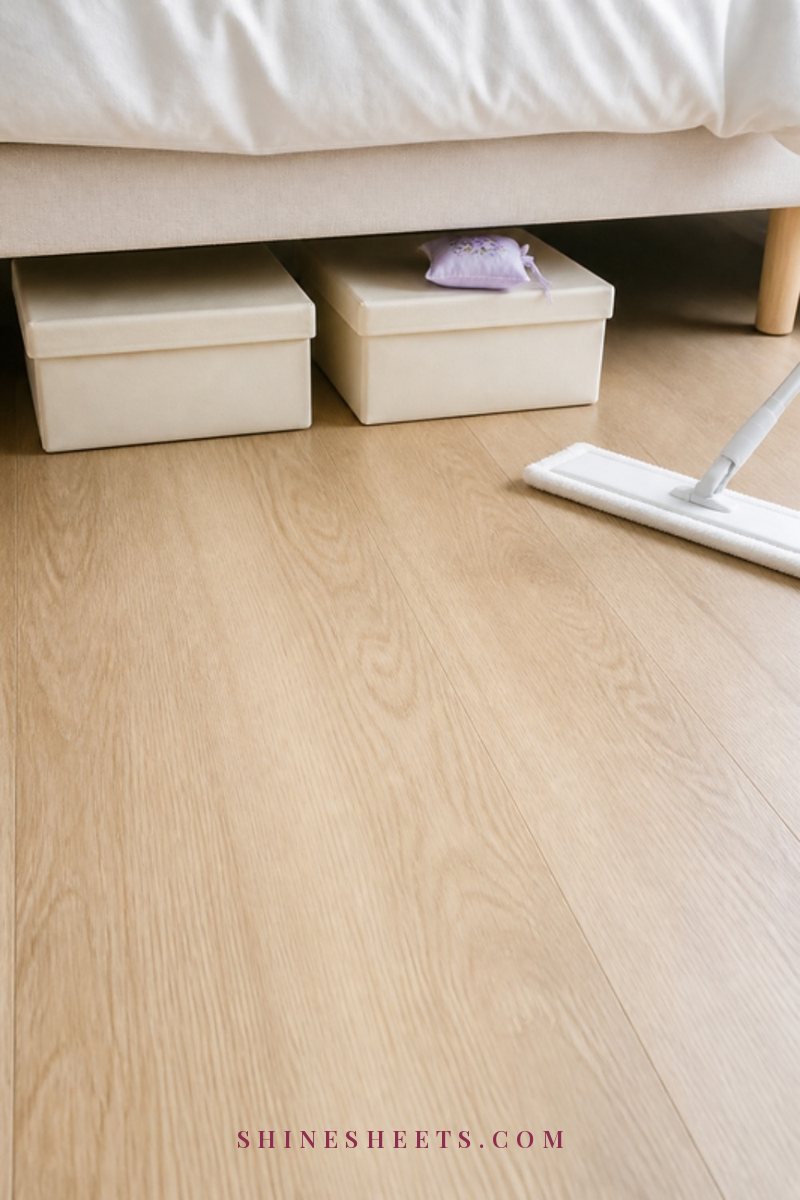
Shoeboxes are the original free organizer. They're sturdy, a sensible size and fit neatly on closet shelves. Use them for socks, scarves, hair accessories, chargers and cables, greeting cards, or small craft supplies. Cut the lids into dividers to make small sections, or leave the box lidless so it works like an open drawer. A hint: boxes from boots are wonderfully deep for bulkier things like winter hats.
2. Clean Glass Jars
Jars from sauces, jams and candles (once the wax is cleaned out) make lovely little containers. Soak them in warm soapy water to lift the labels, then use them for cotton pads, cotton buds, hair ties, paper clips, buttons, or makeup brushes. They're clear, so you can see what's inside at a glance, and they look genuinely elegant lined up on a shelf. Keep them away from the very edge of shelves and away from children's reach, since glass can break.
3. Cut Cereal Boxes as Drawer Dividers
A cereal or cracker box, cut lengthwise into strips or into a low tray, makes a surprisingly sturdy drawer divider. Measure the drawer depth, cut the box a little shorter so the drawer still closes, and slot the pieces in to make sections for socks, underwear, utensils or stationery. If you'd like to go further, my sister post on DIY drawer dividers has more ideas. It's a particularly good trick for a messy junk drawer, where every little thing needs a lane.
4. Sturdy Delivery Boxes as Shelf Bins
Those sturdy delivery boxes that keep arriving? The smaller, thicker ones make great shelf bins. Cut off the top flaps, fold the edges in for a neat rim, and you have an instant open bin for a pantry shelf, a closet or under the bed. Choose boxes in the same size for one shelf so the row looks intentional. In a damp basement, though, skip cardboard altogether; it soaks up moisture and attracts bugs.
5. An Old Muffin Tin for Tiny Items
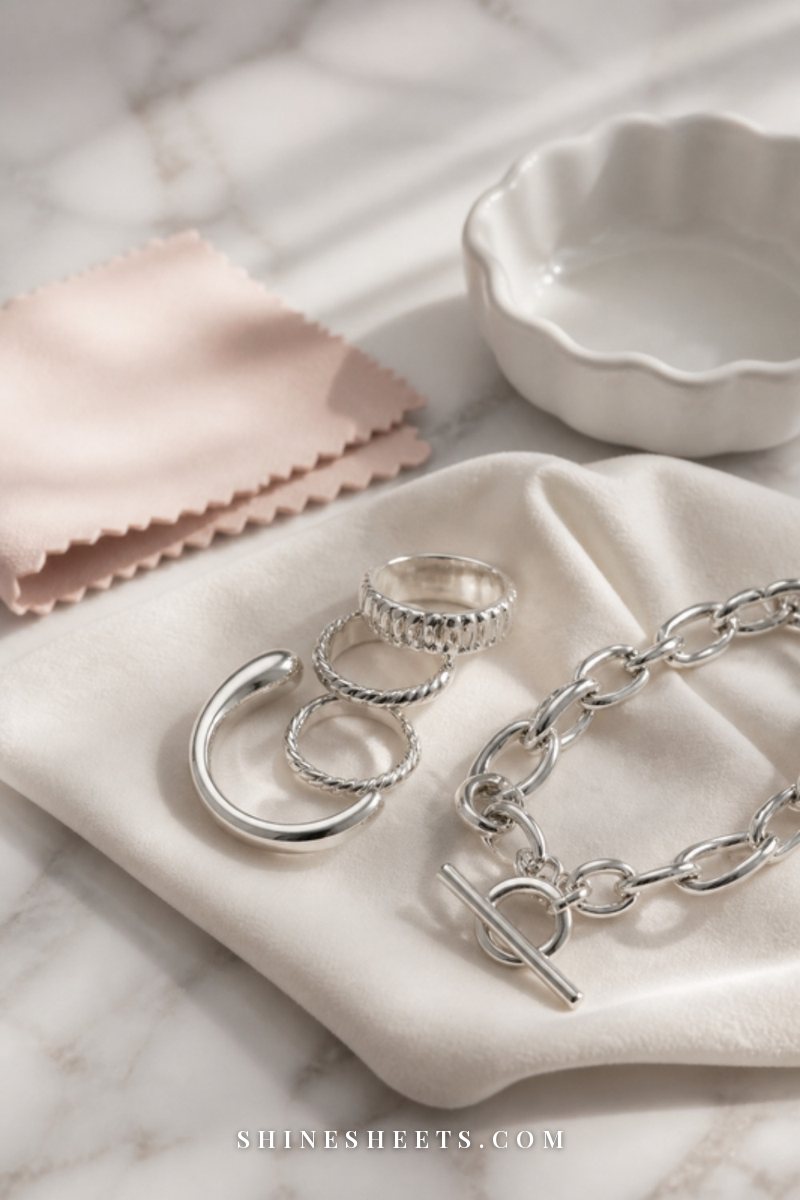
A muffin tin you no longer bake with is a perfect organizer for tiny things that always get lost: earrings, rings, hair clips, safety pins, sewing bits, screws, or small craft supplies. Keep it in a wide drawer, on a dresser or on a workbench. Twelve little compartments for exactly zero dollars.
6. Mugs and Cups for Pens and Brushes
That mug with the chipped handle, or the pretty cup that lost its saucer, deserves a second life. Use it to hold pens and pencils on your desk, makeup brushes on your vanity, toothbrushes in the bathroom, or wooden spoons by the stove. A short row of mismatched cups in similar colors can look charming rather than random.
7. A Tote Bag Hung on a Door Hook
We all have far too many tote bags. Hang one on a hook on the back of a door and it becomes a soft catch-all for reusable shopping bags, gym things, a scarf and gloves, or the recycling you need to take out. It also works beautifully on a closet door for laundry that needs a second wear. If you don't have hooks, a simple white over-door hook needs no drilling and lifts off without a mark.
8. A Hanger With Clips for Scarves
A skirt or trouser hanger with clips makes a tidy scarf holder. Clip three or four lightweight scarves along the bar, or loop them over a plain hanger, and hang it in your closet. You can see every scarf at once instead of digging through a drawer, and they don't crease. The same trick works for belts and headbands.
9. A Spare Plate or Tray To Corral Bottles
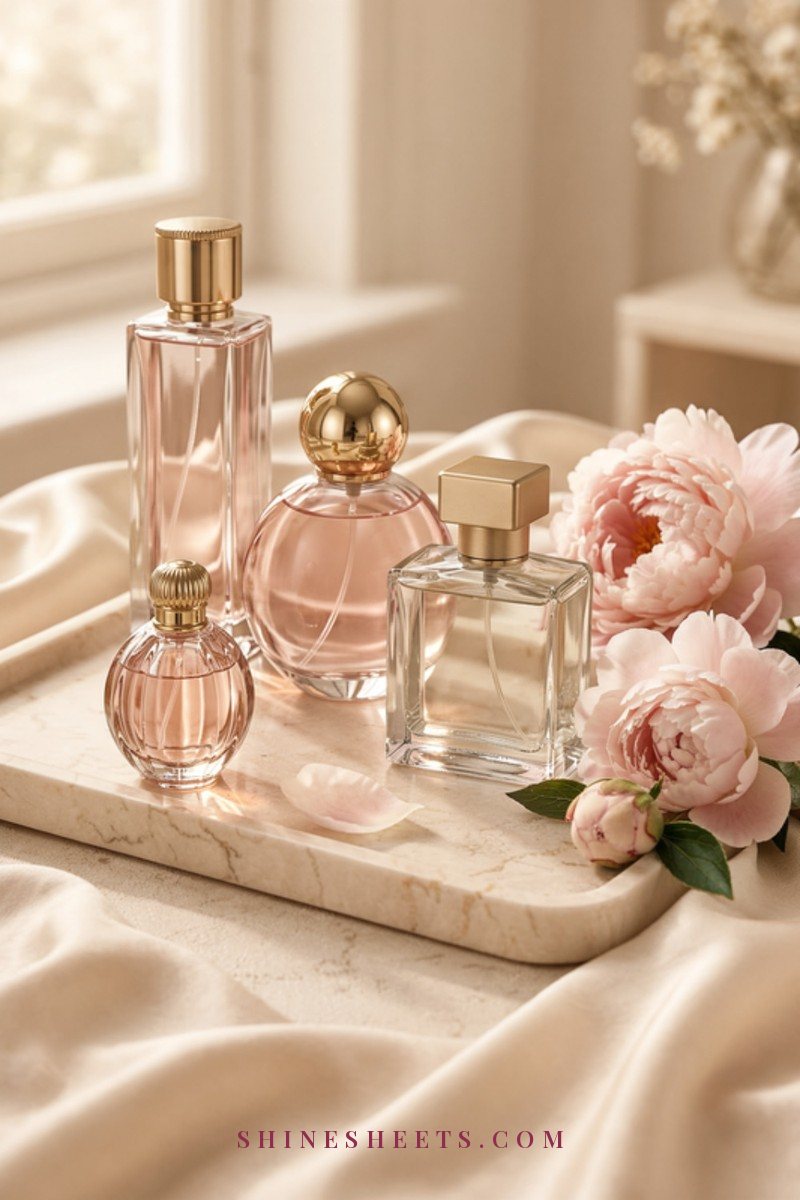
A tray is the easiest way to make loose things look deliberate. A spare side plate, a saucer, a small cutting board or a tray you never use can corral perfume bottles on a dresser, skincare on the bathroom counter, oils and salt by the stove, or keys and sunglasses by the door. Wipe-clean surfaces are best for bathrooms and kitchens. It also makes cleaning easier: lift the tray, wipe underneath, done.
10. Washi-Tape Labels
Labels are what turn a pile of mismatched boxes into a system. A strip of pastel washi tape on the front of a jar or box, written on with a fine marker, is cheap, pretty and peels off cleanly when you change your mind. Plain white label stickers work just as well if you prefer a calmer look. For more ways to label every room, my home labeling ideas post goes room by room.
The Use-What-You-Have Organizer Table
Here's the whole list at a glance, with the best room for each item, what it holds and how to dress it up. Screenshot it before you start a weekend tidy.
| Free item | Best room | What it holds | How to make it look pretty |
|---|---|---|---|
| Shoebox | Bedroom closet | Socks, scarves, cables, cards | Cover in plain paper or fabric; label the short end |
| Glass jar | Bathroom | Cotton pads, hair ties, brushes | Remove the label fully; group three of a similar size |
| Cereal box | Any drawer | Utensils, socks, stationery | Line with contact paper or wrapping paper |
| Delivery box | Pantry or closet shelf | Snack packets, towels, spare supplies | Fold the flaps in; match box sizes on one shelf |
| Muffin tin | Dresser or workbench | Earrings, clips, pins, screws | Polish it up; set it inside a drawer |
| Mug or cup | Desk or vanity | Pens, makeup brushes, toothbrushes | Stick to one or two colors |
| Tote bag | Back of a door | Shopping bags, gym things, recycling | Choose a plain canvas one, hang it straight |
| Clip hanger | Closet | Scarves, belts, headbands | Use matching hangers in one color |
| Plate or tray | Bathroom, dresser, kitchen | Bottles, perfume, keys | Pick porcelain, wood or a gold-rimmed piece |
| Washi tape | Everywhere | Labels for every box and jar | Use one or two soft colors throughout |
You don't need all ten. Even three of these, used well, can transform a closet or bathroom in an afternoon.
How To Make It Look Pretty
The one worry people have about free organizers is that the house will look like a collection of old boxes. It won't, if you follow two simple ideas.
Cover Boxes With Paper or Fabric
A shoebox or delivery box covered in plain paper looks like a store-bought storage box. Wrapping paper, brown kraft paper, old maps, leftover wallpaper or fabric scraps all work. Measure, cut a piece that wraps around with a couple of inches to fold inside, and secure it with double-sided tape or a glue stick. For a wipe-clean finish in kitchens and bathrooms, cream adhesive contact paper is the easiest option: peel, stick, smooth out bubbles with a ruler. One roll covers a surprising number of boxes and drawers.
Stick to One Color
This is the real secret. Mismatched containers look calm the moment they share a color. Choose one or two shades for the whole space, like cream and blush, white and sage, or simple brown kraft, and cover or label everything in those tones. Clear glass counts as neutral, so jars always fit in. When the colors are consistent, the eye reads the shelf as one tidy unit instead of twenty little objects.
A quick way to choose your colors: look at what already lives in that room. If your bathroom towels are white and blush, cover boxes in white and label them with blush tape. If your closet is mostly beige and cream, kraft paper and cream labels will blend right in. The organizers should quietly fade into the room, not compete with it. And when you're unsure, white and cream are almost impossible to get wrong.
If you want more ideas for making a small home feel pulled together without spending much, my post on apartment decor on a budget has plenty.
Room-by-Room Starting Points
Not sure where to begin? Here's where these free organizers tend to make the biggest difference, room by room. Pick the one that bothers you most and start there.
- Bathroom: a plate or tray for everyday skincare on the counter, glass jars for cotton pads and hair ties, a mug for brushes. Under the sink, a sturdy delivery box keeps backstock in one place (cleaners stay in their original bottles, of course).
- Kitchen: cereal-box dividers in the utensil drawer, a tray by the stove for oils, a delivery box on a pantry shelf to hold loose packets so they don't slide around.
- Bedroom closet: shoeboxes for socks, tights and scarves, a clip hanger for belts, a tote on the door for things you've worn once.
- Desk: a cup for pens, a shoebox lid as a shallow tray for sticky notes and clips, a jar for chargers wrapped with a strip of washi tape.
- Entryway: a small plate for keys, a tote bag on a hook for reusable bags, a shoebox on a shelf for sunglasses and gloves.
Give yourself one room per weekend, or even one zone per evening. Fifteen focused minutes is enough to make one drawer feel completely different.
Keeping It Organized Without Spending More
The most expensive part of organizing is having to do it all over again. A tiny bit of upkeep keeps your free setup working for months:
- A ten-minute weekly reset. Once a week, put strays back in their homes, empty the tote by the door and straighten one shelf. Evening tea time works nicely for this.
- One in, one out. When something new comes in, something similar leaves. It's the simplest way to stop needing more storage.
- Swap tired boxes. Cardboard wears out. When a box gets soft or torn, replace it with the next sturdy one that arrives at your door, and re-cover it in the same paper so the shelf still matches.
- Keep a small "spare organizer" stash. One shoebox, two jars and a roll of tape tucked in a closet means you can give a new item a home straight away instead of letting it float around.
- Re-declutter twice a year. A quick sweep through drawers and shelves catches the things you've stopped using before they pile up.
None of this takes willpower, just a little rhythm. And the less you own, the less there is to keep up with.
Safety Notes for DIY Storage
Free organizers are lovely, but a few simple rules keep everyone safe:
- Never use food jars or drink bottles for cleaning products. Someone, especially a child or a guest, could mistake them for food or drink. Keep cleaners in their original, labeled bottles, stored high and away from heat.
- Keep heavy boxes low. Books, tools and full bins belong on the bottom shelf or the floor of a closet, never above head height.
- Watch glass near the edge. Push jars well back on shelves, and skip glass in children's rooms or in the shower.
- Keep cardboard dry. Cardboard in damp spaces softens, collapses and invites bugs. Use it in dry rooms only, and keep it off concrete floors.
- Clean everything first. Wash jars and cups, wipe tins, and check boxes for food crumbs before using them, so you don't invite pests.
If You Do Buy Something
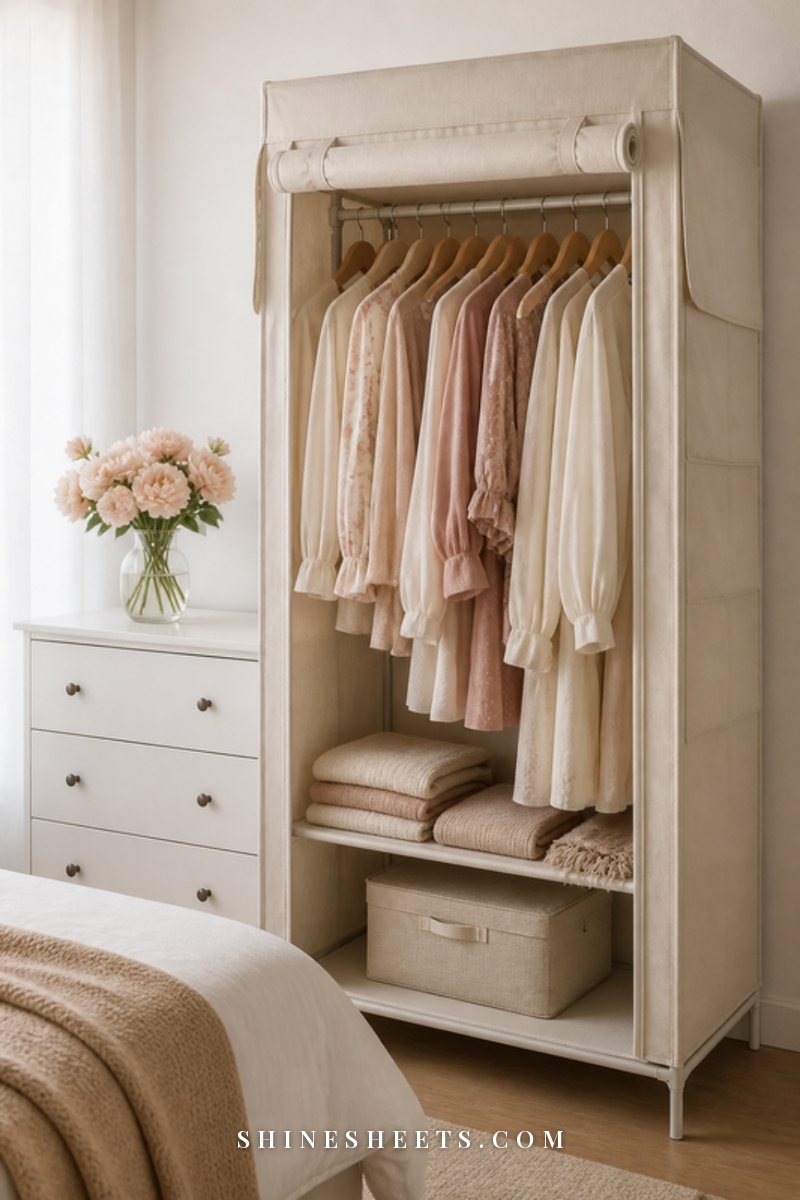
Sometimes a space genuinely needs one proper piece. That's fine. Organizing on a budget isn't about never spending; it's about spending on purpose. A few rules keep it sensible:
- Declutter and use what you have first. Live with your free setup for a couple of weeks. You'll learn what actually needs a better solution.
- Measure before you shop. Width, depth and height of the shelf or drawer, written down. Bring the numbers with you.
- Buy one piece at a time. Try it, see if it works, then buy more if you need to. No multi-packs "just in case."
- Check secondhand first. Thrift stores, charity shops and local marketplace listings are full of baskets, trays and boxes for very little.
- Choose soft and flexible. Collapsible sage fabric storage pouches fit odd spaces, fold flat when you don't need them and suit most rooms.
If you're weighing up which type of container suits a space best, my guide to bins vs baskets breaks it down room by room. And please, skip the big impulse haul. A cart full of matching bins feels wonderful for a day and then, more often than not, half of them end up empty in a closet.
Final Thoughts
An organized home isn't something you buy. It's something you set up, one drawer and one shelf at a time, with less stuff and a clear home for everything that stays. Shoeboxes, jars, a muffin tin and a strip of washi tape can do far more than you'd expect.
Start with one small space this week, use what you already have, and let it be good enough. Good enough, kept up gently, beats perfect every single time.