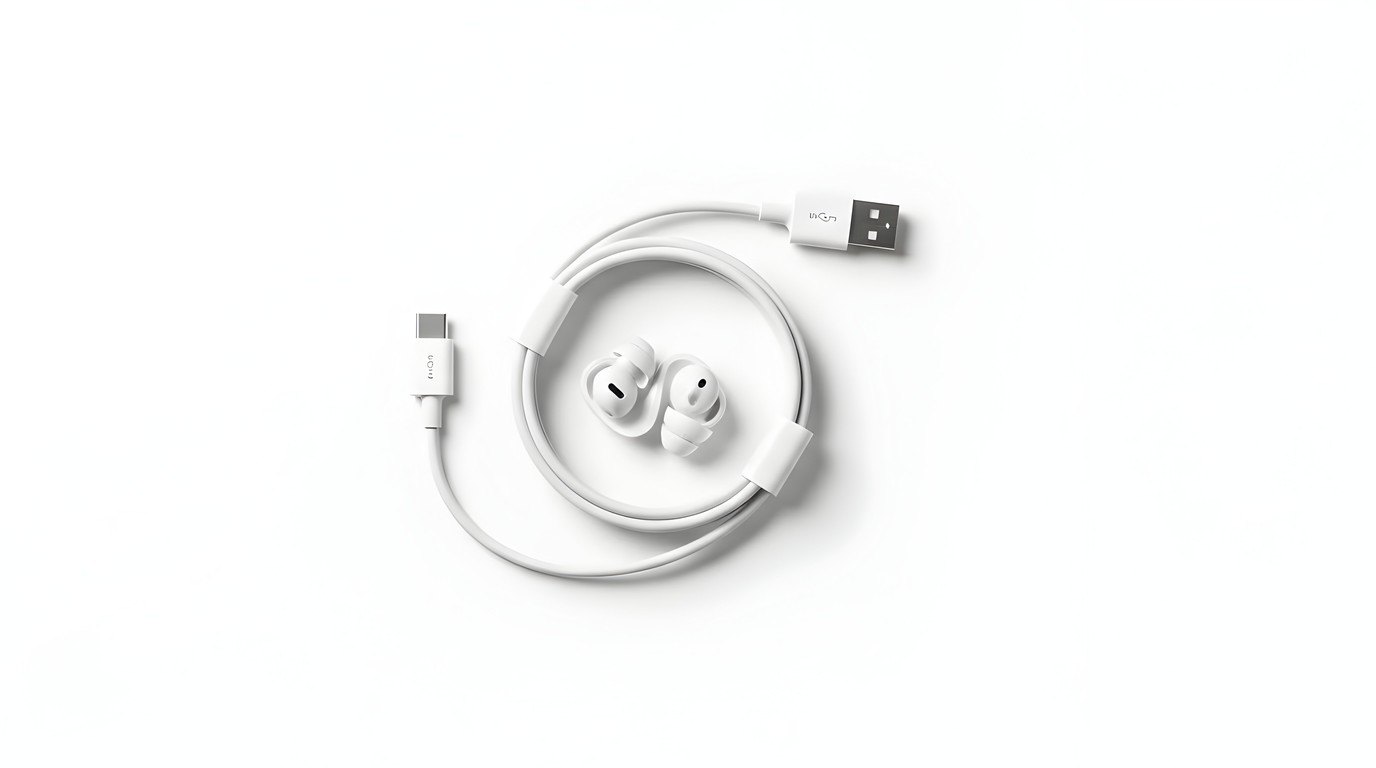
A messy cable drawer isn't a sign that you're disorganized. It's a sign that cables are sneaky. They arrive with every new device, they rarely leave when the device does, and they all look almost exactly the same. Within a year or two, a single drawer can hold a dozen cords and not one you can find in a hurry.
The fix is less about pretty organizers and more about two simple decisions: keeping only the cables you actually need, and giving each type one obvious home. Once those are in place, finding the right charger takes seconds instead of a tangled five minutes.
This guide is all about cable organization for the spare chargers and cords you store, not the ones plugged in around your room (for those, see my guide on how to hide cords). You'll find a quick cable edit, a table for how many of each to keep, seven renter-friendly storage ideas, a simple labeling system, safety basics and a twice-a-year review habit that keeps it all from creeping back.
Why Spare Cables Get So Messy
Before the fun part, it helps to know why the tangle happens, because the reasons shape the solution:
- Every device brings its own. Phones, earbuds, e-readers, cameras, toothbrushes, speakers and laptops all arrive with a cable, and many of them use slightly different plugs.
- We keep them "just in case." A cable feels too useful to throw away, even when we no longer own the device it belonged to.
- They look identical. Ten white cords in a drawer are impossible to tell apart without pulling each one out.
- They have no fixed home. Cables get dropped into whatever drawer is nearest, so they slowly spread around the house.
The plan follows naturally: edit, decide how many to keep, store by type, label, and check in now and then. Nothing here needs drilling, and most of it costs very little.
Start With a Cable Edit
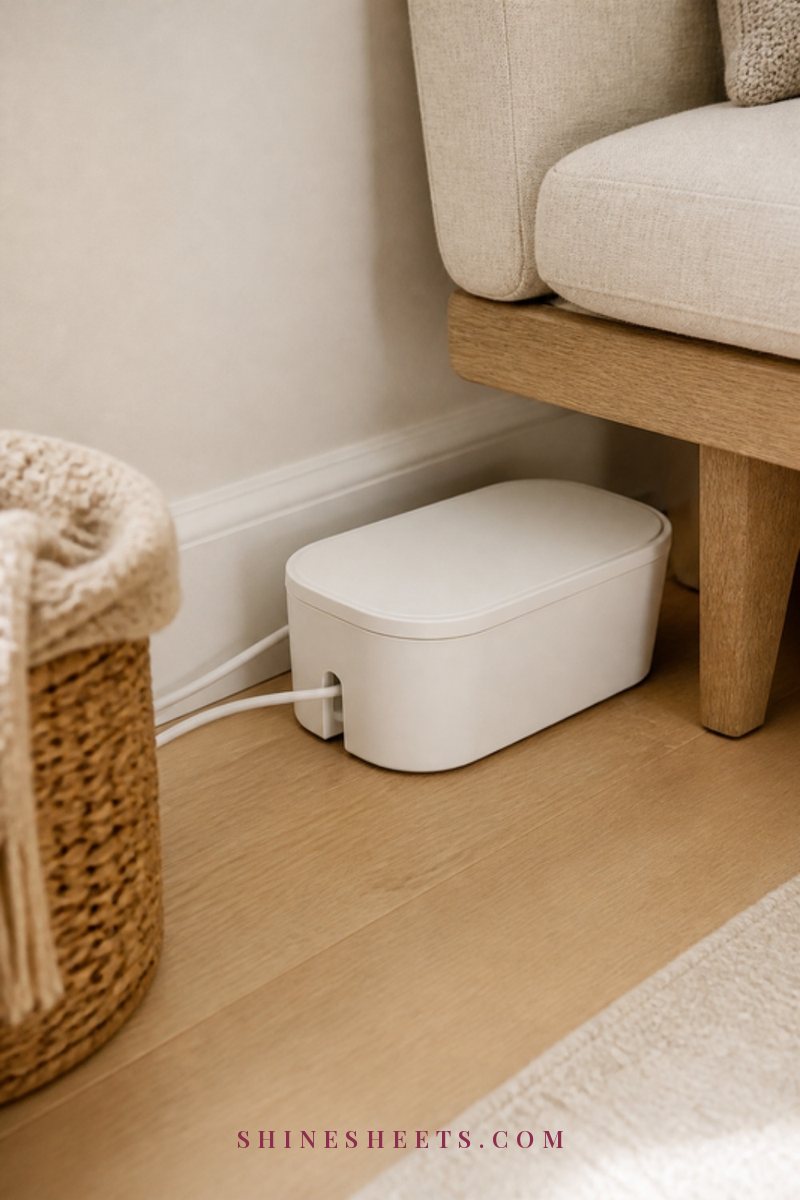
Set aside about an hour for this. Put on something to listen to, make a cup of tea, and work at a table with good light.
Gather Every Cable in One Place
Collect every spare cable, charger, adapter and power brick from every drawer, bag and box in your home. Check the junk drawer, the desk, bedside tables, travel bags, the car and that one shoebox in the closet. You need to see the whole collection at once to make good decisions.
Test Each One
Plug each cable into a device you know works and check that it charges or connects. Wiggle the cable gently near both ends while it's plugged in: if the charging stops and starts, the cable is on its way out. Put working cables in one pile and doubtful ones in another.
Match Cables to Devices
Sort the working pile by plug type (USB-C, Lightning, micro-USB, laptop chargers, other) and match them to the devices you actually own today. Any cable that belongs to a device you no longer have goes into the "leaving" pile, unless a family member needs it.
Recycle Broken or Mystery Cords
Frayed, cracked, bent or mystery cables don't belong in your drawer. Cables and chargers count as electronic waste, so please don't toss them in the regular trash. Many electronics stores have collection boxes, and most towns offer e-waste drop-off points or collection days. Working cables you don't need can be offered to friends or donated.
If you enjoy this kind of reset, my overview of decluttering methods can help you choose an approach for the rest of the house too.
How Many To Keep: The Spare Cable Table
This is the heart of the guide, so feel free to screenshot it. The numbers are a gentle starting point for a typical one- or two-person home. Adjust them for your devices and how often you travel.
| Cable type | Keep how many spares | Store in | Label |
|---|---|---|---|
| USB-C charging cables | 2–3 (one long, one short) | Clear zip pouch or drawer divider | "USB-C" plus length |
| Lightning cables | 1–2 per person with that phone | Clear zip pouch | "Lightning" plus owner's initial |
| Micro-USB cables | 1 (only if you still own a device) | Shared "older plugs" pouch | Device name |
| Wall chargers and power bricks | 1 per cable type you use | Drawer compartment or charging basket | Wattage or device |
| Laptop chargers | Only the one that fits your laptop | Own pouch or box, loosely coiled | Laptop name |
| Adapters and dongles | Only ones for devices you own | Small lidded box | What it connects to |
| Earbud and small device cables | 1 per device | Small pouch with the device | Device name |
| Travel plug adapters | 1 per traveler | Travel tech pouch | Countries or region |
| Extension cords | 1–2 for the home | Closet shelf or lidded box | Length |
If you have more than the table suggests, keep the newest, longest and best-working ones and let the rest go. You'll rarely miss them, and you'll always be able to find the ones you kept.
7 Cable Organization Ideas for Spare Chargers and Cords
Pick one or two of these rather than all seven. The best system is the one you'll actually put things back into.
1. A Drawer With Dividers
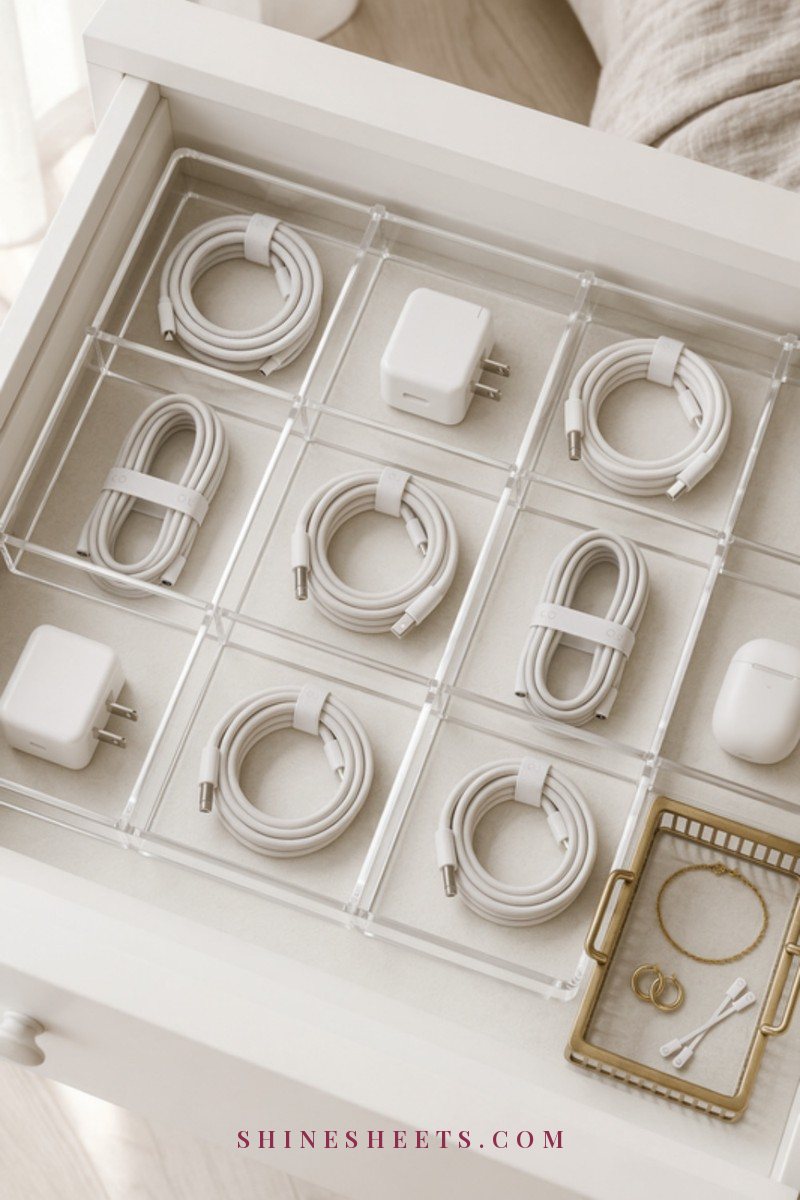
If you have one drawer to spare, this is the easiest system of all. Divide it into small sections and give each cable type its own spot, so you can see everything the moment you open it.
A clear drawer divider organizer works beautifully here because you can spot white cables at a glance. Measure the inside of your drawer first (width, depth and height), then choose trays that fill it with no gaps, so nothing slides around. Give the most-used cables the front compartments.
2. A Clear Zip Pouch per Type
Pouches are perfect if you don't have a spare drawer, or if your cables live in a closet or on a shelf. One pouch per type (USB-C, Lightning, laptop, older plugs) means you grab exactly what you need without unpacking everything.
A set of clear zipper pouches lets you see what's inside before you open it. Stand them upright in a box or basket like files, so they're easy to flip through.
3. Toilet Roll Tubes or Cable Tube Holders
This is the budget favorite. Coil a cable loosely, slip it into an empty cardboard toilet roll tube and stand the tubes upright in a shoebox or drawer. Each cable stays coiled, and you can write the type on the outside of the tube.
If you'd like something a little prettier, you can cover the tubes in plain cream paper, or use fabric or silicone cable holders that do the same job. For a closed version that stays tidy on a shelf, a sage cable tidy box with a lid hides everything while keeping it together.
4. Velcro Ties for Every Coil
Loose cables tangle; tied cables don't. Coil each one loosely (about the size of your palm) and close it with a reusable tie. Avoid wrapping cables tightly around your hand or folding them sharply, because that stresses the wires near the plug.
Reusable white velcro cable ties are soft, cheap and easy to open with one hand. Leave them attached to the cable when it's in use, so the tie never goes missing.
5. Labeled Tags
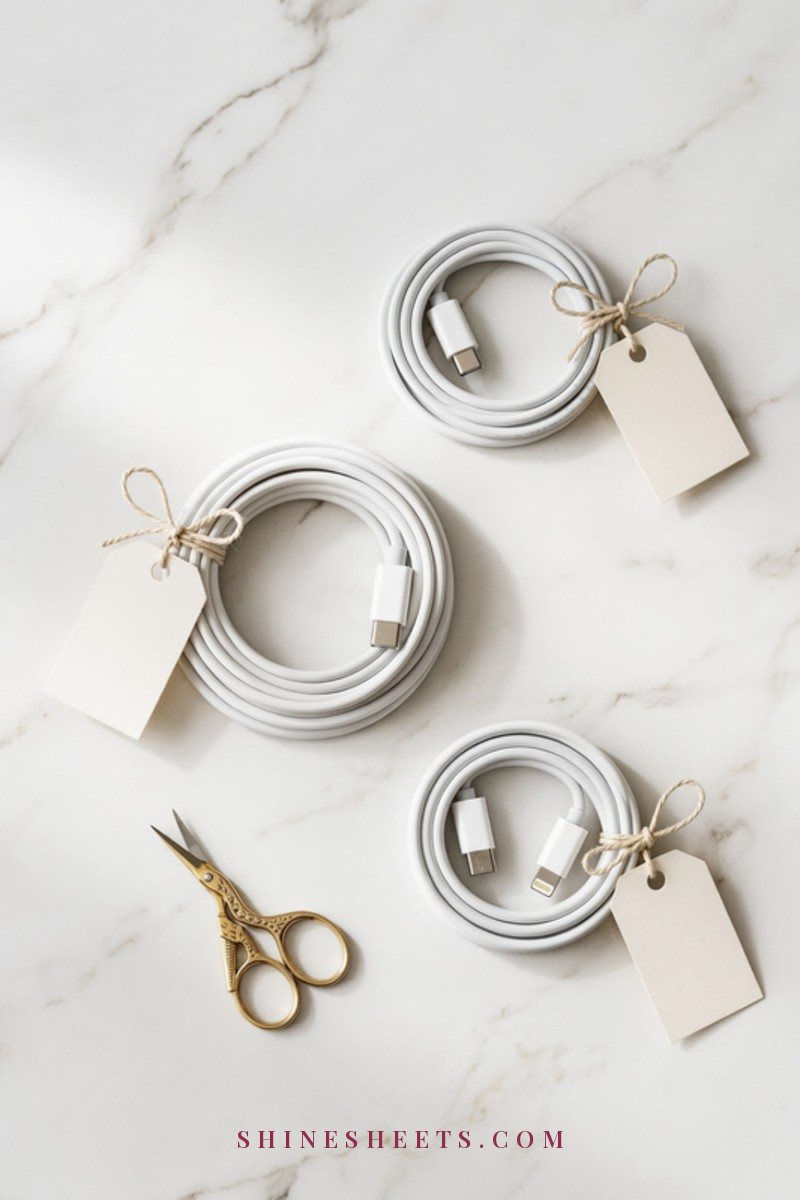
Labels are what turn a tidy drawer into a drawer you can use in the dark. Once a cable is labeled, you never have to test it again to know what it's for.
You can tie small paper tags on with twine, wrap a strip of washi tape around the cable near the plug, or print small labels. A gold-accent label maker makes neat little flags that fold around the cord, and it's handy for labeling pouches and boxes too. Put the label near the plug end you'll see first.
6. A Charging Station Basket
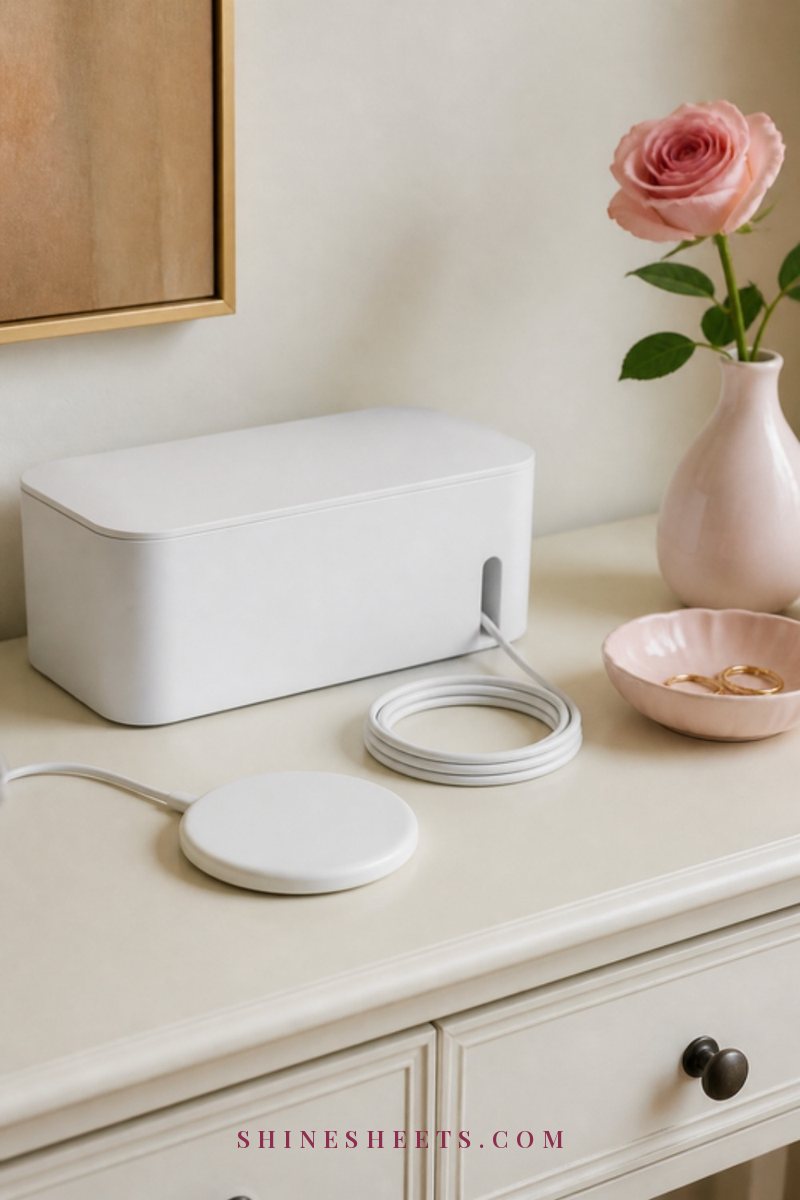
Not every cable needs to be stored away. The ones you use daily deserve a spot where they're easy to grab and easy to return. A small basket near your entryway, desk or kitchen counter can hold a wall charger and one or two cables for the household's main devices.
Keep it small on purpose: if it's big, it will slowly fill with things that don't belong there. A lined basket or a shallow tray is enough. If the charger stays plugged into a wall socket, run just the cable to the basket and keep the area dry and away from heat. For more on keeping a work surface calm, my desk organization ideas pair nicely with this.
7. A Travel Tech Pouch

The quickest way to stop forgetting chargers on trips is to keep a travel set that lives in its own pouch, packed and ready. When you travel, the pouch goes in your bag. When you return, it goes back in its spot, still full.
A cream fabric tech pouch with elastic loops and small pockets keeps everything in place. A good travel set might include one wall charger, one cable for each device you travel with, a travel plug adapter if you go abroad and a small power bank. If you can, buy a dedicated set for the pouch so you never have to raid your home drawer.
A Simple Labeling System That Sticks
The best labeling system is boring and consistent. Choose one of these and use it everywhere:
- By type: "USB-C," "Lightning," "Laptop," "Older plugs." Best if most of your devices share the same few cables.
- By device: "E-reader," "Camera," "Speaker." Best for one-off cables that only fit one thing.
- By person: an initial plus the type, such as "A – USB-C." Helpful in shared homes where everyone grabs from the same drawer.
Label in two places: on the cable itself (near the plug) and on its pouch, tube or compartment. Then, when a cable is out of place, it's obvious where it goes back. A soft color system can help too, for example a cream tag for USB-C and a blush tag for Lightning, but keep it to three or four colors so it stays easy.
While you're in an organizing mood, your digital life can use the same treatment. My digital declutter guide covers phone storage, email and photos.
Electrical Safety for Stored Cables
Cables are small, but they still carry electricity, so a few simple habits keep your home safer:
- Retire damaged cables right away. Frayed, cracked, melted or exposed-wire cables should never be used or stored "for later." Take them straight to e-waste.
- Let chargers cool before you store them. A charger or power brick that's still warm shouldn't be wrapped tightly or packed into a closed pouch. Give it a few minutes to cool, then coil the cable loosely.
- Don't charge inside drawers or pouches. Charge devices on a hard, open surface with air around them, not on a bed, under pillows or inside a closed basket.
- Avoid overloaded extension strips. Don't plug several chargers and high-power appliances into one strip, and never plug one extension strip into another.
- Keep cables away from water and heat. Store them away from sinks, radiators, heaters and sunny windowsills.
- Use chargers made for your device. Cheap, unbranded chargers with no safety marks are best avoided.
- Store power banks with care. Keep them in a cool, dry spot, and recycle any that swell, get hot or look damaged.
Before you put cleaned devices and chargers away, wipe them down gently. My guide on how to clean your phone and laptop explains how to do it safely, without getting moisture into ports.
The Twice-a-Year Cable Review
Even the best system slowly fills up again, because new devices keep arriving. A short review twice a year keeps things in check. Spring and autumn work well, or tie it to a habit you already have, like changing your bedding over for the season.
Here's what a 15-minute review looks like:
- Empty one category at a time. Start with the busiest pouch or compartment.
- Check for damage. Look along each cable and at both plug ends. Anything frayed goes to e-waste.
- Match to current devices. If you've replaced a phone or laptop since the last review, the old cable may no longer be needed.
- Compare with the table. If you're over the suggested number of spares, keep the best ones and pass on the rest.
- Refresh labels and refill the travel pouch. Replace faded labels and make sure the travel set is complete.
A small habit that helps between reviews: when a new device arrives, decide where its cable lives the same day. One in, one home. If you like the idea of fitting your things to the space you have, the sister guide on the container concept applies the same thinking to the whole home.
Common Cable Storage Mistakes To Skip
A few small habits undo even a lovely system. If your drawer keeps sliding back into chaos, one of these is usually the reason.
- Buying organizers before editing. It's tempting to start with the pretty part, but organizers bought before an edit tend to be the wrong size for what you actually keep. Edit first, measure second, shop third.
- Wrapping cables tightly. Winding a cable tightly around a charger or folding it sharply near the plug is the fastest way to break the wires inside. Loose, palm-sized coils last much longer.
- Mixing every type in one container. One big box of cables is only slightly better than one big drawer of cables. Separate by type, even if the separation is just a few tubes in a shoebox.
- Keeping cables for devices you no longer own. If the device is gone, the cable can usually go too. The exception is a common type you genuinely use elsewhere in the home.
- Spreading spares around the house. A cable in every room sounds convenient, but it means you never know how many you have. Keep spares in one main spot, and let only daily cables live in the charging basket or by the bed.
None of these are a big deal on their own. Fixing just one or two of them will make your cable storage feel noticeably calmer within a week.
Where To Keep Your Cable Storage
The right location matters as much as the container. A system that's hard to reach won't get used, and cables will start drifting back into random drawers.
- Near where you charge most. For many homes, that's a desk, a hallway console or a kitchen drawer close to a socket.
- In a cool, dry spot. A drawer in the living room or bedroom is better than a bathroom cabinet, where steam and moisture build up.
- At a comfortable height. Waist-to-shoulder height means you can see inside the drawer or box without kneeling.
- All together. If you use pouches or tubes, keep them in one basket or box so the whole collection moves as one if you ever rearrange.
If you rent, a freestanding drawer unit or a lidded box on a closet shelf works perfectly, with no holes and nothing to leave behind when you move.
Final Thoughts
Cable organization is one of those small projects that pays you back every single day. Once your spare chargers and cords are edited, sorted and labeled, you stop wasting time untangling and start simply reaching for the right one.
Start with the edit, choose one storage idea that fits your home, and let the rest wait. A calm drawer is a lovely thing to open on a busy morning, and you deserve that little bit of ease.