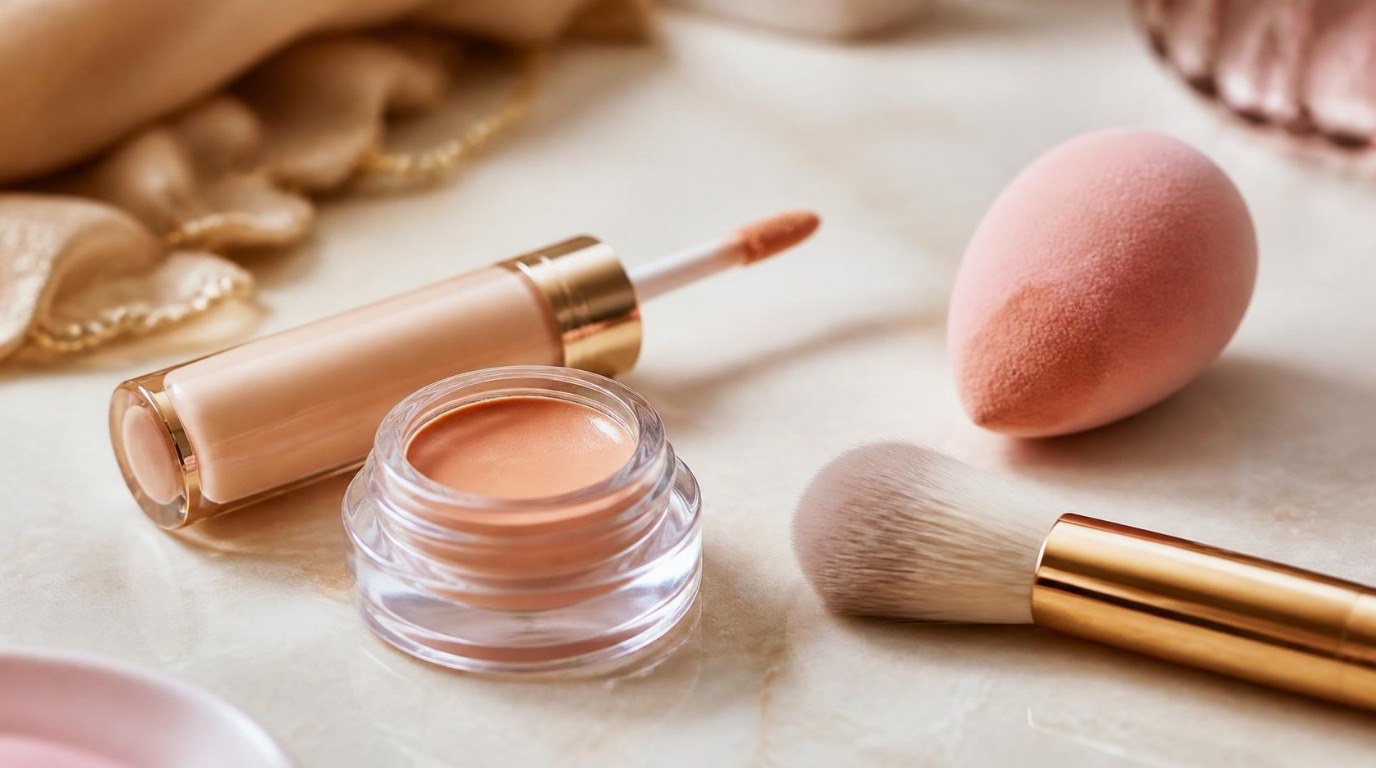
The right concealer shade is rarely the same as your foundation shade, and that one fact clears up most concealer frustration. Under-eye concealer and spot concealer have different jobs: one brightens and cancels shadow, the other disappears into the skin around it. Asking a single shade to do both is why so many of us end up with grey-looking under eyes or little light halos around blemishes.
This concealer shade guide walks you through how to pick the right shade for under eyes and for spots. You'll find why the rules differ from foundation, how much lighter "a little lighter" really is, a concern-by-concern shade table, six steps for testing in a store or at home, a quick color corrector primer, matte vs radiant finishes, and the hygiene habits that keep your eye area happy.
My skin is combination and sensitive (the shiny T-zone has a mind of its own), so I care a lot about formulas that cover without sitting heavy. Everything here is technique, not magic, and once you see the logic, choosing gets much easier.
Why Concealer Shade Rules Differ From Foundation
Foundation has one job: to even out your skin so it still looks like skin. That's why the goal is a perfect match to your jaw, neck and chest, with the right undertone. If you haven't nailed that part yet, start with my simple undertone guide for choosing a foundation shade, because your foundation shade is the anchor for everything in this article.
Concealer works on top of (or instead of) that base, on small areas with very specific problems. Under the eyes, the skin is thinner and often shows blue, purple or brown tones. A blemish, by contrast, is usually red or pink, and sometimes raised. Those are opposite challenges: one needs brightness and warmth, the other needs to blend in so well that nobody's eye stops there.
That means concealer shades are chosen by job, not only by skin tone. Your foundation tells you where to start. The job tells you which direction to move from there.
Why One Concealer Rarely Does Every Job
It's tempting to buy one concealer and use it everywhere. Sometimes that works: if your under eyes are fairly even and you only cover the odd spot, a single shade that matches your skin can be enough. For most of us, though, one concealer ends up being a compromise. Here's what usually goes wrong:
- A light shade on a spot draws attention to it, because a bright dot on a red bump creates a tiny highlight right where you don't want one.
- An exact match under the eyes can look flat or a touch dull, because it covers the shadow without adding back any brightness.
- A creamy under-eye formula on a blemish tends to slide off by lunchtime and needs layer after layer.
- A thick spot formula under the eyes can crease and look dry on thin, moving skin.
That's why many makeup artists keep two concealers: a slightly lighter, creamy one for under the eyes and an exact-match, thicker one for spots, redness and the sides of the nose. If two feels like too much, don't worry. Later on I'll show you how to stretch one shade further.
Under-Eye Concealer: A Little Lighter and a Little Warmer
For under eyes, the classic guideline is one to two shades lighter than your foundation, with a peachy or warm tone. The lightness gently brightens the area, and the warmth helps cancel the blue or purple that shadows tend to have.
Look for a creamy, hydrating under-eye concealer with a soft, slightly radiant finish. It should feel flexible when you smile, not stiff or tight, and it should blend out with a few taps rather than needing to be dragged.
How Much Lighter Is Right
"One to two shades" is a guide, not a law, because shade ranges vary so much between brands. One brand's single step can be another brand's three. A better test: once it's blended, your under-eye area should look rested and about the same brightness as the high point of your cheek.
If it looks brighter than your cheekbone, you've gone too light. If you can still see the shadow, you either need a touch more warmth or a little more product, tapped in thin layers rather than one thick swipe.
On deeper skin tones, "lighter" often matters less than "warmer". A rich peach, apricot or golden concealer close to your own skin depth can brighten beautifully without looking ashy.
Why Too Light Looks Grey
When a concealer is much lighter than your skin and sits over a blue or purple shadow, the colors mix and read as greyish or chalky. It's the most common under-eye mistake, and it's not your fault: bright store lighting and pretty shade names make it very easy to grab something too pale.
If your under eyes look grey after concealer, go warmer before you go lighter. A peach or salmon tone, or a thin layer of color corrector underneath, usually fixes it. For the application side of things, my guides on how to cover dark circles step by step and how to apply concealer without creasing pick up right where this section leaves off.
Concealer for Spots and Blemishes: An Exact Match
Spots, blemishes, redness around the nose and flat marks left after breakouts need the opposite approach: an exact match to the skin around them. The goal isn't brightness, it's invisibility. Even half a shade lighter can turn a covered spot into a tiny spotlight.
The formula matters just as much as the shade. A slightly thicker, full-coverage matte concealer stays put on a small area and doesn't need many layers. Creamy pots and thicker liquid formulas both work well here, as long as they don't slide when you touch them lightly after a few minutes.
A few practical tips:
- Apply with a small precision concealer brush or a clean fingertip, only on the spot itself, then blur just the outer edges.
- Let it sit for about thirty seconds before blending the edges, so it thickens slightly and covers better.
- For flat dark marks, an exact match (with a touch of corrector underneath if needed) works better than piling on product. If those marks are lingering, my guide on how to fade dark spots gently covers the skincare side.
- Skip concealer on broken or open skin and let it heal first. Covering it can irritate it and keep it angry for longer.
Concealer Shade Table: Which Shade for Which Concern
This is the table I'd screenshot. Find your concern, then check the shade, undertone and formula that tend to work best. Use your own foundation shade as the starting point for every row.
| Concern | Shade choice | Undertone | Formula |
|---|---|---|---|
| Blue or purple under-eye shadows | 1–2 shades lighter than foundation | Peach or warm | Creamy, lightweight, soft radiant finish |
| Brown under-eye shadows (common on deeper skin) | Same depth or about half a shade lighter | Orange, apricot or golden | Creamy, medium coverage |
| Mild tiredness, no strong color | About 1 shade lighter | Your own undertone | Light, hydrating, radiant |
| Dry or fine-lined under eyes | Half to 1 shade lighter | Peach or warm | Very creamy, hydrating, little to no powder |
| Red spots and blemishes | Exact match to surrounding skin | Your own undertone, a hint of yellow helps on redness | Thicker, full coverage, matte or natural |
| Flat dark marks after breakouts | Exact match | Your own undertone, corrector underneath if needed | Full coverage, applied in thin layers |
| Redness around the nose and chin | Exact match | Neutral to slightly yellow | Medium coverage, natural finish |
| Gentle brightening (center of forehead, chin) | About 1 shade lighter | Your own undertone | Light, radiant, sheer |
Notice the pattern: lighter shades only appear under the eyes and for gentle brightening. Anything you want to hide on the face itself gets an exact match.
Shade Tips by Skin Depth
The rules above work for everyone, but they play out a little differently depending on how light or deep your skin is. These are general starting points, not boxes.
Fair and Light Skin
Under-eye shadows on fair skin are often blue, purple or a little pink. A light peach or soft yellow-beige concealer one shade lighter than your foundation is usually plenty. Very fair skin can look stark with a shade that's two steps lighter, so try one step first. On spots, watch out for concealers that look too pink, since they can make redness look worse.
Medium and Olive Skin
Medium and olive skin often has a mix of brown and purple-grey under the eyes. Golden, peach or warm beige concealers tend to look most natural, and ashy pink shades are the ones to avoid. Olive skin in particular can turn grey under a concealer that's too pink or too light, so a shade with a little golden warmth is often the answer.
Deep Skin
On deep skin, under-eye darkness is often brown or deep purple, and going much lighter can look ashy or grey. Instead, choose a concealer close to your own depth with a rich orange, red-orange or warm golden tone, or use an orange corrector underneath and an exact-match concealer on top. For spots, an exact match with your undertone (red, golden or neutral) is the goal.
6 Steps To Pick Your Concealer Shade
Whether you're standing in a store or ordering online, these six steps take most of the guesswork out of choosing. Give yourself fifteen to twenty minutes the first time. It gets faster once you know your numbers.
1. Know Your Foundation Shade
Your foundation shade is the reference point. Write down the name and number of the foundation that matches you best (a note on your phone is perfect). Many brands also show a matching concealer next to each foundation shade online, which is a helpful starting point when you can't swatch in person.
If you don't wear foundation, use your skin tint or tinted moisturizer shade the same way, or match the concealer directly to the skin on your jawline.
2. Identify Your Undertone
Undertone is the quiet color beneath your skin: cool (pink, rosy), warm (golden, peachy), neutral (a mix of both) or olive (a greenish gold). Your spot concealer should share your undertone, and your under-eye concealer should lean a little warmer or peachier than it.
A quick check: look at the veins on your inner wrist in daylight. Mostly blue or purple suggests cool, mostly green suggests warm, a mix suggests neutral. It's not a perfect test, but combined with whether gold or silver jewelry flatters you more, it gets you close.
3. Decide the Job
Before you swatch anything, decide what this concealer is for: under eyes, spots or both. That one decision narrows the choice from dozens of shades to a handful.
- Under eyes only: one to two shades lighter, warm or peach, creamy.
- Spots only: your exact match, thicker formula.
- One concealer for both: an exact match or half a shade lighter with a natural finish, plus a thin peach corrector under the eyes if you need extra brightness.
4. Swatch on the Jawline and Under Eye
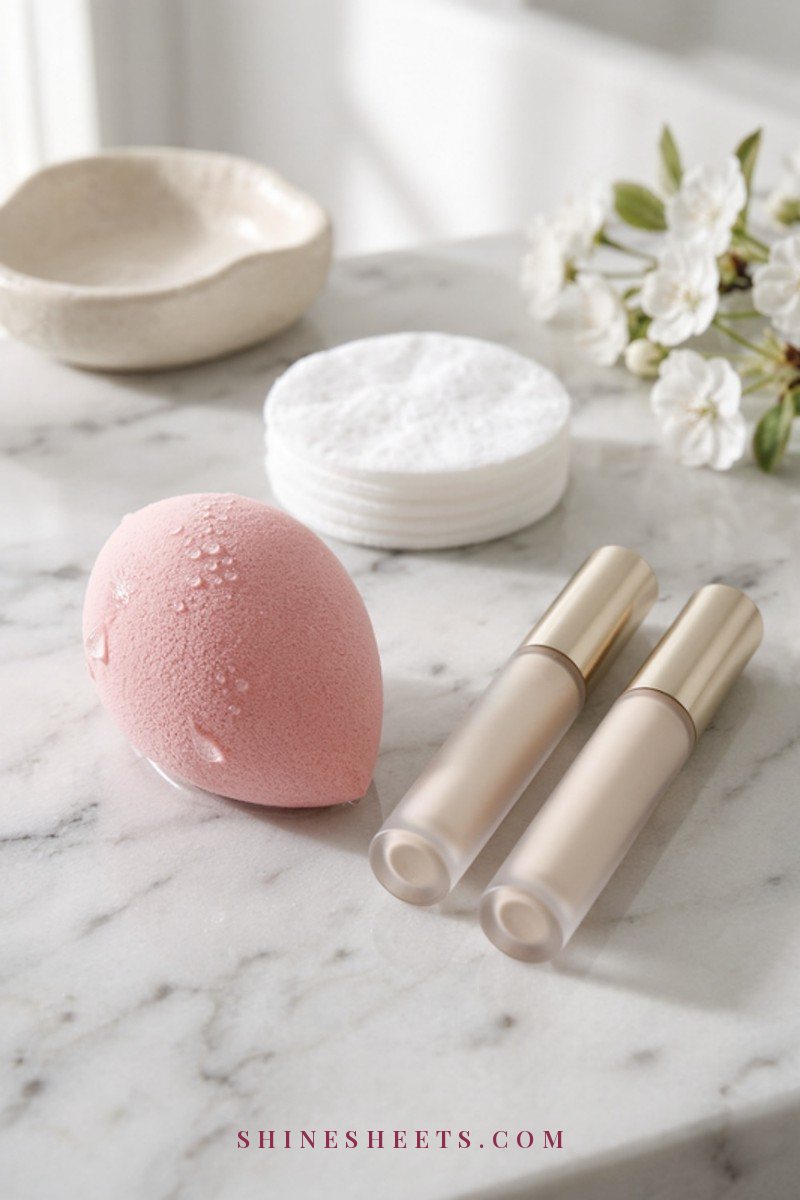
Skip the back of your hand, because it's usually a different color than your face. Instead, swatch two or three shades in small stripes:
- For a spot concealer, swatch on your jawline, where your face meets your neck. The right shade simply disappears.
- For an under-eye concealer, tap a tiny amount on the outer part of your under-eye area, well away from the lash line. The right shade looks brighter and rested, never white.
Blend each swatch with a clean fingertip or a damp pink makeup blending sponge, because unblended concealer always looks heavier and lighter than it really is. If you're testing in a store, use a fresh disposable applicator, never the shared tester wand directly on your face.
5. Check in Daylight
Store lights are famously unhelpful. Once you've swatched, walk to a window or step outside and look again in natural daylight. A shade that looked perfect under bright overhead lights can look pink, grey or orange outdoors.
At home, do your test by a window in the morning. If you spend most of your day under office lights, check it there too, since that's where people will actually see it.
6. Wait for Oxidizing
Many concealers darken or warm up slightly as they dry and mix with your skin's natural oils. That's oxidizing, and combination and oily skin tends to notice it most (my T-zone can shift a shade by midday).
Wait at least fifteen to twenty minutes, ideally a couple of hours, before deciding. If the shade turns noticeably darker or more orange, go half a shade lighter or try a different formula. This is also why it's worth buying from places with a friendly return or exchange policy while you're still finding your match.
Color Correctors: Peach, Orange and Green
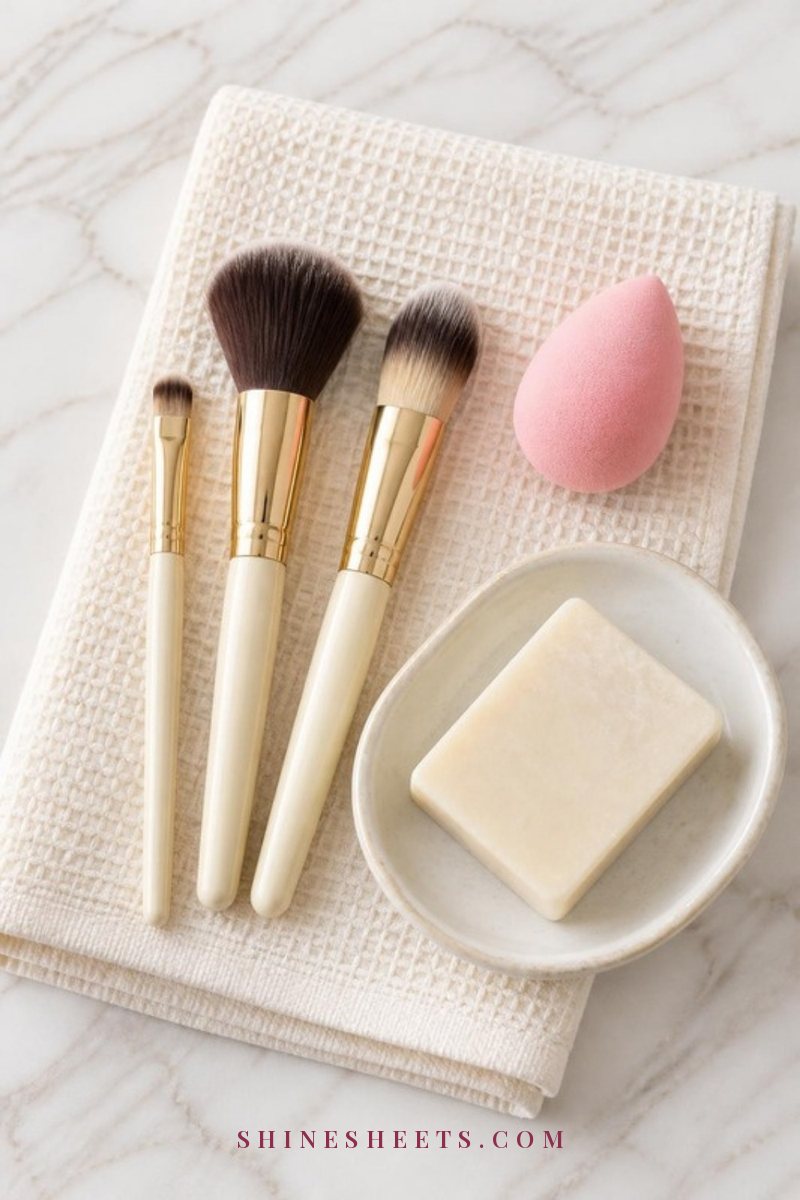
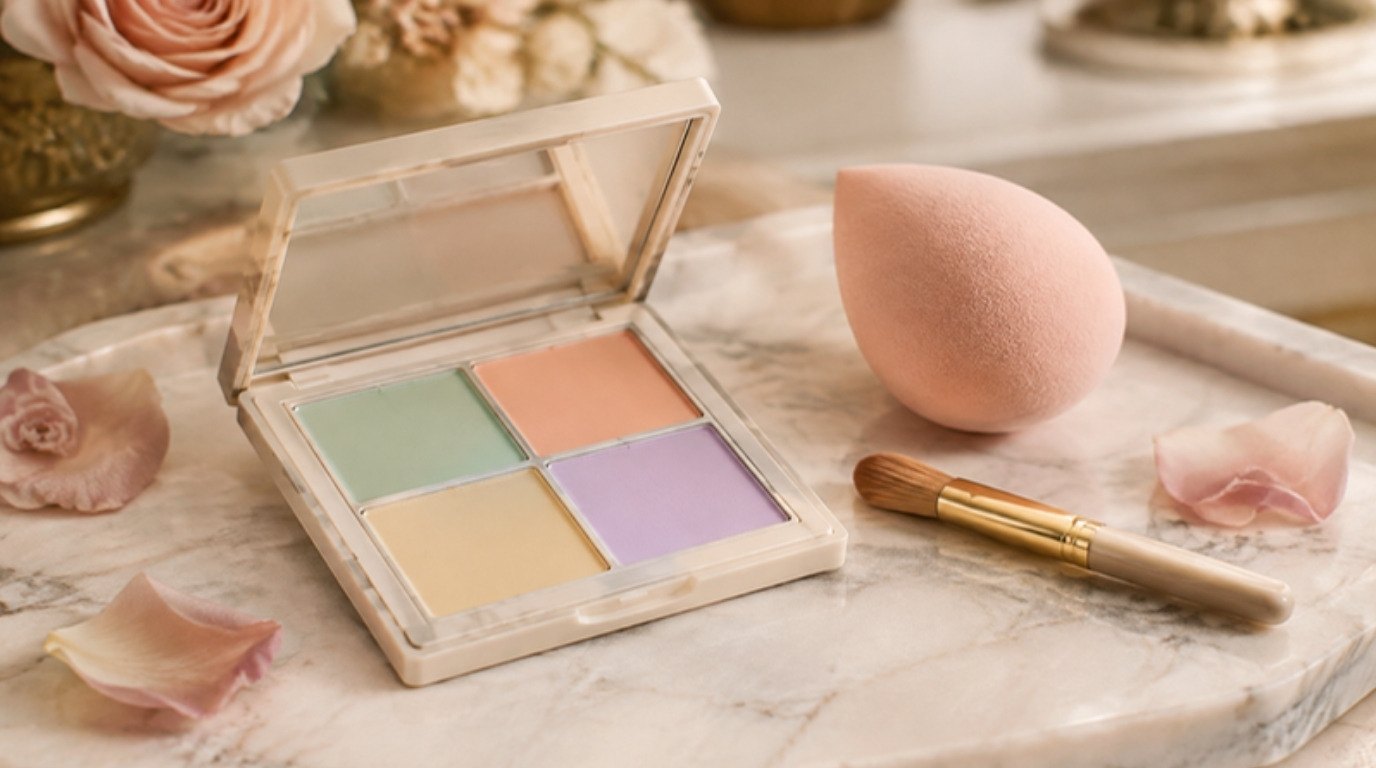
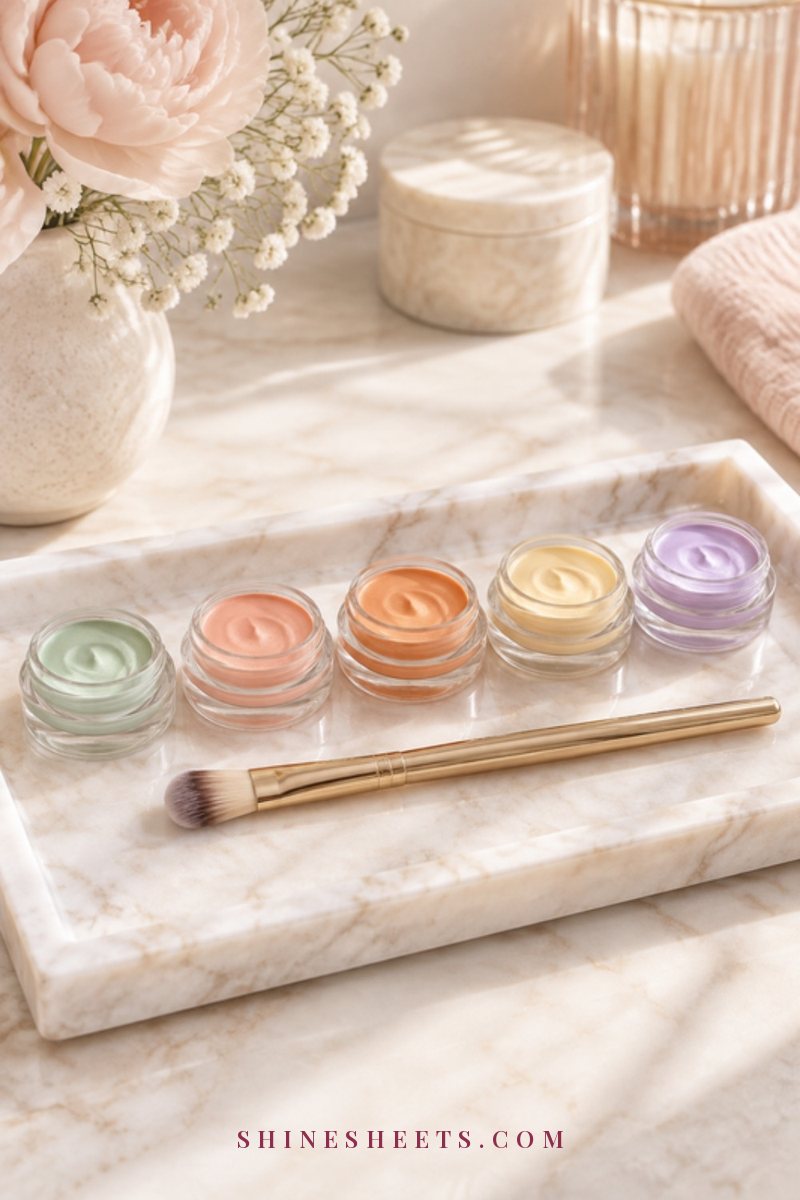
Color correctors aren't required, but they solve the one problem concealer alone can't: strong color. They work on simple color theory, where opposites on the color wheel cancel each other out, and they go underneath concealer in a thin layer.
- Peach: for blue or purple under-eye shadows on fair to medium skin. A creamy peach color corrector is the most useful one to own if you only buy one.
- Orange or deep apricot: for brown or very dark under-eye shadows and dark marks on medium to deep skin.
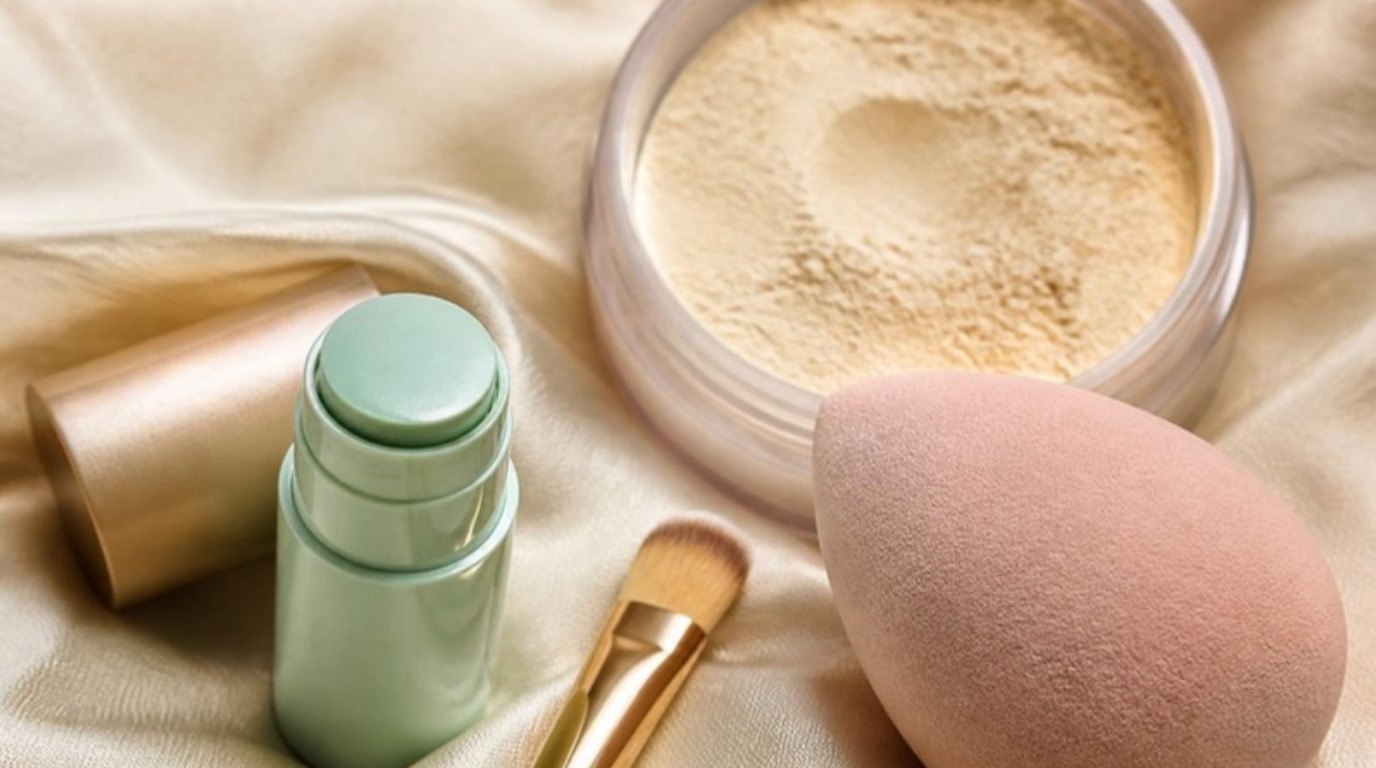
- Green: for redness, like an angry blemish or pinkness around the nose. Use the tiniest amount, only on the red area itself.
The key word is "thin". A sheer layer of corrector, tapped in and topped with a sheer layer of concealer, looks far more natural than either one applied thickly. If you'd like to go deeper, my color correcting guide for beginners explains which shade cancels what, with more detail on mixing.
Matte vs Radiant Finish
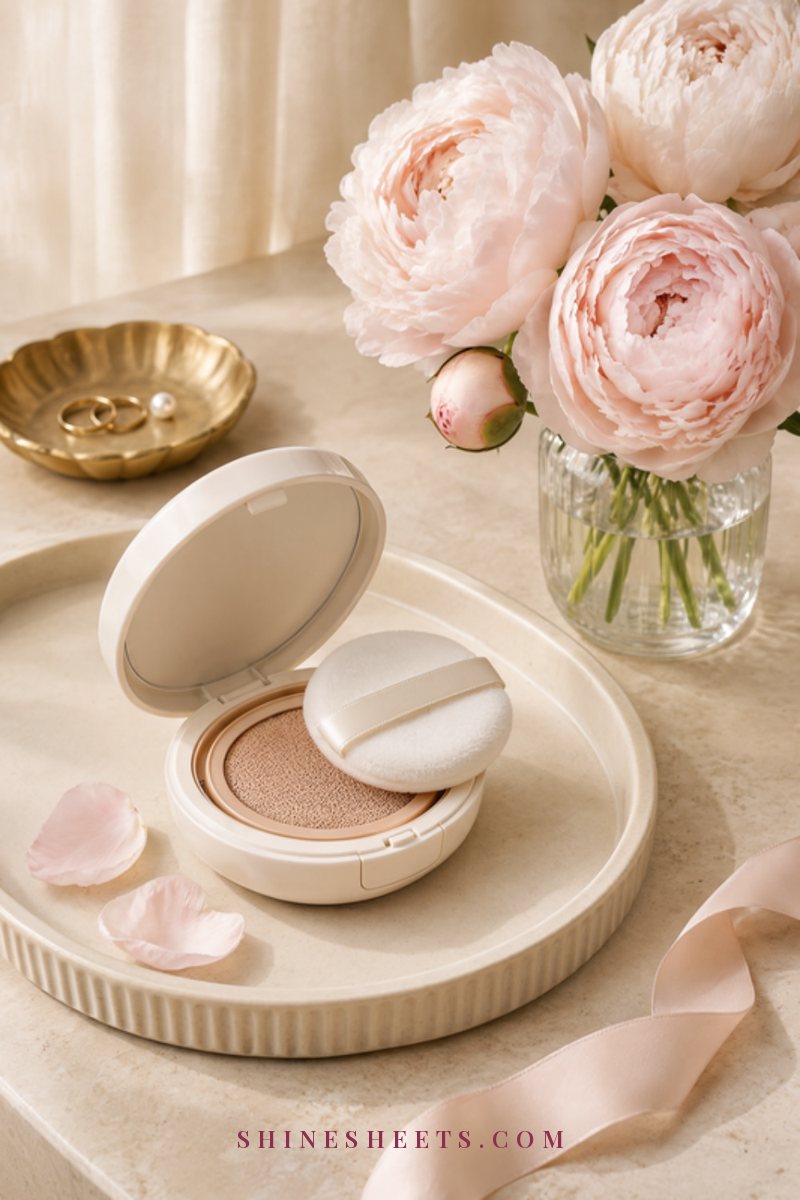
Finish affects how a shade reads on your skin. The same shade can look a little lighter and flatter in a matte formula, and softer and more skin-like in a radiant one.
Radiant or satin finish reflects a bit of light, which is lovely under the eyes, on dry skin and on skin with fine lines, because it settles into creases less. It's less ideal on raised blemishes, since light-reflecting texture can make bumps easier to see.
Matte or natural finish grips better and lasts longer, so it's the better choice for spots, redness and oily areas. Under the eyes it can look dry if it's very matte, especially if you set it heavily.
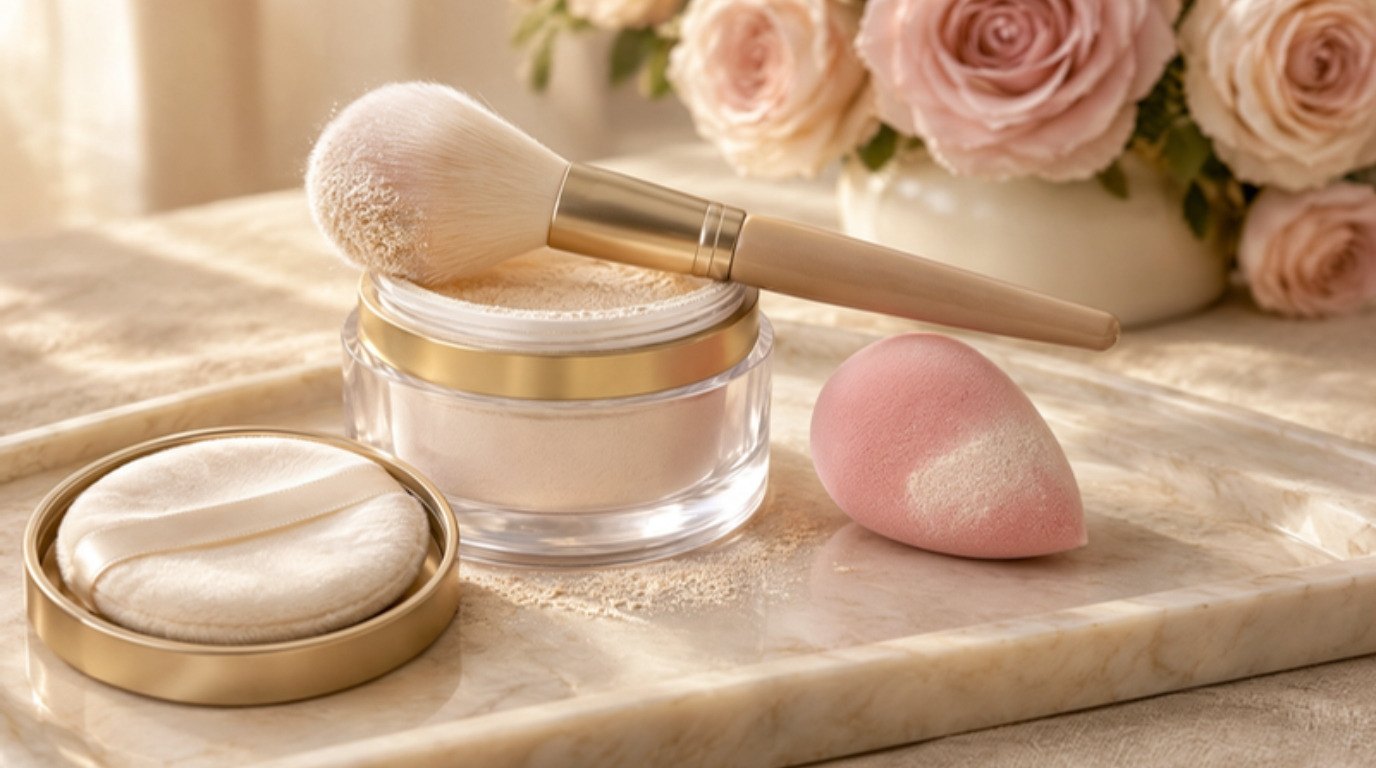
Setting changes the finish too. A light dusting of finely milled translucent setting powder with a small fluffy brush keeps concealer in place without turning it chalky. Under the eyes, use less than you think you need. If powder always looks heavy on you, my comparison of setting powder vs setting spray can help you pick the gentler option.
If You're Between Shades
Plenty of us fall between two shades, especially if our skin changes through the year (a little color from the sun in summer, paler in winter). A few easy fixes:
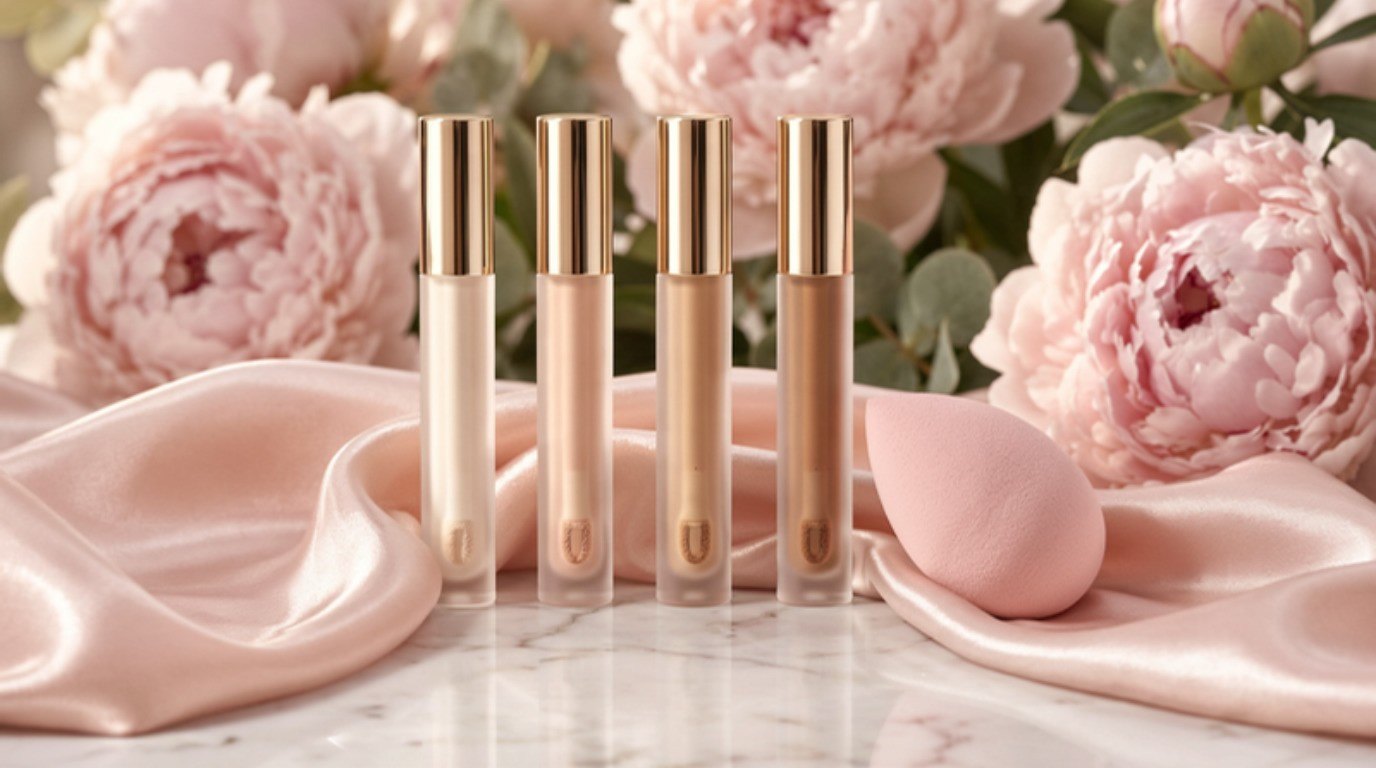
- Mix two shades on the back of your hand, then apply. Keeping a lighter and a deeper shade lets you adjust all year long.
- Use one shade two ways: your exact match on spots, and the same shade over a thin peach corrector under the eyes.
- Adjust with powder: a translucent powder keeps the shade true, while a slightly tinted one can warm or deepen it a touch.
- Lean darker for spots and lighter for under eyes when you truly can't decide.
And give yourself permission to get it a little wrong. Almost everyone has a too-light concealer somewhere in a drawer. It's part of learning your face.
Hygiene: Clean Tools and Safe Habits

Your under-eye area is delicate and very close to your eyes, so a few habits are worth keeping, whatever shade you choose:
- Clean tools often. Wash sponges after every use or at least a few times a week, and brushes weekly. Replace sponges when they tear or stay stained after washing.
- Don't share concealer, especially wand formulas that touch the skin directly.
- Keep product away from the lash line and the waterline. Concealer belongs on the skin below, not pressed into the base of your lashes.
- Use a separate step for blemishes. If one wand concealer goes on both spots and under eyes, put product on the back of your hand first instead of touching the wand to a blemish.
- Replace old concealer. Many last around a year once opened. If it smells off, separates or changes texture, let it go.
- After an eye infection, replace anything that touched your eye area.
- Patch test new formulas on your jawline for a day or two if your skin is sensitive like mine.
When To See a Dermatologist
Concealer is for everyday shadows, spots and redness. If dark circles appear suddenly or change a lot, if one side looks very different from the other, or if you notice swelling, itching or a rash around your eyes, it's worth checking with a dermatologist or doctor. The same goes for spots that don't heal, bleed, or change in size, shape or color. They can look at what's going on underneath, which no perfect shade match can do.
Final Thoughts
Choosing a concealer shade gets so much easier once you stop asking one tube to do everything. Lighter and warmer under the eyes, an exact match on spots, a thin layer of corrector when color is strong, and daylight as your final judge. That's the whole system.
Start with your foundation shade, give your swatches time to settle, and believe what you see by the window. Your skin will still look like you, just a little more rested and a lot more even.