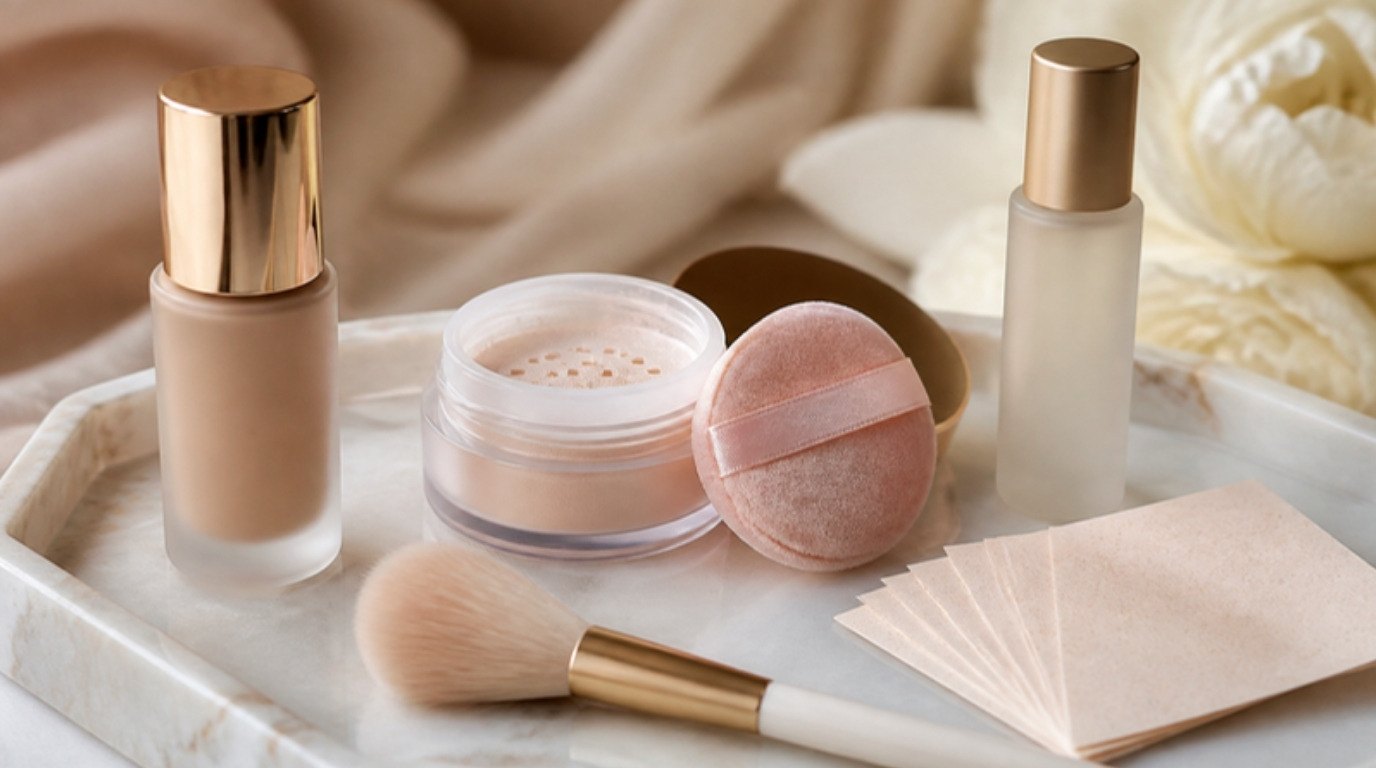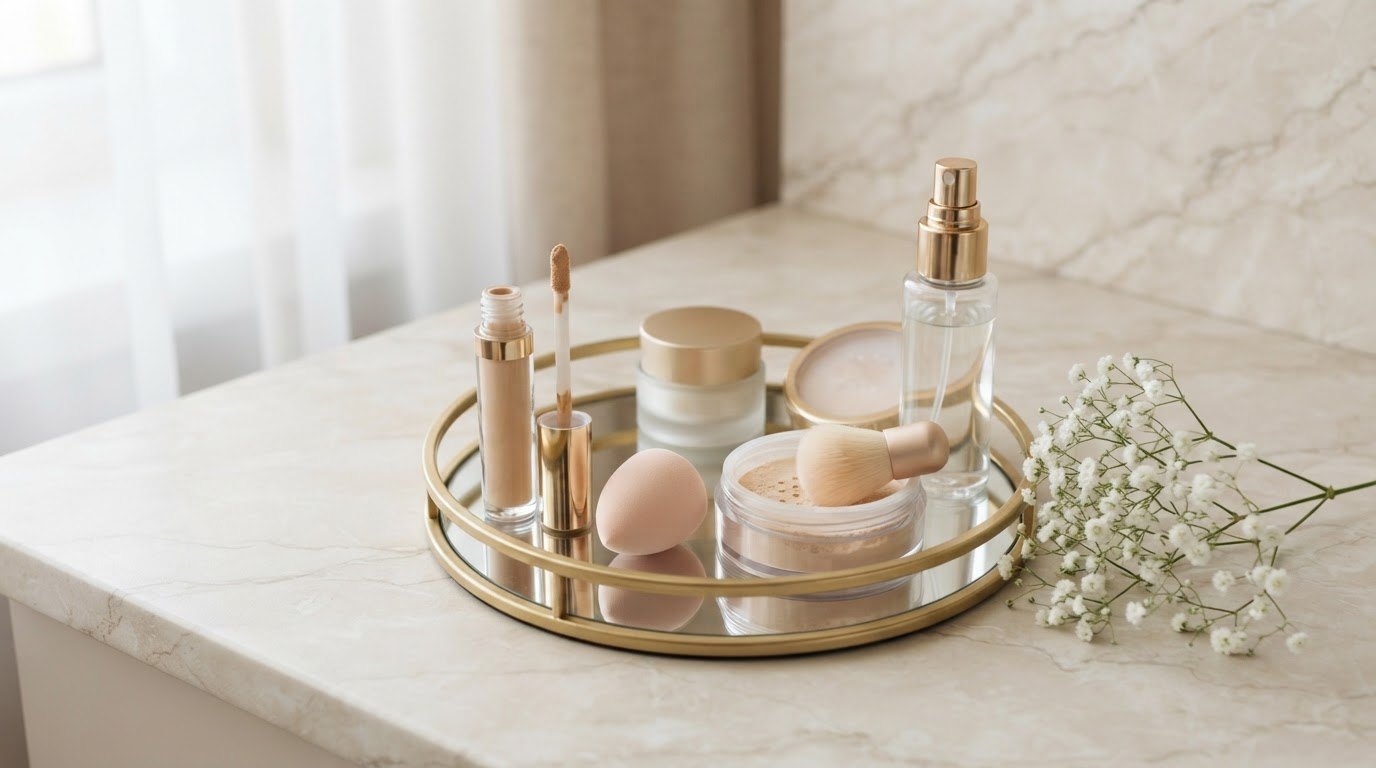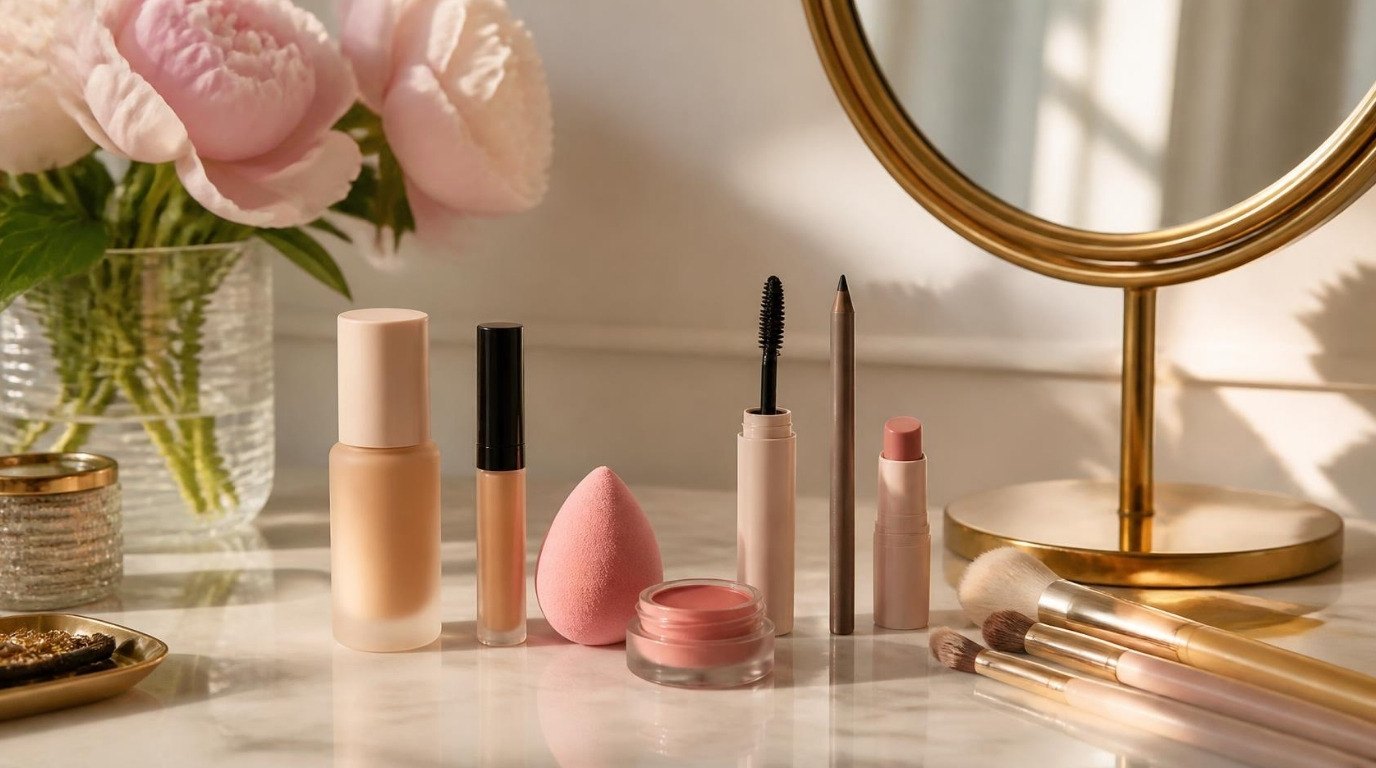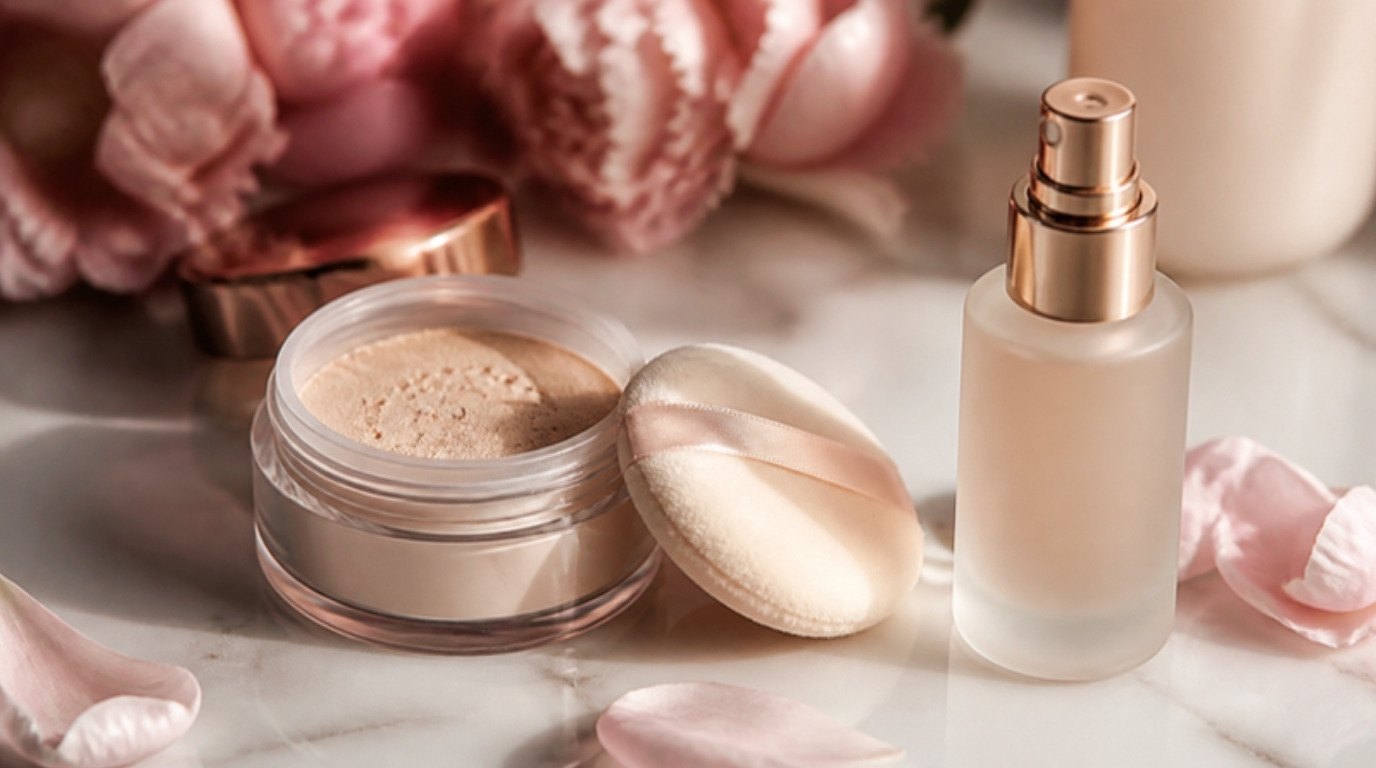
Setting powder and setting spray aren't rivals. They do two different jobs, and once you know which job your skin needs, choosing between them (or using both) gets very simple. Powder controls oil and blurs. Spray melts your layers together and helps everything last. One dries things down; the other can add moisture back in.
Most makeup that slides, creases or looks cakey by mid-afternoon isn't the foundation's fault. It's usually the wrong setting step for the skin underneath: heavy powder on dry skin, no powder at all on an oily T-zone, or a spray held so close it leaves wet spots.
In this guide to setting powder vs setting spray, you'll learn what each one actually does, the different types (loose, pressed, translucent, tinted, hydrating, mattifying, long-wear), a skin-type table that tells you which combination to use, exactly how to apply each one, the "sandwich" method for using both, common mistakes and how to touch up during the day.
The Quick Answer
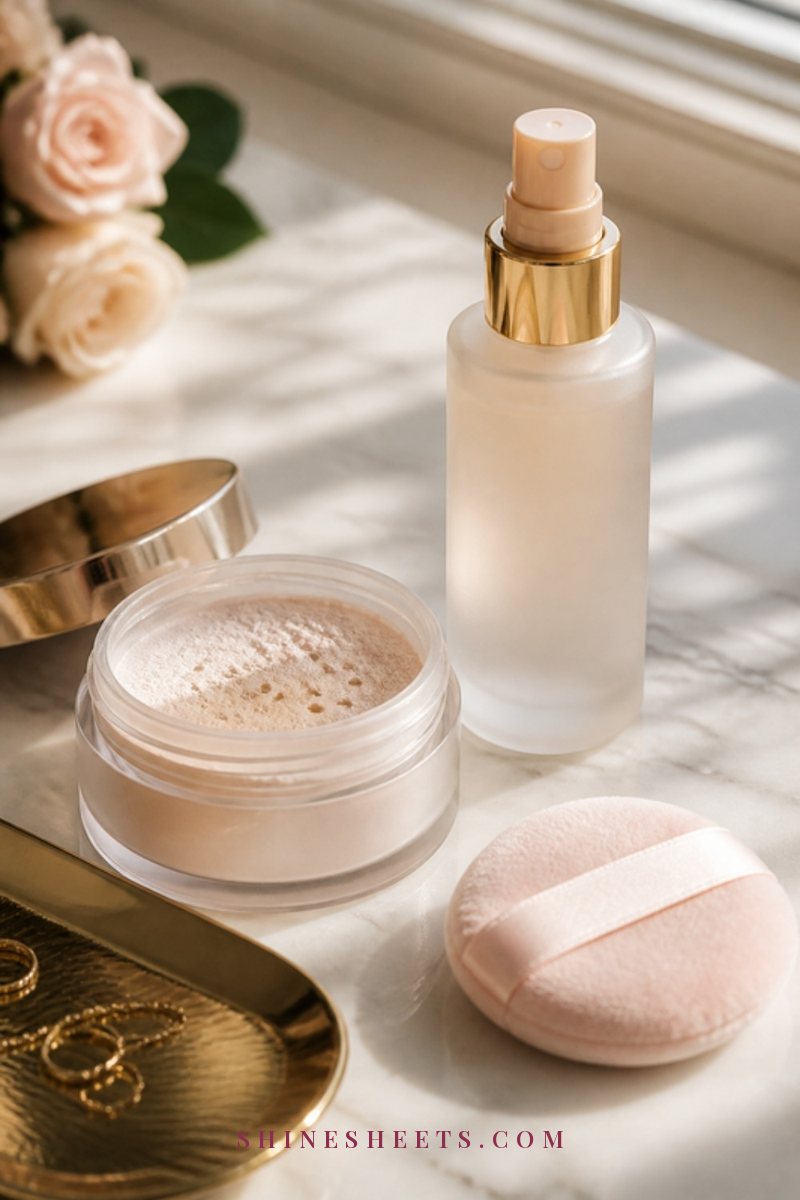
If you only want the short version, here it is:
- Oily skin or a shiny T-zone: setting powder is your priority. A spray is a nice extra.
- Dry or mature skin: setting spray is your priority, with powder only where you crease.
- Combination skin: powder on the T-zone and under the eyes, spray all over.
- Long days, events, heat or photos: use both.
My own skin is combination and sensitive, with a T-zone that turns shiny by lunchtime, so I'd always choose a little powder through the center of the face and a light mist of spray everywhere. The rest of this guide explains why that works, and how to adjust it for your skin.
What Setting Powder Does
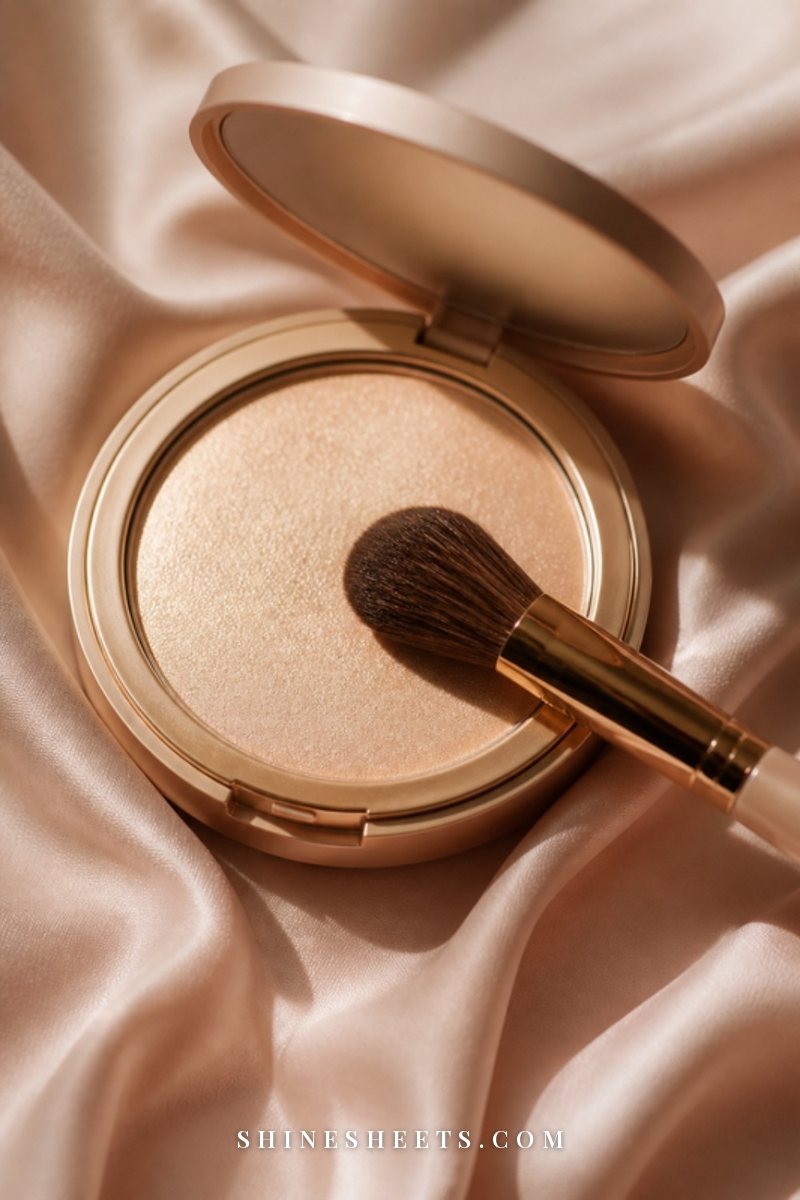
Setting powder is a finely milled powder applied over foundation and concealer. It does three main things:
- Absorbs oil. Powder soaks up excess sebum so your skin looks less shiny and your base doesn't slide.
- Blurs. It softly diffuses light, which makes pores and texture look less obvious.
- Locks cream products in place. Liquid foundation and concealer stay a little tacky after you apply them. Powder sets that tackiness so the products don't move, crease or transfer as easily.
The trade-off: powder can look dry, flat or cakey if you use too much, especially on dry, mature or textured skin.
Loose vs Pressed Powder
Loose powder is the most finely milled and gives the smoothest, most even set. It's ideal at home, especially for setting concealer under the eyes. It's messier, though, and harder to travel with.
Pressed powder is compacted into a compact. It's more portable and great for touch-ups, but it can build up faster, so tap off the excess before you apply it.
Translucent vs Tinted Powder
Translucent powder looks white or pale in the jar but goes on sheer, so it works with most skin tones when applied thinly. A good translucent loose setting powder is the most versatile place to start.
Tinted powder adds a touch of coverage and color. It's helpful if translucent powder looks a bit ashy on deeper skin tones, or if you want a little extra evening-out. Match it to your foundation, not lighter.
What Setting Spray Does
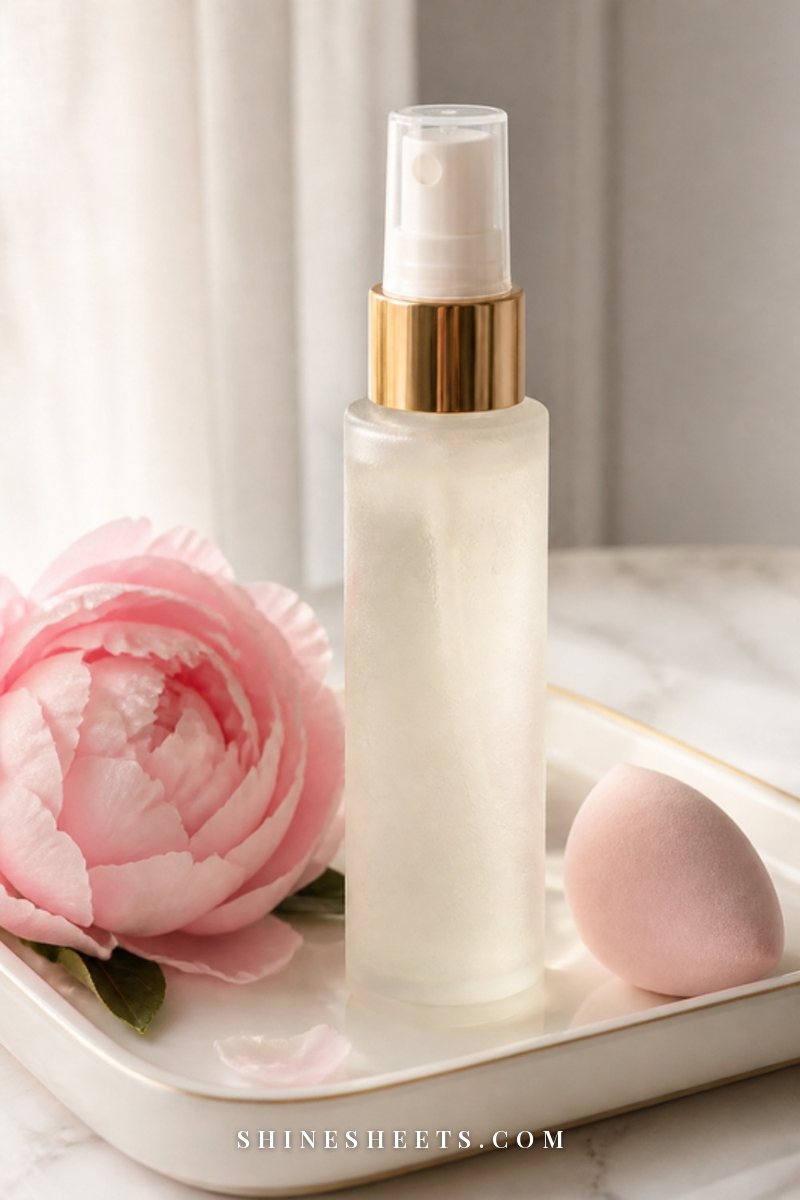
Setting spray is a fine mist you apply over finished makeup. It contains water plus film-forming ingredients and, depending on the type, hydrating or oil-absorbing ingredients. It does a different set of jobs:
- Melts layers together. It takes away the "powdery" look and makes foundation, concealer, blush and powder look like skin again.
- Adds hold. A thin, flexible film helps makeup resist rubbing, heat and humidity.
- Adjusts the finish. Depending on the formula, it can make skin look dewier or more matte.
What it doesn't do on its own is soak up oil the way powder does. If your skin gets shiny, a spray alone usually won't fix that.
Hydrating, Mattifying and Long-Wear Sprays
- Hydrating or dewy sprays often contain glycerin or hyaluronic acid. They're lovely for dry and mature skin, taking away powderiness and adding a fresh glow. A hydrating setting spray is the one I'd choose for dry winter days.
- Mattifying sprays contain oil-absorbing ingredients and help keep shine down a little longer. Best for oily skin and humid weather.
- Long-wear or "makeup lock" sprays contain stronger film formers for maximum hold. They're the workhorses for weddings, long workdays and heat. A long-wear makeup setting spray is worth having for those days.
Which One Suits Your Skin Type
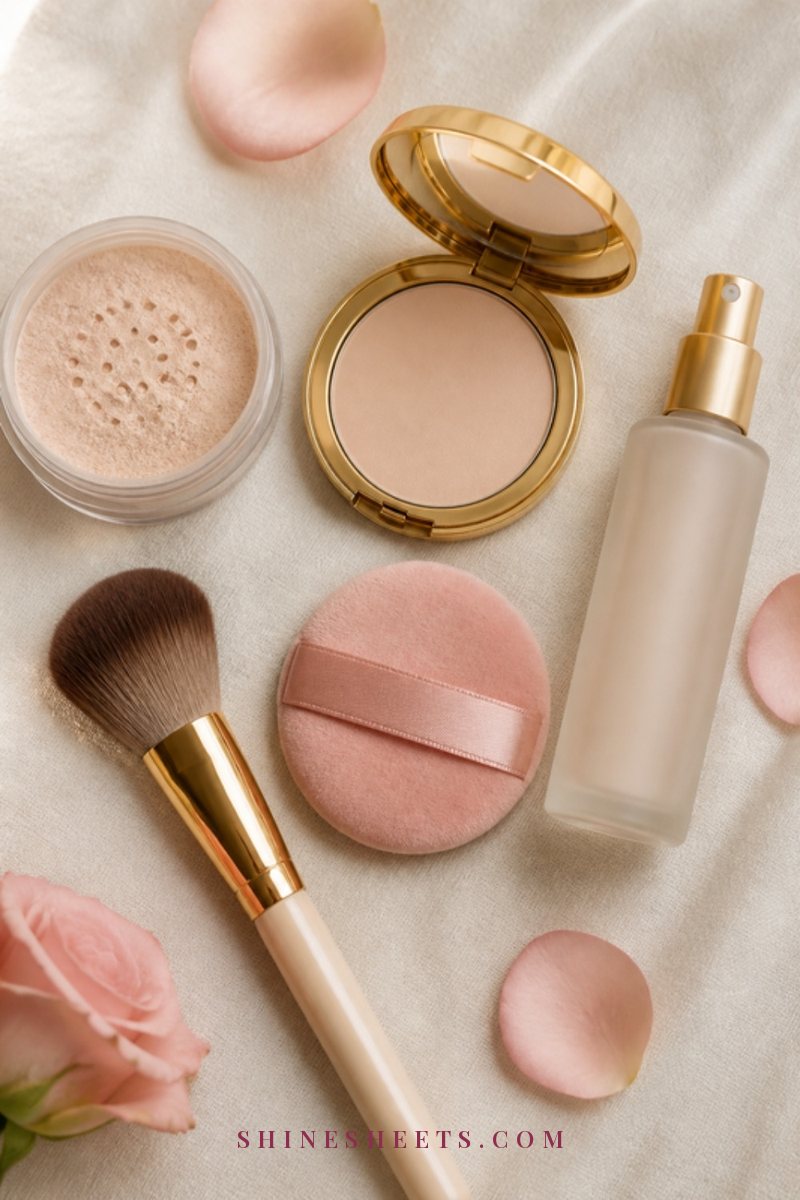
Here's the table that takes the guesswork out of it. Find your skin type, then use the combination in that row. Screenshot it for your next makeup shopping trip.
| Skin type | Powder | Spray | Where and how much |
|---|---|---|---|
| Oily | Translucent loose powder | Mattifying or long-wear | Powder all over the T-zone and center of face; spray all over to finish |
| Dry | Very little, finely milled, only where needed | Hydrating | Powder only under eyes and around the nose; spray all over, before and after |
| Combination | Translucent loose powder | Hydrating or long-wear | Powder on T-zone and under eyes; spray all over |
| Mature | Ultra-fine powder, tiny amounts | Hydrating | Powder under eyes and sides of nose only, pressed in thinly; spray generously |
| Textured or acne-prone | Fine, non-shimmery powder | Hydrating or long-wear (non-dewy if you're shiny) | Press powder, never sweep; spray to soften any powdery look |
| Normal | Either type, lightly | Any, depending on the finish you want | Light powder on T-zone; spray all over |
If you'd like more detail for your skin type, I have full guides on makeup for oily skin, makeup for dry skin and makeup for textured skin.
How To Apply Setting Powder
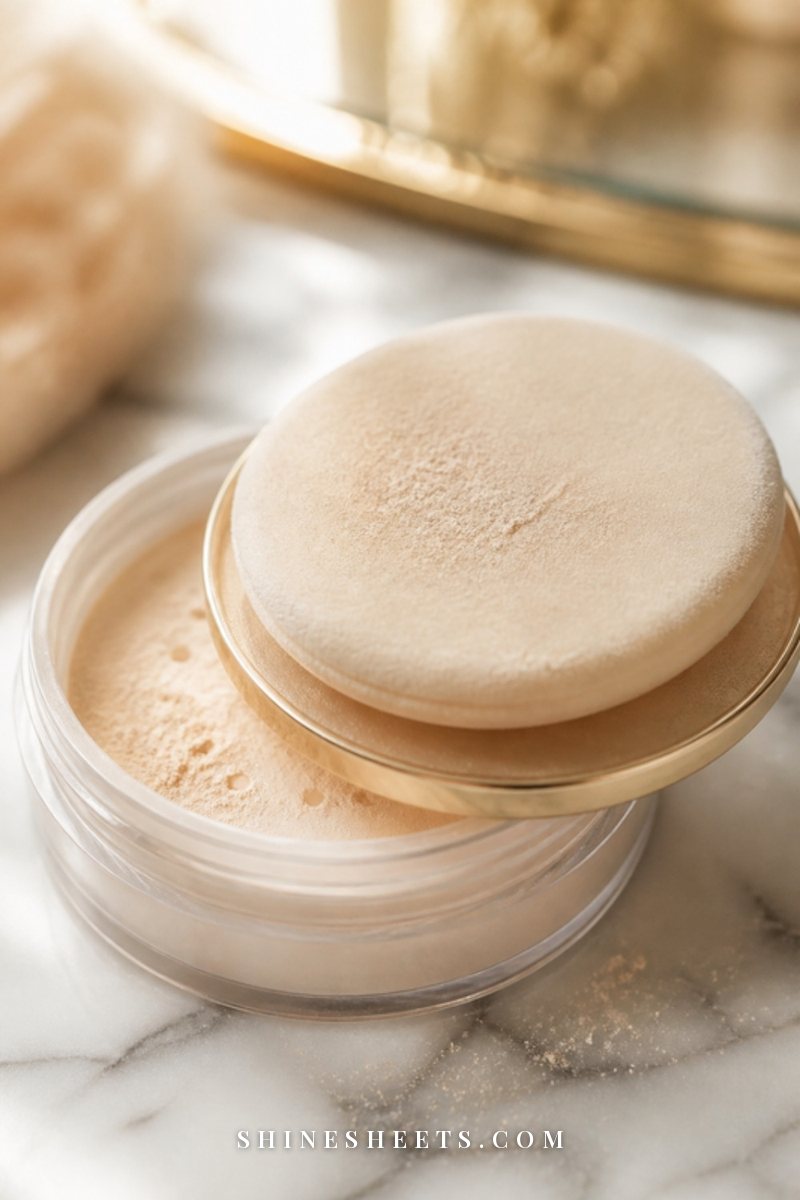
The way you apply powder matters as much as which powder you choose. The goal is a thin, even layer that sets, not a coat that sits on top.
The Press-and-Roll Method
- Wait 1–2 minutes after applying foundation and concealer so they settle slightly.
- Tip a small amount of loose powder into the jar's lid. Press a soft velour powder puff into it, then fold the puff in half and rub it against itself to work the powder into the fibers.
- Tap off the excess on the back of your hand.
- Press and gently roll the puff onto your skin, starting with the areas that get oily first (usually the sides of the nose, forehead and chin). Don't swipe; swiping moves the foundation underneath.
- Use whatever is left on the puff for the rest of the face, if needed.
A puff gives more hold. A big fluffy brush gives a lighter, softer finish. If your skin is dry, use the brush; if it's oily, use the puff. A soft, fluffy powder brush with dense but airy bristles is the easiest kind to control.
On combination skin, you can use both: the puff through the T-zone where you need real oil control, and the brush on the cheeks and jaw for just a whisper of powder. Wash your puff once a week (a gentle cleanser and lukewarm water, then air dry flat), because a puff full of old oil and powder applies unevenly and isn't kind to skin.
Under the Eyes
Under the eyes is where powder can either save your concealer or make it crease. Use a small, fluffy brush or the pointed corner of your puff with very little product. Look up, gently press the powder along the lower lash line and the inner corner, then blend out. If you have fine lines there, use even less, and set with a hydrating spray afterward. My guide to concealer without creasing covers this step in more detail.
Avoiding Flashback
Flashback is that white cast some powders show in flash photography. It's most common with heavy layers of very light translucent powders. To avoid it, use thin layers, blend well, brush away any visible excess and do a quick test photo with flash before a big event. "Baking" with thick layers of powder is the biggest culprit, so skip it if you're going to be photographed.
How To Apply Setting Spray
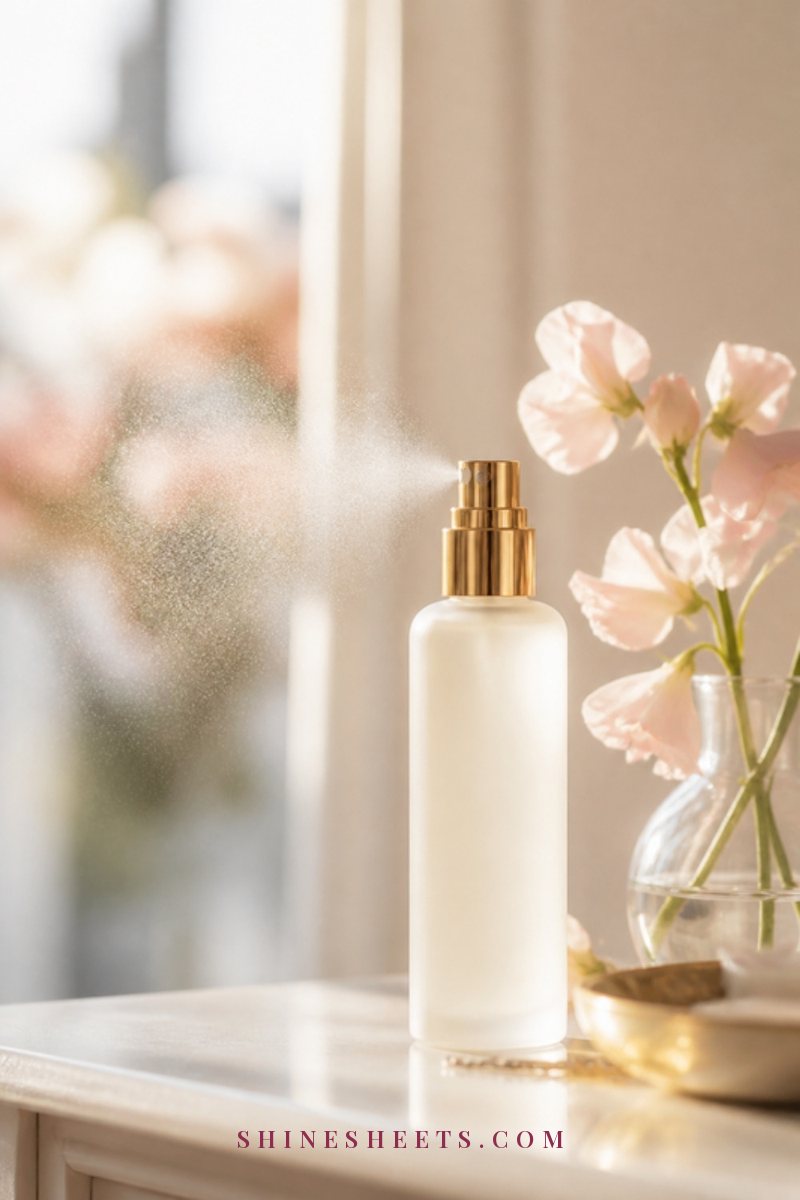
Setting spray looks simple, but a few small details make the difference between a seamless finish and a blotchy one.
Shake, Then Hold It at Arm's Length
Shake the bottle for a few seconds. Hold it about 8–12 inches from your face, roughly an arm's length bent at the elbow. Closer than that and you'll get wet droplets that can move your foundation and leave spots.
The X and T Motion
Close your eyes and mouth. Spray in an "X" shape across your face (two diagonal sweeps), then a "T" (once across the forehead and once down the center of the face). That's usually 4–6 sprays, enough to cover everything evenly without soaking it.
Let It Dry Untouched
Give it 30–60 seconds to dry on its own. Don't fan, rub or pat while it's wet. If you want extra melting on a powdery area, you can press a clean, damp makeup sponge over it once it's mostly dry.
How To Use Both: The Makeup Sandwich
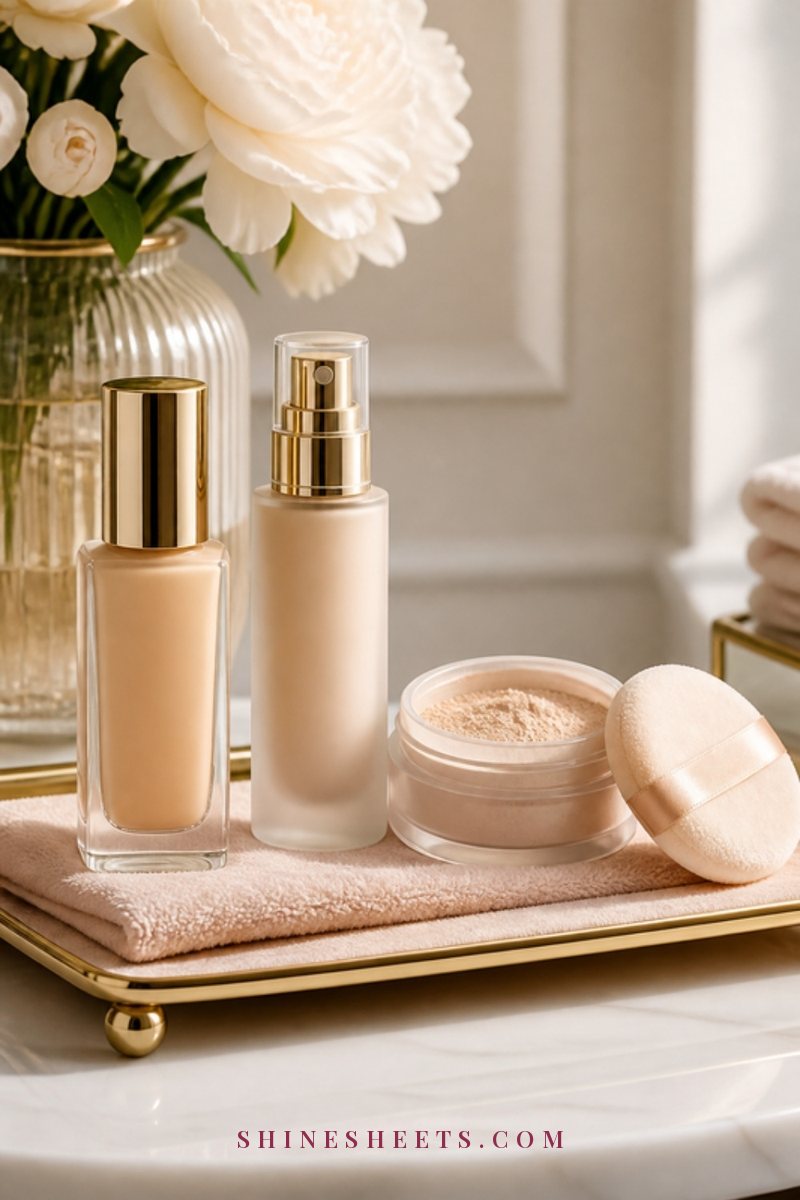
If you want makeup that lasts all day (or all night), the "sandwich" layers spray and powder for maximum hold:
- Skin prep. Moisturizer and sunscreen, then wait a few minutes for them to absorb.
- Spray first (optional). A light mist of hydrating or long-wear spray before foundation can help it grip, especially on dry skin.
- Foundation and concealer. Apply as usual. My guide to how to apply foundation walks through this step by step.
- Powder. Press in a thin layer where you need it, following the table above.
- Spray again. Finish with 4–6 sprays in the X and T pattern to melt everything together.
For everyday makeup, steps 4 and 5 are usually plenty. Save the full sandwich for long days, warm weather and events.
Setting for Different Days and Situations
Your skin isn't the only thing that decides how you set your makeup. Where you're going and what the weather is doing matter too. Here's how I'd adjust the basic routine:
- Everyday, light makeup. A tinted moisturizer or skin tint usually needs only a quick dusting of powder on the sides of the nose and a light mist of spray. Keep it minimal so skin still looks like skin.
- Long workdays. Press powder into the T-zone, spray all over, and keep blotting papers in your bag for the afternoon.
- Hot, humid weather. Use a mattifying or long-wear spray, set the T-zone and under the eyes with loose powder, and let your sunscreen absorb fully before foundation. Lighter layers last longer in heat than heavy ones.
- Cold, dry winter days. Switch to a hydrating spray, use powder only where you crease and add a richer moisturizer underneath. Indoor heating dries makeup out fast.
- Events and photos. Use the full sandwich, but keep powder layers thin to avoid flashback. Do a test photo with flash before you leave.
- Glasses wearers. Press a little powder on the bridge of the nose and the tops of the cheeks where frames sit, then spray to hold it.
How To Choose a Good Setting Powder and Spray
When you're standing in front of a wall of options, a few simple criteria narrow it down quickly:
- Finely milled, matte powder. Rub a little between your fingers: it should feel silky, almost like nothing, not chalky or gritty.
- No shimmer for setting. Save shimmer for highlighter. Setting powder should be matte or soft-focus.
- Shade check. If translucent powder looks gray or ashy on your skin in daylight, try a tinted powder in your foundation shade or one with a slightly warm tone.
- Spray finish. Choose the label word that matches your skin: "hydrating" or "dewy" for dry, "mattifying" or "oil control" for oily, "long-wear" for events.
- Sensitive skin. Look for alcohol-free and fragrance-free sprays, and patch test along your jawline for a couple of days before using a new product all over.
- A fine, even mist. A spray that spits droplets will move your makeup. Good sprays release a soft, wide cloud.
Common Mistakes
- Too much powder on dry skin. It settles into dry patches and fine lines and makes foundation look older and flatter. Use a fluffy brush, use less and powder only where you crease or shine.
- Swiping instead of pressing. Swiping a puff or brush drags the foundation underneath and leaves streaks. Press and roll.
- Spraying too close. Fewer, finer sprays from further away beat a heavy blast at close range.
- Powdering too soon. Give foundation a minute to settle first, or the powder grabs unevenly.
- Using shimmery powder to set oily or textured skin. Shimmer highlights texture and shine. Keep setting powder matte.
- Expecting spray to stop oil. If you get shiny, you need powder (or blotting) too.
- Skipping skin prep. No setting product can fix makeup applied over dry, flaky or very oily, unprepared skin.
Touch-Ups During the Day
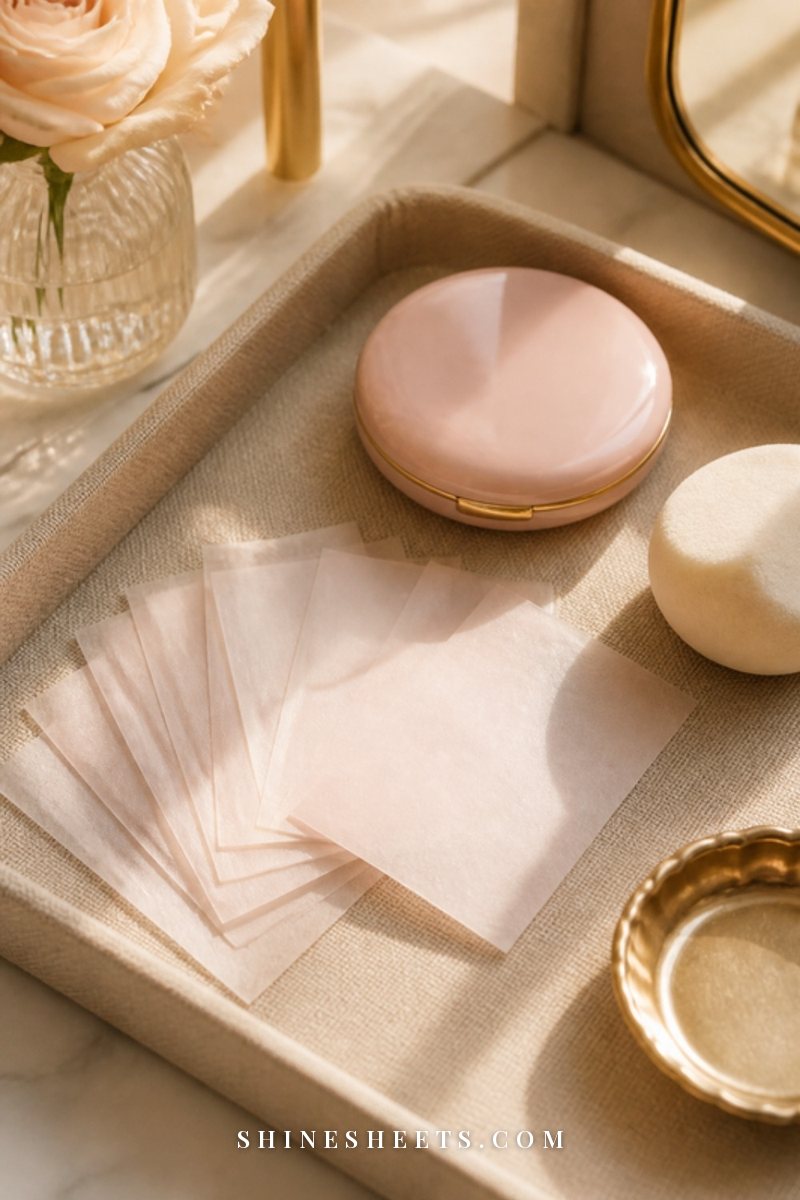
Even well-set makeup needs a little help by mid-afternoon, especially on a shiny T-zone. Here's the order that keeps it fresh instead of cakey:
- Blot first. Press a facial blotting paper onto shiny areas for a few seconds. This removes oil without removing makeup.
- Powder lightly. Tap a pressed powder only where you're still shiny. Adding powder on top of oil without blotting is how makeup gets cakey.
- Mist if you look powdery. A mini setting spray or a hydrating face mist refreshes and melts the layers again.
For dry skin, skip the powder and just mist, then press gently with clean fingertips. A tiny bit of balm or moisturizer patted on dry patches can also revive the base.
Quick Answers
Can you use setting spray without powder?
Yes, especially if your skin is dry or normal and you like a dewy finish. If you're oily, you'll probably need at least a little powder through the T-zone.
Can setting spray replace primer?
Not fully. Some people like a light mist before foundation, but a primer suited to your skin type usually does more for grip and smoothing.
Do I need setting powder with powder foundation?
Usually not. Powder foundation already sets itself. A setting spray afterward can take away any powdery look.
Should I set my whole face with powder?
Not necessarily. Most people only need powder where they get oily or where concealer creases: the T-zone, the sides of the nose and under the eyes. Leaving the high points of the cheeks unpowdered keeps your skin looking fresh and dimensional.
How long does setting spray take to dry?
Usually 30–60 seconds. Let it dry completely before touching your face, putting on glasses or getting dressed, so you don't smudge anything.
Is setting spray safe for sensitive skin?
Many are, but some contain alcohol or fragrance. Look for alcohol-free, fragrance-free formulas, patch test on your jaw first and avoid spraying near your eyes.
Final Thoughts
Setting powder and setting spray are simply two tools for two jobs: powder to control oil and blur, spray to melt and hold. Your skin type tells you which one leads, and on long days, they're even better together.
Start with a thin layer, press instead of swipe, mist from arm's length and adjust from there. Once you find your combination, your makeup will look as fresh at dinner as it did when you left the house.