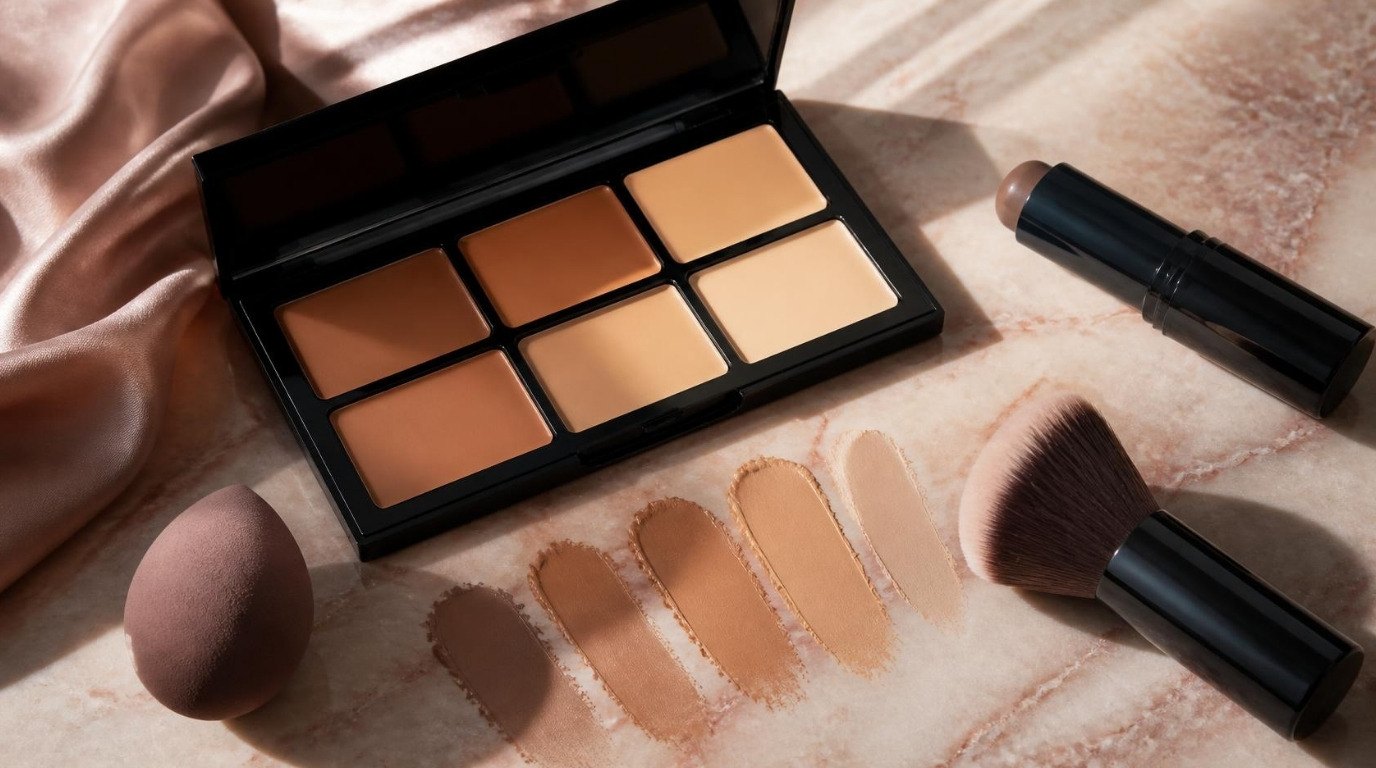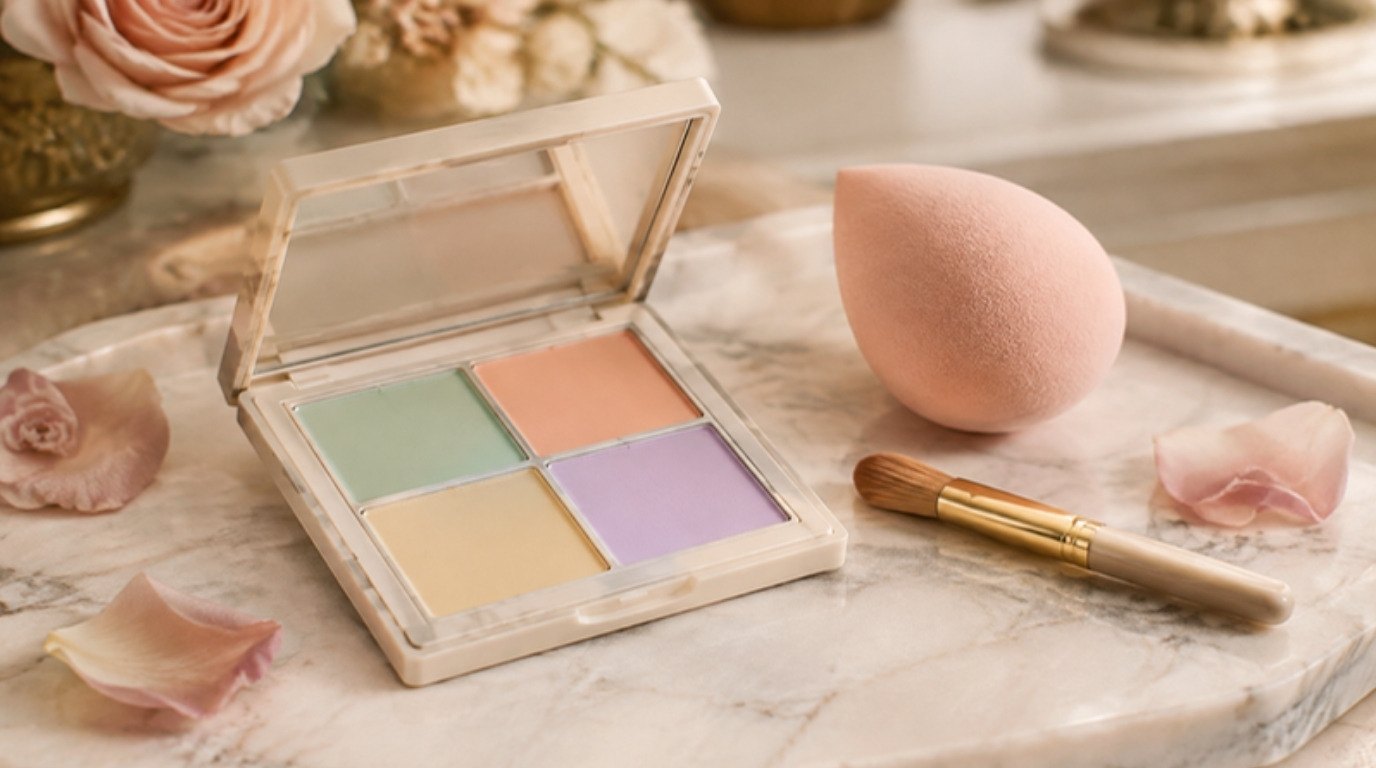
Color correcting looks intimidating, with all those little pots of green, peach and lavender, but the idea behind it is wonderfully simple. You're not painting your face in strange colors. You're using one soft tint to quietly cancel out another, so your foundation and concealer don't have to work so hard.
Once you know which shade cancels what, everything gets easier. You use less foundation, your concealer stops looking gray over dark circles, and redness around your nose fades into the background instead of peeking through by lunchtime. It's one of those small makeup skills that makes a big, natural-looking difference.
This guide is all about color correcting for beginners. You'll find the color wheel idea explained in plain words, the five corrector shades and exactly what each one is for, a shade-by-concern table you can screenshot, how much product to use, the right order of steps, tapping vs rubbing, cream vs liquid formulas, and the five mistakes that make color correcting look obvious.
No complicated theory, no ten-step routines. Just the shade that solves your concern and a light, confident hand.
The Color Wheel Idea in One Paragraph
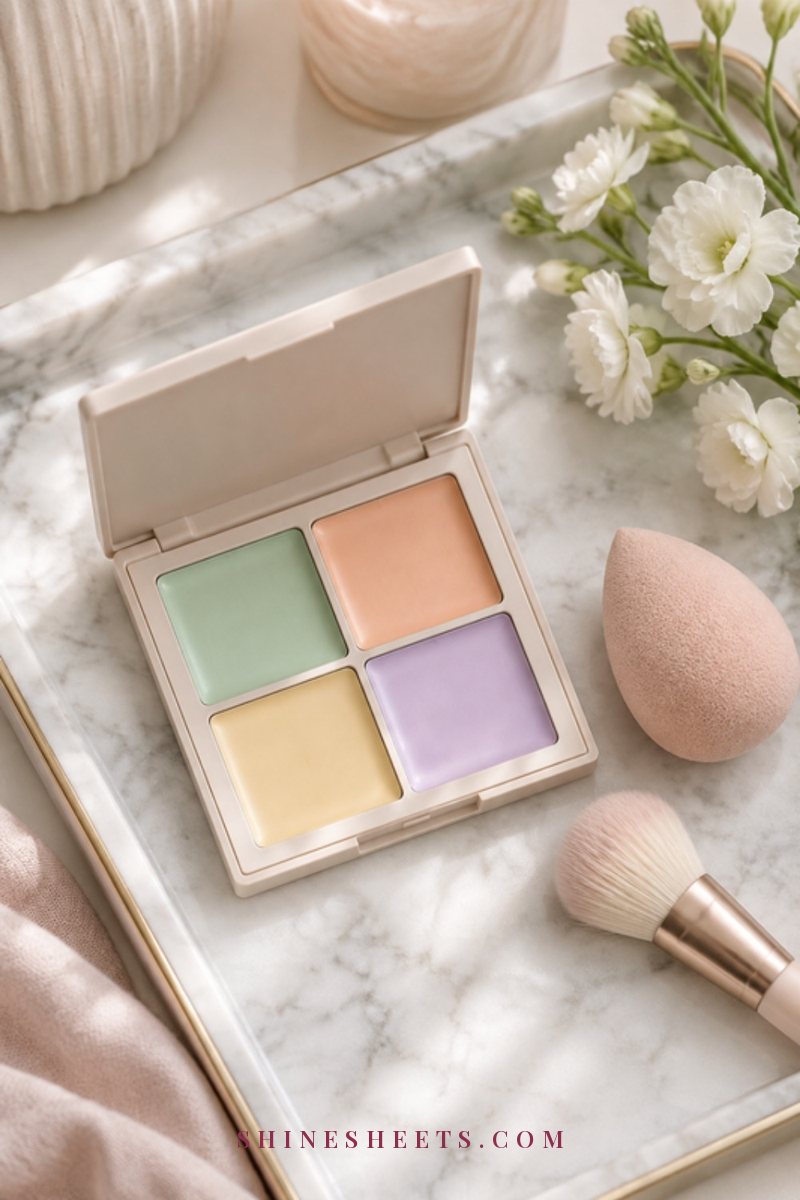
Picture a color wheel. Colors that sit directly opposite each other cancel each other out when you layer them: green neutralizes red, peach and orange neutralize blue and purple, yellow softens violet, and lavender brightens yellow. A thin layer of the opposite tint turns the discoloration into a more neutral, beige-ish tone, and your foundation or concealer then only has to match your skin, not hide a strong color. That's genuinely the whole secret.
One small but important detail: correctors are meant to be a sheer, in-between step. They're never the final layer. Think of them like a primer for a specific spot, quietly doing their job underneath.
5 Corrector Shades and What Each One Cancels
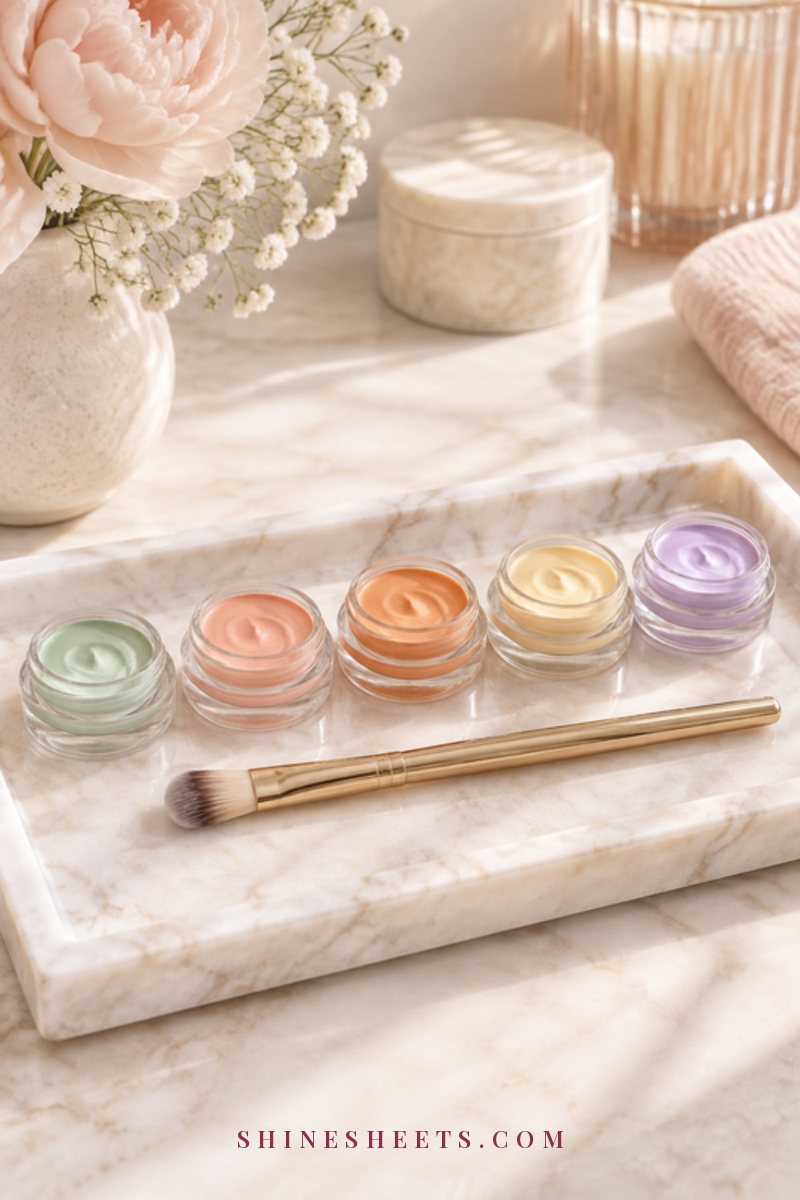
Most concerns fall into five color families. You probably don't need all five. Many people only ever reach for one or two, so read through and notice which concerns actually show up on your face.
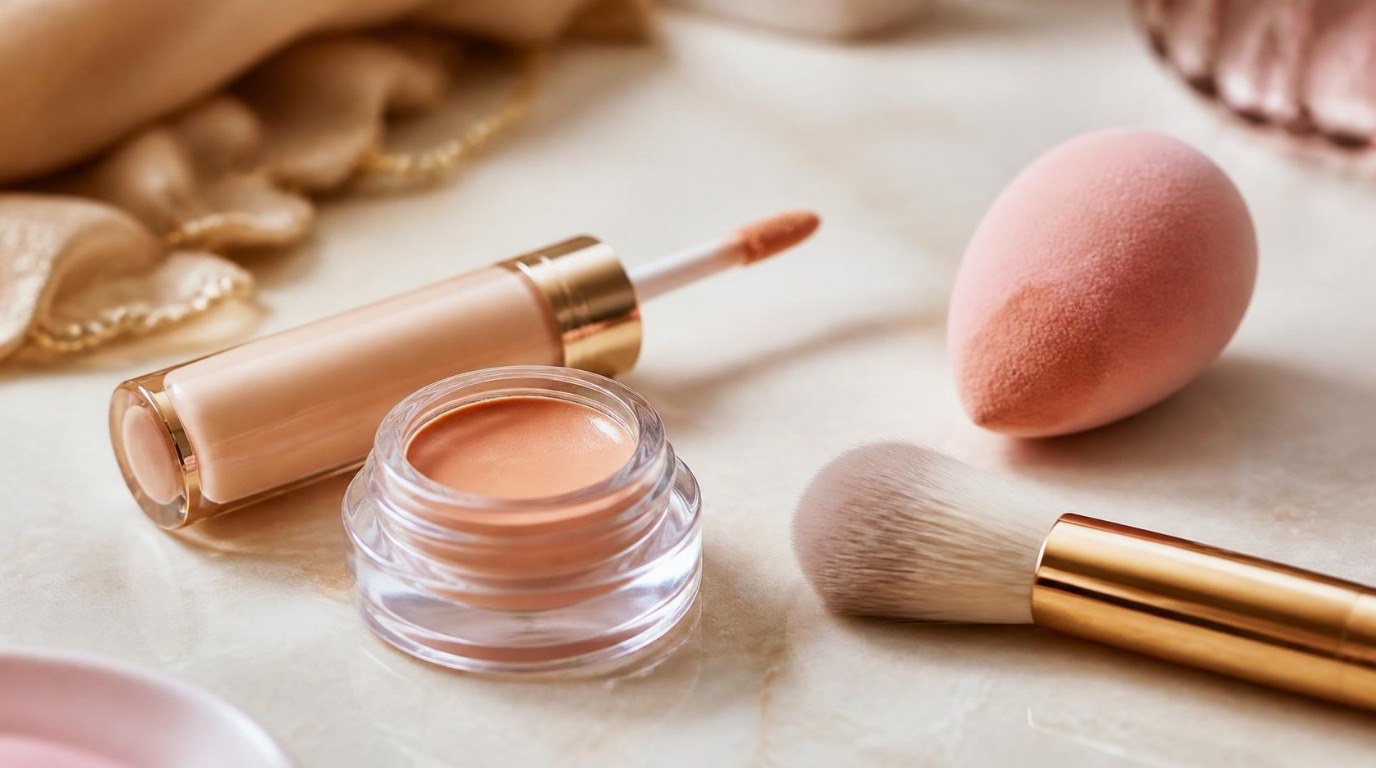
If you'd like to try several at once without buying five separate products, a multi-shade cream color correcting palette is the easiest place to start. Look for creamy, blendable pans (not dry or chalky ones) and a mix of green, peach, yellow and lavender, plus an orange or red shade if you have a deeper skin tone.
1. Green for Redness
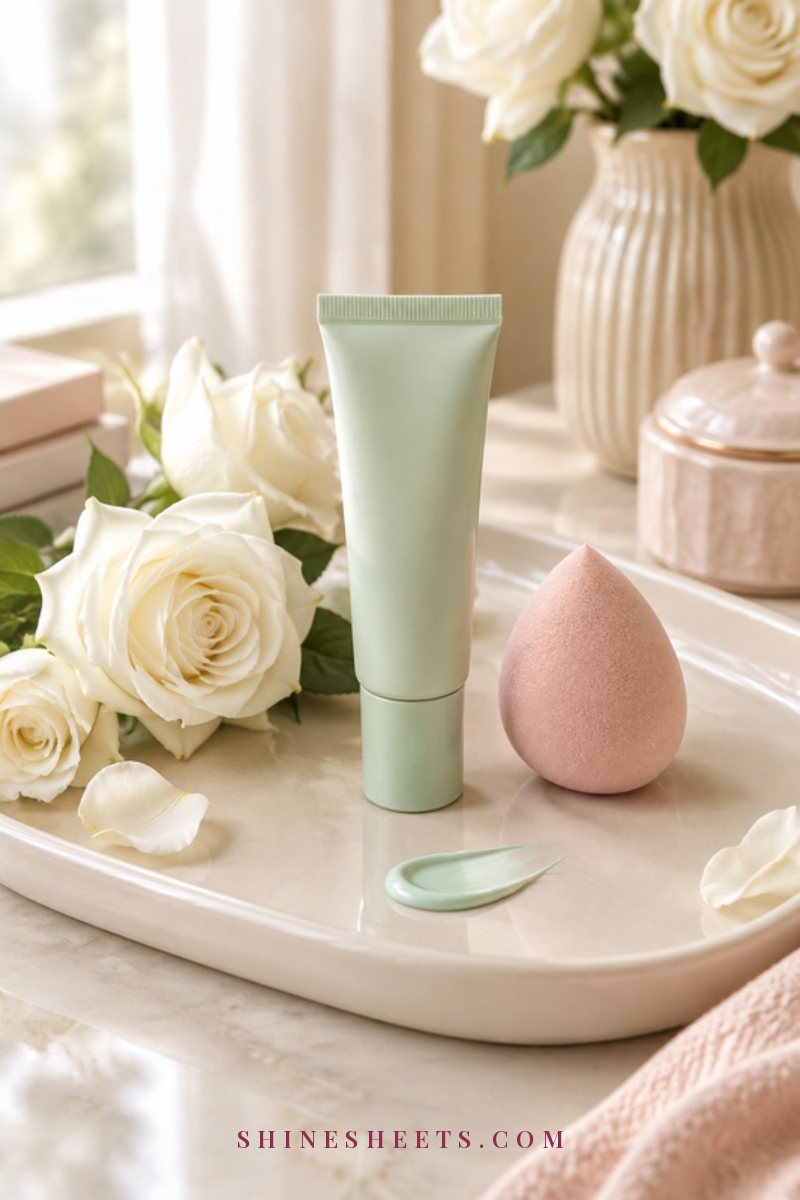
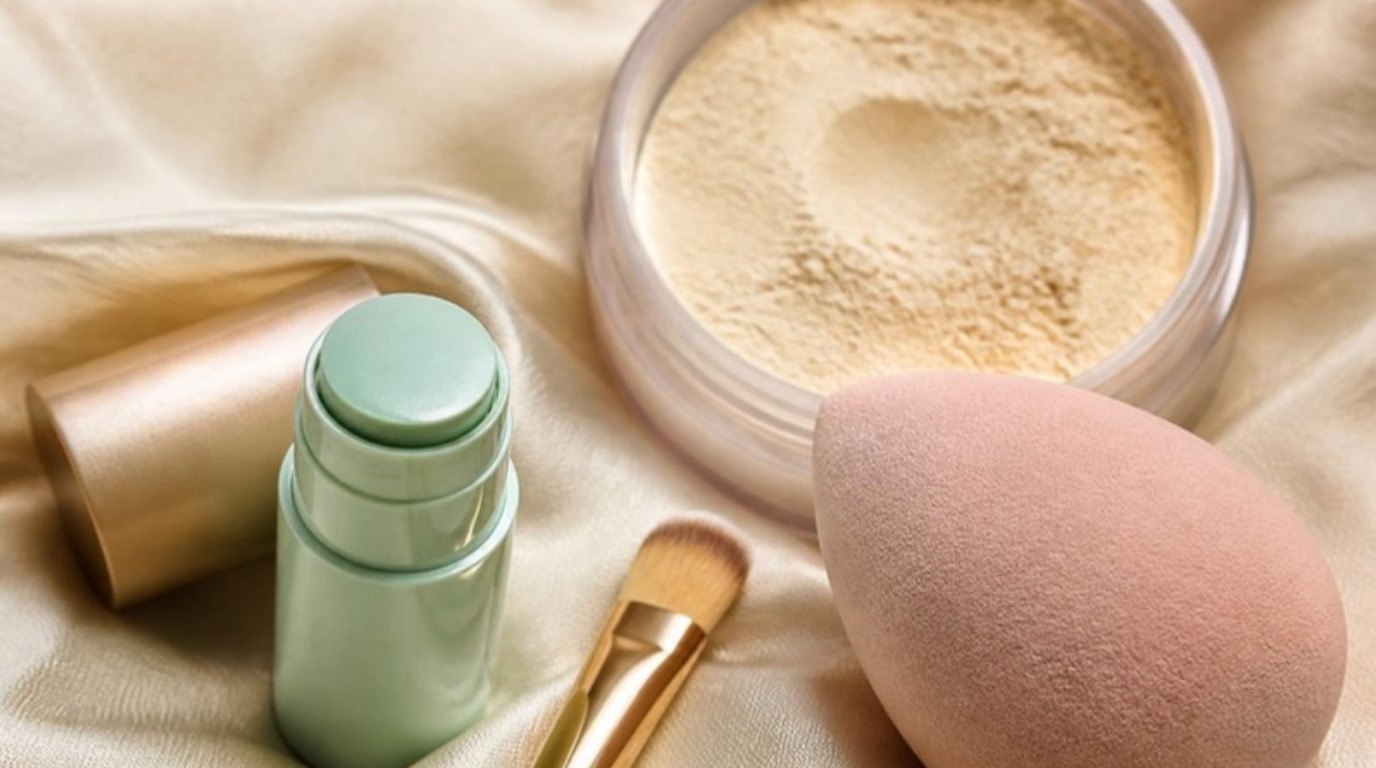
Green is the classic redness neutralizer. It works on redness around the nose, flushed cheeks, a red chin, a few broken-looking capillaries and blemishes that are still pink and angry. My combination, sensitive skin gets a little pink around the nose and chin, so this is the shade I'd reach for first.
For spots and small areas, a dot of green cream corrector is enough. For more general redness across the cheeks, a green redness-correcting primer is often nicer, because it spreads in a whisper-thin layer instead of sitting in patches. Look for one that feels lightweight and fragrance-free if your skin is easily irritated. If redness is persistent, burns or stings, that's worth a chat with a dermatologist, and my guide to calming redness on the face covers the skincare side.
2. Peach or Salmon for Blue-Purple Dark Circles
Peach and salmon tones cancel the blue, gray and purple shadows that often show up under the eyes, especially on fair to medium skin. If your concealer alone tends to look slightly gray or ashy under your eyes, this is usually why: the concealer is covering the shadow but not neutralizing its color.
Fair skin generally does best with a light, soft peach. Light-medium to medium skin often prefers a richer salmon or apricot. A creamy peach under-eye corrector made for the delicate eye area is ideal, since it's usually more flexible and less likely to crease than a thick palette shade. For the full under-eye routine, my guide on how to cover dark circles walks through every step.
3. Orange or Red for Dark Circles and Hyperpigmentation on Deeper Skin
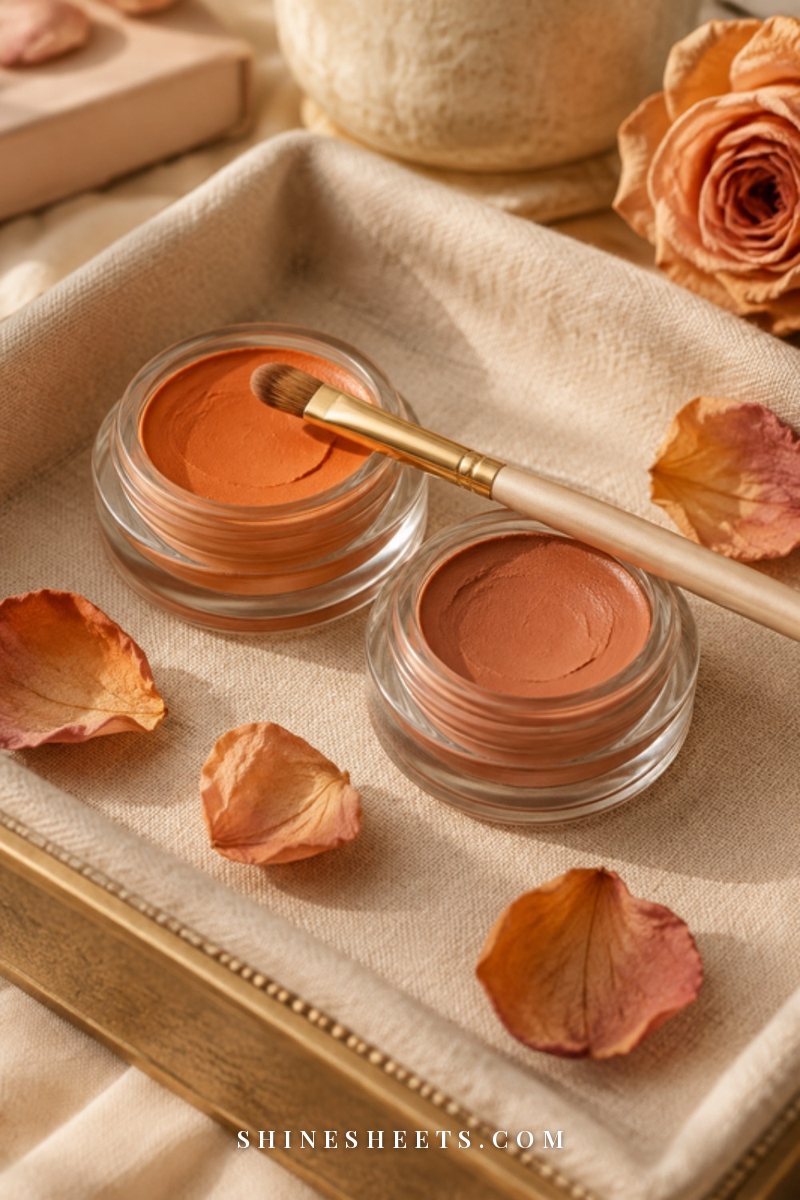
On deeper skin tones, peach is often too light and can leave an ashy cast. Orange, deep apricot or even a soft brick red is much more effective at canceling dark circles, dark spots and hyperpigmentation on medium-deep to deep skin. The richer your skin tone, the deeper and warmer the corrector usually needs to be.
Use it only exactly where the darkness sits: the inner corner of the under-eye, a dark spot, a patch of post-blemish marks or darker skin around the mouth. Tap it in thinly, let it set for a few seconds, then follow with foundation or concealer that matches your skin.
4. Yellow for Mild Purple and Dullness
Yellow is the gentlest corrector. It softens mild purple tones, like light under-eye shadows, faint veins on the eyelids or a slightly bruised-looking area, and it can brighten skin that looks a bit dull or uneven. It's also lovely for light skin with very mild redness, where green would feel like too much.
Many people who think they don't need color correcting actually love a touch of yellow, because the effect is so subtle. A thin layer on the eyelids before eyeshadow is a small trick that makes the lids look more even.
5. Lavender for Sallow, Yellow Tones
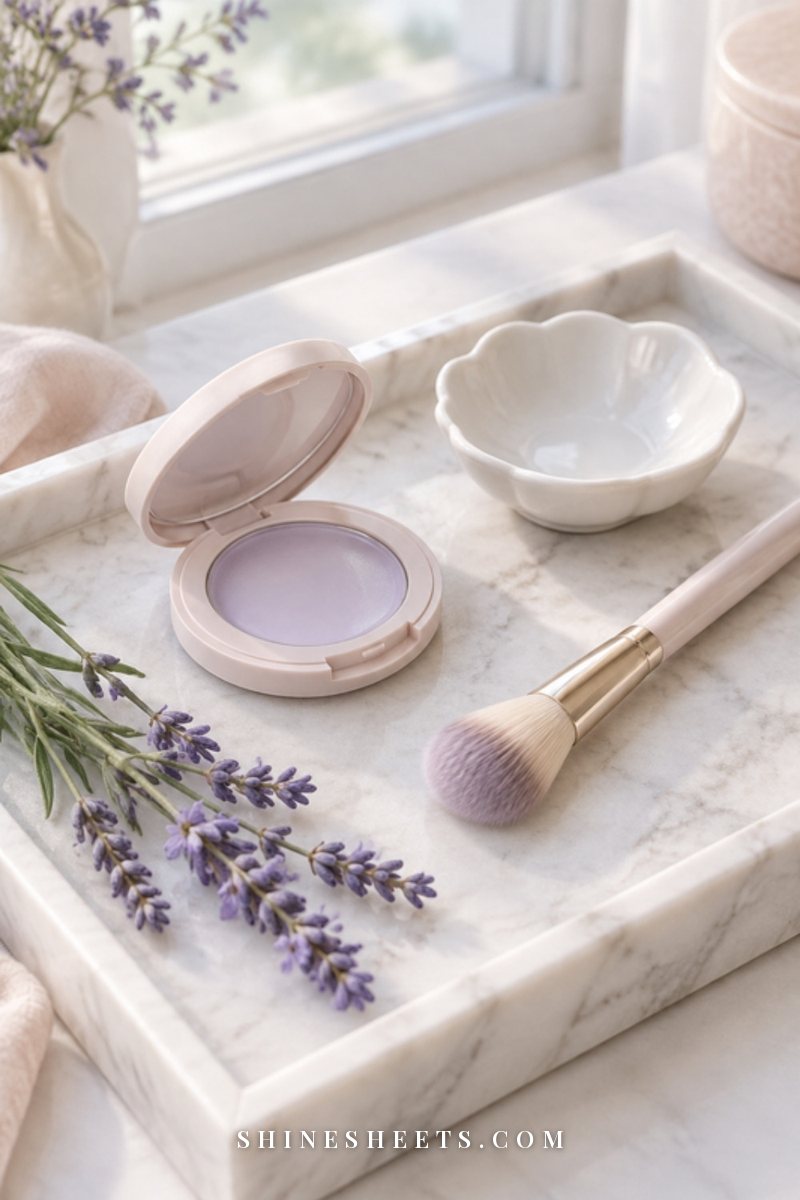
Lavender cancels yellow and sallow tones. If your skin looks a little tired, flat or greenish-yellow in certain light, especially on fair to light-medium skin, a sheer veil of lavender can make it look fresher and more awake.
Lavender is the easiest one to overdo, so use it very sparingly. Instead of a full-face layer, try a few small taps on the center of the face (forehead, the tops of the cheeks, chin), then blend out. If you have a cool, pink undertone already, you may not need it at all.
Color Correcting Chart: Concern, Shade, Skin Tone and How To Apply
Here's everything above in one quick table. Screenshot it and keep it on your phone for the next time you're standing in the makeup aisle wondering which little pot to pick.
| Concern | Corrector shade | Best for skin tone | How to apply |
|---|---|---|---|
| Redness, flushed cheeks, red blemishes | Green (mint) | All skin tones (sheerer on deeper skin) | Tiny dots only on red areas, tap with a fingertip or small brush; use a green primer for wider redness |
| Blue or purple dark circles | Light peach | Fair to light | Thin layer on the darkest part under the eye, inner corner first, tap with a sponge |
| Blue-purple dark circles | Salmon or apricot | Light-medium to medium | Same as above, stop before the outer edge of the eye |
| Dark circles, dark spots, hyperpigmentation | Orange or soft red | Medium-deep to deep | Press onto the dark area only, let set 30 seconds, then concealer |
| Mild purple shadows, eyelid veins, dullness | Yellow | Fair to medium | Sheer layer on eyelids or under the eyes, blend with fingertips |
| Sallow, yellowish or tired-looking skin | Lavender | Fair to light-medium | A few taps on the center of the face, blend out very thinly |
If you're between two skin tone rows, start with the lighter option and go deeper only if the area still looks gray or ashy once your concealer is on.
How Much Corrector To Use (Less Than You Think)
This is the part most beginners get wrong, and it's completely understandable. When you see a strong discoloration, it feels natural to cover it generously. But a corrector only needs to shift the color a little, not hide it completely. That job belongs to your foundation and concealer.
A simple rule of thumb: a grain-of-rice amount per area. That's roughly one small dot for each under-eye, a pinhead dot for a blemish and two or three tiny dots for redness around the nose. Build up only if, after foundation, the color still shows through. You'll almost always find the first thin layer was enough.
Another helpful check: after blending, the corrected area should look a bit more neutral, not visibly green, orange or purple. If you can clearly see the corrector color on its own, there's too much.
The Right Order: From Skincare to Concealer
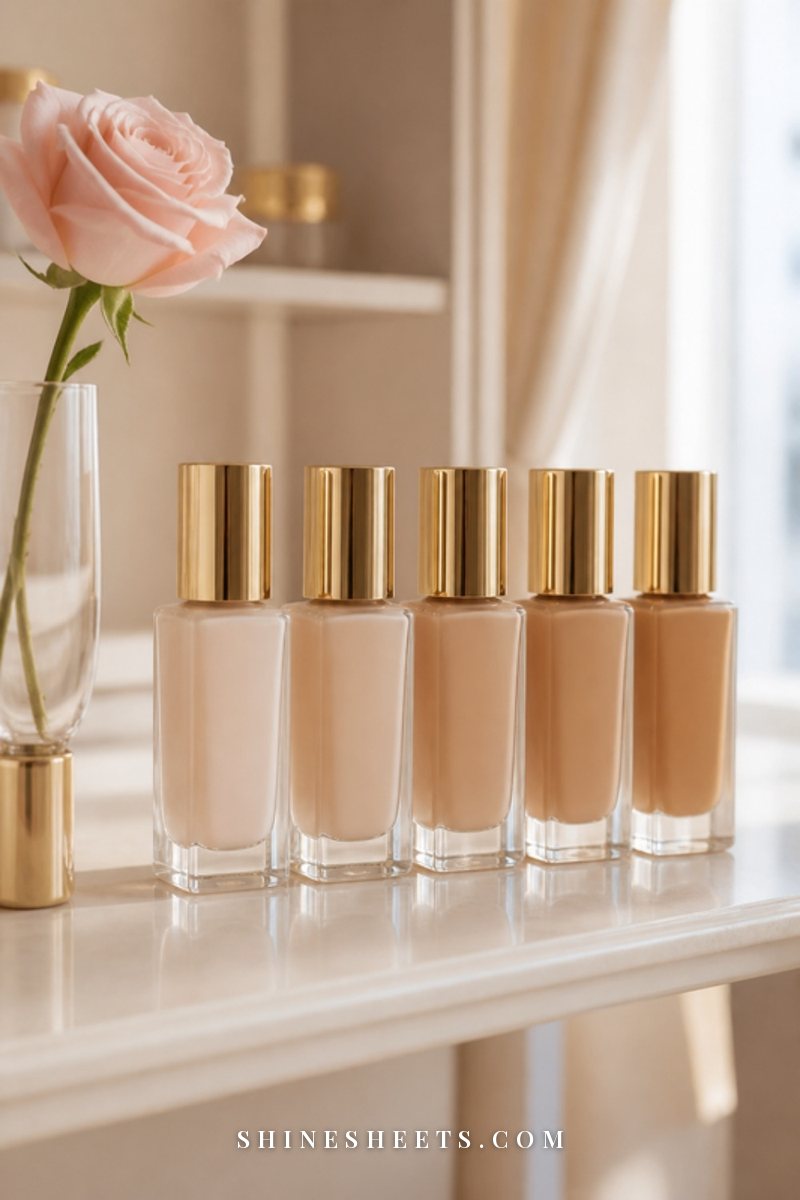
Order matters, because corrector needs a smooth base to grip onto and a skin-matching layer on top. Here's the sequence that works for most people:
- Skincare: cleanse, then a light moisturizer (and eye cream if you like). Morning sunscreen goes on last in your skincare. Give it 3–5 minutes to settle so your makeup doesn't slide.
- Primer: if you use one, apply it now. A tinted green primer can double as your redness corrector. My guide to choosing a makeup primer helps you find the right type for your skin.
- Corrector: tiny amounts, only where needed, tapped in.
- Foundation: a thin layer over the whole face, pressed (not swiped) over the corrected areas so you don't move the corrector around.
- Concealer: only if there's still something showing through, especially under the eyes.
Some people with light coverage needs skip foundation and use concealer over the corrector instead. That works too, as long as something skin-colored goes on top. Matching that top layer matters, so if you're unsure about yours, my foundation shade and undertone guide makes it simple.
A quick kindness note: as with any new face product, patch test a new corrector or primer on a small area (like the side of your jaw) for a day or two before using it all over, especially if your skin is sensitive.
Tapping vs Rubbing: How To Blend Corrector
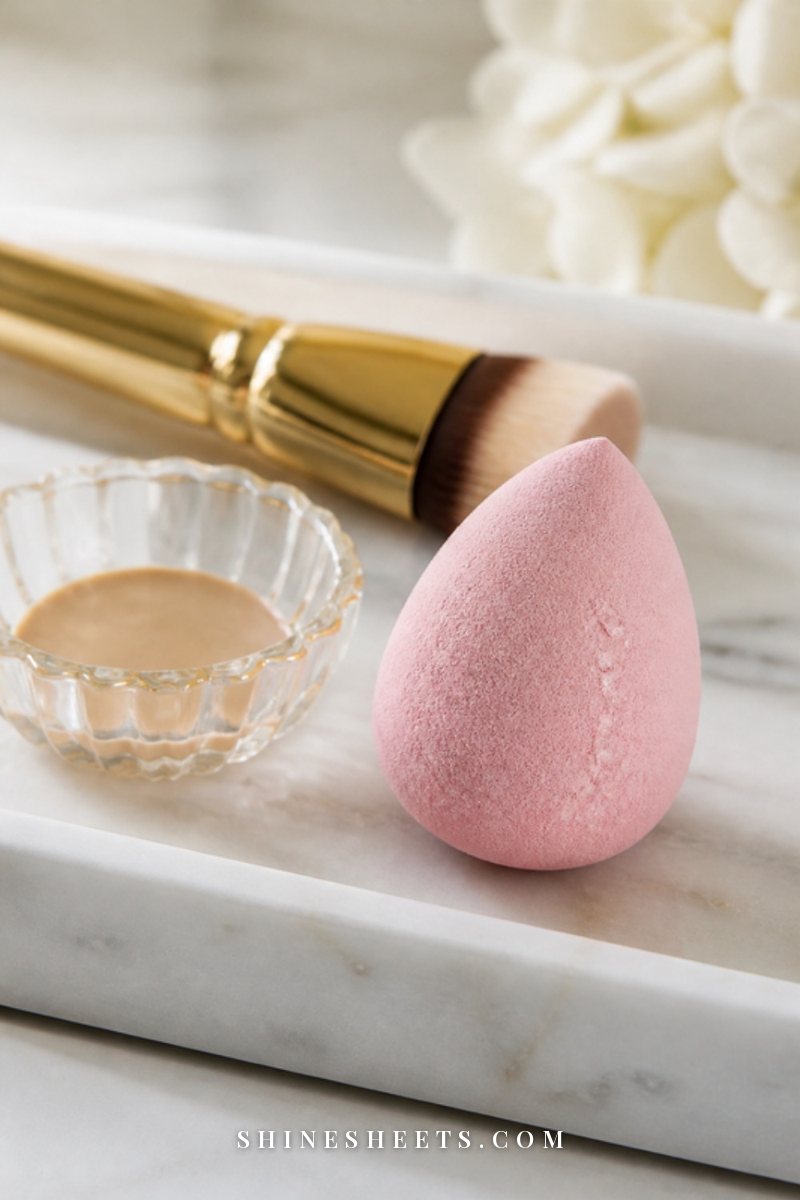
Always tap, never rub. Rubbing spreads the corrector beyond the area that needs it, thins it out unevenly and can tug the delicate skin under your eyes. Tapping presses the pigment into place and keeps it exactly where it belongs.
Three good tools, depending on the area:
- Ring finger: the gentlest option for under-eyes. Your skin's warmth melts cream formulas so they blend more smoothly.
- Damp sponge: a slightly damp blush makeup sponge sheers out corrector beautifully and lifts away any excess. Squeeze it almost dry first, then bounce it lightly over the area.
- Small brush: a small, soft concealer brush is perfect for precise spots, like a red blemish, the sides of the nose or a single dark mark. Dab a tiny amount on, then tap the edges with a fingertip.
Whatever you use, keep your motions small and soft. If you're blending for more than a few seconds per area, you probably used a little too much product.
Cream vs Liquid Correctors: Which One To Choose
Both formulas work. The best one depends on your skin type, the area and how much coverage you want.
- Cream correctors (pots, palettes, sticks) are more pigmented, so a tiny amount goes a long way. They're great for stubborn dark circles, dark spots and strong redness. On very dry or textured under-eyes, warm them on the back of your hand first so they blend more easily.
- Liquid correctors (wands, tubes, tinted primers) are lighter and more sheer. They're lovely for mild redness, wider areas, oily or combination skin, and anyone who wants a natural, barely-there finish. They're also usually less likely to crease.
With combination skin and a shiny T-zone, I'd pick a liquid for around the nose and a creamy (but not heavy) formula under the eyes. Whichever you choose, set the under-eye area with a very light dusting of powder if creasing is a problem. My guide to applying concealer without creasing has more tricks for that part.
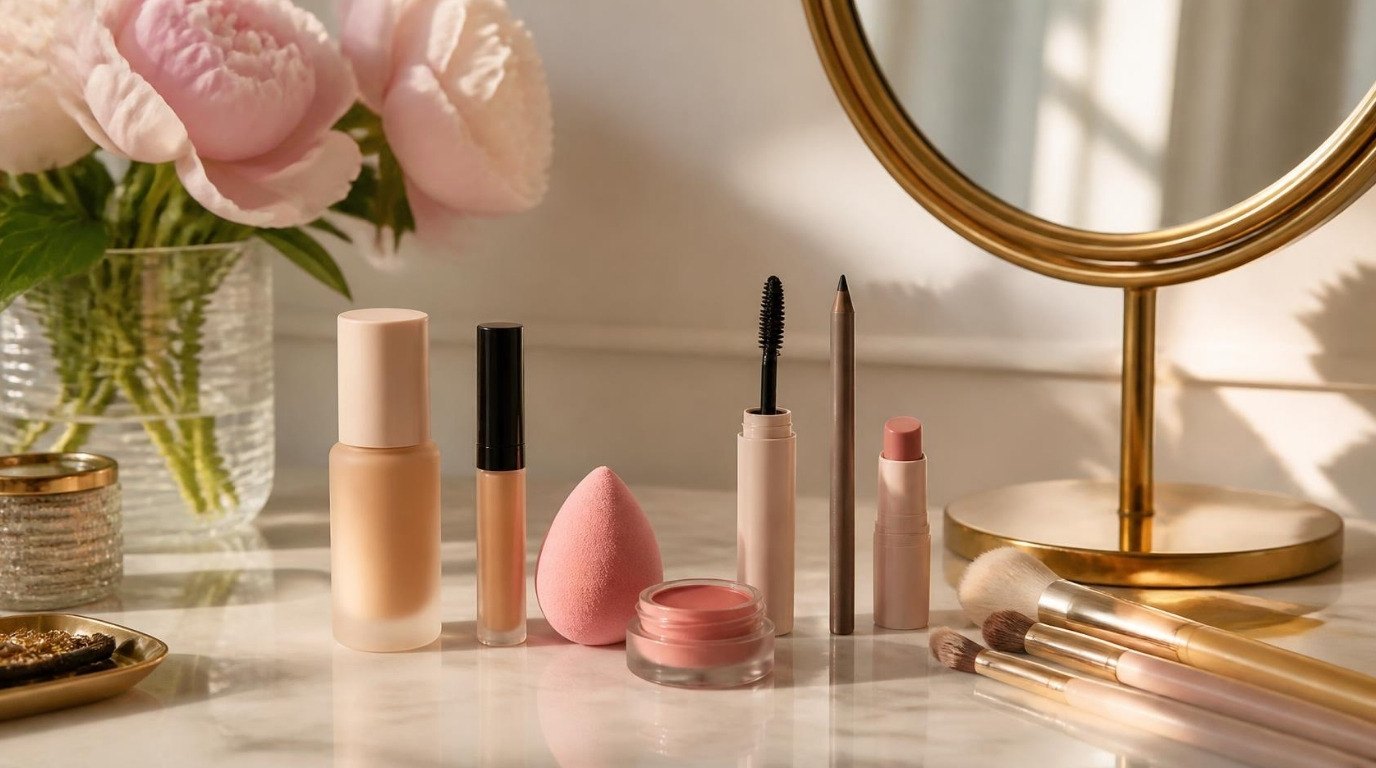
Keeping everything together helps the routine feel easy rather than fiddly. A simple cream marble vanity tray on your dresser, with your corrector, sponge and brush in one spot, means you never have to hunt for the right little pot in the morning.
5 Common Color Correcting Mistakes
If color correcting has ever made your makeup look gray, cakey or strangely tinted, one of these is usually the reason. The good news is that each one is easy to fix.
1. Using Too Much
The number one mistake. A thick layer of corrector shows through foundation and makes the area look heavier and more noticeable, not less. Start with a grain-of-rice amount per area and build only if needed.
2. Choosing the Wrong Depth for Your Skin Tone
A light peach on deep skin looks ashy. A strong orange on fair skin peeks through as an orange patch. Match the depth of the corrector to your skin: lighter, softer peaches for fair skin, salmon and apricot for medium skin, orange and red tones for deeper skin.
3. Skipping Foundation or Concealer on Top
Correctors cancel color, but they're not meant to match your skin. If you wear one on its own, you'll see a green, peach or lavender tint. Always follow with a thin skin-matching layer, even if it's just a little concealer pressed over the area.
4. Dragging It Across the Skin
Swiping foundation over corrector with a brush or sponge moves the corrector away from the spot it was meant to cover (and can smear green into areas that weren't red). Press and tap the next layer on instead, especially over the corrected areas.
5. Using It Everywhere
Color correcting is a spot treatment, not a full-face base. Covering the entire face in green or lavender usually leaves skin looking flat and slightly off-color. Use corrector only where the discoloration actually is, and leave the rest of your skin alone.
A Simple 3-Minute Color Correcting Routine
If you'd like to see how it all fits together on a normal weekday morning, here's an easy routine for the two most common concerns, redness and dark circles. Adjust the shades to your own skin tone using the table above.
- Minute one: after moisturizer and sunscreen have settled, place a grain-of-rice dot of peach, salmon or orange corrector at the inner corner of each under-eye, where the shadow is darkest. Tap it outward with your ring finger, stopping about halfway along the eye.
- Minute two: add two or three tiny dots of green to the sides of the nose and any red spot. Tap with a small brush, then soften the edges with a damp sponge.
- Minute three: press a thin layer of foundation over the face, then dab a little concealer only where something still shows through. Bounce the sponge lightly over the under-eyes and around the nose to melt everything together.
That's it. On lazy days, skip foundation and press a skin-tone concealer straight over the corrected spots. Once this becomes a habit, it takes less time than finding your keys.
Do You Even Need To Color Correct?
Not always, and that's a relief to hear. If your concealer and foundation already cover your redness or dark circles without looking gray, cakey or heavy, you can happily skip this step. Color correcting is a helpful tool for specific concerns, not a rule.
It's most worth trying when your concealer looks ashy under the eyes, when redness keeps showing through by midday, when you find yourself layering lots of product to hide one area, or when dark spots peek through your base. If none of that sounds like you, keep your routine simple. Simple is often the most beautiful option.
Final Thoughts
Color correcting for beginners really comes down to three things: pick the opposite shade, use far less than you think and always finish with a skin-matching layer. Once those click, those little pots of green and peach stop looking mysterious and start feeling like quiet helpers.
Start with the one concern that bothers you most, try a single corrector for a week and let your hand get lighter each morning. A softer, more even base is very much within reach, and it can look completely like your own skin.