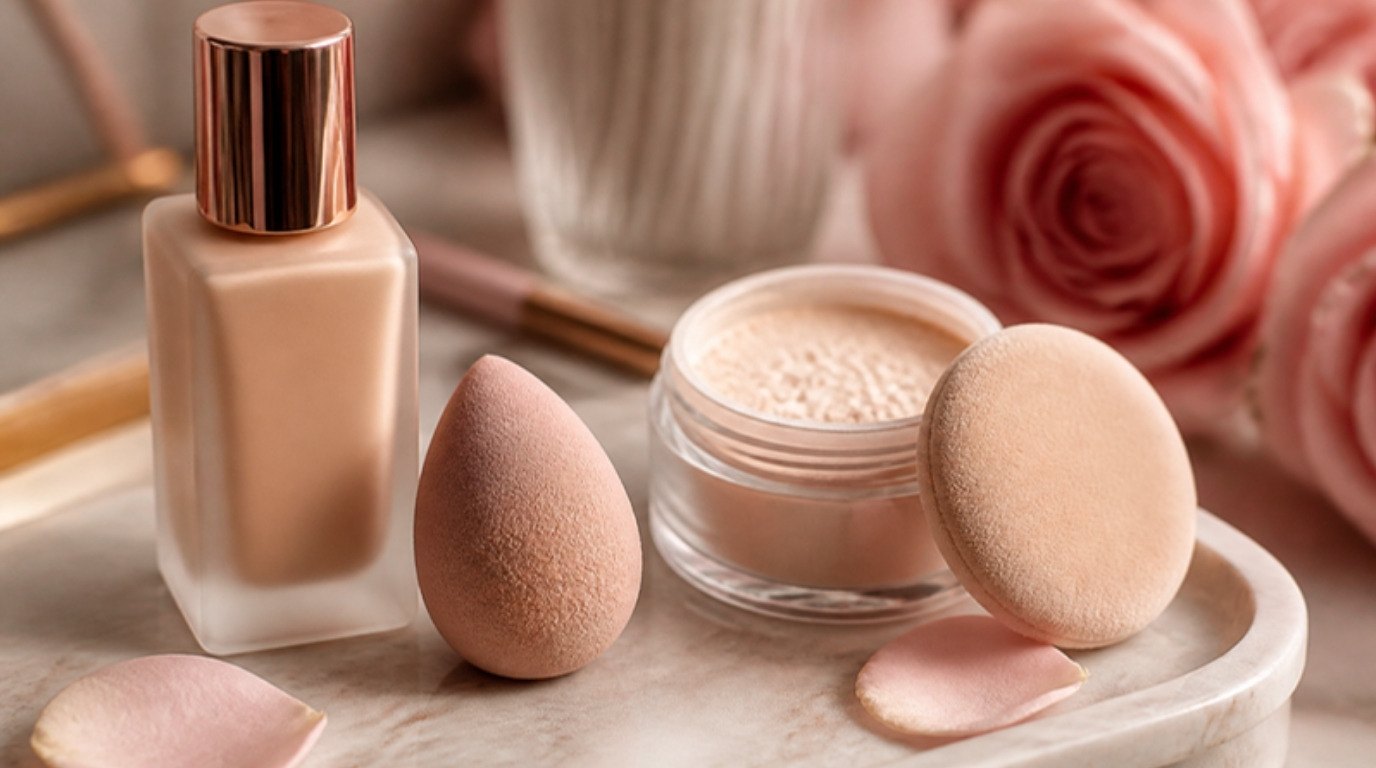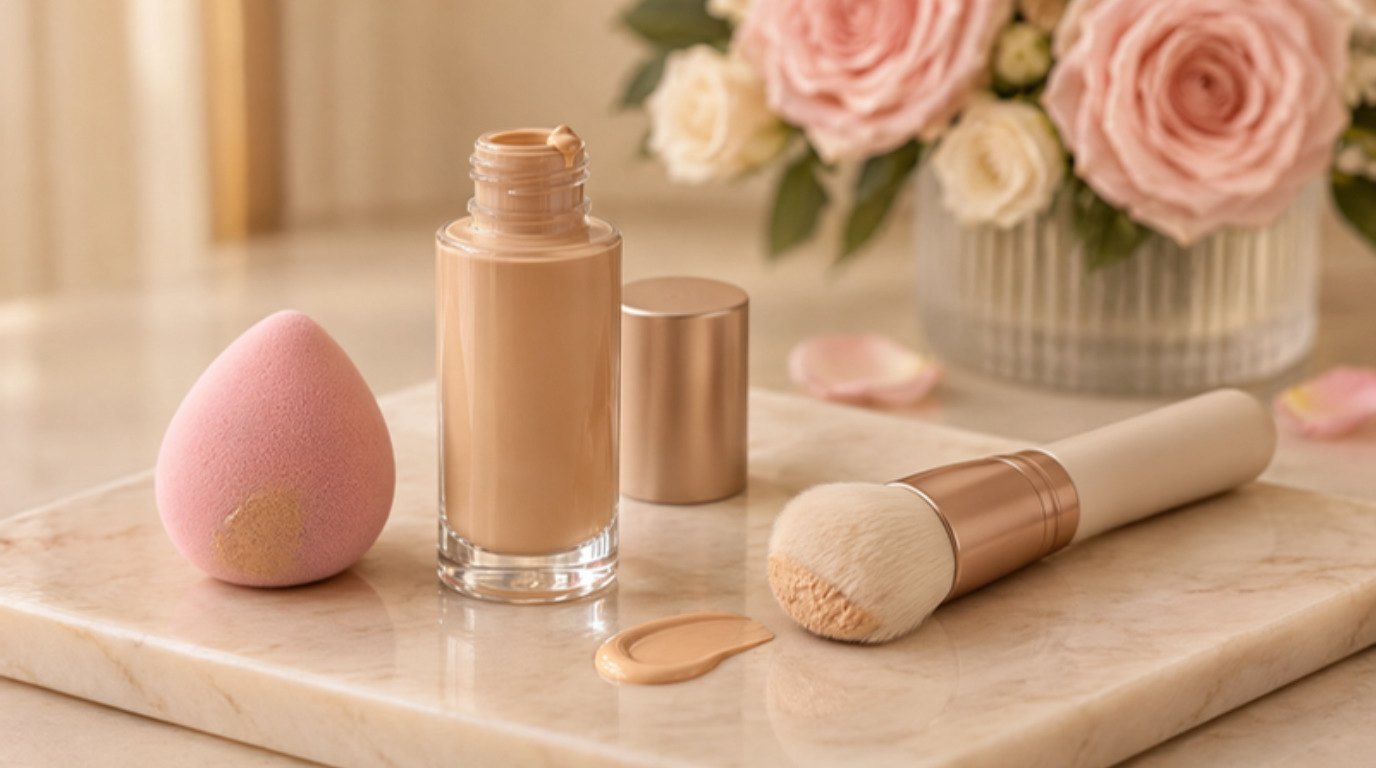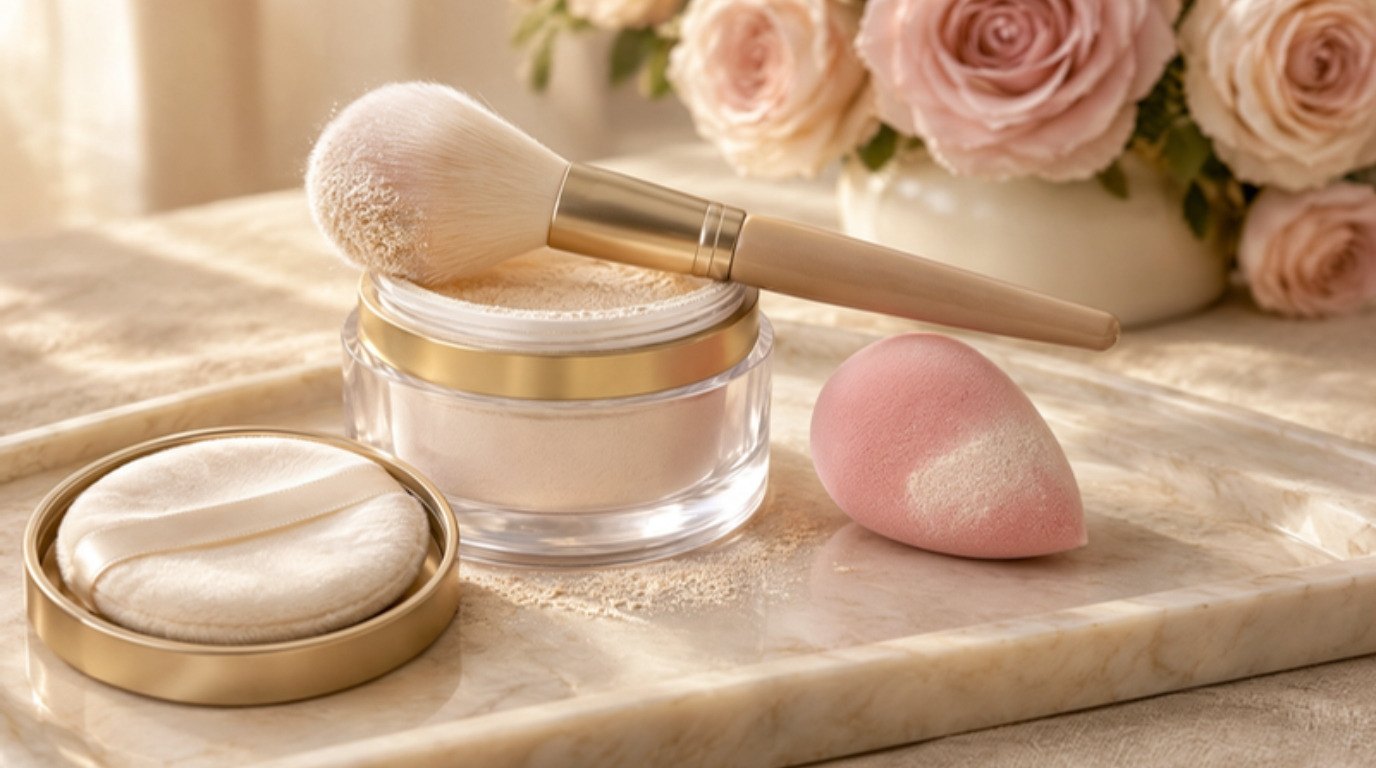
Baking isn't about piling on more powder. It's about giving a thin layer of powder a few quiet minutes to sit on your concealer, so it sets softly instead of sliding into every line by lunchtime. Done well, it's barely there. Done heavily, it's the reason under-eyes look dry and crepey in photos.
The good news is that the difference between those two results comes down to a handful of small choices: how much concealer you use, how fine your powder is, how long you wait and how gently you brush it away. None of it needs a pro kit or a lot of time.
This guide walks you through baking makeup from start to finish: what it actually does, who it helps and who should go lighter, the six steps in order, a table of bake times by skin type, a few smart variations and the five mistakes that make it look cakey. I have combination, sensitive skin with a shiny T-zone, so I'll be honest about where baking earns its place and where a lighter touch looks better.
What Is Baking Makeup?
Baking is a setting technique. You apply concealer (and sometimes foundation), then press a generous-looking but actually small amount of loose powder over the area and leave it alone for a few minutes. Your skin's warmth helps the powder settle into the cream layer and absorb excess oil. Then you dust away whatever hasn't melted in.
The result is concealer that stays put longer, creases less and looks smoother under bright light or a camera flash. It started as a stage and photo trick (anyone who loves Old Hollywood glamour knows those flawless, matte, camera-ready complexions), and it became popular because it works – in the right amount.
What baking is not: a thick white layer you leave on for twenty minutes, or a fix for concealer that is too heavy to begin with. If your concealer already creases the moment you put it on, start with the base. My guide on how to apply concealer without creasing covers the cream side of this; here we'll focus on the powder step itself.
Baking vs regular setting, in one line each:
- Regular setting: a light sweep or press of powder that you leave on immediately. Fast, soft, enough for most days.
- Baking: powder pressed on and left for 2–5 minutes, then the excess is brushed off. More staying power, slightly more matte.
Who Baking Helps (and Who Should Go Lighter)
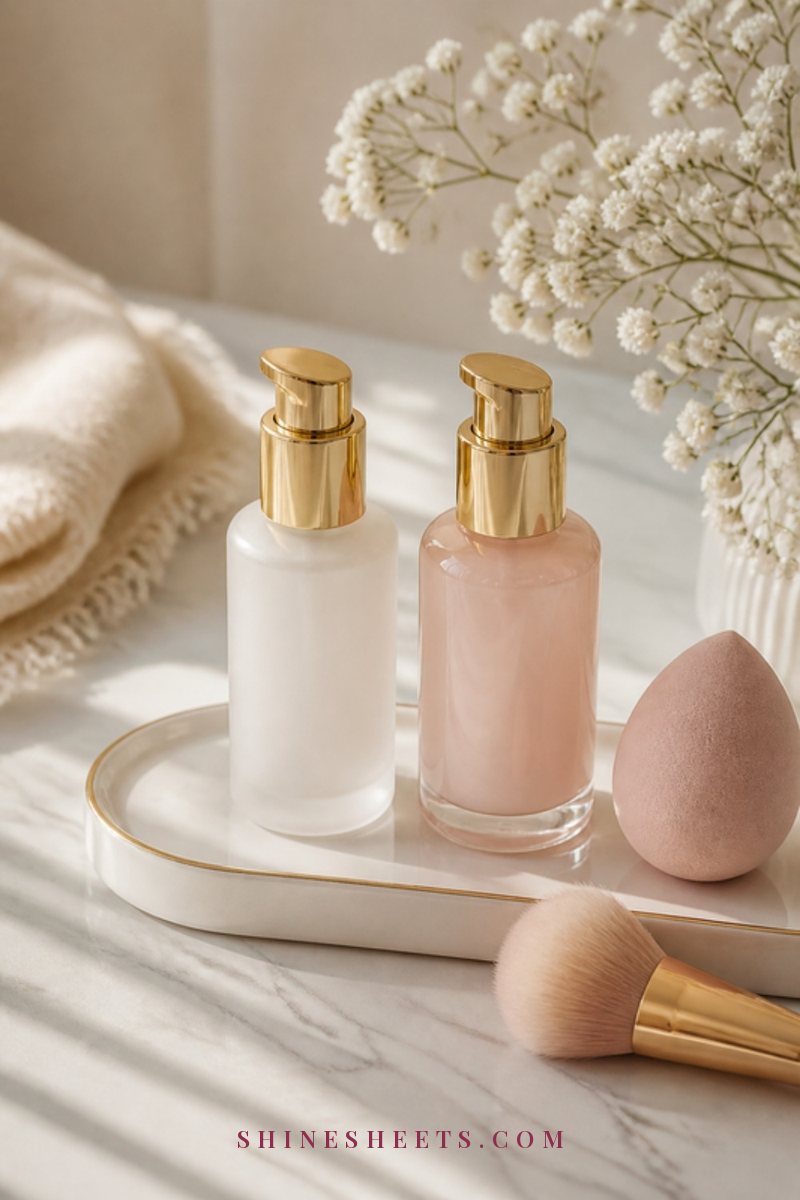
Baking isn't a must-do step. It's a tool, and like any tool it suits some skin and some days better than others. Here's how I'd decide.
Baking Is a Good Fit If...
- Your skin gets oily during the day. Oil breaks down concealer, and baking slows that down.
- You have a long day ahead. Weddings, workdays that run into dinner, events where you won't touch up for hours.
- You'll be photographed. Flash and bright lighting show texture and shine, and a soft bake keeps the under-eye smooth.
- Your concealer tends to crease by midday even when you use a thin layer.
- It's warm or humid and makeup tends to slip.
Skip It or Go Lighter If...
- Your under-eyes are dry. Powder sitting on dry skin can cling to flakes and look dusty.
- You have fine lines or mature skin. Too much powder settles into lines and makes them more visible, not less.
- You love a dewy finish. Baking is naturally more matte, so a full bake can fight the look you want.
- It's an easy, low-key day. A light press of powder is often all you need.
If you're in the second group, you don't have to give baking up completely – you'll find a gentle "light bake" further down. And if you want the full picture on soft, fresh makeup for these skin types, my guides on makeup for mature skin and makeup for dry skin go deeper.
What You Need To Bake Under Your Eyes
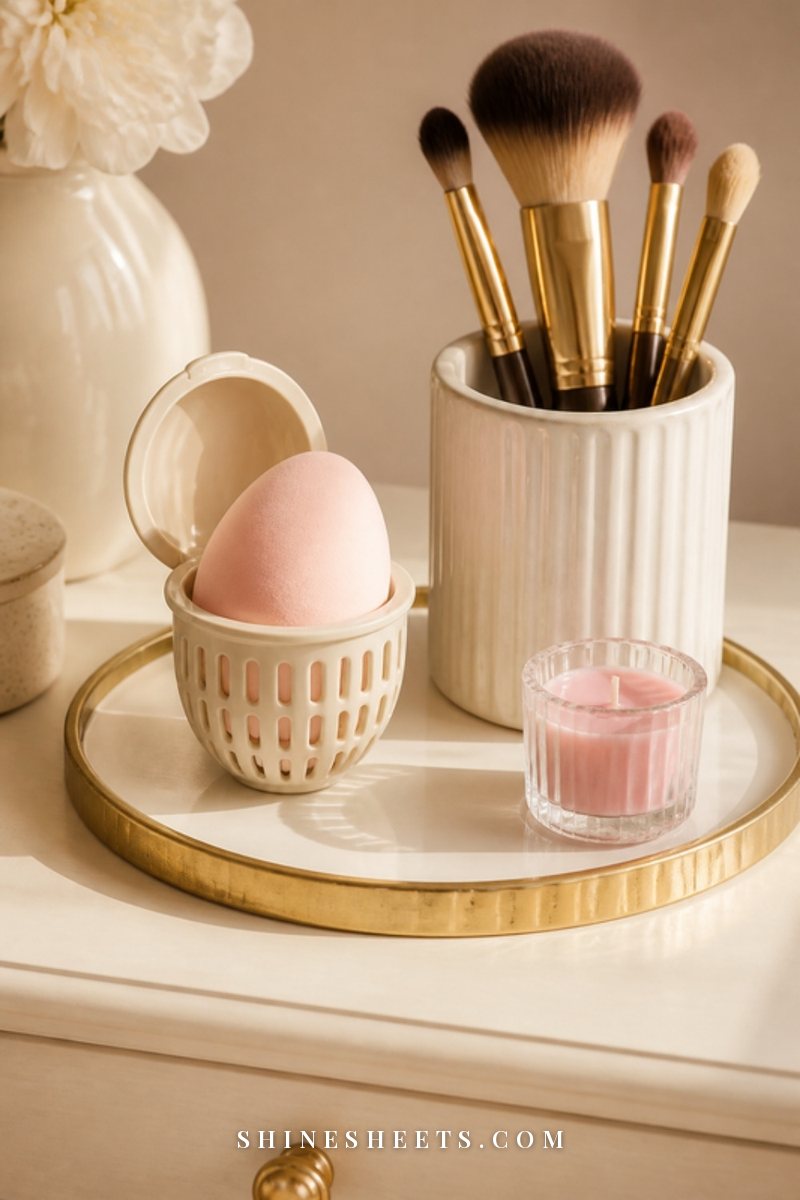
You don't need anything fancy, but the texture of each item matters more than the brand. Here's the short list:
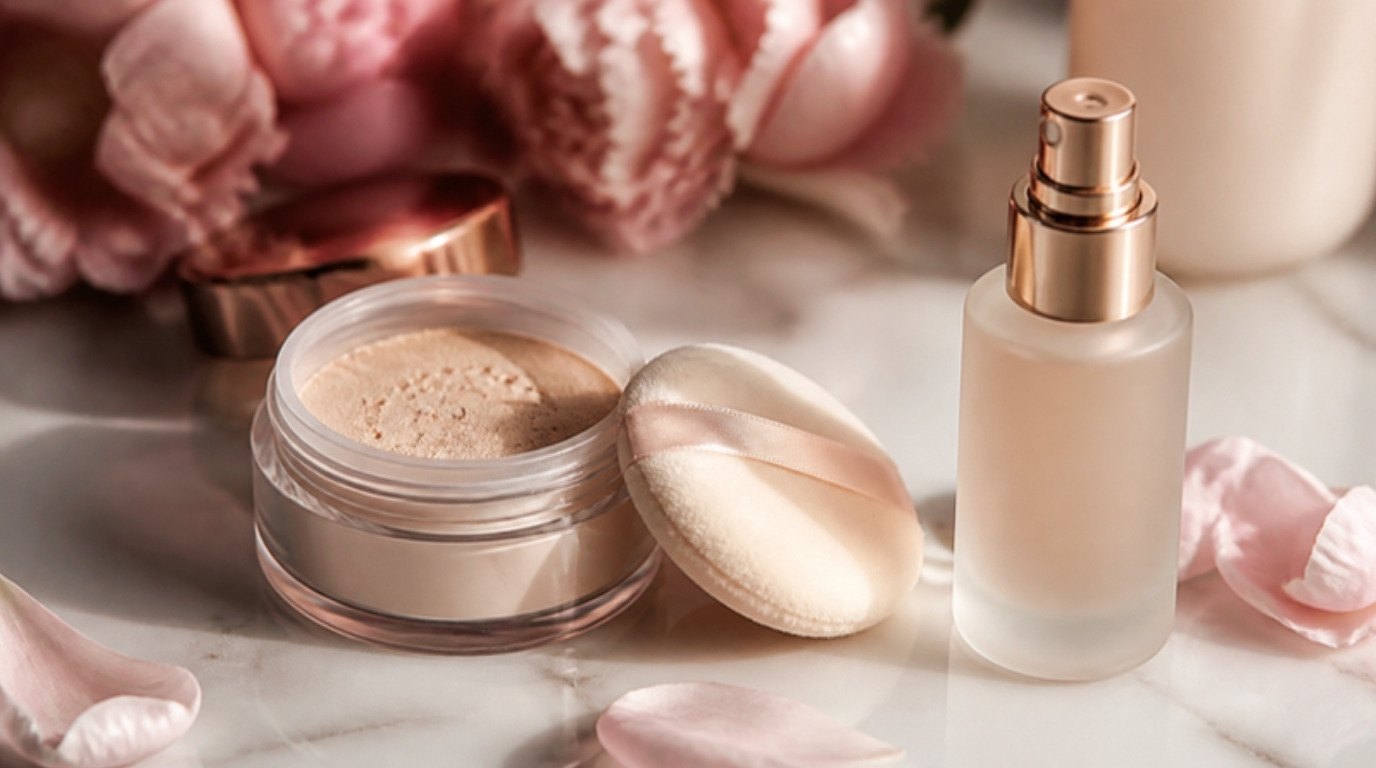
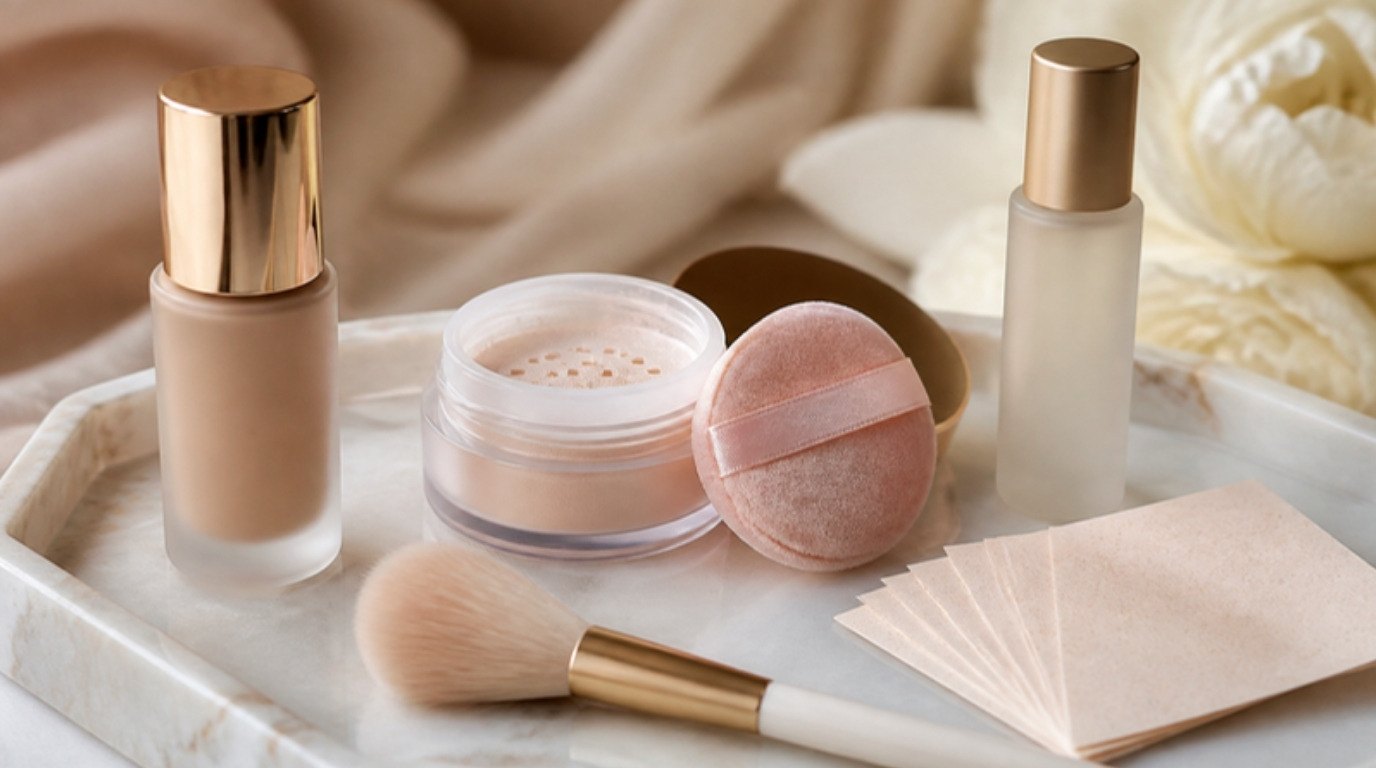
- A finely milled loose powder. This is the most important choice. Look for a powder that feels silky, not chalky, between your fingers. A translucent loose setting powder is the easiest starting point for most skin tones.
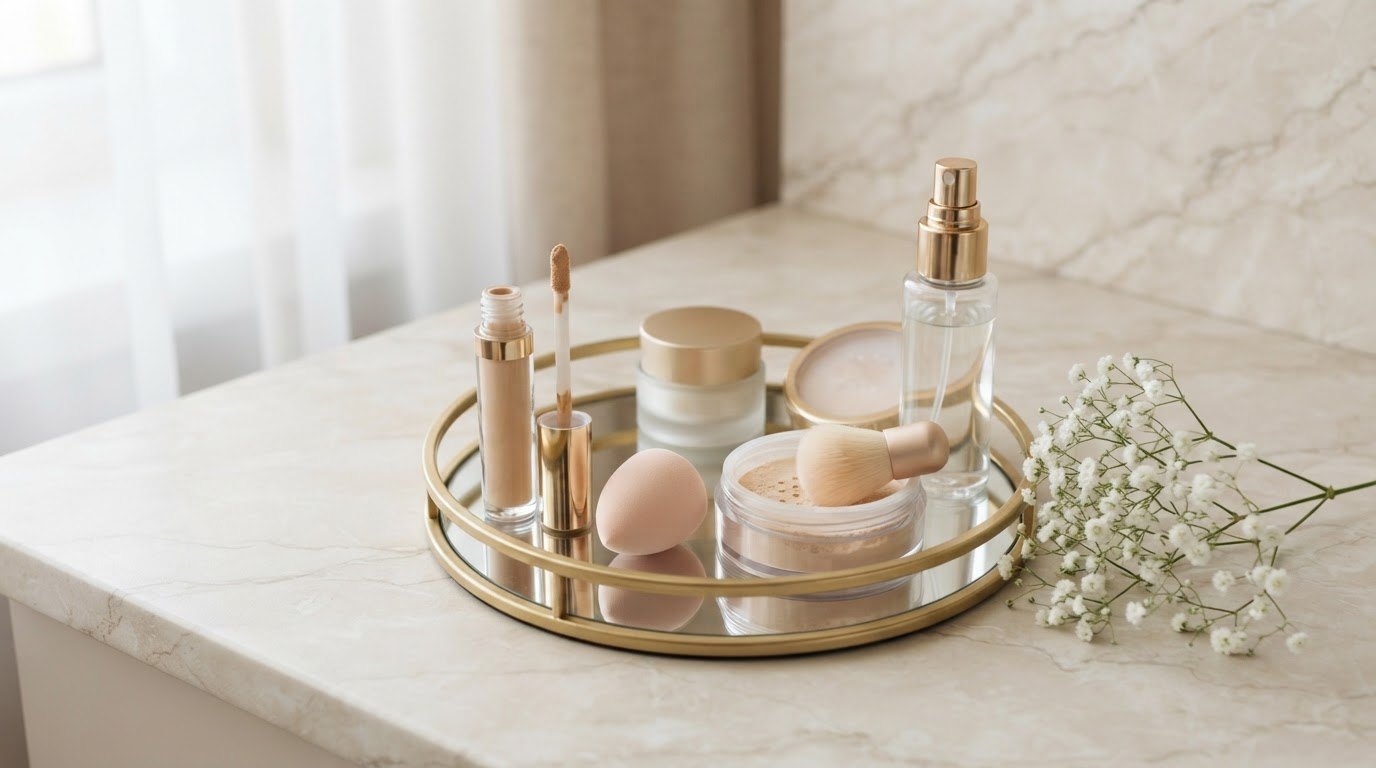
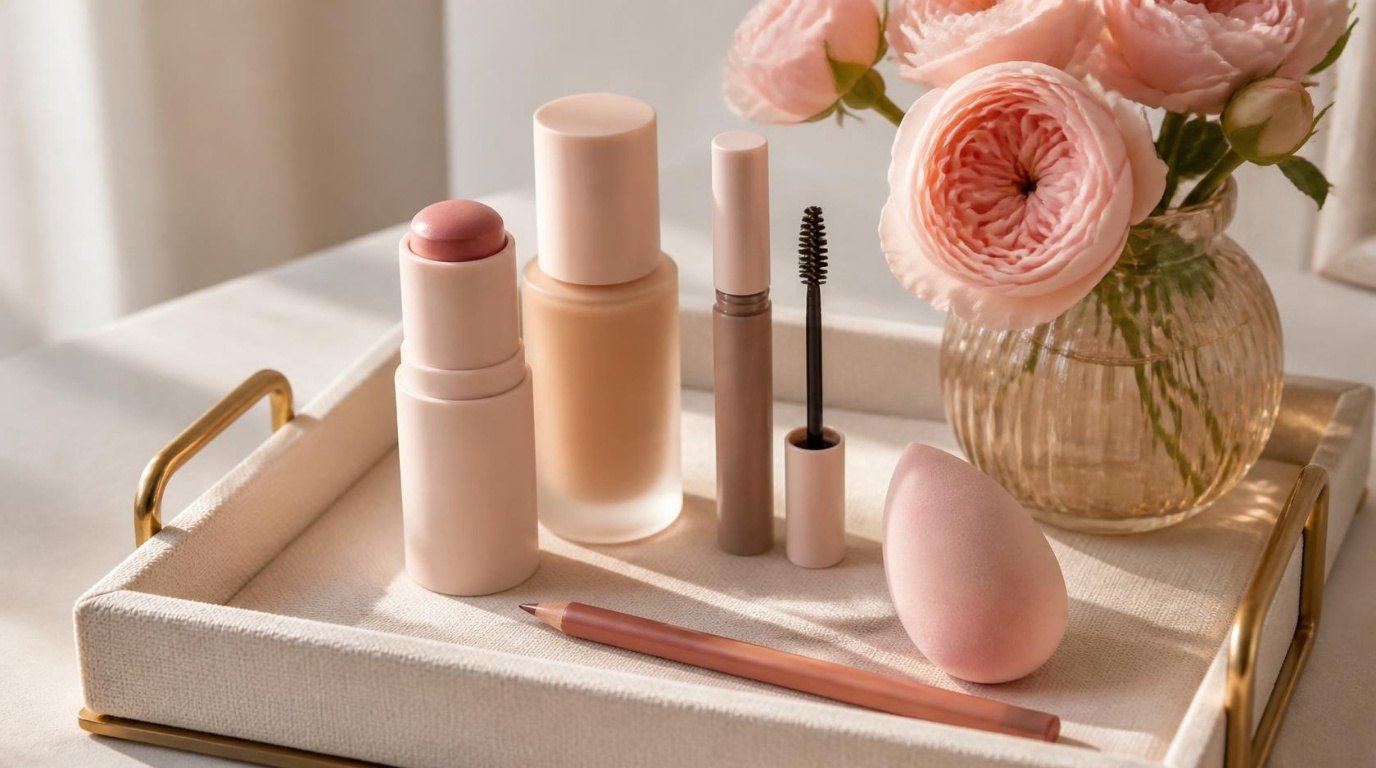
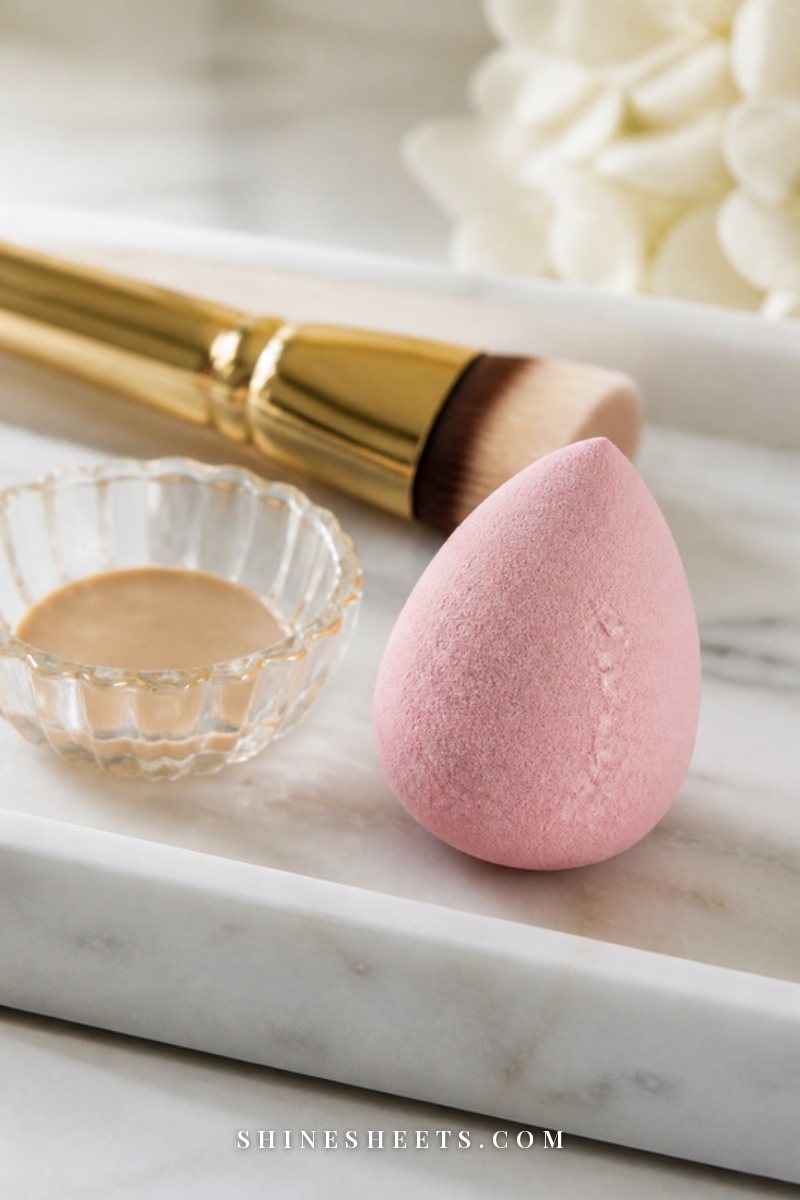
- A damp makeup sponge. Damp, not wet. It presses concealer and powder into the skin instead of dragging it. A soft teardrop makeup sponge in blush with a pointed tip fits neatly under the eye.
- A powder puff (optional). A small velour powder puff folded in half gives you very precise placement, which helps if you tend to use too much.
- A fluffy brush. For sweeping away the excess. I'd choose a large, soft fluffy powder brush with dense but loose bristles, so it lifts powder instead of pushing it around.
- Your usual concealer. A creamy, flexible formula works better than a very dry, full-matte one, because baking will add the matte part for you.
That's it. An eye cream and a setting spray are helpful extras, and I'll mention exactly where they come in below.
How To Bake Under Your Eyes in 6 Steps
This is the order I'd follow for a soft, long-lasting bake. The whole thing takes about eight minutes, and most of that is waiting (which is a lovely excuse to do your brows or sip your tea).
1. Hydrate the Under-Eye
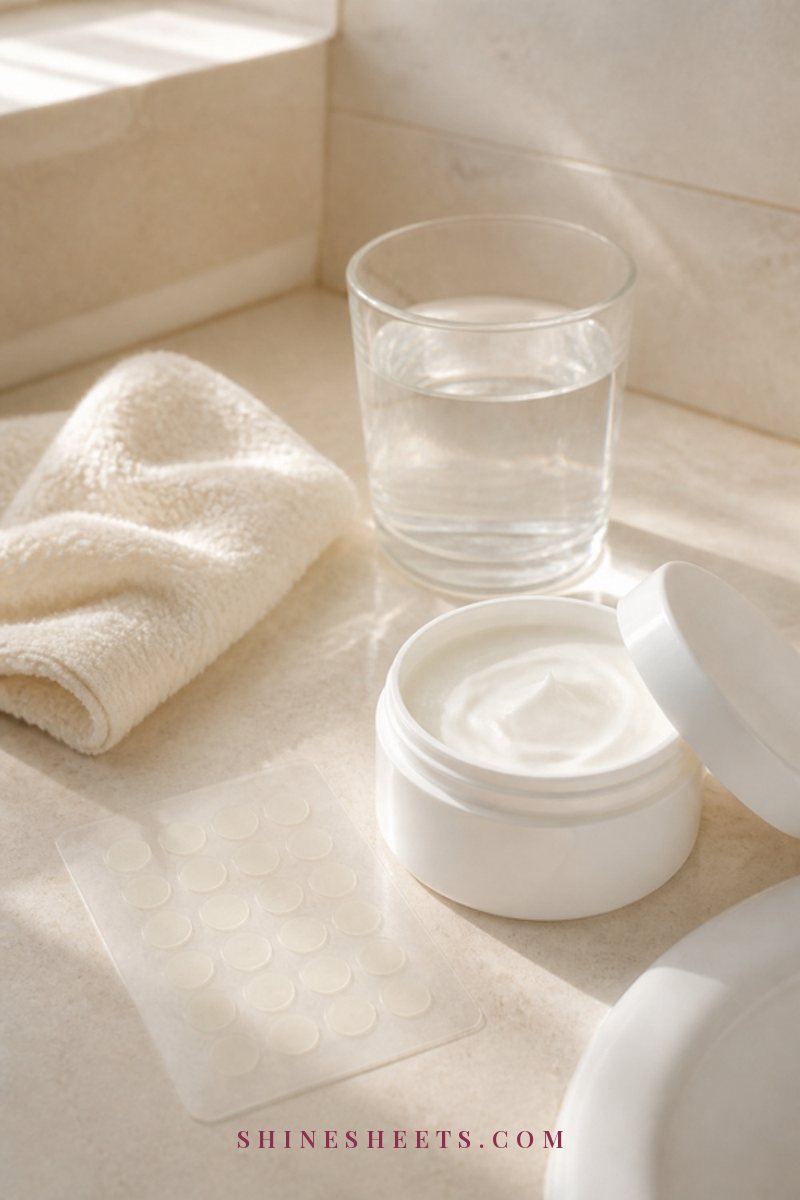
Powder clings to dryness, so prep matters more than people think. Pat a rice-grain amount of eye cream under each eye with your ring finger – patting, not rubbing. Look for a hydrating under-eye cream with a lightweight, quickly absorbing texture rather than a heavy, greasy one.
Then wait at least 2–3 minutes before concealer. If the skin still feels slippery, gently press a tissue over it. Concealer on top of wet eye cream slides around and creases faster, no matter how well you bake it.
2. Apply a Thin Layer of Concealer
Use less than you think: one or two small dots under each eye, concentrated near the inner corner and the darkest area, not a big triangle down to your cheek. Concealer is what creases, so the thinner the layer, the less there is to fold.
If you have strong dark circles, a touch of corrector underneath does more than a thicker concealer layer. My guide to color correcting for beginners explains which shade cancels what.
3. Press It In With a Damp Sponge
Bounce the damp sponge over the concealer in small, light taps until the edges disappear. Avoid swiping. Then do the trick that makes the biggest difference: look up, smile slightly, and check for any creases that have already formed. Tap over them once more with the sponge to smooth them out before powder locks them in.
Work fairly quickly here. You want to powder while the concealer is still slightly tacky, so the powder can grip.
4. Add a Small Amount of Finely Milled Powder
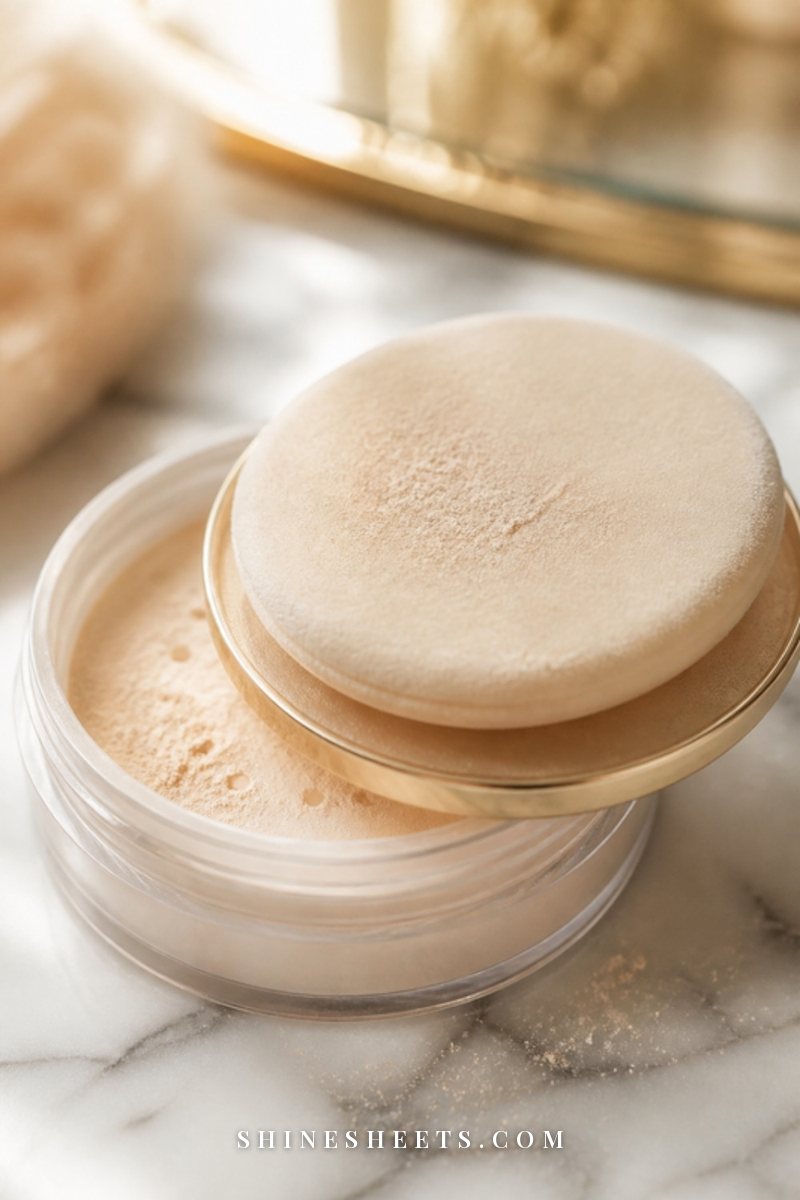
Dip your sponge or folded puff into the powder, tap off the excess on the back of your hand, and press it gently over the concealed area. Press and roll; don't swipe. You'll see a visible layer of powder sitting on the skin – that's normal for baking, but it should look like a soft veil, not a thick white stripe.
Start with a little, and only add more to the spots that crease most for you (often the inner corner and right under the lash line). It's always easier to add a second press than to remove a heavy one.
5. Wait 2–5 Minutes
Now leave it alone. Two minutes is enough for dry or normal skin; up to five minutes suits oily skin or very long days. Longer isn't better – past five minutes, you mostly just dry out the skin around your eyes.
While you wait, keep your face relaxed (no big squinting or laughing), and use the time for brows, mascara on the top lashes or a sip of tea. If you're doing eyeshadow, the powder also catches any fallout, which is a nice little bonus.
6. Sweep Away With a Fluffy Brush
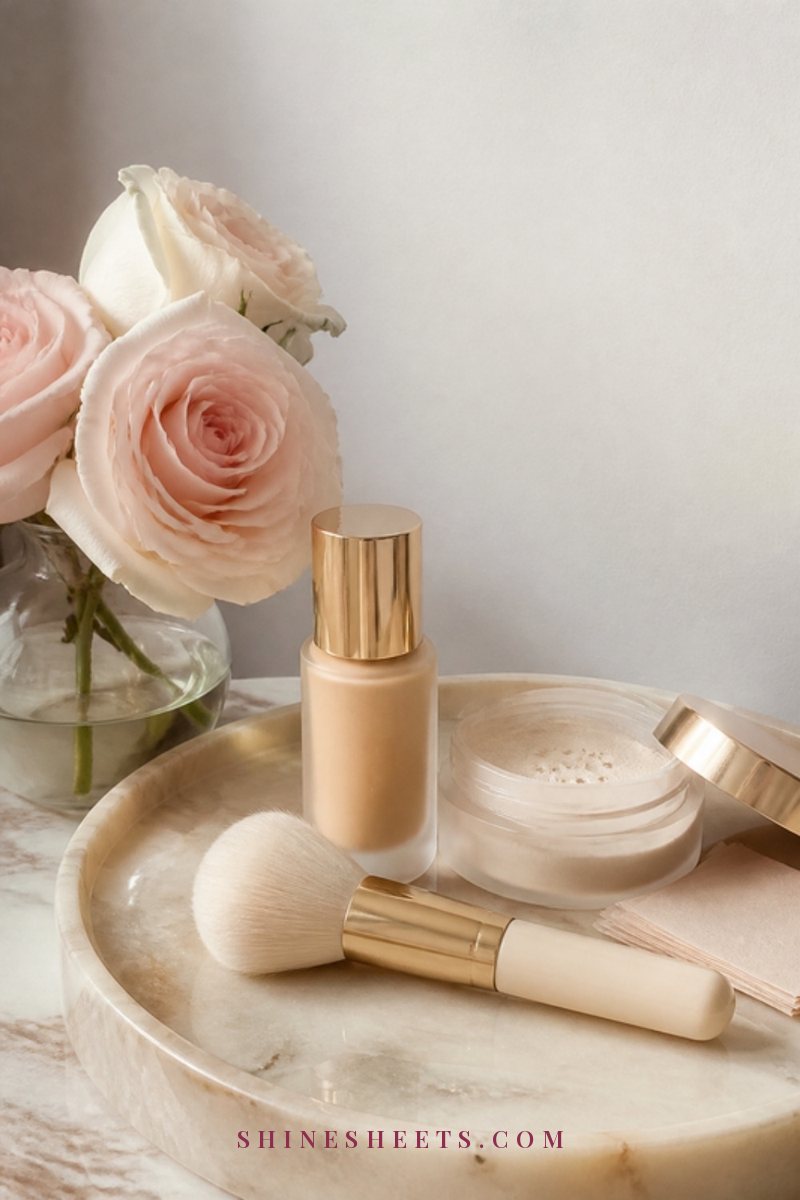
Take your fluffy brush and lightly sweep downward and outward to dust off the excess. Use very little pressure – the brush should just skim the surface. Then tap the clean side of a slightly damp sponge over the area once to melt everything together, so it looks like skin instead of powder.
Finish with a fine mist of a hydrating setting spray held at arm's length, if you like. It takes away any last trace of powderiness. If you're not sure whether you need both steps on every day, my article on setting powder vs setting spray helps you choose.
Baking Makeup Table: Powder and Bake Time by Skin Type
This is the quick reference I wish I'd had when I started. Find your skin type, and you'll know how much to use and how long to wait. Screenshot it for your vanity.
| Skin type | Powder type | Bake time | Finishing tip |
|---|---|---|---|
| Oily | Finely milled translucent loose powder | 4–5 minutes | Sweep off, then a quick mattifying blot on the T-zone at midday |
| Combination | Translucent loose powder, a light layer | 3–4 minutes | Bake only where you crease; set the rest with a light press |
| Normal | Translucent or lightly tinted loose powder | 2–3 minutes | Finish with a damp sponge tap for a skin-like look |
| Dry | Ultra-fine, silky powder, very little | 1–2 minutes | Mist with a hydrating spray right after brushing off |
| Mature or fine lines | Ultra-fine powder pressed with a puff | 1–2 minutes, inner corner only | Smile to check lines, tap away excess, add spray |
| Deeper skin tones | Tinted loose powder matched to concealer (banana, peach or warm tan) | 2–4 minutes | Check in daylight for any ashy cast before leaving |
One honest note: these are starting points, not rules. If the area looks dry after you brush off, shorten your time next round. If concealer still creases by afternoon, add one more minute or a touch more powder only at the crease.
Baking Variations for Different Skin and Goals
Once you know the basic steps, you can adjust them to fit your skin and the look you want.
The Light Bake for Dry or Mature Skin
The light bake gives you most of the staying power with much less powder. Here's the formula:
- Prep with eye cream and wait the full 3 minutes.
- Use half your usual amount of concealer, mostly at the inner corner.
- Fold a puff in half, tap it in powder, tap off almost everything, and press it only where you crease.
- Wait 60–90 seconds, no more.
- Brush off very gently, then mist with setting spray and tap once with a damp sponge.
It looks fresh and soft rather than matte, and it keeps lines from becoming the focus. On days when your skin feels especially dry, you can skip powder under the eyes altogether and set only the inner corner.
Baking the T-Zone and Smile Lines
With my shiny T-zone, this is where baking makes the most sense for me. You can use the same method on the sides of the nose, the center of the forehead, the chin and the smile lines (the lines from the nose to the corners of the mouth), where foundation tends to break up.
Use the same press-and-wait method, but keep it lighter than under the eyes: a thin press of powder, 2–3 minutes, then sweep off. Leave the cheeks and the high points unbaked so your face doesn't look flat all over. For smile lines, smile slightly while you press, so the powder reaches into the fold and doesn't settle on top of it.
Translucent vs Tinted Powder for Deeper Skin Tones
"Translucent" powders aren't always invisible. On deeper skin tones, some can leave a white or gray cast, especially in flash photos. A few ways to avoid that:
- Choose a tinted loose powder one shade lighter or matched to your concealer. Banana, peach or warm tan tones brighten without looking ashy.
- Test it in daylight by pressing a little on the back of your hand or jawline and brushing off after 3 minutes.
- Do a flash check with your phone camera before an event. Any white cast shows up immediately.
- Brush off thoroughly and finish with a damp sponge, which melts any leftover powder into the skin.
On fair and light skin, translucent works well, and a very light pink or neutral tint can soften redness at the same time.
5 Baking Mistakes That Make Makeup Look Cakey
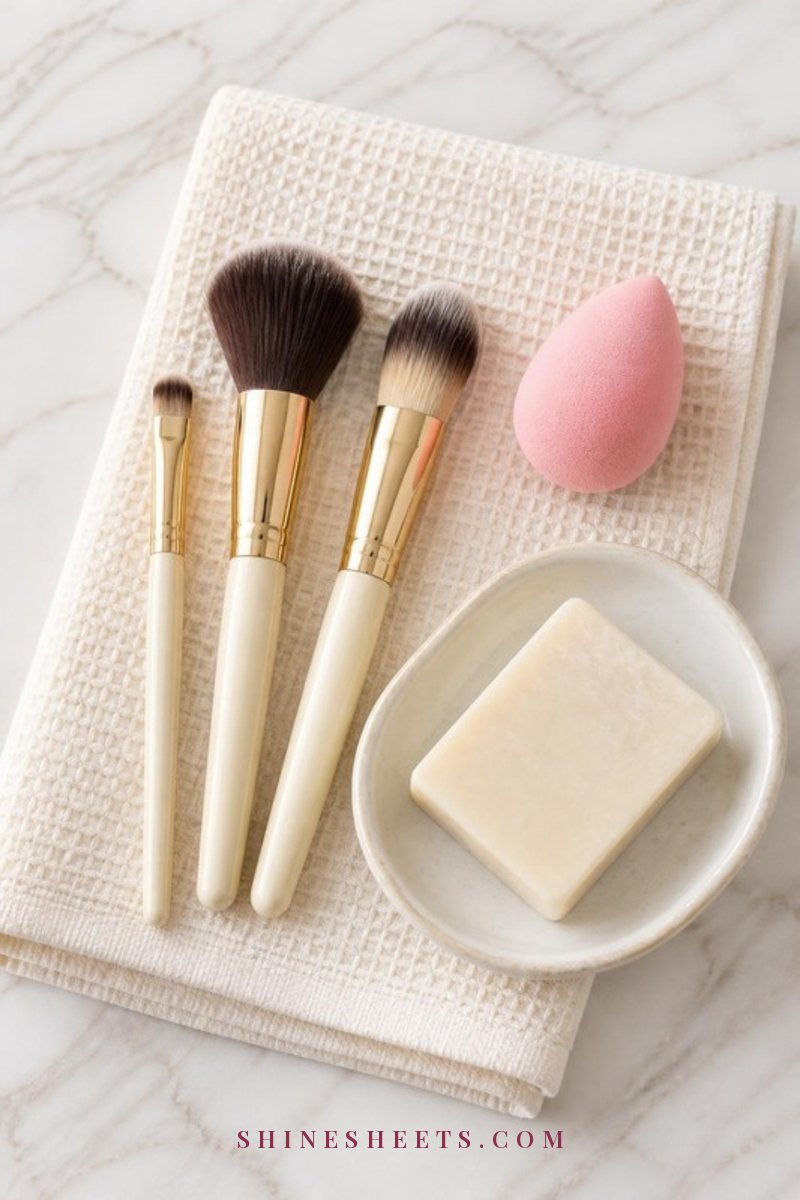
Almost every "baking doesn't work for me" story comes down to one of these. The fixes are small.
1. Using Too Much Product
Too much concealer plus too much powder equals a thick layer that cracks and creases. Use a thin layer of concealer, tap off powder before pressing, and only add more in the spots that need it. If your under-eye looks heavy after brushing off, use less of both next time rather than baking longer.
2. Choosing a Chunky Powder
A coarse or very dense powder sits on top of the skin instead of melting in. Rub a little between two fingers: a good baking powder feels silky and almost disappears. If it feels gritty or leaves a visible white film on your finger, keep it for the T-zone and choose something finer for under the eyes.
3. Skipping Skin Prep
Powder clings to every dry patch. A small amount of eye cream (and a few minutes for it to absorb) changes the whole result. On the flip side, too much eye cream makes concealer slide – so a thin layer, then wait.
4. Baking Too Long
Leaving powder on for ten or fifteen minutes doesn't make it last longer; it just dries out the delicate skin around your eyes. Stick to 1–5 minutes depending on your skin type, using the table above.
5. Brushing Off Too Hard
Heavy-handed brushing moves concealer along with the powder and leaves patchy spots. Use a big, soft brush, very little pressure and downward strokes. Then finish with one tap of a damp sponge to blend everything back into the skin.
How To Keep a Bake Fresh All Day
A few small habits help your baked concealer look as good at 6 p.m. as it did in the morning:
- Blot instead of re-powdering. If the area gets shiny, press a blotting paper or a clean tissue first. Adding powder over oil builds up texture.
- Use a damp sponge for touch-ups. If a crease appears, tap over it with a slightly damp sponge, then press a tiny bit of powder only where needed.
- Keep your tools clean. Wash your sponge after every use and your powder brush once a week. Old oil and product on tools create a patchy finish (and aren't kind to sensitive skin).
- Remove it gently at night. Baked makeup lasts, so give it a proper cleanse. An oil or balm cleanser melts powder and concealer without rubbing at the eye area.
And if your eyes ever feel itchy or irritated after a new powder or concealer, stop using it and let your skin calm down. Sensitive eyes deserve the gentlest products in your bag, and an eye doctor or dermatologist can help if irritation keeps coming back.
Final Thoughts
Baking is really just patience with powder: a thin layer, a few quiet minutes and a light hand when you brush it away. Once you find your amount and your timing, it stops feeling like a big makeup technique and becomes a small step that quietly keeps your concealer smooth all day.
Start with the table, try a light bake first and adjust from there. Some days you'll want the full five minutes, other days a quick press is plenty, and both are exactly right.