A dryer vent is one of those things that works quietly in the background until the day it doesn't. Lint slips past the screen with every load, settles in the housing and the hose, and slowly narrows the path the hot, damp air needs to escape. Your clothes take longer, your energy bill creeps up, and the machine runs hotter than it should.
The good news is that cleaning it is not a big, scary job. Most of it takes a few minutes, a couple of simple tools and a calm Saturday morning. This guide walks you through how to clean a dryer vent and lint trap step by step: the lint screen, the housing, the hose behind the dryer and the flap outside, plus a cleaning schedule table you can screenshot and a list of warning signs that tell you it's time.
One rule before anything else, and I'll repeat it more than once: always unplug the dryer before you clean anything beyond the lint screen. Everything else in this guide is gentle and doable.
Why a Clean Dryer Vent Matters

Lint is basically tiny fibers from your towels, sweaters and sheets. It's light, dry and flammable, and a dryer creates exactly the kind of heat that makes buildup a problem. Fire safety organizations such as the NFPA list failure to clean the dryer as a leading factor in home dryer fires. That's not meant to scare you. It's simply the reason this small chore deserves a spot on your calendar.
There are everyday benefits too:
- Faster drying. When air moves freely, a normal load dries in one cycle instead of two.
- Lower energy use. Shorter cycles mean less electricity or gas.
- Gentler on fabrics. Clothes that spend less time tumbling in heat keep their shape and softness longer.
- A longer life for the machine. A dryer that doesn't overheat has less strain on its heating element and thermostat.
- Less musty air. A clogged vent can push warm, damp air back into the laundry room.
If you're already in a laundry-care mood, my guide on how to clean a washing machine pairs nicely with this one. Clean washer, clean dryer, fresher laundry.
What You Need Before You Start

You don't need a professional kit to do a thorough job. Here's the short list I'd put together:
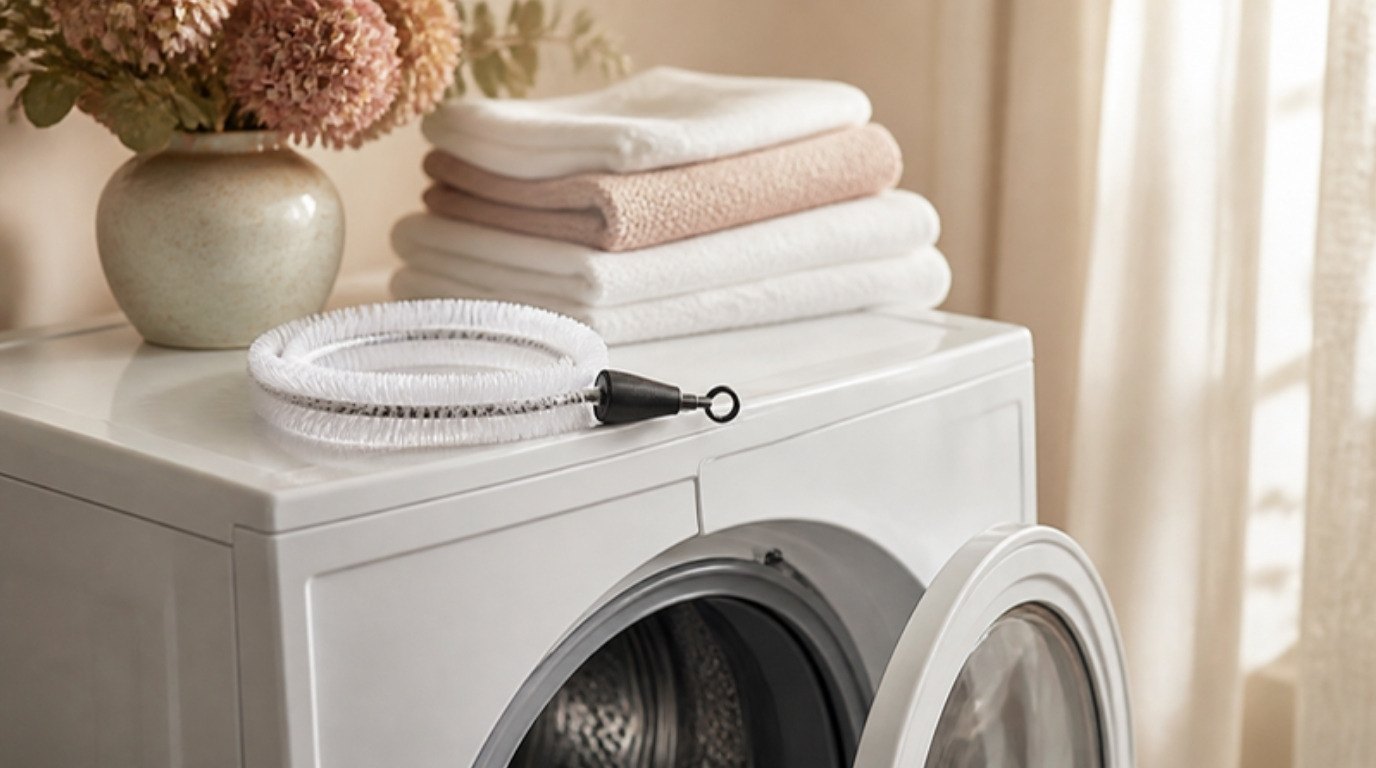
- A flexible dryer vent cleaning brush kit with connecting rods (this reaches into the hose and the wall duct).
- A slim lint trap brush that fits down into the narrow slot where the screen sits.
- A vacuum with a hose, plus a long flexible crevice tool for the lint housing.
- A screwdriver (for the hose clamp, if yours has one).
- A soft brush, mild dish soap and warm water for the lint screen.
- A few microfiber cleaning cloths for wiping dust off the back of the machine and the floor.
- Foil tape made for HVAC/dryer ducts, in case a joint needs resealing (not regular duct tape, which can dry out and loosen with heat).
Plan for about 45–60 minutes the first time, including moving the dryer. After that, the routine parts take a minute or two.
Step 1: Clean the Lint Trap After Every Load
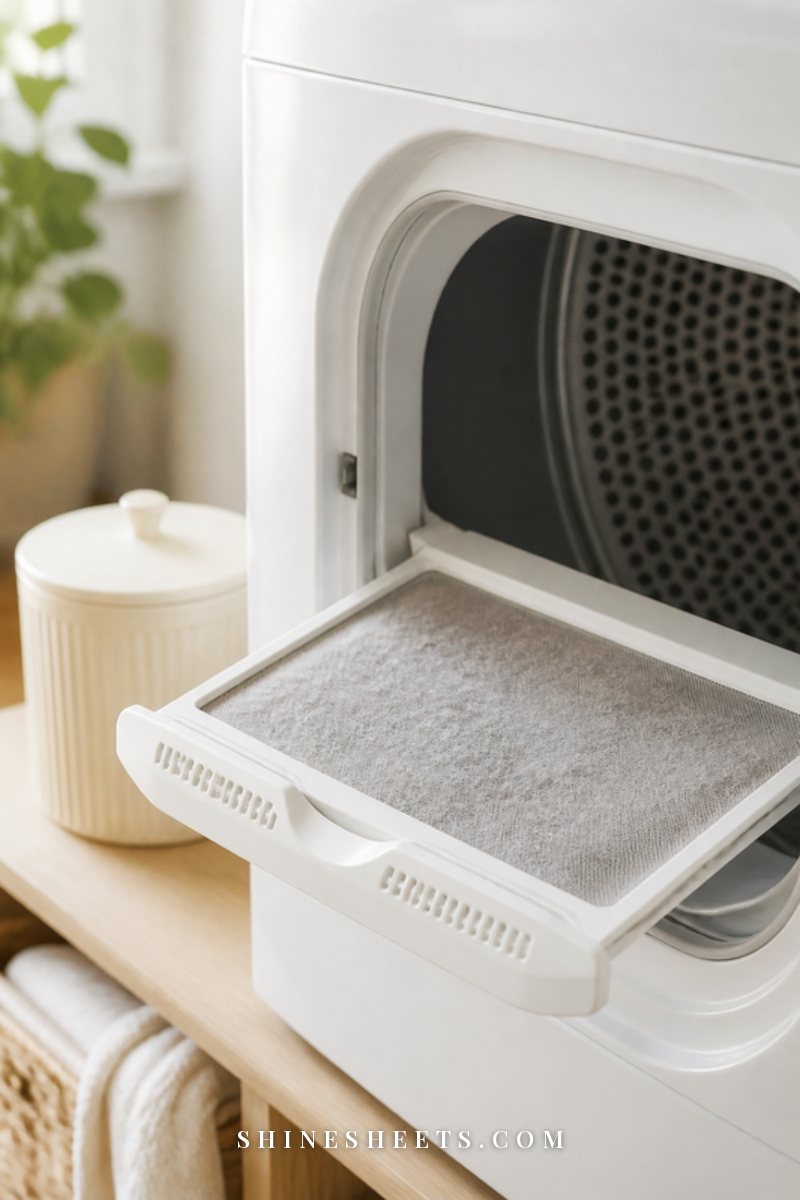
This is the most important habit in the whole guide, and it takes ten seconds. After every single load, pull the lint screen out, roll the lint off with your fingers (it peels off in one soft sheet if you start from a corner), and slide the screen back in.
A few small tips that make it automatic:
- Keep a small lidded bin or a jar right next to the dryer for lint, so you never have to walk to the kitchen trash.
- Clean it after the load comes out rather than before the next one goes in. That way a damp, half-dry layer never sits overnight.
- Never run the dryer without the screen in place, even for a "quick" ten minutes. Lint goes straight into the vent.
If you share the laundry with others, cleaning it every time you open the door is the quietest way to make the habit spread.
Step 2: Deep-Clean the Lint Screen
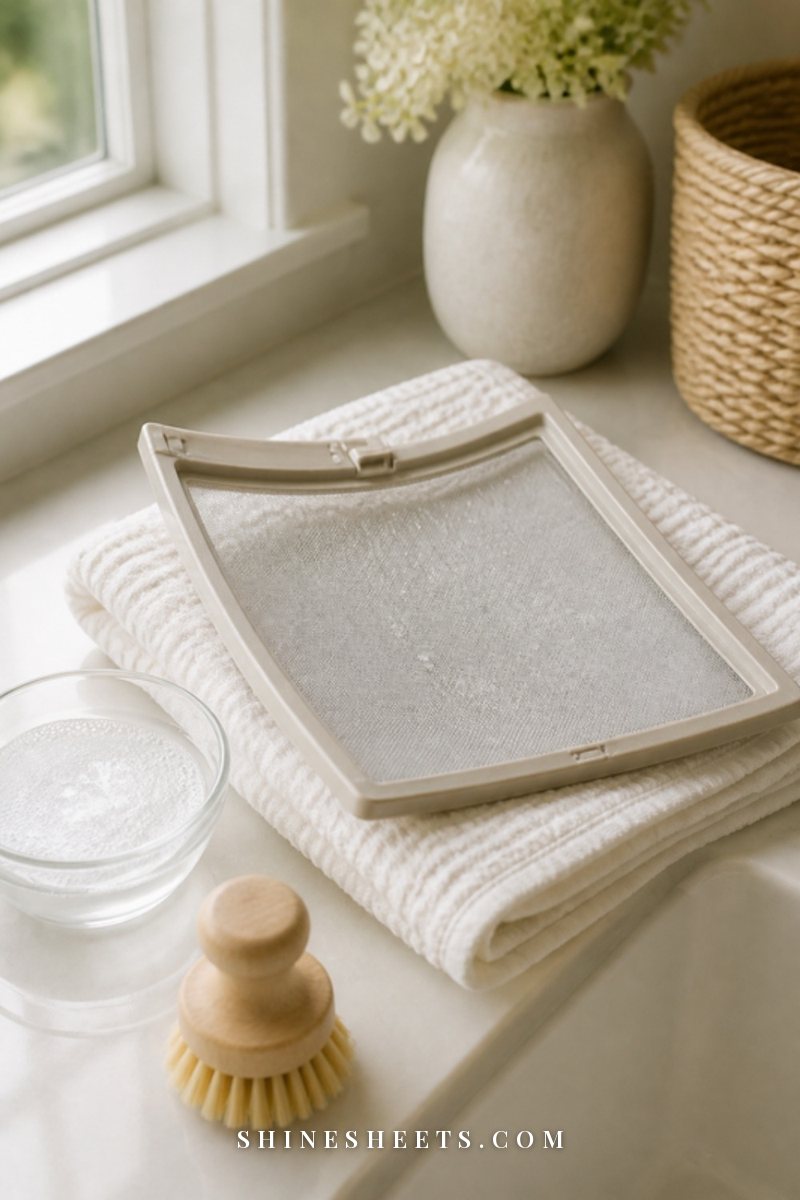
Even when you peel the lint off every time, the mesh can slowly get coated with an invisible film, especially if you use dryer sheets or a lot of fabric softener. The film blocks airflow, so the screen looks clean but works like a half-closed window.
Here's a quick way to check: hold the clean, dry screen under the tap. If the water flows through easily, you're fine. If it pools on top like on a plastic sheet, it's time to wash it.
- Remove all visible lint first.
- Fill a sink with warm water and a few drops of mild dish soap.
- Scrub both sides of the mesh gently with a soft brush for about one minute. Don't use anything stiff or metal; the mesh can tear.
- Rinse under warm running water and test again: water should now pass straight through.
- Pat it with a towel and let it air-dry completely, about 30–60 minutes. Never put a wet screen back into the dryer.
Do this every two to three months, or monthly if you use dryer sheets every load. If the mesh is torn or the frame is cracked, replace the screen with the model listed in your manual; a torn screen lets lint straight into the machine.
Step 3: Clean the Lint Trap Housing
The slot where the screen sits is a lint magnet. Shine a flashlight inside and you'll probably see a fuzzy gray layer along the walls, sometimes a sock or a hair tie at the bottom.
- Unplug the dryer.
- Remove the lint screen.
- Slide the lint trap brush down into the slot, twist it gently and pull it straight up. Lint comes out on the bristles. Repeat until it comes out clean, usually four to six passes.
- Follow with the vacuum and the flexible crevice tool, reaching as far down as it comfortably goes.
- Wipe the opening and the top edge with a dry microfiber cloth.
Give this five minutes every month or two. Many dryers also have a removable panel that gives access to the area under the lint trap. Only open it if your manual shows how, and always with the dryer unplugged.
Step 4: Clean the Vent Hose Behind the Dryer
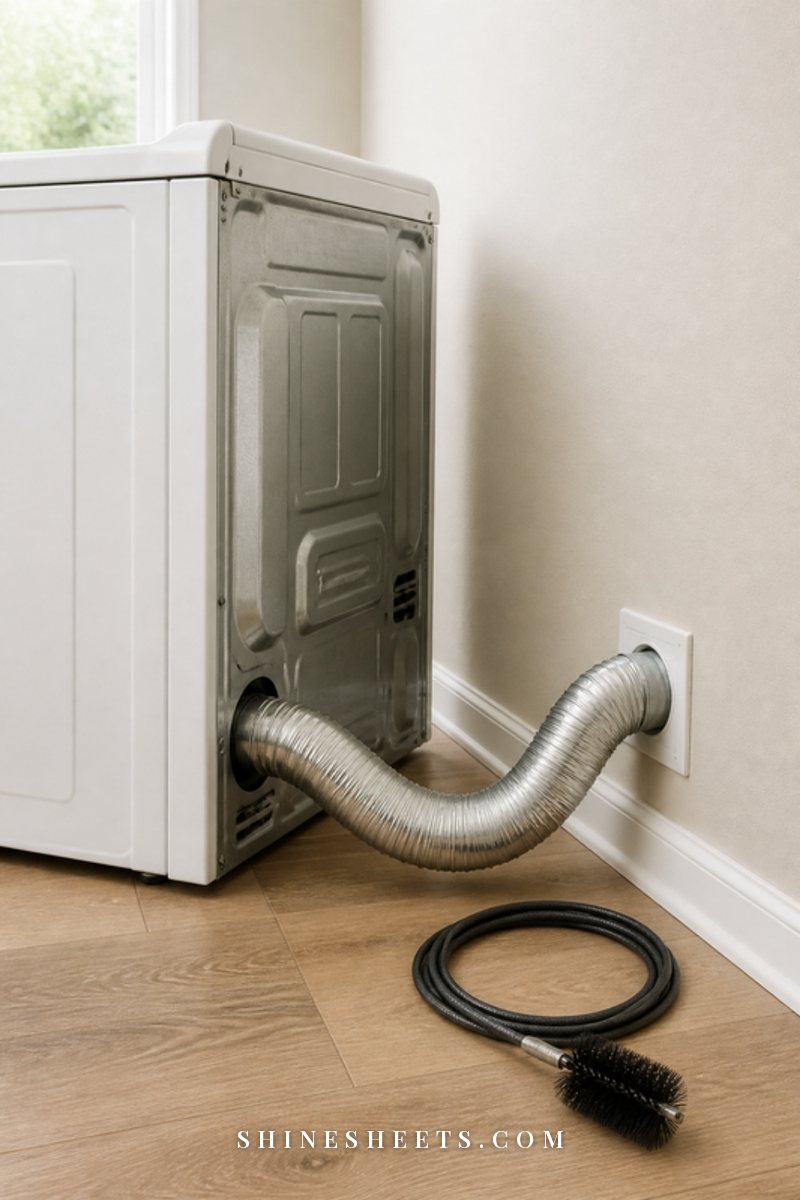
This is the "big" part, and you'll only do it about once a year. Clear some space, put on comfortable clothes, and lay an old sheet or towel on the floor to catch lint.
- Unplug the dryer. For an electric dryer, the plug is usually a large three- or four-prong plug behind the machine.
- Pull the dryer out slowly, just far enough to reach the back (12–18 inches is usually plenty). Lift the front slightly and walk it out rather than dragging it, to protect your floor.
- Loosen the clamp on the hose at the back of the dryer with a screwdriver, or squeeze a spring clamp open, and slide the hose off. Do the same at the wall connection.
- Look at the hose. If it's thin white vinyl or crinkly plastic, or a foil duct that's crushed or torn, plan to replace it. Most dryer manufacturers recommend rigid or semi-rigid metal duct, which keeps its shape and holds less lint.
- Clean the hose. Feed the vent brush through it, twisting as you go, then shake the lint out over a trash bag. Vacuum both ends.
- Clean the wall duct. Push the brush into the wall opening, adding rod sections as needed. Rotate in the direction your kit says (usually clockwise, so the rods don't unscrew inside the duct). Pull it back out, remove lint, repeat until the brush comes back mostly clean.
- Clean the dryer's exhaust port. Vacuum the round opening on the back of the dryer and as far inside as you can reach.
- Reconnect everything. Slide the hose back on both ends, tighten the clamps, and seal any loose seam with foil duct tape. Keep the hose as short and straight as possible, with no kinks or sagging loops where lint can settle.
- Vacuum the floor and wipe the back of the machine with a microfiber cloth before you push it back. Lint and dust love to hide there.
When you slide the dryer back, watch the hose so it doesn't get squashed against the wall. A crushed hose undoes all your work.
If You Have a Gas Dryer
Gas dryers are cleaned the same way, with a little extra care. Unplug it, and turn off the gas supply valve behind the machine if your manual recommends it. Move the dryer only a short distance so you don't strain, bend or kink the flexible gas line. Never disconnect the gas line yourself.
If you ever smell gas (a rotten-egg smell) during or after cleaning, don't touch any switches, leave the house and call your gas company or emergency services from outside. If you're unsure about any part of moving a gas dryer, this is the perfect job to hand to a professional.
Step 5: Clean the Exterior Vent Flap

The vent ends somewhere outside, usually a small hood with a flap or louvers on an exterior wall. This little cover is easy to forget, and it's often where lint, leaves and the occasional bird nest collect.
- Find it from outside while the dryer is running. You should feel warm air pushing out and see the flap open.
- Turn the dryer off, then pull out any visible lint by hand (wear gloves).
- Use the vent brush from the outside end to clean the last few feet of duct.
- Wipe the flaps with a damp cloth so they swing freely.
- Check that there's no screen or mesh over the opening. Screens trap lint and are generally not recommended on dryer exhausts; a simple flap or louvered cover is what you want.
Finally, run the dryer on air-only or a short low-heat cycle for 10 minutes. It blows out any loosened lint, and you can check from outside that the flap opens properly.
Dryer Cleaning Schedule
This is the little table I'd keep on the inside of a laundry cabinet door. Screenshot it, or add the yearly job to your own cleaning schedule so you don't have to remember it.
| Part | How often | Tool | Time |
|---|---|---|---|
| Lint screen (remove lint) | After every load | Your fingers | 10 seconds |
| Lint screen (wash) | Every 2–3 months (monthly with dryer sheets) | Soft brush, warm soapy water | 5 minutes + drying |
| Lint trap housing | Every 1–2 months | Lint trap brush, vacuum crevice tool | 5 minutes |
| Drum and door seal | Monthly | Damp microfiber cloth | 3 minutes |
| Behind and under the dryer | Every 3–6 months | Vacuum, microfiber cloth | 10 minutes |
| Vent hose and wall duct | At least once a year | Vent cleaning brush kit, screwdriver, foil tape | 30–45 minutes |
| Exterior vent flap | Every 6 months and once a year with the duct | Gloves, damp cloth, vent brush | 10 minutes |
| Long or rooftop vent | Once a year | Professional cleaning | Book ahead |
How Often To Clean a Dryer Vent
The general rule: the lint screen after every load, and the full vent at least once a year. But "at least" matters, and some homes need it more often:
- You do laundry almost every day (busy households, lots of towels and bedding).
- You have pets that shed.
- Your vent is long, has several bends, or runs up through the roof.
- You wash a lot of fluffy items: new towels, fleece blankets, flannel sheets.
- You use dryer sheets every load.
If two or more of those sound like your home, think every six months for the hose and duct. A good trick is to tie it to something you already do twice a year, like changing your bedding over for the colder months and back again.
Warning Signs Your Dryer Vent Is Clogged
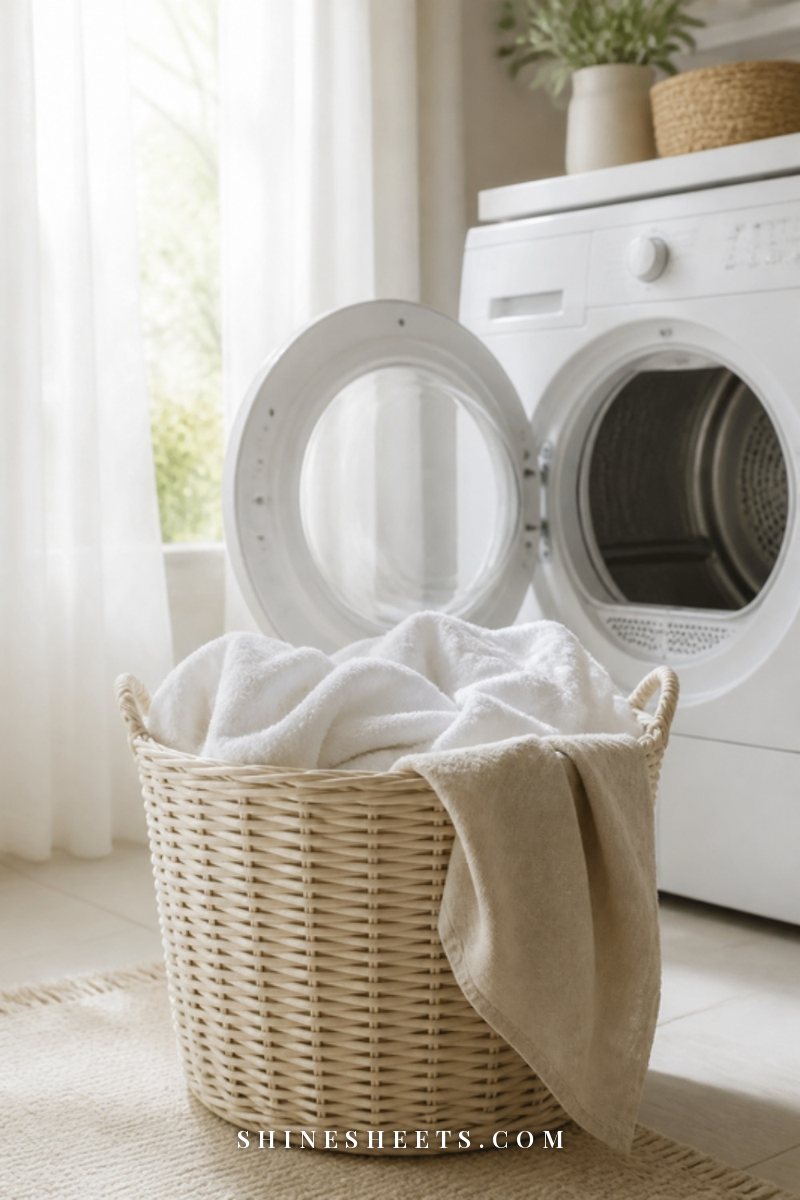
Your dryer will usually tell you something is wrong before it becomes a real problem. Watch for these signs:
- Clothes take longer to dry, or a normal load needs a second cycle.
- The outside of the dryer feels very hot to the touch, and clothes come out unusually hot.
- A burning smell while it runs. Stop the dryer, unplug it and don't use it until it's checked.
- The exterior flap doesn't open when the dryer is running, or you feel very little air coming out.
- The laundry room feels humid or warm, or there's condensation on the walls or window.
- Lint shows up around the outside vent or behind the dryer.
- Your dryer shows a vent or airflow warning (many newer models have one; your manual explains what it means).
Damp, warm air that can't escape can also leave a musty smell in towels. If that sounds familiar, my laundry tips guide has small fixes for fresher loads while you sort the vent.
When To Call a Professional
A DIY clean is perfect for a short, straight vent. Call a professional dryer vent cleaning service when:
- The vent runs up through the roof or is higher than you can safely reach from a sturdy step stool.
- The duct is long (more than a few bends or a long run through walls or a crawl space).
- The duct is crushed, disconnected inside the wall or made of foil or plastic that needs replacing in a spot you can't reach.
- You've cleaned everything and the dryer still takes forever or still runs very hot.
- You have a gas dryer and don't feel confident moving it.
- You noticed a burning smell, scorch marks or any sign of an animal nest in the duct.
A professional visit usually includes a full brush-out with a rotary tool, a check of the airflow and a look at the duct material. It's a reasonable once-a-year cost for peace of mind, especially in an older home or an apartment where you don't know the vent's history. Renters: tell your landlord or building manager about any vent problem. Ducts inside walls are usually their responsibility.
Small Habits That Keep Lint Under Control
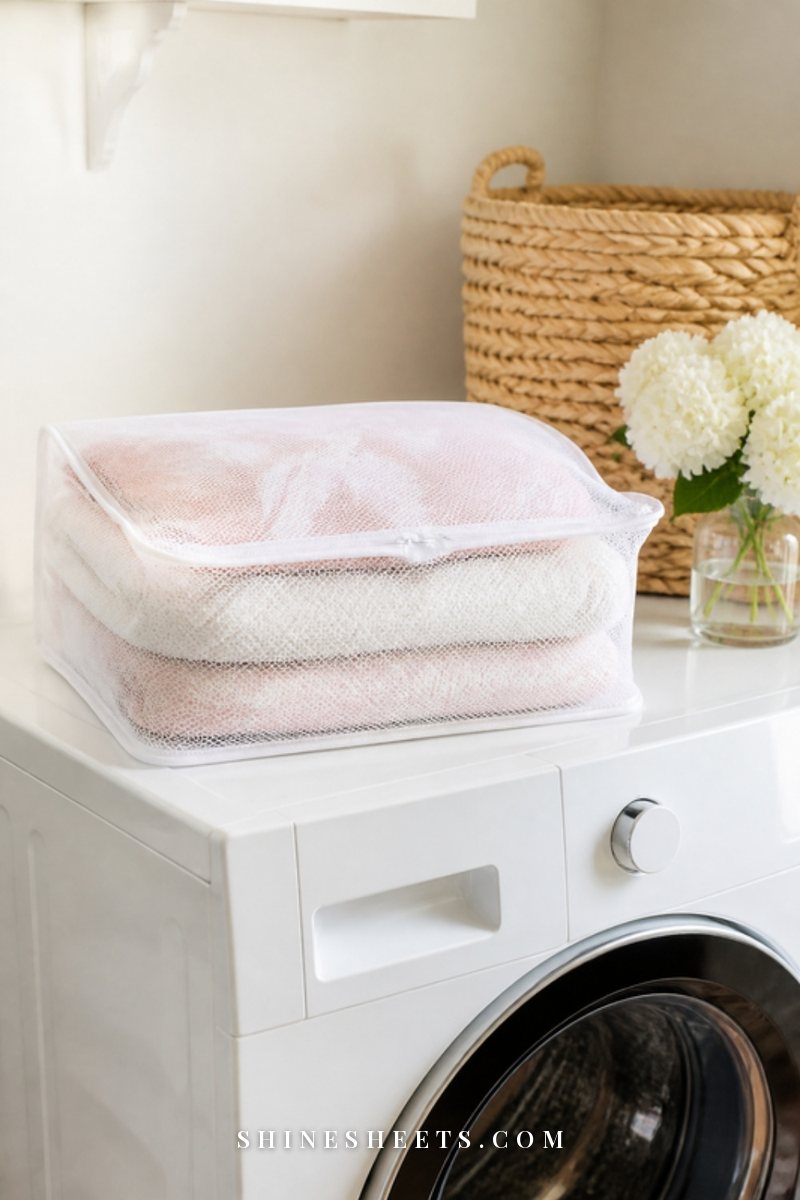
A few tiny changes mean less lint reaches the vent in the first place:
- Swap dryer sheets for wool dryer balls. A set of cream wool dryer balls softens and separates clothes without leaving a waxy film on the lint screen. Use four to six per load.
- Don't overload the drum. Clothes should tumble freely with room to spare, about three-quarters full at most.
- Dry similar fabrics together. Towels and fleece shed the most; keep them away from dark clothes and delicates.
- Shake each item before it goes in. It loosens fibers and pet hair, and helps things dry faster.
- Air-dry what you can. Sweaters, delicates and some cotton tees last longer flat or on a rack.
- Use a basket that breathes. A woven laundry basket with a liner lets damp towels wait without getting musty while you clean the lint screen.
- Keep the area behind the dryer clear. No piles of boxes or spare towels against the hose.
- Never leave the dryer running when you go out or go to sleep.
And if your laundry corner could use a little love while you're at it, a few ideas from my laundry room ideas can make this chore feel a lot more pleasant: a jar for lint, a tray for tools, a soft rug.
Common Mistakes To Avoid
Most dryer vent problems come from a few small, very normal habits. Watch out for these:
- Cleaning without unplugging. Always unplug first, every time you go beyond the lint screen.
- Using a white vinyl or crinkly plastic hose. It sags, collects lint and isn't meant for heat. Replace it with metal duct.
- Taping joints with regular duct tape or using screws that poke into the duct. Screws catch lint; use clamps and foil tape.
- Pushing the dryer back too far so the hose kinks behind it.
- Using a leaf blower or compressed air without a plan. It can push lint further into the duct instead of out. A brush and a vacuum are gentler.
- Ignoring the outside flap. A stuck flap means the whole system is blocked, even if everything inside is spotless.
- Running a damp lint screen. Always let it dry fully after washing.
Before you start any project, take a quick look at your dryer's manual (you can usually find it online by the model number on the inside of the door). It lists the right duct type, the maximum vent length and any parts you shouldn't remove yourself.
Final Thoughts
Cleaning a dryer vent isn't glamorous, but there's something deeply satisfying about pulling a brush out of a duct and seeing what was hiding there. Ten seconds after every load, a few minutes every month or two, and one slow morning a year is all it takes to keep your dryer working well and your home safer.
Unplug first, go gently, call a professional when the job is bigger than you, and then enjoy the small luxury of towels that come out warm and fluffy in a single cycle.