A washing machine that smells a little off isn't a sign you're doing laundry wrong. It's a sign the machine is doing exactly what machines do: holding on to warm water, soap film and lint in the places you never see. The good news is that the fix is far less dramatic than it sounds, and once you know the hidden spots, it takes about twenty minutes of actual effort a month.
Most of the trouble lives in three places: the rubber door seal, the detergent drawer and the drain filter (or, on a top-loader, under the rim and around the agitator). Clean those, run one hot cycle, and the musty smell usually disappears with them.
This guide covers how to clean a washing machine step by step, for both front-load and top-load machines. You'll find the signs it's time, what to use (and what never to mix), a monthly washer care checklist you can screenshot, and the small habits that keep the whole thing fresh between cleans.
It took me a while to accept that the washer needs washing too. Once I did, my towels stopped smelling faintly of "basement," and that alone was worth it.
Signs Your Washing Machine Needs a Clean
Some machines announce it loudly, others drop quiet hints. Here are six signs to watch for:
- A musty or sour smell when you open the door, especially after the machine has been closed for a day or two.
- Grey or dark residue in the folds of the rubber door gasket, or little black dots that look like mildew.
- Slimy build-up in the detergent drawer, particularly in the fabric softener compartment.
- "Clean" laundry that doesn't smell clean, or towels that turn stiff and smell damp within hours.
- Grey flecks or lint on fresh clothes, which often means a clogged filter or old detergent residue being redeposited.
- Water draining slowly or a little puddle left in the bottom of a front-loader after the cycle ends.
If laundry keeps coming out smelling stale even after a cleaning, the washer may not be the only culprit. My guide on how to get rid of a musty smell looks at the whole room, from damp air to closets.
How Often To Clean Your Washer
A simple rhythm works for most homes:
- After every wash: leave the door or lid open and pull out wet laundry promptly.
- Weekly: a quick wipe of the door gasket with a dry cloth (thirty seconds, truly).
- Monthly: the full clean in this guide – gasket, drawer, filter and a hot cleaning cycle.
- Every two to three months: a slower deep clean, including the outside, the lid hinges and behind the drawer housing.
If you wash a lot of cold or quick cycles, have a big household, or live somewhere humid, lean toward the monthly clean without skipping. Cold washes are lovely for clothes and energy bills, but they don't rinse away soap film the way warmer water does. If you like having it written down with everything else, add it to your cleaning schedule as a first-weekend-of-the-month task.
What You'll Need
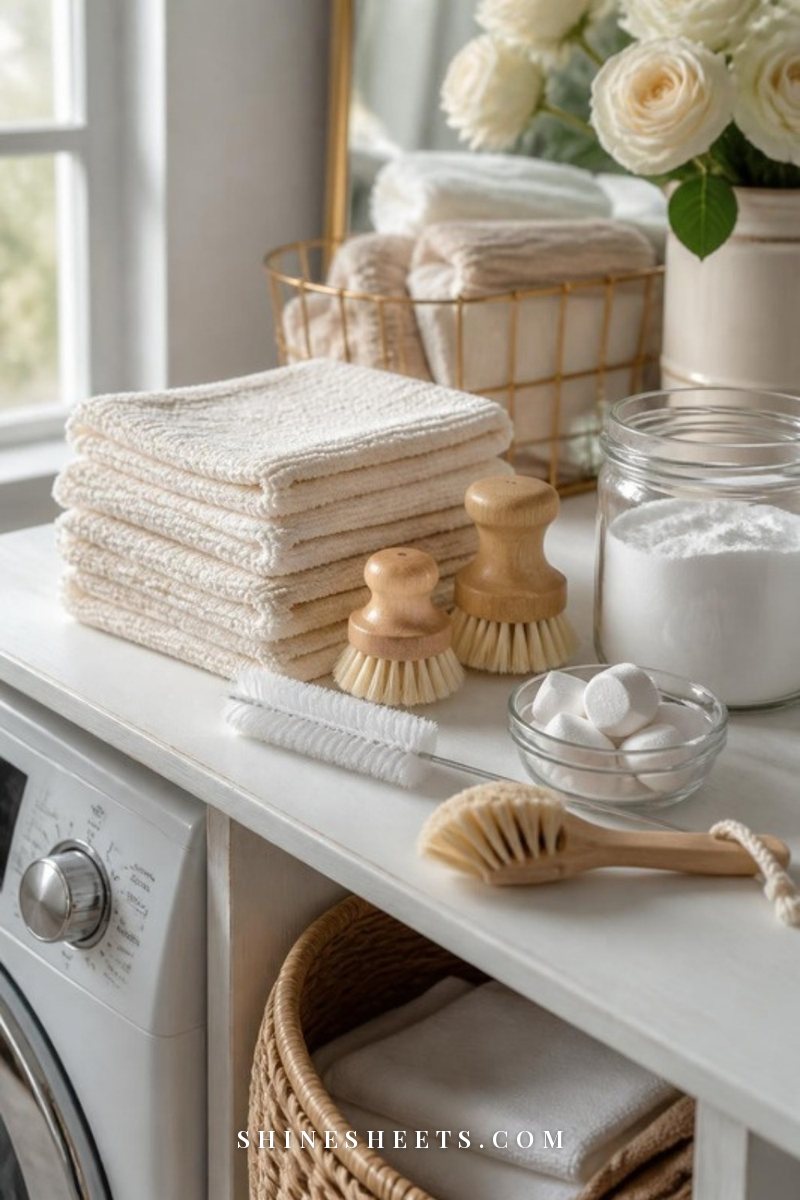
Nothing fancy, and most of it is probably in your cupboard already:
- A cleaner of your choice. Either washing machine cleaner tablets, plain white vinegar or baking soda (more on choosing below).
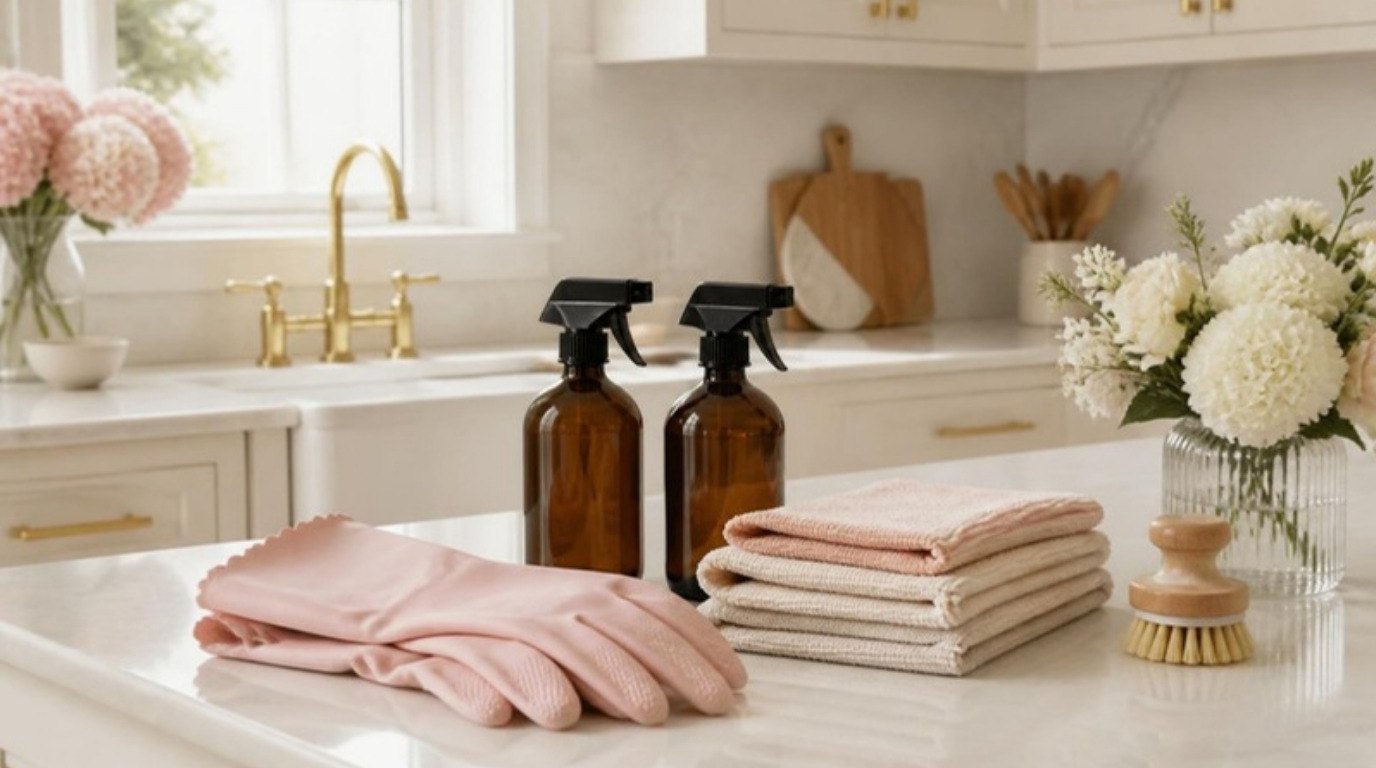
- Soft cloths. A stack of soft microfiber cleaning cloths picks up grime from rubber and glass without scratching anything.
- Small brushes. A small scrub brush set with a few sizes reaches into gasket folds and filter threads. An old toothbrush works in a pinch.
- A slim drawer brush. A narrow long, slim cleaning brush fits into the detergent drawer housing where your hand can't.
- A shallow tray and an old towel for catching water when you open the filter on a front-loader.
- A bucket of warm water with a few drops of dish soap for soaking the drawer.
- Gloves, if you'd rather not touch whatever is in that filter (understandable).
Vinegar, Baking Soda or Cleaner Tablets?
All three can work. The trick is choosing one per cycle rather than throwing everything in at once.
| Option | Best for | How to use it | Keep in mind |
|---|---|---|---|
| Washer cleaner tablets | Regular monthly cleans, front-loaders, anyone who wants it simple | One tablet in the empty drum, run the "tub clean" or hottest cycle | Follow the pack and your machine's manual for the cycle |
| White vinegar | Soap scum, mineral build-up, mild odors | About 2 cups in the drum (front-loader) or 4 cups in a full top-loader tub, hot cycle | Some manufacturers advise against frequent vinegar because it can be hard on rubber seals – check your manual and use it occasionally |
| Baking soda | Odors and a gentle scrub for the gasket and drum | About 1/2 cup in the drum, hot cycle; or a paste with water for scrubbing | Run it in a separate cycle from vinegar – mixed together they fizz and mostly cancel each other out |
A kind but firm safety note: never mix chlorine bleach with vinegar, ammonia or other cleaners. Bleach and acids (like vinegar) can release chlorine gas, and bleach with ammonia releases chloramine fumes – both are dangerous to breathe. If you decide to use bleach for a mildew problem, use it on its own, in a separate cycle, with good ventilation, and run an empty rinse cycle before switching to anything else. Keep cleaner tablets in their original packaging, up high and away from children and pets. My natural cleaning guide has a full list of the combinations never to mix.
How To Clean a Front-Load Washing Machine
Front-loaders are wonderful at saving water, but that tight-sealing door is exactly why they're prone to smells. Moisture gets trapped in the gasket and there's nowhere for it to go. Unplug the machine before you touch the filter, and give yourself about 20 minutes of hands-on time plus one cycle.
1. Wipe and Scrub the Door Gasket
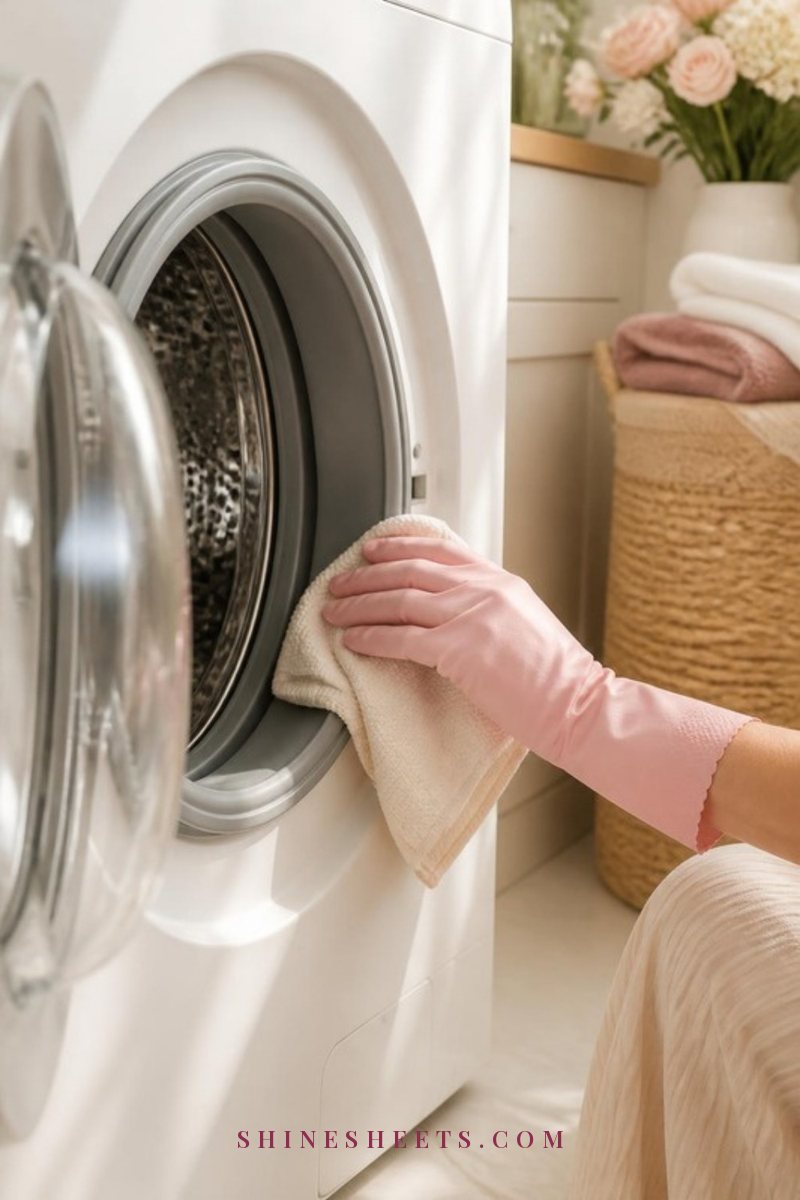
This is the spot that matters most. Gently pull back the rubber seal and look into the folds – you'll likely find lint, hair, a stray sock or two and some grey film.
- Pick out anything loose first (coins, hair ties, lint clumps).
- Dampen a microfiber cloth with warm soapy water, or sprinkle a little baking soda on it, and wipe all the way around the inside of the fold.
- Use a small brush on any dark spots. Work in small circles rather than scrubbing hard; you want to clean the rubber, not wear it out.
- Finish with a clean, dry cloth so the fold isn't left damp.
If there are stubborn black mildew spots that won't budge, a dedicated mildew cleaner made for rubber seals is a better choice than harsh scrubbing. Use it on its own and rinse well, following the label.
2. Clean the Detergent Drawer
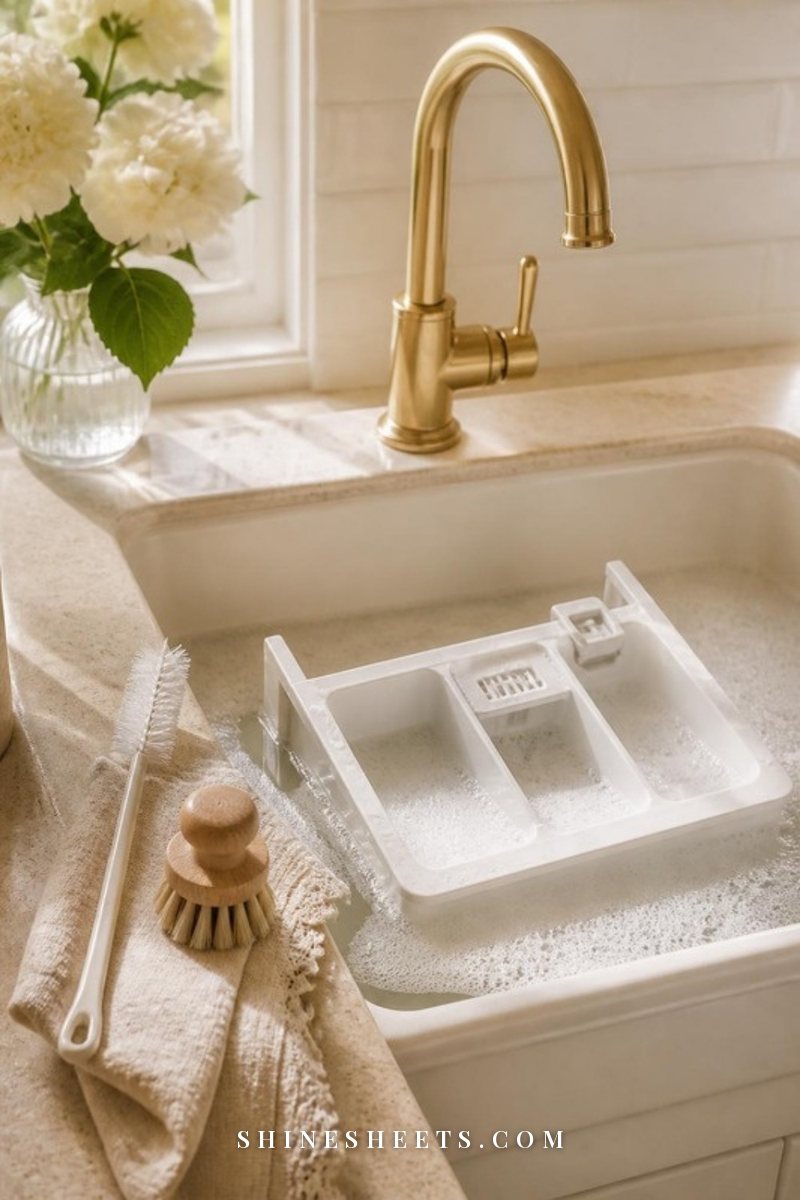
Most drawers come all the way out – look for a small tab or button (often in the softener compartment) and press it as you pull. Then:
- Soak the drawer in warm water with a few drops of dish soap for 10–15 minutes.
- Scrub the corners and the little siphon caps with a small brush, then rinse and let it air-dry.
- While it soaks, reach into the empty drawer housing with your slim brush. This is where the slimy stuff hides – on the ceiling of the housing, where water sprays in.
- Wipe the housing with a damp cloth, then a dry one, before sliding the clean drawer back in.
3. Empty the Drain Pump Filter
Most front-loaders have a small hatch at the bottom front corner. Check your manual first, because models vary, and only do this when the machine has cooled down (never right after a hot wash).
- Unplug the washer and lay an old towel and a shallow tray underneath the hatch.
- If there's a small drain hose, pull it out and let the water run into the tray first. Expect more water than you'd think.
- Slowly unscrew the filter, catching drips as you go.
- Remove lint, hair and anything else trapped inside, rinse the filter under warm water, and wipe out the opening.
- Screw it back firmly and close the little hose plug – a loose filter means a leak next cycle.
Every two to three months is enough for most homes, or monthly if you wash a lot of pet bedding or fluffy towels.
4. Run a Hot Cleaning Cycle
With the drum empty, add your one chosen cleaner: a cleaner tablet in the drum, about 2 cups of white vinegar in the drum, or about 1/2 cup of baking soda in the drum. Select the "tub clean" or "drum clean" setting if your machine has one, otherwise the hottest, longest cycle it offers.
If you'd like to use both vinegar and baking soda, run them as two separate cycles, vinegar first, then baking soda. Afterwards, an empty rinse cycle clears anything left behind.
5. Wipe the Door Glass and the Outside
While the cycle runs (or right after), give the outside some attention. Wipe the inside of the door glass where detergent film collects, the control panel with a barely damp cloth, the top of the machine and the little ledge under the door where drips land. Dry everything with a clean cloth for a streak-free finish.
6. Leave It Open To Dry
When the cycle finishes, dry the gasket fold one more time and leave the door and the detergent drawer slightly open for a few hours, ideally overnight. A magnetic washer door prop holds the door just ajar so it doesn't swing into the room or get closed by habit.
How To Clean a Top-Load Washing Machine
Top-loaders have their own hiding spots: under the rim, around the agitator and inside the lid. If you have a traditional top-loader with an agitator, the soak method below works beautifully. If you have a high-efficiency top-loader, check your manual before filling it to the top, as many have a dedicated clean cycle instead.
1. Wipe the Lid, Rim and Agitator
Lift the lid and wipe the underside, the hinges and the rim of the tub with a cloth dipped in warm soapy water. Run a small brush along the top edge of the drum, where grime collects in a little band. If your agitator has a removable cap or fabric softener cup, pop it off and soak it in warm soapy water while you work.
2. Fill, Add Cleaner and Let It Soak
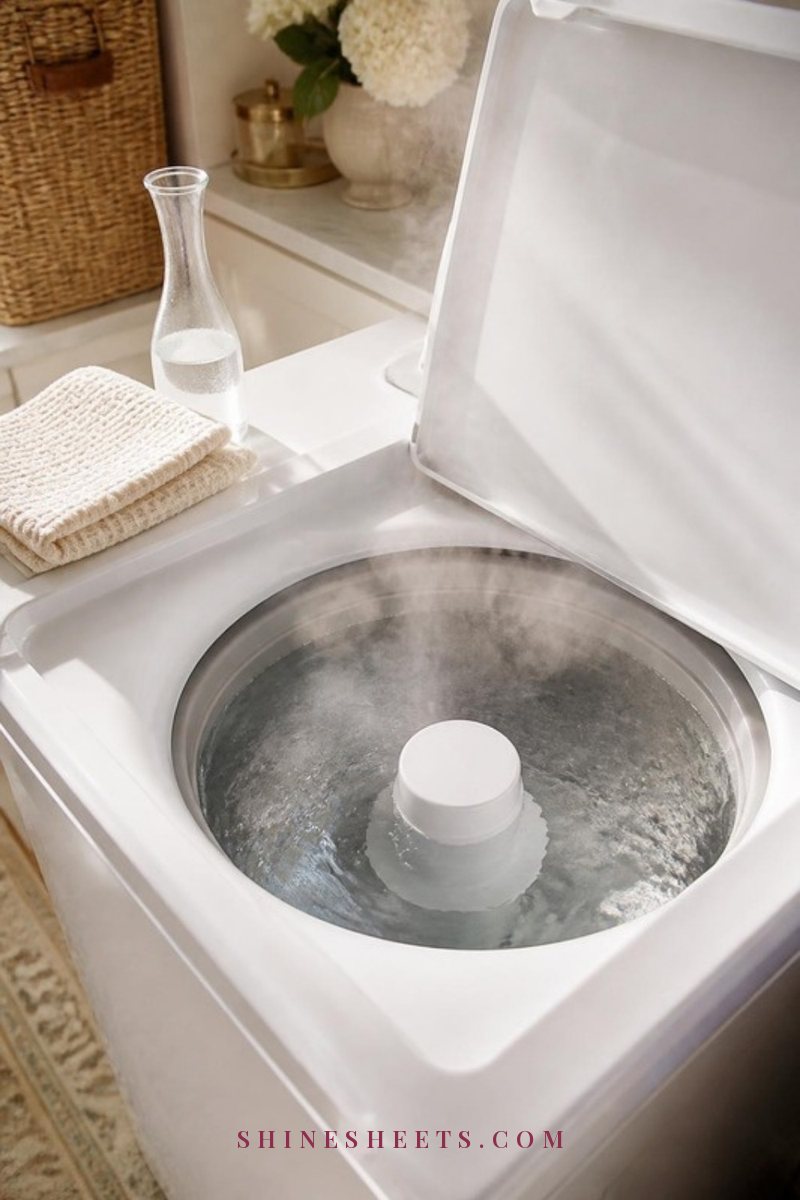
This is where the top-loader method differs. Set the machine to the hottest, largest load setting and let it fill with water. Add your one chosen cleaner – about 4 cups of white vinegar or a washer cleaner tablet (follow the pack) – and let it agitate for a minute or two. Then pause the cycle and leave it to soak for about an hour.
That hour is when the real work happens: the warm water loosens soap scum and residue from places no brush can reach. Use the time to wipe the outside of the machine or put the kettle on.
3. Finish the Cycle and Run a Rinse
Restart the cycle and let it run all the way through. If you used vinegar, follow with a second hot cycle with about 1/2 cup of baking soda for any lingering odor, then an empty rinse. Never pair either one with bleach in the same cycle.
4. Clean the Dispensers and Lint Filter
Wipe out the bleach and softener dispensers with a damp cloth and a small brush. Many older top-loaders have a lint filter, either at the top of the agitator or along the inside of the drum – pull it out, rinse it and let it dry before replacing it.
5. Dry the Drum and Leave the Lid Up
Wipe the inside of the drum with a dry microfiber cloth, especially the rim, and leave the lid open until everything is completely dry. Top-loaders tend to forgive more than front-loaders, but a closed, damp drum will still develop that stale smell over time.
Monthly Washer Care Checklist
Here's the whole routine on one page. Screenshot it and keep it on your phone, or tape a copy inside the laundry cupboard door.
| Task | Front-loader | Top-loader | Time |
|---|---|---|---|
| Pick out lint and objects from the gasket or rim | Yes | Yes | 2 min |
| Scrub the door gasket folds | Yes | – | 5 min |
| Wipe under the lid, rim and agitator | – | Yes | 5 min |
| Remove and soak the detergent drawer or dispensers | Yes | Yes | 5 min + soak |
| Brush out the drawer housing | Yes | – | 2 min |
| Empty the drain pump filter (every 2–3 months) | Yes | Lint filter, if present | 5–10 min |
| Run a hot cleaning cycle with one cleaner | Yes | Yes, with a 1-hour soak | 1–2 hours (hands-off) |
| Run an empty rinse cycle | Optional | Optional | Hands-off |
| Wipe the door glass, controls and outside | Yes | Yes | 3 min |
| Leave the door or lid open to dry | Yes | Yes | Overnight |
Hands-on time is around 20–30 minutes. Everything else is the machine doing the work while you get on with your day.
7 Habits That Keep Your Washer Fresh
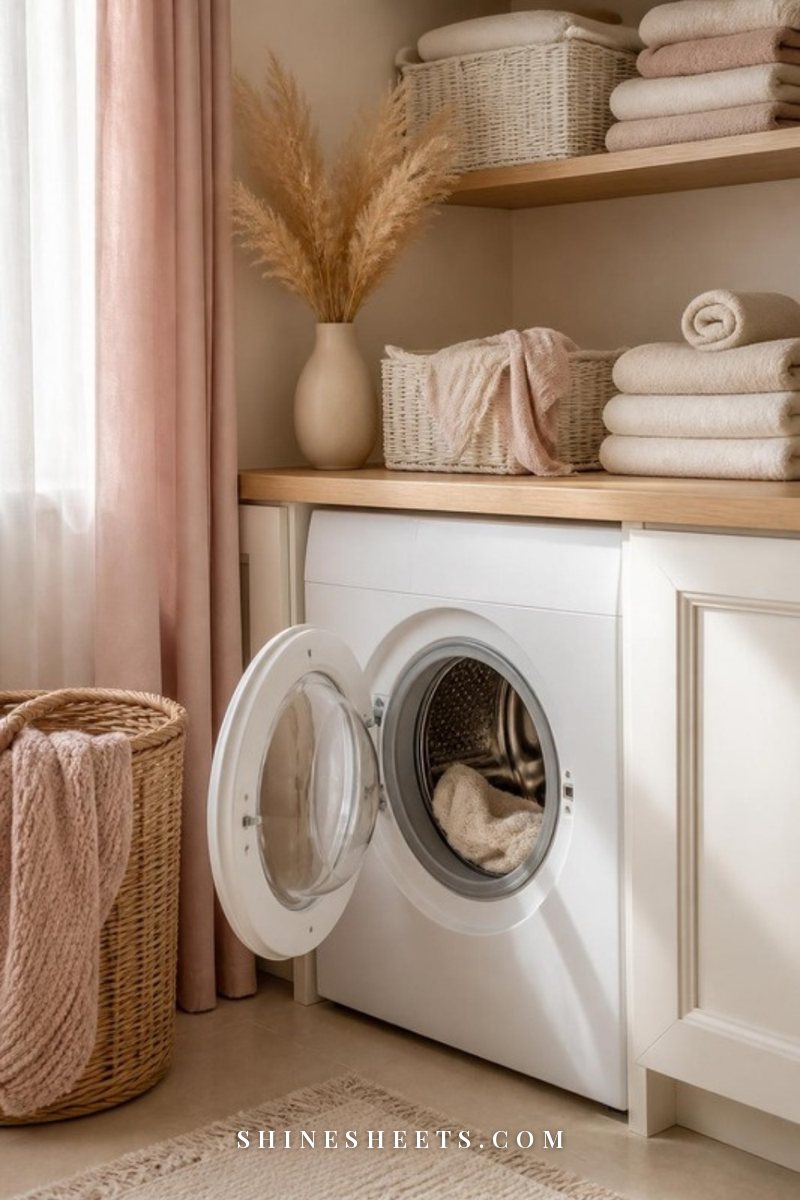
A monthly clean resets things, but these everyday habits are what stop the smell coming back:
- Leave the door or lid open after every wash. Even a few inches lets air circulate. It's the single biggest difference for front-loaders.
- Pull wet laundry out within an hour or so. Damp clothes sitting in a closed drum are how both the clothes and the machine end up musty. Setting a timer on your phone when you start a load helps.
- Use less detergent than you think. Extra soap doesn't rinse out fully; it builds a film that feeds odor. Follow the dose line for your load size, and use HE detergent in HE machines.
- Go easy on fabric softener. It's one of the stickiest residues in the drawer. Use it occasionally or in smaller amounts.
- Run a hot wash now and then. If most of your loads are cold, a hot cycle with towels or bedding every week or two helps keep soap film from building up.
- Wipe the gasket dry weekly. Thirty seconds with a dry cloth after the last load of the week does more than you'd expect.
- Keep the laundry area airy. Don't let damp clothes pile up on top of the machine. Sorting into breathable white laundry baskets keeps the space tidy and lets damp items dry instead of sitting in a heap.
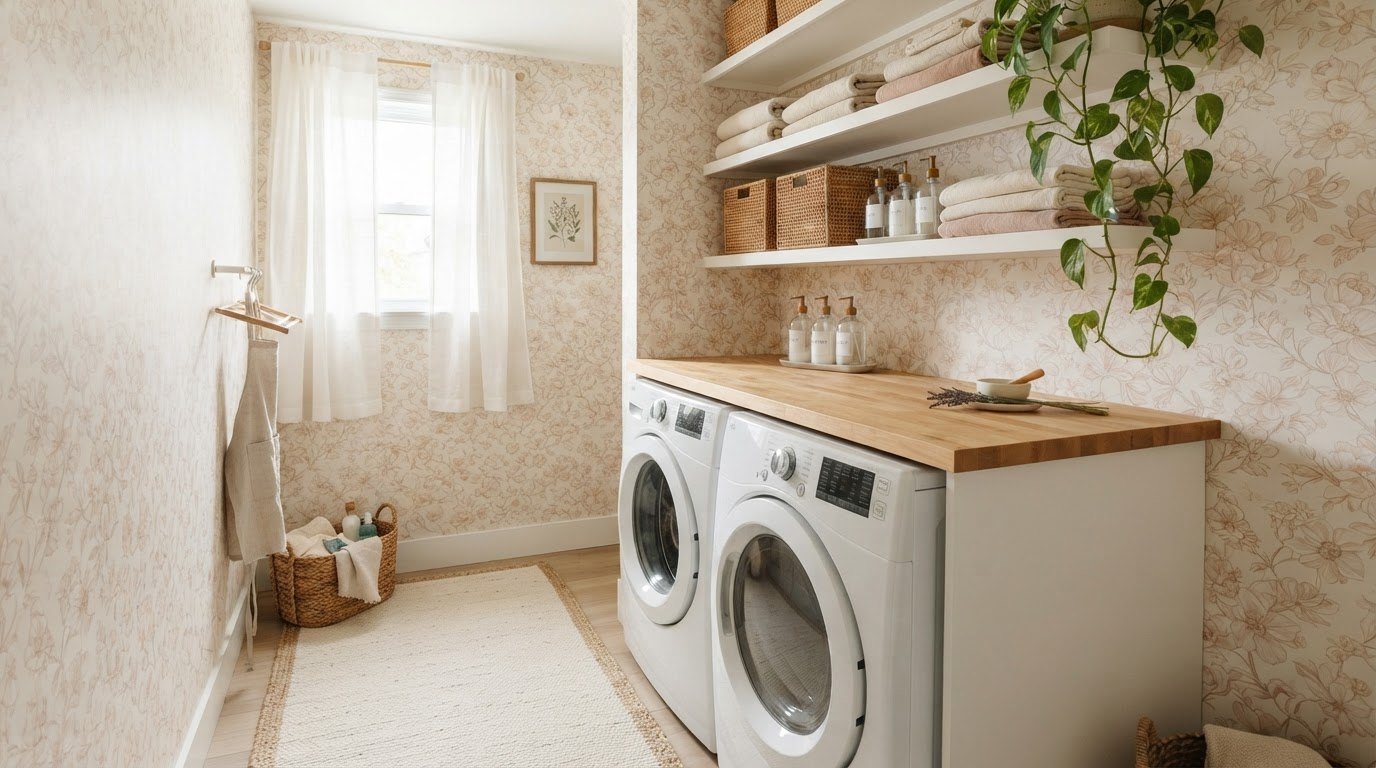
For more small tweaks that keep both clothes and machine happy, my laundry tips cover detergent dosing, sorting and drying in more detail. And if your laundry corner could use a little love while you're at it, these laundry room ideas for small spaces make the whole chore feel nicer.
Common Mistakes To Avoid
- Mixing cleaners in one cycle. Bleach plus vinegar or ammonia is a safety risk, and vinegar plus baking soda mostly neutralize each other. One cleaner per cycle.
- Scrubbing the gasket with abrasive pads. Steel wool or rough scouring sponges can tear the rubber. Soft cloths and small brushes are enough.
- Opening the filter right after a hot wash. The water can be very hot. Wait until the machine has cooled.
- Cleaning only the drum. A hot cycle alone doesn't reach the drawer housing, the gasket folds or the filter, which is where most of the smell comes from.
- Using vinegar every single week. Occasional use is fine for most machines, but frequent use can be hard on rubber parts. Alternate with cleaner tablets or baking soda, and check what your manufacturer recommends.
- Closing the door straight after cleaning. All that effort, sealed in with moisture. Let it dry.
When It's More Than a Dirty Washer
If you've done a full clean, emptied the filter and the smell comes straight back, or the washer isn't draining, leaks from underneath or shows a persistent error code, it may be a drainage or mechanical problem rather than a cleaning one. Check your manual's troubleshooting section first, then call the manufacturer or a repair technician. Never take the machine apart beyond the parts your manual says are user-serviceable, and always unplug it first.
And if your towels are still a little stiff and stale after the machine is spotless, they likely need their own reset. My guide on how to deep clean towels walks you through stripping away old detergent build-up so they feel soft again.
Final Thoughts
Cleaning your washing machine is one of those chores that sounds bigger than it is. Twenty minutes, one hot cycle and a door left open overnight, and the machine that washes everything else gets a fresh start too.
You don't need to remember every step. Keep the checklist handy, pick one cleaner, and build the small habits a little at a time. Fresh-smelling towels and a washer that smells like nothing at all are a quiet kind of luxury, and you've earned them.