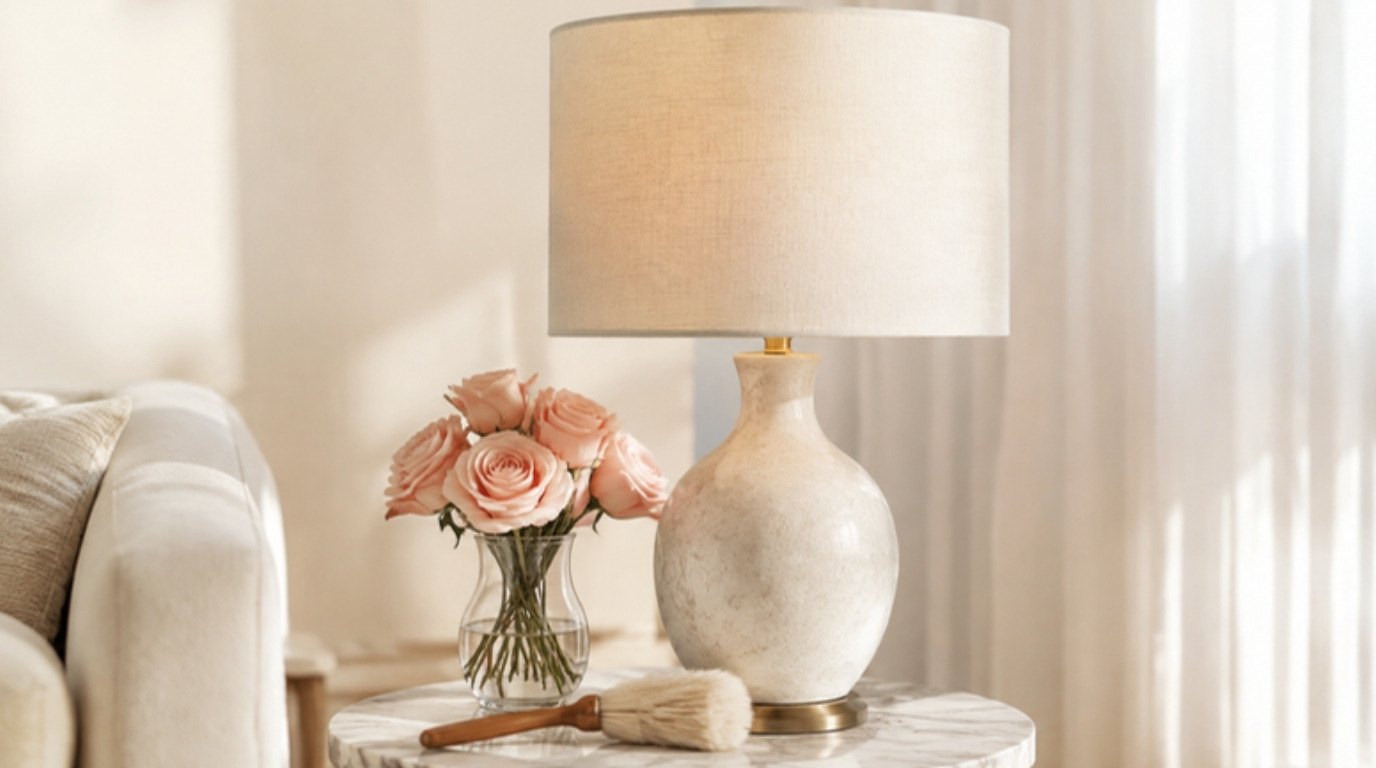
Lampshades are one of those things that quietly collect dust for months, and then one evening you switch the lamp on and suddenly see every fleck, every gray film and that faint yellow tint near the top. The good news is that most shades need far less effort than you'd think. The real trick isn't scrubbing harder. It's knowing what your shade is made of before you touch it with anything wet.
A fabric drum shade, a paper lantern and a glass dome look like the same kind of object, but they behave completely differently around water. Paper warps and stains. Many fabric shades are held together with glue that softens when it gets damp. Glass, on the other hand, is happy to go straight into a sink of warm, soapy water. Once you match the method to the material, cleaning becomes a calm ten-minute job instead of a nervous gamble.
This guide walks you through how to clean lampshades made of fabric, linen, silk, paper, parchment, glass and plastic, step by step. You'll find a quick way to identify your shade, a material-by-material method, simple fixes for yellowing, fly specks and small stains, a dusting rhythm that keeps the job tiny, and a table you can screenshot for later.
I'll admit lampshades were invisible to me for a long time, right up until the light started looking dim and a little dingy. A clean shade makes a room feel brighter and fresher right away, and it takes much less time than you'd expect.
Before You Start: Unplug and Let the Bulb Cool

This part takes thirty seconds, and it matters more than any cleaning tip. Always switch the lamp off and unplug it at the wall before you start. Then give the bulb at least 15 minutes to cool, longer if it's an older incandescent or halogen bulb, because those get very hot and stay hot.
A few more small habits that keep things safe and easy:
- Take the shade off if you can. Most shades lift off a harp and finial (the little decorative knob on top) or sit on a clip that grips the bulb. Unscrew the finial gently and set it in a small bowl so it doesn't roll away.
- Remove the bulb before any wet cleaning near the lamp base. Never spray anything directly onto a lamp that's still assembled.
- Work on a clean towel. A folded bath towel on a table gives you a soft surface and catches dust.
- Keep moisture away from the socket and cord. If you clean the lamp base too, use a barely damp cloth and let it dry completely before plugging it in again.
If a shade is attached to the fixture (like some ceiling pendants or wall sconces), switch off the light at the switch and the breaker if you're unsure, and clean it in place with dry methods only.
How To Tell What Your Lampshade Is Made Of
Before you pick a method, take a minute to figure out the material. Check the inside of the shade first, since a small sticker or printed tag sometimes names it. If there's nothing, these clues help:
- Fabric or linen: you can see a woven texture up close, and the fabric often has a slight give when you press it. Most fabric shades are glued onto a stiff backing, which you can see as a smooth white or cream layer on the inside.
- Silk: it has a soft sheen and feels smooth and fine. Silk shades are often pleated or gathered and sometimes stitched rather than glued. Treat silk as the most delicate fabric.
- Paper or parchment: it feels dry, crisp and smooth, and it may crinkle slightly. Parchment-style shades are often slightly translucent with a warm, oaty color.
- Glass: cool and heavy to the touch, and it makes a clear little tap when you knock it gently with a fingernail.
- Plastic or acrylic: lighter than glass, slightly warmer to the touch, and it often has a seam line from the mold.
Look at the seams too. If you see a glued seam (a slightly raised, stiff vertical line) or glued trim along the top and bottom edges, you have your answer: keep that shade as dry as possible. Glue and paper both hate water, and once a seam lifts or a water ring dries into paper, it's very hard to undo.
What You'll Need
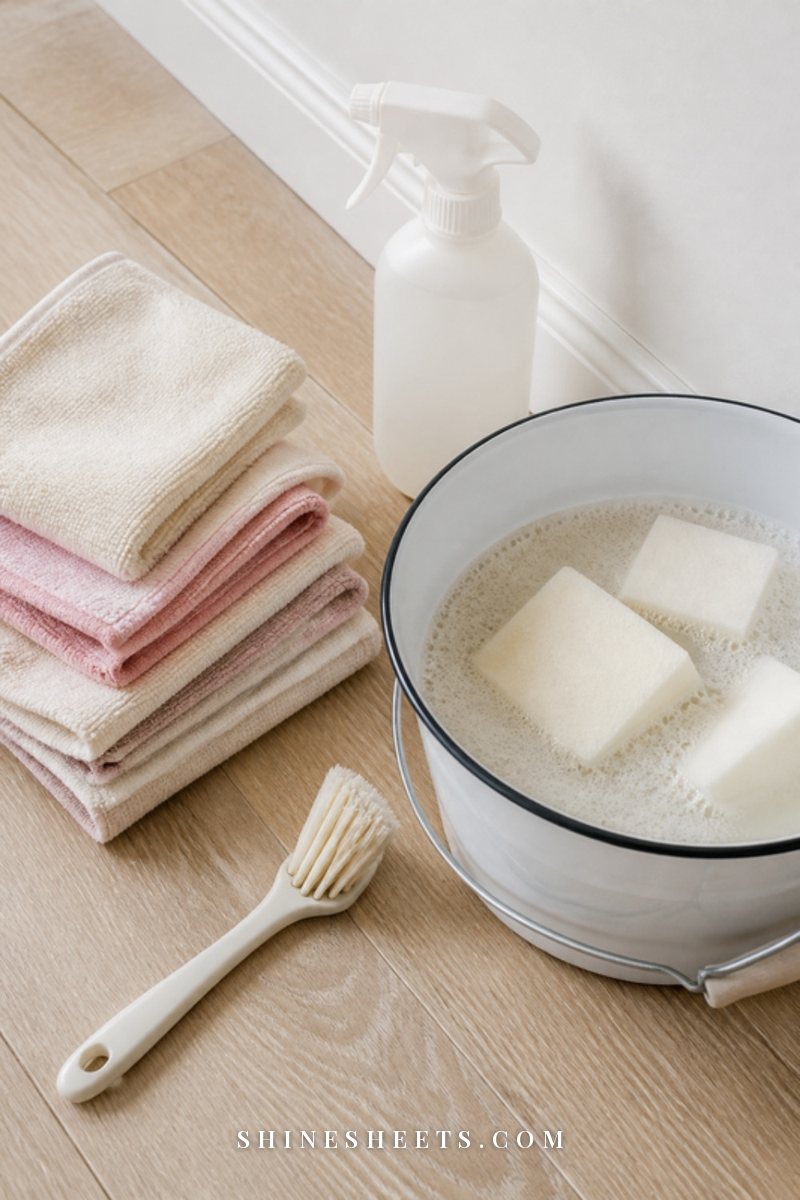
You don't need a cupboard full of special products. A small, gentle kit covers every type of shade:
- A lint roller for fabric and linen. A white lint roller with refill sheets picks up dust and pet hair in a few quick passes without any moisture at all.
- A soft brush for pleats, paper and delicate fabrics. A soft cream dusting brush with natural-feeling bristles gets into folds without scratching or snagging.
- Microfiber cloths for glass, plastic and paper. I'd choose a sage microfiber cloth set so you can keep one cloth strictly dry and one for damp work.
- A dry cleaning sponge (sometimes called a soot sponge) for paper, parchment and grimy fabric. A dry cleaning sponge lifts dust and greasy film without water, which is exactly what paper needs.
- Your vacuum's soft brush attachment, on the lowest suction setting.
- Mild dish soap and warm water for glass and plastic only.
- Cotton swabs and a clean white cloth for spot cleaning.
- Gloves if your hands are sensitive to dish soap or cleaners.
For shades you can't easily take down, like tall floor lamps or ceiling pendants, a baby blue extendable duster saves you from wobbling on a chair.
Lampshade Cleaning by Material: The Quick Table
Here's the whole guide in one table. It's the one thing worth screenshotting, because the "never do" column is what saves shades from damage.
| Shade material | Best dusting tool | Stain fix | Never do |
|---|---|---|---|
| Fabric (cotton, blends) | Lint roller or vacuum soft brush on low | Dab with a drop of mild soap in cool water, then blot dry | Soak it or submerge a glued shade |
| Linen | Lint roller, then soft brush along the weave | Barely damp white cloth, dab and blot, test first | Rub hard (it frays and leaves shiny patches) |
| Silk (often pleated) | Soft brush, top to bottom along the pleats | Dry cleaning sponge only; leave real stains to a professional | Use any water or a lint roller with strong adhesive |
| Paper and parchment | Dry microfiber or soft brush | Dry cleaning sponge or a clean white eraser, very lightly | Use water, sprays or wet wipes |
| Glass | Dry microfiber cloth | Hand-wash in warm soapy water, rinse, dry with a lint-free cloth | Put hot glass in cold water or use the dishwasher for painted or vintage glass |
| Plastic and acrylic | Dry microfiber cloth | Damp cloth with a drop of mild soap, wipe and dry | Use abrasive pads or strong solvents (they cloud the surface) |
How To Clean Lampshades by Material: 4 Types
Every shade fits into one of these four groups. Silk and parchment have their own notes inside the fabric and paper sections, because they need a slightly gentler touch than their cousins.
1. Fabric and Linen Shades

Fabric shades are the most common, and they're also the dust magnets. The texture of the weave holds onto everything floating in the air, which is why they turn slightly gray over time. Here's the routine:
- Lint roll first. Hold the shade by the top and bottom wire rings, not by the fabric. Roll from top to bottom in straight strips, turning the shade as you go. Swap to a fresh sheet as soon as one looks gray. This takes about two minutes and removes most of the surface dust.
- Vacuum the rest. Fit the soft brush attachment, set the vacuum to its lowest suction and work top to bottom again, then do the inside. If the fabric sucks inward, the suction is too strong. You can also hold a piece of thin, clean fabric over the nozzle to soften it.
- Brush the trim. Use the soft brush along the top and bottom edges and any piping, where dust packs in tightly.
- Spot clean only where you need to. Mix one drop of mild dish soap into a cup of cool water. Dip a white cloth, wring it until it's barely damp, and dab (don't rub) the mark. Blot with a dry part of the cloth straight away. Test on the inside of the shade or near the seam first and wait five minutes to check for color change or water rings.
Linen frays and goes shiny if you rub it, so always dab and work in the direction of the weave. If your linen shade is stitched (not glued) and the care tag allows it, it can sometimes be dipped in a tub of cool, soapy water, but that's rare. When in doubt, stay dry.
Silk shades need the gentlest care of all. Use only the soft brush or a dry cleaning sponge, working down the pleats one at a time. Skip the lint roller, since strong adhesive can pull at fine threads. Water marks on silk tend to stay, so a real stain on a silk shade is a job for a professional cleaner or a lamp shop.
2. Paper and Parchment Shades

Paper is the shade that needs the most respect. Even a damp cloth can leave a ring, buckle the surface or loosen the glue holding the paper to its frame. Think of it as cleaning an old book: gentle, dry and slow.
- Dust with a dry microfiber cloth or a soft brush. Use light, downward strokes. For rice-paper lanterns, support the inside with one hand while you brush the outside, so the paper doesn't dent.
- Use a dry cleaning sponge for the gray film. Wipe in long, even strokes from top to bottom. The sponge pulls grime into itself, and you'll see it darken. Once one side is dark, switch to a clean side.
- Erase small marks very lightly. A clean white eraser can lift a pencil-like smudge on sturdy paper or parchment. Test on the inside first, and use almost no pressure.
- Brush away any crumbs from the sponge or eraser with your soft brush, then check the inside for cobwebs.
Parchment-style shades (often made of treated paper or a parchment-look plastic) can be a little sturdier, but treat them like paper unless you know for certain they're plastic. If a paper shade has water damage, a large stain or deep discoloration, replacing it is usually easier than trying to rescue it. Lampshades are sold in standard sizes, so measure the top, bottom and height before you shop.
3. Glass Shades
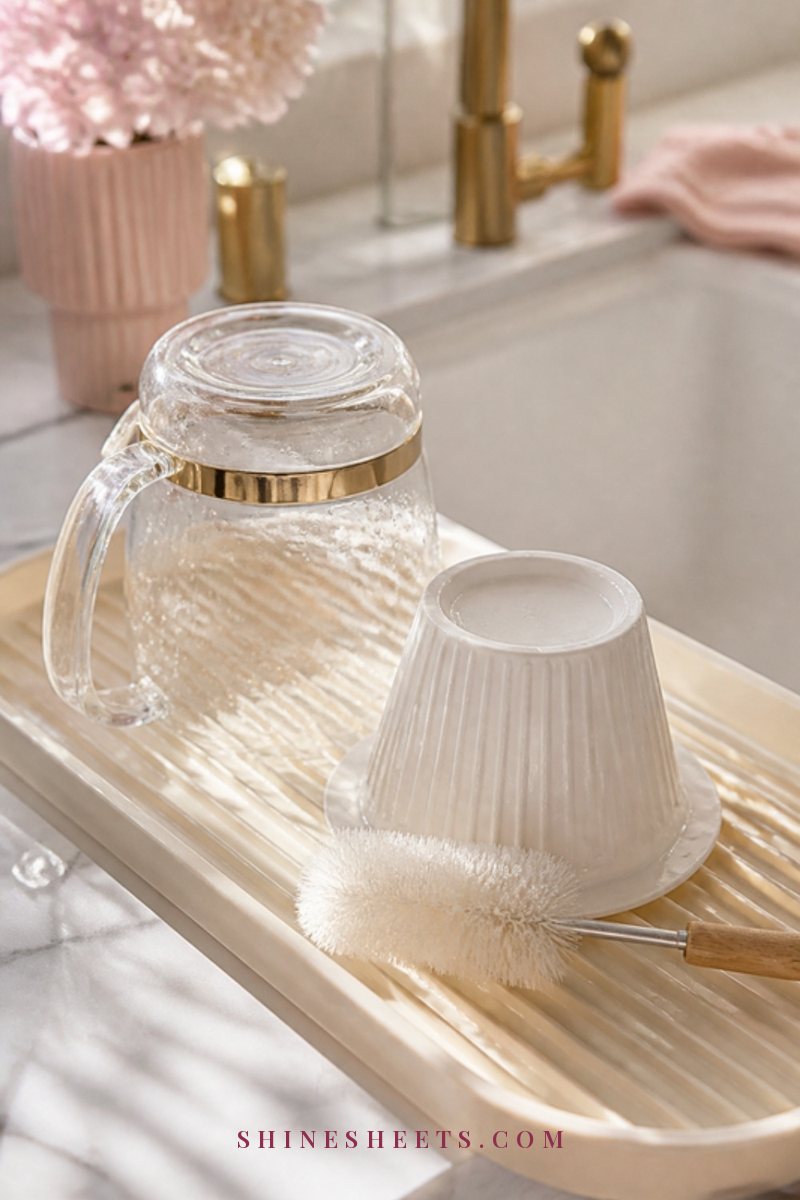
Glass is the easiest of all because it loves water. It's also the one that shows every fingerprint, so a proper wash every few months makes a visible difference.
- Let it cool completely and remove it from the fixture. Glass can crack if it goes from hot to cold too quickly, so wait at least 15 minutes after switching off.
- Line your sink with a folded towel or a rubber mat to cushion the glass.
- Wash in warm, soapy water. Use a few drops of mild dish soap and a soft sponge or microfiber cloth. Let a very dusty or greasy shade (like a kitchen pendant) soak for 10 minutes first.
- Rinse well with warm water to remove any soap film, which otherwise dries into streaks.
- Dry with a lint-free cloth, then let it air-dry upside down on a towel for at least an hour so any water inside the neck evaporates.
Hand-washing is the safe choice for painted, frosted, etched or vintage glass, since the dishwasher's heat and detergent can fade designs or cloud the surface. If your glass shade lives above the stove, kitchen grease is the reason it looks foggy, and the soak step is your best friend.
4. Plastic and Acrylic Shades
Plastic shades are low-drama, but they scratch and cloud easily, so soft tools only.
- Dust with a dry microfiber cloth first, so you're not pushing grit around when you wipe.
- Wipe with a damp cloth. Add a single drop of mild dish soap to a bowl of warm water, dampen the cloth and wring it out well. Wipe top to bottom.
- Rinse the cloth and wipe again with plain water to remove the soap.
- Dry right away with a clean microfiber cloth to avoid water spots.
Skip abrasive scrubbing pads, powdered cleansers and strong solvents like nail polish remover. They can scratch acrylic or leave permanent hazy patches, which is a sad thing to do to a shade that only needed a gentle wipe.
How To Fix Common Lampshade Problems
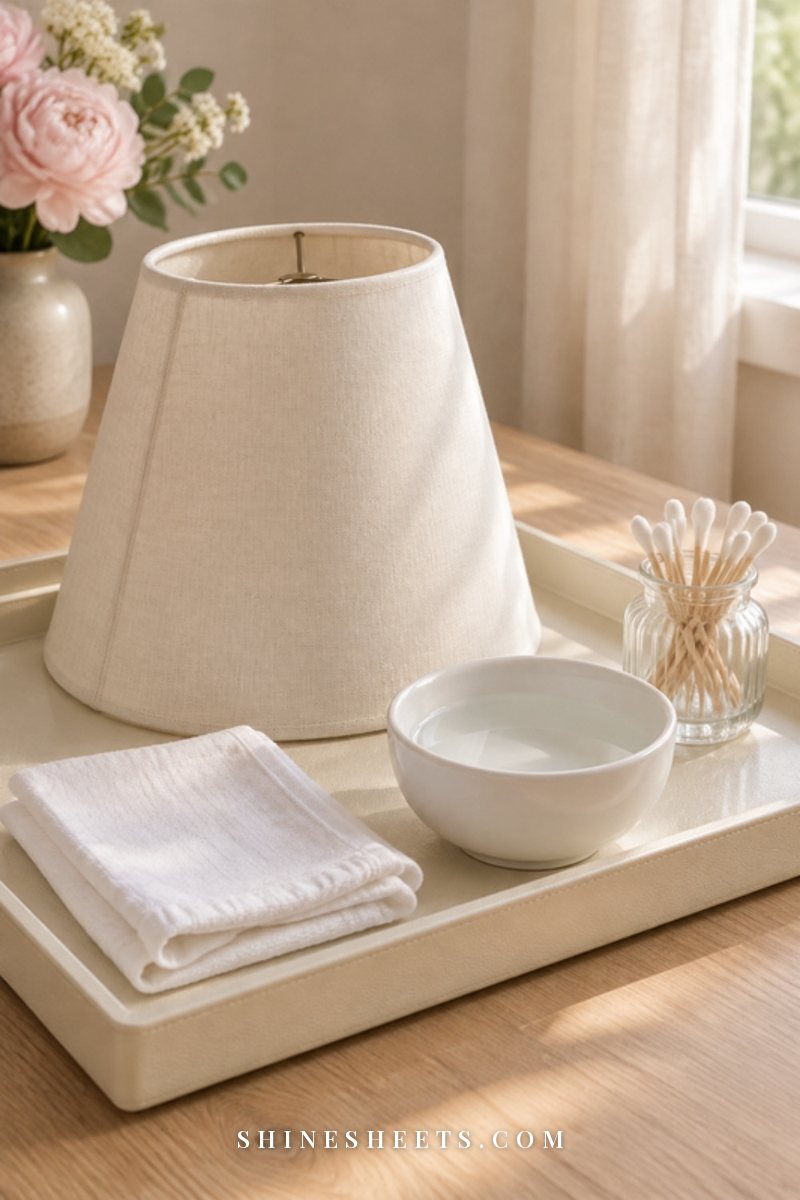
Dust is the everyday issue, but shades also pick up a few specific problems. Here's how to handle each one gently.
Yellowing
Yellowing usually comes from heat, age, sunlight or a film of airborne grease and smoke. Surface grime is fixable; age-related yellowing in the fabric or paper itself usually isn't.
- Start dry. A dry cleaning sponge often removes more of the yellow-gray film than you'd expect, especially on paper and fabric near a kitchen.
- Try a gentle damp dab on fabric. After testing, dab the area with a barely damp cloth and a drop of mild soap, then blot dry. Work in small sections so you don't leave a tide line.
- Accept the limits. If the color is even all over and doesn't budge, it's likely the material itself has aged. Bleach won't help and can weaken the fabric or eat through it, so a new shade is the kinder solution.
To slow yellowing, choose LED bulbs (they run much cooler) and keep the bulb within the wattage listed on the lamp. A bulb that's too close to the shade or too strong can scorch it over time.
Fly Specks
Those tiny dark dots, usually near the top of the shade where it's warmest, are fly specks. They're small but stubborn.
- On glass and plastic: they wipe away with warm soapy water. For dried ones, lay a warm, damp cloth on them for two minutes to soften, then wipe.
- On fabric: dip a cotton swab in your mild soap solution, squeeze it almost dry and roll it over each speck. Blot with a dry cloth after every few dots.
- On paper: try the dry cleaning sponge or the very edge of a white eraser. If they don't lift, leave them, since water will make a bigger mark than the speck.
Small Stains
For fabric, act gently and work from the outside of the stain toward the center so it doesn't spread. Always test on a hidden spot first.
- Water-based marks (a splash, a drip): dab with a barely damp cloth and a drop of mild soap, then blot.
- Greasy marks (fingerprints, a kitchen splatter): a little dish soap on a damp cloth, dab, then blot with a clean damp cloth to rinse.
- Unknown stains on delicate fabric, silk or antique shades: leave them to a professional cleaner.
The single most useful rule: blot, don't rub. Rubbing pushes the stain deeper and roughs up the surface, which can look worse than the original mark.
Drying Fully Before You Refit
This is the step people rush, and it's the one that causes trouble. A shade that goes back on the lamp while it's still damp can develop water rings, smell musty, or let moisture reach the bulb and socket.
- Fabric and linen after spot cleaning: stand the shade upright on a towel in a well-ventilated room, away from direct heat, for at least 2–3 hours, ideally overnight. Never use a hairdryer on high, since heat can loosen glue.
- Glass: air-dry upside down for an hour, then check the inside of the neck with a dry cloth.
- Plastic: dry by hand and leave it for 15 minutes before refitting.
- Paper: if you cleaned it dry, it's ready right away.
Before you plug the lamp back in, touch the inside of the shade and the area around the socket. Everything should feel completely dry. Then screw the finial back on, plug in and enjoy that brighter, cleaner glow.
How Often To Dust and Clean Lampshades

The secret to never needing a big lampshade rescue is a tiny, regular dusting habit. Here's a rhythm that works for most homes:
- Every week or two: a quick pass with the extendable duster, soft brush or lint roller while you dust the rest of the room. It takes under a minute per lamp.
- Every month: a slightly more thorough clean, including the inside of the shade and the top edge, where dust and specks collect.
- Every 3–6 months: wash glass and plastic shades, use the dry cleaning sponge on paper and spot clean fabric where needed.
- Kitchens, smokers' homes and homes with pets: dust weekly, since grease, smoke and fur build up faster.
If you'd like dust to settle less in the first place, my guide on how to reduce dust at home has easy habits that help every surface, lampshades included. And since dust tends to fall from higher places, it's worth pairing this job with a quick pass on cleaning your ceiling fans without dust falling everywhere, so your clean shades don't get a fresh layer the next day.
Lampshades also make a lovely part of a broader soft-furnishings refresh. If your windows need some attention too, my guides on cleaning blinds quickly, every type and cleaning curtains without taking them down follow the same gentle, material-first approach.
Safety Notes for Cleaning Lampshades
Lampshades are a gentle job, so your cleaners should be gentle too. A few kind reminders:
- Mild cleaners only. Plain water and a drop of dish soap handle almost everything. Skip strong solvents, abrasive powders and harsh stain removers on shades.
- Wear gloves if your hands are sensitive. Even mild soap can dry or irritate skin with repeated use.
- Never mix bleach with ammonia or vinegar. These combinations release harmful fumes. You don't need bleach for lampshades at all, but if you're cleaning other things in the same room, keep products separate.
- Ventilate. Open a window when you use any cleaner, and let damp shades dry in a room with good airflow.
- Keep water away from electrical parts. Unplug first, never spray onto a lamp, and make sure everything is fully dry before switching back on.
- Check bulbs and wattage. If you see brown scorch marks inside a shade, the bulb may be too hot or too close. Switch to a cooler LED bulb within the lamp's listed wattage, and replace a scorched shade.
Once your shades are clean, you might notice how much better your lighting feels overall. If you'd like a room to feel even warmer, my post on easy lighting ideas that make a room feel cozy has simple ways to layer lamps and soft light.
Final Thoughts
Cleaning lampshades is one of those small jobs with a surprisingly big reward. Once you know what your shade is made of, the rest is simple: dry methods for fabric, silk and paper, a warm soapy wash for glass, a gentle wipe for plastic, and plenty of drying time before the light goes back on.
Start with the lamp you look at most, maybe the one beside your sofa or your bed. Give it five quiet minutes this week, and you'll be amazed how much softer and brighter the whole room feels in the evening.