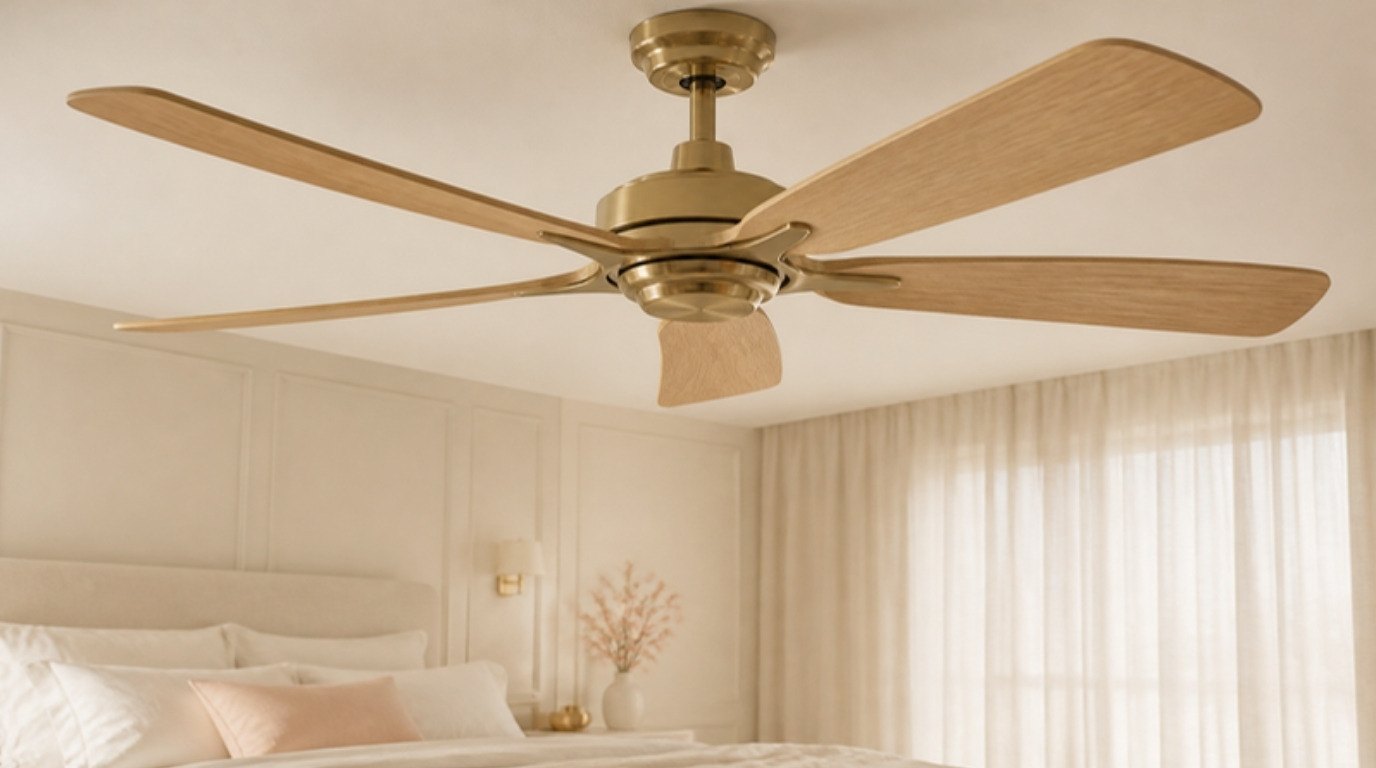
A dusty ceiling fan isn't a sign that you're bad at cleaning. It's a sign that the fan is doing its job: every turn of those blades pushes air through the room, and the air carries dust, lint and tiny bits of grease that cling to the leading edge of each blade. Give it a few weeks and you get that gray, fuzzy rim nobody notices until the light hits it just right.
The frustrating part is the cleaning itself. Swipe a blade with a cloth and half the dust lands on your pillow, your hair and the rug. The good news is that a few simple tricks keep almost all of it contained, and once you know them, the whole job takes about fifteen minutes.
This guide covers how to clean ceiling fans without dust falling everywhere: why fans get so furry, how often to clean them, the safety basics, the pillowcase method step by step, how to handle a greasy kitchen fan, the parts most people forget, and a simple table you can screenshot so you always know which tool goes with which part.
It took me a while to learn that the order matters as much as the method. Top first, floor last, and no rushing up the ladder.
Why Ceiling Fans Get So Dusty

Ceiling fans collect dust faster than almost anything else in your home, and there are three reasons for it.
- Static. As the blades spin, they rub against the air and build up a small static charge. That charge pulls in fine dust like a magnet, which is why the front edge of each blade gets thick and fuzzy while the back stays almost clean.
- Airflow. A fan moves a lot of air, and everything floating in that air (lint from bedding, pet hair, skin cells, pollen) passes right over the blades.
- Grease. In kitchens and open-plan living spaces, cooking releases a fine mist of oil. It settles on the blades and turns ordinary dust into a sticky layer that a dry cloth just smears around.
Bedrooms are usually the worst for plain dust, because bedding sheds so much lint. If you feel like your whole home gets dusty fast, my guide on how to reduce dust at home has small habits that help every surface, fans included.
How Often To Clean a Ceiling Fan
You don't need to deep clean your fan every week. A simple rhythm works much better:
- Weekly or every other week (2 minutes): a quick pass with an extension duster while the fan is off, mainly in rooms where you run it every day.
- Monthly (10–15 minutes): the pillowcase method on every blade, plus a light damp wipe.
- Each season (30 minutes): a full deep clean, including the motor housing, the light shade, the pull chains and the floor underneath.
- Kitchen fans: a damp, soapy wipe every month, because grease builds up faster than you'd expect.
A good moment for the seasonal clean is when you switch the fan direction (counterclockwise for summer, clockwise on low for winter, on most models). If you like having everything mapped out, the fan fits neatly into the monthly section of my cleaning schedule.
Safety First Before You Climb Up

This is the part I'd never skip, even for a quick wipe. Reaching overhead is surprisingly tiring, and a wobbly perch is how small jobs turn into sprained ankles.
- Switch the fan off and wait. Turn it off at the wall switch (and the pull chain if it has one) and wait until the blades have completely stopped. If the fan has a light, let the bulbs cool for at least 10 minutes.
- Use a sturdy step ladder. A steady folding step ladder with a wide top step is a pick for this job; look for non-slip feet and a handrail you can hold. Never stand on a chair, a bed, a stool on wheels or a stack of anything.
- Position the ladder well. Set it on a flat, dry floor, close enough that you can reach the blade without leaning out. Move the ladder rather than stretching your arm.
- Protect your eyes and nose. If you're sensitive to dust, a simple dust mask and a pair of glasses keep the falling bits out of your face.
- Never push or bend the blades. They're balanced, and bending one even slightly can make the fan wobble or click afterward. Support each blade gently with one hand while you clean it.
If your ceiling is very high and you'd need a tall extension ladder, it's completely fine to stick with an extension duster from the floor and call a handyman once a year for the deep clean.
What You'll Need
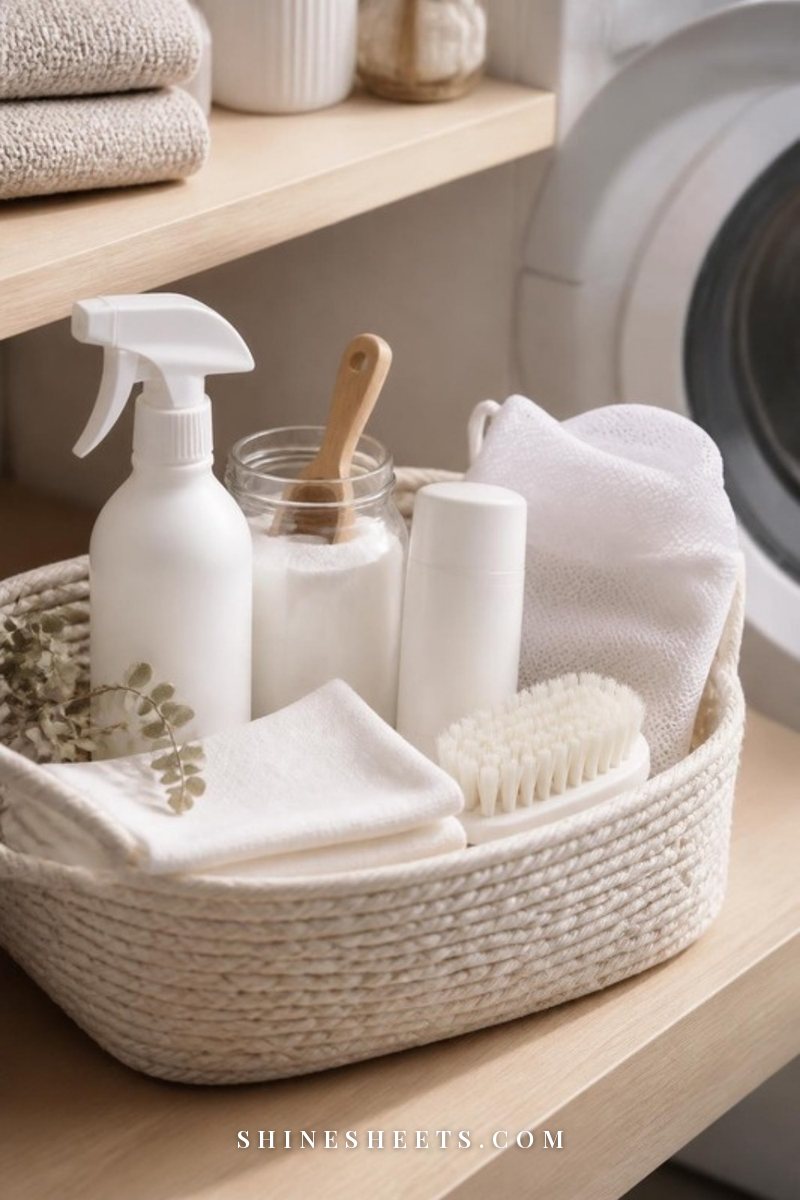
You probably have most of this already. Here's the full kit:
- An old pillowcase for the dust-free method. Cotton works best; a basic white cotton pillowcase that's past its bedtime glory is perfect.
- Microfiber cloths, at least two (one damp, one dry). A soft set of cream microfiber cleaning cloths grips fine dust instead of pushing it around.
- A spray bottle with plain water and one small drop of dish soap.
- An extension duster for quick weekly passes (more on that below).
- A step ladder, as above.
- A handheld vacuum or your regular vacuum for the floor and bedding underneath.
- An old sheet or towel to lay over the bed or furniture directly below the fan.
How To Clean Ceiling Fans With the Pillowcase Method
This is the method that keeps dust where it belongs: inside the pillowcase, not on your duvet. Set aside about 15 minutes for a typical five-blade fan.
Step 1: Cover What's Underneath

Lay an old sheet or a large towel over the bed, sofa or rug below the fan. Even with the pillowcase trick, a few crumbs of dust will drop, and it's much easier to shake out a sheet than to wash a whole duvet cover. Close the windows so a breeze doesn't scatter anything.
Step 2: Slide the Pillowcase Over One Blade
Climb up, hold the open end of the pillowcase and slide it over the whole blade, all the way to the motor end. The fabric should cover the top and bottom of the blade at the same time.
Step 3: Pull Back Slowly
Press lightly on the top of the blade through the fabric and pull the pillowcase back toward you in one slow, steady movement. The dust gets wiped off the top and falls straight into the pillowcase instead of into the room. Repeat for every blade, shaking the pillowcase out into a trash bag outside (or into the bin, very gently) if it gets heavy.
Step 4: Damp Wipe Each Blade
Lightly mist a microfiber cloth (not the blade) with your water and dish soap mix. Wipe the top, the bottom and the edges of each blade. The cloth should be damp, never dripping, especially on wood or composite blades that can swell or warp.
Step 5: Dry Right Away
Follow straight away with a dry microfiber cloth. This removes any soap film and keeps water spots off glossy finishes. Drying well also matters for a less obvious reason: a slightly sticky blade grabs new dust faster.
When you're done, fold the sheet inward from the corners, take it outside to shake, and toss the pillowcase in the wash on its own.
Ceiling Fan Cleaning Table: Tools, Methods and Timing
Here's the whole job in one table. Screenshot it and you'll never have to think about it again.
| Fan part | Tool | Method | How often |
|---|---|---|---|
| Blades (dust) | Old cotton pillowcase | Slide over each blade, press lightly and pull back slowly | Monthly |
| Blades (quick pass) | Extension duster | Fan off, sweep each blade top from motor to tip | Weekly or every other week |
| Blades (film) | Damp microfiber cloth, then dry cloth | Water plus a drop of dish soap, sprayed on the cloth | Monthly |
| Kitchen fan blades | Warm soapy water, degreaser if needed | Wipe, rinse with a clean damp cloth, dry | Monthly |
| Motor housing | Dry microfiber cloth | Dust gently, damp wipe only the outer shell | Each season |
| Glass light shade | Sink, warm soapy water, soft towel | Remove, wash, dry fully before reattaching | Each season |
| Pull chains | Damp microfiber cloth | Pinch the cloth around the chain and slide down | Monthly |
| Floor and furniture below | Vacuum or handheld vacuum | Vacuum last, after all dust has settled | Every time you clean the fan |
How To Clean a Greasy Kitchen Ceiling Fan

A kitchen fan is a different story, because the dust is glued down with cooking grease. Dry dusting won't move it, and the pillowcase only takes off the loose top layer. Here's what works:
- Start with the pillowcase anyway. It removes the loose dust first, so you're not turning it into gray paste in the next step.
- Use warm water and dish soap. Mix a bowl of warm water with a teaspoon of dish soap. Dip a microfiber cloth, wring it out well and wipe each blade. Let the soapy cloth sit on a stubborn spot for 30–60 seconds to loosen it.
- Try a degreaser only if needed. For thick, sticky buildup, a kitchen degreaser can help. Always test it first on a hidden spot (the top of a blade near the motor is perfect), wait a few minutes and check for dulling or color change. Spray it onto the cloth, not the fan, and keep it away from the motor and wiring.
- Rinse and dry. Wipe each blade with a clean cloth dampened with plain water, then dry it thoroughly.
- Ventilate. Open a window while you work, especially if you're using a degreaser.
One firm rule for every cleaning job, not just this one: never mix bleach with vinegar or ammonia. Those combinations release harmful gases. For fans, you don't need bleach at all; soap and water handle nearly everything.
Don't Forget the Motor Housing, Pull Chains and Light
Once the blades are clean, the rest of the fan suddenly looks dusty by comparison. These parts take five extra minutes and make the whole fixture look new.
The Motor Housing
The housing is the round body in the middle. Dust it with a dry microfiber cloth first, then wipe the outer shell with a barely damp cloth and dry it. Never spray anything directly onto the housing and never let water run into the vents or seams; the motor and wiring are inside.
The Glass Light Shade

Glass bowls and shades collect dust inside and out, and often a few unlucky insects too. With the light off and cool, unscrew or unclip the shade carefully (it helps to have a second person below to hand it to). Wash it in the sink with warm water and dish soap, rinse, and let it dry completely on a towel before putting it back. Any trapped moisture can fog the glass. While the shade is off, wipe the bulbs with a dry cloth.
The Pull Chains
Pull chains are touched all the time, so they gather both dust and fingerprints. Pinch a damp microfiber cloth around the top of the chain and slide it down in one movement, then do the same with a dry cloth. Wipe the little decorative pull at the end too.
Quick Weekly Dusting With an Extension Duster

The weekly pass is what keeps the monthly clean so easy. Grab an extendable microfiber duster with a pole; the best ones have a bendable head that curves over the top of a blade. With the fan off, sweep each blade from the motor end out to the tip, in one direction only. Going back and forth pushes dust off the edge and onto the floor.
A few tips for this quick version:
- Do it before you vacuum or mop, never after.
- Shake the duster outside or into a trash bag between rooms.
- Wash the microfiber head every few weeks so it keeps its grip.
The same duster is handy for the slats on your blinds, by the way; my guide on how to clean blinds covers every type.
Clean the Floor Underneath Last
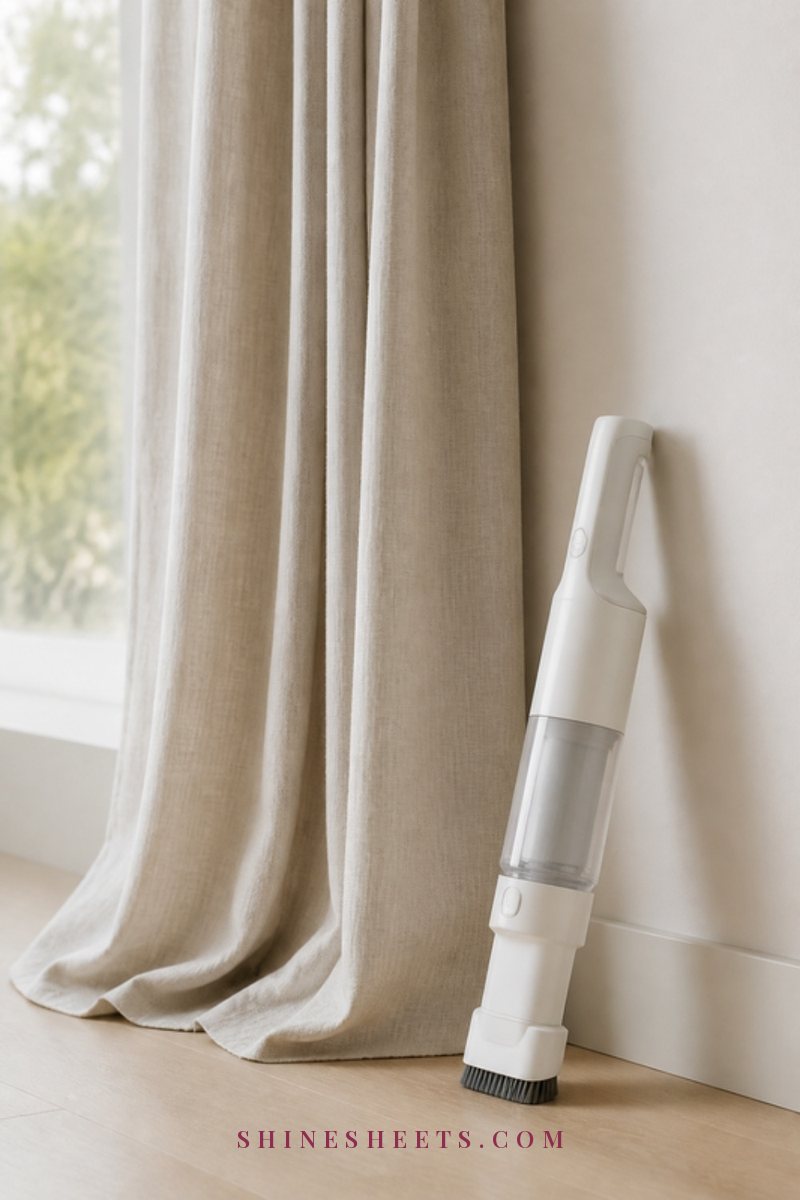
Always save the floor for the end. Give the dust 10–15 minutes to settle (make a cup of tea, put the ladder away), then gather up the protective sheet and vacuum the floor, rug and any furniture below the fan. A cordless handheld vacuum is a pick for quickly going over the bedside table, headboard and window sill without dragging out the big machine.
If you're doing the fan as part of a bigger bedroom refresh, the same top-to-bottom order applies to the whole room. My guide on how to deep clean your bedroom walks through it step by step.
How To Clean a Ceiling Fan Without a Ladder
Very high ceilings, a sore knee or simply not loving heights are all good reasons to keep your feet on the floor. You can still get a fan nicely clean from below; it just takes a slightly different approach.
- Use a bendable duster head. An extension duster with a flexible, curved microfiber head can wrap over the top of the blade, which is where most of the dust sits.
- Go slowly, one direction. Sweep from the motor out to the tip and lift away. Fast strokes flick dust across the room.
- Add a damp sleeve for the monthly clean. Slip a microfiber cloth, lightly misted, over the duster head and secure it with a hair tie. Go over each blade once, then swap for a dry cloth.
- Protect the floor below. The sheet trick matters even more here, because more dust escapes when you work from a distance.
For anything the pole can't handle (very sticky grease, a light shade you can't reach safely), it's perfectly reasonable to ask a handyman to do a deep clean once or twice a year. Your safety is worth more than a spotless blade.
How To Keep Your Ceiling Fan Cleaner for Longer
A few small habits stretch the time between cleans:
- Finish with a dry buff. After the damp clean, a final pass with a clean, dry microfiber cloth leaves no sticky film behind, so new dust has less to cling to.
- Wash your bedding weekly. Less lint in the air means less lint on the blades.
- Run the kitchen extractor hood while cooking. It catches the oily mist before it reaches the fan.
- Change your air filters. If you have central heating or air conditioning, replace filters on the schedule the manufacturer suggests.
- Keep a duster where you'll see it. A duster in the hall closet gets used; one in the garage doesn't.
Common Ceiling Fan Cleaning Mistakes
These are the small slips that cause the most mess (or the most damage):
- Cleaning while the blades are still turning. Even slow blades can knock a duster or your hand. Wait for a full stop.
- Spraying cleaner directly onto the fan. Liquid can drip into the motor and leave streaks. Always spray the cloth.
- Wiping before dusting. A wet cloth on a furry blade creates gray sludge. Dry first, damp second.
- Using a soaking wet cloth on wood blades. Too much water can warp them over time.
- Vacuuming first. The floor gets dusty all over again. Floor always last.
- Standing on furniture. A proper step ladder is the only safe way up.
Final Thoughts
Clean ceiling fans are one of those small things you feel more than you see. The air seems a little fresher, the room looks a little brighter, and you stop flinching every time you switch the fan on.
Start with one fan this week, the one over your bed is a lovely place to begin, and use the pillowcase. Fifteen quiet minutes, a duvet with no dust on it, and one more corner of your home that feels cared for.