Candle wax looks like a disaster when it lands on a tablecloth or a wooden side table, but it's one of the most forgiving messes in the house. Wax doesn't soak in the way wine or coffee does. It sits on top, hardens and waits for you, which means the right method (and a little patience) usually lifts it completely.
The secret is working with the wax instead of against it: make it hard and brittle so it pops off, or make it gently soft so something absorbent can pull it away. Rubbing it while it's warm, or attacking it with a knife, is what turns a small drip into a real stain or a scratch.
This guide covers how to remove candle wax from fabric, carpet, clothes, upholstery, wood furniture, glass candle jars and walls, step by step, plus how to deal with the colored dye stain colored candles can leave behind, a surface-by-surface table with what never to do, and simple habits that keep drips from happening in the first place.
As someone who loves glass candles a little too much, I've learned that a calm ten minutes beats any panic scrubbing. Let's start with the one rule that applies everywhere.
The Golden Rule: Let It Harden First
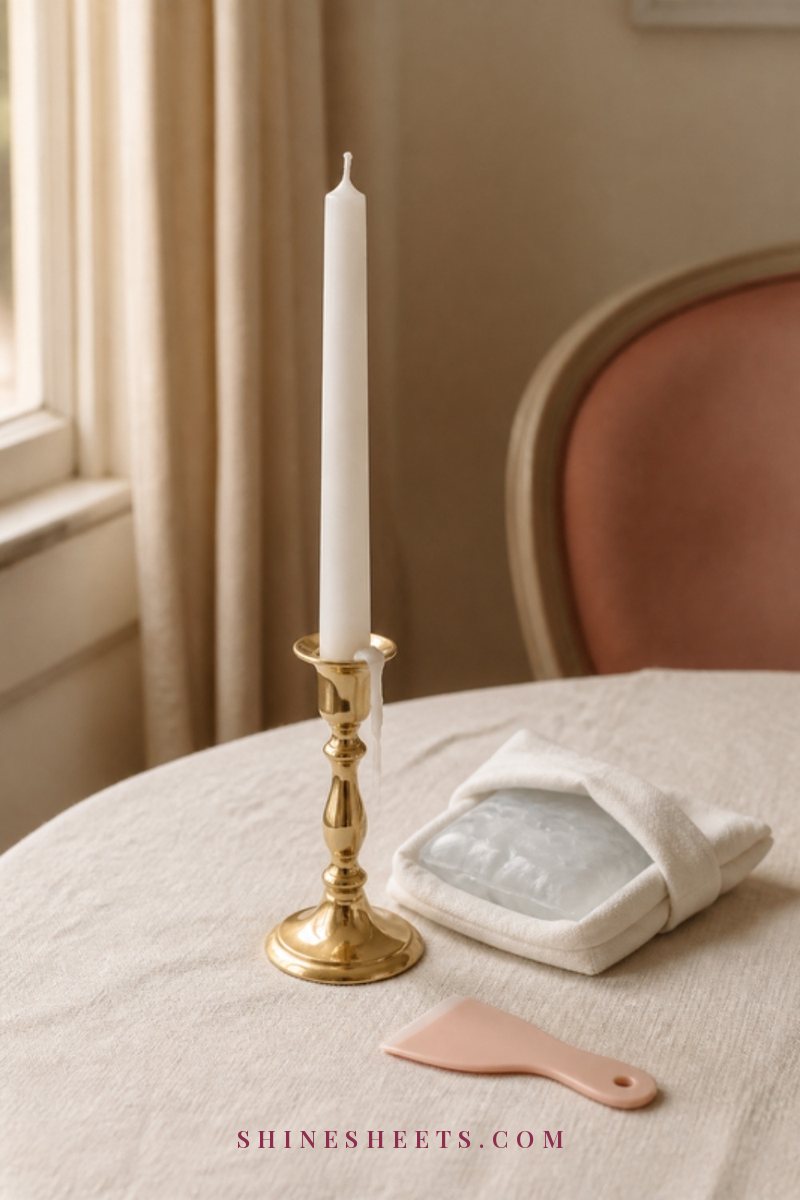
Whatever the surface, don't touch fresh wax. Warm wax smears, spreads into fibers and wood grain, and makes the job twice as big. Give it 15 to 20 minutes to cool and harden completely.
Want it even harder? Put a few ice cubes or an ice pack in a zip bag and rest it on the wax for 5 to 10 minutes. The bag keeps water off fabric and wood. Cold wax turns brittle, and brittle wax cracks and lifts instead of smearing.
Then scrape gently with something plastic: an old gift card, a credit card you don't need or a set of plastic scrapers. Hold it at a low angle and push the wax off in small flakes. Never use a metal knife on wood, glass or delicate fabric; it's the fastest way to leave a scratch or a snag.
What You'll Need
You probably have most of this at home already:
- Ice or an ice pack in a sealed bag
- A plastic scraper or an old card
- Brown paper (a plain paper bag works) or white paper towels, never printed paper or newspaper, because ink can transfer
- An iron set to low, steam off
- A hair dryer with a low or warm setting
- Soft cloths for buffing and wiping
- Stain remover and mild dish soap for the leftover color or oily mark
- Rubbing alcohol and cotton pads for stubborn dye (test first)
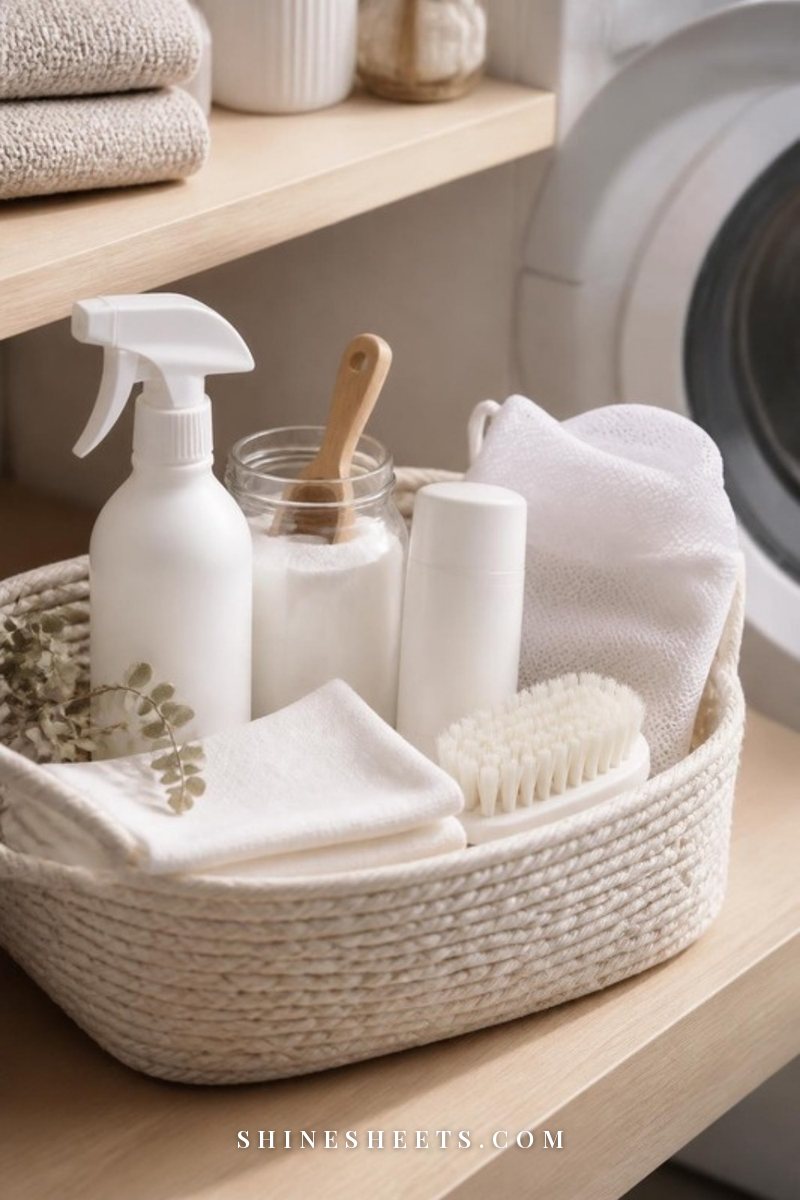
A roll of brown kraft paper is handy because you can tear off fresh squares as the wax soaks in, and a stack of soft microfiber cloths covers the buffing on wood and glass.
How To Remove Candle Wax From Fabric and Carpet
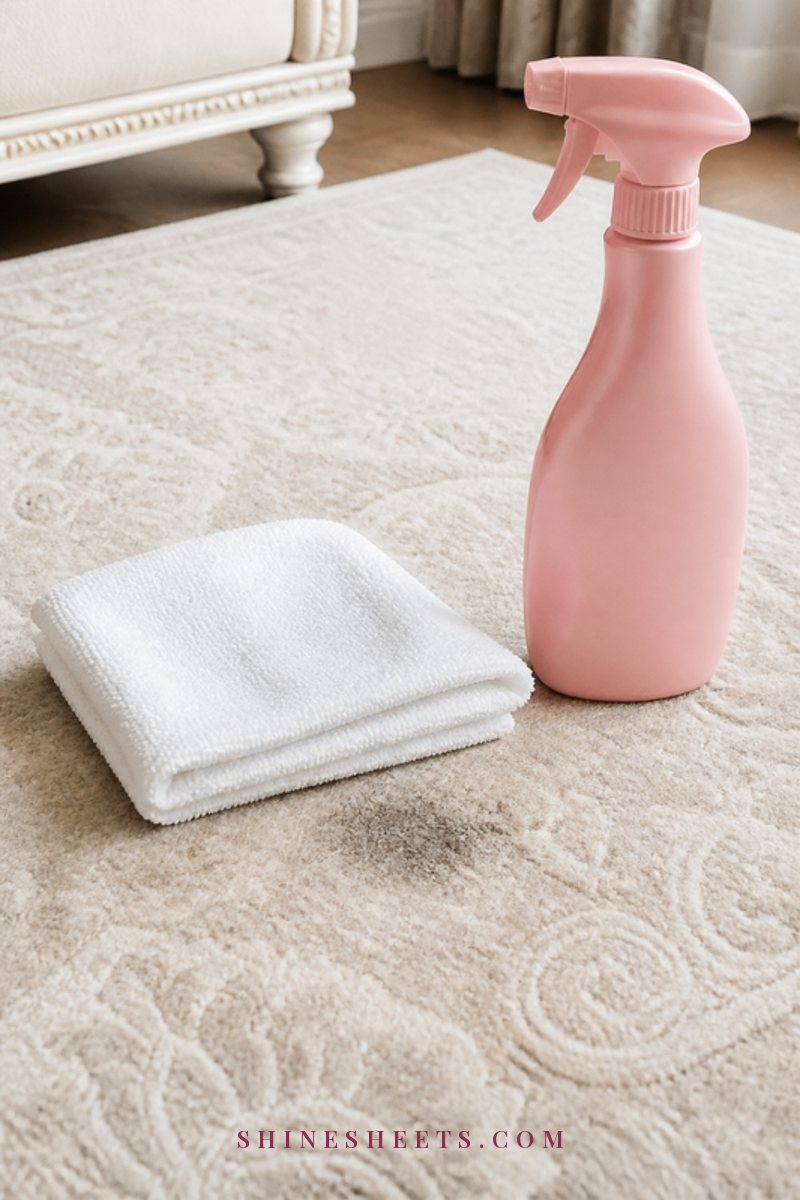
This is the classic paper-and-iron method, and it works on rugs, carpet, cotton table runners and most sturdy fabrics. Check the care label first; if it says "do not iron" or the fabric is synthetic and delicate, skip the heat and use only the freeze-and-scrape step plus stain remover.
- Harden and scrape. Ice for 5 to 10 minutes, then lift off as much wax as you can with a plastic card. On carpet, gently loosen the flakes from the fibers with your fingers or a soft brush and vacuum them up.
- Set the iron to low with no steam. Steam pushes wax deeper and can leave water marks.
- Lay brown paper over the spot. Use a double layer, matte side down.
- Press for 5 to 10 seconds at a time. Keep the iron moving lightly and lift it often. You'll see the wax soak into the paper as a darker spot.
- Move to a clean section of paper each time and repeat until no more wax transfers. This can take 5 to 15 rounds, so be patient.
- Treat the leftover mark. If there's an oily shadow or color, use a stain remover (see the dye section below) and blot, don't rub.
For carpet, keep the iron on the paper only and never let it rest in one place, especially on wool or synthetic fibers, which can melt or flatten. If it's a large spill on a valuable rug, a professional rug cleaner is worth the call. For deeper spots afterward, my guide on how to clean carpet stains walks through the blotting routine.
Tablecloths and Clothes
Washable linens and clothes get the same start, with a wash at the end:
- Read the care label. It tells you the safe iron temperature and wash setting. Dry-clean-only pieces should go to the cleaner with a note that it's candle wax.
- Freeze it. Small items can go straight into the freezer in a bag for 30 to 60 minutes. Then flex the fabric and the wax will crack off.
- Use the paper-and-iron method for the leftover film, with paper on both sides of the fabric so wax doesn't transfer to your ironing board.
- Pre-treat. Apply a gentle stain remover spray or rub in a drop of dish soap, and let it sit for 10 to 15 minutes.
- Wash on the warmest temperature the label allows.
- Air dry and check. Don't put it in the dryer until the mark is completely gone, because heat can set any leftover dye or oil. Repeat the pre-treat if needed.
If your linens need a little extra love after the holidays, my laundry tips guide covers how to keep white table linens bright.
Upholstery
Sofas and chairs need the gentlest touch because you can't throw them in the wash and some fabrics react badly to heat.
- Check the cleaning code under the cushion or on the tag. "W" means water-based cleaners are fine, "S" means solvent only, "WS" means either, and "X" means vacuum only, so call a professional.
- Test on a hidden spot first, like the back of a cushion or under the skirt, before any heat or cleaner.
- Harden and scrape with ice in a bag and a plastic card.
- Use low heat only. Paper over the spot, iron on the lowest setting (or a hair dryer on warm held 15 cm away), a few seconds at a time, blotting the softened wax into the paper.
- Finish with a damp cloth and a drop of dish soap if the code allows water, then blot dry.
Velvet, silk and leather are best left to a professional; heat and scraping can crush or mark them permanently.
Wood Furniture
Wax on a wooden table looks scary because you're worried about the finish, but this method is gentle:
- Let it harden fully, then ice it for a few minutes (keep the bag dry so no water sits on the wood).
- Lift it with a plastic scraper or card, held almost flat. Most wax pops off in one or two pieces at this point.
- For the thin film left behind, set a hair dryer to low and hold it about 15 to 20 cm away for 10 to 20 seconds, just until the film softens.
- Wipe immediately with a soft cloth, moving with the grain. Repeat once or twice if needed.
- Clean and buff. Wipe with a cloth barely dampened with water and a drop of dish soap, dry it, then buff with a little wood furniture polish to restore the shine.
Two cautions: no metal tools, ever, and don't keep heat on lacquered or varnished wood for long, because it can cause cloudy white marks. Short bursts, then wipe. If you see a whitish haze after, let it rest for a day; mild haze often fades, and furniture polish helps it along.
Glass Candle Jars and Holders
Leftover wax at the bottom of a glass jar is my favorite kind of mess, because the jar becomes a pretty little vase or makeup brush holder once it's clean.
The freezer method (easiest):
- Put the jar or holder in the freezer for 2 to 3 hours, or overnight.
- The wax shrinks as it freezes and usually pops out with a light push from a butter knife or plastic scraper. Work slowly near the glass edges.
- Remove the metal wick tab at the bottom; it usually lifts with the wax or with a gentle pry.
- Wash in warm, soapy water and dry with a soft cloth.
The warm water method: place the jar on a towel in the sink and pour hot (not boiling) water into it, leaving space at the top. The wax melts and floats. Let it cool, lift off the wax disc, remove the wick tab, then wash with dish soap. Don't pour boiling water into thin or cold glass, as it can crack, and never pour melted wax down the drain; it hardens in the pipes. Throw wax in the trash.
If you'd like to reuse those clean jars, my candle making for beginners guide shows how to fill them again, and how to style candles has ideas for displaying them around your home.
Walls
Wax on painted walls usually happens near a sconce or a shelf candle. Paint is delicate, so go slowly:
- Gently lift off any raised wax with a plastic card held flat.
- Hold a hair dryer on low about 15 cm away for 10 to 15 seconds to soften the film.
- Wipe it away with a soft cloth or paper towel, using light pressure.
- Clean the spot with a drop of dish soap in warm water on a barely damp cloth, then dry.
Matte and flat paints scuff easily, so test on a hidden area and don't scrub hard. If colored wax has tinted the paint, a small touch-up may be the simplest fix.
Hard Floors and Countertops
Wax on tile, stone, laminate or sealed hardwood floors is usually the quickest fix of all, because there's nothing for it to soak into.
- Wait until it's completely hard, or press an ice pack in a bag on it for 5 minutes.
- Slide a plastic card underneath at a low angle. On smooth surfaces, the wax often lifts in one satisfying piece.
- Soften any thin film with a hair dryer on low for 10 to 15 seconds, then wipe with a soft cloth.
- Clean the spot with warm water and a drop of dish soap, then dry so no streaks are left behind.
On natural stone like marble, skip vinegar and any acidic cleaner, which can etch the surface; mild soap and water are enough. On unsealed or oiled wood floors, keep water to a minimum and buff dry right away. If a greasy shadow stays on a matte stone countertop, a second gentle soapy wipe after an hour usually takes care of it.
One more small tip: if wax lands on a rug's fringe or a fluffy sheepskin throw, freezing and gently crumbling it out with your fingertips works better than heat, which can mat the fibers.
Colored Wax Dye Stains
Red, burgundy and deep green candles are gorgeous on a festive table, but their dye can leave a ghost stain even after the wax is gone. Here's how to lift it:
- Remove all the wax first, using the methods above. Dye stains are much easier once there's no wax coating.
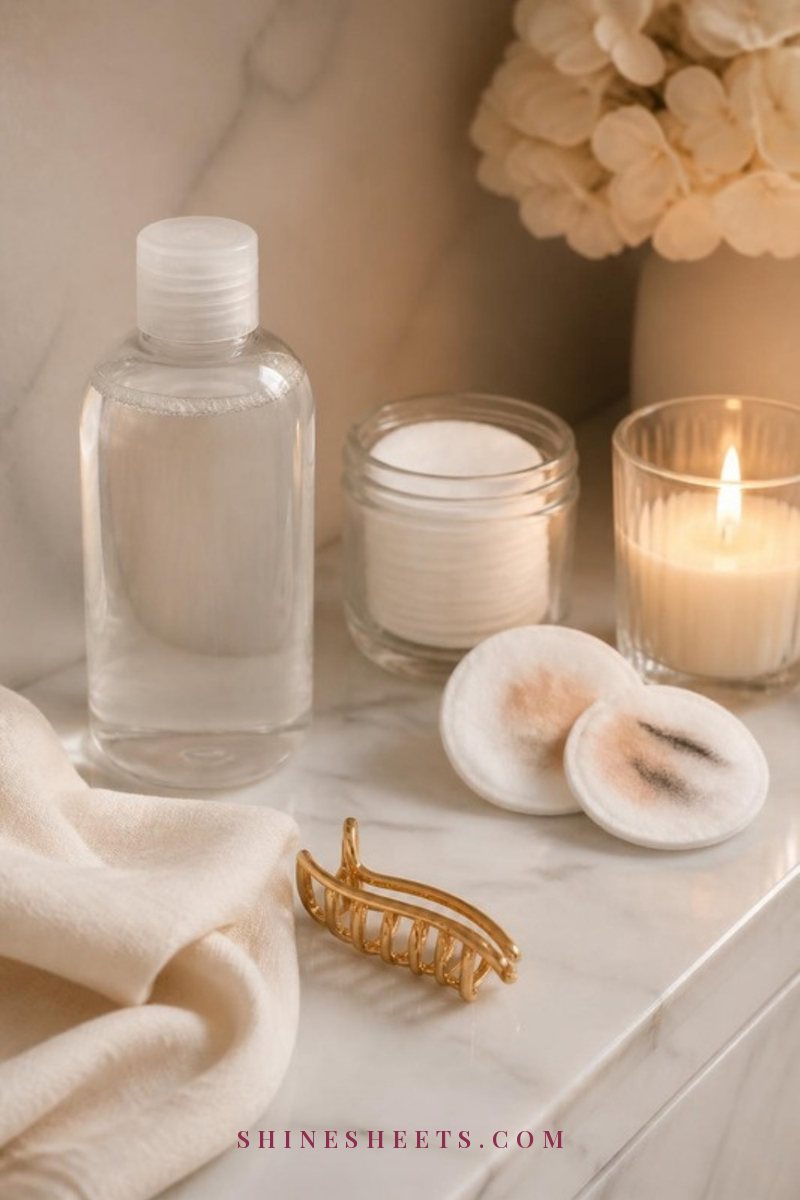
- Test a hidden spot with a cotton pad dampened with rubbing alcohol. Wait a minute and check for color loss in the fabric itself.
- Dab, don't rub. Press the alcohol-dampened pad onto the stain, then lift. Switch to a clean pad as the dye transfers. Work from the outside in.
- Apply a stain remover and let it sit for 10 to 15 minutes, then wash on the warmest setting the label allows.
- Air dry and repeat until it's gone. Heat from a dryer can set the dye.
For white cotton or linen that's labeled bleach-safe, an oxygen-based whitener soak can help with lingering color. Never mix bleach with vinegar, ammonia or rubbing alcohol; the fumes are harmful. For more stain strategies, see my guide on how to remove stains from clothes.
Candle Wax Removal Table: Surface, Method, Never Do
Screenshot this for the next time a candle tips over. It's the whole guide in one glance.
| Surface | Best method | Never do |
|---|---|---|
| Carpet and rugs | Ice, plastic scraper, vacuum flakes, brown paper + low iron (no steam), blot with stain remover | Rub warm wax, use steam, leave the iron in one spot |
| Tablecloths and clothes | Freeze, crack off, paper + iron on both sides, pre-treat, wash warm per label, air dry | Put in the dryer before the mark is gone |
| Upholstery | Check cleaning code, test hidden spot, ice, scrape, lowest heat with paper | Use water on "S" or "X" codes, use high heat on velvet or silk |
| Wood furniture | Ice, plastic card held flat, hair dryer on low, wipe with the grain, polish | Metal knives, long heat on lacquer, soaking with water |
| Glass jars and holders | Freeze 2–3 hours and pop out, or hot (not boiling) water and lift the disc | Pour wax down the drain, pour boiling water into cold glass |
| Painted walls | Plastic card, hair dryer on low, soft cloth, mild soapy wipe | Scrub hard, use abrasive pads |
| Colored dye stains | Test, dab with rubbing alcohol, stain remover, wash, air dry | Rub, use the dryer, mix bleach with other cleaners |
How To Prevent Candle Wax Drips

The easiest wax to remove is the wax that never lands on your table. A few small habits make a big difference:
- Choose drip-free candles. Dripless taper candles in cream are made to burn cleanly, which is perfect for dinner tables.
- Use a tray or base. A glass candle tray under pillars and jars catches drips and protects wood.
- Trim wicks to about 5 mm before every burn. Long wicks make bigger flames, more dripping and more soot.
- Keep candles away from drafts, fans, open windows and vents. Drafts make the flame lean and wax run down one side.
- Chill tapers before using. An hour in the fridge helps tapers burn slower and drip less.
- Make sure tapers stand straight and fit snugly in their holders. A tilted taper always drips.
- Put down a runner or placemat under candles on special occasions; it's much easier to wash than a tabletop.
Candle Fire Safety Basics
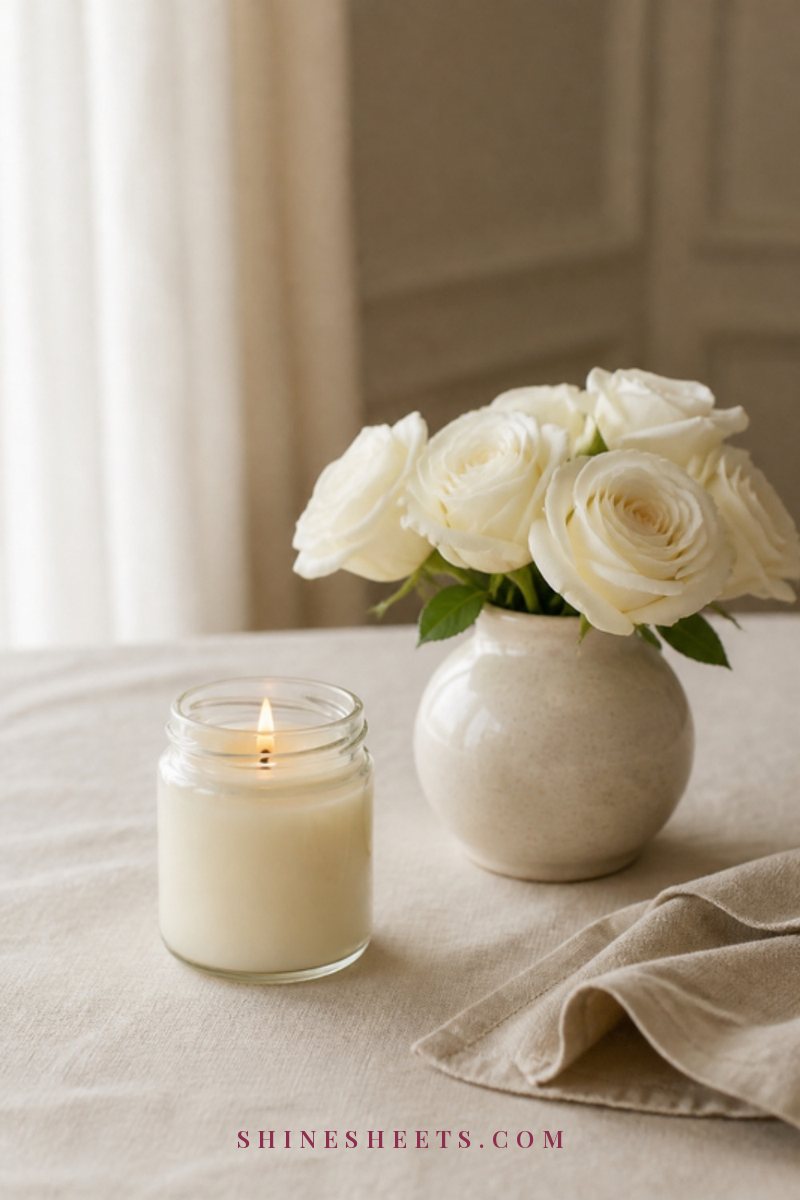
While you're thinking about drips, a quick fire safety reminder, because candles are lovely but they're still an open flame:
- Never leave a burning candle unattended, and blow it out before bed or leaving the room.
- Keep candles at least 30 cm (about 12 inches) from anything that can burn, like curtains, books or bedding.
- Place them on a sturdy, heat-resistant surface, out of reach of pets and children.
- Stop burning jar candles when about 1 cm of wax remains, so the glass doesn't overheat.
- Never try to move a candle while it's lit or the wax is liquid; that's how most spills (and burns) happen.
The NFPA has more candle safety guidance worth a quick read. And if you're freshening up your whole home, my guide to natural cleaning has gentle ways to keep surfaces clean without harsh products.
Final Thoughts
Candle wax is one of those messes that teaches patience. Let it harden, lift it gently, use soft heat and something absorbent, and almost every surface comes back looking just as it did before.
Keep a plastic card and a few paper squares in a drawer, trim your wicks and give your candles a tray, and you can enjoy every soft, flickering evening without a second thought about the cleanup.