Baking sheets don't get brown and sticky because you're bad at washing up. Those stubborn stains are oil and sugar that have been heated so many times they've bonded to the metal, almost like a thin layer of varnish. Ordinary dish soap and a sponge simply can't reach them, which is why scrubbing harder rarely works.
The good news is that most of that build-up comes off with patience rather than muscle: the right paste, the right wait time and the right scrubber for your sheet's finish. The one thing I wish I'd known sooner is that the material matters more than the method. A trick that saves an aluminum sheet can ruin a nonstick one in a single scrub.
This guide covers how to clean baking sheets step by step: why they stain, how to tell what material you have, five cleaning methods with exact dwell times, which one to choose for light grime or heavy brown build-up, what never to use on nonstick, how to dry them so they don't rust and the small habits that keep them clean for longer. There's also a quick table by material you can screenshot and keep near the sink.
Why Baking Sheets Get Those Brown Stains
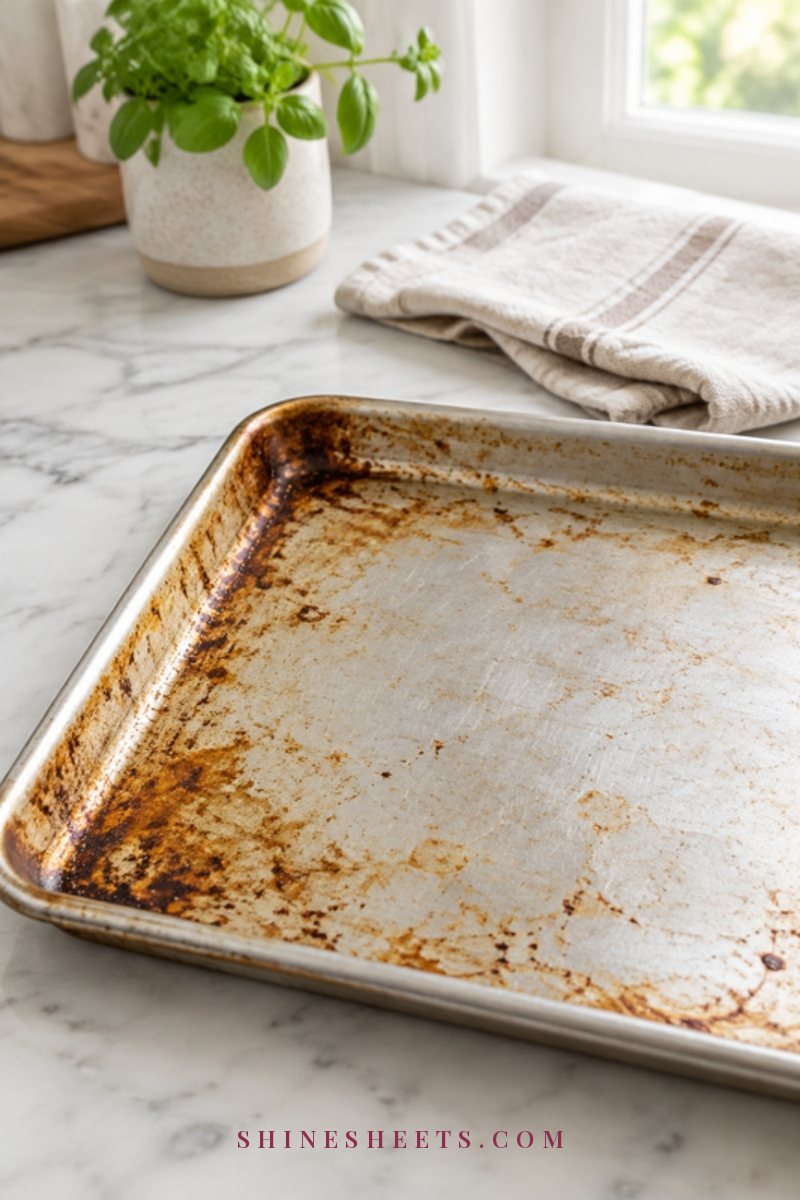
Most of what you see on an old baking sheet comes from three things:
- Polymerized oil. When fat or cooking spray is heated, it slowly turns into a hard, sticky film. Each time it's heated again, another layer bonds on top. That's the amber, slightly tacky coating, especially around the edges.
- Burnt sugar. Sugary drips caramelize and then carbonize into dark spots that feel rough to the touch.
- Heat discoloration. Bare metal can darken or develop a rainbow sheen from high heat alone. That's cosmetic and doesn't always come off completely, and it doesn't affect how the sheet works.
A little honest permission: a perfectly shiny baking sheet isn't the goal. A sheet that's clean, not sticky and doesn't smell burnt when it heats up is a perfectly good sheet, even if it isn't showroom silver.
Check Your Baking Sheet Material First
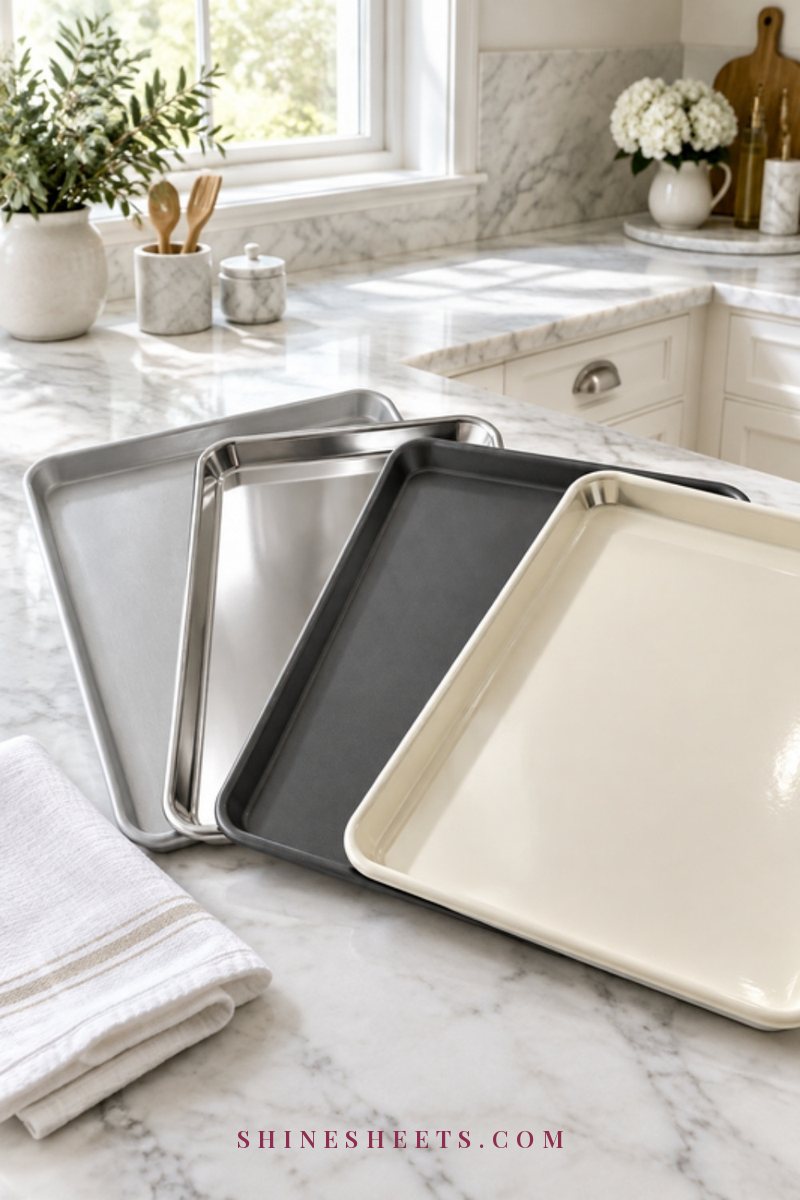
Before you grab any cleaner, figure out what you're working with. Look at the packaging if you still have it, or check for a stamp on the underside.
- Aluminum: light, dull silver, often called a "half sheet" or "commercial" sheet. Soft metal, scratches easily and darkens in the dishwasher.
- Stainless steel: heavier, brighter and shinier, often attracted to a magnet. The toughest of the four.
- Nonstick: dark gray or black coated surface that feels smooth and slightly slick. The coating is the delicate part.
- Enameled: a glossy, glass-like coating, often in cream, white or a color, over steel. Chip-prone if dropped or scraped with metal.
If you're not sure, treat it like nonstick and start with the gentlest method. You can always step up, but you can't undo a scratched coating.
Before You Start: Safety and Supplies
None of these methods use harsh chemicals, but a few simple habits make the job safer and easier on your hands:
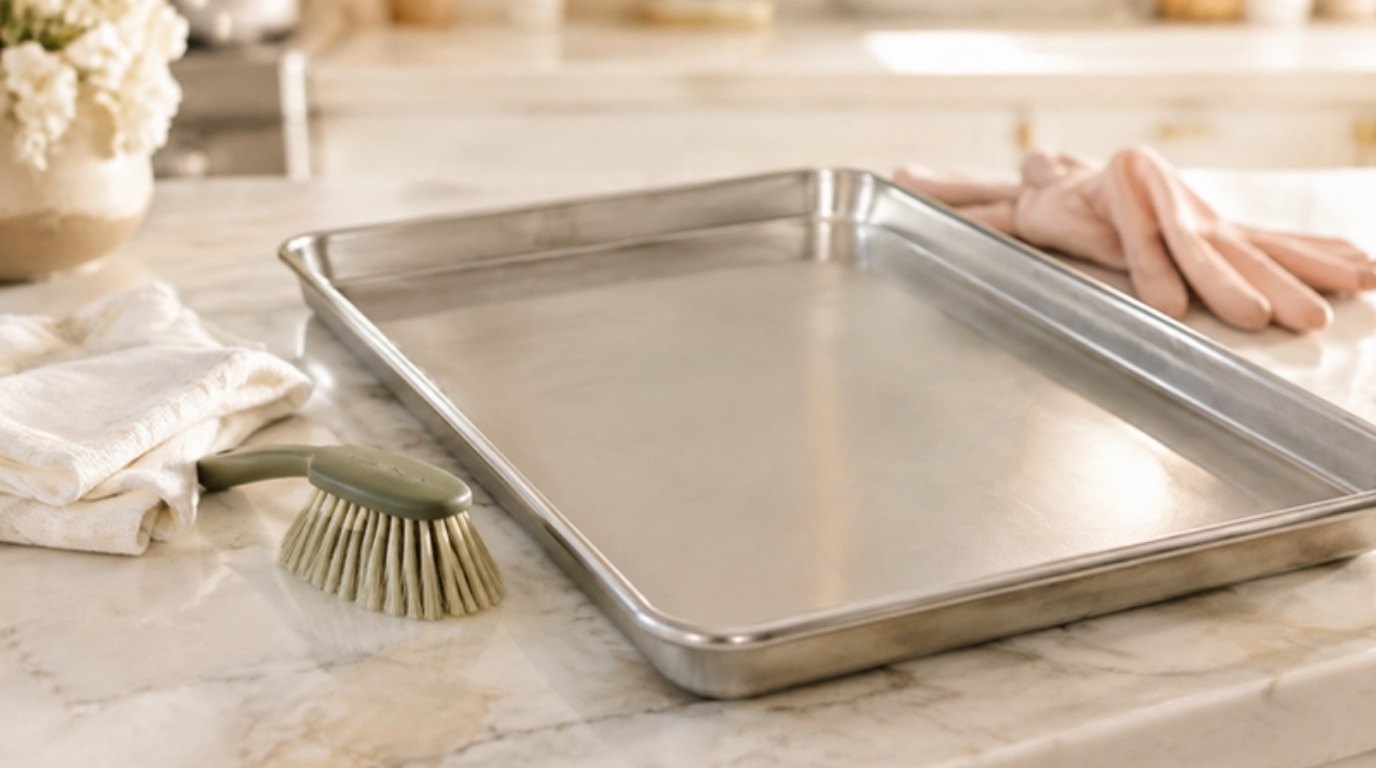
- Wear gloves. Hot water, baking soda and peroxide can dry out and irritate skin. A pair of blush rubber cleaning gloves with a cotton lining and long cuffs is a pick here, so the hot water doesn't run down your wrists.
- Open a window or turn on the extractor fan, especially when you're working with hydrogen peroxide or for a long session.
- Never mix cleaners. Never mix bleach with ammonia or vinegar, and don't combine hydrogen peroxide and vinegar in the same container either. Stick to one method at a time and rinse between them.
- Test on a hidden spot, like the underside or a corner, when you try a new method on a sheet you love.
- Rinse well before cooking. Every method ends with a thorough rinse in clean water and a full dry, so no residue touches food.
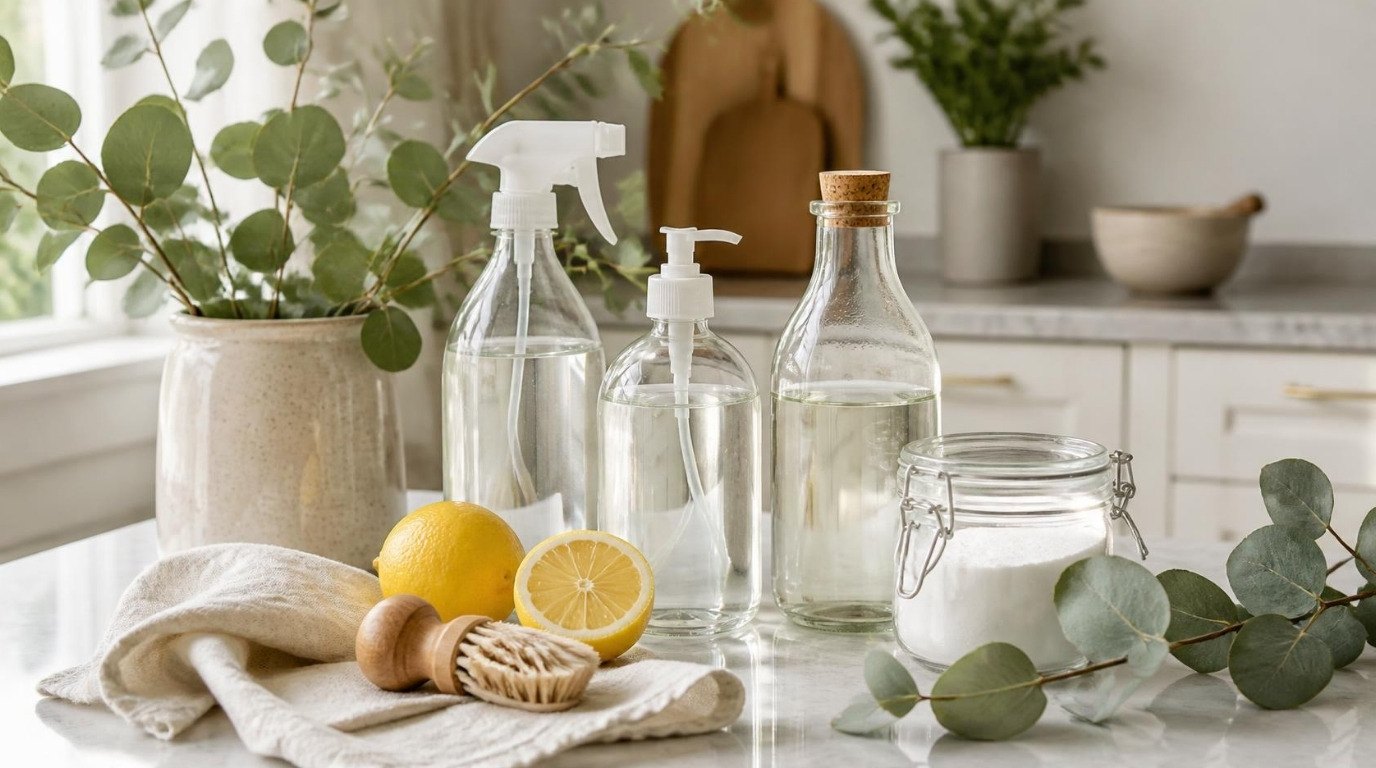
Basic supplies: dish soap, baking soda, 3% hydrogen peroxide from the pharmacy, cream of tartar (for aluminum), a soft sponge, a nylon scrub brush and a couple of clean dish towels.
5 Ways To Clean Baking Sheets
Start with method one and only move on if you need to. Most sheets need a combination: a soak first, then a paste on whatever is left.
1. Soak in Hot Water and Dish Soap
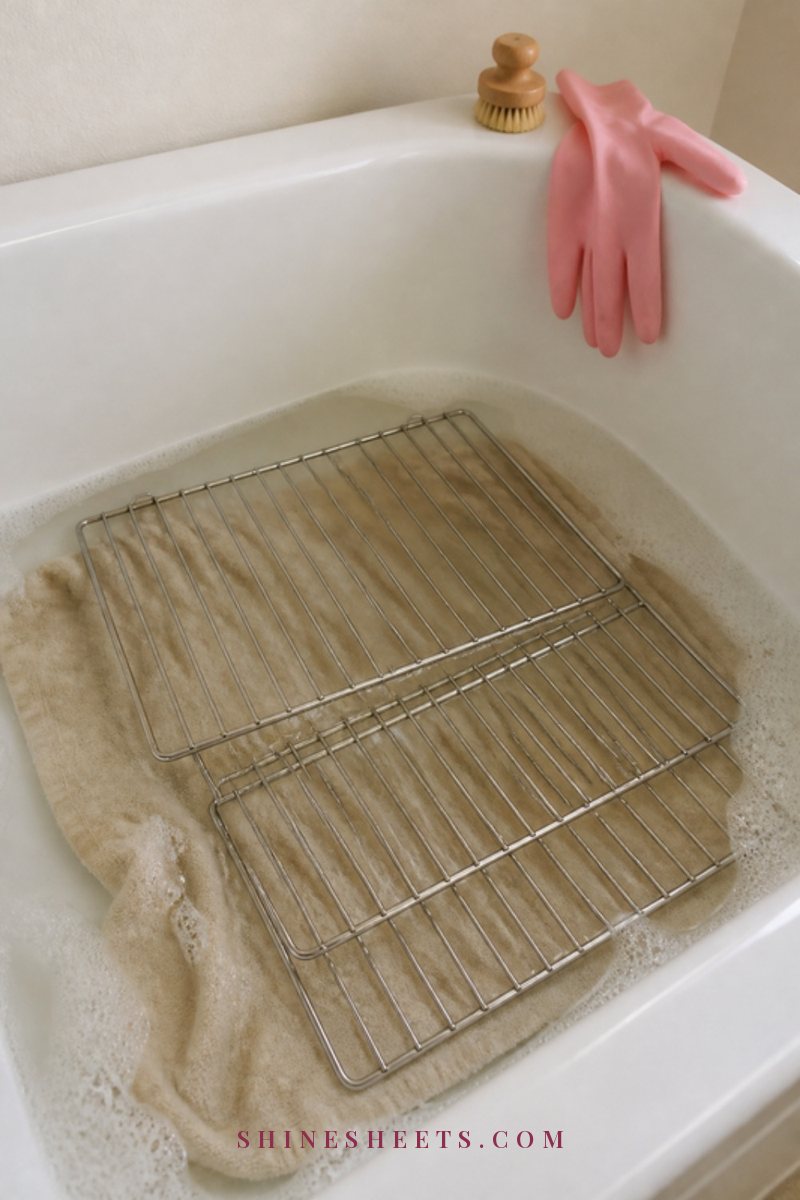
Best for: fresh grease, light stains and every material, including nonstick.
- Fill a clean sink or a large tub with the hottest tap water you can comfortably handle with gloves.
- Add a generous squeeze of dish soap, about 1 to 2 tablespoons, and swish to mix.
- Submerge the sheet completely and leave it for 30 minutes to 1 hour. For sticky edges, up to 2 hours.
- Wipe with a soft sponge in small circles. Most fresh grease will slide right off.
- Rinse, then dry immediately.
Speaking of sponges, if yours has been in service for a while, my guide on kitchen sponge hygiene explains how often to clean or replace it.
2. Baking Soda Paste
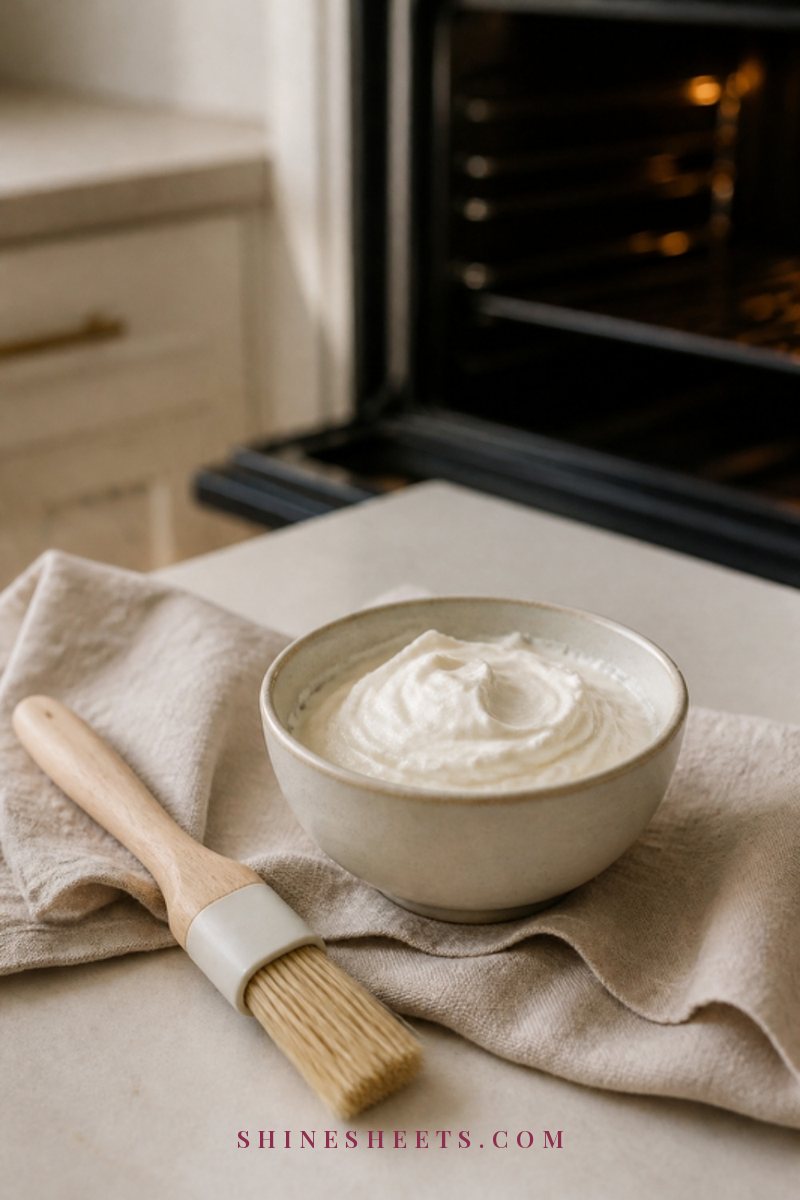
Best for: moderate brown spots on aluminum, stainless and enamel. Use only very gently on nonstick, if at all.
- Mix about 3 parts baking soda with 1 part warm water to make a paste the thickness of toothpaste.
- Spread it over the stained areas in a thick layer, about the thickness of a coin.
- Leave it for 20 to 30 minutes for light stains, or 1 to 2 hours for older ones. Don't let it dry out completely, as a dry crust is harder to work with.
- Scrub in small circles with a damp nylon brush or the rough side of a non-scratch sponge.
- Rinse well, wash once with soap and water and dry right away.
Baking soda can slightly dull bare aluminum if left on for many hours, so keep long dwell times for stainless and enamel.
3. Baking Soda and Hydrogen Peroxide Paste
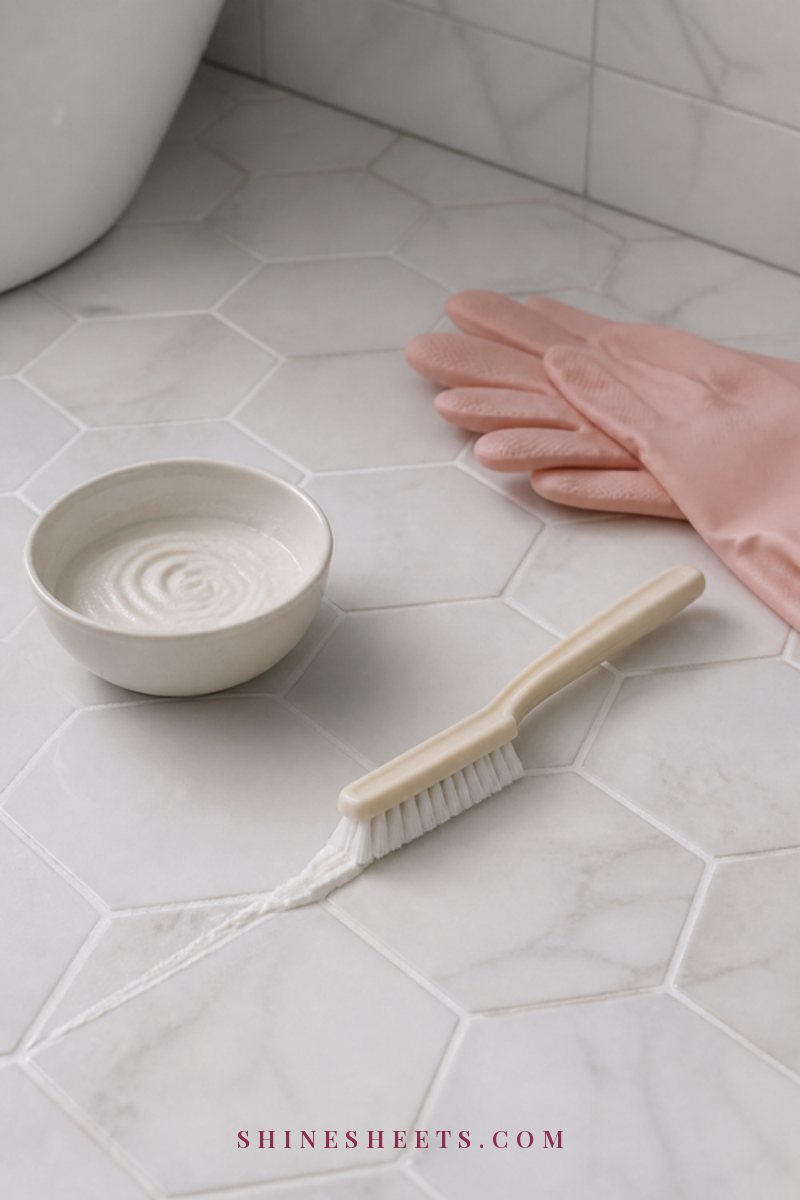
Best for: heavy, dark, sticky build-up on stainless steel, aluminum and enamel. Skip it on nonstick.
- Sprinkle a layer of baking soda over the whole sheet.
- Pour or spray 3% hydrogen peroxide over it until it's damp, then sprinkle another thin layer of baking soda on top. You want a wet, fizzy paste.
- Leave it for 2 to 3 hours. For really stubborn sheets, leave it up to 8 hours or overnight, re-dampening with a little peroxide if it dries.
- Scrub with a nylon brush. The build-up should lift in flakes and soft brown streaks.
- Rinse very thoroughly, wash once with dish soap, rinse again and dry.
For the peroxide, a white glass spray bottle is a pick for even coverage. Peroxide breaks down in light, so look for an opaque or frosted glass bottle with a fine-mist nozzle, fill it only with what you need for the session and label it clearly by hand.
This is the method I'd choose for that sheet in the back of the cupboard you've been quietly ignoring. It's slow, but it does almost all the work for you.
4. Cream of Tartar for Aluminum
Best for: dull, gray or discolored bare aluminum, and light stains on stainless steel.
Cream of tartar is mildly acidic, which is why it brightens aluminum that has darkened from heat or the dishwasher.
- Mix about 2 tablespoons of cream of tartar with just enough warm water to make a spreadable paste.
- Spread it over the dull or stained areas.
- Leave it for 15 to 30 minutes.
- Scrub gently with a nylon brush or non-scratch sponge, working in the direction of any visible lines in the metal.
- Rinse well, wash with soap and dry immediately.
Don't use it on nonstick or enamel. It won't help, and acidic pastes aren't kind to either coating.
5. The Right Scrubber for Your Finish
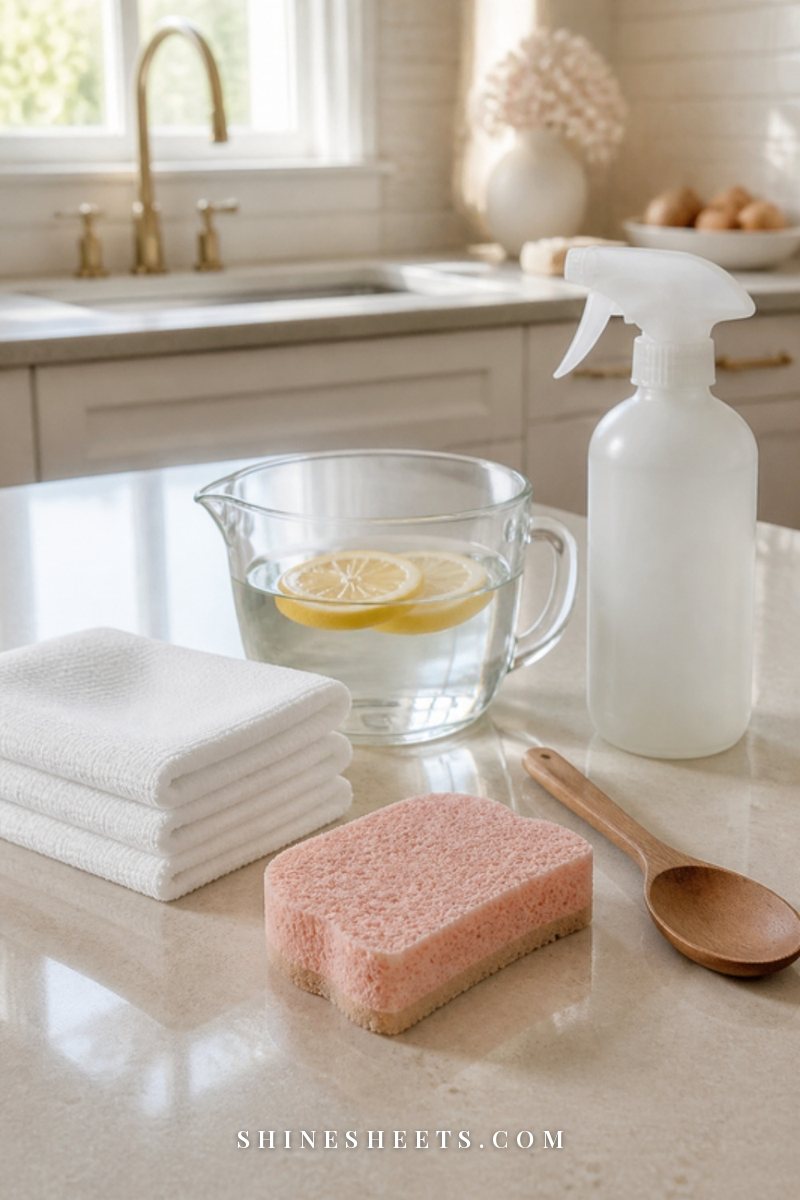
Your scrubber is the step people rush, and it's the one that causes the most damage. Match it to the surface:
- Nonstick and enamel: a soft sponge or a nylon brush only. Nothing metal, ever.
- Aluminum: a nylon brush or non-scratch pad for everyday cleaning. A fine stainless steel scrubber will remove the very worst spots, but it leaves fine scratches, so use it only as a last resort and expect a duller finish.
- Stainless steel: a nylon brush first, then a stainless-safe scrub pad if needed, always following the grain of the metal.
A sage green nylon scrub brush with a sturdy handle is a pick for most sheets. Look for firm but not stiff bristles and a handle long enough to keep your knuckles away from the edges. Let it dry bristles-down after use so it doesn't stay damp.
Baking Sheet Cleaning Table: Best Method by Material
Here's the quick reference. Find your material, then follow the row.
| Sheet material | Best method | Avoid | Time needed |
|---|---|---|---|
| Aluminum | Hot soapy soak, then baking soda and peroxide paste; cream of tartar to brighten | Dishwasher, oven cleaner, long baking soda soaks, steel wool except as a last resort | 30 min soak + 2–3 hrs paste |
| Stainless steel | Baking soda and peroxide paste, scrubbed along the grain | Bleach, chlorine scouring powders, scrubbing against the grain | 2–8 hrs paste for heavy build-up |
| Nonstick | Hot soapy soak and a soft sponge | Steel wool, oven cleaner, abrasive powders, metal tools, pastes scrubbed hard | 30 min–2 hrs soak |
| Enameled | Hot soapy soak, then baking soda paste with a nylon brush | Metal scrubbers, acidic pastes, dropping or banging edges | 30 min soak + 1–2 hrs paste |
| Any material, light grime | Hot water and dish soap only | Letting grease sit for weeks | 10–30 min |
Light Grime vs Heavy Brown Build-Up
Not every sheet needs the full treatment. Here's how to choose:
- Light grime (a greasy film, a few fresh drips, a dull area): a 30-minute hot soapy soak and a soft sponge. Done in under an hour, mostly waiting.
- Moderate stains (brown spots that don't move after a soak): soak, then a baking soda paste for 30 minutes to 2 hours.
- Heavy build-up (dark amber edges, sticky corners, black spots): soak first, then a baking soda and peroxide paste for 2 to 8 hours. You may need two rounds on very old sheets. That's normal.
- Dull or gray aluminum without sticky residue: cream of tartar paste for 15 to 30 minutes.
If the oven itself is also carrying some history, my guide on how to clean your oven naturally uses similar low-fume methods, so you can do both in one afternoon.
What Never To Use on Nonstick
Nonstick coatings are thin, and once they're scratched, food sticks more and flakes can start to lift. To protect them, skip all of these:
- Steel wool and metal scrubbers. They scratch through the coating immediately.
- Oven cleaner. It's far too harsh for coated surfaces and can damage the finish.
- Abrasive powders and scouring creams. Their grit wears the coating down over time.
- Metal spatulas and knives. Don't cut on the sheet or scrape it with anything sharp.
- Cooking spray. It's a big cause of that sticky brown film on nonstick. A thin wipe of oil or a liner works better.
If your nonstick sheet is deeply scratched or the coating is peeling, it's time to replace it rather than scrub harder.
Dry Them Properly To Prevent Rust
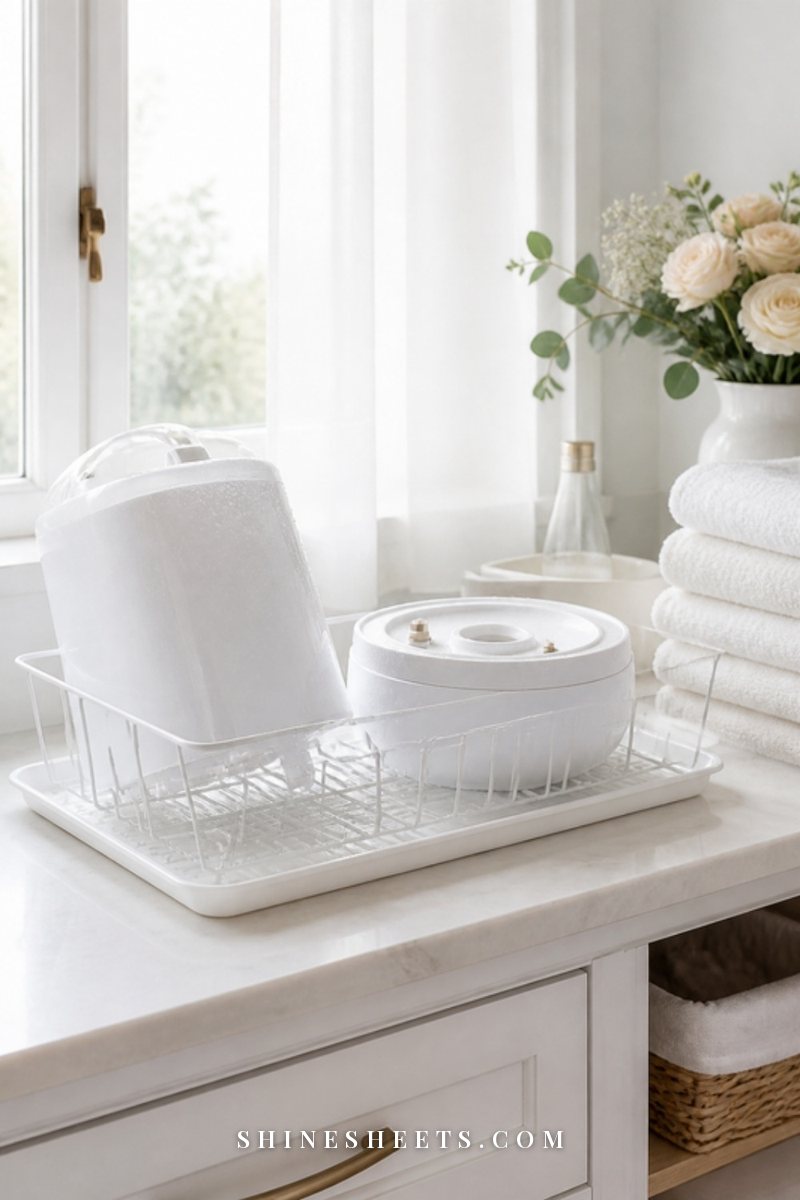
Some steel sheets, especially older or cheaper ones, can develop rust spots along the rolled edges if they stay damp. Aluminum doesn't rust, but water spots can leave it looking cloudy.
- Dry the sheet with a towel straight after rinsing, including the rolled rim and underside.
- Stand it upright on a rack for 10 to 15 minutes so any water trapped in the rim can drain.
- For steel sheets, you can pop it into a still-warm (switched-off) oven for 5 minutes to drive off the last moisture.
- Store it only when completely dry, standing upright or flat with a dry towel between stacked sheets.
Soft, lint-free white cotton dish towels are a pick here: look for a tight weave that absorbs well and can be washed hot. If a few small rust spots have already appeared, a little baking soda paste and a nylon brush usually lifts them, followed by a very thorough dry. The same "dry completely, right away" rule applies to cast iron, which my guide on how to clean a cast iron skillet covers in more detail.
How To Keep Baking Sheets Clean Longer
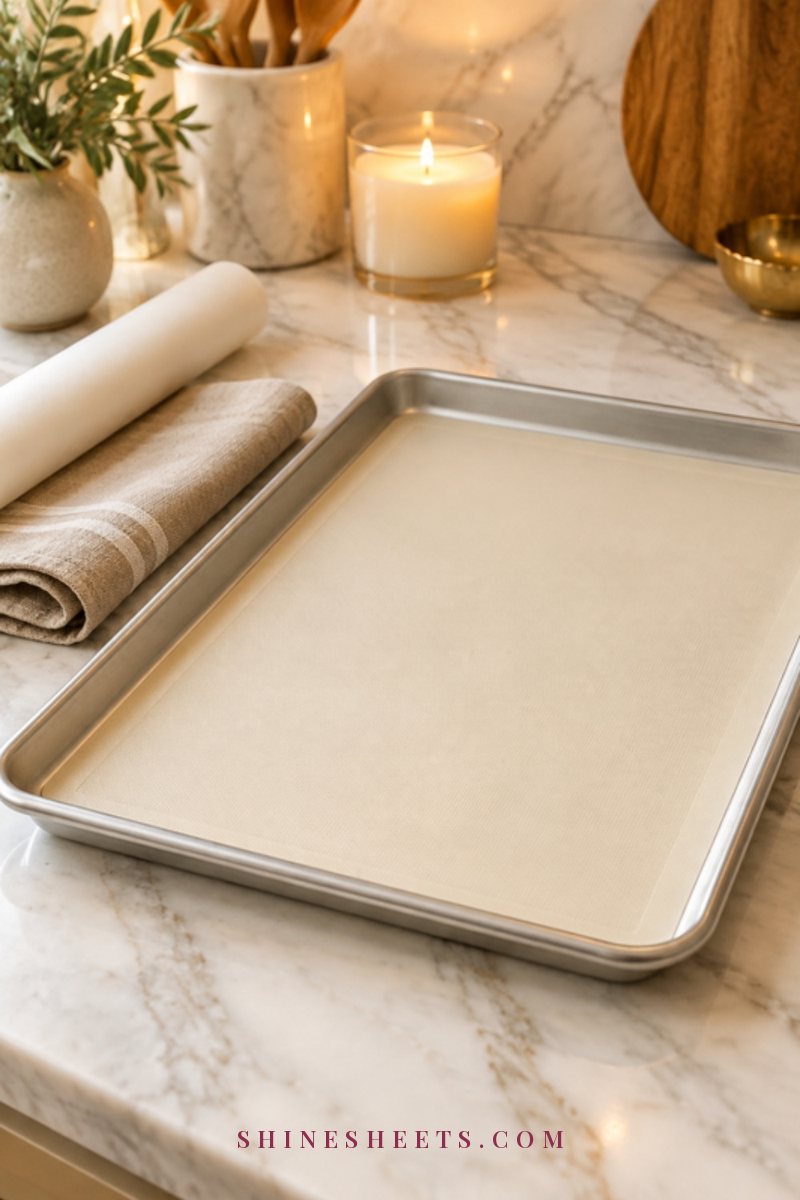
The easiest stain to remove is the one that never bakes on. A few small habits make a big difference:
- Use a liner. A reusable silicone baking mat is a pick for everyday baking and roasting: look for one sized to your sheet, food-grade and heat-safe to at least 450°F, in a soft cream shade. Parchment paper works well too.
- Wipe while warm, not hot. Once the sheet has cooled enough to handle safely, wipe away grease with a paper towel before it sets. Thirty seconds now saves an hour later.
- Wash the same day. A quick soak and wash after each use stops oil from building into another varnish layer.
- Keep aluminum out of the dishwasher. Dishwasher detergent can darken it and leave a chalky gray finish.
- Give them a monthly reset. A soak and a quick paste on any new spots keeps heavy build-up from ever forming.
If you're working through the kitchen anyway, my top-to-bottom kitchen deep clean plan fits baking sheets in alongside everything else, and my guide to cleaning a glass stove top without scratches is a nice next step.
5 Common Baking Sheet Cleaning Mistakes
These are the small slip-ups that make the job harder or shorten a sheet's life. Most of us have made at least two of them:
- Scrubbing before soaking. Dry scrubbing fights the build-up at its hardest. Even 30 minutes in hot soapy water softens it and saves your arms.
- Rushing the dwell time. Pastes need time to work. Scrubbing after five minutes and declaring "it doesn't work" is the most common reason people give up.
- Using one scrubber for everything. The steel pad that's fine on a stainless sheet will scratch a nonstick one in seconds. Keep the gentle tools for coated sheets.
- Mixing products to make them "stronger." Combining cleaners doesn't speed things up and can release harmful fumes. One method at a time, rinsed in between.
- Putting sheets away damp. Trapped water in the rolled rim is how rust spots and musty smells start. Dry fully, then store.
When It's Time To Replace a Baking Sheet
Sometimes a sheet is simply done, and that's okay. Cleaning can't fix structural problems, and a few signs mean it's time to let it go:
- The nonstick coating is flaking, peeling or deeply scratched through to the metal.
- The enamel is chipped, exposing bare metal that rusts.
- The sheet is badly warped and rocks or twists in the oven, so food cooks unevenly.
- Rust keeps coming back in the same spots even after cleaning and careful drying.
A plain dark patina on aluminum or stainless steel is not a reason to replace it. If it's clean, smooth and not sticky, it will keep working beautifully for years.
Final Thoughts
Clean baking sheets are less about scrubbing and more about choosing the right method for the metal in front of you. Know your material, give the paste time to do its job, use a scrubber that suits the finish and dry everything properly.
Start with one sheet this week, put on some gloves and a candle, and let the paste work while you get on with your evening. A sheet that heats up clean and smells like nothing at all is a small, lovely win in a well-kept kitchen.