Most burnt pans are not ruined. They look ruined, with that black crust welded to the bottom and a smell that hangs around the kitchen, but in nine cases out of ten the pan underneath is fine. What actually ruins a pan is the panic afterward: steel wool on nonstick, oven cleaner on aluminum, a red-hot pan plunged into cold water.
The secret is that the right method depends almost entirely on what your pan is made of. Stainless steel can take a lot of elbow grease and a powder cleanser. Nonstick needs patience and the softest touch. Cast iron wants salt, heat and oil, and enameled cast iron sits somewhere in between. Use the wrong method and you trade a burnt pan for a scratched, warped or rusty one.
This guide walks you through how to clean a burnt pan without damaging it: how to identify your pan, a simple table of methods and what to avoid for each material, step-by-step instructions for stainless steel, nonstick, cast iron, enameled cast iron, aluminum and copper, plus burnt sugar, scorched milk and those brown stains on the outside bottom.
Open a window, put the kettle on if you like, and let's rescue that pan.
First, Identify Your Pan
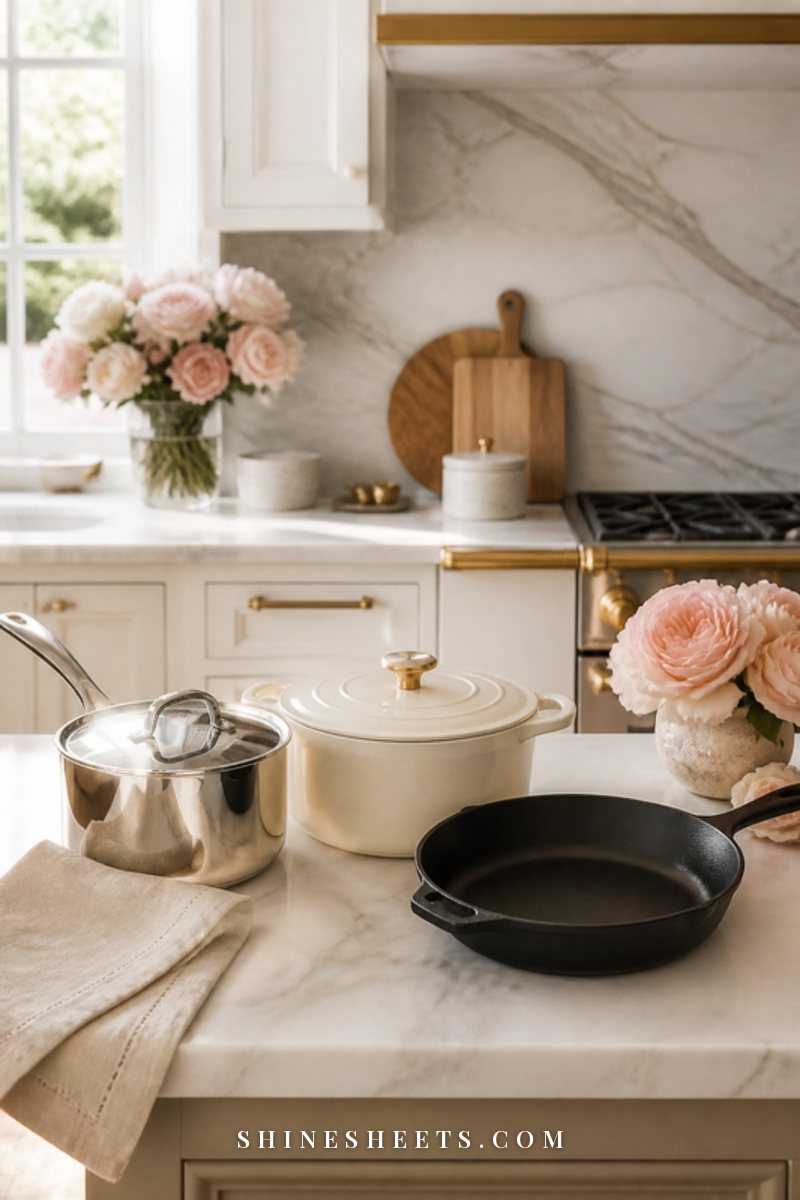
Before you scrub anything, take thirty seconds to figure out what you're working with. Flip the pan over and look at the base: many pans have the material stamped there. If not, use these clues:
- Stainless steel: shiny silver inside and out, heavy-ish, often a thick disc on the base. Food sticks to it, which is why it burns so dramatically.
- Nonstick: a smooth dark or light coating inside (sometimes speckled or "ceramic" cream), usually a lighter aluminum body.
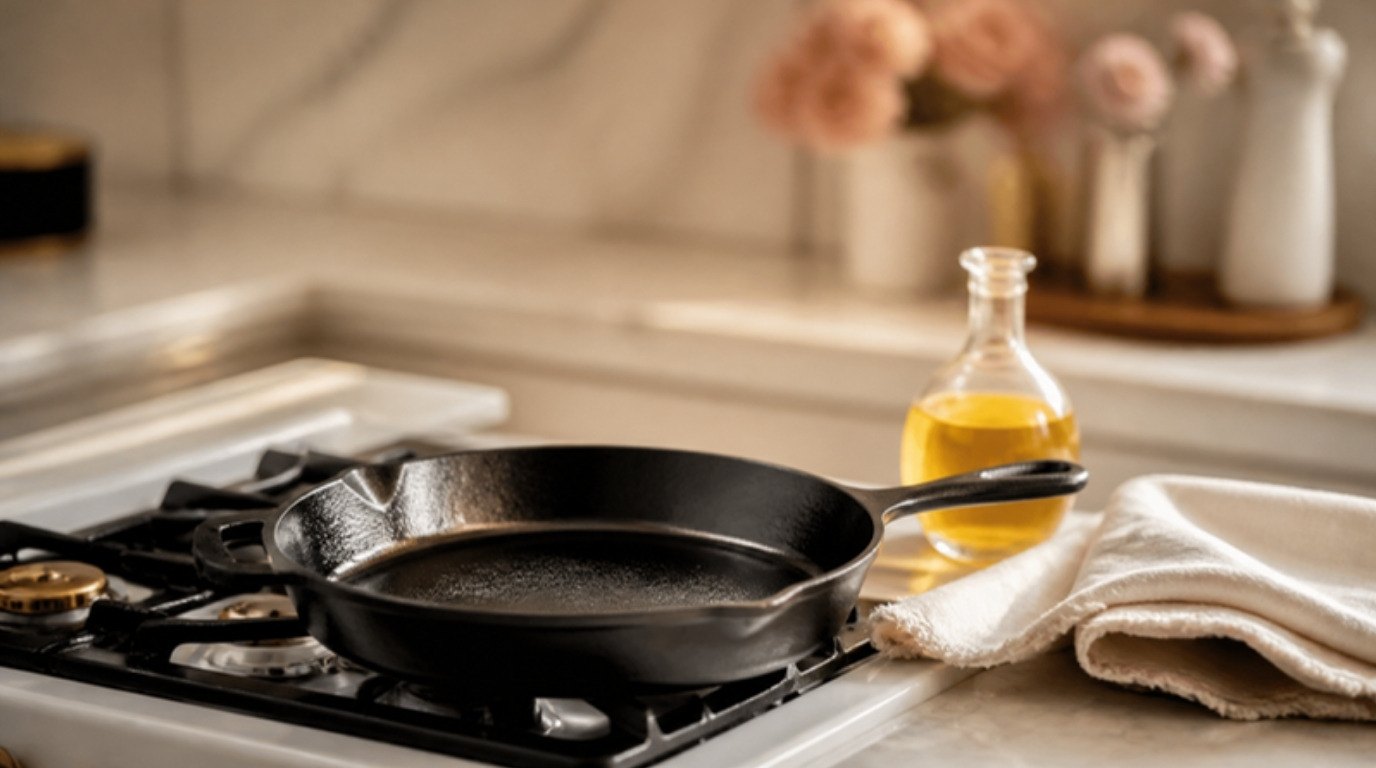
- Cast iron: very heavy, matte black or dark gray all over, slightly textured.
- Enameled cast iron: heavy like cast iron, but with a glossy colored outside and usually a cream or light interior.
- Aluminum (uncoated): light, dull silver, can look a little gray or chalky. Often older pots and sheet pans.
- Copper: warm pinkish-orange metal outside, usually lined with stainless steel or tin inside.
Also check the manufacturer's care instructions if you still have them (most brands have them on their website). They know their coating better than anyone, and a few say outright which cleansers void the warranty.
Burnt Pan Cleaning Table: Method and What To Avoid
Here's the whole guide in one table. Screenshot it and keep it for the next kitchen disaster.
| Pan type | Best method | Time | Never use |
|---|---|---|---|
| Stainless steel | Soapy water simmer, wooden spatula, then baking soda paste or a stainless cleanser powder | 15–30 min simmer, 15 min paste | Bleach, chlorine scouring powders on long soaks |
| Nonstick | Long warm soapy soak, gentle simmer, soft sponge only | 1–2 hours soak, 10 min simmer | Steel wool, abrasive powder, oven cleaner, metal tools |
| Cast iron | Coarse salt scrub, hot water rinse, dry on the stove, thin oil | 10 min, plus re-seasoning if needed | Long soaks, dishwasher, air drying |
| Enameled cast iron | Baking soda and water simmer, non-scratch sponge | 10–15 min simmer, then cool | Steel wool, metal scrapers, cold water on a hot pot |
| Aluminum | Gentle simmer with a mild acid (lemon slices or cream of tartar), soft scrub | 10–15 min simmer | Oven cleaner, harsh alkaline cleaners, dishwasher |
| Copper (outside) | Copper cleaner or a mild acid paste, soft cloth, rinse and dry | 2–5 min contact | Steel wool, bleach, leaving acids on for long |
One safety rule that applies to every row: never mix cleaning products, and especially never mix bleach with vinegar or with ammonia. Those combinations release toxic gases. One product at a time, rinse well in between.
What You'll Need
You don't need a cupboard full of specialty products. Most burnt pans come clean with a few basics:
- Dish soap and hot water
- Baking soda (the plain box from your cupboard)
- A wooden or silicone spatula for scraping
- Non-scratch sponges for coated and enameled pans
- A powder cleanser made for stainless steel and cookware
- Coarse salt and a chain mail scrubber if you own cast iron
- Rubber gloves, because burnt pan cleaning is hard on your hands
A sturdy set of smooth wooden spatulas is the unsung hero here. The flat edge gets under softened carbon without scratching, and wood won't damage stainless steel, enamel or nonstick. A pack of non-scratch scrub sponges covers almost everything else. Keep them separate from your everyday dish sponge (my guide to kitchen sponge hygiene explains how often to swap them, because burnt-pan sponges get grim fast).
How To Clean a Burnt Stainless Steel Pan
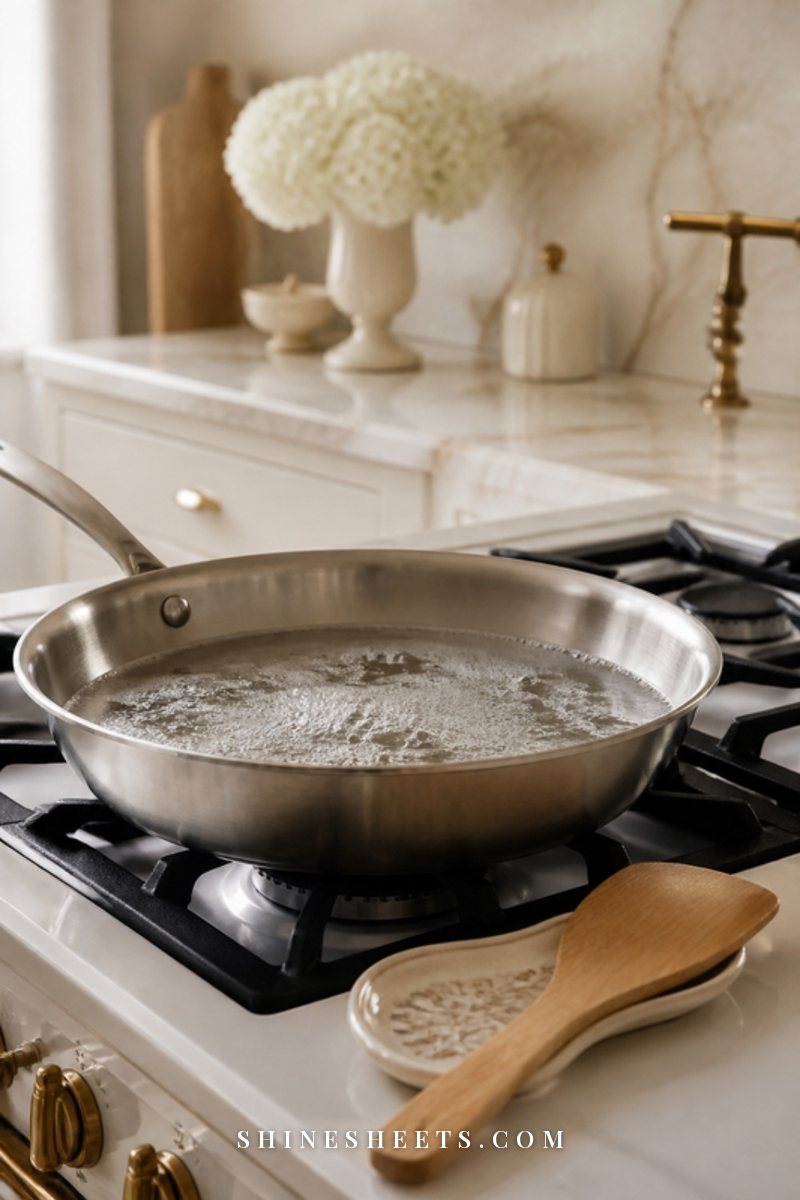
Stainless steel is the toughest pan you own, which is good news. It can handle heat, scraping with wood and a proper powder cleanser. Work through these steps in order and stop as soon as it's clean.
Step 1: Let It Cool Completely
Turn off the heat, move the pan to a cold burner and leave it alone for 15–20 minutes. Pouring cold water into a smoking hot pan can warp the base (that wobble when you set it on the stove later comes from exactly this). It also sends up a cloud of steam right into your face. Open a window and switch on the extractor fan while it cools.
Step 2: The Soak-and-Simmer Method
Once the pan is cool, add enough water to cover the burnt area by about an inch and a good squeeze of dish soap. Bring it to a gentle simmer on medium heat and let it bubble for 15–20 minutes. The heat and soap loosen the carbon from below, so you're doing most of the work without scrubbing.
For really bad burns, add 2 tablespoons of baking soda to the water (once it's off the boil, so it doesn't foam over) and simmer for another 10 minutes.
Step 3: Scrape With Wood, Not Metal
While the water is still warm (not boiling), use your wooden spatula to push and lift the softened layer. Work from the edges toward the center. A lot of the black will lift off in sheets. Pour out the water, rinse, and see what's left.
Step 4: Baking Soda Paste for What's Left
Mix about 3 tablespoons of baking soda with 1 tablespoon of water into a thick paste. Spread it over the remaining burnt spots and leave it for 15 minutes. Then scrub in small circles with a non-scratch sponge, rinse and repeat if needed. It's gentle but surprisingly effective on those last stubborn patches.
Step 5: Cleanser Powder for Stubborn Stains
If you still see brown film or that rainbow heat tint, a powder cleanser made for stainless steel cookware usually finishes the job. These typically contain oxalic acid, which lifts mineral and heat stains that baking soda can't touch. Wet the pan, sprinkle a thin layer, make a paste with a damp sponge, rub with the grain for about a minute, then rinse very thoroughly.
Follow the label exactly: wear a pair of reusable rubber cleaning gloves, don't leave it sitting for longer than the label says (usually a minute or so), and never combine it with bleach or other cleaners. Test it first on the outside edge if your pan has a polished or decorative finish.
How To Clean a Burnt Nonstick Pan
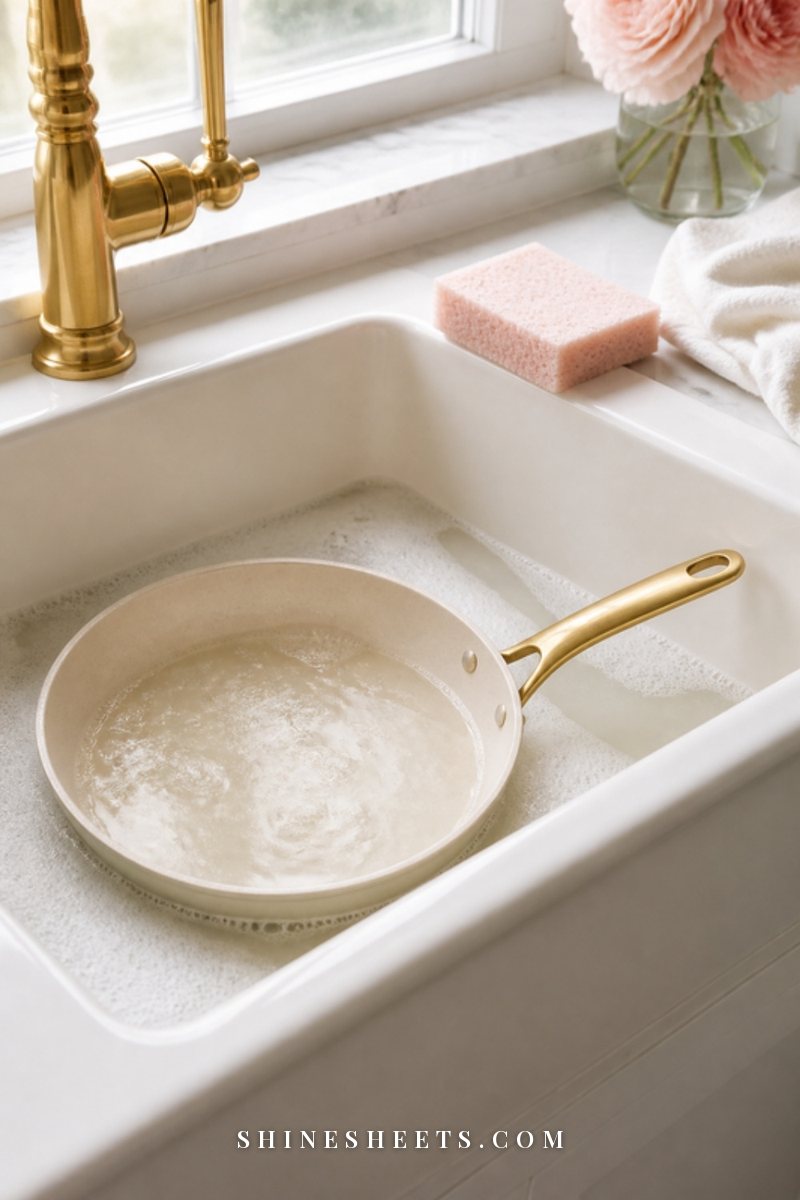
Nonstick is the one pan where gentle really is the only option. The coating is thin, and once it's scratched it starts to release food less well and can flake. Abrasive powders, steel wool and oven cleaner will all damage it.
- Cool, then soak. Fill the cooled pan with warm water and a few drops of dish soap. Leave it for 1–2 hours (overnight is fine for nonstick, unlike cast iron).
- Gentle simmer. If residue is still stuck, simmer the soapy water on low for 10 minutes. Keep the heat low; high heat on an almost-empty nonstick pan is exactly what damages the coating.
- Soft sponge only. Wipe with the soft side of a sponge or a microfiber cloth. If a spot won't budge, try a little baking soda paste and rub very lightly with your fingers or the soft sponge, then rinse.
- Dry and check. Dry it fully and look at the surface in good light.
Here's the honest part: if the coating is flaking, peeling, deeply scratched or bubbling, it's time to replace the pan rather than scrub it back to life. Flakes in your food are not something to push through. A new pan is a better investment than an hour of scrubbing a damaged one.
How To Clean a Burnt Cast Iron Pan
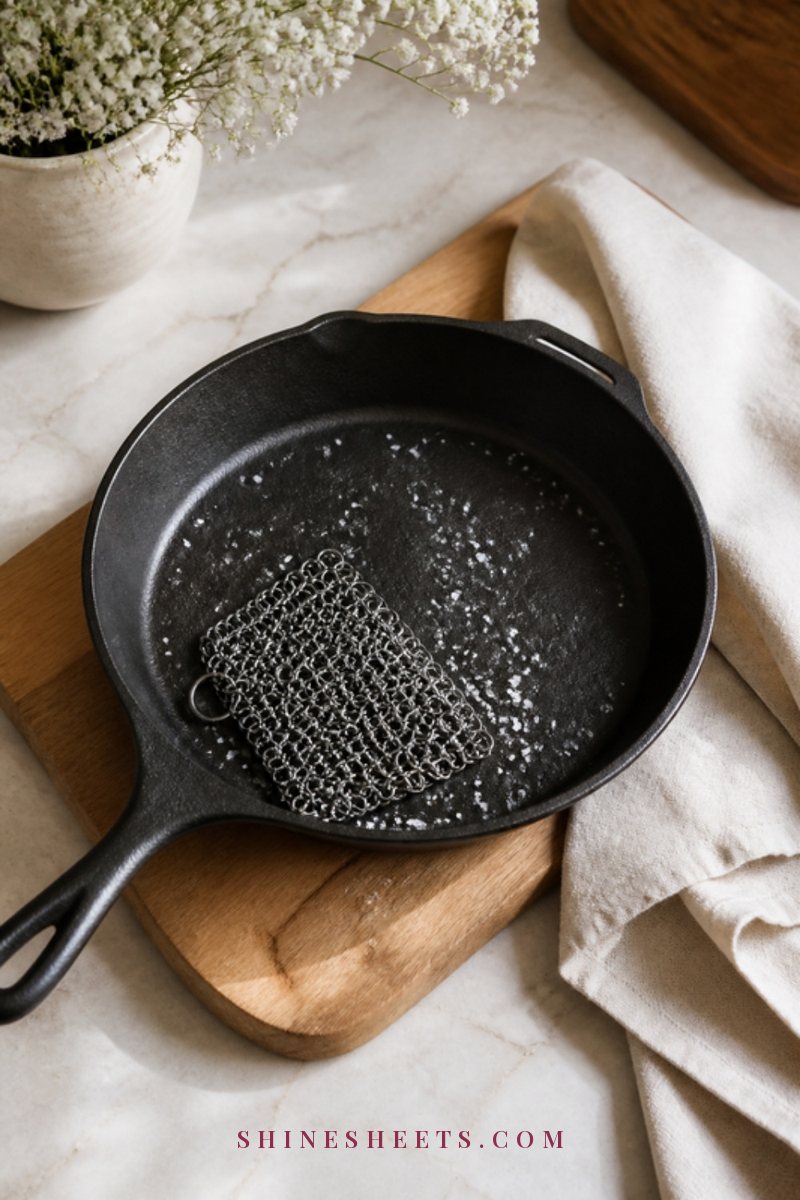
Cast iron is nearly indestructible, but it hates two things: long soaks and staying wet. Burnt food on cast iron is usually easier to fix than people think.
- Scrape while warm. Use a wooden spatula or a pan scraper to lift loose bits while the pan is warm (not hot enough to burn you).
- Salt scrub. Pour in about 2 tablespoons of coarse salt and a splash of warm water. Scrub with a folded paper towel, a stiff brush or a chain mail scrubber for cast iron. Salt is abrasive enough to remove carbon but won't strip a healthy seasoning.
- Short simmer if needed. For stubborn spots, simmer an inch of water for 3–5 minutes, scrape again, then pour it out. Don't leave water sitting in the pan.
- Rinse and dry on heat. Rinse with hot water, towel dry, then set it on a low burner for 2–3 minutes until every drop has evaporated.
- Oil thinly. While warm, rub in a few drops of neutral cooking oil with a paper towel, then wipe away as much as you can. It should look dark and satin, not shiny or sticky.
A little soap on cast iron is fine these days, by the way. Modern dish soap won't strip a well-built seasoning. What does harm it is soaking for hours or putting it in the dishwasher.
When To Re-Season Cast Iron
If the burn took the seasoning with it and you see gray, dull or rusty patches, give the pan a full re-season. Scrub the rust off with the chain mail scrubber, wash and dry on heat, then rub a very thin layer of oil over the entire pan, inside and out, including the handle. Wipe off the excess until it looks almost dry. Bake it upside down in the oven at around 450°F for an hour (put foil on the rack below to catch drips) and let it cool in the oven. Repeat two or three times for a strong base layer.
How To Clean Burnt Enameled Cast Iron
Enameled cast iron (the heavy colored pots) has a glass-like coating over iron. That enamel is tough, but it can chip or crack, and metal tools leave gray marks on the light interior.
- Let the pot cool completely. Never run cold water into a hot enameled pot; the sudden temperature change can crack the enamel.
- Fill it with water to cover the burn and add 2 tablespoons of baking soda.
- Bring it to a gentle simmer for 10–15 minutes, then turn off the heat and let it cool in the water.
- Use a wooden spatula to lift the loosened layer, then wipe with a non-scratch sponge.
- For leftover light staining, make a baking soda paste, leave it for 15 minutes and rub gently. Many enamel brands also sell their own cleaner if you want a dedicated option.
Avoid steel wool, metal scouring pads and harsh scrubbing powders that aren't labeled safe for enamel. A bit of light staining on a well-loved pot is normal and doesn't affect cooking.
Aluminum and Copper Pans
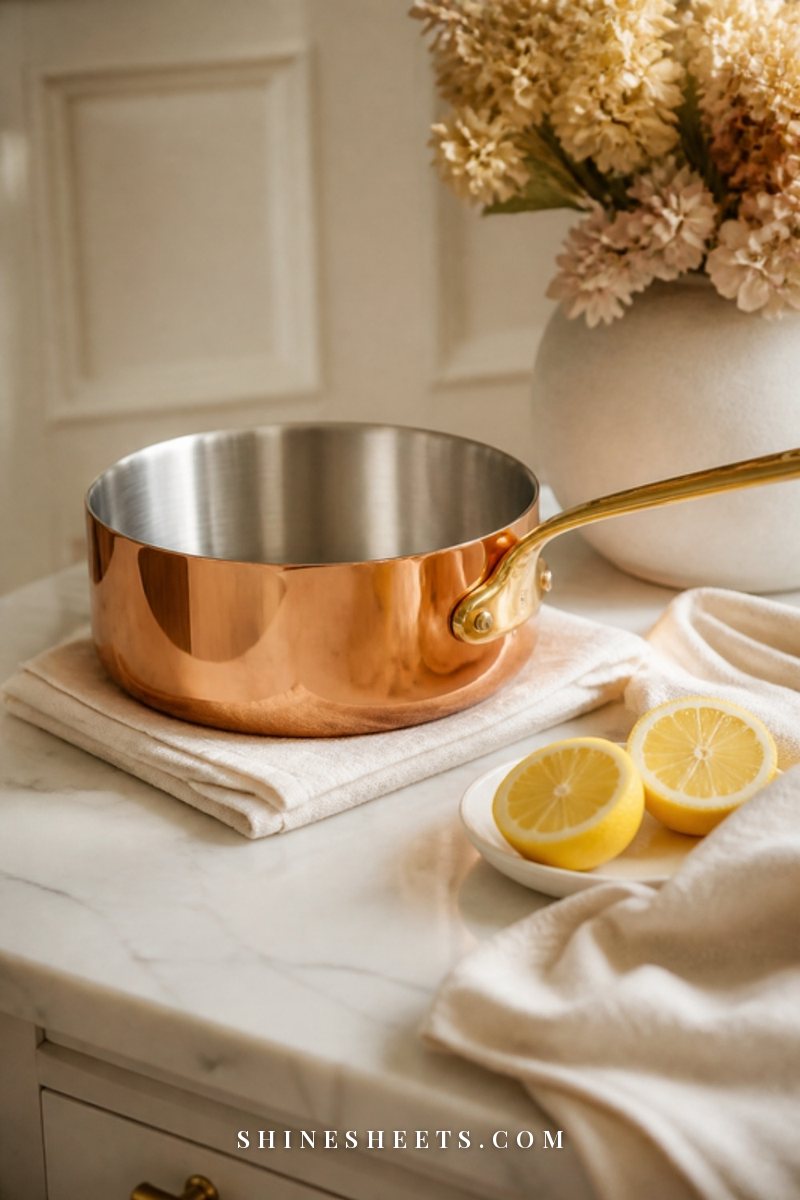
These two metals react to cleaners more than the others, so a little caution goes a long way.
Uncoated Aluminum
Aluminum can darken or pit with strong alkaline products, which includes oven cleaner and, for some pans, long contact with baking soda. Instead, fill the pan with water, add a few lemon slices or a tablespoon of cream of tartar, and simmer for 10–15 minutes. Let it cool, then scrub gently with a non-scratch sponge. Hand wash only; dishwasher detergent dulls and discolors aluminum.
Copper
Copper pans are usually lined with stainless steel or tin. Clean the inside according to the lining (stainless can follow the stainless steps above; tin needs the gentlest treatment, with no abrasives at all). For the outside, a dedicated copper cleaner or a quick paste of lemon juice and salt brightens tarnish and light scorch marks. Rub with a soft cloth for a minute or two, rinse well and dry immediately so it doesn't spot.
Burnt Sugar, Milk and Sauce
Some burns are their own special kind of stubborn.
- Burnt sugar or caramel: don't scrape it cold. Fill the pan with water and bring it to a simmer; sugar dissolves in hot water, so the hard layer usually melts away within 5–10 minutes. Pour it out carefully (it's very hot) and wash as usual.
- Scorched milk: milk proteins glue themselves to the bottom. Soak right away in cold water first (hot water can "cook" the proteins on further), then follow with a soapy simmer and a wooden spatula.
- Burnt tomato or sauce: acidic sauces can leave a dull ring on stainless steel. The soak-and-simmer method plus a quick pass with stainless cleanser powder usually clears it.
- Burnt rice or oats: soak for 30 minutes in warm soapy water, then simmer and scrape. Starch softens beautifully with time.
How To Clean the Burnt Bottom of a Pan
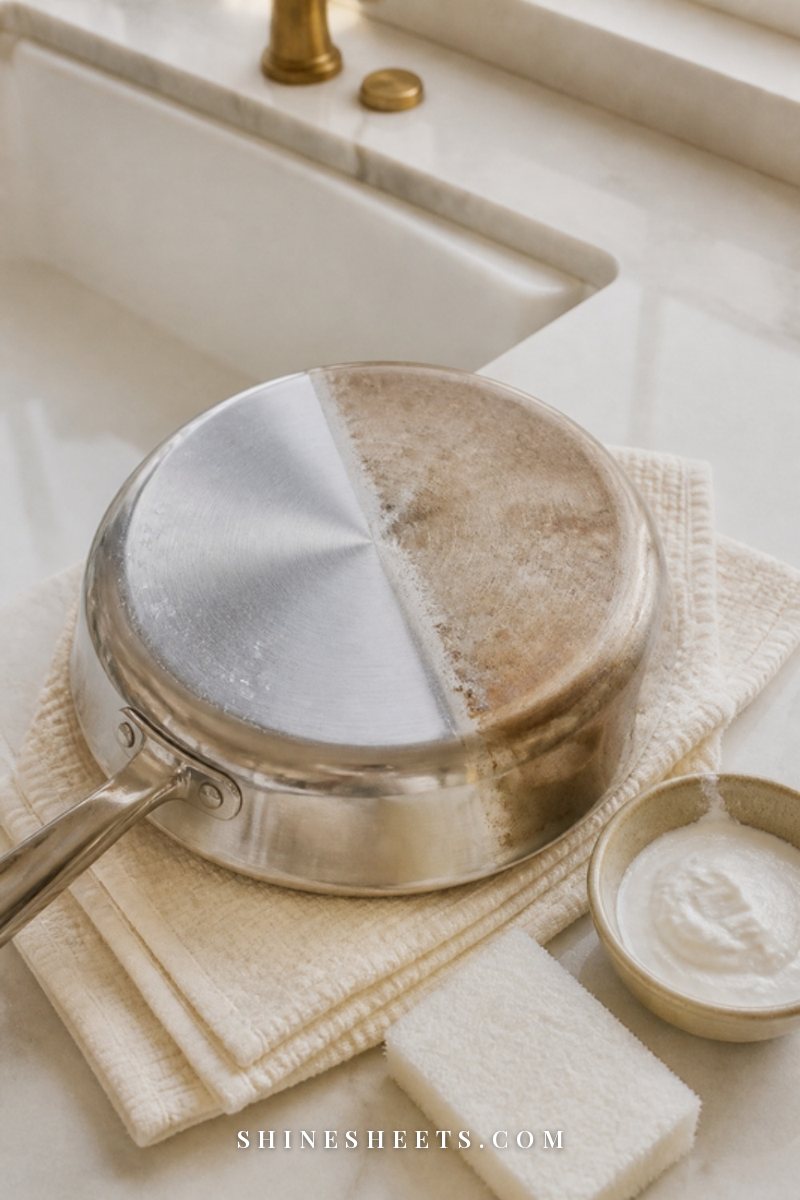
Those brown, baked-on rings on the outside bottom are built up over months of drips and heat. They don't affect cooking much, but they can transfer to a glass stovetop and they make even a clean pan look tired.
For stainless steel bottoms, turn the pan upside down on a towel in the sink. Sprinkle stainless cleanser powder or spread a thick baking soda paste, leave it for 10–15 minutes (paste) or the time on the label (powder), then scrub in small circles with a non-scratch scrub sponge. Rinse and dry. Expect to repeat this two or three times for years-old buildup, and that's fine.
For nonstick or enameled pans, stick to baking soda paste and soft scrubbing so you don't scratch the outside coating. If those rings have already marked your cooktop, my guide on how to clean a glass stovetop covers the safe way to lift them.
What Never To Do
Most pan damage comes from well-meaning rescue attempts. Skip these:
- Plunging a hot pan into cold water. It can warp metal bases and crack enamel. Always let it cool first.
- Oven cleaner on nonstick, aluminum or enamel. It's far too harsh and can strip coatings and discolor metal. Save it for the oven, following the label (my guide on how to clean your oven has the gentler options too).
- Mixing products. Never mix bleach with vinegar or with ammonia, and don't layer different cleaners in the same pan. Rinse thoroughly between methods.
- Steel wool on anything but plain stainless or cast iron. Even then, use it sparingly and with the grain.
- Soaking cast iron overnight. You'll wake up to rust.
- Running the dishwasher on cast iron, copper or aluminum. Check the manufacturer's manual for every other pan.
- Using a pan with flaking coating. Replace it instead.
If the burn was bad enough to fill the kitchen with smoke, check your smoke alarm afterward and air the room for at least 15 minutes. A burnt pan is a nuisance; a pan left on a hot burner is a real fire risk, so never walk away from a pan on high heat.
How To Stop Burning Pans in the First Place
A few small habits save you from most of the scrubbing:
- Preheat gently. Medium heat is enough for most cooking. High heat is for searing and boiling, not for leaving a pan to "get going" while you chop.
- Match the burner to the pan. A small pan on a big flame scorches the sides and handles.
- Stir thick foods. Sauces, rice, oats and milk need a stir every few minutes, especially near the end.
- Deglaze while it's hot. After cooking, pour a little hot water into the warm (not smoking) stainless pan and let it sit. Stuck bits lift off before they set.
- Clean the bottom often. A quick wipe of the base after cooking stops those rings from building up.
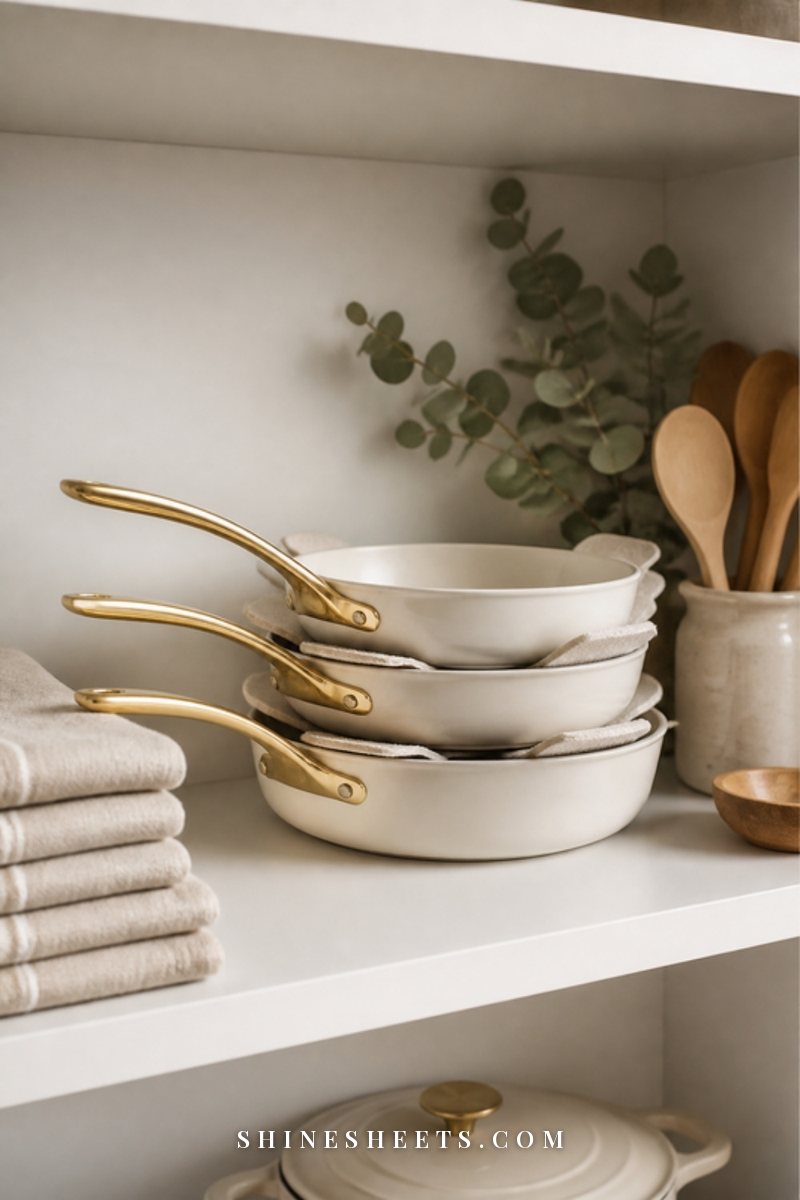
- Store pans with protection. Stacking pans directly inside each other scratches coatings, and scratched pans burn food more easily. Soft felt pan protectors between them keep surfaces smooth for years.
And if your kitchen is due a proper refresh, my guide on how to deep clean your kitchen walks through every surface, room by room.
Quick Answers About Burnt Pans
Can a burnt pan be saved?
Usually, yes. Stainless steel, cast iron and enameled cast iron can almost always be brought back. Nonstick is the exception: if the coating is damaged, replace it.
Is it safe to cook in a pan that's still a little stained?
Light heat tint or faint staining on stainless steel or enamel is cosmetic. Loose black flakes or flaking coating are not, so remove those before cooking again.
How long should I soak a burnt pan?
Nonstick and stainless can soak for 1–2 hours or overnight. Cast iron shouldn't soak at all; use a short simmer and dry it right away.
Does dryer sheet soaking work?
It's a popular trick, but I'd skip it. Dryer sheets aren't made for cookware or food surfaces, and a soapy simmer does the same job with things that are.
Final Thoughts
A burnt pan feels like a small kitchen tragedy in the moment, but it's almost always fixable with water, heat, patience and the right method for the metal. Let it cool, simmer before you scrub, and save the strong stuff for stainless steel only.
Give yourself grace too. Everyone burns a pan now and then, and the fact that you're looking up how to save it instead of throwing it out says you take good care of your home. Your pans will thank you for years.