Stained nails are one of those small things that can make your hands feel less polished than the rest of you, even when your skin is moisturized and your nails are neatly filed. The good news is that most yellow stains sit only on the very top layer of the nail. They come from something your nails touched, not from something wrong with them, and they fade with a little gentle care and time.
The key word is gentle. Nails are made of thin layers of keratin, and aggressive scrubbing, harsh bleaching or daily buffing can leave them thin, ridged and weaker than before. A softer approach works better and keeps your nails healthy while the stain fades.
This guide covers stained nails from start to finish: why nails turn yellow, how to tell a simple stain from something that needs a doctor (with a handy table), five gentle whitening methods, how to protect your nails afterward, how to prevent stains in the first place and what to expect while they grow out. It is all basic nail care, no special skills needed.
Why Nails Turn Yellow
Most surface stains come from color sinking into the top layer of the nail plate. These are the five most common causes, and you might recognize more than one.
Dark Polish Without a Base Coat
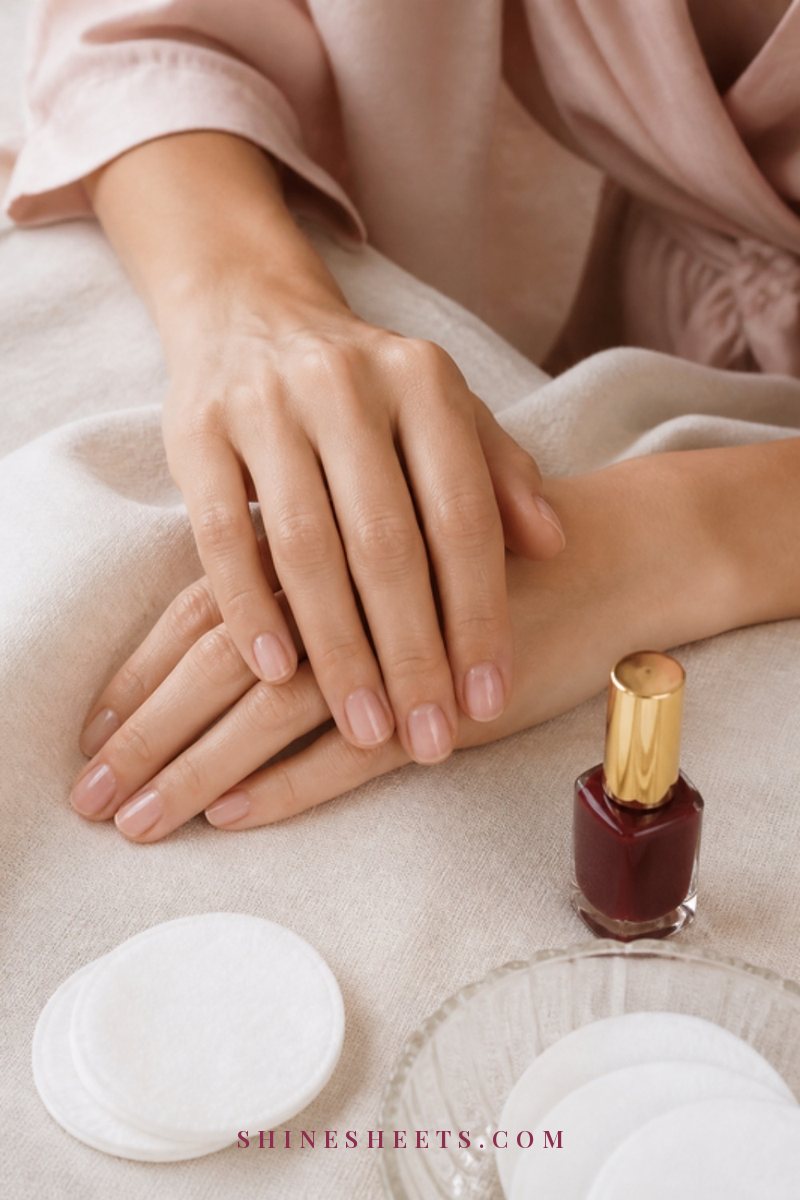
This is the number one reason for yellow nails. Deep reds, burgundies, navy and dark brown polishes contain strong pigments that can seep into the nail if there is nothing in between. Wear them for a week or two without a base coat and you may find a yellow or orange tint when you take them off. Gel and long-wear polish can do the same.
Self-Tanner
Self-tanner works by reacting with the proteins in your skin, and nails are made of protein too. If you apply tanner with bare hands, the tips and edges of your nails can turn a yellow-orange shade that does not wash off. My guide to self-tanner for beginners includes the simplest ways to protect your hands while you apply it.
Smoking
Nicotine and tar leave a yellow-brown stain on the fingers and nails that hold a cigarette. These stains build up over time and usually fade slowly once the habit stops.
Hair Dye
Home hair color, especially darker shades, can stain both skin and nails if you skip gloves or touch your hair before it is fully rinsed. Henna is particularly strong and can leave an orange tint for weeks.
Turmeric and Strong Colors in the Kitchen
Turmeric, beet juice, saffron and some herbs can stain nails quickly, especially if your nails are bare and slightly dry. Certain cleaning products and dyes for crafts or fabric can do it too.
When Yellow Is Not a Stain
Here is the kind but important part. Not every yellow nail is a surface stain. If the color goes deeper than the top layer, or your nail is changing in other ways, it is worth seeing a doctor or dermatologist instead of trying to scrub it away.
Signs that point to something more than a stain include a nail that is thickening, crumbling or splitting at the edges, a nail lifting away from the skin underneath, a yellow color that appears with no obvious cause, a bad smell, pain or swelling around the nail, or a dark streak running from the base to the tip. Fungal nail infections are especially common on toenails and often start as a yellow or white spot that slowly spreads.
Yellowing on several nails at once with no stain source can occasionally be linked to other health conditions, so it is always worth mentioning to a doctor. None of the gentle methods below will fix these issues, and some may irritate an already sensitive nail. When in doubt, get it checked. It is a short appointment that gives you peace of mind.
Stain or See a Doctor?
This table is a simple way to sort what you are seeing. It is not a diagnosis, just a starting point. Screenshot it so you have it the next time you take off your polish.
| What you notice | Likely cause | What to do |
|---|---|---|
| Even yellow or orange tint after removing dark polish | Polish pigment stain | Gentle whitening methods, base coat from now on |
| Yellow-orange tips and edges after tanning | Self-tanner stain | Gentle scrub, wear gloves or wipe nails right after tanning |
| Yellow-brown on the same two fingers | Smoking | Gentle scrub, fades slowly as habit stops |
| Orange or brown tint after coloring hair | Hair dye or henna | Gentle scrub, let it grow out |
| Stain that scrapes slightly lighter with gentle buffing | Surface stain | Whitening methods, then moisturize |
| Thick, crumbly or lifting nail with yellow color | Possibly fungal infection | See a doctor or dermatologist |
| Yellow nails with no stain source, on several nails | Could be health-related | See a doctor |
| Dark brown or black streak from base to tip | Needs a professional look | See a dermatologist soon |
| Pain, swelling, pus or a bad smell | Possible infection | See a doctor, do not soak or scrub |
How To Whiten Yellow Nails Gently: 5 Methods
Start with method one, then add one or two of the others depending on how stubborn the stain is. Do not do all of them on the same day, and never more than once or twice a week. Your nails need time to recover between treatments.
1. Start With a Proper Clean
Sometimes what looks like a stain is partly leftover polish, oils or residue sitting on the nail surface. Before trying anything else, remove all polish with a gentle remover and wash your hands with warm water and a mild soap.
Use a soft nail brush and scrub gently over the surface and under the tips in small circles for about thirty seconds per hand. You might be surprised how much lighter your nails look after just this step. Pat dry and look at them in natural daylight before deciding what to do next.
2. Gentle Buffing
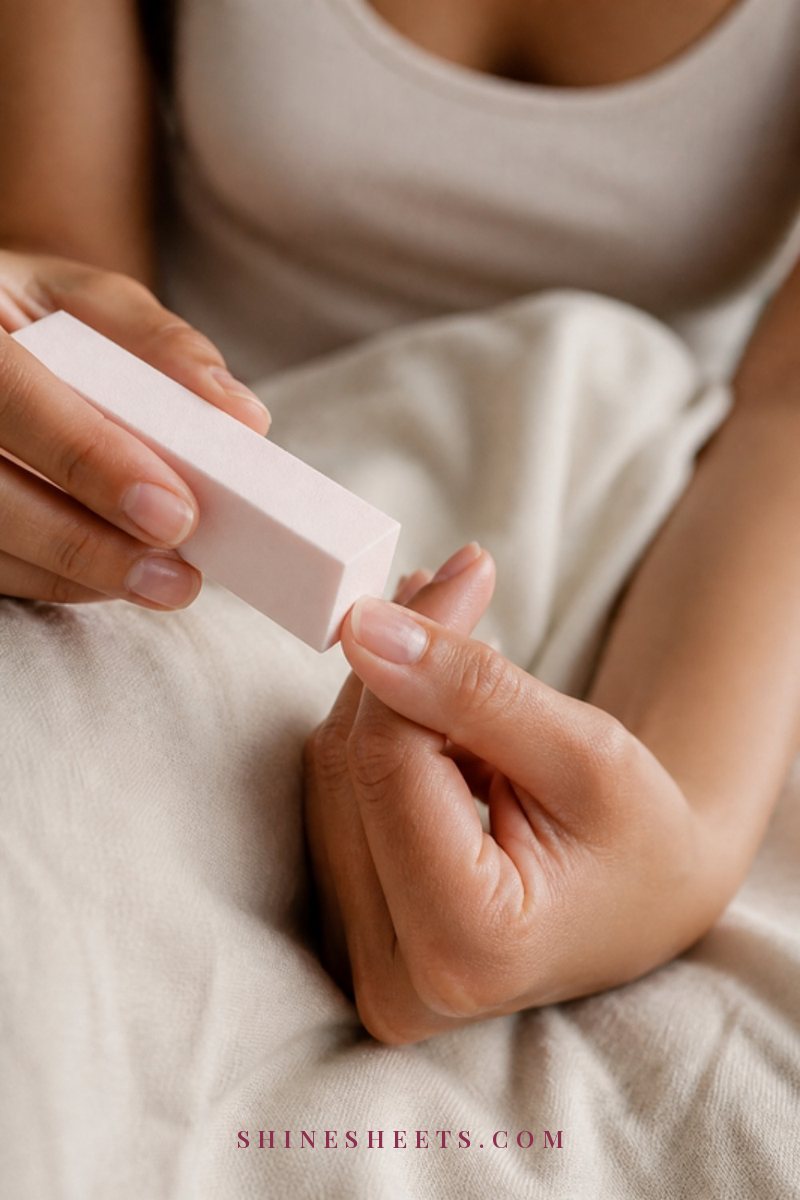
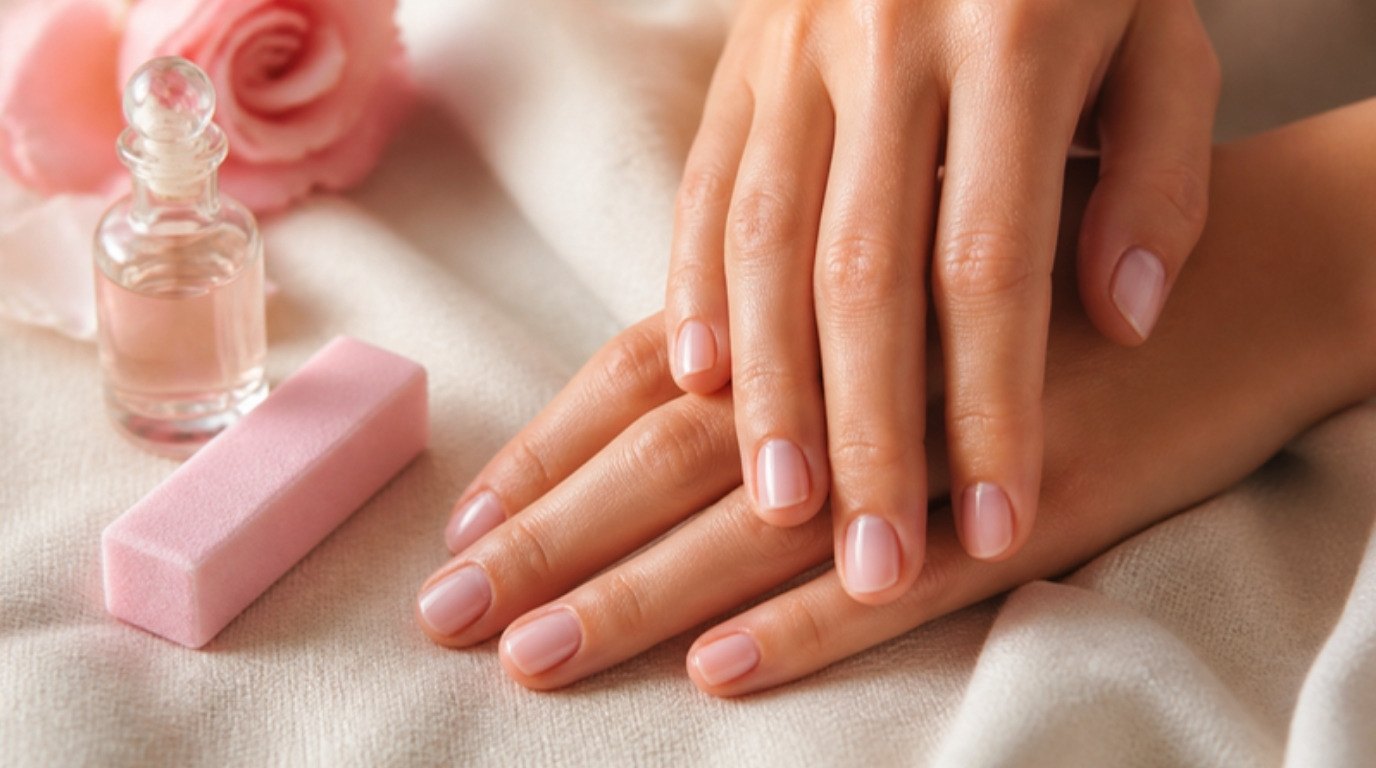
Light buffing removes a microscopic layer from the top of the nail, which is exactly where most stains sit. The secret is to be gentle and use the right tool. A four-sided nail buffer block with a fine grit is a good pick, because it smooths and polishes without filing your nail down.
Here is how to do it:
- Use the finest buffing side, never the rough filing side.
- Glide it lightly over the nail in one direction, five or six strokes per nail.
- Do not press down hard and do not stay in one spot.
- Stop when the nail looks a little brighter. You do not need to remove the whole stain in one go.
- Follow with a polishing side for a natural shine.
Limit buffing to once every two to four weeks. Over-buffing thins your nails and can make them bendy and prone to splitting. If your nails already tend to break, my guide on brittle nails explains how to strengthen them before trying any whitening.
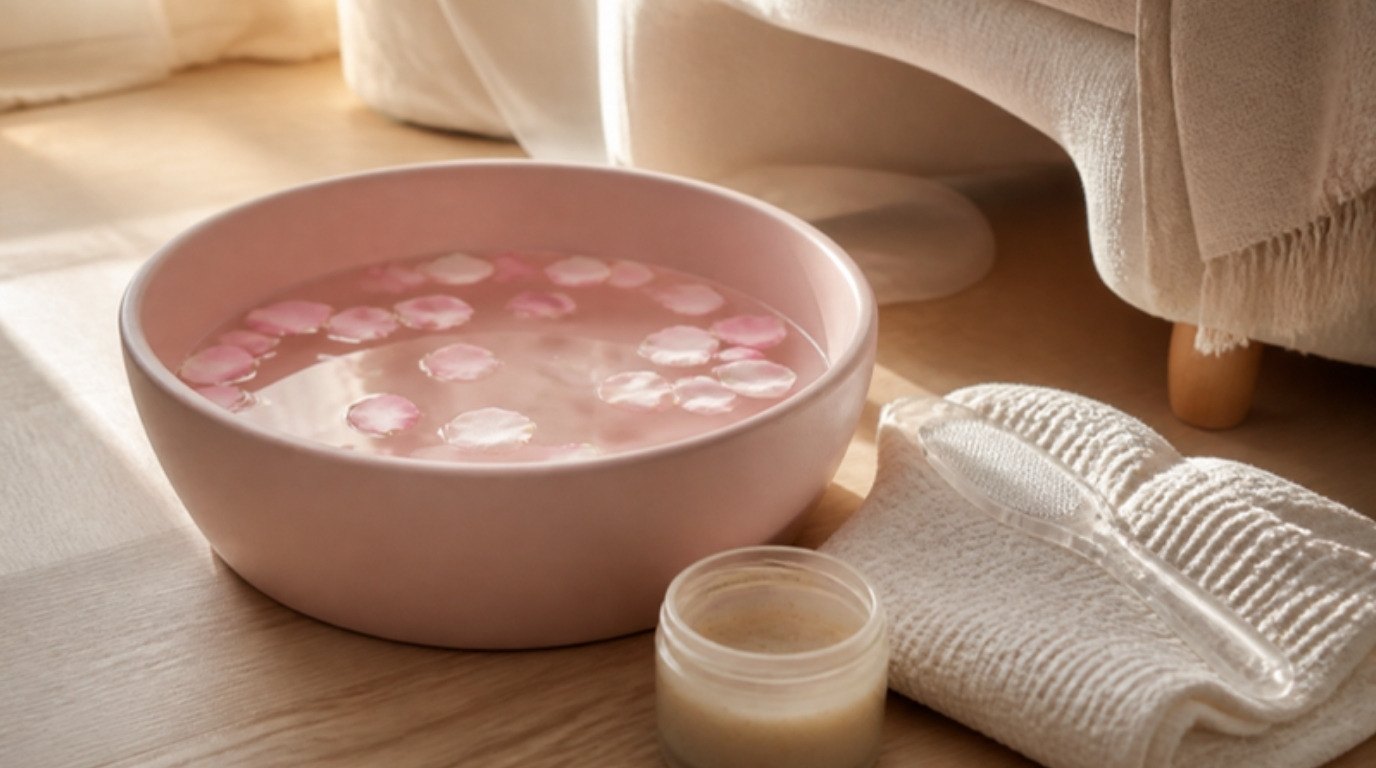
3. A Short Lemon Soak
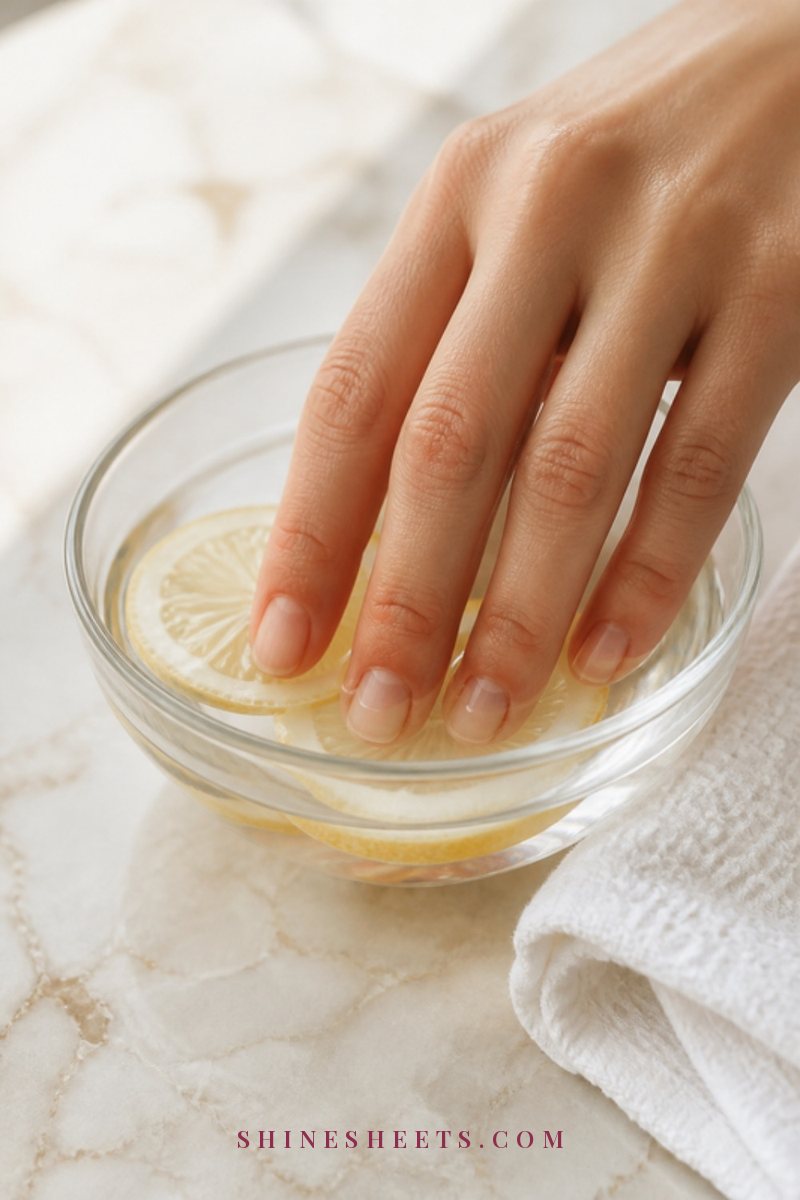
Lemon juice is a mild acid that can lighten surface stains a little. Squeeze the juice of half a lemon into a small bowl of warm water and soak your fingertips for five minutes, no longer. You can also rub a lemon wedge gently over each nail.
A few kind cautions: skip this if you have any cuts, hangnails or irritated skin around your nails, because it will sting. Rinse your hands well afterward, and avoid strong sun on your hands for the rest of the day, as citrus juice on skin can react with sunlight. Always moisturize after, because acid is drying.
4. A Baking Soda and Toothbrush Scrub
Baking soda is a gentle abrasive that can lift stains from the nail surface. Mix a little with a few drops of water until you have a soft paste. Apply it to your nails, then scrub gently with a soft old toothbrush or your nail brush in small circles for one to two minutes.
Rinse with warm water. If the stain is stubborn, a few drops of lemon juice in the paste instead of water gives it a little extra help (but follow the same lemon cautions above). Whitening toothpaste works in a similar way and is an easy alternative if you have it in the bathroom anyway. Keep this to once a week.
5. A Whitening Nail Soak or Treatment
If you prefer something ready to use, a nail whitening soak or brightening treatment is a simple option. Look for one designed specifically for nails, with clear instructions on soak time, and avoid anything with strong bleach. Follow the directions exactly, and do not leave it on longer hoping for faster results. That rarely works and often dries out your nails and cuticles.
A quick word on hydrogen peroxide and denture tablets, which you may see recommended online: they can lighten stains, but they are drying and can irritate the skin around your nails. If you try them, keep it brief and occasional, and stop if you notice any redness or stinging.
After Whitening: Moisturize and Protect
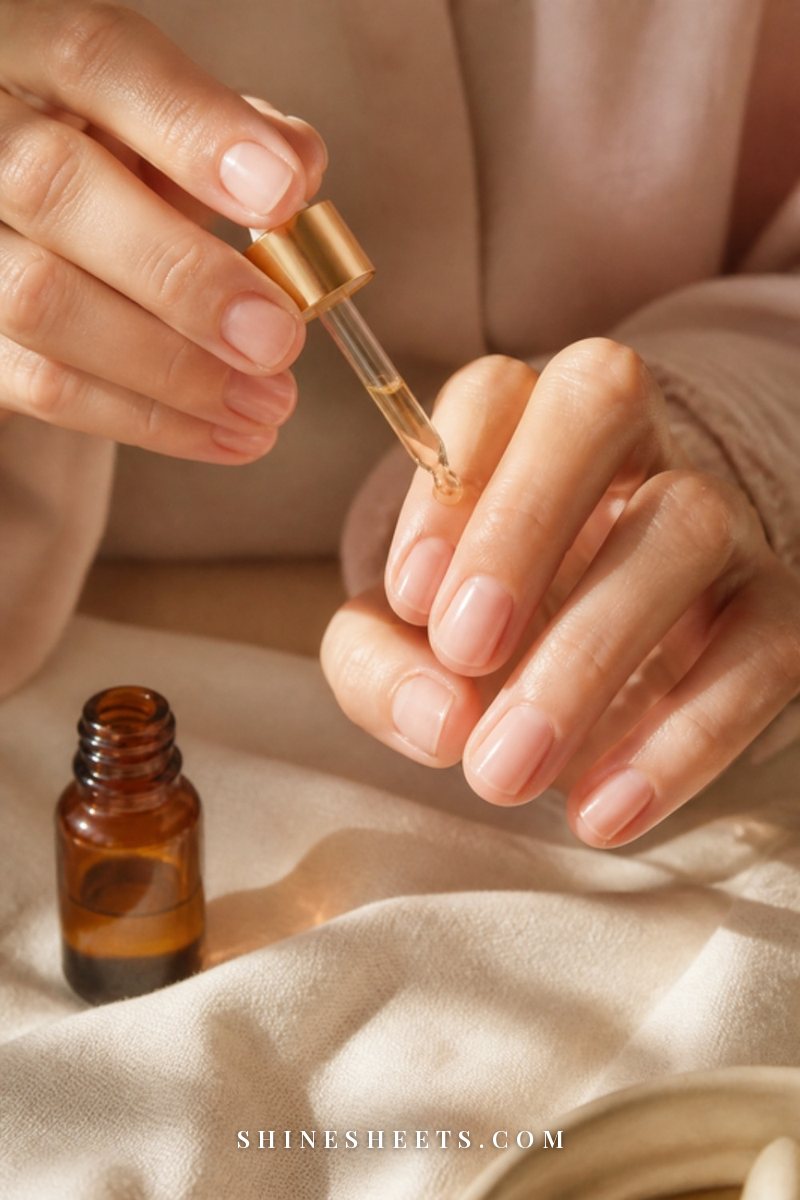
Every whitening method dries your nails at least a little, so this step is not optional. Dry nails look duller, show stains more and break more easily.
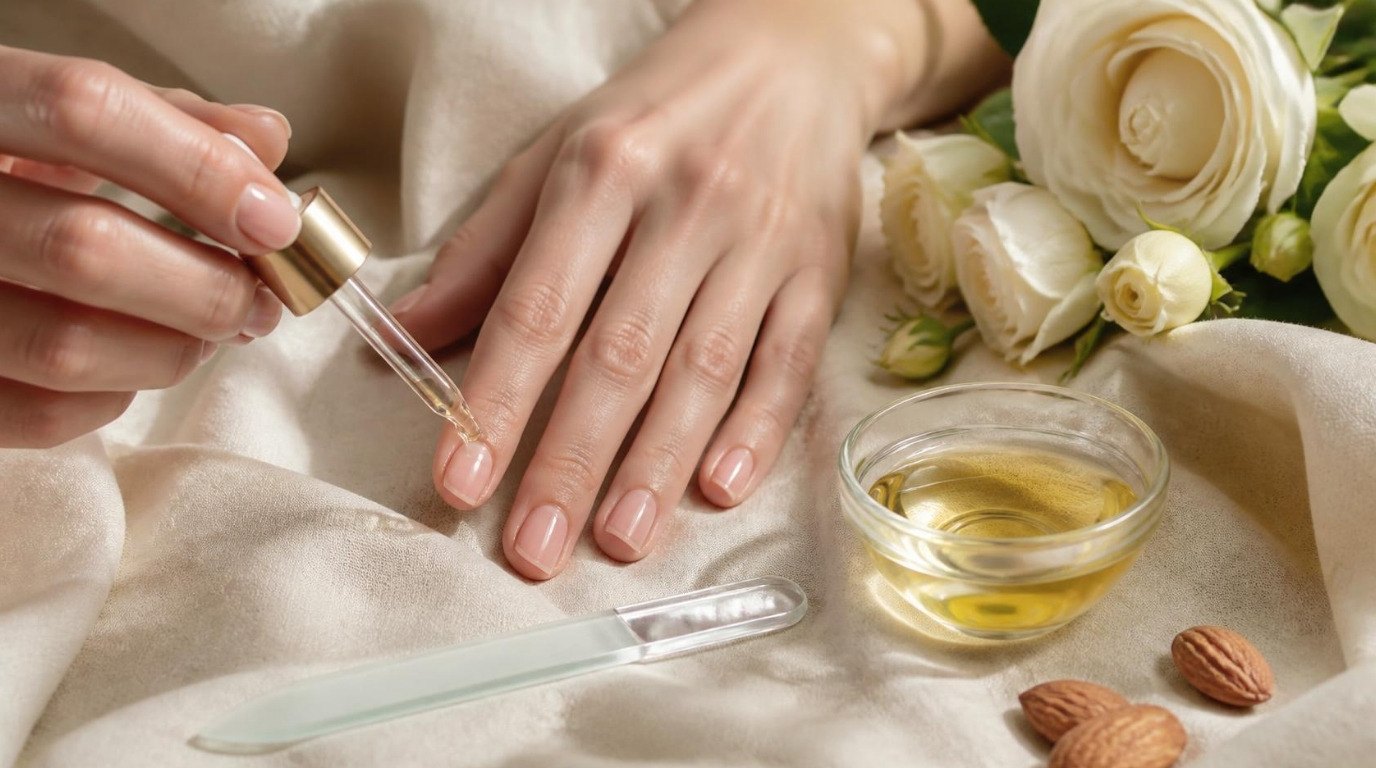
After any treatment, massage a drop of cuticle oil into each nail and the skin around it, then follow with a rich hand cream. Make this a nightly habit while you work on your stains, not just on treatment days. Well-hydrated nails reflect light better, which makes them look clearer and brighter.
If you would like to turn this into a full routine, my hand care routine covers everything from exfoliation to overnight hand masks, and my guide on how to take care of your nails walks through the basics of strong, healthy nails day to day.
How To Prevent Stained Nails
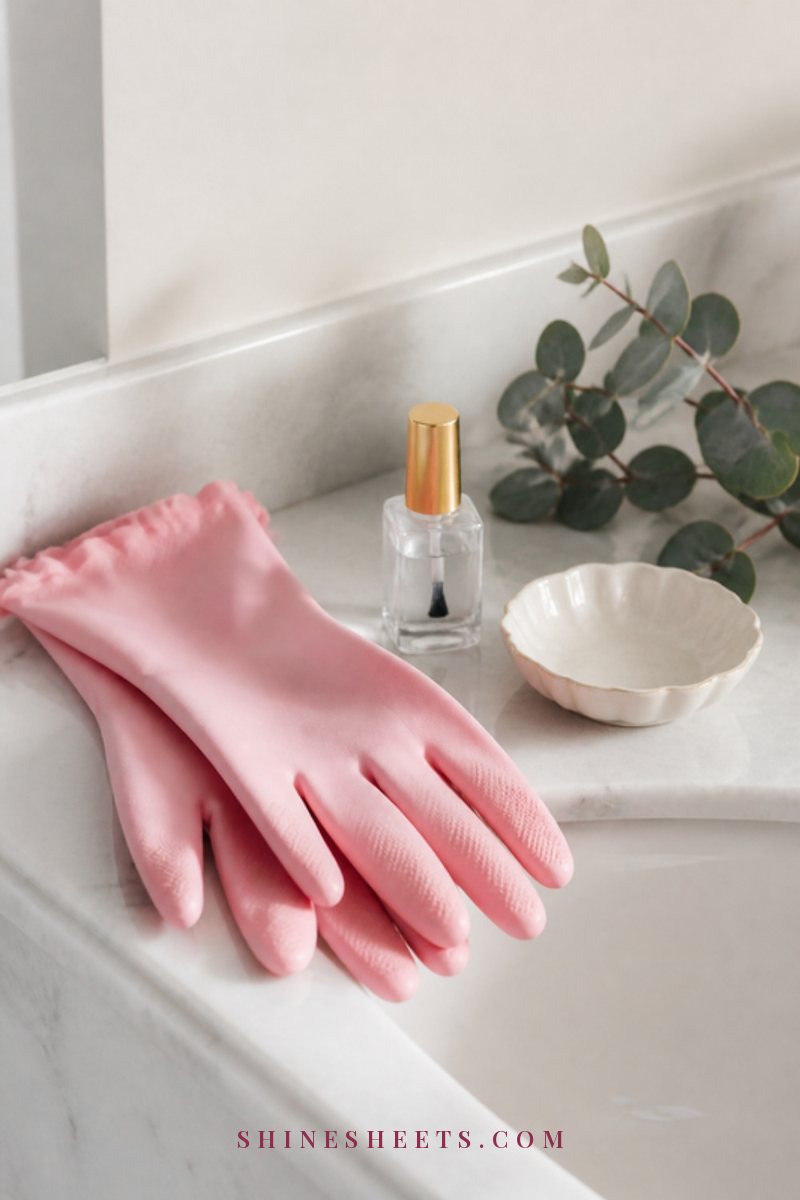
Once your nails are clear, a few small habits will keep them that way. Prevention is much easier than whitening.
- Always use a base coat. This is the most important habit on the list. A clear base coat creates a barrier between pigment and nail. Apply one thin layer and let it dry for a minute before your color. It also helps polish last longer.
- Wear gloves for messy jobs. Cleaning, washing dishes, dyeing hair, gardening and cooking with strong spices all stain bare nails. A pair of pink rubber gloves by the sink makes it easy to remember.
- Protect your nails during self-tanning. Use a tanning mitt, and wipe your nails and cuticles with a makeup wipe right after applying tanner to your hands.
- Do not leave dark polish on too long. Even with a base coat, try to remove dark shades within one to two weeks.
- Give your nails a break. Leave them bare for a few days between manicures every now and then, so you can check their natural color and condition.
- Choose acetone-free remover when you can. It is gentler on nails, especially if you change polish often.
If you love doing your own nails, the guide on at-home manicures shows the simple steps for a clean, sheer finish that is kind to your nails.
Letting Stains Grow Out
Sometimes the gentlest option is simply patience. Stains sit in the nail plate, so as your nail grows and you trim it, the stained part moves forward and eventually disappears.
Fingernails grow slowly, so expect a fully stained fingernail to be completely replaced in roughly four to six months. Toenails take much longer, often a year or more. You will usually see a clear line between the new healthy growth near the cuticle and the stained part further up, which is quite encouraging to watch.
While you wait, a few things help:
- Keep your nails a little shorter so the stained part is trimmed sooner.
- Wear a sheer pink or milky polish over a base coat to soften the color.
- Keep up with cuticle oil every night for healthy, flexible growth.
- File gently in one direction to avoid splitting. The guide on how to file your nails shows the easiest technique.
Common Whitening Mistakes To Avoid
When you really want your nails to look clean again, it is tempting to try everything at once. These are the mistakes that tend to cause more harm than the stain itself:
- Buffing too often or too hard. Thin nails peel, bend and break. One light session every few weeks is plenty.
- Using household bleach. Bleach can burn the skin around your nails and leave them dry and brittle. It is never worth it for a cosmetic stain.
- Soaking for too long. Longer soaks do not mean better results. Nails absorb water, swell and then dry out, which can lead to peeling.
- Skipping moisture afterward. Every whitening method dries your nails a little. Without oil and cream, they look duller and break more easily.
- Painting over the stain immediately with another dark color. If you go straight back to deep shades without a base coat, you simply restart the cycle.
- Ignoring changes in texture. If your nail is thick, crumbly or lifting, home whitening is not the answer. Check the table above and see a doctor.
What About Toenails?
Toenails stain for the same reasons as fingernails, especially from long weeks of dark pedicure polish worn without a base coat. The same gentle methods work, though toenails are thicker and the stain often takes longer to lift.
There is one important difference: toenails are much more prone to fungal infections, because feet spend so much time in warm, closed shoes. That makes it even more important to look carefully before you treat. A toenail that is yellow and smooth after a pedicure is usually a stain. A toenail that is yellow and thick, crumbly or lifting deserves a visit to a doctor or podiatrist.
Between pedicures, let your toenails go bare for a week or two whenever you can. It gives you a chance to see their natural color and lets them breathe a little.
A Simple Weekly Routine for Brighter Nails
Here is how all of this fits into an easy routine while you are working on a stain:
- Every night: Cuticle oil and hand cream, about two minutes.
- Twice a week: Gentle clean with a nail brush and mild soap.
- Once a week: One whitening method, such as the lemon soak or baking soda scrub, followed by oil.
- Every two to four weeks: Light buffing with the finest side of your buffer.
- Every manicure: Base coat first, always.
Most surface stains look noticeably lighter after two to three weeks of this, and they keep fading as your nails grow.
Final Thoughts
Stained nails are common, harmless in most cases and very fixable with a little patience. Be gentle, keep your nails hydrated and let time do part of the work. And if something looks or feels different from a simple stain, a quick visit to a doctor is always the kindest choice for your hands.
A clear base coat, a pair of gloves and a nightly drop of oil are small habits, but together they keep your nails looking fresh, natural and quietly elegant.