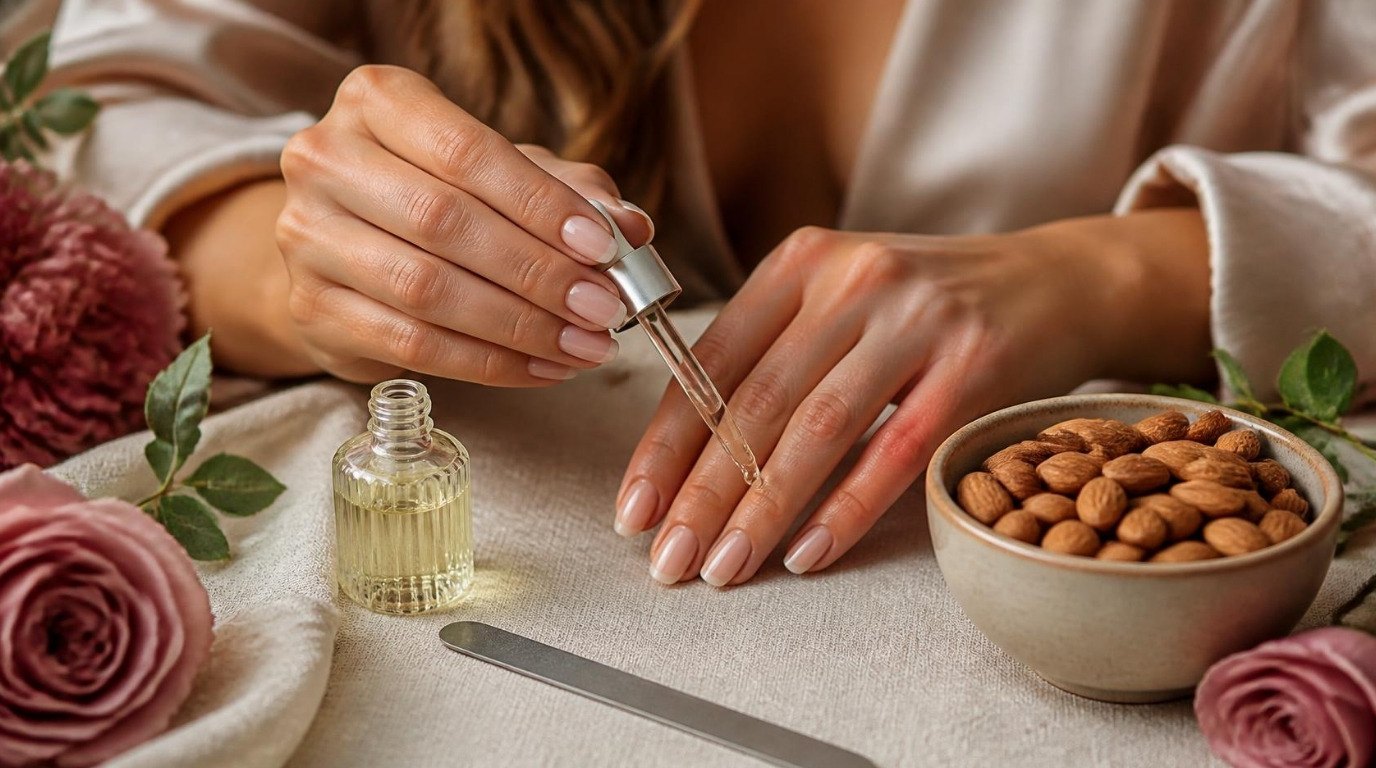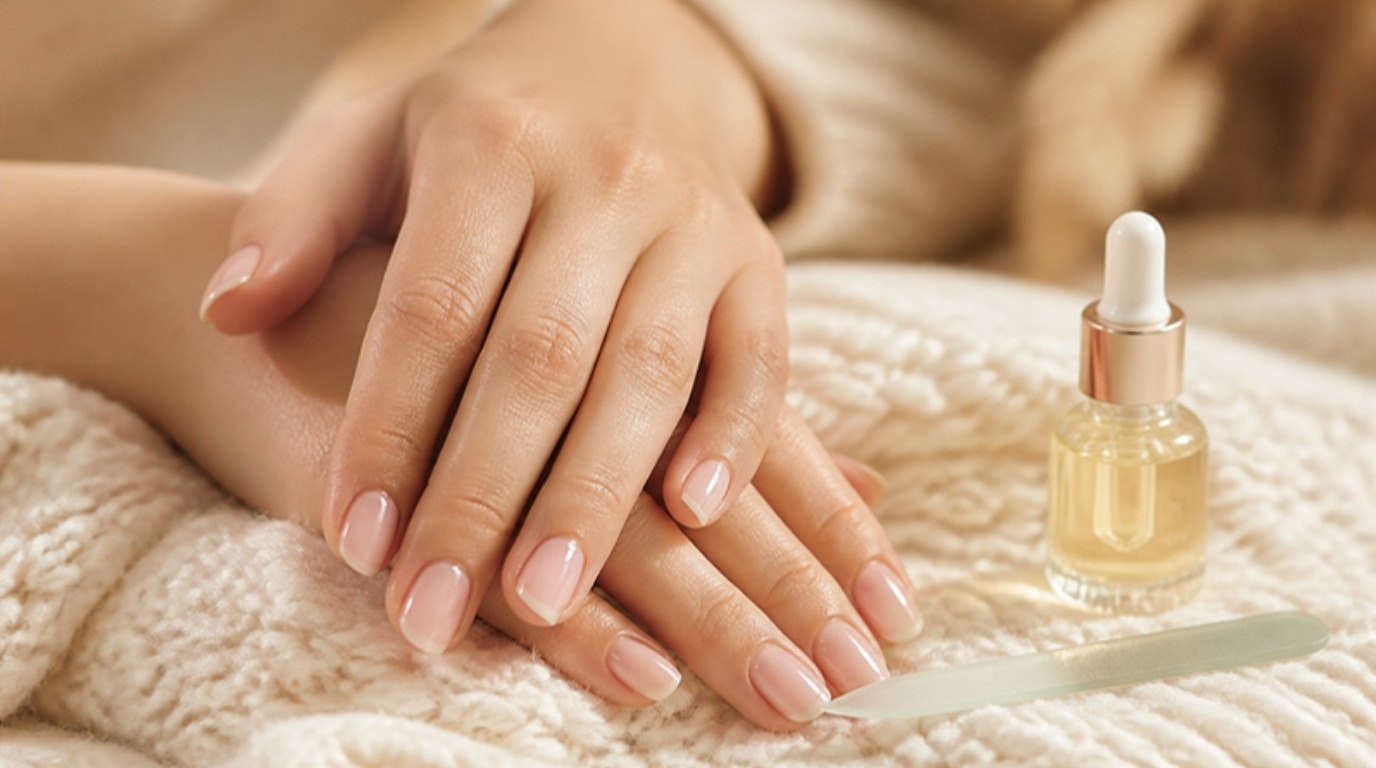
A good pedicure has very little to do with fancy tools and a lot to do with order. Soak too long and your skin turns soggy. File calluses while they're soft and you take off far more than you meant to. Trim toenails in a curve and you invite an ingrown nail. Do the same steps in the right sequence, though, and your feet come out soft, neat and comfortable in less than an hour.
The nice part is that a home pedicure can feel even better than a salon one. You choose the water temperature, nobody rushes you, and you can finish by sliding straight into soft socks and into bed. It's the kind of quiet evening ritual that pays you back every time you take your shoes off for the rest of the week.
This guide walks you through a complete at-home pedicure step by step: what you need, how to deal with calluses safely, how warm and how long to soak, how to trim toenails so they grow out properly, toe cuticle care, a scrub and mask, an optional sheer polish and the overnight sock trick. There's also a 45-minute pedicure timeline you can follow minute by minute, the most common mistakes and how often to repeat it all.
Put a towel on the floor, make a cup of tea and let's start with the kit.
What You Need for an At-Home Pedicure
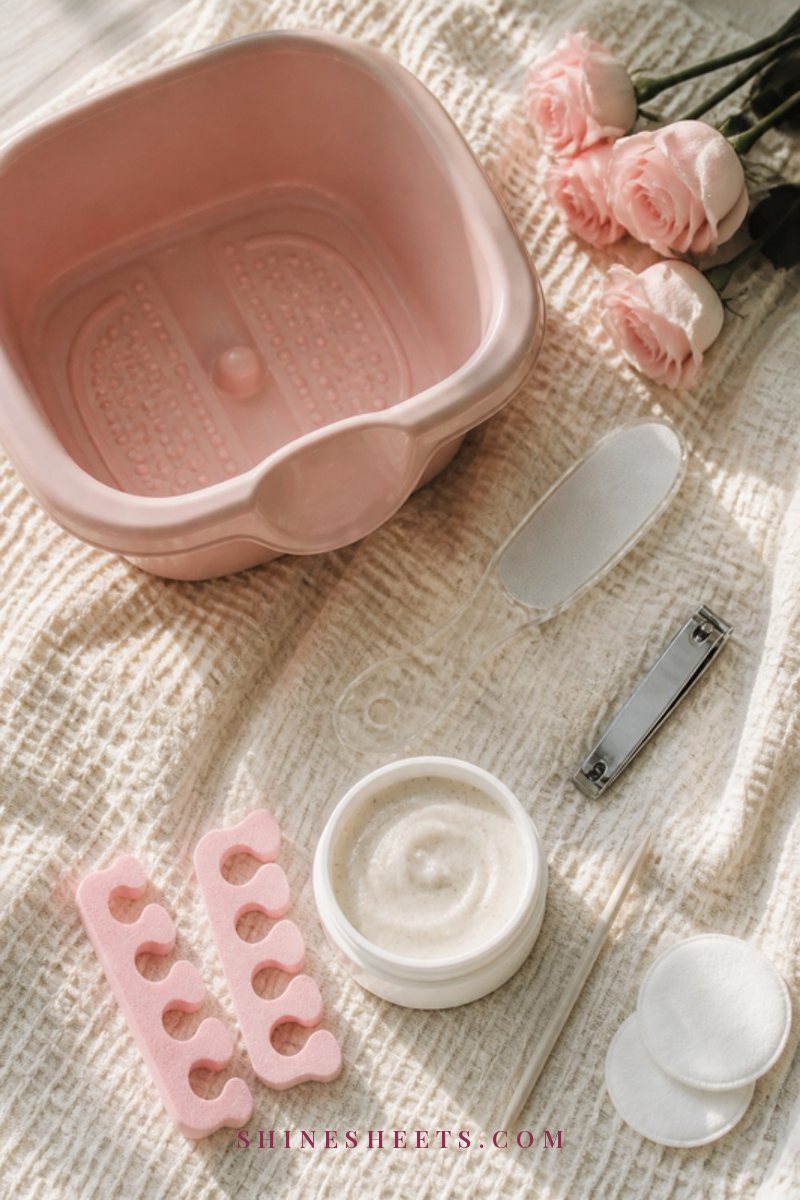
You don't need a professional station. A towel on the floor in front of the sofa works perfectly. Here's the short list:
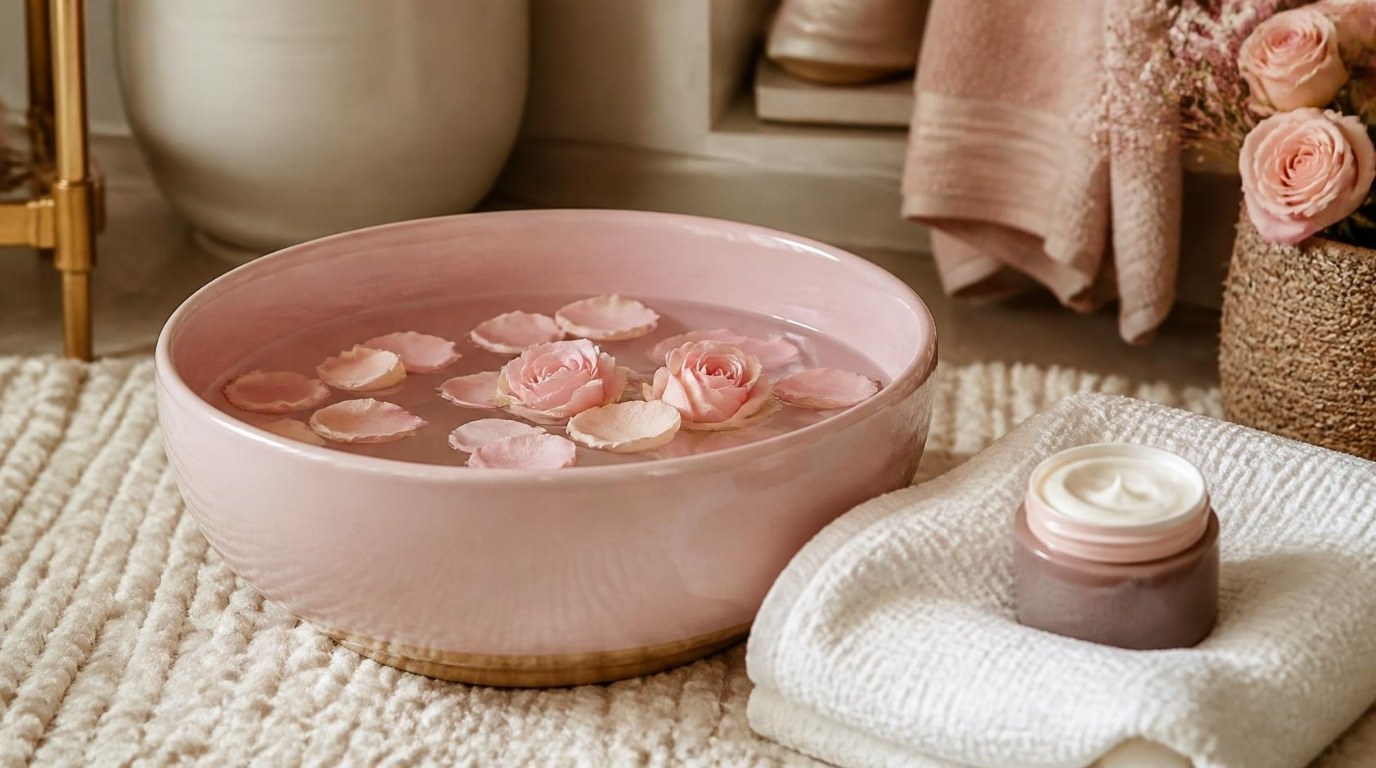
- A basin or tub for soaking. Any bowl big enough for both feet works, but a foot soak tub in soft blush is easier to fill and carry without splashing, and it makes the whole thing feel like a treat.
- A foot file. A glass foot file smooths dry, hard skin gently and rinses clean in seconds. Skip anything with a blade.
- Toenail clippers. Toenails are thicker than fingernails, so look for a toenail clippers set with a straight-edge clipper rather than the small curved one you use on your hands.
- A nail file. A fine-grit file or glass nail file for smoothing the edges after trimming.
- A cuticle pusher. Wooden orange sticks or a rubber-tipped pusher.
- A foot scrub. A creamy foot scrub with fine grains polishes the skin without scratching it.
- A rich foot cream. More on choosing one in step 10.
- Nail polish remover and cotton pads. Acetone-free remover is gentler for regular polish.
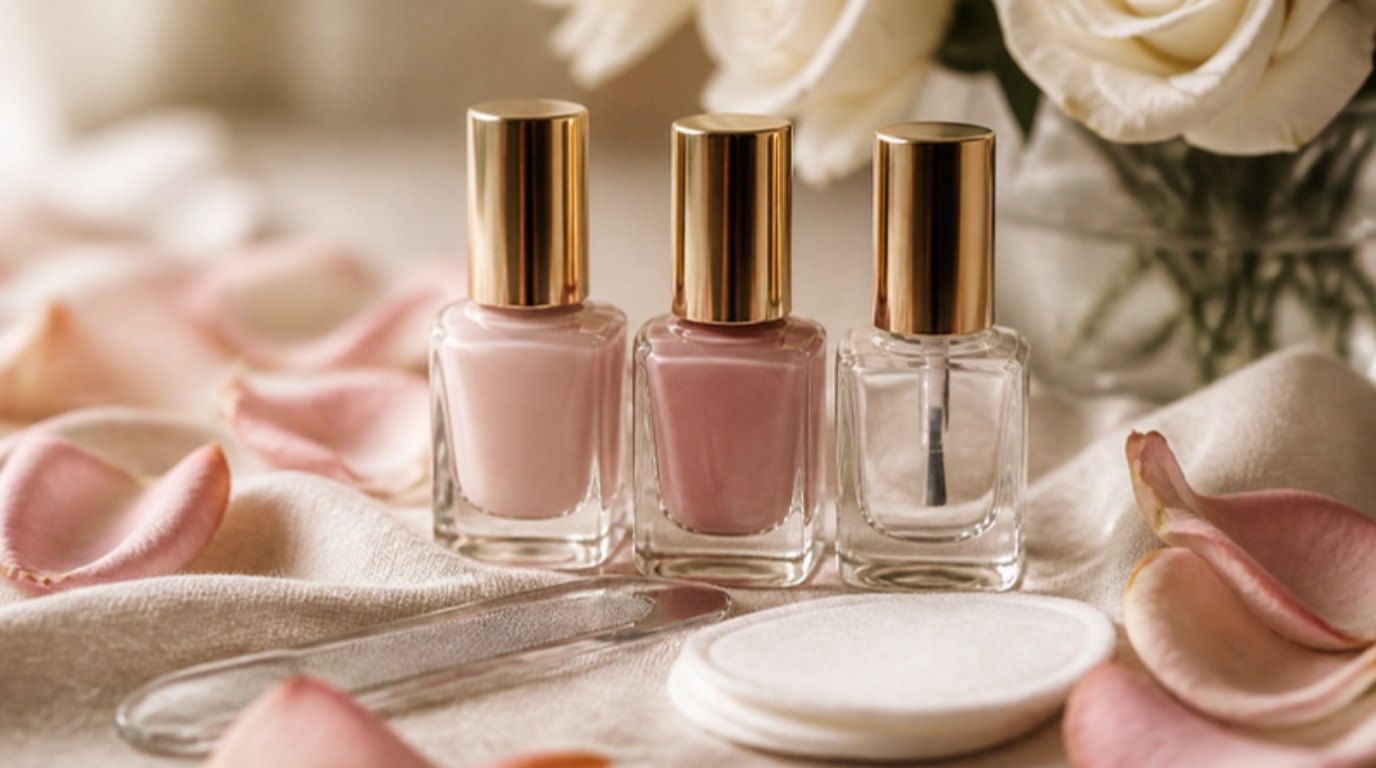
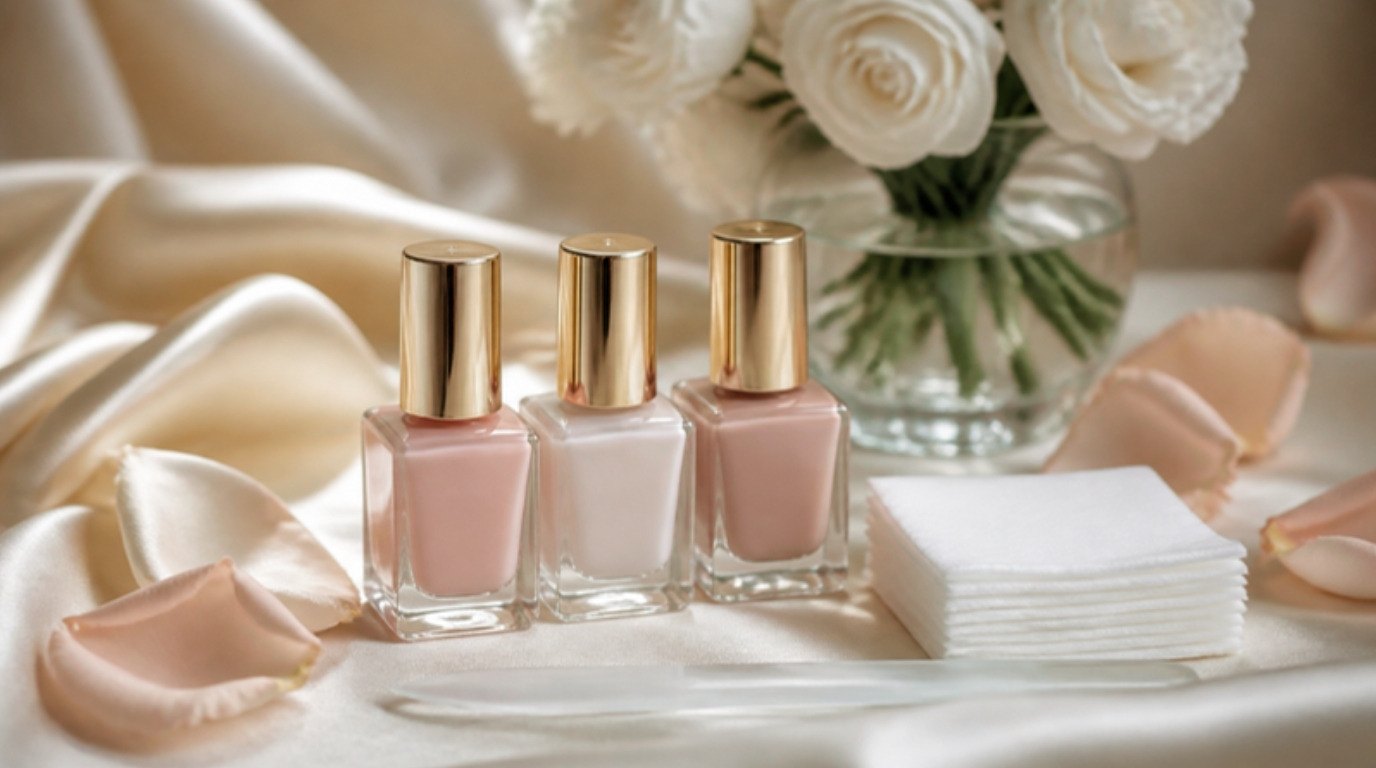
- Optional polish kit. Base coat, a sheer or nude shade, top coat and toe separators.
- Two towels. One under the tub, one for drying your feet.
Keep everything within arm's reach before you sit down. Getting up halfway through with wet feet is how floors get slippery and pedicures get abandoned.
The 45-Minute At-Home Pedicure Timeline
This is the unique part of this guide: a realistic timeline so you know exactly where your 45 minutes go. Screenshot it and keep it next to your towel. The drying time and the overnight sock step happen after the 45 minutes, while you relax.
| Step | Minutes | Tool |
|---|---|---|
| Remove old polish and prep | 0–3 | Remover, cotton pads |
| Smooth calluses on dry skin | 3–8 | Glass foot file |
| Warm soak | 8–18 | Foot soak tub, towel |
| Trim toenails straight across | 18–21 | Straight-edge toenail clipper |
| File and smooth edges | 21–23 | Fine-grit nail file |
| Toe cuticle care | 23–27 | Cuticle pusher, cuticle oil |
| Scrub | 27–30 | Foot scrub |
| Foot mask | 30–35 | Mask or thick cream, towel |
| Rinse, dry and wipe nails clean | 35–37 | Towel, remover on cotton |
| Base coat, two thin coats, top coat | 37–45 | Polish, toe separators |
| Let polish dry, then moisturize and put on socks | After 45 (about 1 hour later) | Foot cream, cotton socks |
If you skip polish, you get eight minutes back. Use them for a longer mask or simply for sitting with your feet up.
How To Do an At-Home Pedicure in 10 Steps
Follow the steps in this order. Each one sets up the next, and the order is what keeps the result smooth instead of raw.
1. Remove Old Polish and Prep
Soak a cotton pad in remover, press it on the nail for 10 seconds so the polish softens, then swipe from the base to the tip in one firm stroke. Pressing first means less rubbing, which is kinder to the skin around your toes.
Once the nails are bare, take a quick look. Are any nails yellowish from dark polish? Is the skin between your toes dry or cracked? Any spot that's red, warm or painful? This is your two-second check-in, and it tells you where to be gentle tonight.
If your toenails look a little yellow from a deep red shade, that's normal staining and it grows out. A base coat next time helps prevent it.
2. Smooth Calluses on Dry Skin
This is the step most people do in the wrong order. A foot file works best on dry or barely damp skin, before you soak. Soaked skin is soft and swollen, so it's very easy to file away too much and end up with tender, raw heels that build an even thicker callus in self-defense.
Hold the file flat and use light strokes in one direction across the heel, the ball of the foot and the outer edge of the big toe. Ten to fifteen strokes per area is plenty. Stop when the skin feels smooth, not when it looks pink.
- Never use razors, blades or "callus shavers." They cut living skin easily and can lead to infection.
- Don't try to remove all the hard skin in one evening. A little callus protects the parts of your feet that carry your weight. Aim for smoother, not baby-soft.
- A pumice stone is different from a file: it's meant for damp skin, so if you prefer pumice, use it gently after the soak instead.
3. Soak Your Feet in Warm Water
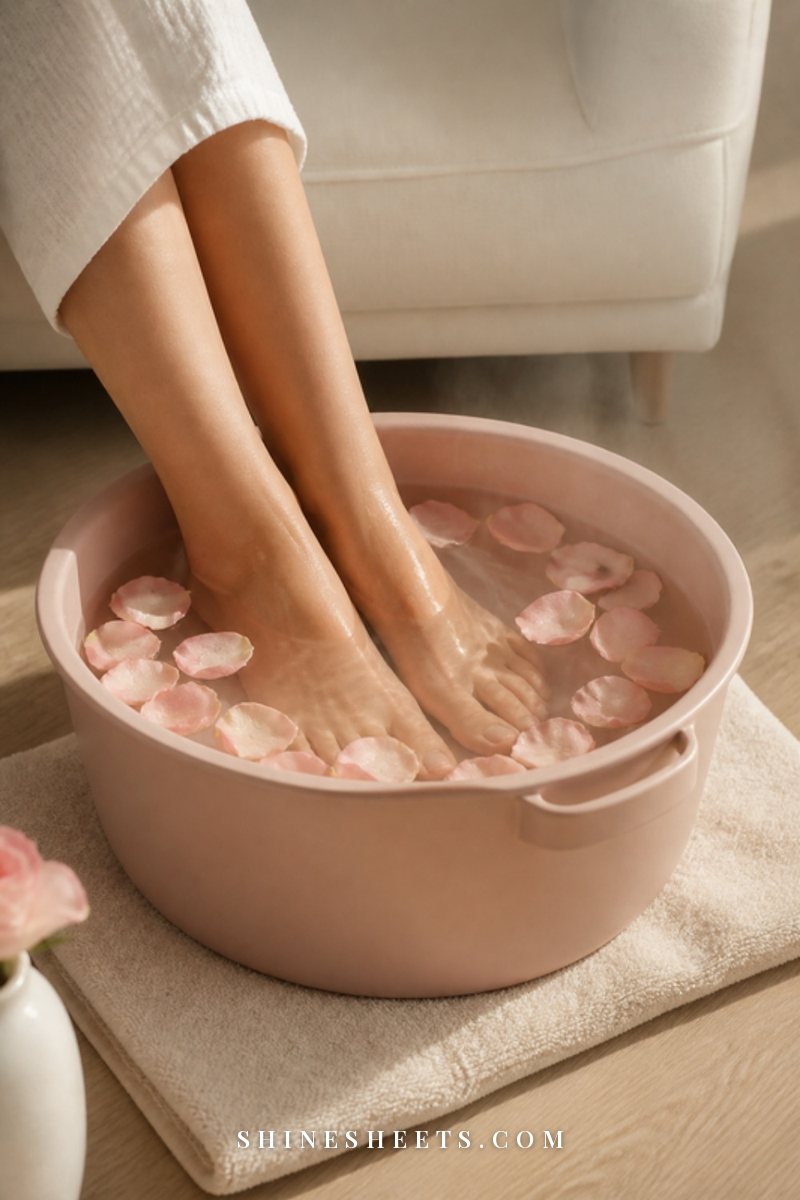
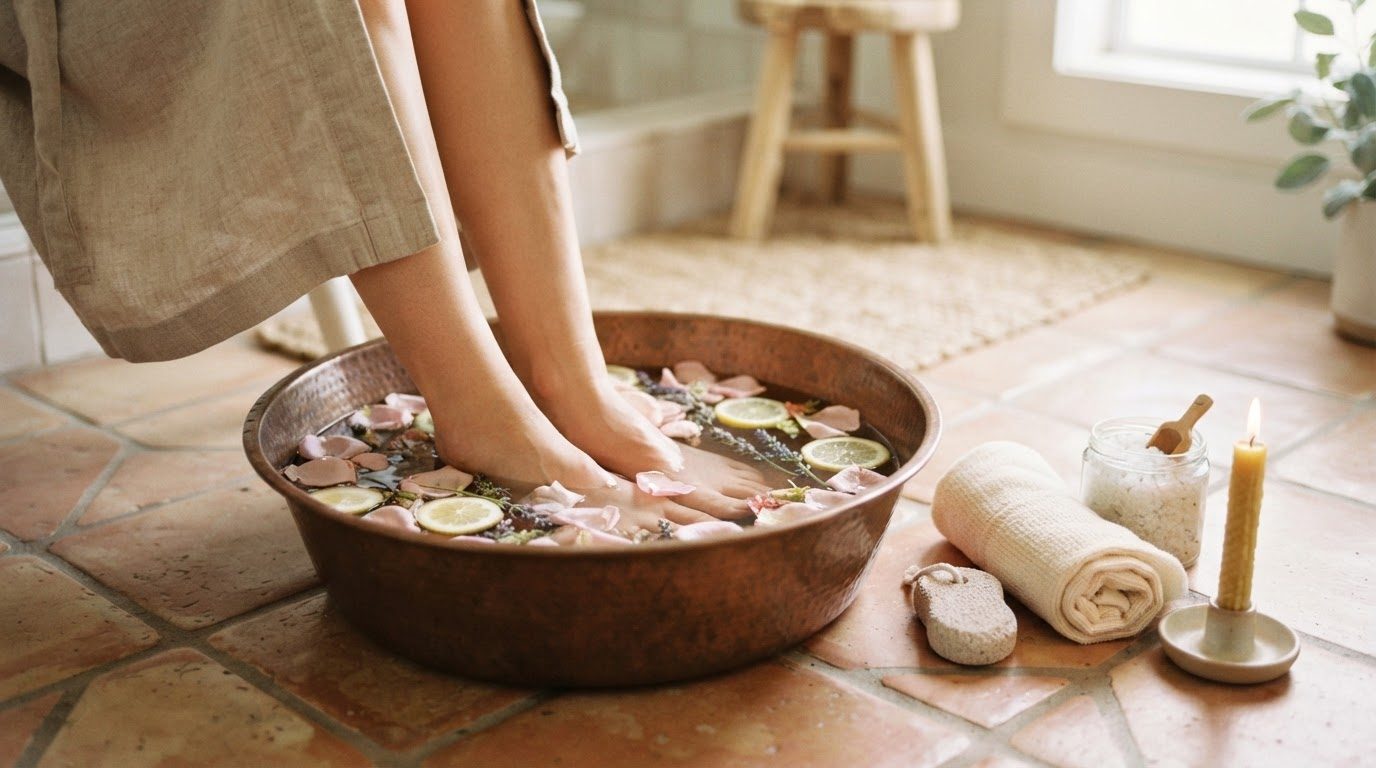
Fill your tub with warm water, not hot. Think comfortable bath temperature, roughly 95 to 100°F. Test it with your wrist or elbow rather than your toes, because feet are often less sensitive to heat.
Soak for 10 minutes. That's enough to soften nails and cuticles; longer soaks actually pull moisture out of the skin once you step out, which is the opposite of what you want.
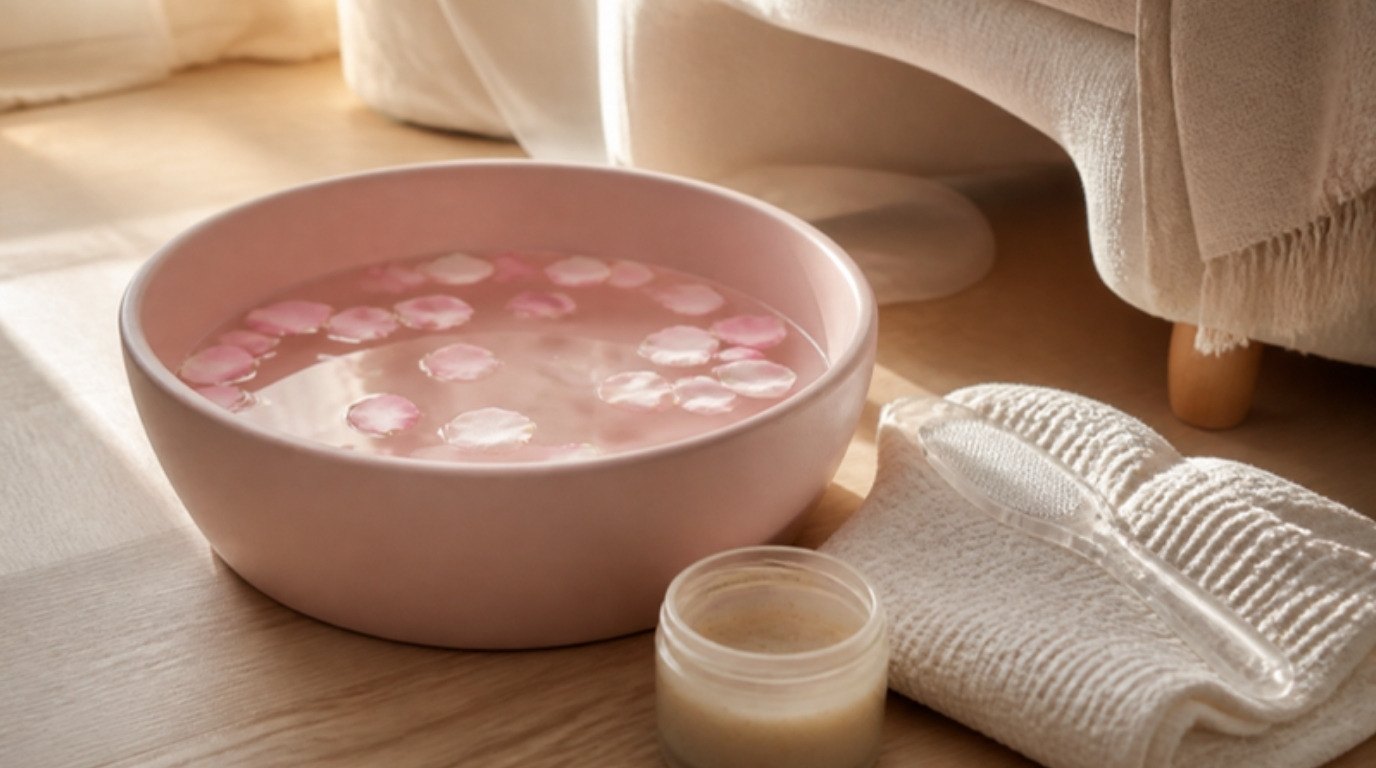
You can add a spoonful of a gentle body wash or a handful of plain Epsom salt if you like the feeling. A few rose petals are purely for mood, and mood counts here. If you'd like to turn the soak itself into a longer ritual, my tranquil foot spa at home guide has ideas for making it feel like a little retreat.
When the time is up, lift one foot out, pat it dry and keep the other in the water while you work. It stays soft longer that way.
4. Trim Toenails Straight Across
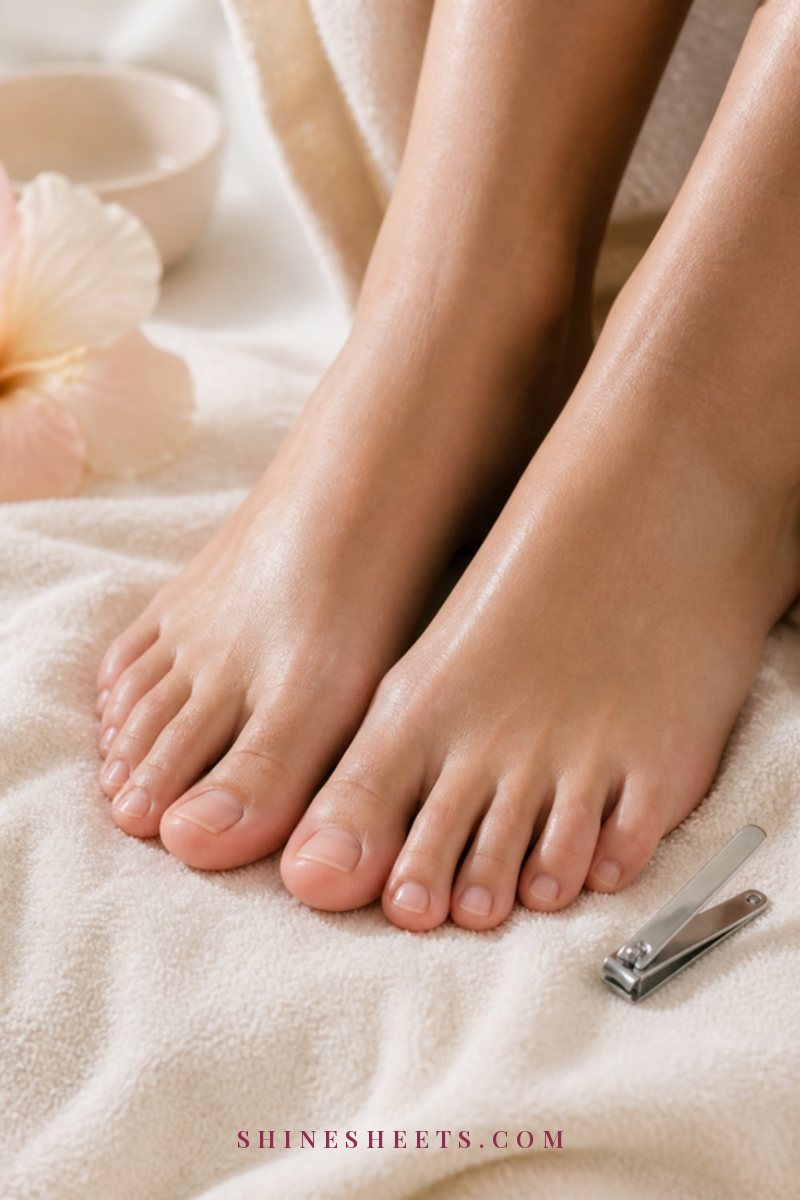
This is the most important step for comfort. Cut toenails straight across, not in a curve, and leave them roughly level with the tip of the toe. Rounded corners and very short nails let the skin fold over the nail edge as it grows, which is one of the most common causes of ingrown toenails.
A simple way to do it: make two or three small, straight cuts across the nail instead of one big snip. One big snip can crack a thick nail. Small cuts give you control.
- Trim right after soaking, when nails are softer and less likely to split.
- Don't dig into the corners. If a corner feels sharp, you'll smooth it with a file in the next step.
- Keep the clippers clean: wipe them with rubbing alcohol before and after.
5. File and Smooth the Edges
Use a fine-grit or glass file to soften any sharp edges, filing in one direction from the side toward the center. Keep the shape square with just the corners gently softened. This "squoval" edge is the one that grows out most comfortably in shoes.
If a nail has a ridge or rough surface, a very light pass with a fine buffer is fine, but toenails don't need to be buffed shiny. Once or twice a month is plenty. For more on technique, my guide on how to file your nails covers grits and angles in detail.
6. Care for Your Toe Cuticles
Toe cuticles are small and thick, and they rarely need cutting. Apply a drop of cuticle oil to each nail, wait 30 seconds, then use a wooden stick or rubber pusher to nudge the cuticle back gently, with tiny circular motions. No scraping.
Only trim hangnails, meaning little loose flaps of dead skin that catch on socks. Leave the living skin alone. It's there to keep bacteria out of the nail bed, and feet spend all day in warm, enclosed shoes where that protection really matters. My full cuticle care guide goes deeper if your cuticles tend to overgrow or crack.
7. Scrub and Mask

Scoop a teaspoon of scrub into your palm and massage it over each foot for about a minute and a half, focusing on heels, the balls of your feet and the tops of your toes. Use gentle circles, not hard rubbing. The scrub is there to lift loosened flakes from the soak, not to sand anything down.
Rinse your feet in the tub water or with a damp washcloth, pat them dry, then apply a mask. You can use a dedicated foot mask or simply a very thick layer of your richest cream. Leave it on for 5 minutes with your feet resting on a towel, then wipe off the excess.
Wiping is important if you plan to paint your nails. Any cream left on the nail plate will stop polish from sticking, so finish by swiping each toenail with a cotton pad dipped in remover.
8. Add a Sheer or Nude Polish (Optional)
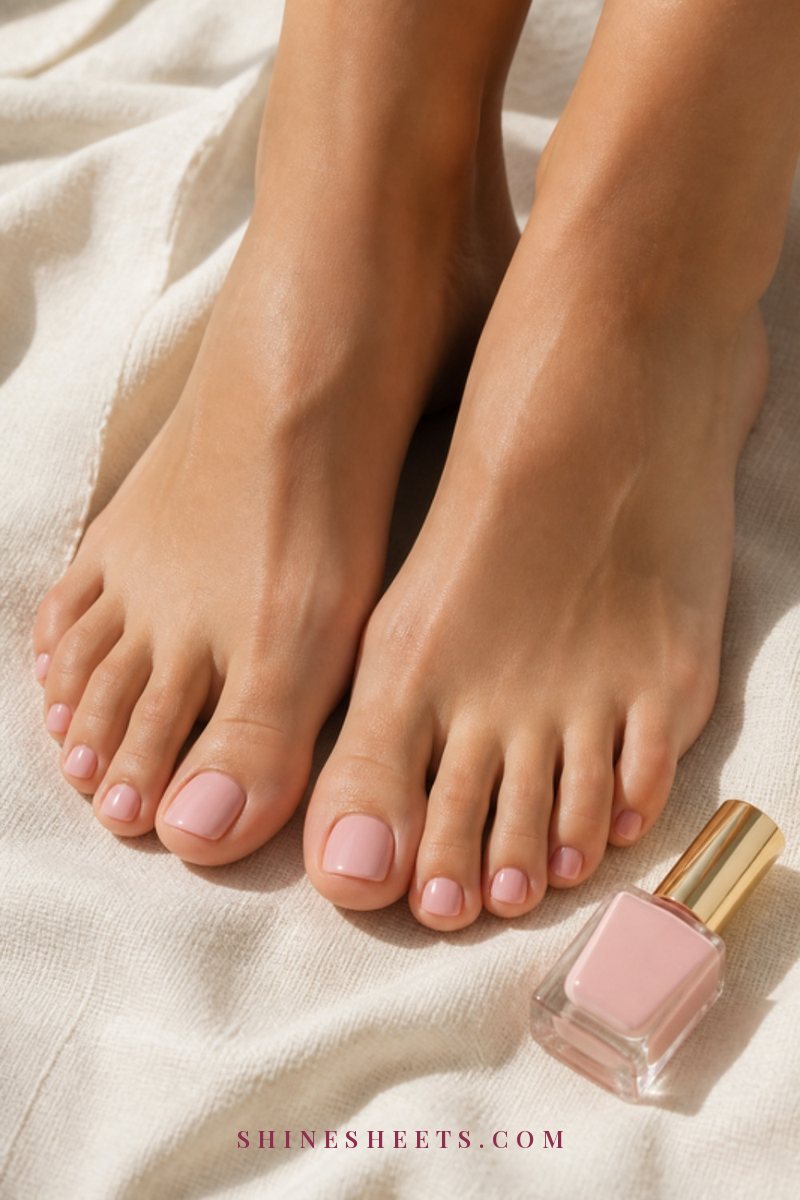
Bare, buffed toes look lovely, so polish is truly optional. If you'd like color, keep it simple: a sheer pink, a soft nude or a classic red all look clean and grow out gracefully.
Slip soft pink toe separators between your toes so the nails don't touch, then:
- Base coat: one thin layer. It helps polish grip and prevents staining.
- First color coat: thin. Three strokes per big toenail (center, then each side), one stroke for the little toes.
- Wait 2 minutes.
- Second color coat: thin again. Two thin coats always dry better than one thick one.
- Top coat: one layer, swiped lightly across the very tip of the nail too.
Clean up any polish on the skin with a small brush or a cotton swab dipped in remover. Toe skin is more forgiving than finger skin, so don't stress about perfection. For a full walk-through on making color last, see my guide on how to make nail polish last longer.
9. Let It Dry Properly
Toenail polish feels dry to the touch after about 15 to 20 minutes, but it stays soft underneath for much longer. Keep your feet bare or in open sandals for at least an hour, and wait one to two hours before socks, tight sheets or closed shoes. Otherwise, you'll wake up with fabric prints in your polish.
This is the perfect time to read, watch something or simply sit. A quick-dry top coat shortens the wait a little, but nothing replaces patience here.
10. Moisturize and Sleep in Socks
Once your polish has set, massage a generous amount of foot cream into your heels, soles and the tops of your feet, avoiding the nails. A urea foot cream is a good pick for feet that get dry and rough. Look for about 10% urea for regular care, or a higher percentage for very thick, hard heels (skip it on cracked or broken skin, where it can sting).
Then pull on a pair of soft cotton moisturizing socks and go to bed. The socks keep the cream on your skin instead of your sheets, and the gentle warmth helps it sink in overnight. In the morning, your heels will feel noticeably softer.
Repeat just the cream-and-socks step two or three nights a week between pedicures and your feet stay smooth much longer. It pairs well with a simple daily foot care routine.
Common At-Home Pedicure Mistakes
Most pedicure problems come from a handful of small habits. Here are the seven I see most often:
- Soaking for half an hour. Ten minutes softens the skin; thirty minutes leaves it waterlogged and then drier than before.
- Using hot water. It can dry skin and is easy to overdo on feet that don't feel heat well.
- Filing calluses after soaking. Soft, wet skin files away far too fast. File dry first.
- Shaving calluses with a blade. It's the quickest route to cuts and infections.
- Cutting toenails in a curve or very short. Straight across, level with the toe tip, every time.
- Cutting the cuticles. Push back gently; only trim loose hangnails.
- Putting shoes on too soon. Give polish at least an hour, and closed shoes even longer.
How Often To Do an At-Home Pedicure
For most people, a full pedicure every three to four weeks is the sweet spot. Toenails grow slowly, so they rarely need trimming more often than that, and calluses need time between filing sessions.
In between, a few small habits keep your feet comfortable:
- Daily: dry well between your toes after showering and put on cream at night.
- Once a week: a quick 2-minute pass with the foot file on dry heels.
- Two or three times a week: cream and cotton socks overnight.
- Every 7 to 10 days: a fresh layer of top coat if you're wearing polish.
- Every few weeks: a polish-free break of a few days, so your nails can breathe and you can check their color.
If you'd like your hands to match, my at-home manicure guide uses the same calm, step-by-step approach, and the two together make a lovely Sunday evening.
Turning Your Pedicure Into a Small Ritual
A pedicure is practical, but it doesn't have to feel like a chore. A few small touches change the whole mood:
- Choose a set time. The first Sunday of each month, for example. It becomes something to look forward to rather than something you remember when sandal season arrives.
- Set the scene. Light a candle in a glass jar, put on a calm playlist and lay out your towels before you start.
- Keep your phone out of reach. Wet hands and phones don't mix, and 45 minutes without notifications is a gift in itself.
- Have tea ready for the drying time. I love a cup of evening tea for this part, when there's nothing to do but wait.
It sounds small, but caring for your feet with attention is a way of caring for the parts of yourself that carry you everywhere without complaint.
A Quick Note on Foot Health
A home pedicure is for healthy, comfortable feet. Please skip the filing, trimming and cuticle steps and see a podiatrist instead if you have diabetes, poor circulation or numbness in your feet, since small cuts can heal slowly and become serious. The same goes for an ingrown toenail that's red, swollen or painful, a nail that's thick, crumbly or discolored, or any wound that isn't healing.
And if a callus keeps coming back in exactly the same spot, it's often a sign of pressure from shoes or the way you walk. A foot specialist can help with that far better than any file.
Final Thoughts
An at-home pedicure isn't about perfect feet. It's about soft heels, comfortable toes and 45 minutes where nobody needs anything from you. Keep the steps in order, be gentle with the file, trim straight across and let the socks do their quiet overnight work.
Next time you slip off your shoes, you'll feel the difference, and that small, private kind of care is always worth an evening.