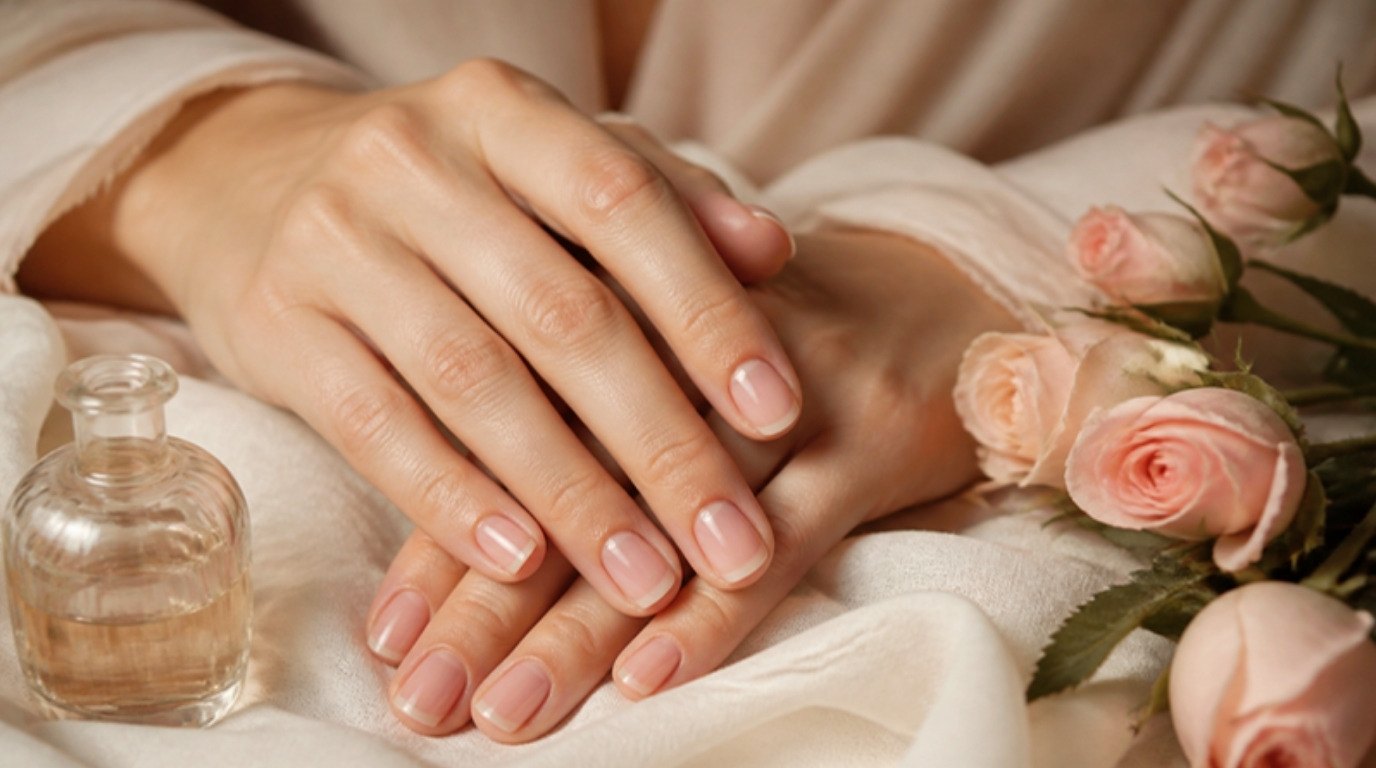
A salon-clean manicure at home has much less to do with a steady hand than with preparation and patience. The polish is honestly the easy part. What makes nails look professionally done is the shaping, the clean nail plate, the thin coats and the few minutes of tidying the edges before the top coat goes on.
Once you know the order of things, a simple, sheer manicure takes about 30 minutes and can last a week or more. No nail art, no complicated designs – just neat, healthy-looking nails with a soft, polished finish that goes with everything.
This guide walks you through a complete at-home manicure step by step: the tools you need, prep, shaping, cuticle care, gentle buffing, base coat, two thin color coats, clean-up, top coat, proper drying and how to make it last. There's also a minute-by-minute 30-minute manicure timeline and a list of the mistakes that cause most chips and smudges.
Put on something calming, make a cup of tea and clear a little table. This is the kind of self-care that leaves you with something pretty to look at all week.
What You Need for an At-Home Manicure
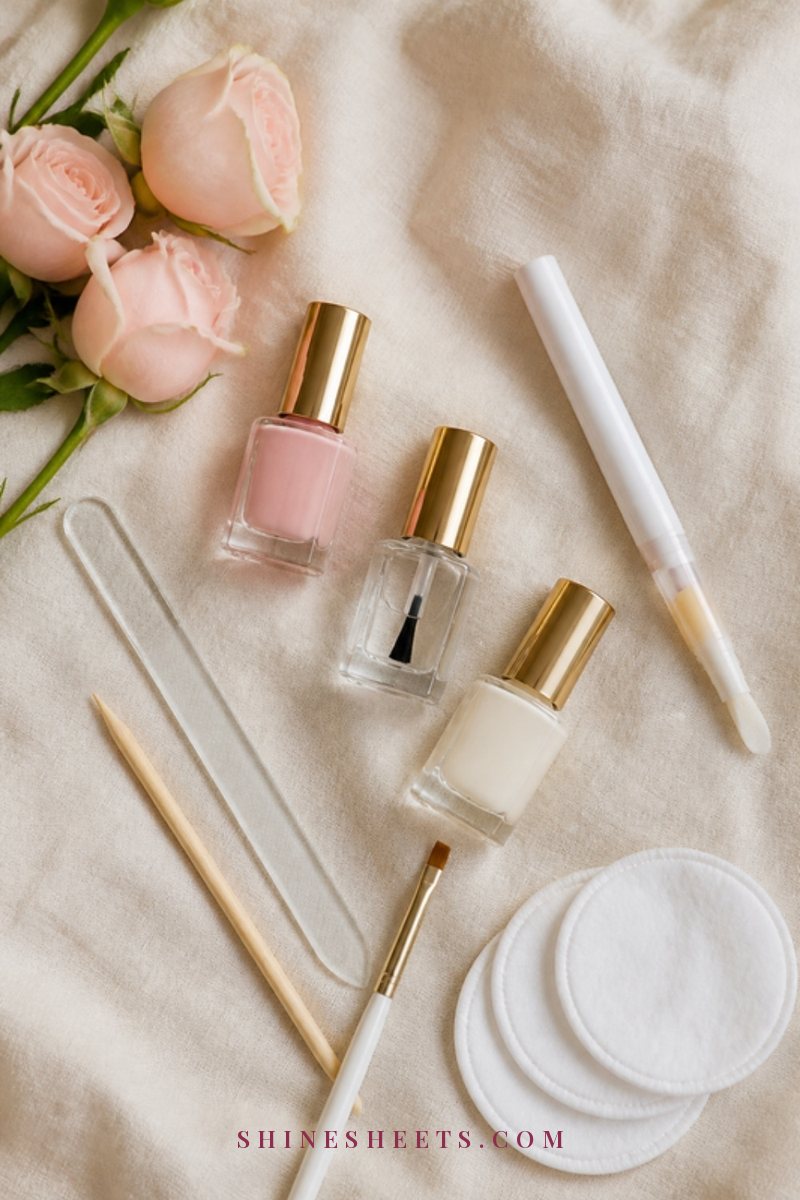
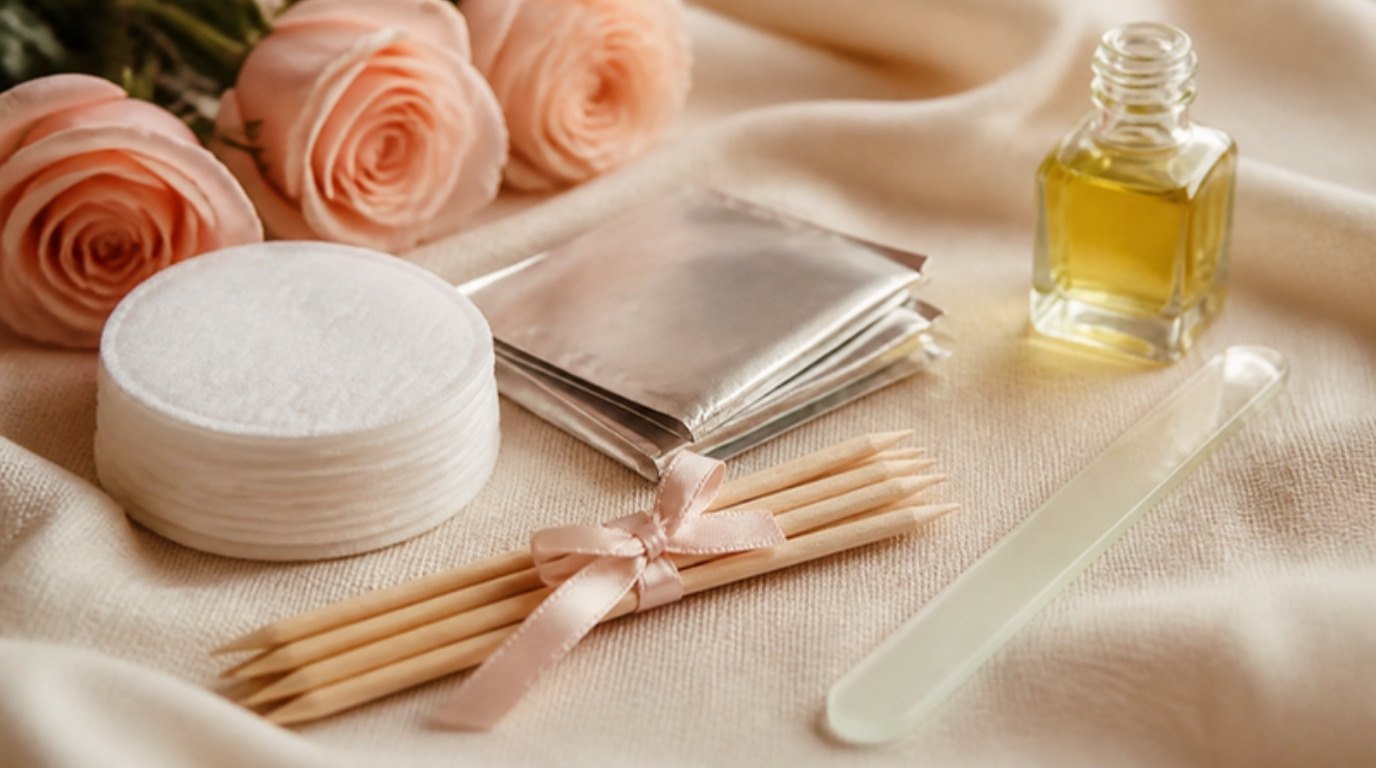
You don't need a big kit. These basics cover everything for a clean, simple manicure:
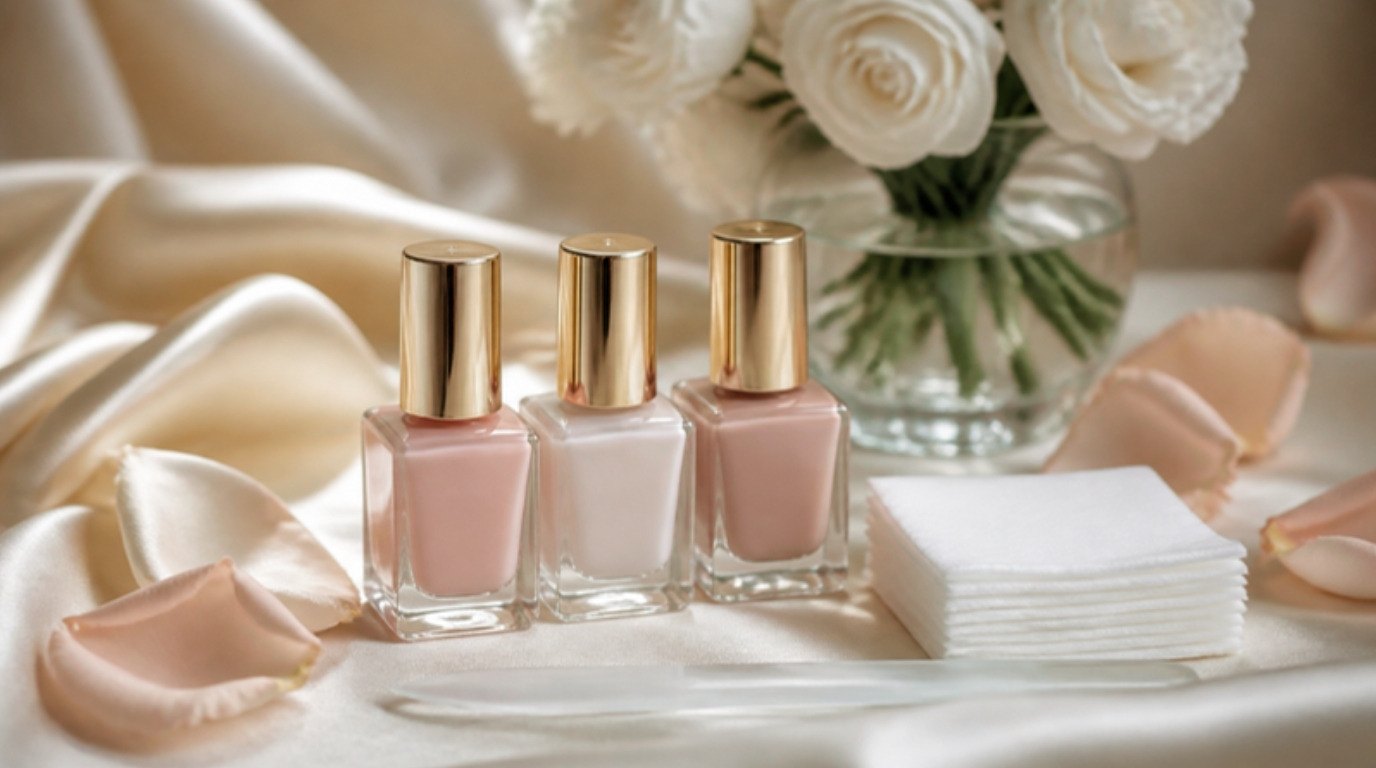
- Nail polish remover. An acetone-free nail polish remover is gentler on nails and cuticles for regular polish. Keep acetone for glitter or very stubborn shades.
- Cotton pads. Lint-free pads leave fewer fibers on the nail.
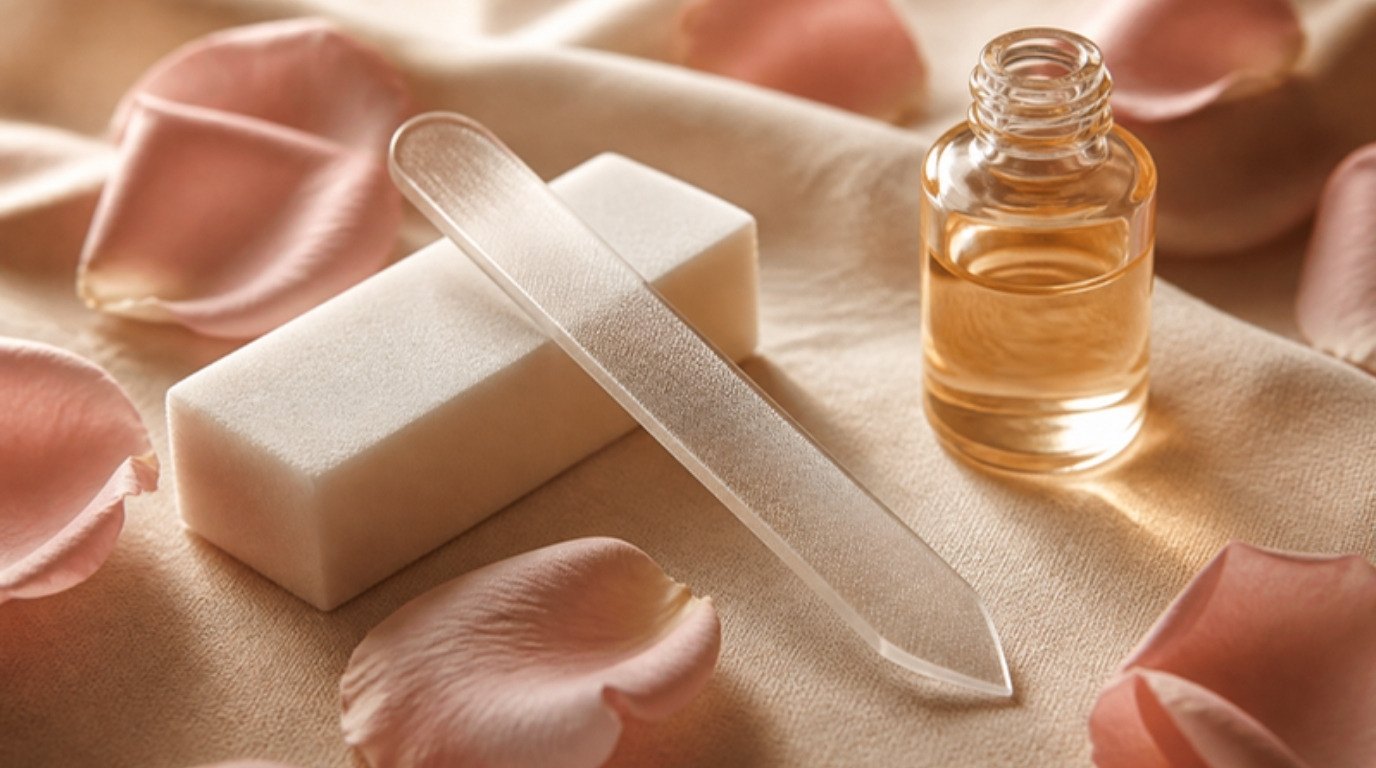
- A glass nail file. A glass nail file seals the nail edge as it files, which helps prevent peeling, and it lasts for years.
- A soft cuticle pusher. Wooden or rubber-tipped.
- A gentle buffer. Fine-grit only, for smoothing ridges.
- Base coat, polish and top coat. More on choosing these below.
- A small clean-up brush. A flat, angled brush dipped in remover is the secret to crisp edges.
- Cuticle oil and hand cream. For before and after.
Work on a towel or a tray at a table with good daylight or a bright lamp, and open a window if you can – polish fumes are strong in a small room.
How To Choose a Base Coat and Top Coat
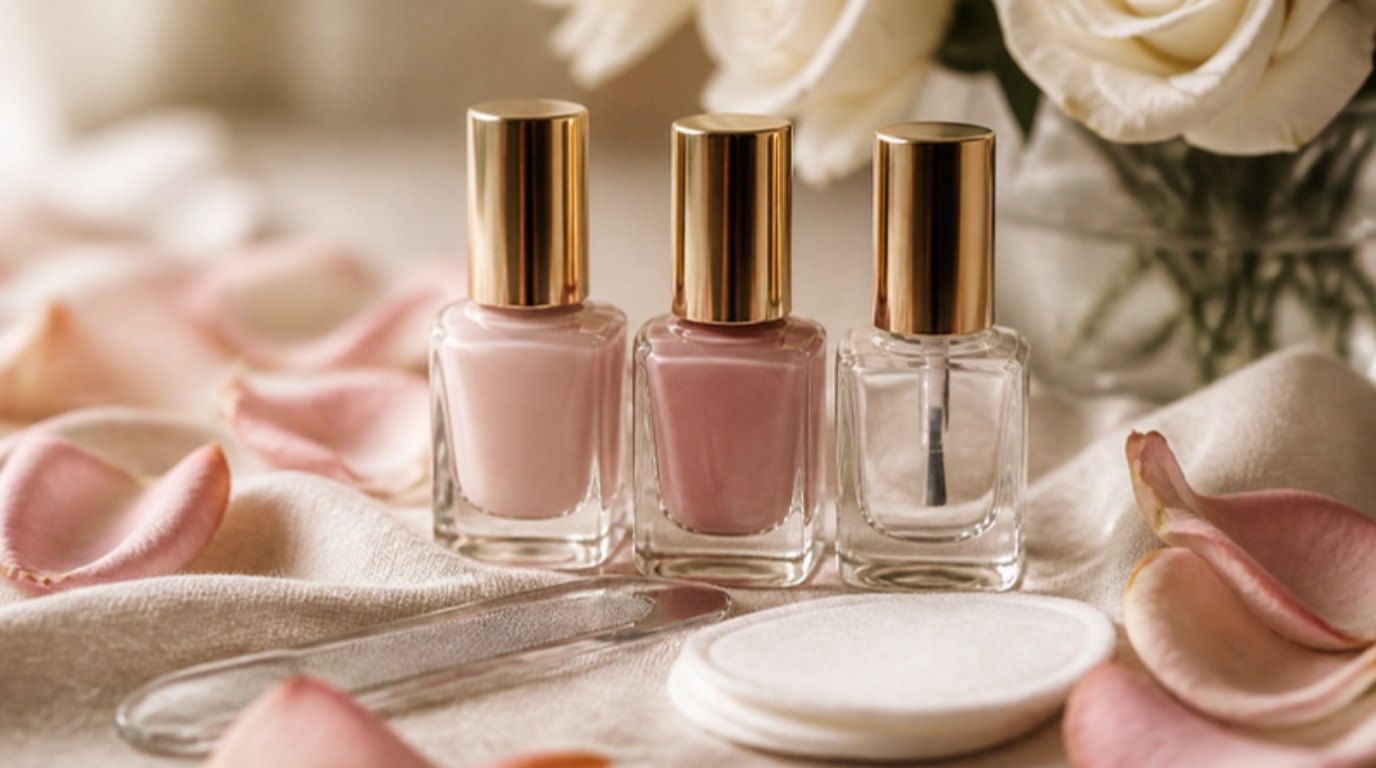
These two clear bottles do more for the final look than the color itself, so they're worth choosing with care:
- Base coat for peeling nails: look for a "strengthening" or "ridge-filling" formula that leaves a slightly thicker, smoothing layer.
- Base coat for healthy nails: a thin, sticky base coat grips color best and keeps the manicure light.
- Top coat for busy evenings: a quick-dry formula hardens the surface fast, which means fewer smudges.
- Top coat for the longest wear: a glossy, slightly thicker formula protects against chips, but it needs a little longer to dry.
Avoid very old bottles that have turned thick or stringy. Old polish goes on unevenly and dries poorly, so it's better to replace it than to fight it.
The 30-Minute Manicure Timeline
Here's the whole manicure at a glance. Screenshot it and glance at it as you go. The drying time at the end is extra, but it's the perfect excuse to sit and do nothing.
| Minutes | Step | What to do |
|---|---|---|
| 0–3 | Remove old polish | Press a soaked pad on each nail for 10 seconds, then wipe downward |
| 3–5 | Wash and dry | Lukewarm water, gentle soap, dry thoroughly |
| 5–9 | Shape | File in one direction with a glass file, matching all ten nails |
| 9–13 | Cuticle care | Soften, push back gently, snip only loose hangnails |
| 13–15 | Buff and cleanse | Light buff on ridges, then wipe each nail with remover |
| 15–17 | Base coat | One thin layer, cap the free edge, wait 2 minutes |
| 17–21 | First color coat | Thin three-stroke coat, wait 2 minutes |
| 21–25 | Second color coat | Thin coat, cap the edge, wait 2 minutes |
| 25–27 | Clean-up | Angled brush and remover around the edges |
| 27–30 | Top coat | Generous but even coat, cap the edge |
| 30–45 | Dry | Hands still and relaxed; oil cuticles after 10 minutes |
How To Do an At-Home Manicure in 10 Steps
Follow these in order. Each step makes the next one easier, and skipping prep is the main reason home manicures chip early.
1. Remove Old Polish Gently
Soak a cotton pad in remover, press it on the nail for about ten seconds and then wipe from the base to the tip in one motion. Holding it first lets the remover dissolve the polish so you don't have to scrub. Go back with a fresh corner of the pad for any leftovers along the edges.
2. Wash and Dry Your Hands
Wash with lukewarm water and a mild soap to remove oils and remover residue, then dry completely. Water trapped in the nail makes polish lift, so give your nails a couple of minutes to dry fully before filing.
3. Shape With a Glass File
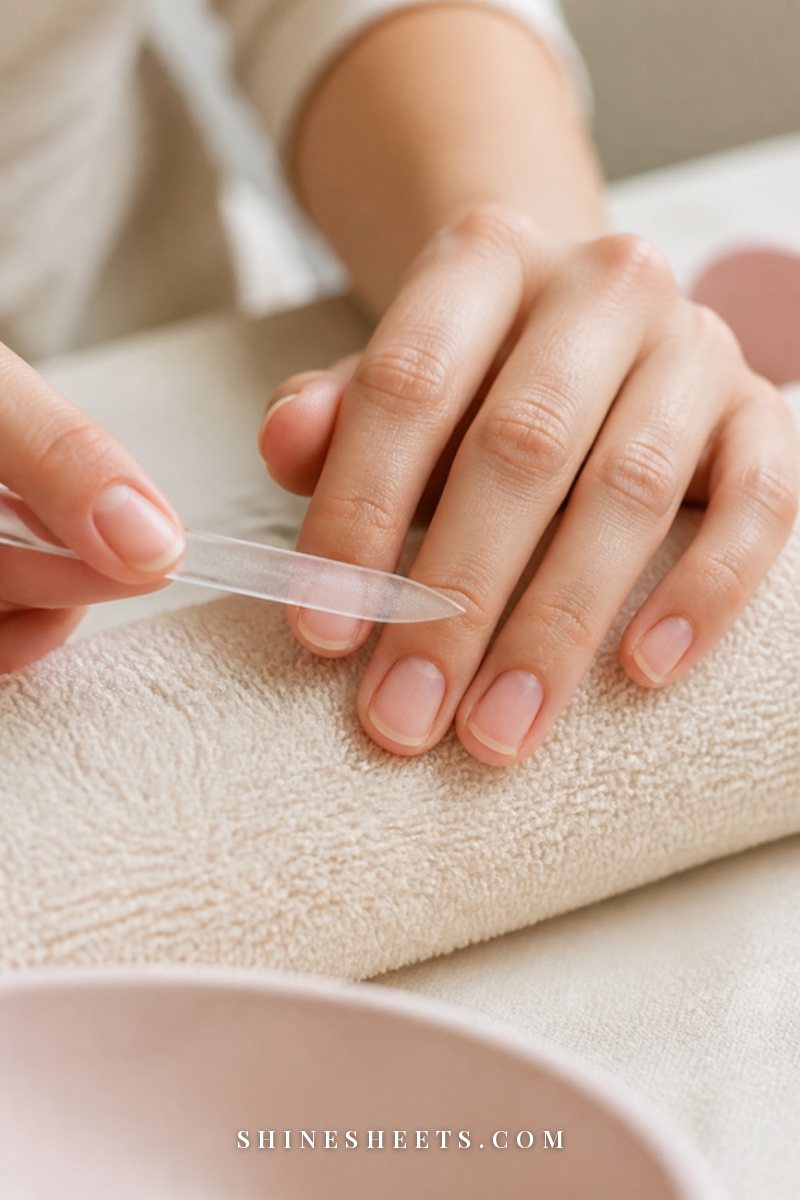
File your nails while they're dry, never wet – wet nails are softer and tear more easily. Hold the file at a slight angle under the nail edge and file in one direction, from the side toward the center, rather than sawing back and forth.
For a salon-clean look, a soft round or "squoval" (square with rounded corners) shape suits almost everyone and is less likely to snag. Check all ten nails from above and from the side to match the length and shape.
4. Care for Your Cuticles
Soften the cuticles with a minute of warm water or a little cuticle remover, then gently push them back with a soft tool. Snip only loose hangnails, never living skin. Wipe away any oil afterward, because polish won't stick to it. My cuticle care guide covers this step in detail if your cuticles need extra attention.
5. Buff Gently (Optional)
If you have ridges, buff lightly with the finest side of a buffer, using just a few strokes per nail. The goal is to smooth, not to thin the nail. Skip this step completely if your nails are thin or peeling, and never buff more than once every couple of weeks.
6. Cleanse the Nail Plate
Swipe each nail with a cotton pad and a little remover. This removes dust, oil and any lotion so the base coat grips the nail. It takes 30 seconds and adds days to your manicure.
7. Apply a Base Coat
A good base coat protects your nails from staining, smooths small ridges and gives the color something to hold on to. Apply one thin layer, including a quick swipe across the free edge (the tip of the nail) – this is called "capping," and it helps prevent chips. Wait about two minutes before the color.
8. Apply Two Thin Color Coats
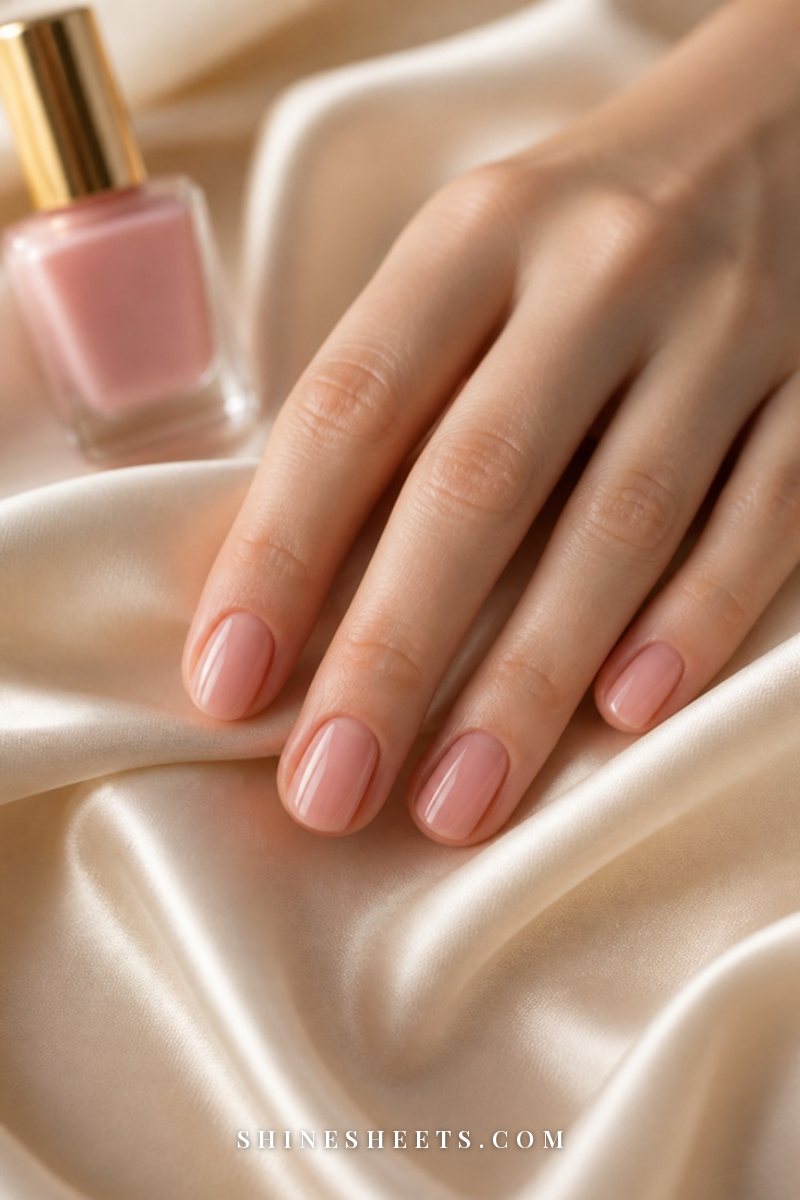
Roll the bottle between your palms to mix it (don't shake – shaking adds bubbles). Wipe one side of the brush on the bottle neck so it isn't overloaded. Then use the classic three-stroke method:
- Place the brush a tiny bit above the cuticle in the center of the nail and press lightly so the bristles fan out.
- Push the brush gently toward the cuticle without touching the skin, then pull it straight down to the tip.
- Repeat once on the left side and once on the right side.
Keep the coat thin. Two thin coats dry harder and smoother than one thick one. Wait two minutes between coats and cap the free edge on the second coat. A sheer pink nail polish is the most forgiving shade to start with, since small imperfections barely show.
9. Clean Up the Edges
This is the step that makes a manicure look professional. Dip a small angled clean-up brush in remover, dab off the excess on a paper towel and trace around the cuticle and sidewalls to remove any polish on the skin. Clean the brush on the towel between nails. Do this before the top coat so you don't smudge the shine.
10. Seal With Top Coat
Apply a generous, even layer of a quick-dry top coat, floating the brush over the color rather than pressing down, and cap the free edge once more. Top coat adds shine, protects the color and helps everything dry harder.
How To Paint Your Non-Dominant Hand Neatly
Almost everyone finds one hand much harder than the other. A few small tricks make a big difference:
- Anchor both hands. Rest the hand you're painting flat on the table and rest the pinky of your painting hand on the table too. Steady hands come from support, not from holding your breath.
- Move the finger, not the brush. On your non-dominant side, hold the brush still and gently rotate the finger under it.
- Paint the thumb separately. Turn your hand on its side so the thumbnail faces you directly.
- Use less polish. A nearly dry brush is easier to control and floods the cuticle less.
- Trust the clean-up brush. You don't need to be perfect around the edges, because step 9 fixes it.
It gets easier every time. After a few manicures, your "hard" hand often looks just as neat as the other.
How To Dry Your Manicure Properly
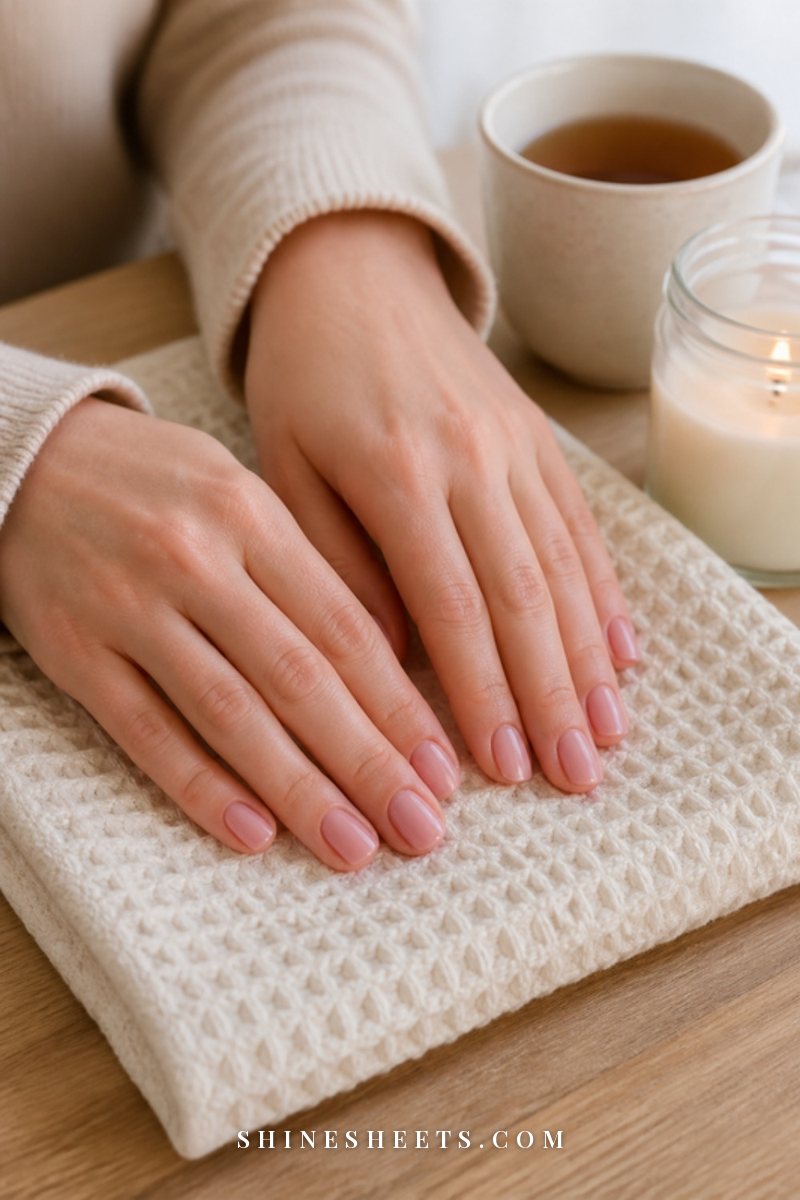
Nails may feel dry to the touch after ten minutes, but polish needs much longer to harden fully underneath. Most smudges and dents happen in the first hour. To protect your hard work:
- Stay still for 15–20 minutes. Rest your hands flat on a towel, sip tea with a straw if you need to or just enjoy doing nothing.
- Avoid heat. Hot water, a hair dryer on warm or a hot bath can soften fresh polish. Wait a couple of hours before a long shower.
- Use cool air. A fan on a cool setting or a few minutes near an open window speeds up surface drying.
- Oil after ten minutes. A drop of cuticle oil on each nail moisturizes the skin and creates a light barrier against small dents.
- Do your nails before a calm evening. Painting them right before bed often leaves sheet marks. Give them at least two hours first.
How To Make Your Manicure Last
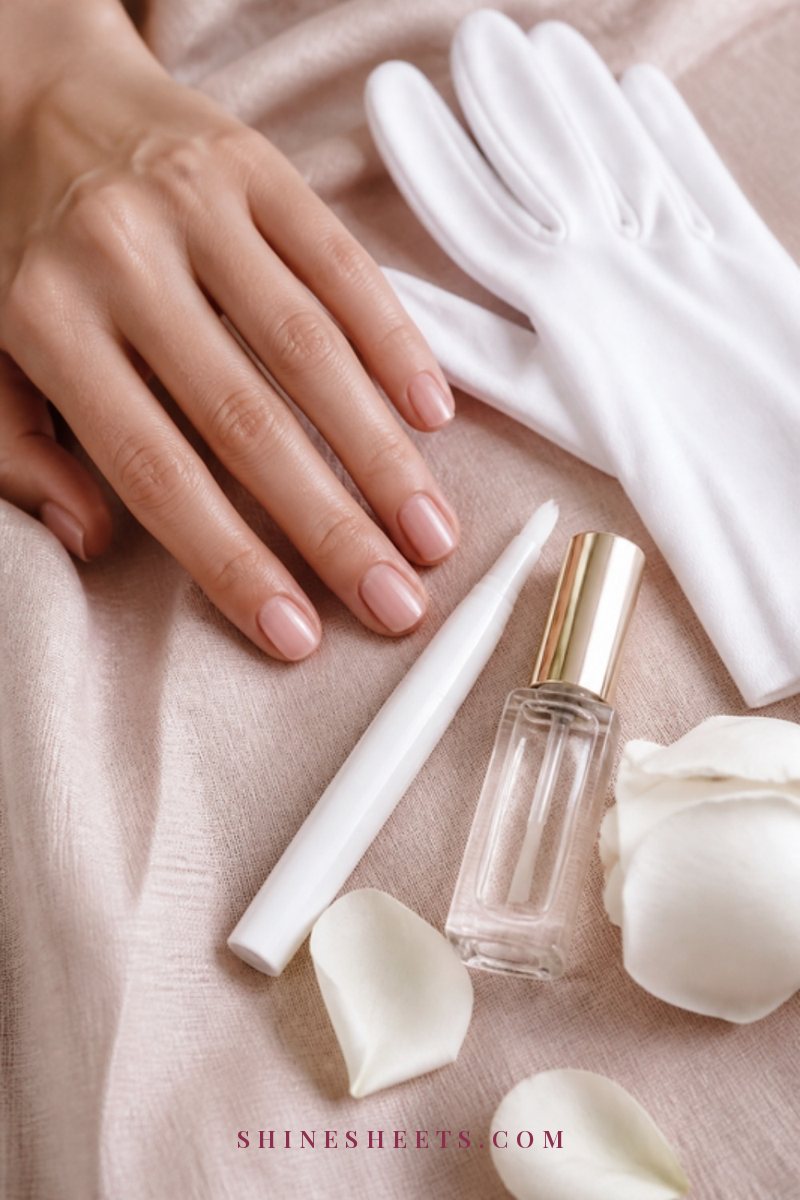
A home manicure can easily last five to seven days with a few simple habits:
- Re-apply top coat on day three. A fresh thin layer restores shine and seals tiny chips before they grow.
- Wear gloves for chores. Dishes, cleaning and gardening are the biggest manicure ruiners.
- Oil daily. A cuticle oil pen in your bag keeps cuticles soft and nails flexible, which means fewer chips. Apply it around the nail, not heavily on top.
- Don't use your nails as tools. Use the pads of your fingers to press buttons and a coin or opener for cans.
- Fix small chips right away. Dab a little color on the chip, let it dry and add top coat over the whole nail.
- Keep nails short-ish. Shorter nails chip much less than long ones.
- Moisturize your hands. Apply hand cream regularly, then wipe it off the nail surface with a tissue. My hand care routine shows how to fit this in without fuss.
A 10-Minute Mid-Week Refresh
When your manicure is a few days old and starting to look tired, you don't need to start over. This quick refresh brings it back:
- Wash and dry your hands to remove oils and lotion.
- Smooth any rough tips with a gentle pass of the glass file, filing in one direction only.
- Touch up chips with a tiny amount of color and let it dry for two minutes.
- Add a fresh layer of top coat over every nail, capping the edges again.
- Oil the cuticles once the top coat feels dry.
That's it – five steps and your nails look freshly done again.
How Often To Do an At-Home Manicure
For most people, a full manicure once a week (or every ten days) is a lovely rhythm, with a quick refresh in between. Remove polish once it starts chipping in several places rather than layering more on top. To stretch that week a little further, I lean on these tricks to make nail polish last longer without chipping.
Every now and then, give your nails a few polish-free days. Keep them shaped, oiled and covered with a simple base coat or nothing at all. Nails don't technically need to "breathe," but a break from removers helps if they feel dry, thin or peely. For the everyday basics of strong, healthy nails between manicures, my guide on how to take care of your nails covers everyday habits and gentle routines.
Choosing a Salon-Clean Color
The "just had a manicure" look usually comes from soft, sheer, natural shades. They're forgiving, they look neat as they grow out and they suit every outfit. A few options to consider:
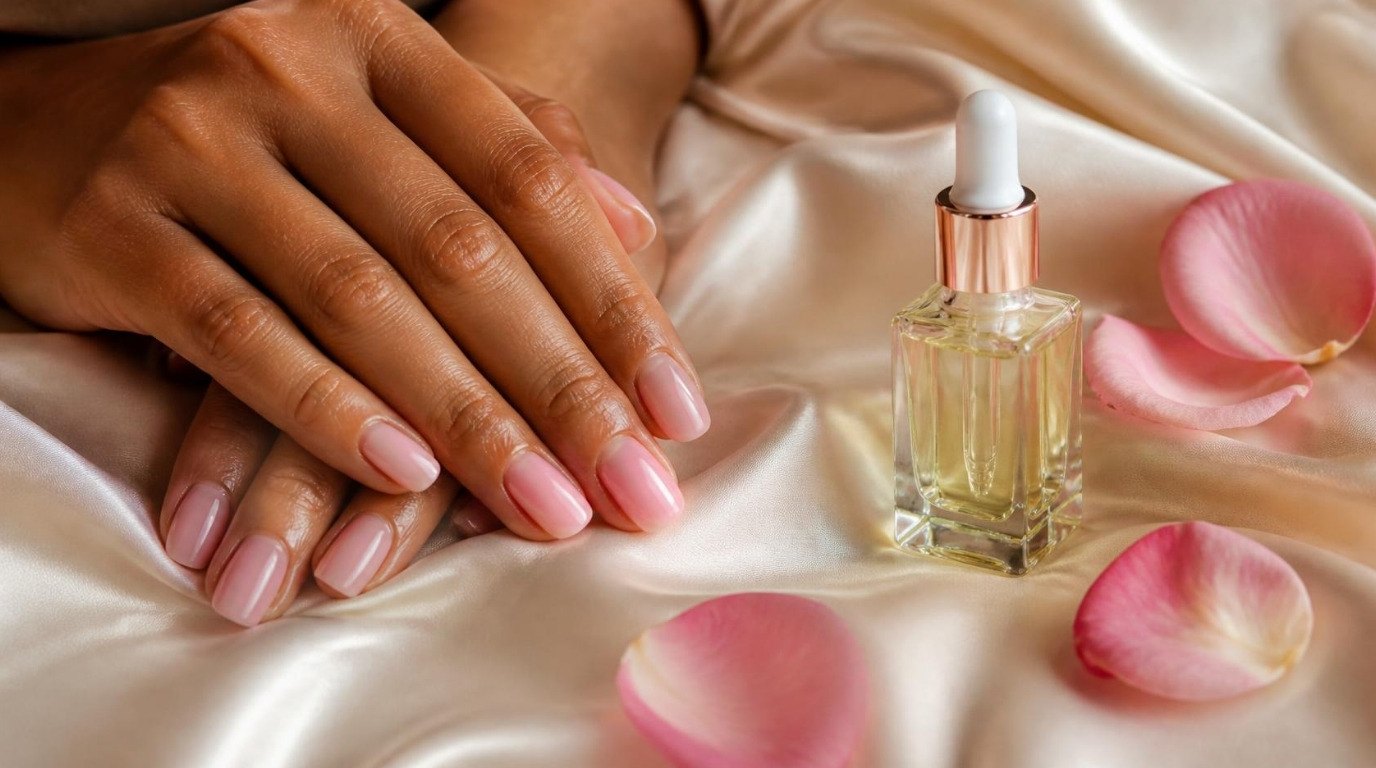
- Sheer pink. The classic clean look. It evens out the nail tone and hides small imperfections.
- Milky white. Soft and fresh, especially lovely on short nails.
- Sheer beige or nude. Look for one slightly pinker or slightly peachier than your skin depending on your undertone.
- Soft rose. A touch more color, still very elegant – very Old Hollywood when paired with neat, rounded nails.
- Clear gloss only. Base coat plus top coat gives healthy shine with almost zero chip risk.
Sheer shades usually need two coats, sometimes three for more coverage. Keep each coat thin either way.
Common At-Home Manicure Mistakes
If your manicures chip in a day or two or always look a little messy, one of these is usually the reason:
- Thick coats. Thick polish stays soft underneath and dents or peels. Thin coats every time.
- Shaking the bottle. It adds air bubbles. Roll it between your palms instead.
- Skipping the base coat. Without it, polish chips faster and nails can stain.
- Painting over oil or lotion. Always cleanse the nail plate right before the base coat.
- Filing wet nails or sawing back and forth. Both lead to peeling and splits.
- Flooding the cuticles. Leave a hair-thin gap between polish and skin so it doesn't lift.
- Rushing the drying. Most smudges happen in the first hour.
A Gentle Manicure Night Ritual
A manicure is one of the easiest ways to turn an ordinary evening into a little ritual. Light a glass candle, put on a favorite film or a soft playlist and do your nails slowly, without trying to fit anything else in. I find it surprisingly calming when my mind is busy, because the small, careful movements leave no room for worrying about tomorrow.
Pair it with a warm hand soak, a face mask and an early night, and you have a full pampering evening. My ideas for a spa day at home and these self-care night ideas are lovely ways to build around it.
A quick, kind note: if you notice nail changes like dark streaks, lifting, pain or swelling around the nail, skip the polish for a while and check in with a doctor. Healthy nails come first, and polish can wait.
Final Thoughts
A salon-clean manicure at home is really just a few simple habits done in the right order: gentle prep, a good file, thin coats, clean edges and enough time to dry. The first one might take a little longer, and that's completely fine.
By the third or fourth time, the steps will feel natural, and you'll have a calm half hour of self-care that leaves your hands looking neat, soft and quietly polished all week.